my 1971 danburyfalia pop top project

Early Bay Forum

Help Support Early Bay Forum:

This site may earn a commission from merchant affiliate links, including eBay, Amazon, and others.
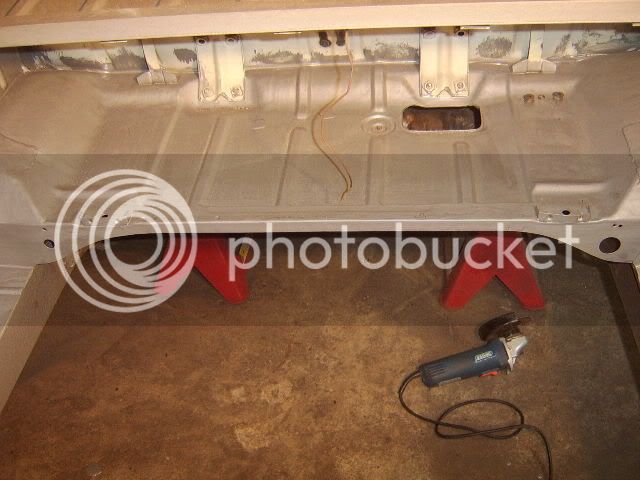
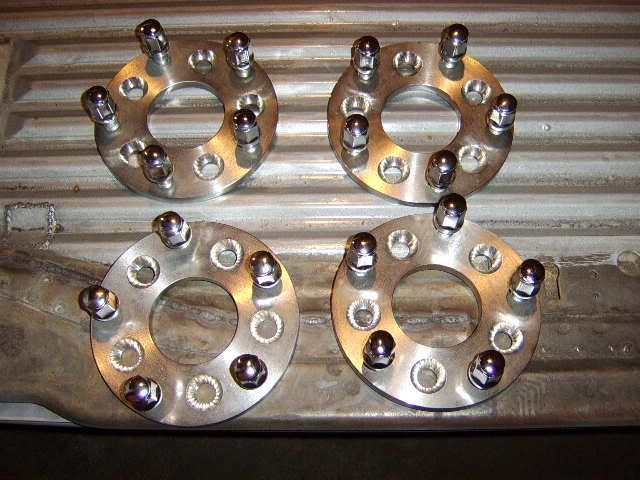
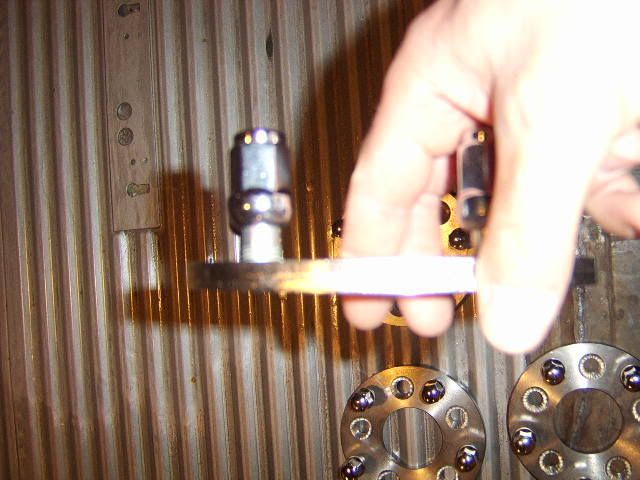
got my adapters yesterday (though they are now for sale already see for sale section) so thought i would try a rim on just to see how much tuckage i have


STA72678.jpg


STA72676.jpg


STA72677.jpg


STA72679.jpg


STA72680.jpg


STA72681.jpg


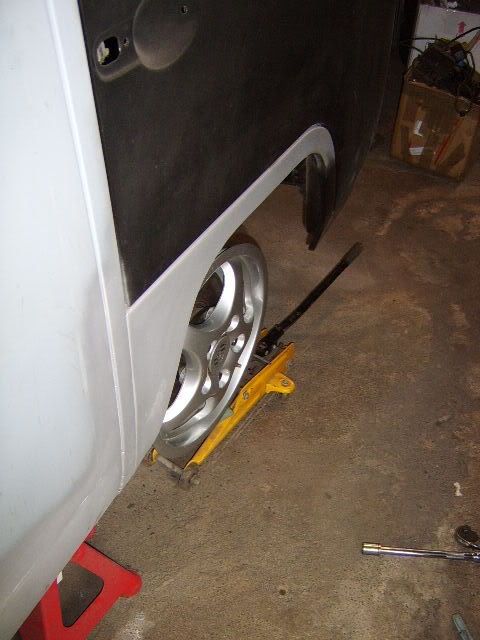
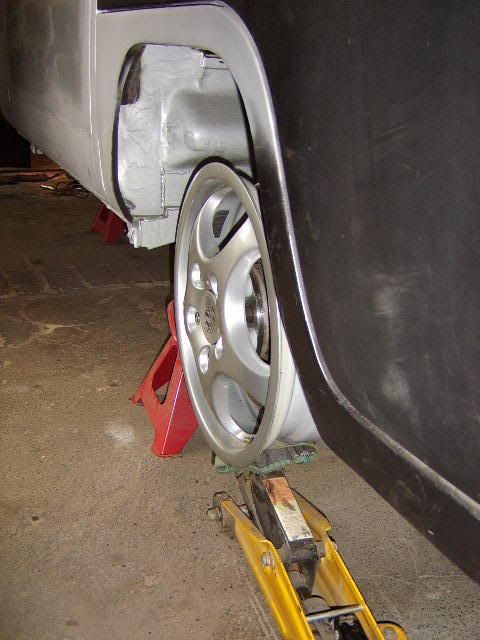
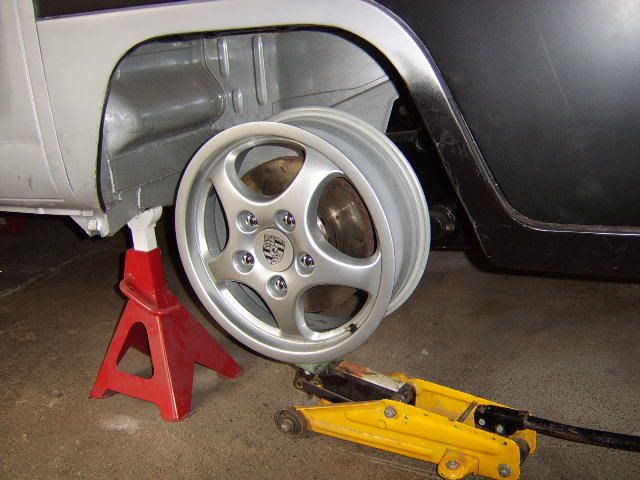
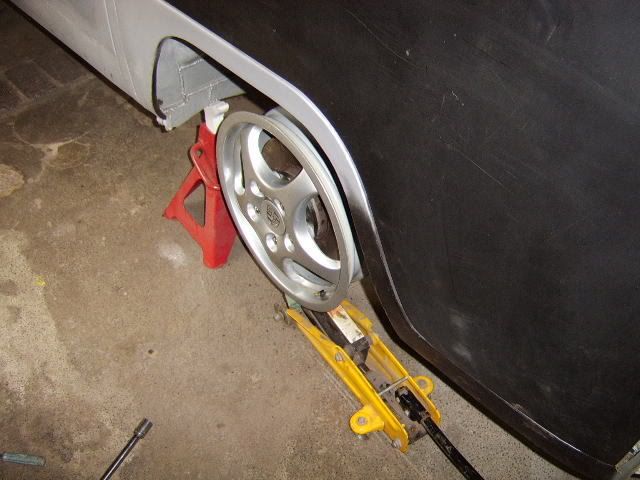
the wheel i tried was a 6x16inch porsche cup one. sits nice in the wheel arch thoughi will be running wider adapters and dropped spindles so the wheel will stick out an extra 20mm. should still ook ok though
 
i tried to jack up the wheel to get it to tuck up in the arch but the van weighs nowt at the mo so it kept lifting off the axle stand. the planned front tyre will be 165 40 16 nankangs on the front and 175 55 16 bridgestones on the back.
 
i was gonna buy a set from them too but 15mm and cookies wont work, i ended up getting some from Kinky Mick who was excellent, and really knows his stuff :)
 
ive rang red9 and hopefully will get my cash back at tatton on sunday. a friend is getting me a set of adapters made up in 25mm with threads for studs and a hubcentric locating ridge in the middle as ive never been a big fan of adapters that dont have the hubcentric bit on them
 
after putting it off for two years and actually having the repair panel for nearly as long i have tonight tackled the peice of metal that sits between the engine lid and tailgate. and after a lot of tickling with a grinder i finally deemed it ready to weld in.

STA72687.jpg


STA72688.jpg


STA72689.jpg


STA72690.jpg


STA72691.jpg


my battery went flat and lost the rest of my photos. tommorrow if i get time ill finish seam welding it then tackle the bit of rotten metal behind it
 
cheers johnny, i went round there four a few hours today and got it looking a bit better


STA72692.jpg


STA72693.jpg


STA72694.jpg


STA72695.jpg


cut back the rust on the inside aswell


STA72697.jpg


STA72698.jpg


weld penetration seems to be good


STA72699.jpg


then due to the act that the part that came off was so rusty, i had to knock up i right angled strip of steel to hold the engine lid seal in place. i dont have a metal folder so had to improvise with some angle and clamps and big hammer


STA72696.jpg


STA72700.jpg


when its all welded i will tap the lip round to copy the lips around the sides


STA72701.jpg


STA72702.jpg


STA72703.jpg


then lap welded the inner edge for strength (and coz i was a bit lazy by the end of the day


STA72704.jpg


STA72705.jpg


should start painting the engine bay in por15 this week to give a good rust resistant base for when the van goes into the bodyshop for full paint
 
I've just logged in after a year of being out of the picture and vaguely remember your resto when you started it. I'm speechless, it would be fair to say you're not scared of the welder, truly inspiring. Keep up the amazing job, I can't wait to see it finished (although probably not as much as you)

Awsome
 
Buss69 said:
I've just logged in after a year of being out of the picture and vaguely remember your resto when you started it. I'm speechless, it would be fair to say you're not scared of the welder, truly inspiring. Keep up the amazing job, I can't wait to see it finished (although probably not as much as you)

Awsome

x2! :wink:

thats a really tricky repair and you've done a great job on it!
 
cheers guys. i would have finished it today but went to vwnw as i had to take back the red9 adapters i bought last week. got my money back on them which was fantastic as i am now getting a set made up. also have sent my rear hubs away for machining so i can get my 280mm t4 disks bolted on the rear :)
 
Jesus!!! i go away for a weekend and the amount of work you cover is amazing...and its not exactly to a "cover-up" standard. everything is thought out and rusty bts cut out (as is should be)

the rate of progress is another part of you project i wish i could replicate :)

NaFe

p.s. i feel a "resto club" being formed
 
cheers. i think tufofu and alfie are still the gods of resto. but id like to think that in three months of plugging away and i should be trial fitting engine etc and getting it booked in somewhere for a spray job
 
been a while since i did an update. mainly due to a lack of progress due to a weeks holiday, going to belfast with work, and a hazy weekend at edition 38 in my golf. finished the bit behind engine lid plinth. then cut off the bit of tatty metal that used to hold the rear engine seal. i plug welded some angle behind it to keep the strength in the petrol tank shelf that it lost. then i smothed it all out to look a little nicer. the few hours ive had to spend on it this week have been spent bare metaling the complete bay, metal etching, the por 15 (hand painted). hopefuly two coats of it should stop any rust attacking the metal and whichever body shop who gets the job can flat it all don and paint it all body colour.


STA72784.jpg


STA72785.jpg


STA72782.jpg


STA72783.jpg
 
i cant believe how good the metal is in your engine bay and fuel area do you have an inspection hatch - looks like it from that last picture?

more and more real good work. looks like you've got some good metal in there to work with.

NaFe
 
a lot of the metal that has been cut away was shot. the bit down the sides that meet the engine tinware were quit rusty and the underneath of the fuel tank shelf still has quite a bit of rust on it. if it had been all great condition i would have felt a bit guilty cutting it all out but as it was so bad it didnt make a very good seal around the engine so the engine bay got a bit hot and smelly when running.

the engine hatch is something i cut out a while back to aid servicing etc when the enging finnally goes in. its just 25mm angle as opposed to the t25 one that people shrink down to fit
 
what nate said!

looks like new.

next time your in Belfast give me a shout for a pint or two :)
 

Latest posts

Top