my 1971 danburyfalia pop top project

Early Bay Forum

Help Support Early Bay Forum:

This site may earn a commission from merchant affiliate links, including eBay, Amazon, and others.
will do johnny, i was there for two days with work, (as i work for holiday inn)
spent the monday night gettin mashed in a bar called fibber mcgees
 
had a great vanfest and bought loads of bits for the van.

delux belt line trim.
delux us rear lights.
delux grill with trim.
scat shifter.
cali engine lid.
sliding door skin.

this weekend i plan to finish off paint the first coat of por15 in the rear arches so i can gun in some dinatrol panel sealent around the edges of the battery trays etc. when i have done this i will then tackle the cab floor and new front skin which has been putting me off tbo. its enormitty and cost of panels etc. then i aim to try and get the fibre glass roof bonded on.
 
some good purchases had there mate. likewise with the front skin - although i'm replacing the whole front clip (airbox and window pillars)

i think we may be doing this at similar time. i've got to fit clip, O/S door frame/gutter section, two outer wheel arches, two inner wheel arches and floor :) 5 minute job :)

i had a ffriend of my dad's come around yesterday to give us some direction and order of approach :)
 
did a bit more work on the van this weekend and ended up getting my hair full of por15 which hurt getting it out


STA72875.jpg


STA72876.jpg


STA72877.jpg


bought a new rear engine apron at the bus stopover as my original was totally u/s. gave it a bit of a beating with the wire brush on the grinder and then trimmed it into the engine bay and primed it. just need to clean the outside of it tommorrow and it will get stashed out of the way until spray day.


STA72880.jpg


STA72879.jpg


STA72881.jpg


then i need to prep the engine lid i picked up at vf.
 
spent the day round my workshop trying to get a few bit prepped (putting off the new front skin as im scared)

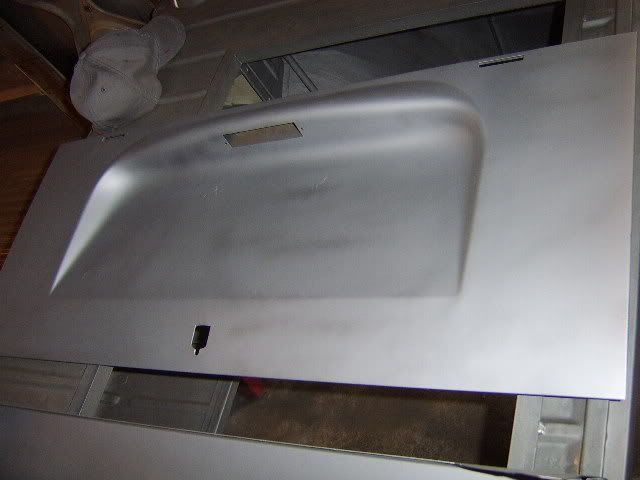
finished stripping and priming my engine lid

STA72882.jpg


STA72915.jpg


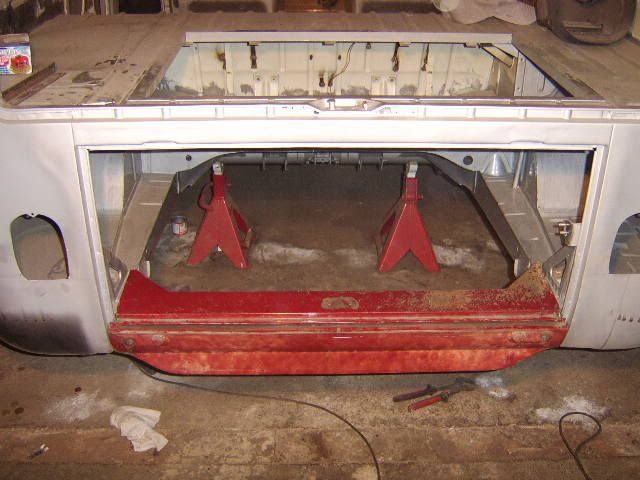
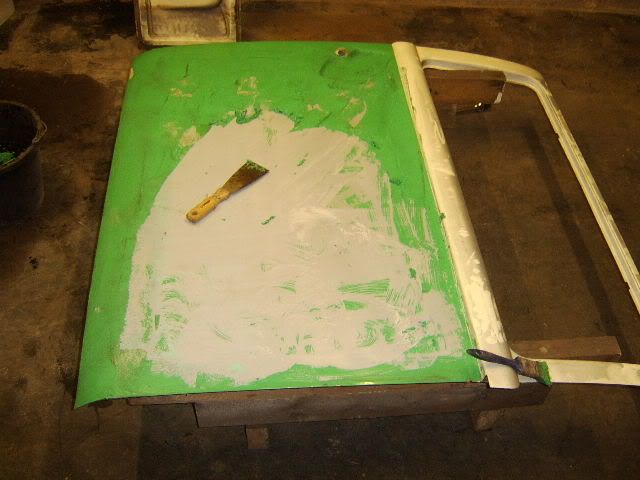
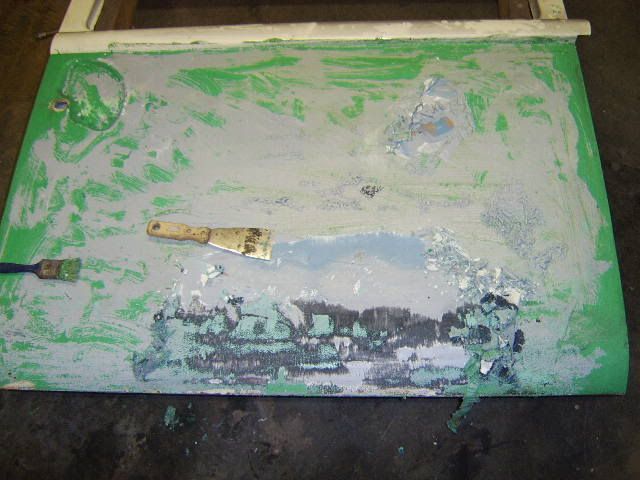
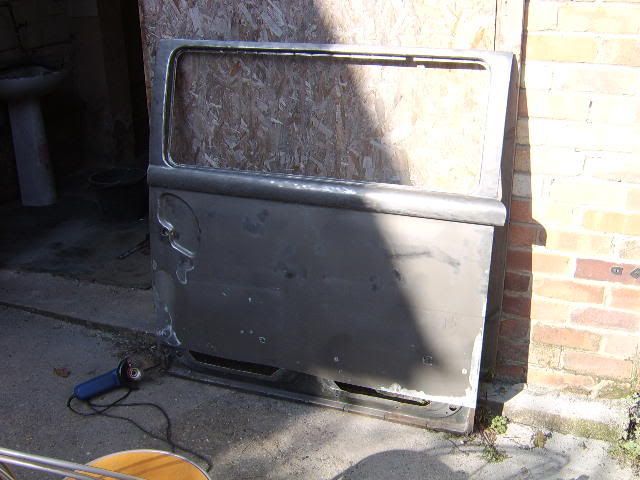
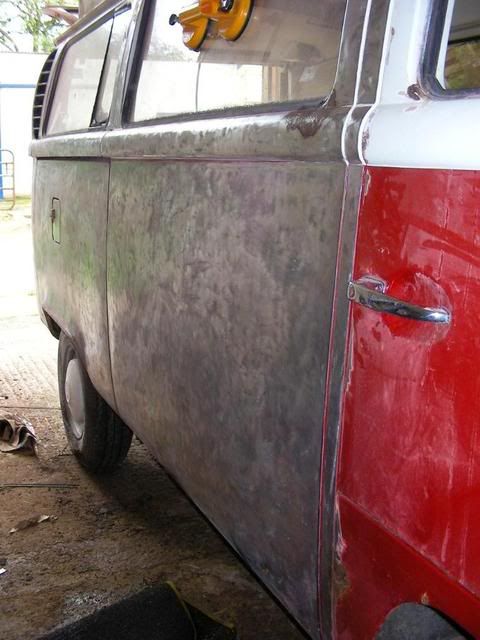
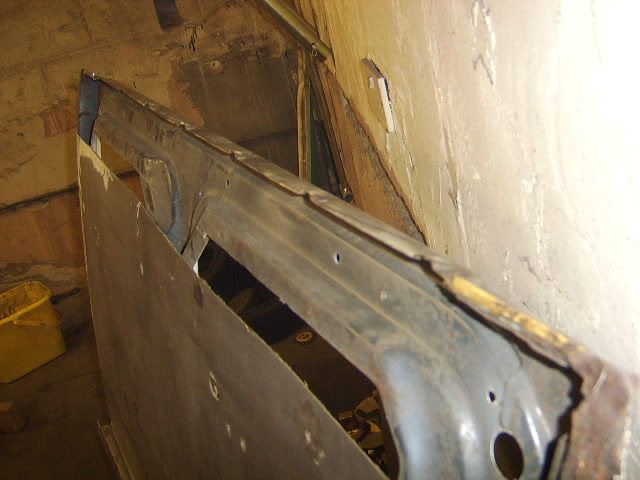
stripped my sliding door to get a good look at whatever repair the po had done to it. it turned out that he had joggled a new jk skin along the bottem.


STA72914.jpg


STA72916.jpg


after the first layer of green, then primer, i reached a coat of blue so i think that this may have been a new door to the van.

STA72917.jpg


STA72918.jpg


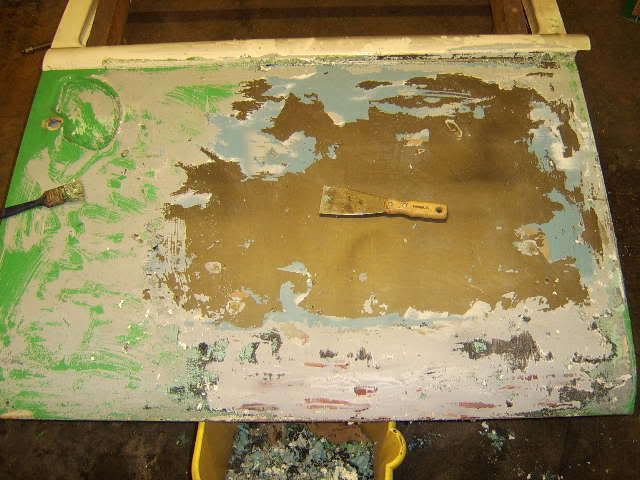
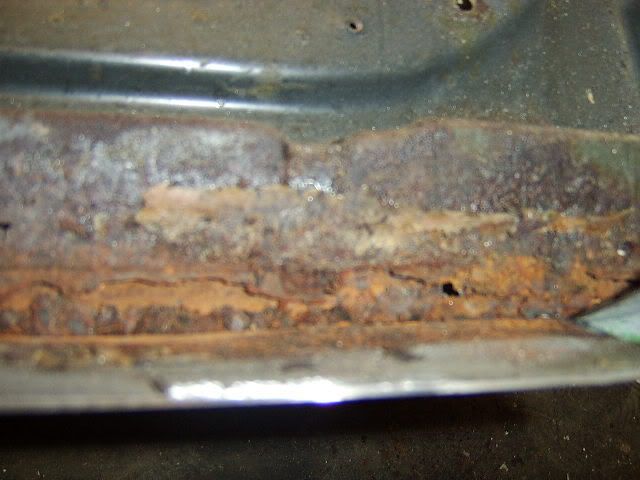
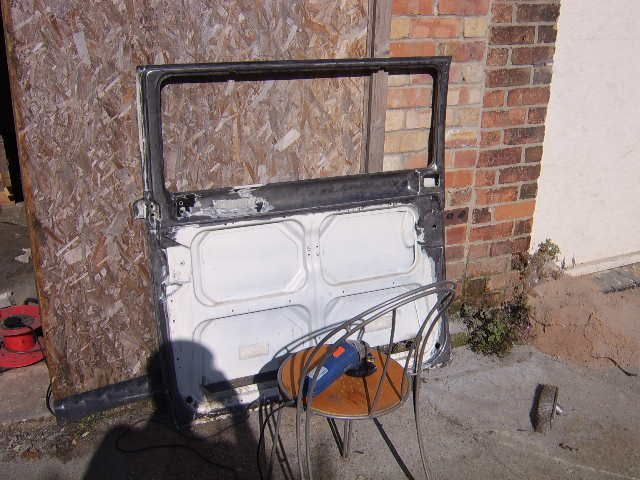
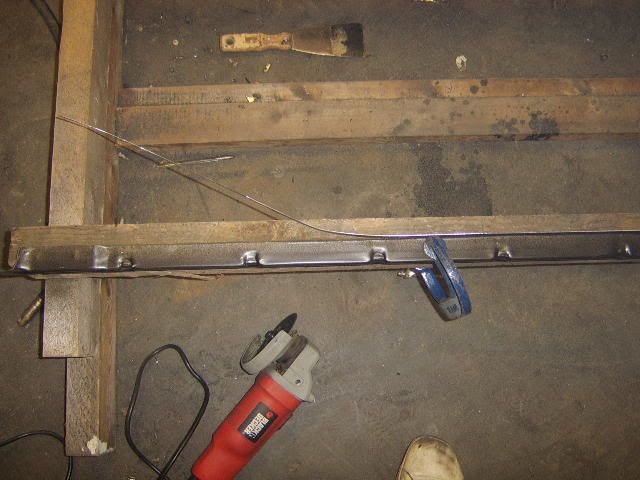
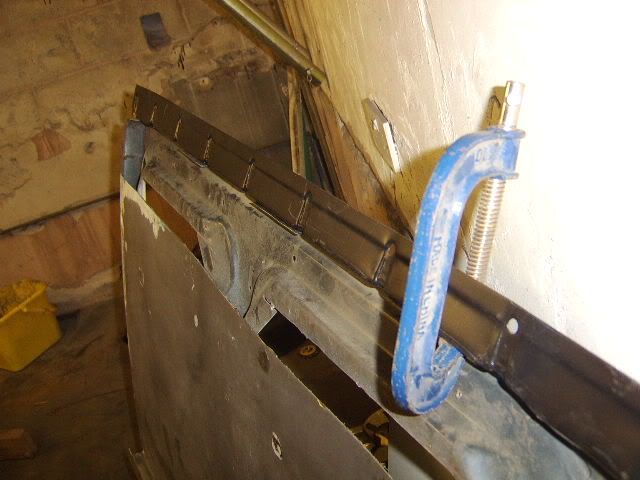
cut the panel off but the realised that the po had tried to repair the inner frame with a strip of steel along the back which has blocked the drain holes hence the repair not lasting too long before re rusting

STA72919.jpg


STA72920.jpg


there was a bit of silicone there too which never helps matters. had to stop on the sliding door till the inner frame repair panel comes from schofields on tuesday.

5 hours work to get to this

STA72923.jpg


STA72922.jpg


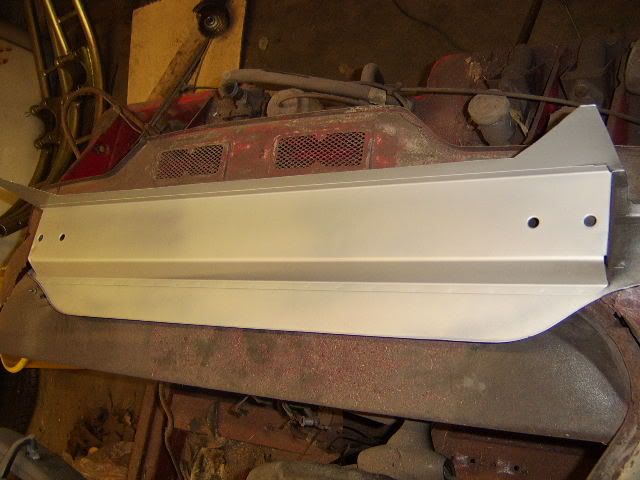
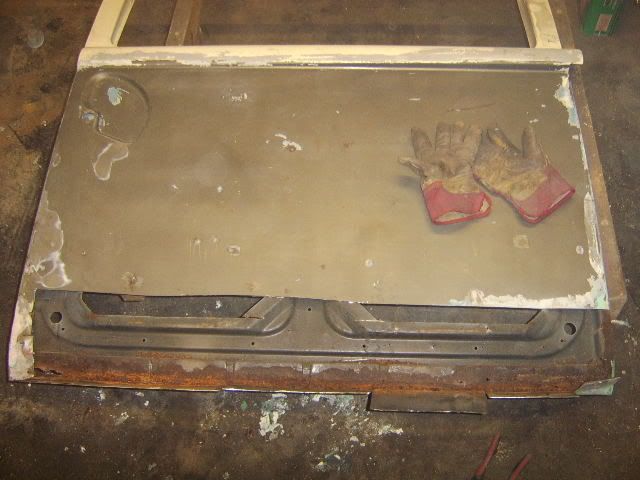
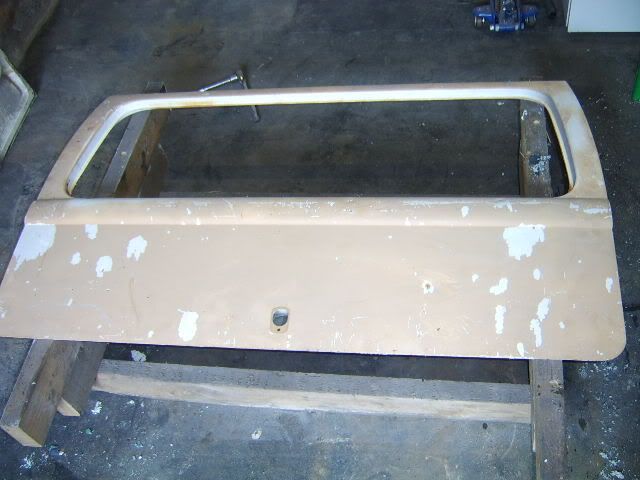
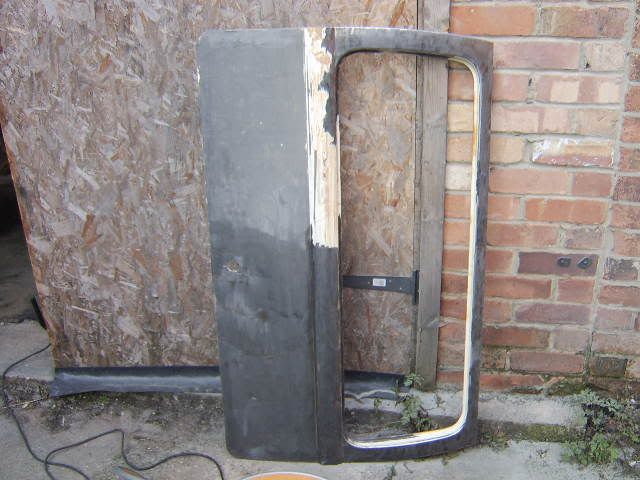
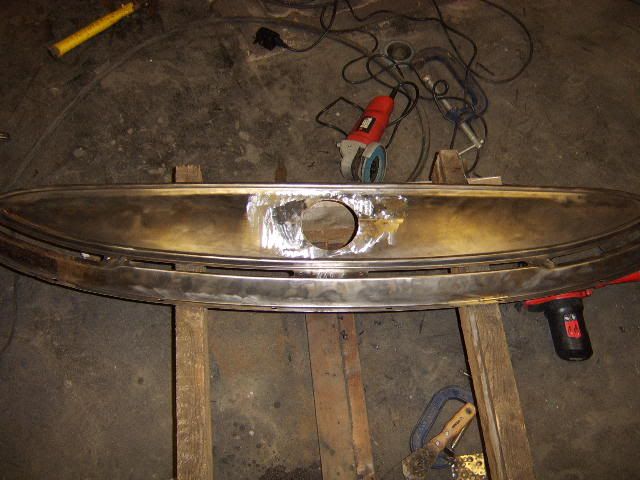
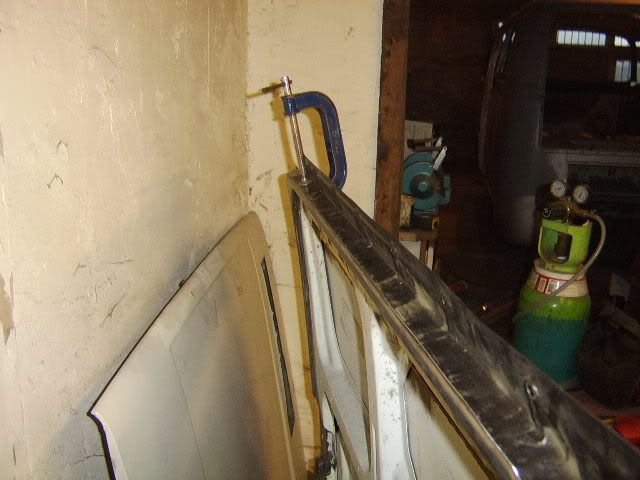
so started work prep an ausie import rear hatch i got two years ago at vanfest.

STA72924.jpg


STA72925.jpg


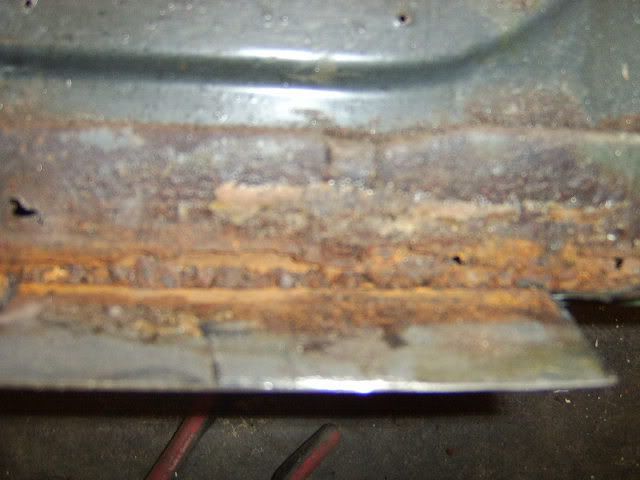
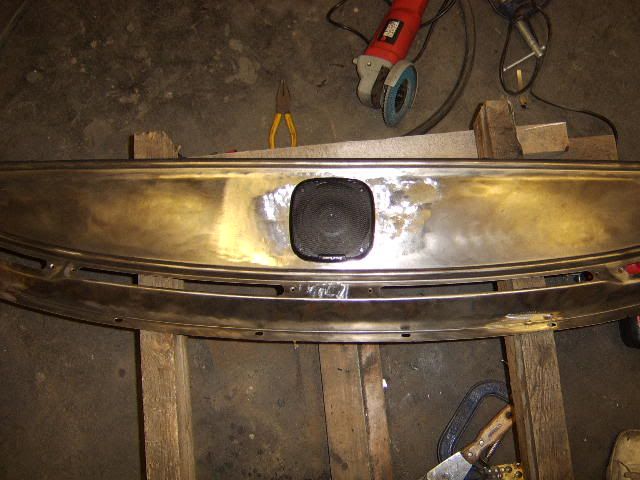
not quite the rust free panel i thought i hd bought but should weld up ok. next on the list i plan to get one of those rear safari windows so i can do all the drilling before its sprayed
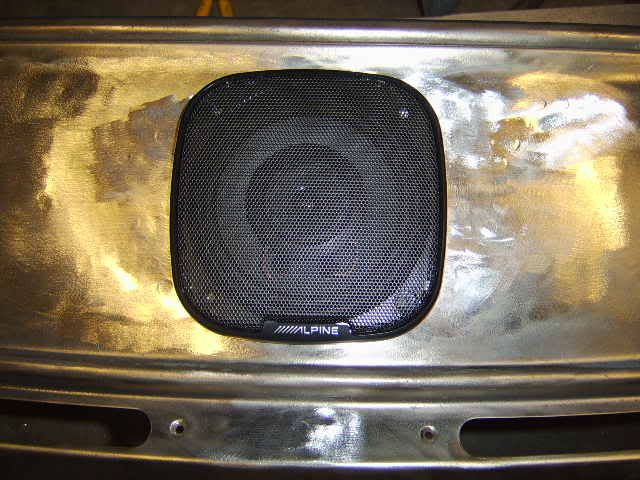

STA72926.jpg
 
vanfest 06 mate. some bloke is just on the left as you walk in selling aussy bits like tailgates and engine lids etc. £25 seemed a bargain at the time. rot free appart from the bit of crust at the bottem of the window
 
i used nitro morse as i had a galon of it lying around but i dont usually use any as it makes such a mess so i normally take the paint off dry with a wire brush on a grinder
 
buy 'strip discs' for your angle grinder and dont use stripper, I did a whole van (outside including the roof) in 8 hours and its clean as a whistle, no sticky mess, just lots and lots of dust (everywhere).
 
good work mate

just a follow on from what johnny said, when the bodyshop guy came over te other week he said that i should be carfeul using paint stipper because it can scar the metal and still show through after paint. i got hold of these stainless still wire wheels that attach to my grinder which seems to strip the paint and filler without scratching the paint.

keep up the work :)
 
heres a picture of the type of strip discs i used, it took about 7 in all.

SURFACE-STRIP-LINE-W-300.jpg


something like this, i bought them in halfrauds about £7 each and got a box of mini ones online which i didnt need to use.

the results...

SANY0084.jpg
 
had a crap last two weeks for bus progress. spent last weekend in belfast so no camper time.

then this week i have struggled to get out of the door on time from work so it never seems worth going to the workshop for half an hour. so ive spent the last few day annoying the guys at charlie browns. although even they gave trying to get the collapsable 20 year old tyres of my space savers. so i took to them with a 1mm cutting disk on my grinder. the whole street stunk like a max power meet when id done.

new rubber now on

165 45 15 formoza on front
175 55 15 conti eco rear

STA72994.jpg


then i got some fitted on these

175 55 15 conti eco front
185 65 15 dunlop rear

STA72993.jpg


off to see oasis in sheffield on friday night so im sure a banging headache will come between me n the van on saturday
 
cheers. johnny. had a couple on good nights in belfast, yet another taxi tour. got some funny looks wandering around the airport with the one tyre that wouldnt fit in. but heres a tip for lonely people, walk around with one random tyre and people will be falling over themselves to talk to you. :D
 
done a bit more work on the bus recently. inspired by the likes of alfie (repairing bumpers that would be easier to through away and replace than repair) i thought id tackle the dash top. i got a small peice of dash top from doris on here and did a bit of cut and shutting on my own. (one dash top has died to save two others so far).


STA73001.jpg


then i bare metalled it completely to do a little more work on it for a bit of a custom twist


STA73002.jpg


STA73003.jpg


STA73005.jpg


STA73004.jpg


due to my serious stereo fetish i have decided to fit a full alpine dolby prologic setup in my bus. but when i did the same in my golf i didnt dare cut the dash so had to fit a surface mount centre speaker. since i'd already stripped the dash i thought i sink one into the dash. my plan is to por15 the dash to prevent any further rusting. then a tiny skim of filler to cover any slight imperfections. then finally i plan to cover the dash in tan leather to match the 911 seats i bought. and have the dash edge sewn in leather like some others ive seen on here
 
whilst waiting for the metal ready to do its work o he dask top i thought id start doing a bit on the sliding door. at £250+ for a rust free door and about £40 for the repair panels i thought id tackle the on i already have.


STA73006.jpg


trying to keep as much of the original as possible i removed the rusty bits in small strips until i came up with a good plan


STA73007.jpg


then trimmed the repair panel as small as possible


STA73009.jpg


STA73008.jpg


hopefully i should be able to weld it from the inside of the frames so it isnt visible and i could leave as much weld fo strength
 
only yesterday i was sat in work chatting to loxy about what i could do to my dash to make it a mild custom - cant wait for this excellent work to be finished.

in a way i'm glad most of the amazing restos are ahead of me as its not only giving me inspiration, but also showing me how things should be done.

Keep it up.
 

Latest posts

Top