

Marvin
Well-known member
- Joined
- Jul 30, 2007
- Messages
- 91
- Reaction score
- 0
Hi Guys,
After an amazing 16 years and VW's too numerous to mention I finally got around to owning a Bus. Why oh why didn't I do it sooner. I'm already converted.
She was imported early this year and after a bit of searching I managed to find a pic of her when she lived in Austria...

Bit rough around the edges, but I prefer to see that as character. The best bit is that as far as I can she she is uber solid and appears to be in OG paint.
A guy called Jim had her for a few months and fitted her out with a full width R&R bed, a small sound system :wink: and a few bits here and there. She's taken a fair beating with the lowering stick which also involved about 4" of lateral beam removal 8). She is now wearing a set of snide Gas Burners, not my cup of tea really, but they look kind of hard IMO against the paint (which by the way is Yellow, and NOT Orange....alright :evil") I'm happy to roll with them until I get something a bit more me.
I'm happy to roll with them until I get something a bit more me.
Right, got busy the other day (excuse the poor pictures, Mobile I'm afraid!) and fitted some headlamp grilles I had lying around and some NOS Radyot fogs
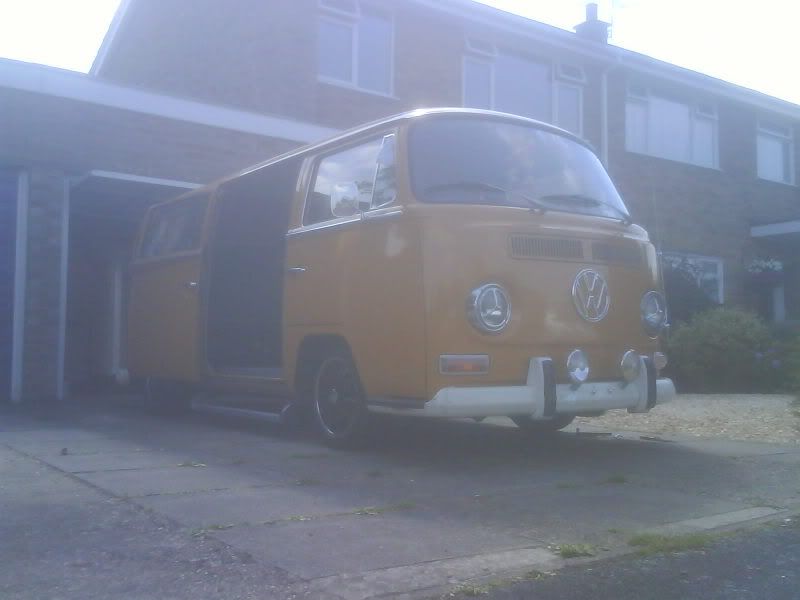 You can Just make them out? lol. Also fitted a pair of rear seat belts, took about 10 minutes to fit and means my "precious" human cargo can travel in complete safety!
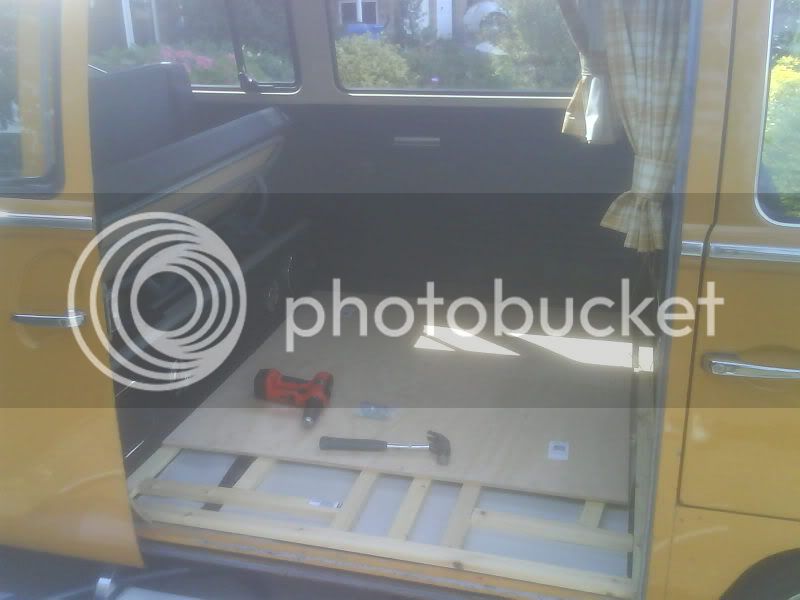
Then set about the load area. The cargo floor is as good as immaculate, with the OG rubber mat, but, I wanted something a bit more bling so...
I laid out some soundproofing, some battening and a few sheets of your finest Ply...
Screwed that all down and layed out some Marmoleum tiles to see what it looked like..
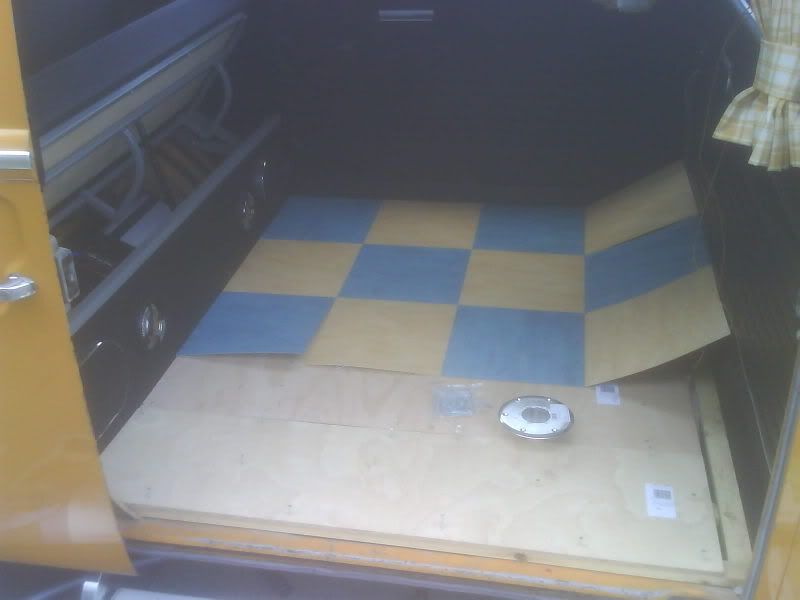
Was happy so fixed them all down and used a nice bit of Chrome edging to finish it off. Bit the bullet and after all that hard work, drilled an f-off great hole in it to enable me to improve the table arrangments.....
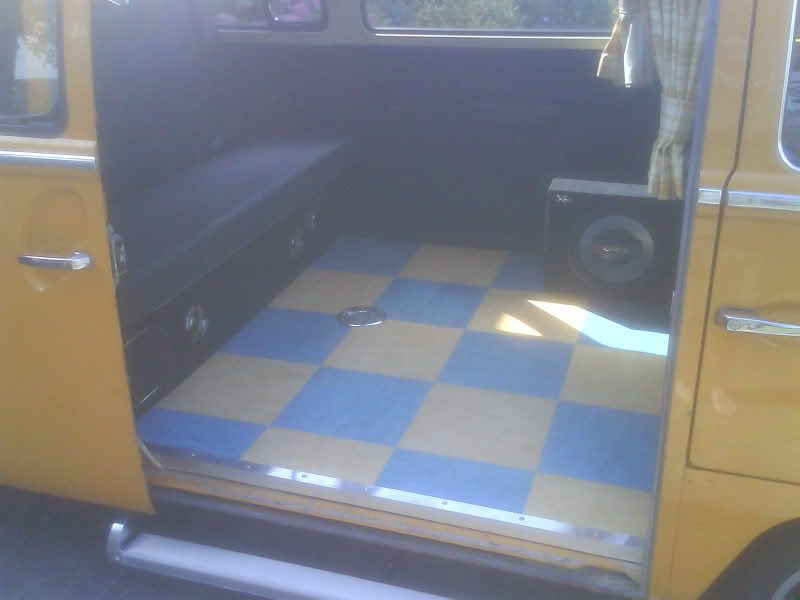
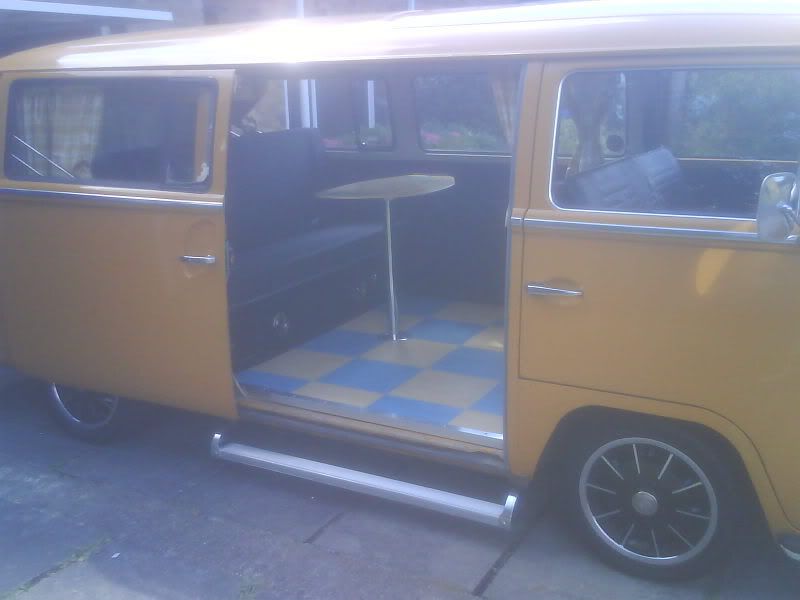
Overall, I gotta say I'm pretty pleased with the result, for a first attempt its actually really good and I'd have been happy to have paid out to get it done. More proof that it pays to do things yourself!
Stay tuned for more updates......
After an amazing 16 years and VW's too numerous to mention I finally got around to owning a Bus. Why oh why didn't I do it sooner. I'm already converted.
She was imported early this year and after a bit of searching I managed to find a pic of her when she lived in Austria...
Bit rough around the edges, but I prefer to see that as character. The best bit is that as far as I can she she is uber solid and appears to be in OG paint.
A guy called Jim had her for a few months and fitted her out with a full width R&R bed, a small sound system :wink: and a few bits here and there. She's taken a fair beating with the lowering stick which also involved about 4" of lateral beam removal 8). She is now wearing a set of snide Gas Burners, not my cup of tea really, but they look kind of hard IMO against the paint (which by the way is Yellow, and NOT Orange....alright :evil
I'm happy to roll with them until I get something a bit more me.Right, got busy the other day (excuse the poor pictures, Mobile I'm afraid!) and fitted some headlamp grilles I had lying around and some NOS Radyot fogs
Then set about the load area. The cargo floor is as good as immaculate, with the OG rubber mat, but, I wanted something a bit more bling so...
I laid out some soundproofing, some battening and a few sheets of your finest Ply...
Screwed that all down and layed out some Marmoleum tiles to see what it looked like..
Was happy so fixed them all down and used a nice bit of Chrome edging to finish it off. Bit the bullet and after all that hard work, drilled an f-off great hole in it to enable me to improve the table arrangments.....
Overall, I gotta say I'm pretty pleased with the result, for a first attempt its actually really good and I'd have been happy to have paid out to get it done. More proof that it pays to do things yourself!
Stay tuned for more updates......
