T2-Nate
Well-known member
Hi there Guys,
My name is Nathan and I live in Antwerp, Belgium
I've been frequenting this forum on a daily basis, even during work I'd be sitting very still at my desk and browsing the many topics on here.
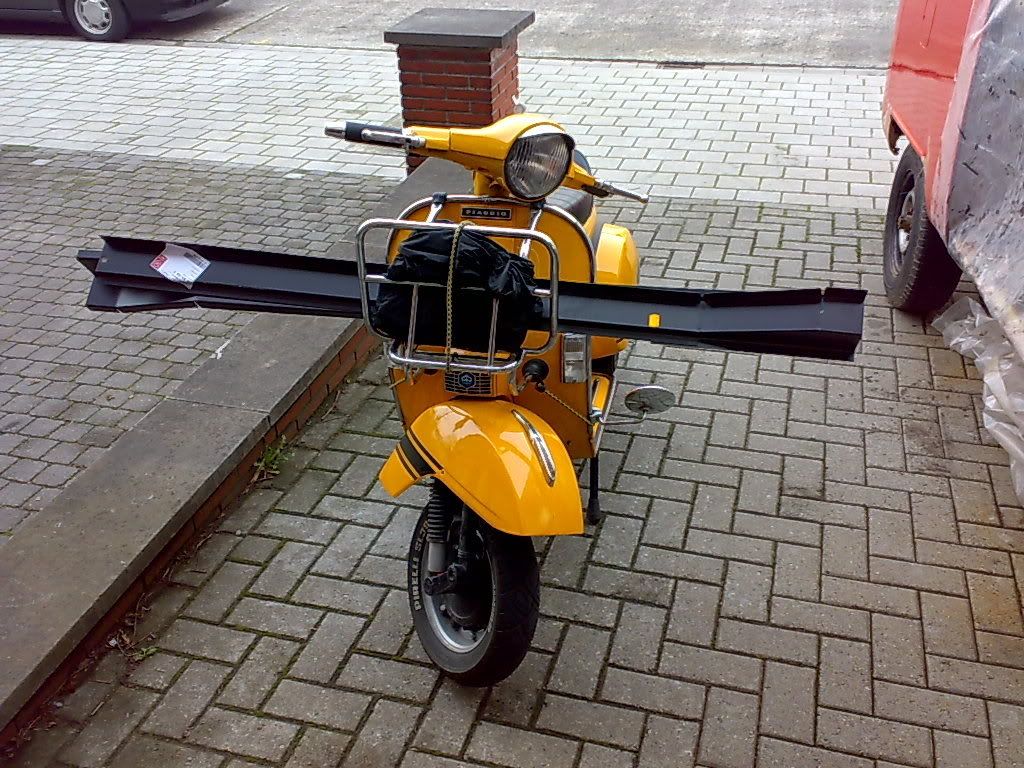
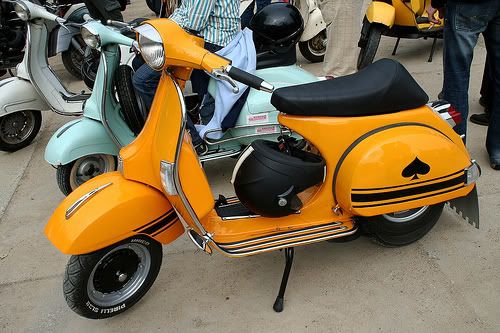
I've recently been down with the aircooled virus, first I got a mild fever when I restored my Vespa P range:
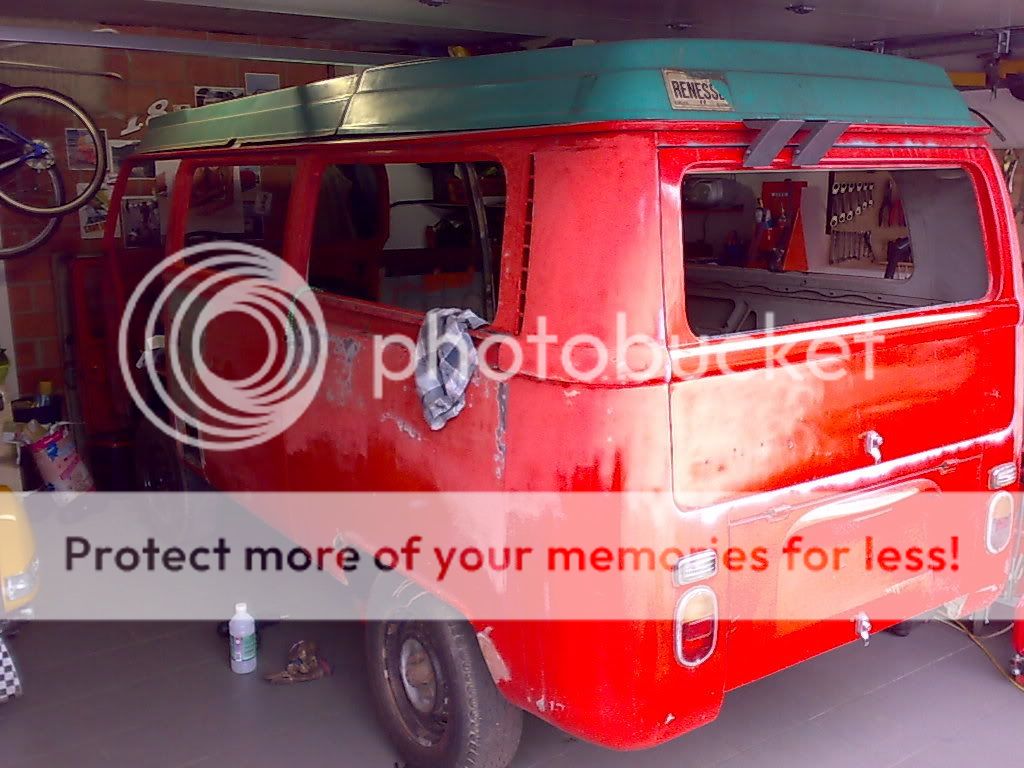
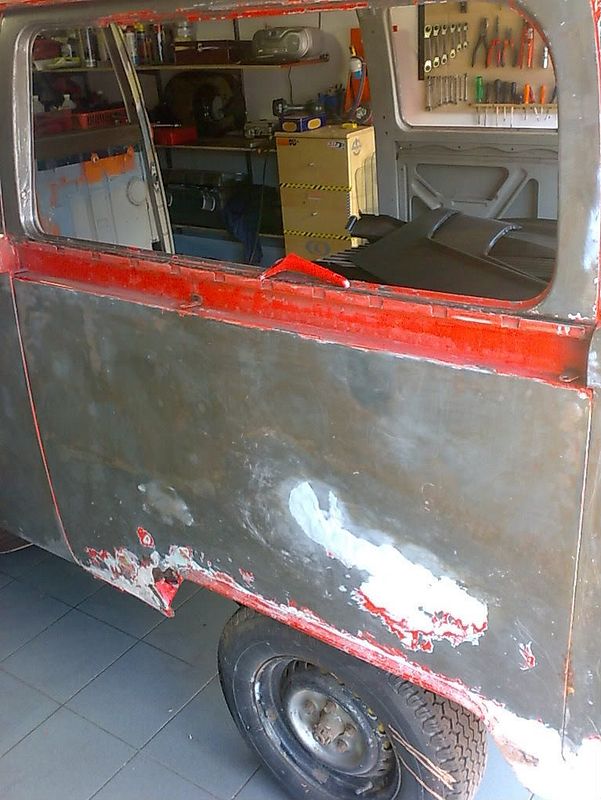
But then I really got struck with an all-out nasty disease called VW aircooled mania... and I bought this nice early from Albert at thecoolvw in Holland.
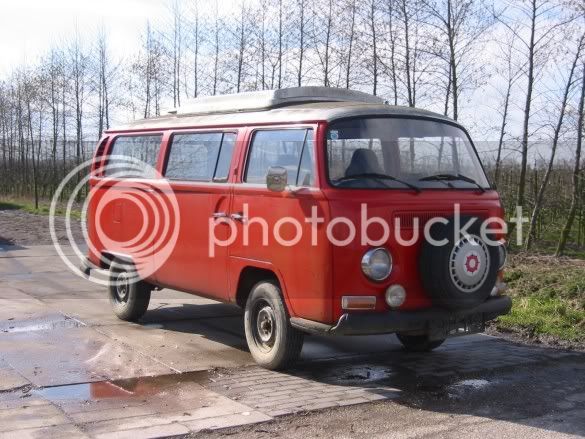
I saw it on his site and I was pretty sure it was gonna be this one... Don't ask me why. At first I thought it would need much work, and actually it didn't if I was just gonna get it back on the road. But being sort of a perfectionist, I soon started thinking of a total rebuild.
And so it began:
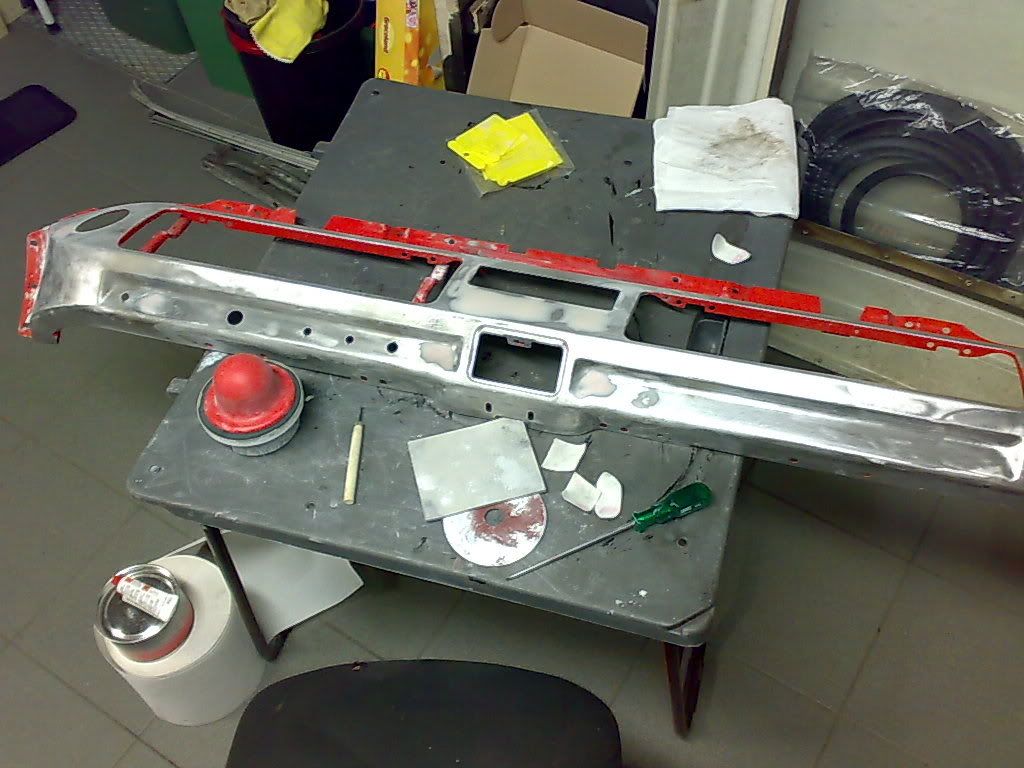
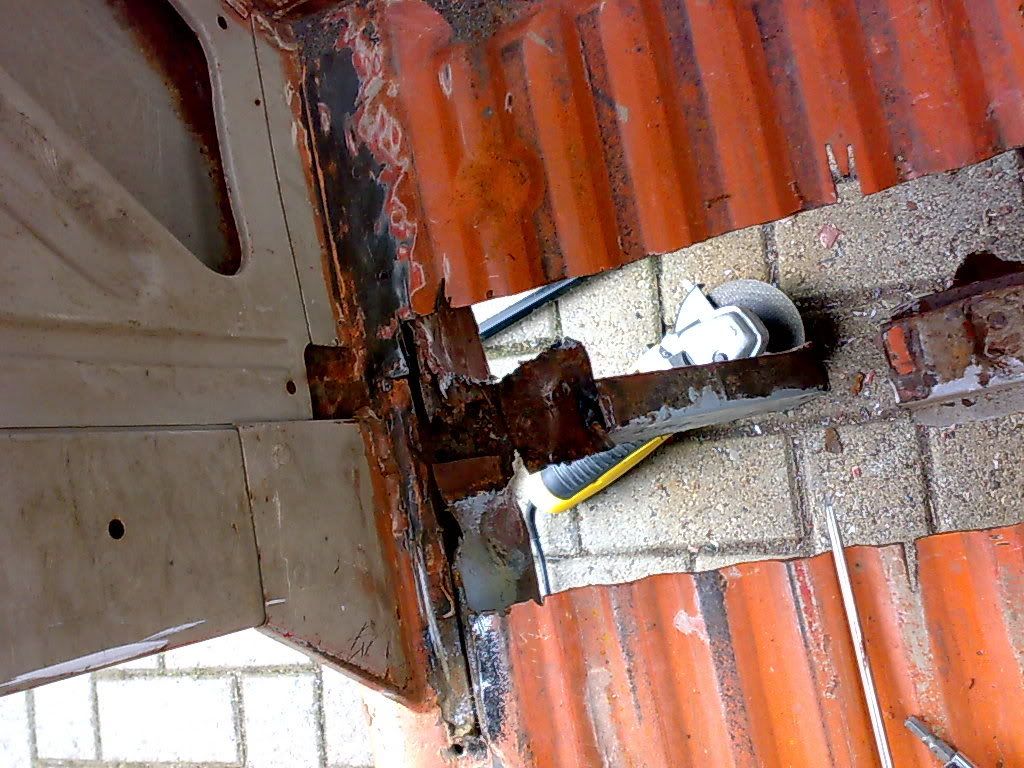
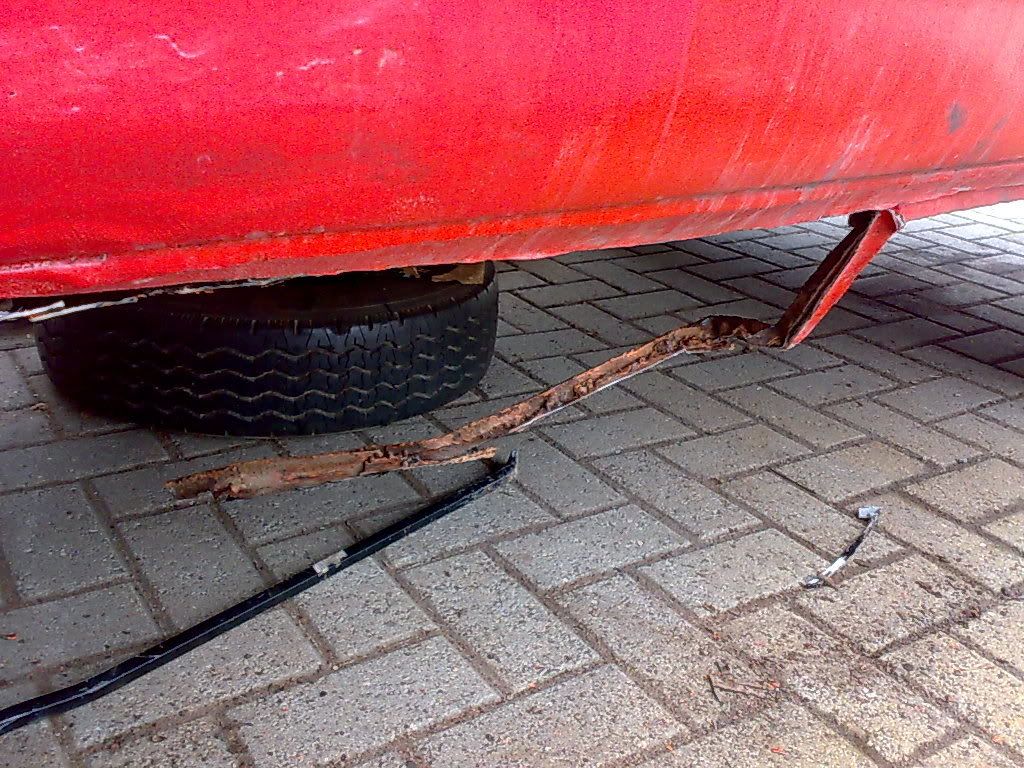
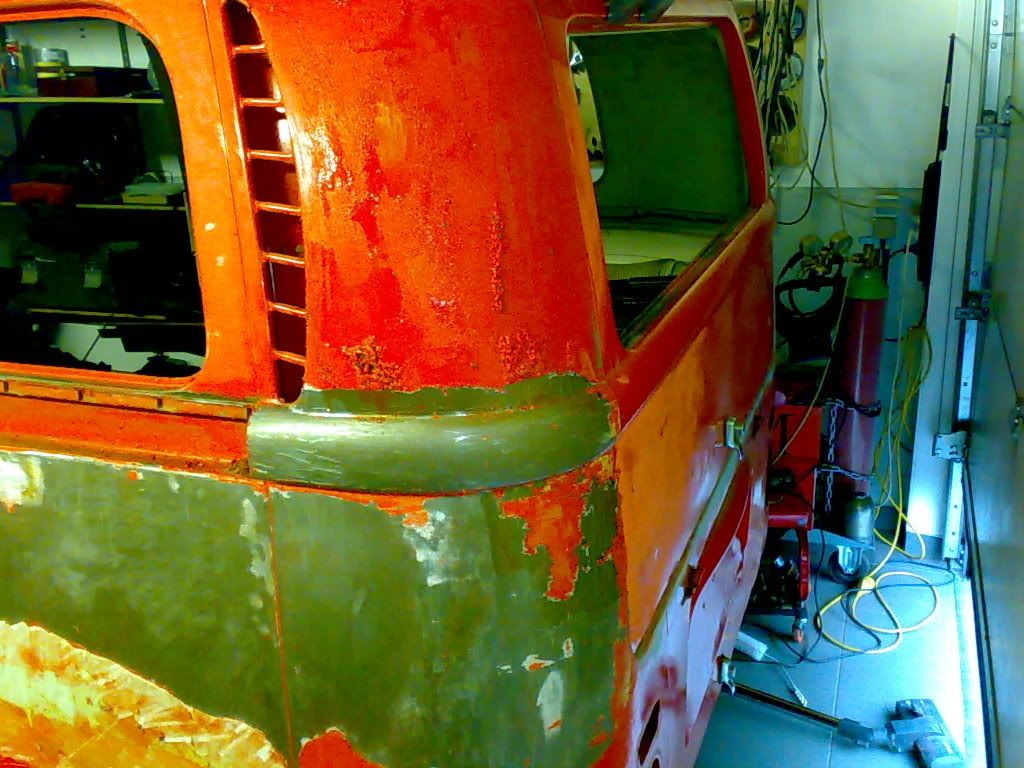
I took off the bumpers, the front one's bolt broke of one by one, rusted beyond undoing... the back one badly bruised in several accidents, I even found polyfiller on the damn thing, that ain't no bumper material baby...
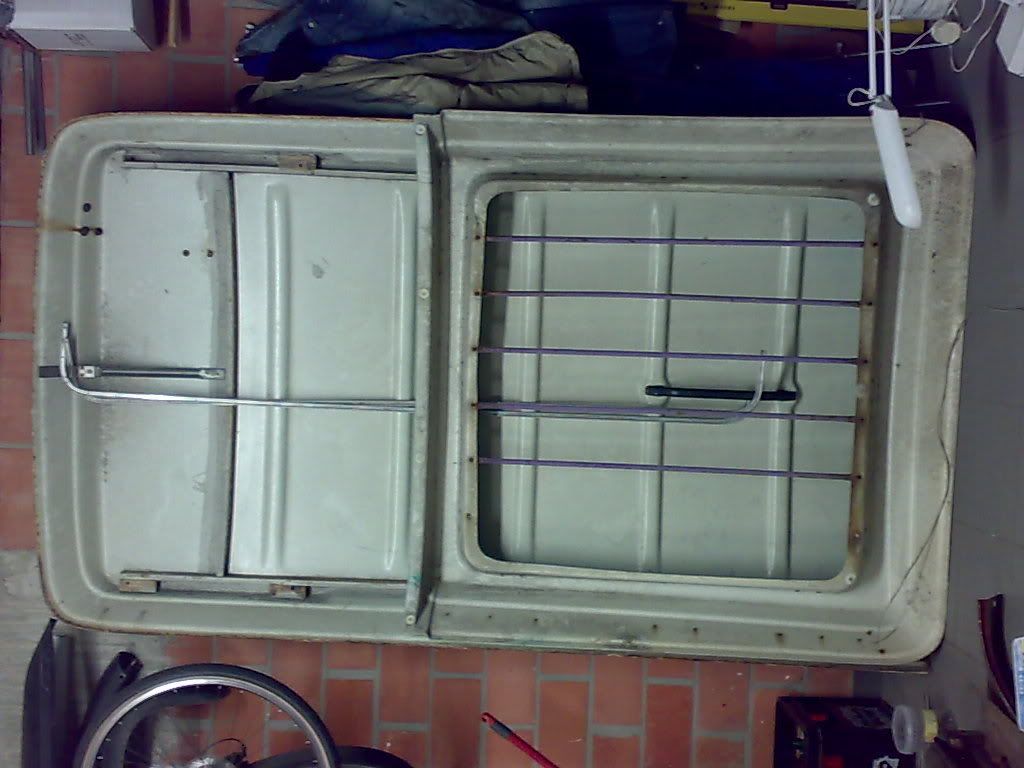
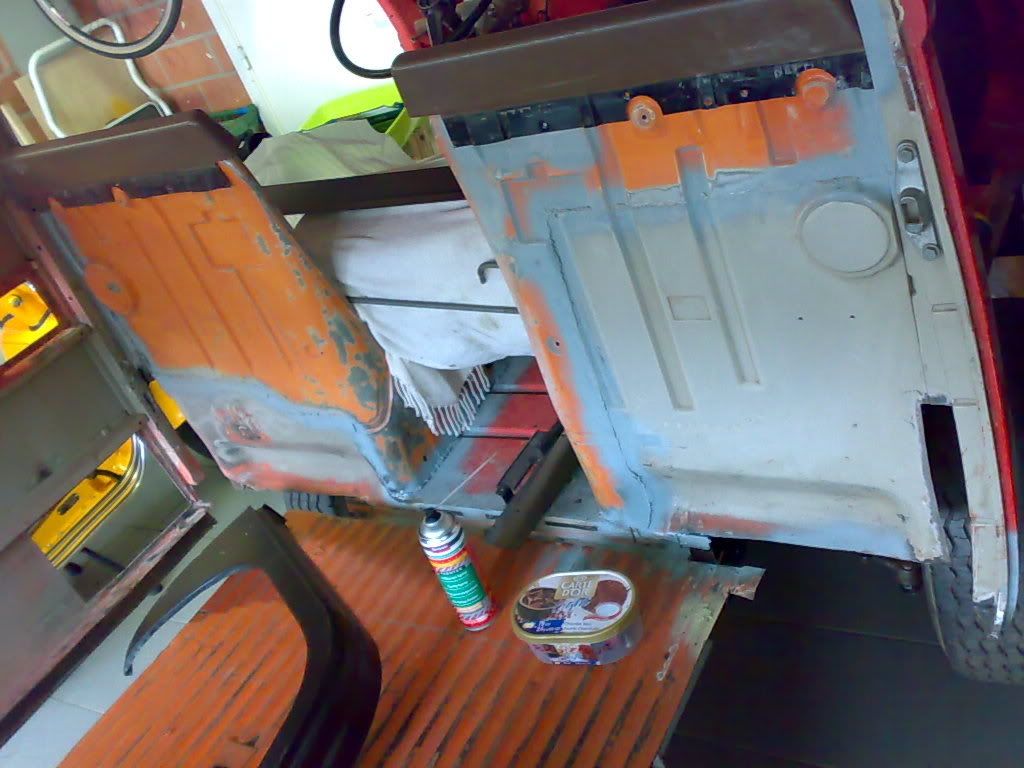
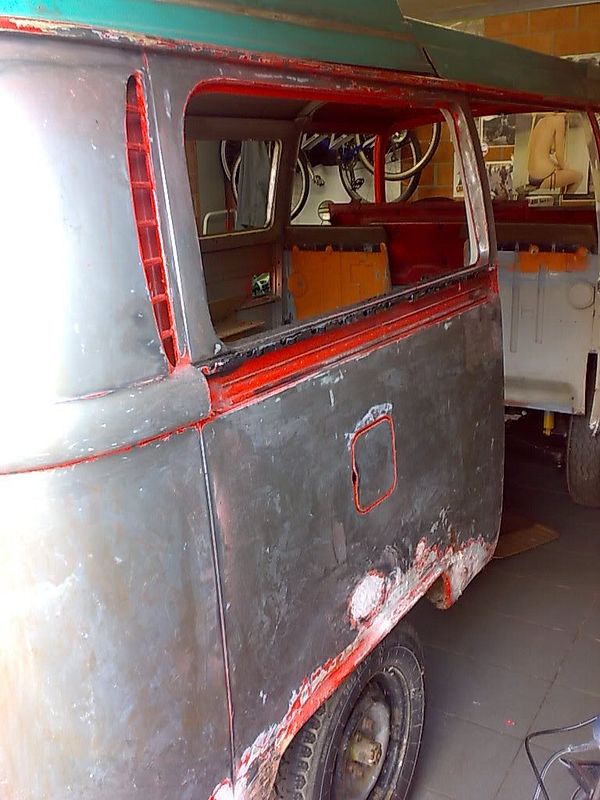
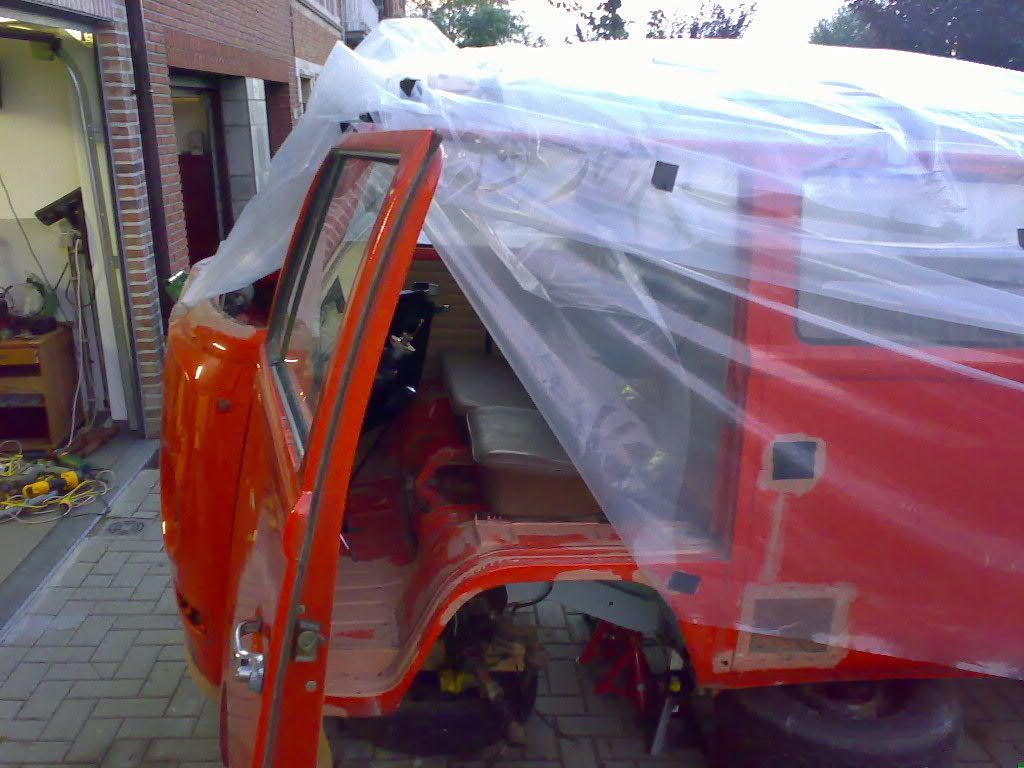
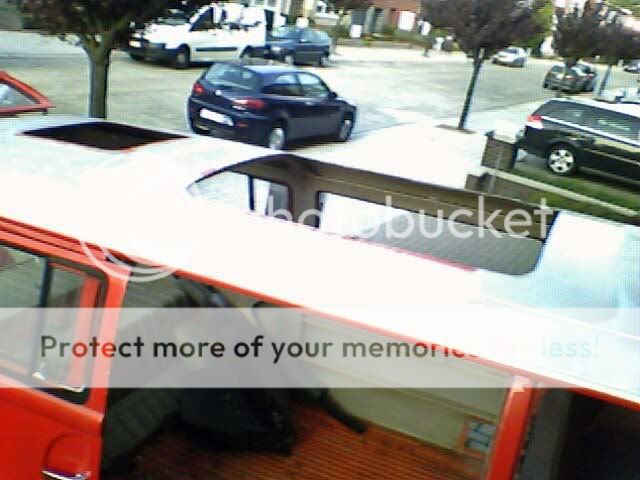
Then the pop tops had to come of, gonna weld the roof shut or find a westfalia roof.
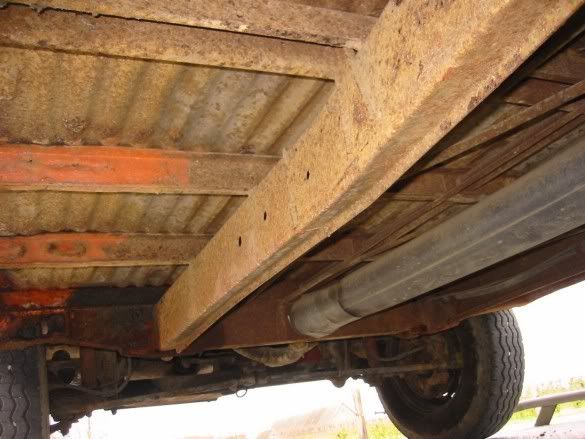
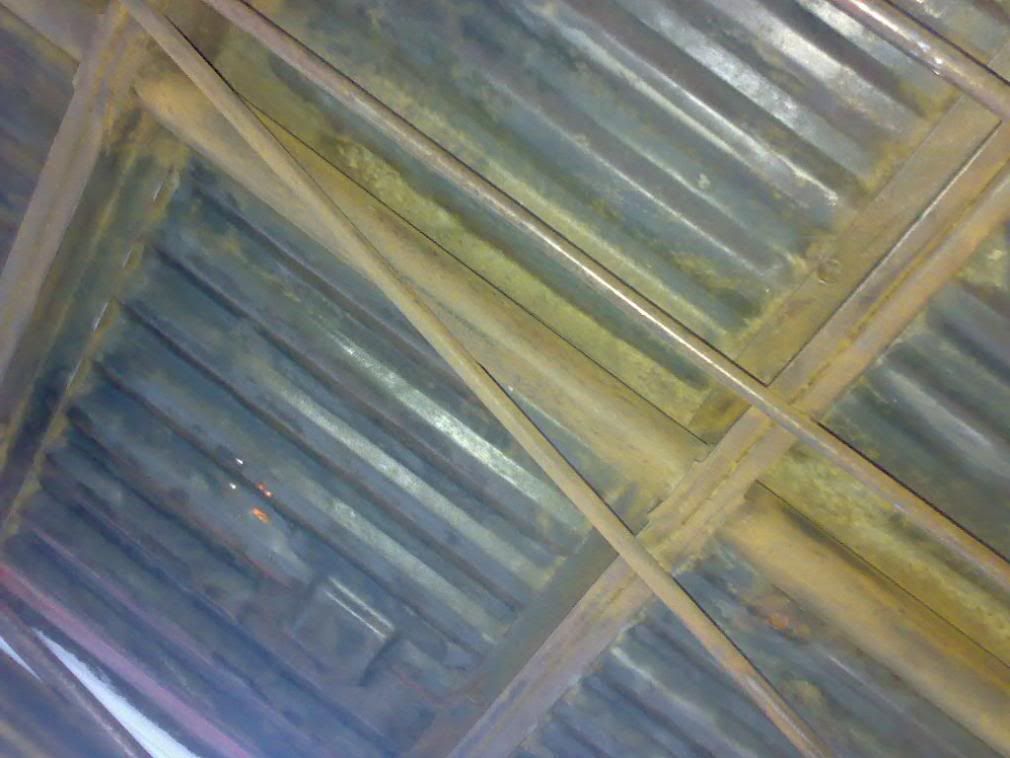
I then started wirebrushing the chassis and wheeltubs, became pretty clean, I'll post some more pictures when I POR15'd them.
Before & After
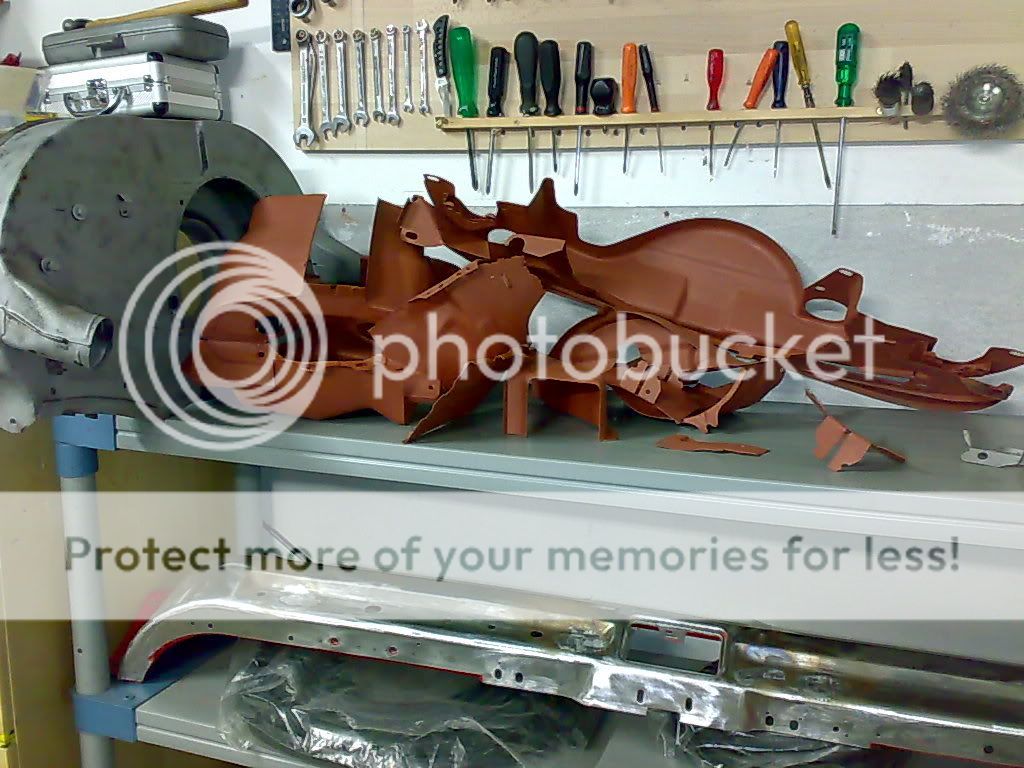
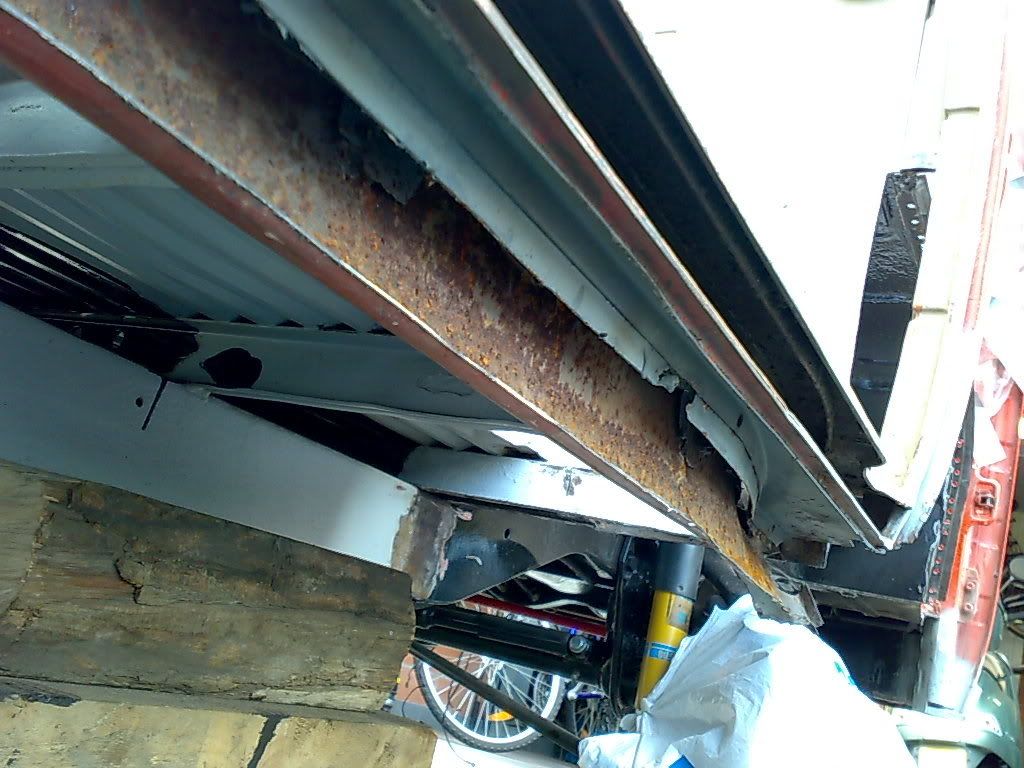
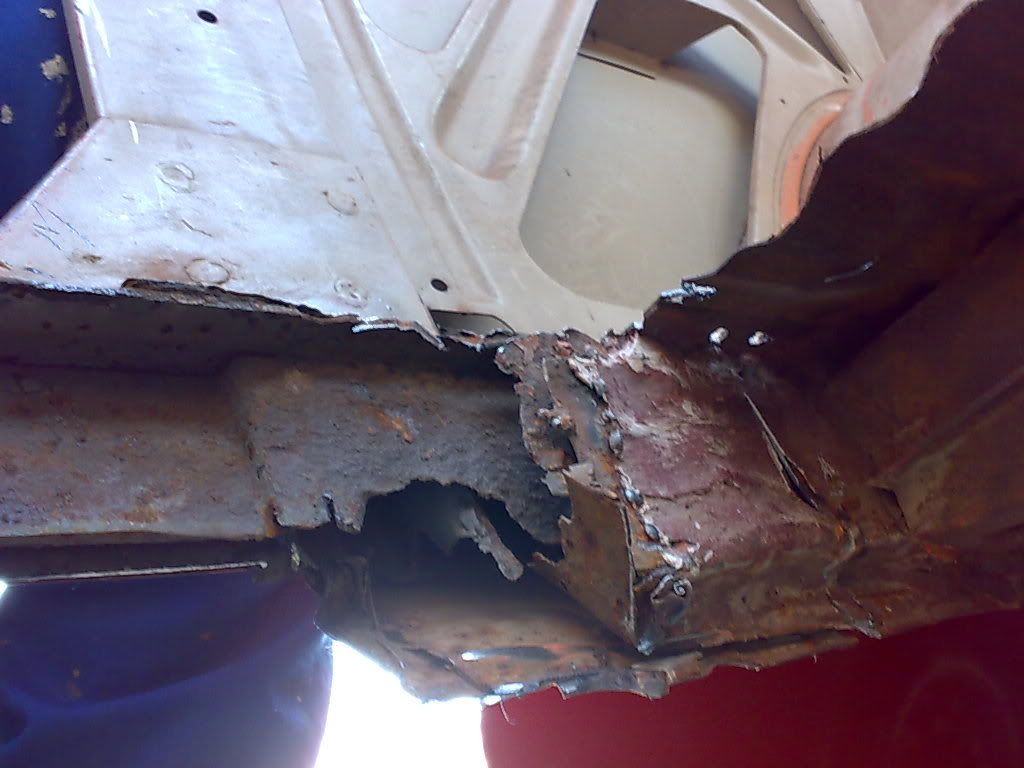
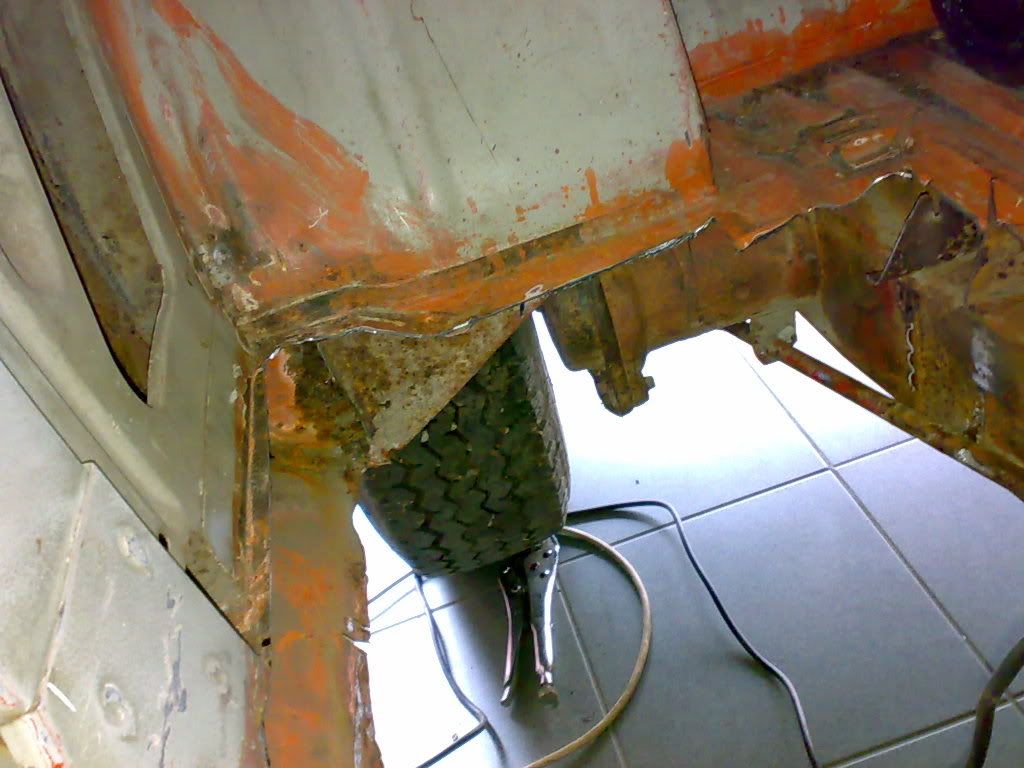
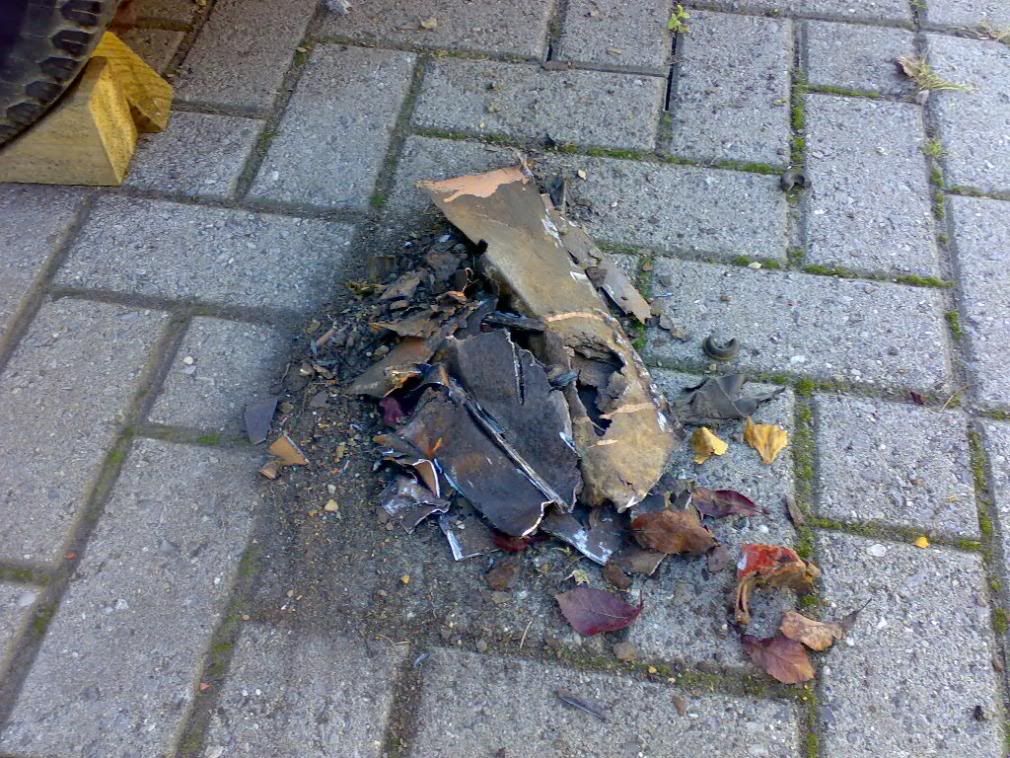
After I got out my new cutter, this is what's left of some rusty crap that I removed. You know, when I start cuttin', I don't stop...
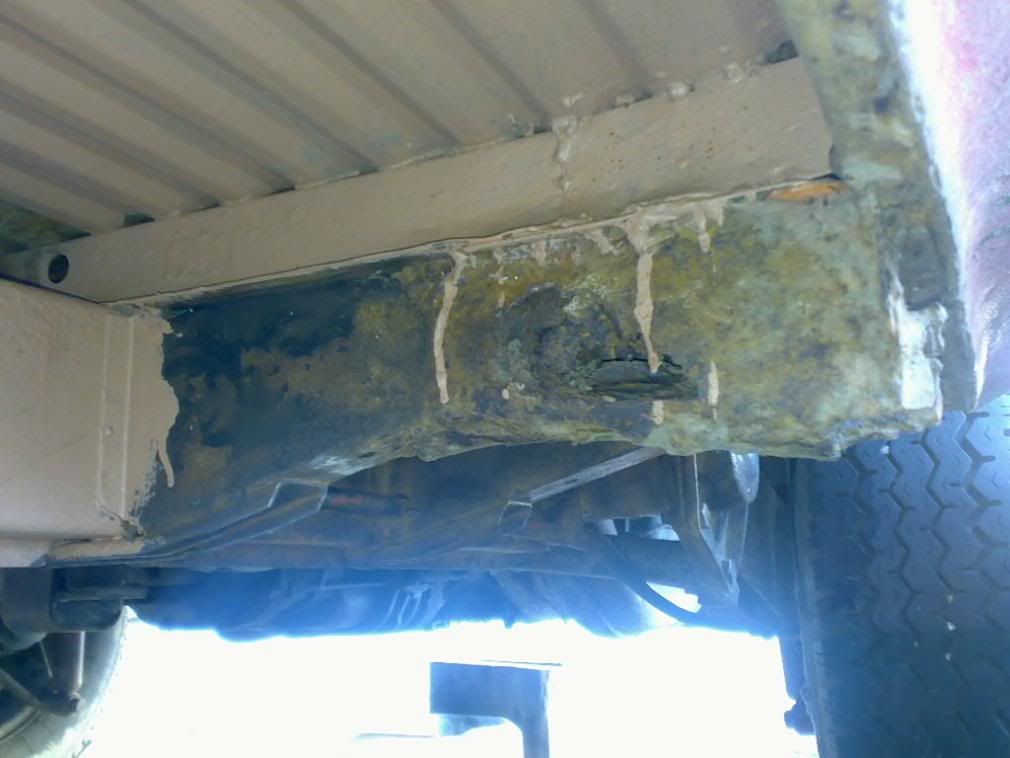
One example of a bad fix, several layers of rusty steel where there should be only one:
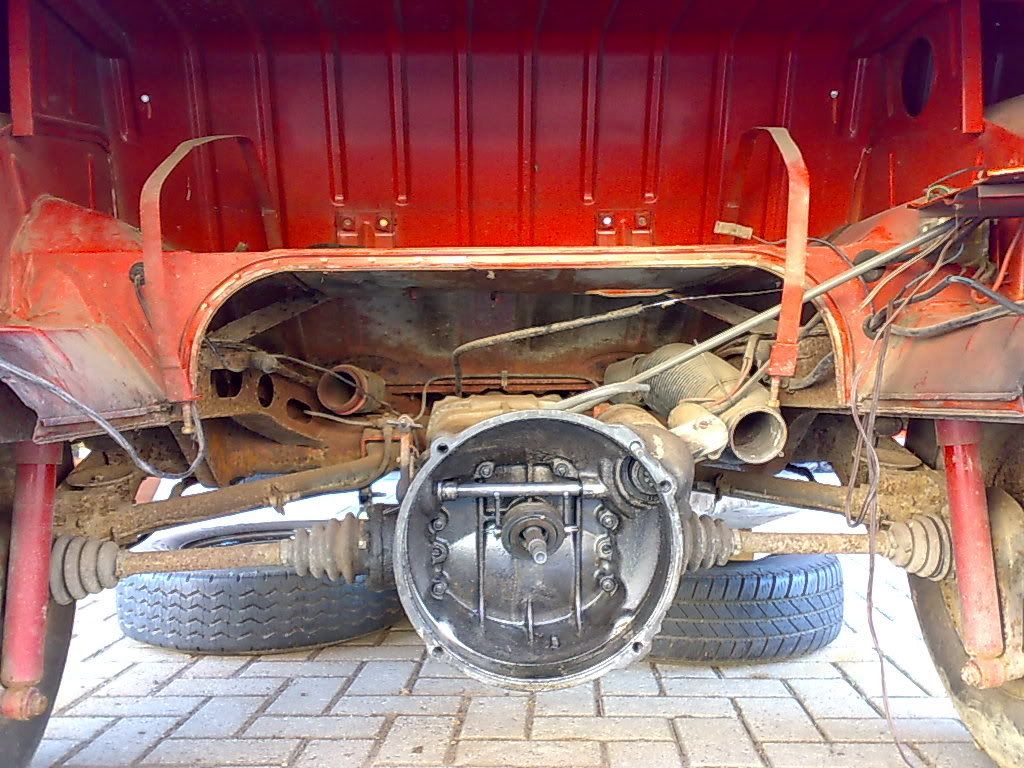
I started working on my front axle, which has been upgraded to late bay disc brakes and late bay 5x112 lug wheels, sadly (now I can't fit those big moondiscs like in this pic (or can I??).
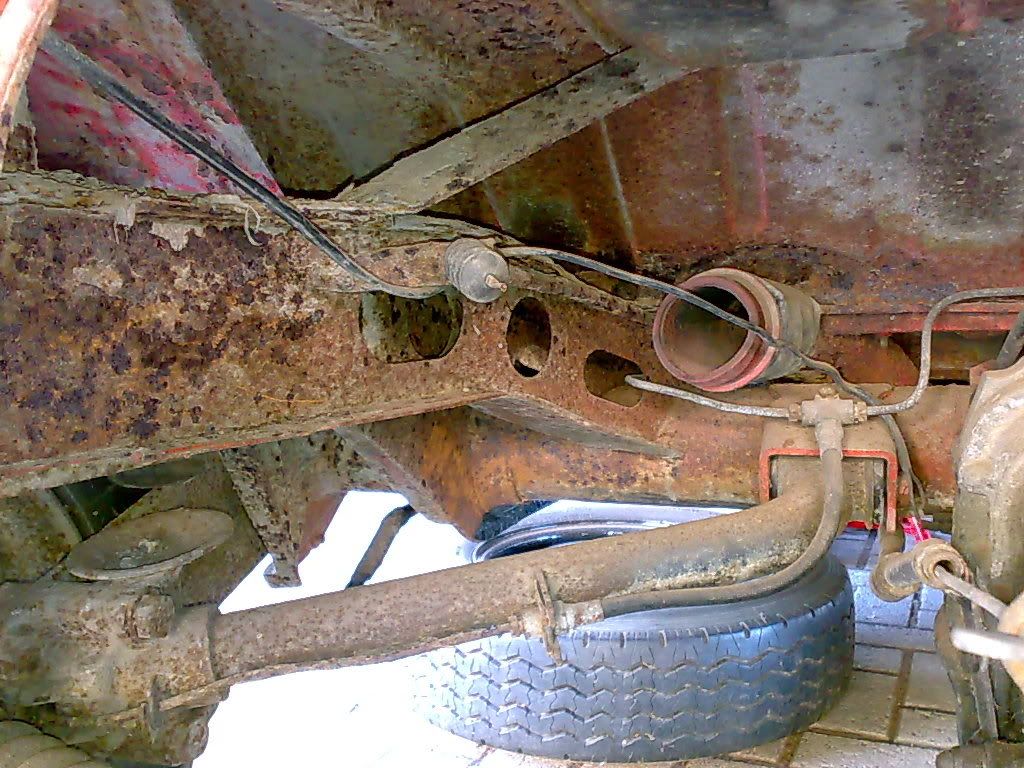
So here's my old axle,
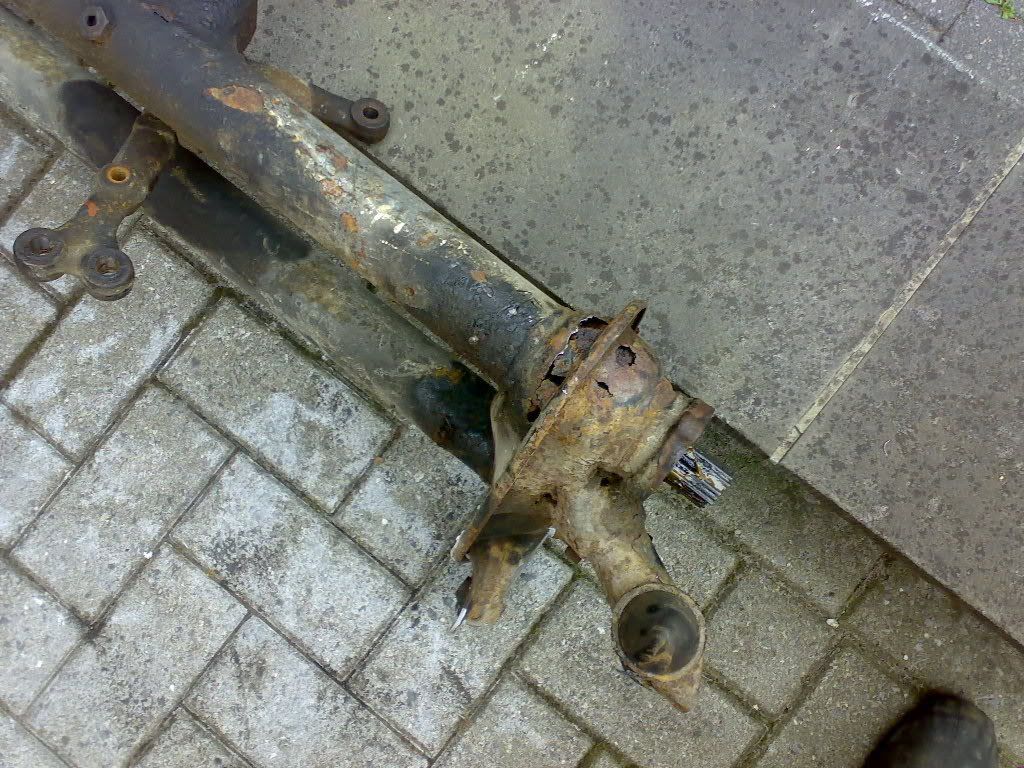
Pretty bad huh, We can't weld our axles in belgium, it's not allowed.
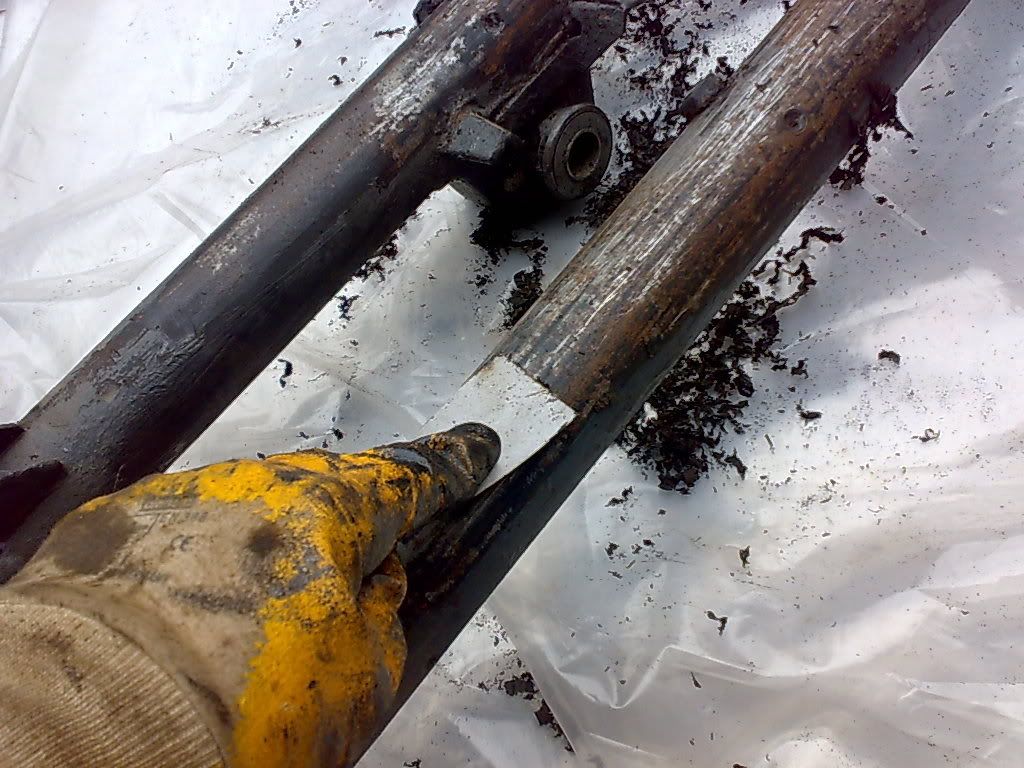
So I found another foor 200 EUR, covered in rubber undercoating.
Here's me doing a happy joy joy job:
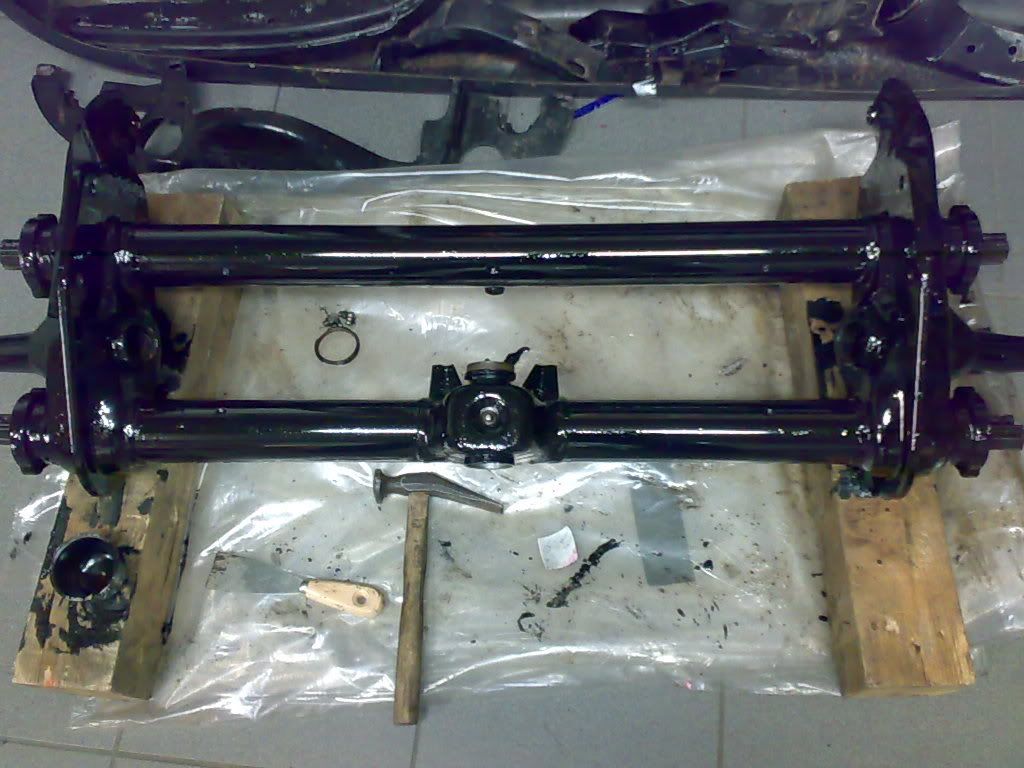
POR15'd the thing, looks lovely now. I didn't leave any holes (didn't see any) for the axle to breathe or let out water, is it necessary?
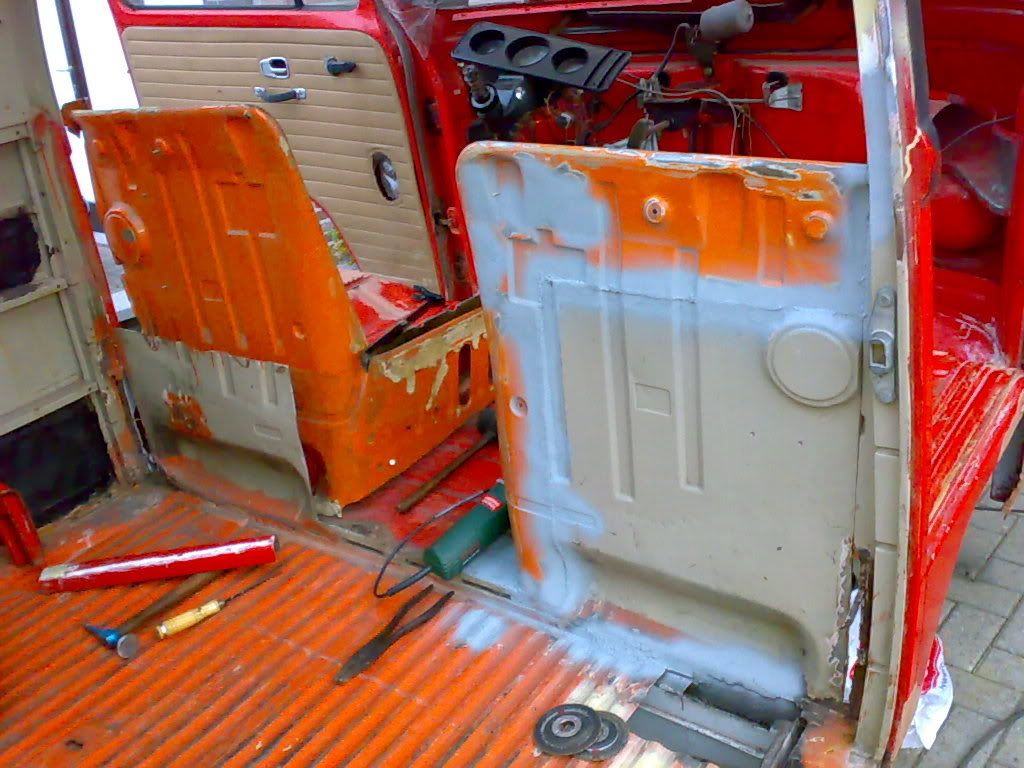
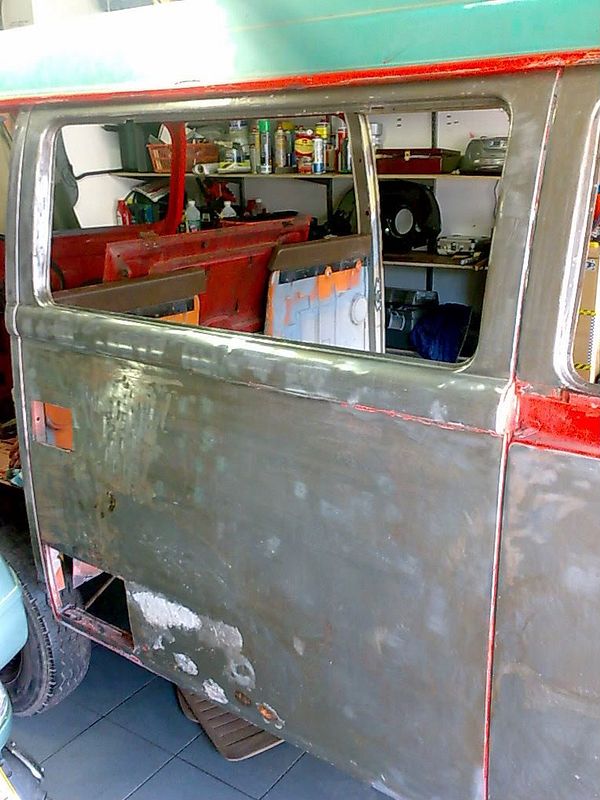
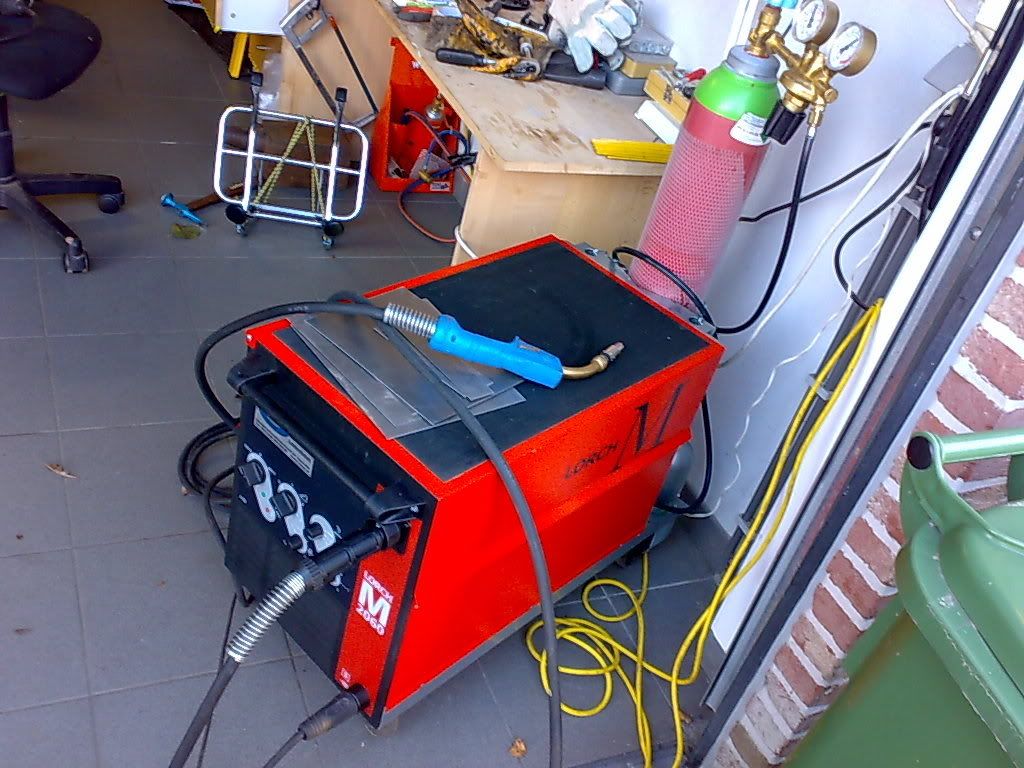
Splashed out on a good welder, been taking some bodywork classes since september, learned how to weld (still learning tho) but at least I'm getting a lot of practice.
Started out on something rightaway:
Before:
After
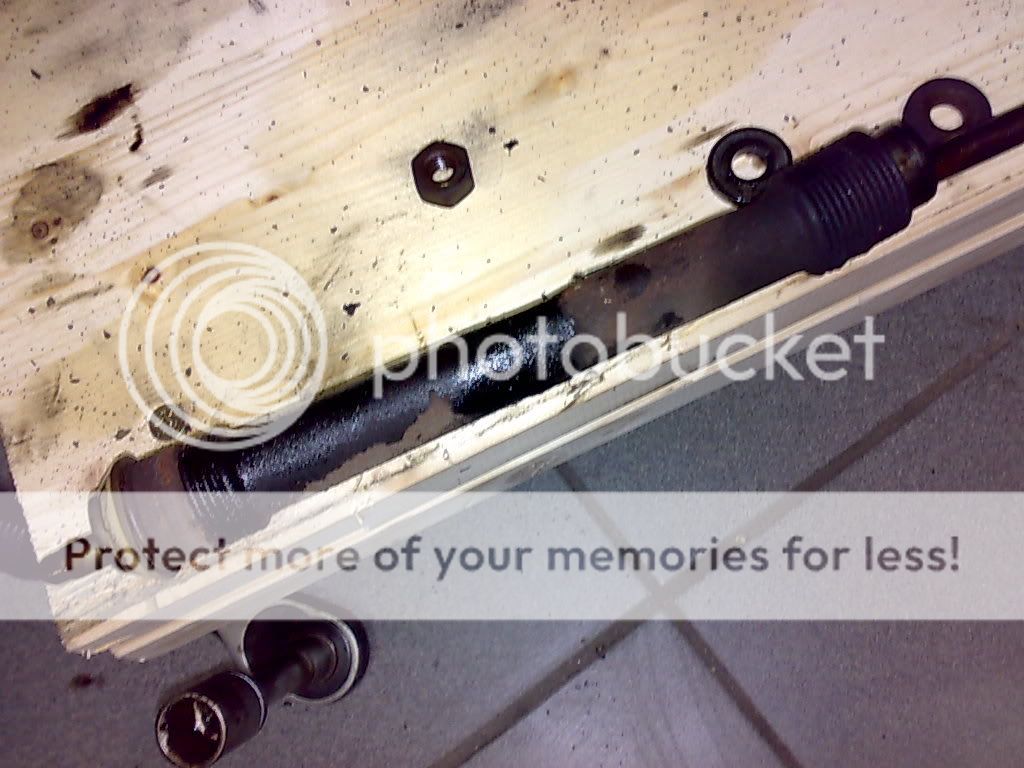
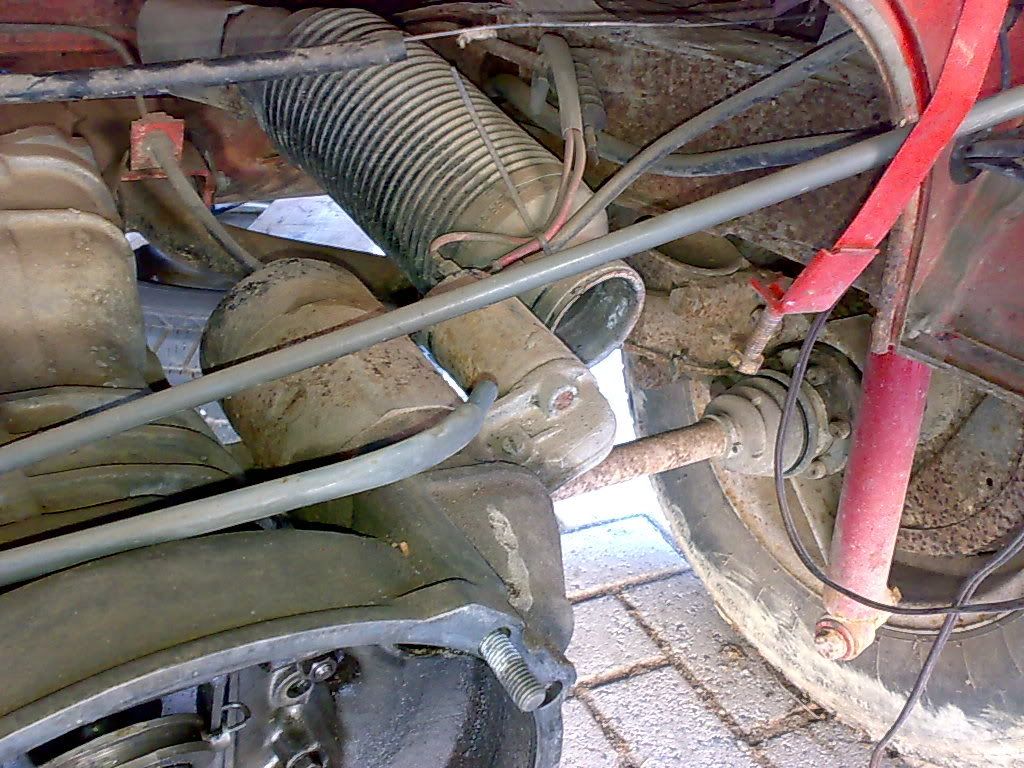
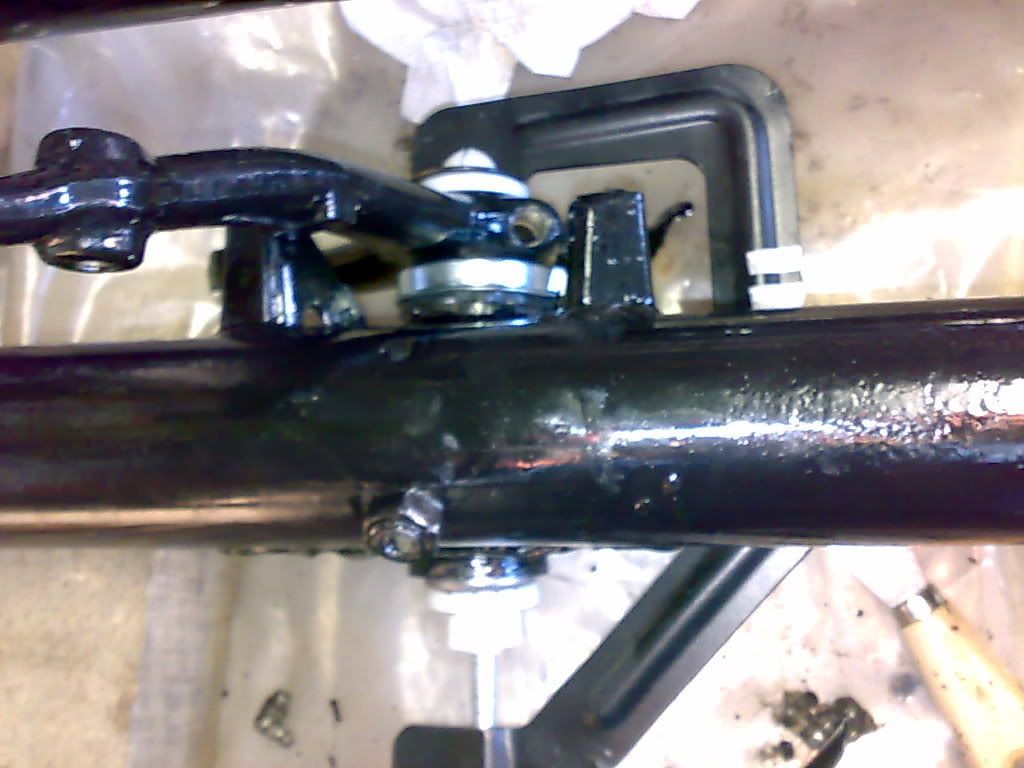
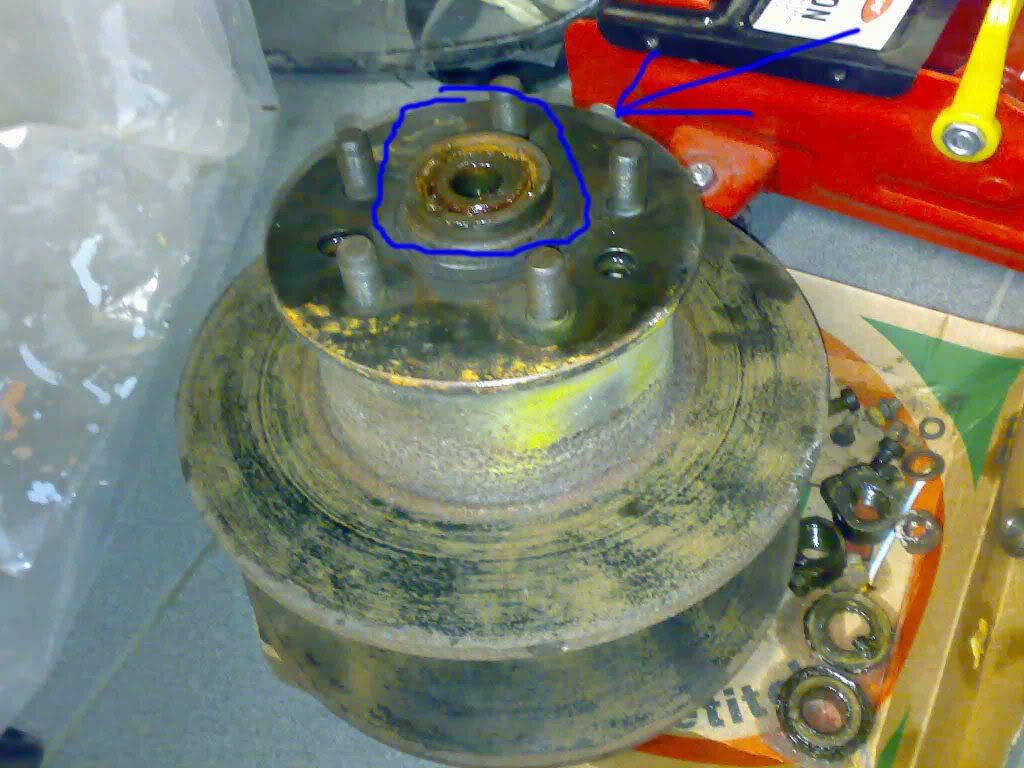
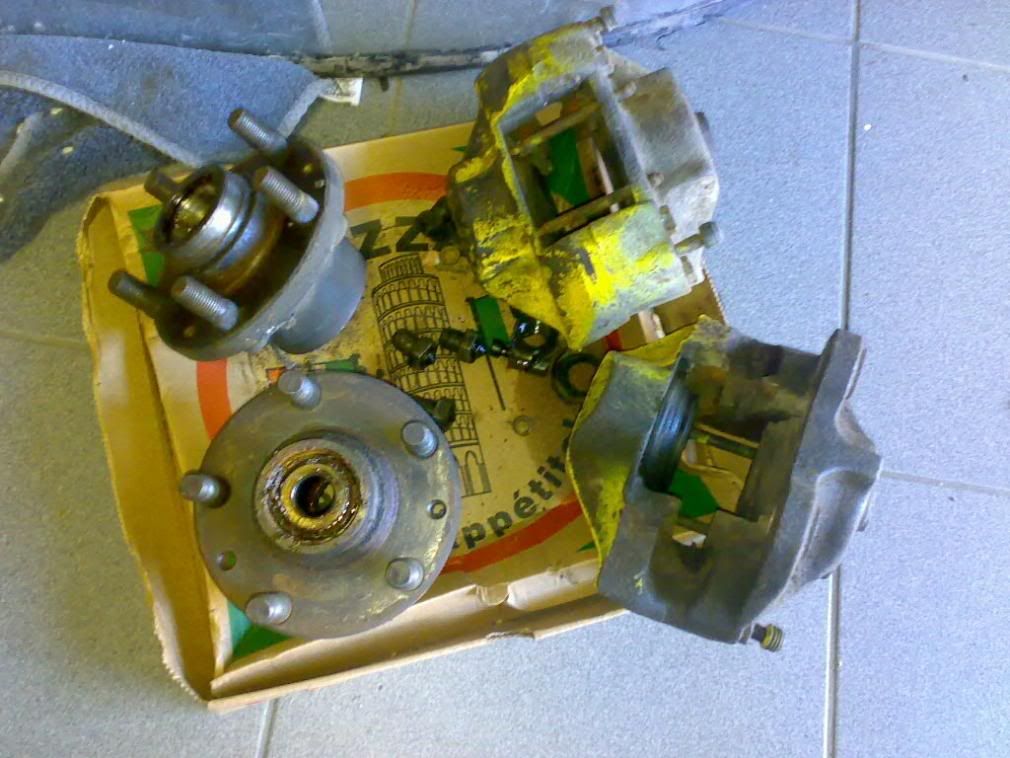
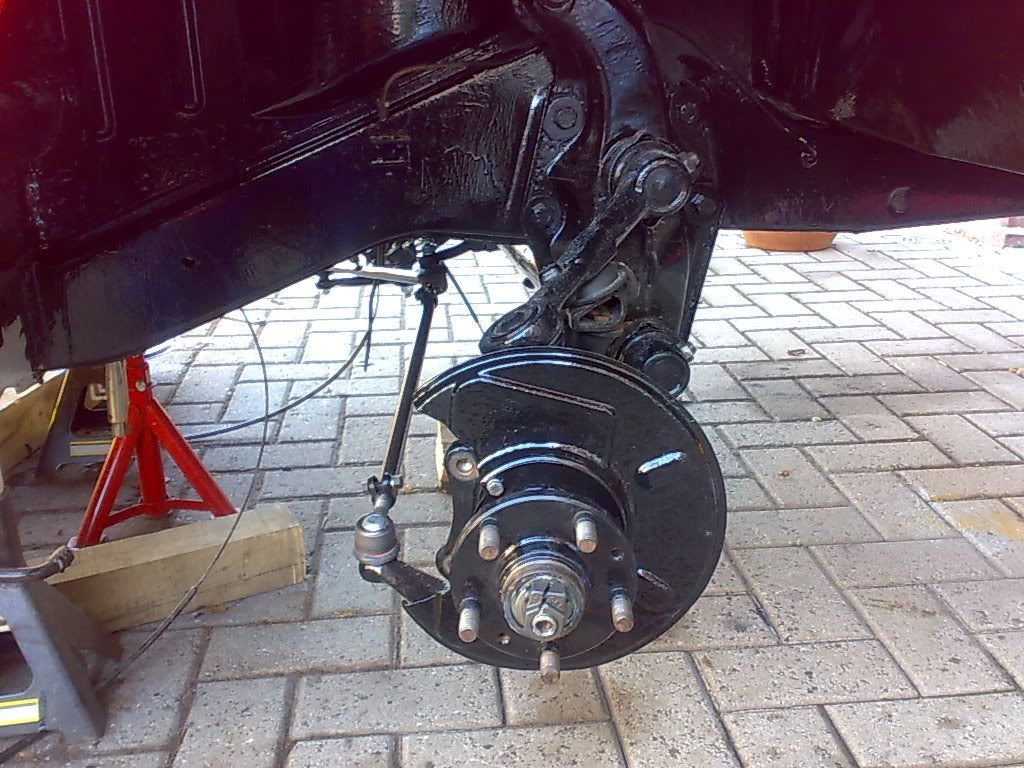
In the meantime I was stripping the front axle before I removed it (time-warp) and cleaning the torsion arms & checkin the brake system.
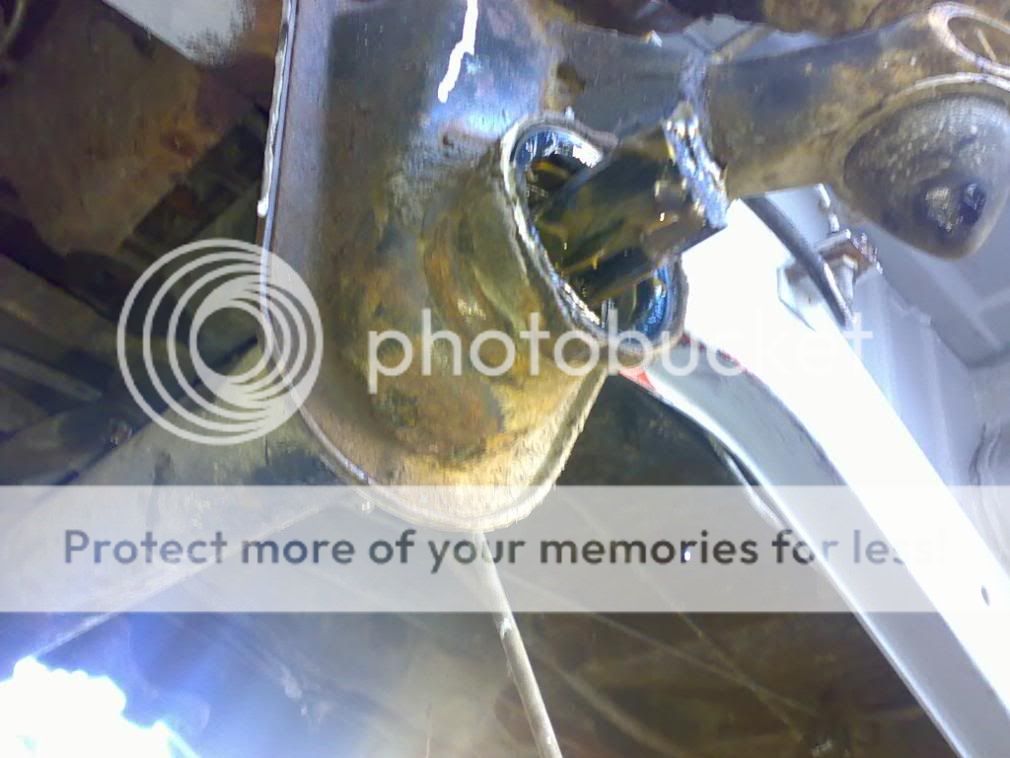
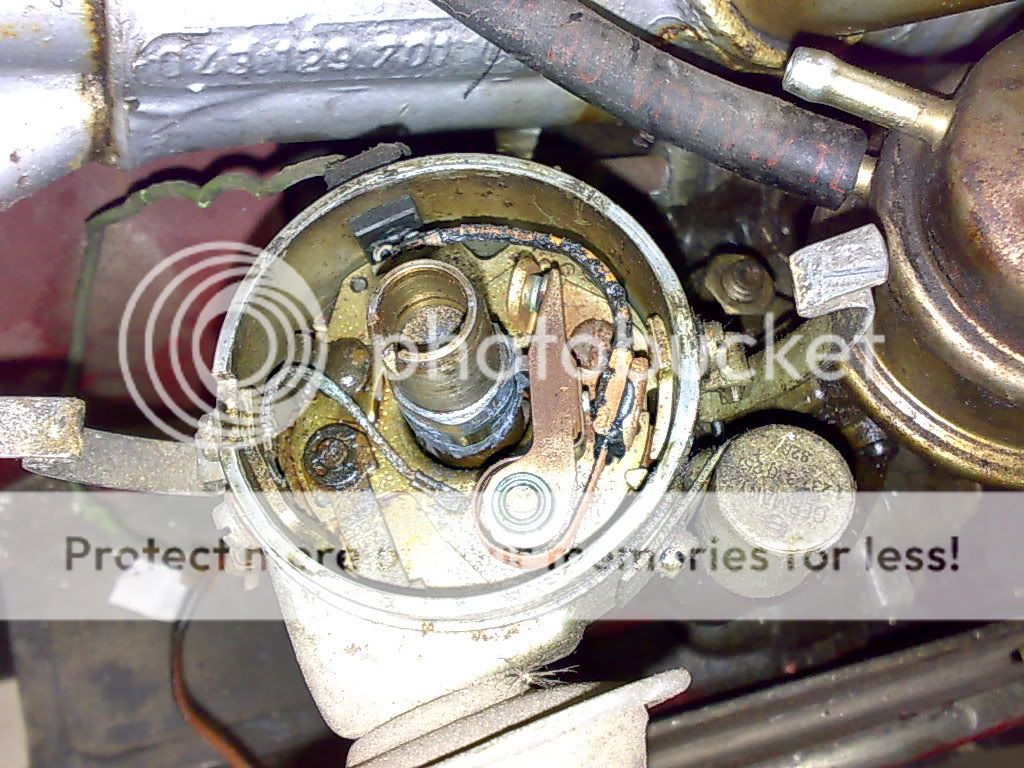
Discs and calipers looked badly worn..
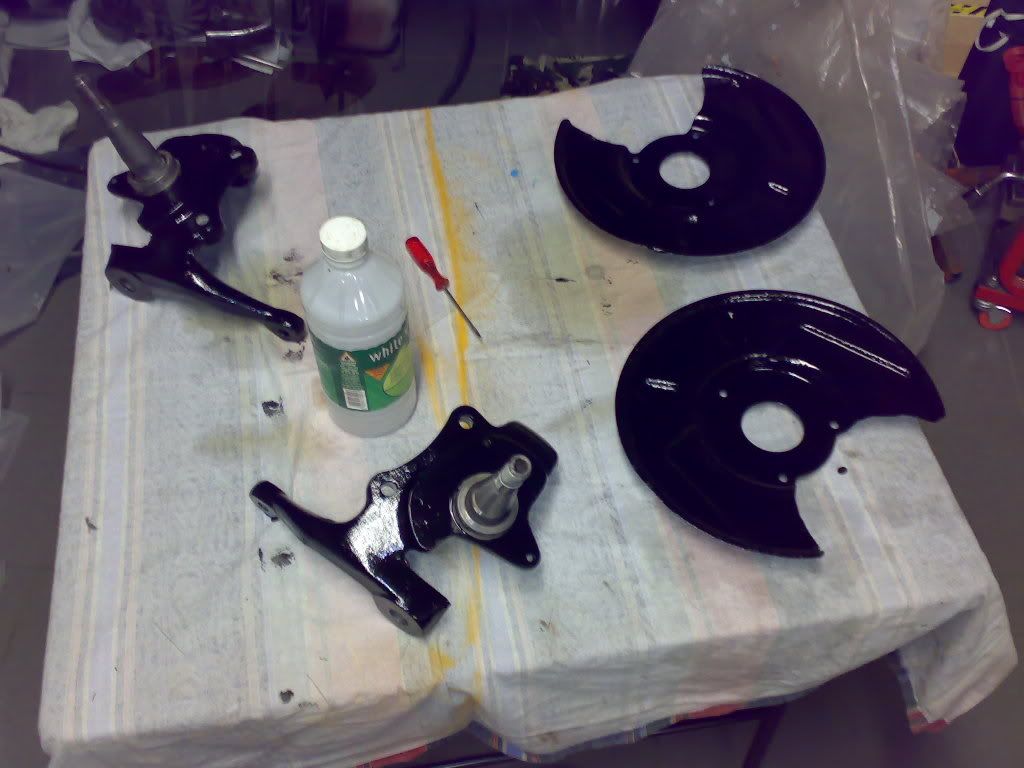
Repainted the spindles, and the trailing hook:
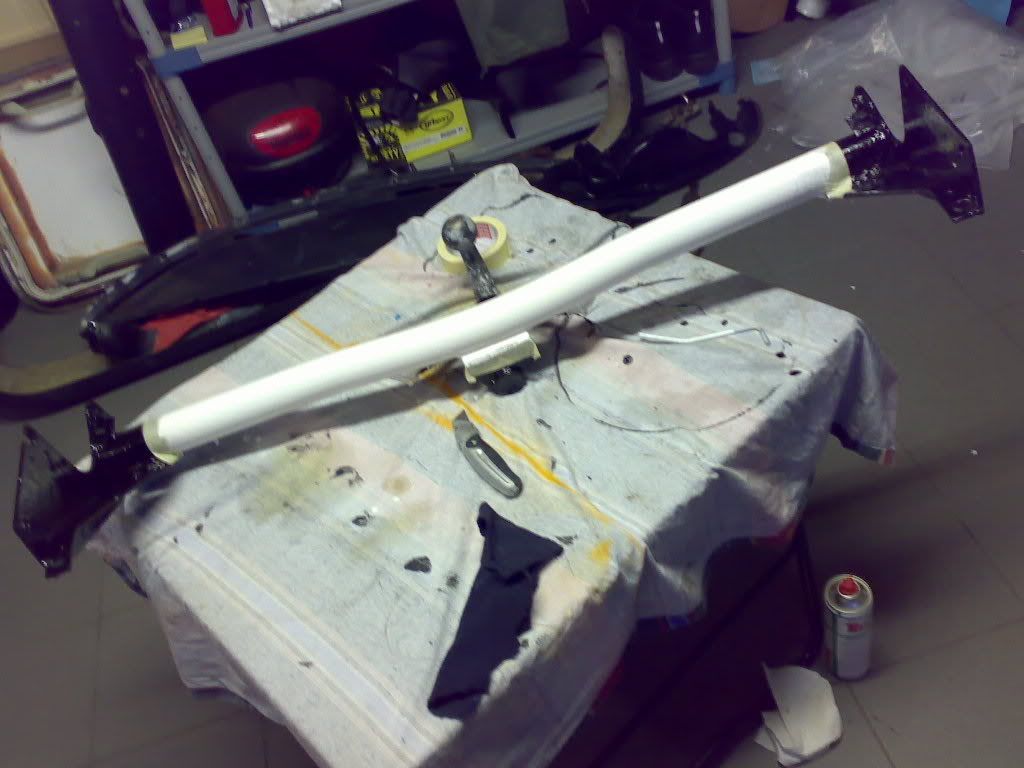
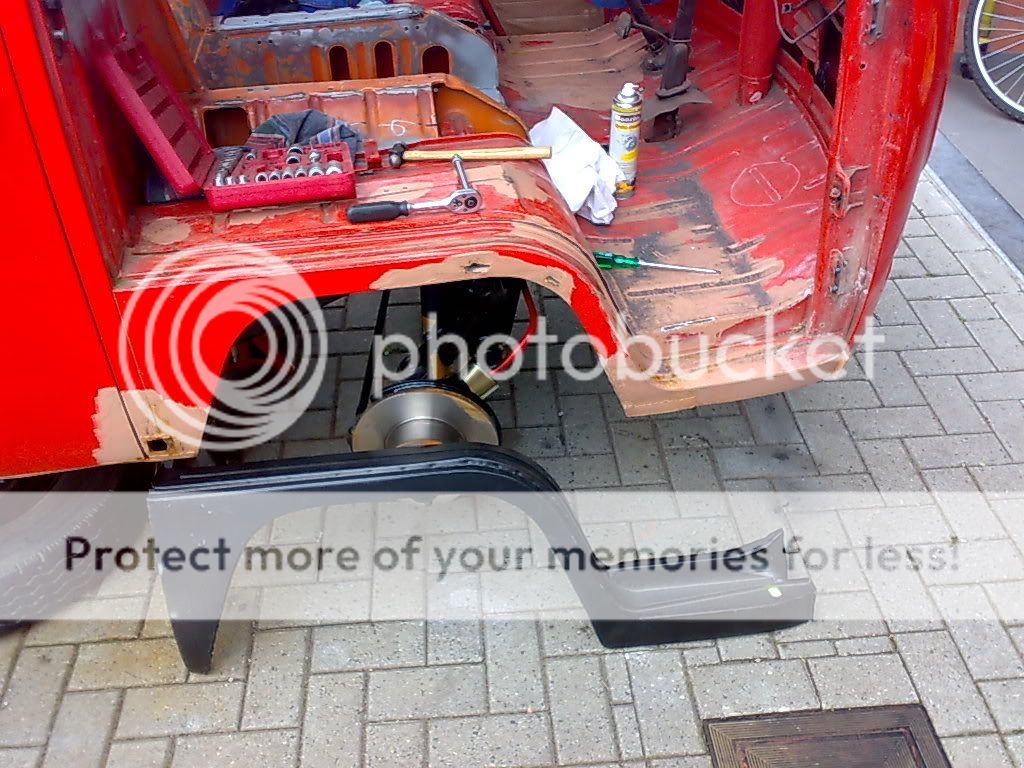
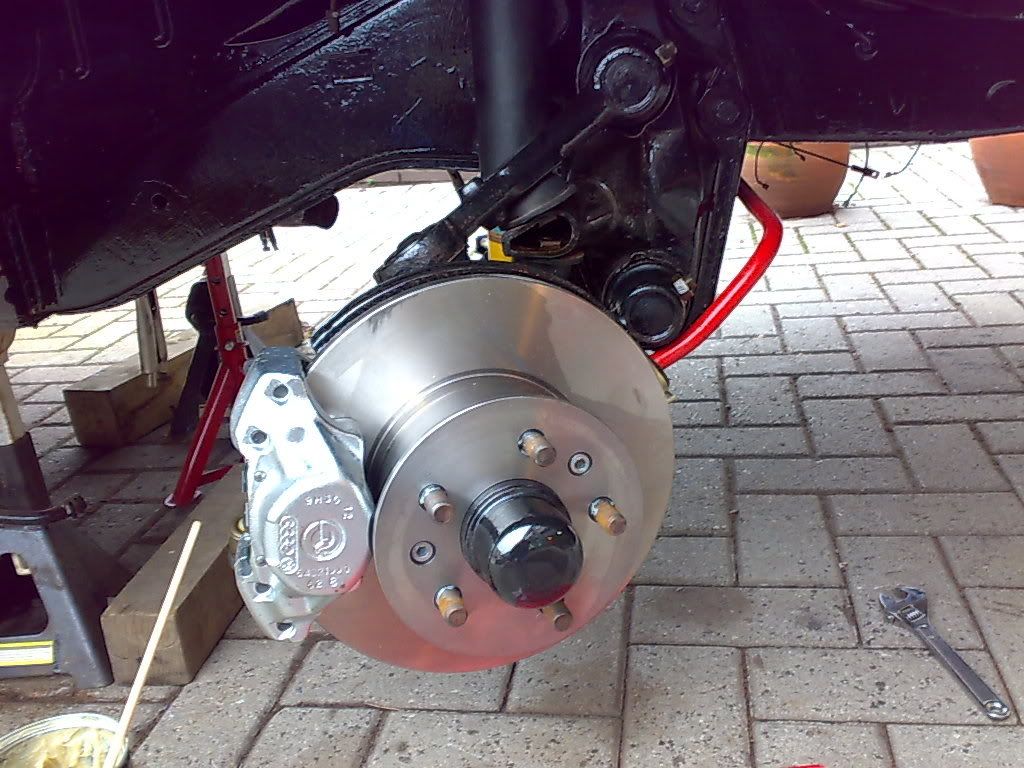
Here is the front axle partly and fully rebuilt:
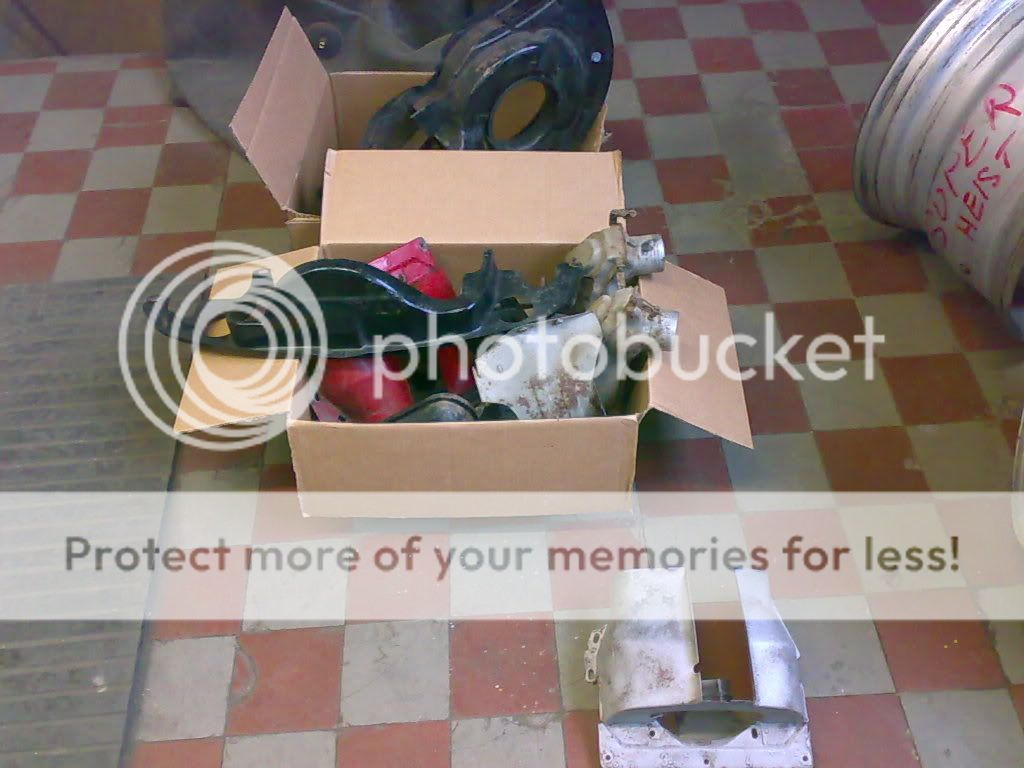
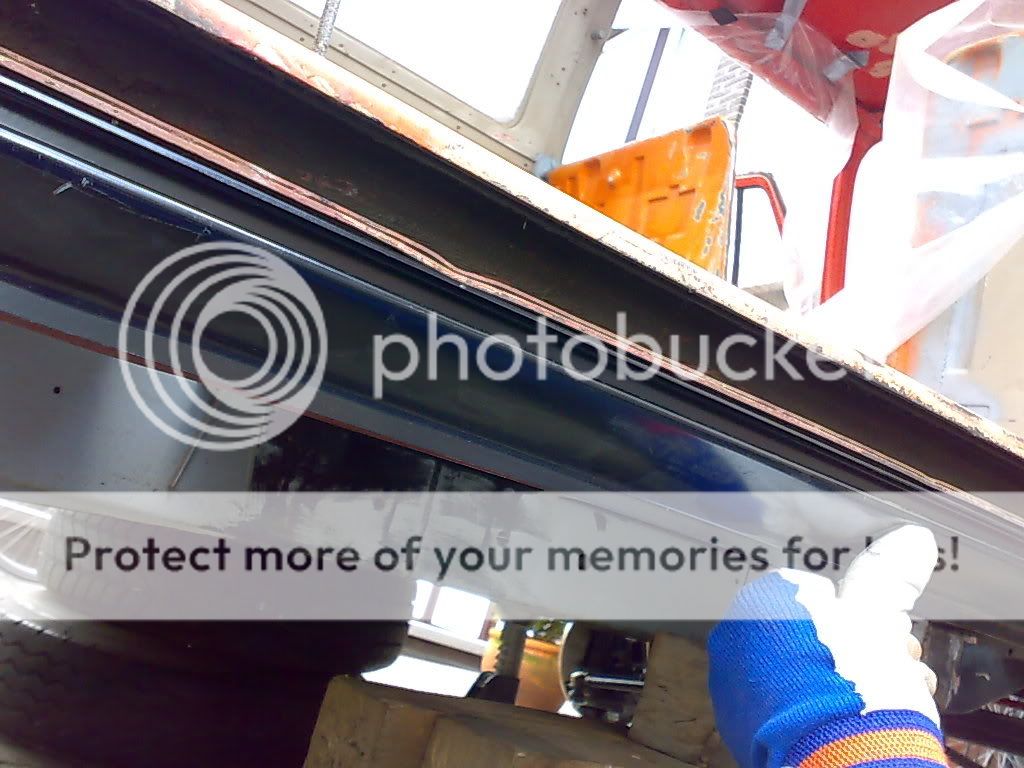
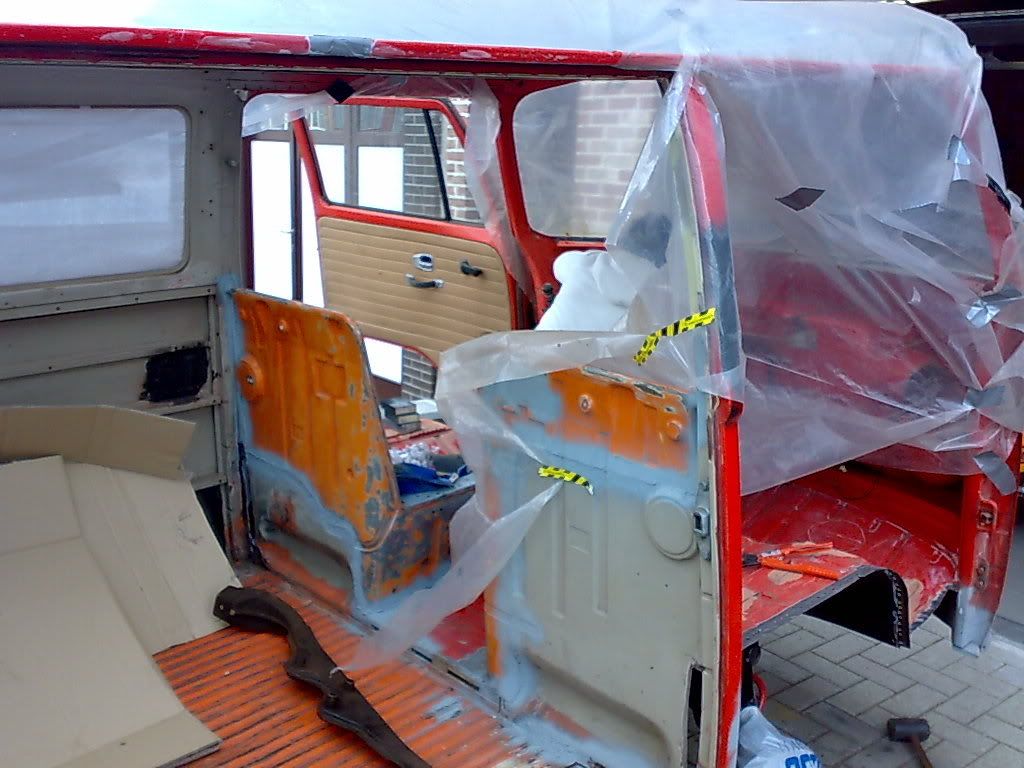
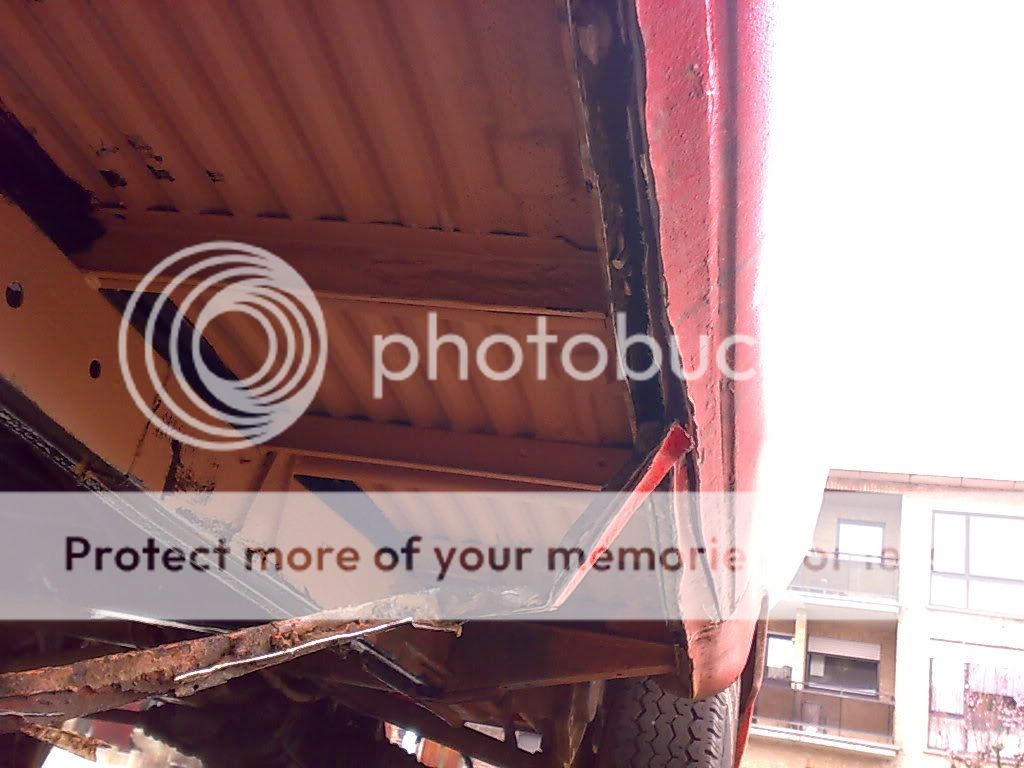
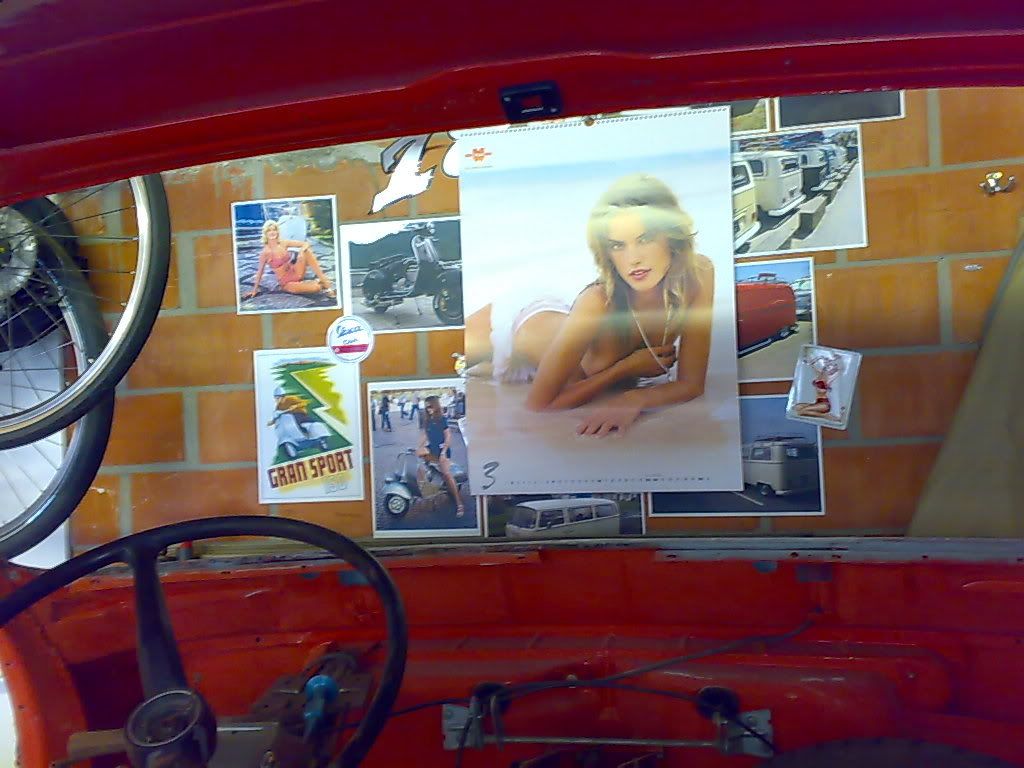
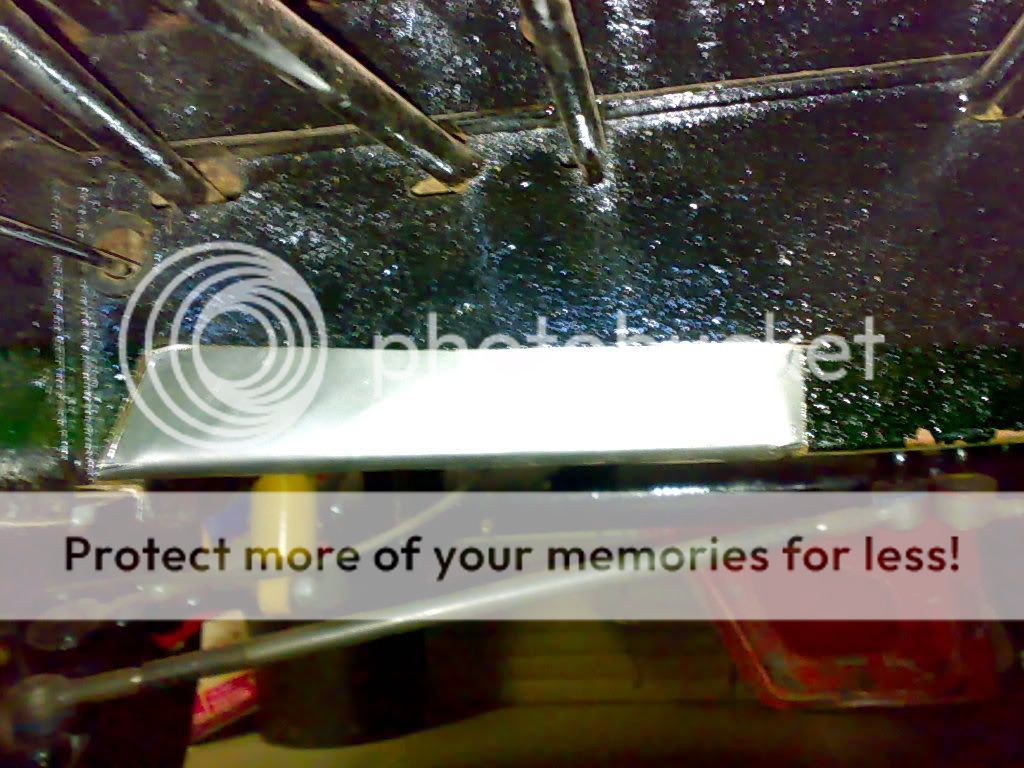
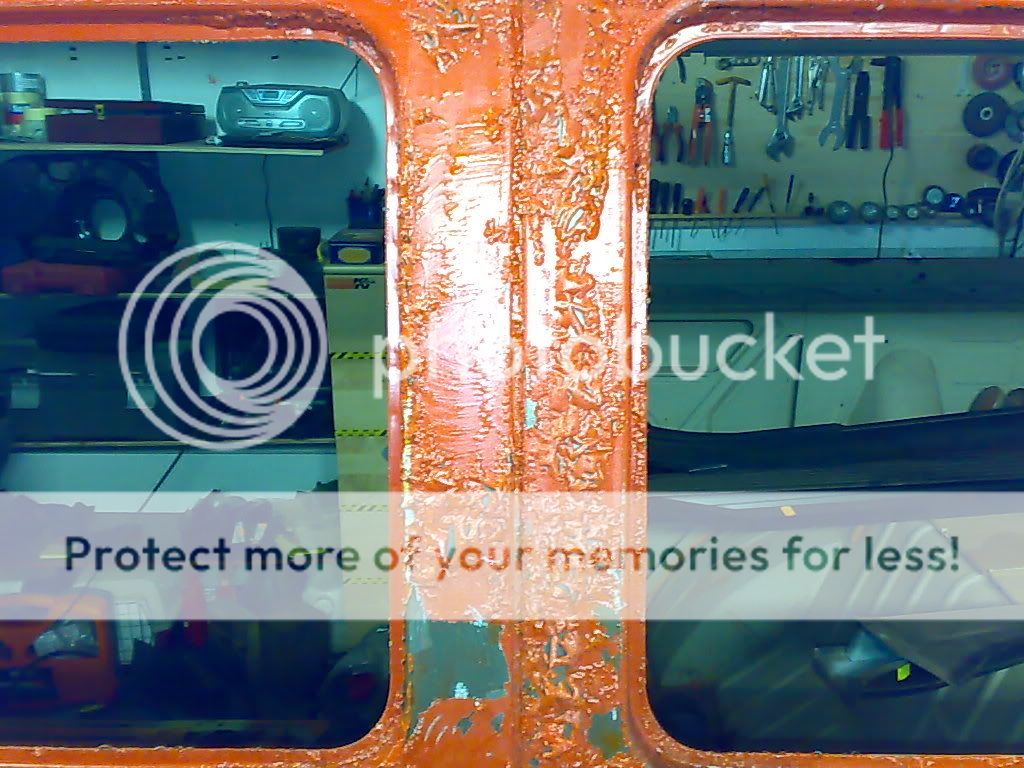
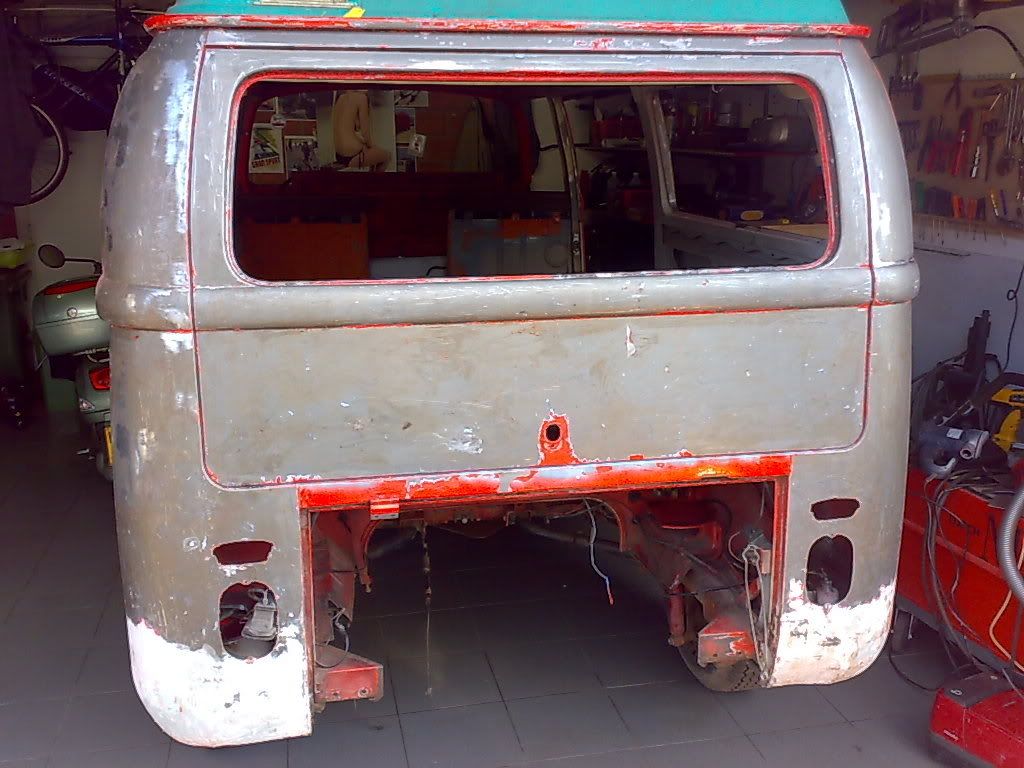
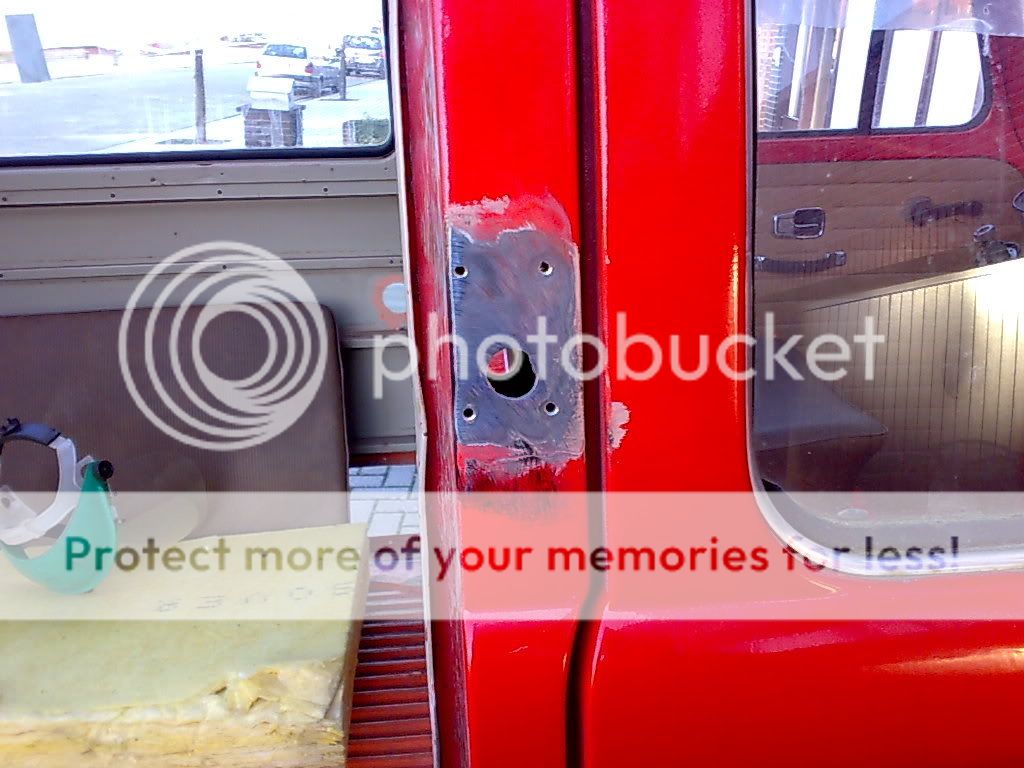
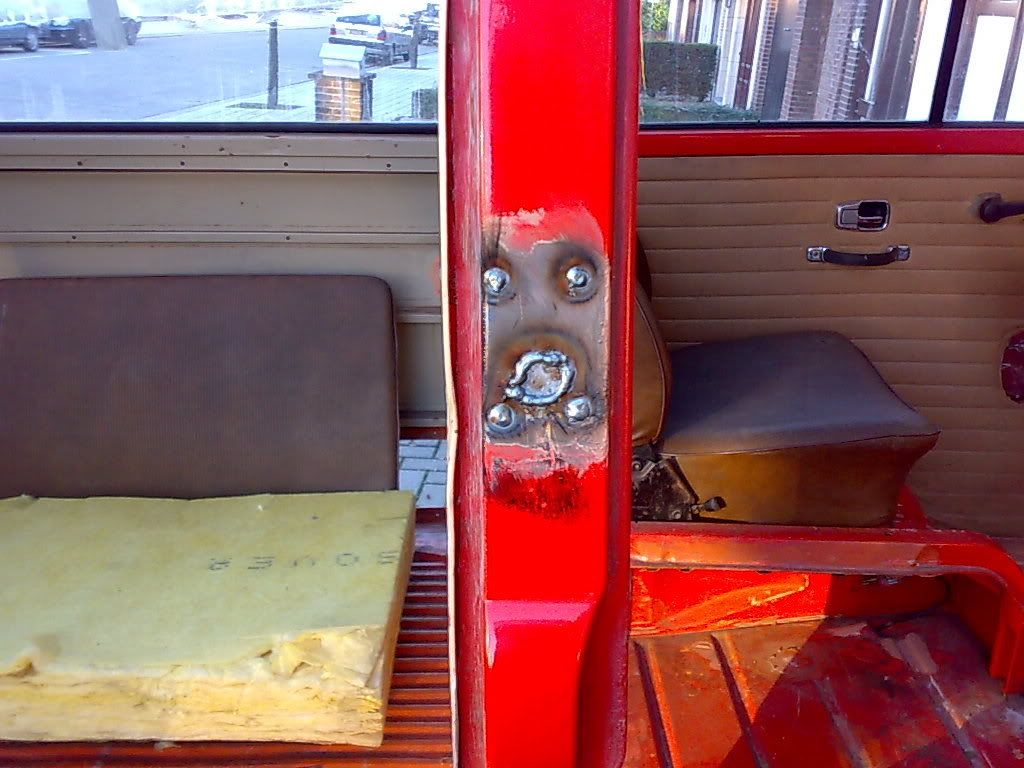
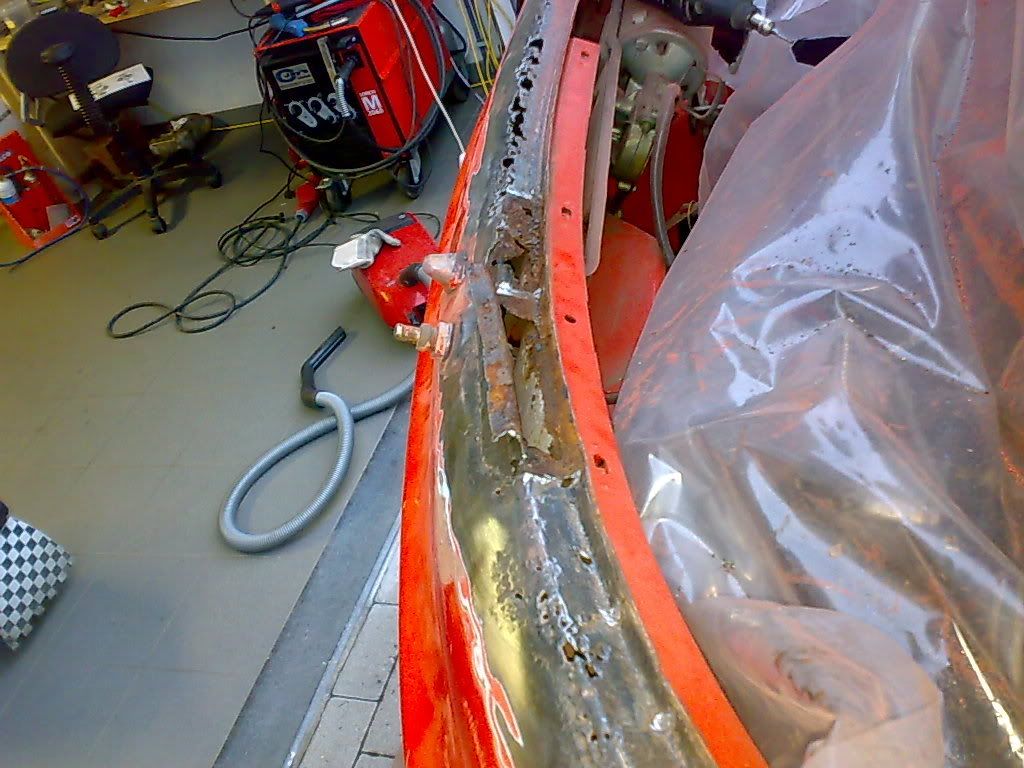
I removed all of the windows to inspect for rust damage, all was well except for the windshield, this was far gone... I mean I've seen worse but there are some dodgy repairs:
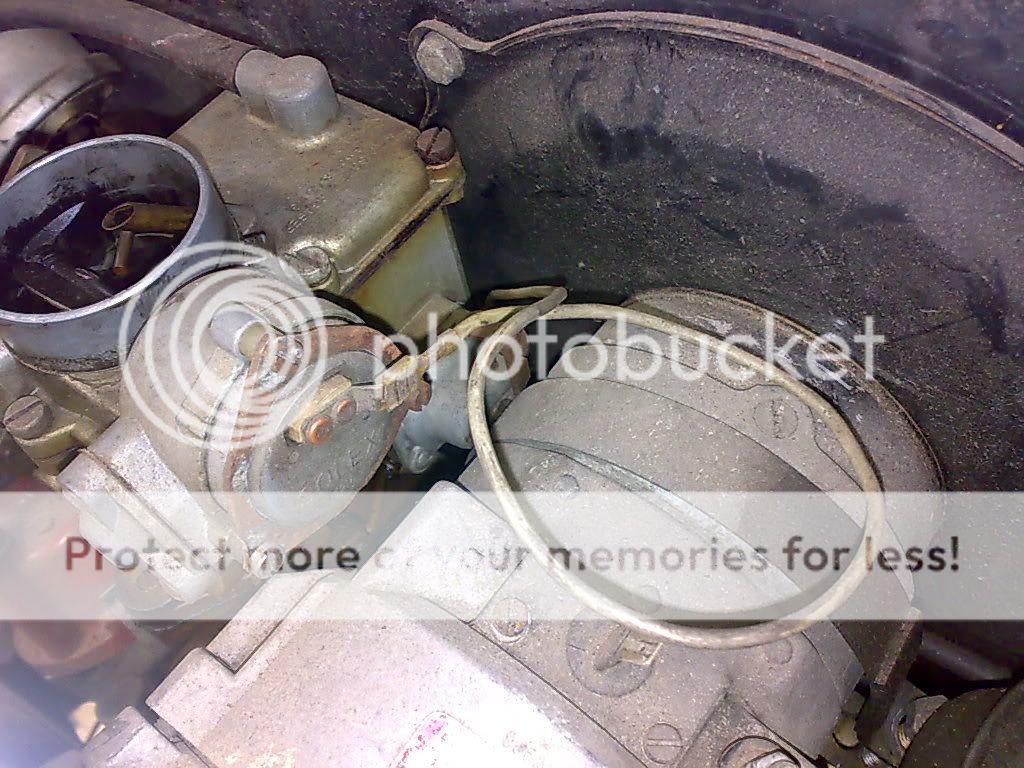
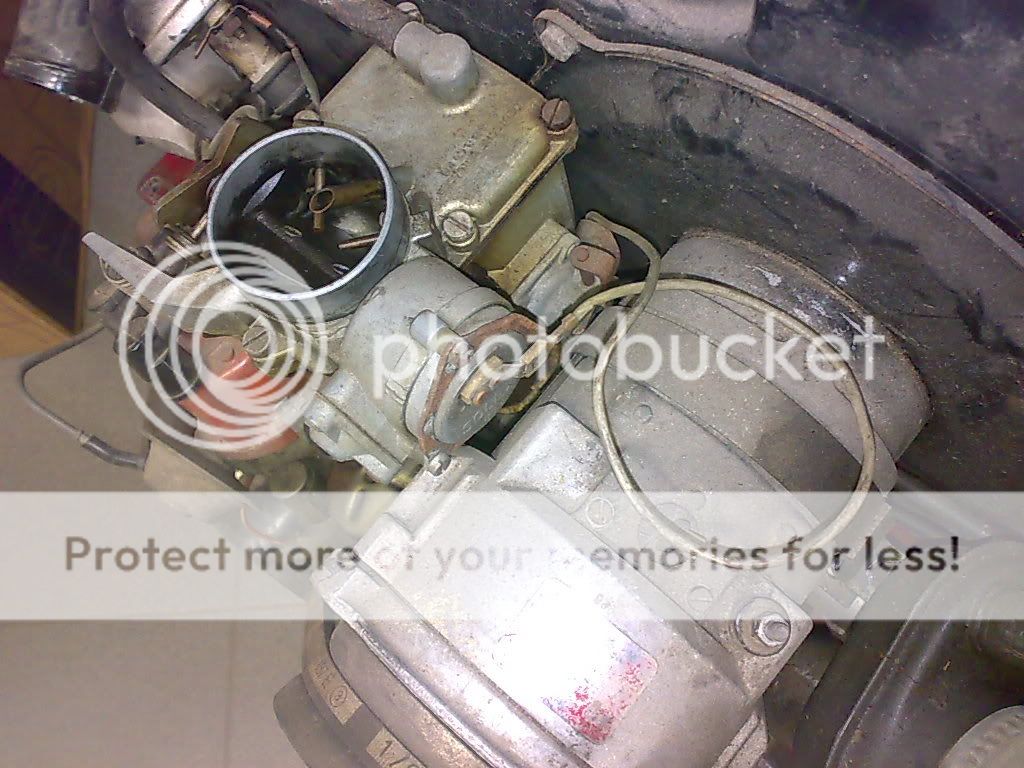
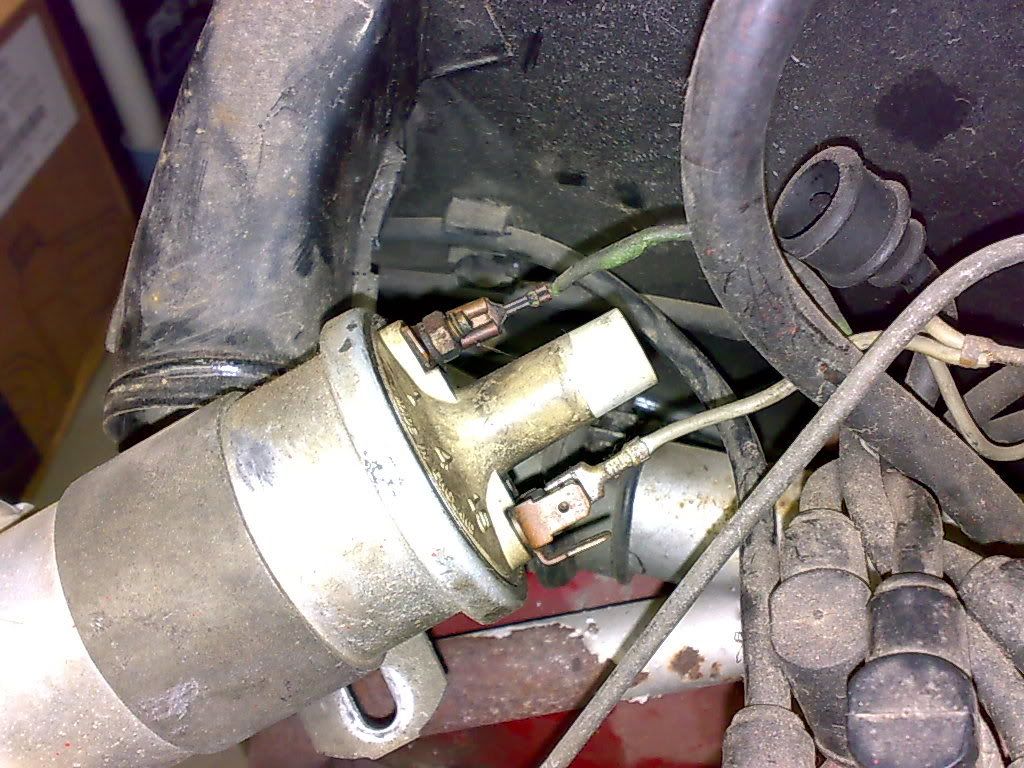
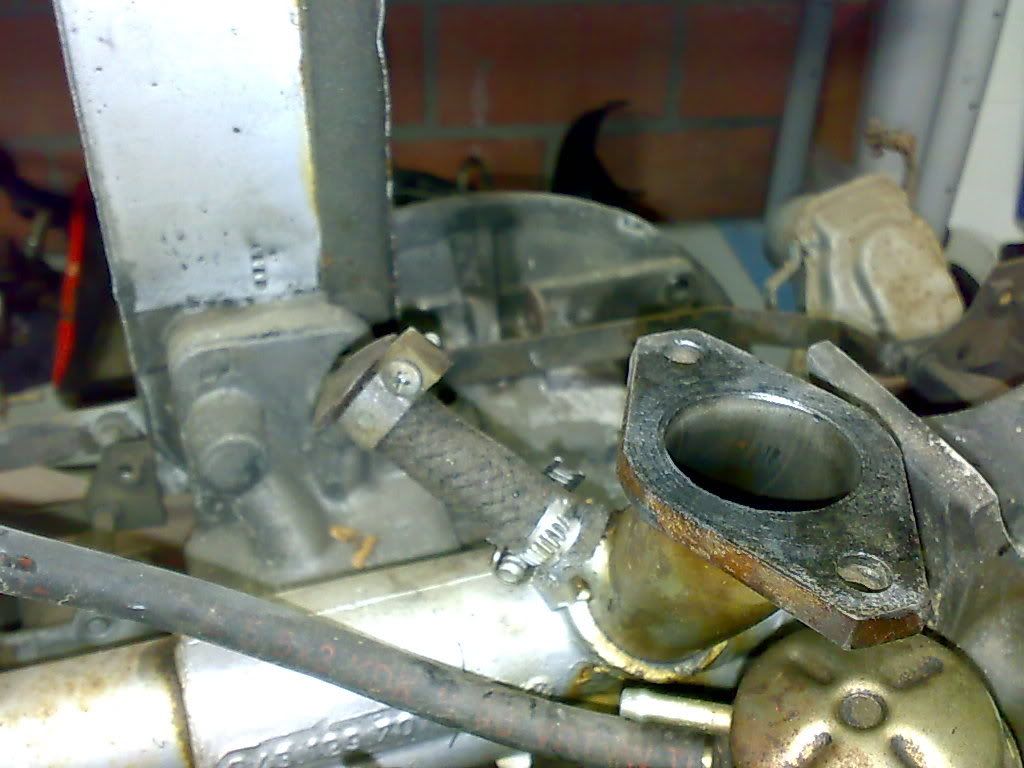
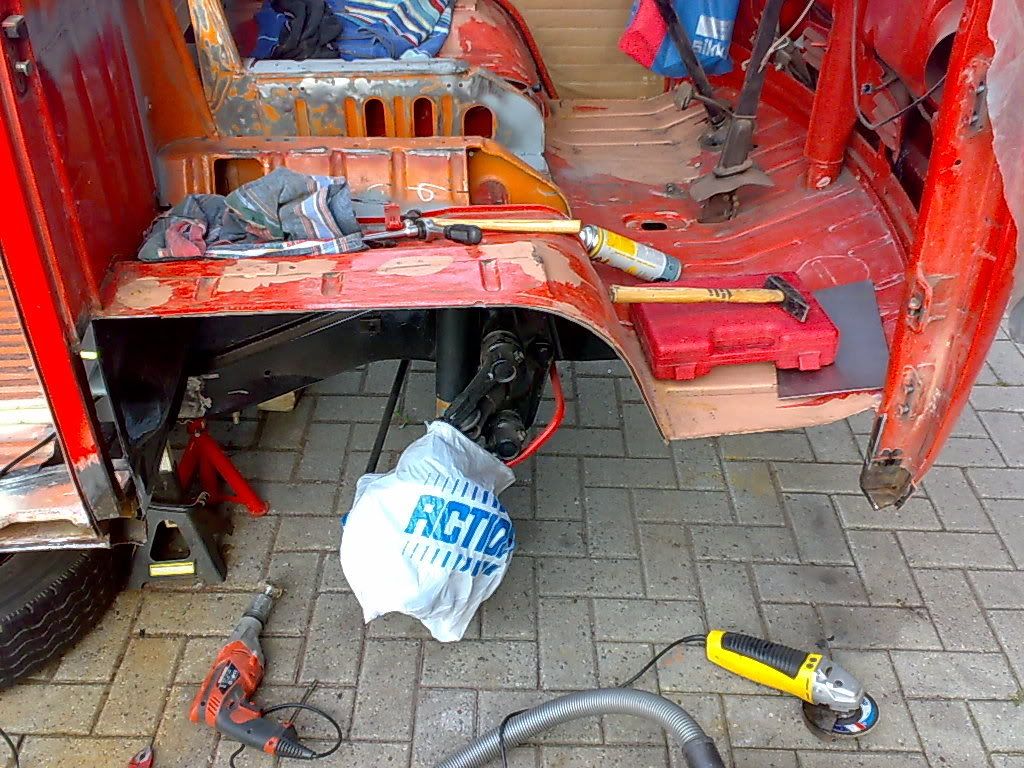
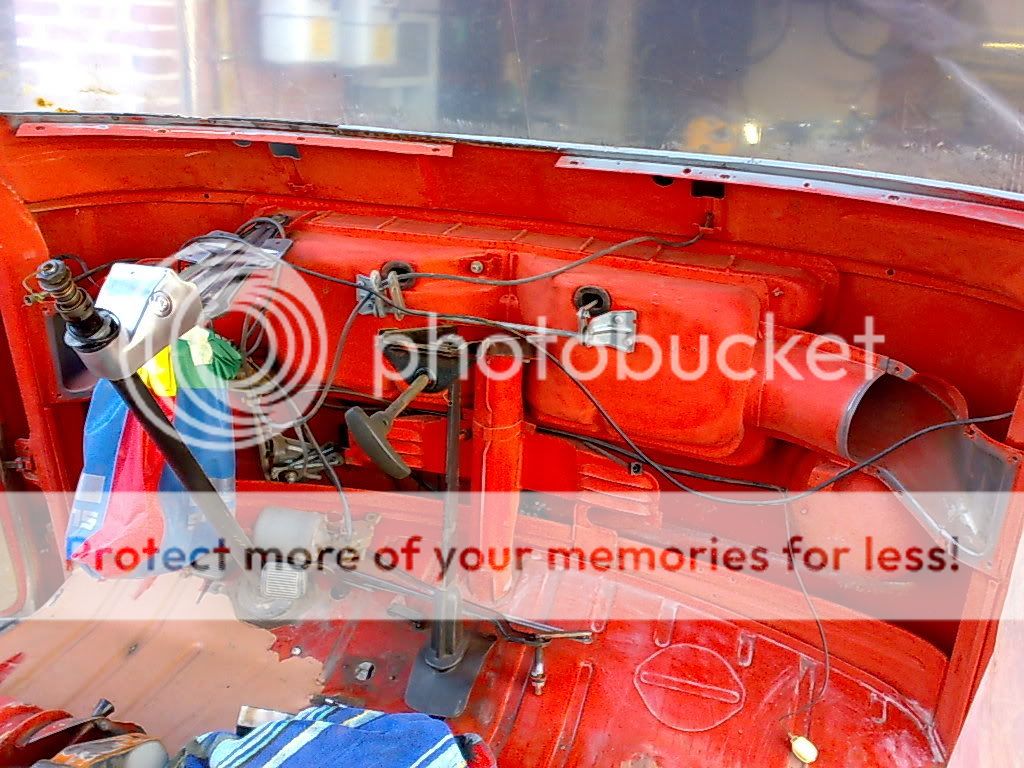
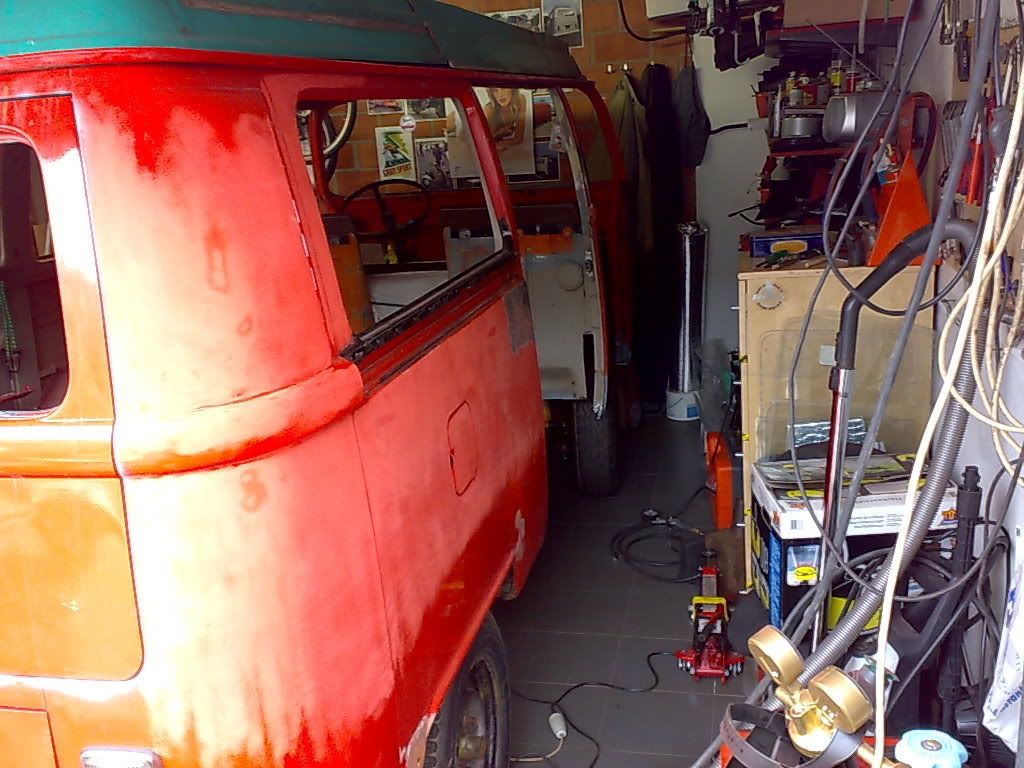
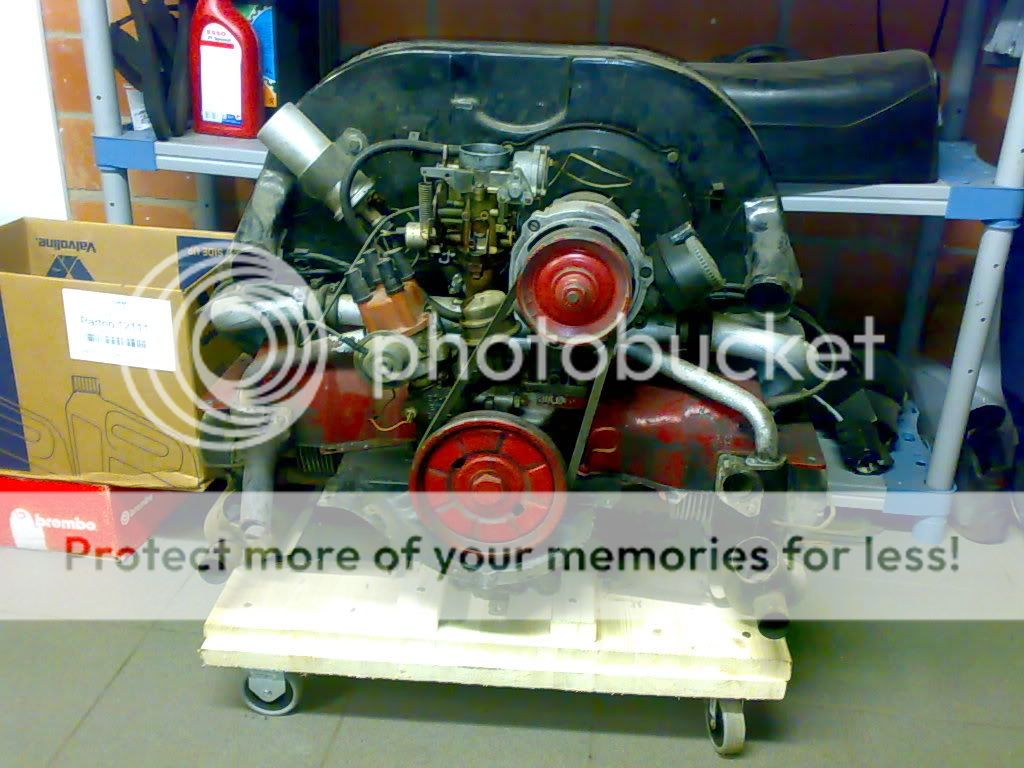
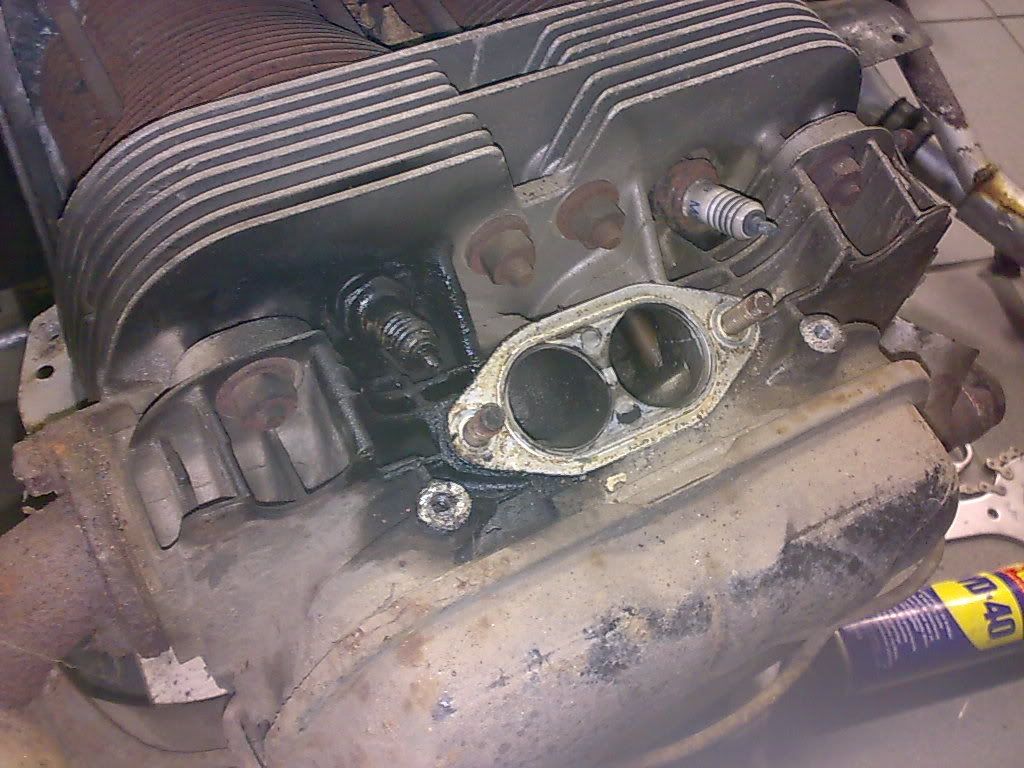
I ordered the parts yesterday for the nose, so I just put some rustkiller on it for the time being... In the meanwhile a friend who works at our "MoT" (he's gonna help me get thru the procedure) came round and we took out the engine:
Some troubled times might be coming when the story continues...
Sneak preview:
My name is Nathan and I live in Antwerp, Belgium
I've been frequenting this forum on a daily basis, even during work I'd be sitting very still at my desk and browsing the many topics on here.
I've recently been down with the aircooled virus, first I got a mild fever when I restored my Vespa P range:
But then I really got struck with an all-out nasty disease called VW aircooled mania... and I bought this nice early from Albert at thecoolvw in Holland.
I saw it on his site and I was pretty sure it was gonna be this one... Don't ask me why. At first I thought it would need much work, and actually it didn't if I was just gonna get it back on the road. But being sort of a perfectionist, I soon started thinking of a total rebuild.
And so it began:
I took off the bumpers, the front one's bolt broke of one by one, rusted beyond undoing... the back one badly bruised in several accidents, I even found polyfiller on the damn thing, that ain't no bumper material baby...
Then the pop tops had to come of, gonna weld the roof shut or find a westfalia roof.
I then started wirebrushing the chassis and wheeltubs, became pretty clean, I'll post some more pictures when I POR15'd them.
Before & After
After I got out my new cutter, this is what's left of some rusty crap that I removed. You know, when I start cuttin', I don't stop...
One example of a bad fix, several layers of rusty steel where there should be only one:
I started working on my front axle, which has been upgraded to late bay disc brakes and late bay 5x112 lug wheels, sadly (now I can't fit those big moondiscs like in this pic (or can I??).
So here's my old axle,
Pretty bad huh, We can't weld our axles in belgium, it's not allowed.
So I found another foor 200 EUR, covered in rubber undercoating.
Here's me doing a happy joy joy job:
POR15'd the thing, looks lovely now. I didn't leave any holes (didn't see any) for the axle to breathe or let out water, is it necessary?
Splashed out on a good welder, been taking some bodywork classes since september, learned how to weld (still learning tho) but at least I'm getting a lot of practice.
Started out on something rightaway:
Before:
After
In the meantime I was stripping the front axle before I removed it (time-warp) and cleaning the torsion arms & checkin the brake system.
Discs and calipers looked badly worn..
Repainted the spindles, and the trailing hook:
Here is the front axle partly and fully rebuilt:
I removed all of the windows to inspect for rust damage, all was well except for the windshield, this was far gone... I mean I've seen worse but there are some dodgy repairs:
I ordered the parts yesterday for the nose, so I just put some rustkiller on it for the time being... In the meanwhile a friend who works at our "MoT" (he's gonna help me get thru the procedure) came round and we took out the engine:
Some troubled times might be coming when the story continues...
Sneak preview:
 Ik zie dat je die bus bij Albert hebt gekocht. Je bent er al lekker aan bezig geweest! :shock: Veel succes en plezier ermee! :wink: