My 68 Tintop

Early Bay Forum

Help Support Early Bay Forum:

This site may earn a commission from merchant affiliate links, including eBay, Amazon, and others.
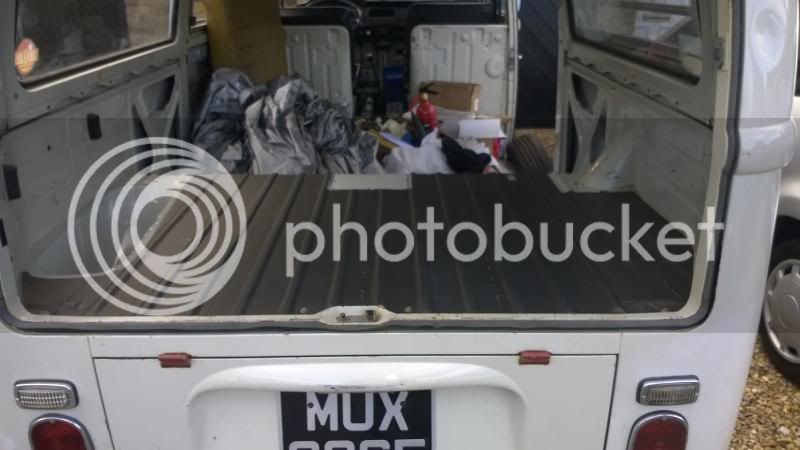
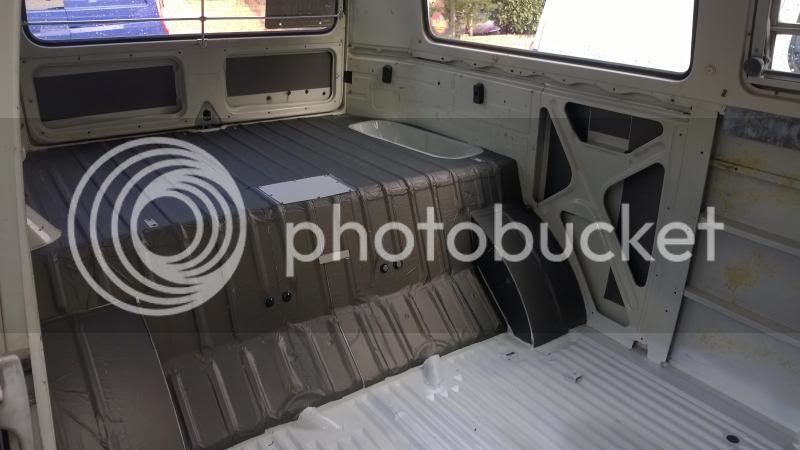
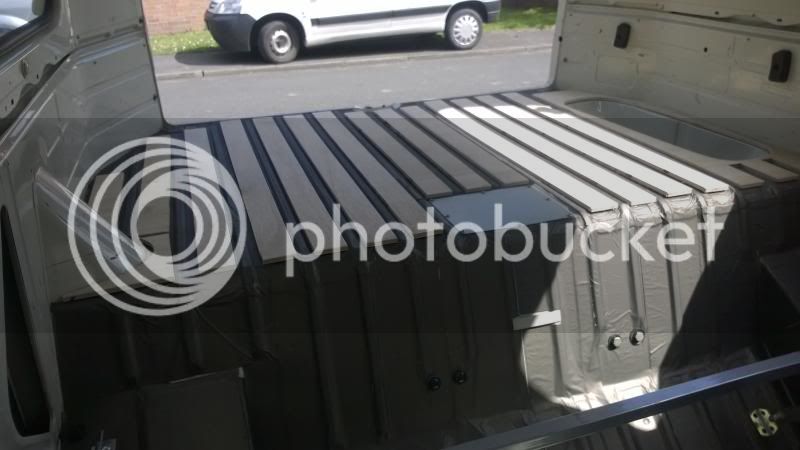
Sweet looking bus dude.
And good work on the rear corner.my LH rear corner is pretty ropey but I daren't tackle it.lol.
 
thanks!
cant wait to start using it this year!

I didn't have to worry about any welding with that corner it was just dent removal so not too bad.
Get a cheap slide hammer and give it a bash so to speak!
 
Battled the wind this weekend to continue with the floors.

prepping
interior6.jpg

interior8.jpg

interior10.jpg

interior9.jpg

interior13.jpg


also Waxoyled the door skins and started on the rear cargo floor.
Shame to put carpet over it really!
 
Nice and clean now mike. Nice one 8)
 
Hi leon, how's it going?

yes Slowly getting there! one job at a time.

I might pop over to Dub freeze on Saturday, will drop you a text if I make it. :D
 
Just caught your thread and some nice changes going on - nice and speedy.
Sounds like you will soon be ready for your summer of fun ;)
 
Had the usual problems with the fuel sender, so decided to cut an inspection hole.
hatch3.jpg

hatch11.jpg

hatch13.jpg


I think it looks ok, used rubber to make a seal and self tappers screw it down well.

Did manage to get the old sender working but its still temperamental! Pretty sure the riser is rubbing on the sender tube and sticking.
Anyway I can get it in and out easily now.

Also started the sound deadening on the parcel shelf using this stuff.
http://www.toolstation.com/shop/Evo-Stik+Flashband/p79418
Its very easy to work with and the finish is really nice.
Will cover over with thin ply and carpet once the bed is in.
insulate2.jpg

insulate3.jpg

WP_20140323_0041.jpg
 
finished off the flashing insulation now.
WP_20140327_007.jpg


Ply floor in place, just needs securing down.
WP_20140329_003.jpg


Carpet soon!! :)
 
Just bought a new full width bed but got to get the finished level on the rear parcel area so I can line the bed height up.
So finished off a plywood top this weekend. just needs carpet to finish.

Had to make a paper template first then a thin ply one before I cut this out.
parcelshelf1.jpg


Then cut all the supporting slats for underneath
parcelshelf3.jpg


Finally screwing the 2 together
parcelshelf7.jpg


Fits is solid and doesn't need any screws to hold in place
parcelshelf8.jpg


added access for the fuel sender hatch I created a few weeks back, and rebated it so it fits flush
parcelshelf11.jpg

parcelshelf12.jpg


Did the same for the tyre well for when the beds open
parcelshelf13.jpg

parcelshelf15.jpg


onto the bed fitting now!! :D
 
Cracking work there. 8)

If you would be so kind, I would be interested in the fuel sender inspection hatch dimensions if that is possible? As I think Im going to attempt the same thing after seeing yours and StuF's.


Paul. :D
 

Latest posts

Top