My 68 Westy - as time goes by .....

Early Bay Forum

Help Support Early Bay Forum:

This site may earn a commission from merchant affiliate links, including eBay, Amazon, and others.
OSullivan said:
Looking really nice!
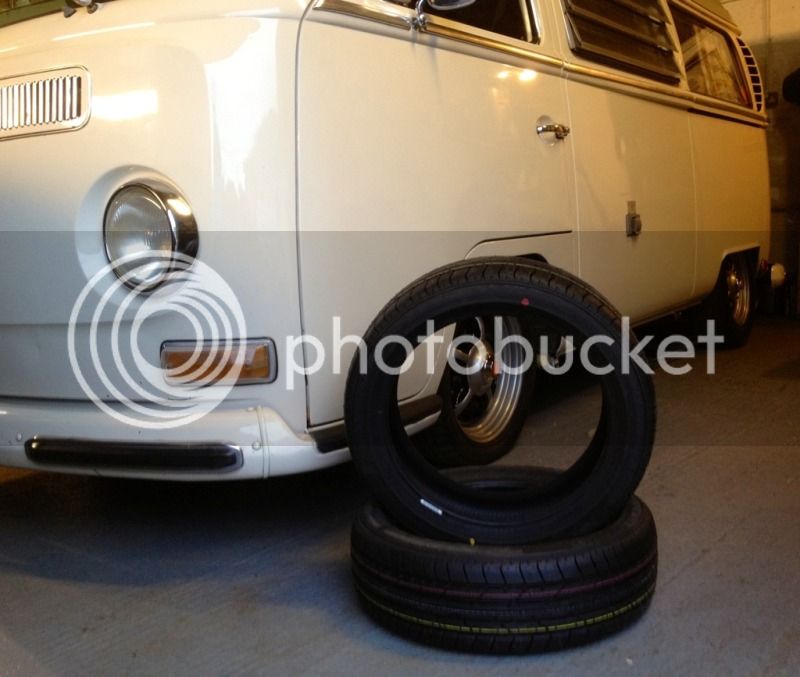
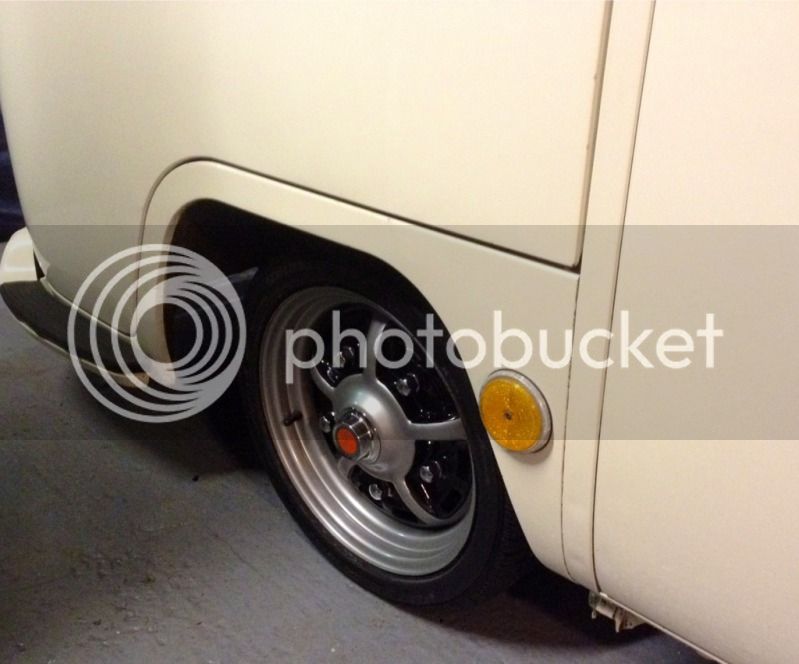
can i ask if the spacers you got to sort out the centre cap problem are readily availible?I have the same problem on my rear SA's.

Kev

http://www.ssvc.org.uk/phpbb/memberlist.php?mode=viewprofile&u=1783" onclick="window.open(this.href);return false;

This is the chap I got mine from :) He's a good bloke to deal with.
 
looking good mike ,nice to be different too on the wheels .......they look great ;)

chris
 
Thanks everyone for your comments.

I didnt get to test drive it yet .... all done and ready though, had remove the front bumper to set the tracking as it got in the way :roll:
The front tyres - 175/55x15 - are probably going to be replaced with 165/60's but Ill bed it in first to see how things are. I still think it may need to go higher but again, I need to drive it properly to see. The nause is having to dismantle it all just to move the adjusters ...

For those just reading at this point, its a 4" narrowed beam from T2D, flipped spindles, Bugpack coilover shocks. Front rims are 4.5" BBT Sprintstars.
Rear is Creative lowered springplates, GR2 dampers and 195/70x15 rear tyres, 5.5" BBT Sprintstars with 5mm spacers fitted. All of its been supplied by T2D and fitted by me.

No notching, tubbing or chassis mods and the point any of that needs doing is the point at which Ill stop ;)
 
Mike

Just read all your thread, it makes a great read from start to finish. Your van looks spot on. 8)
 
New tyres for the van ready for the upcoming MOT. 165/50 x 15's by Bridgestone. A real pain to fit to be honest as there's not much flex going on!

7b89bcb3.jpg


3af338a5.jpg


Ready to roll again. I reset the tracking too so hopefully they'll last a bit longer ...
 
I thought if I was setting off in the hoofing rain this weekend for a motorway trip, some really small tyres would be just the ticket! :lol:

Thanks for the comments :D
 
I got dressed up and went to a wedding today

138BBBF9-55AB-4903-8437-44CB4802FA19-12043-0000143376FC7D46.jpg


3A23C2E7-4C5D-4113-A380-EDF96C751D45-12043-000014322437438B.jpg


DACA31C7-2750-4EBF-ABCB-9D0A52A9EE42-12043-000014321A08A5BB.jpg
 
That new sink top is looking nice Mike :) how did you trim off the excess?

Sent from my HTC One X using Tapatalk 2
 
67westy said:
That new sink top is looking nice Mike :) how did you trim off the excess?

Sent from my HTC One X using Tapatalk 2

Thats my old one :D Under that flower arrangement is a lot of white electrical tape .... sink top replacement is a winter job. Im thinking I'll use a belt sander to go around the edge with ... that'll be a nervous day!
 
Ha, your old one is in a lot better nick than mine! Might let you have a go first :) Would be interested to see/hear how you get on with it
 
I need to sort out a new wooden top/plinth(?) first as the depth of the new top is slightly different and the corners are sharper so it needs to be fully supported underneath, I think. Once thats cut, it'll be plain(ish) sailing. It'll be a bit daunting drilling and cutting the holes I reckon. :D
 
Hi Clem,
Who did you get your savers from ?
I know you have put a link up ^^, I followed the link and sent a PM, the reply stated that he had never supplied any wheel spacers.

Cheers
Sam
 
*Sam* said:
Hi Clem,
Who did you get your savers from ?
I know you have put a link up ^^, I followed the link and sent a PM, the reply stated that he had never supplied any wheel spacers.

Cheers
Sam

:oops:

Wrong bloke!
This is the actual guy -

http://www.ssvc.org.uk/phpbb/memberlist.php?mode=viewprofile&u=1783" onclick="window.open(this.href);return false;

I'll amend the post up ^^ there, too :)
 
After a break I thought I'd do some more to the van! My fibreglass sink top was toasted by the sun so I bought a repro from Rocket Ron at Busfest last year.

Here's the sink top as received

379B021C-AA48-4E0C-A141-8400A89C54B4-16198-0000180D5D59025A.jpg


I took some templates for the new base

3E2C958A-ECE9-4637-8420-578E1F610D43-16198-0000180D6E0B4880.jpg


Fixed it up with the holes cut out

8AF51E63-C085-4CFF-B27B-B72F7C1459E8-16198-0000180DCECED352.jpg


And fixed it all in with the hardware

F9B14DF2-BBF5-45EC-A694-C4FDF6ADA0F3-16204-0000180E485A261F.jpg


Much better :D
 

Latest posts

Top