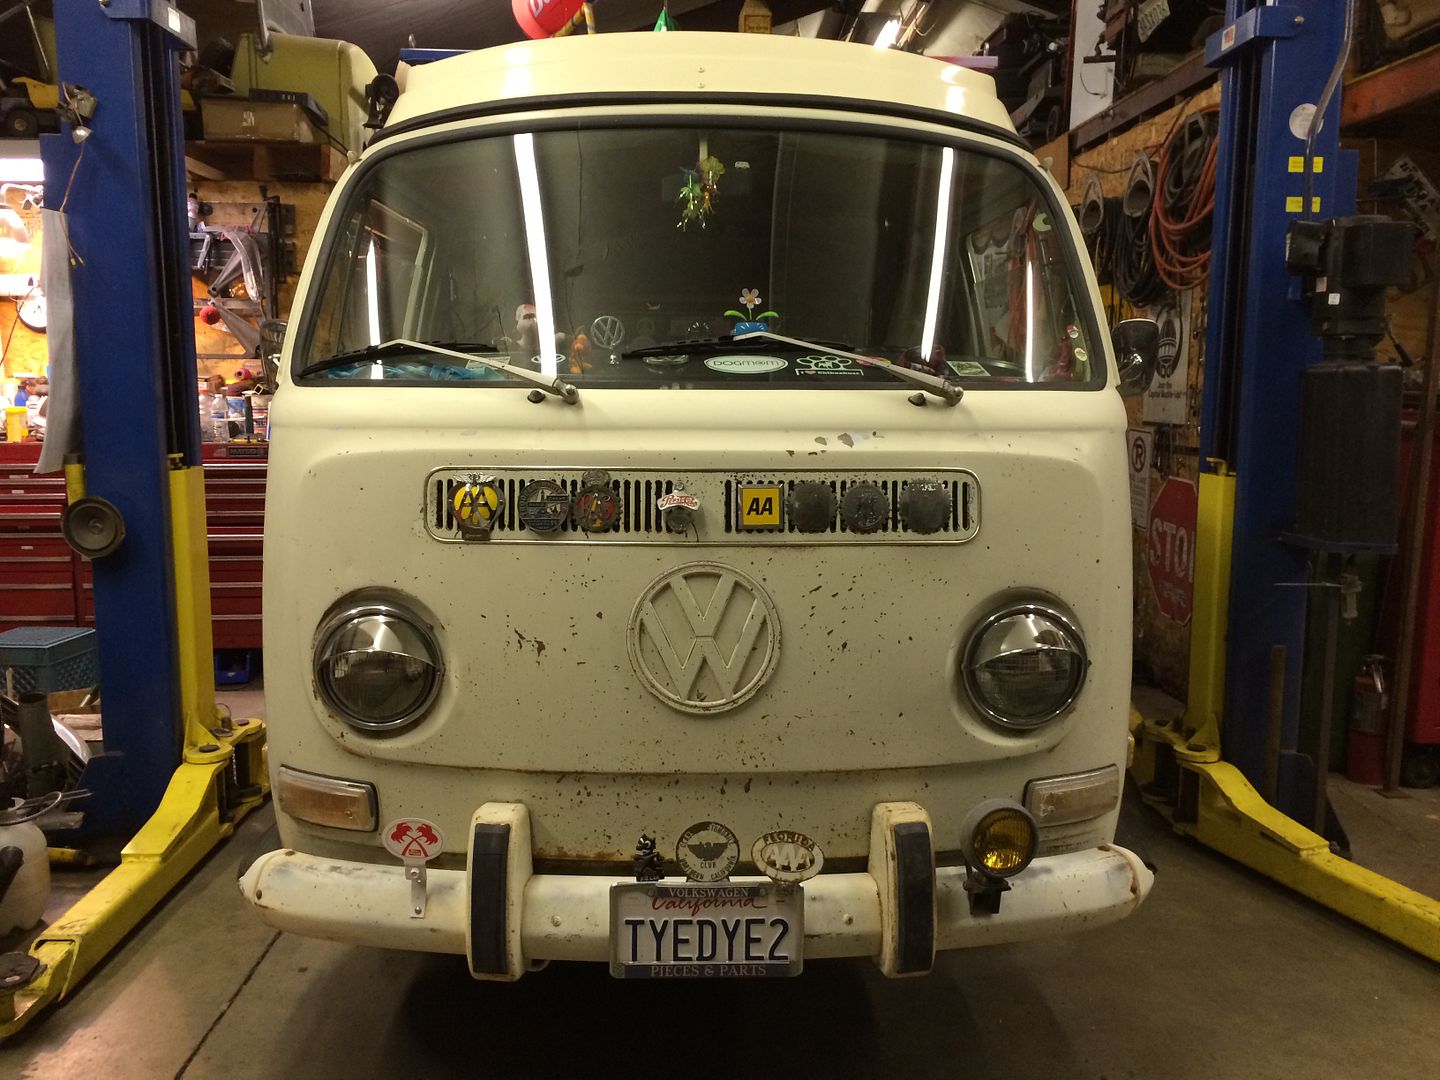
My 70 Bus!! Wes

Early Bay Forum

Help Support Early Bay Forum:

This site may earn a commission from merchant affiliate links, including eBay, Amazon, and others.
Ok, just a quick little update.

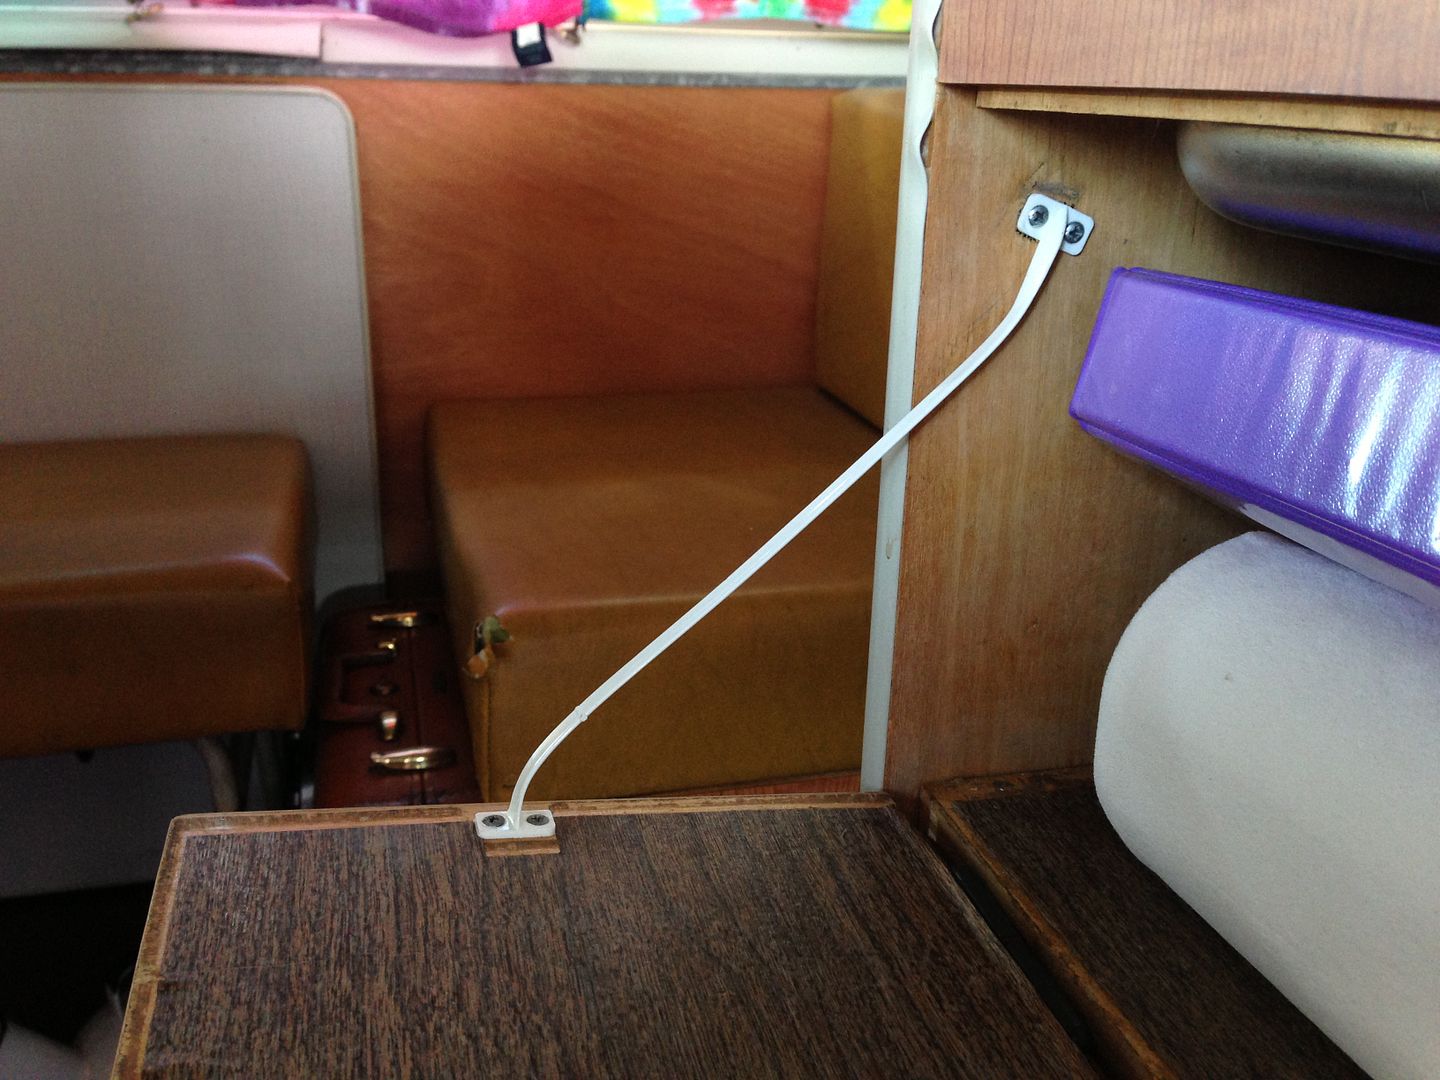
Today I installed my new check strap for the sink cupboard door.

Before,

file_zps92c4887f.jpg


After,

file_zps408c5127.jpg


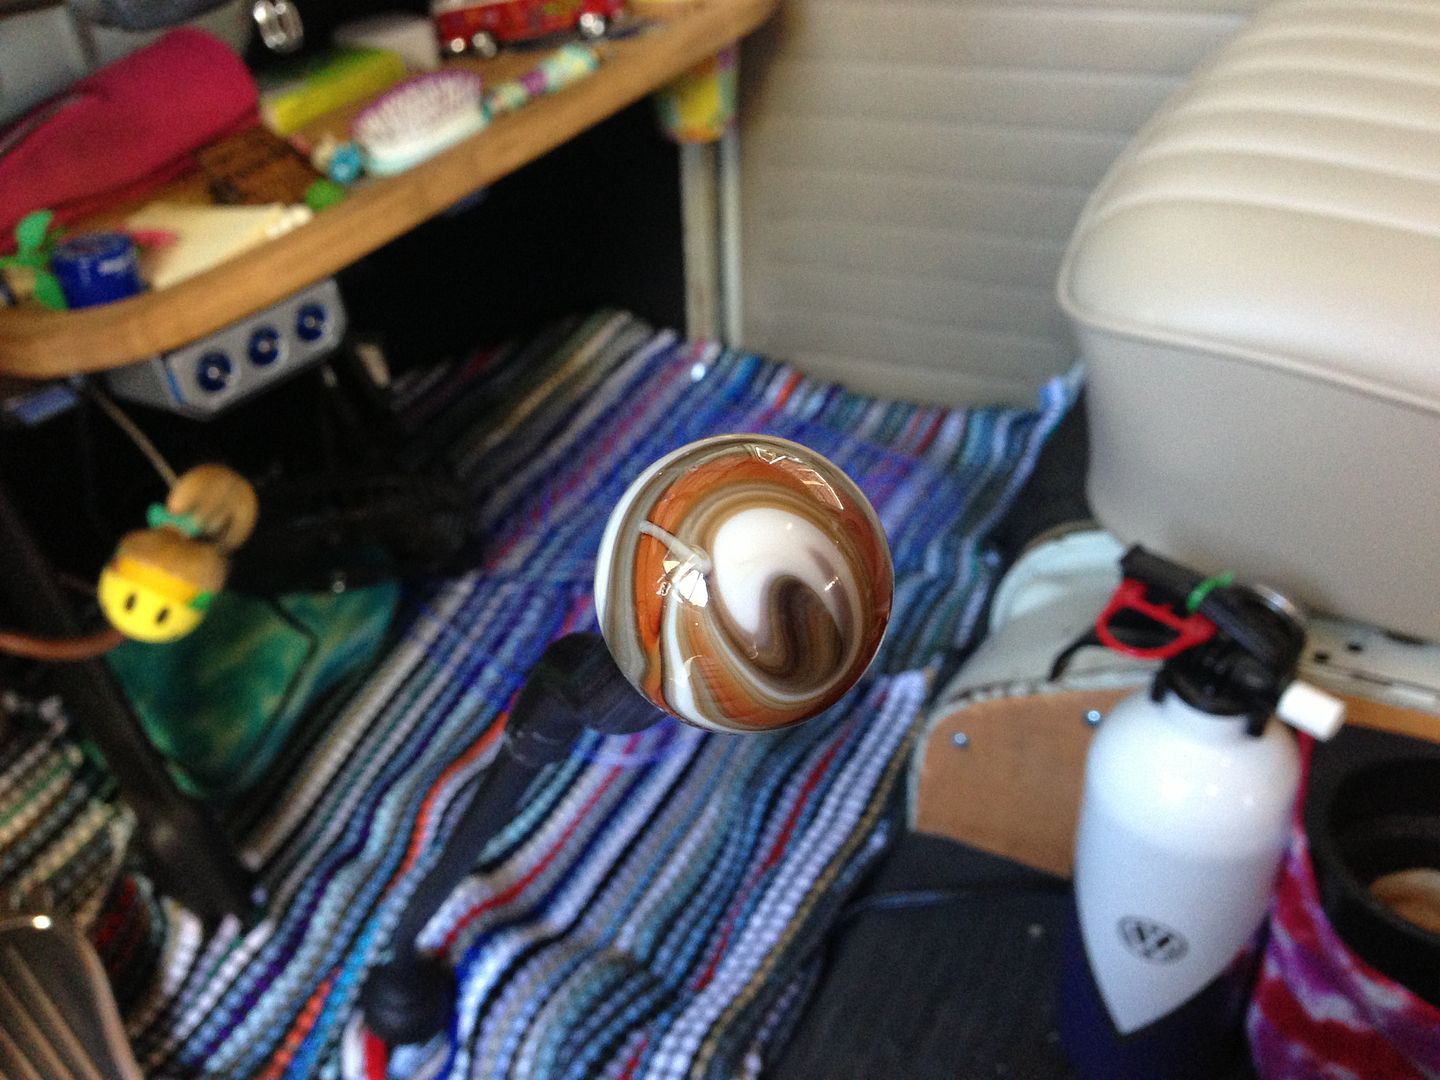
I also wanted something different for a shift knob. I got really interested in Marble knobs. I found this one on Ebay for a total of 7 bucks.

file_zps509af386.jpg


Now I have a new fettish, collecting Marble shift knobs! LOL :D
 
Barkafer said:
Hi Kim,

Nice to see Wes In Camper & Bus today.
Kee up the good work!
Chris.


How cool!! I can't wait to get the magazine!! Henry said he would send me a copy! Sure wish it wasn't so expensive to ship to the USA or I would subscribe! :D

Thanks for the kudos and letting me know it is in there! :D
 
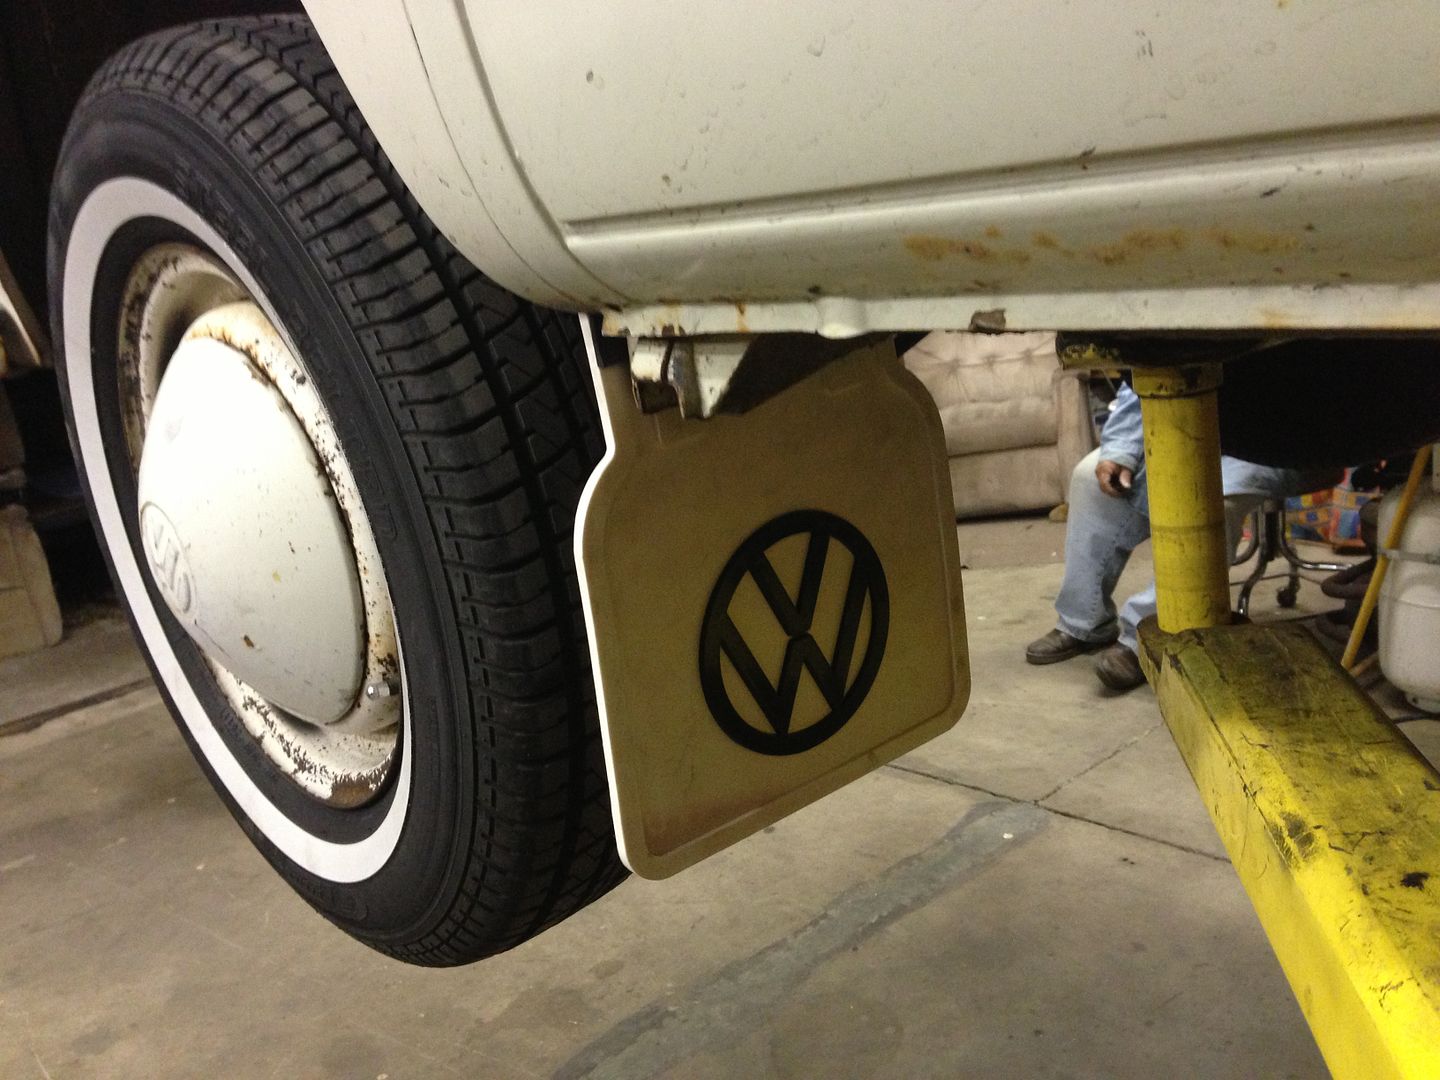
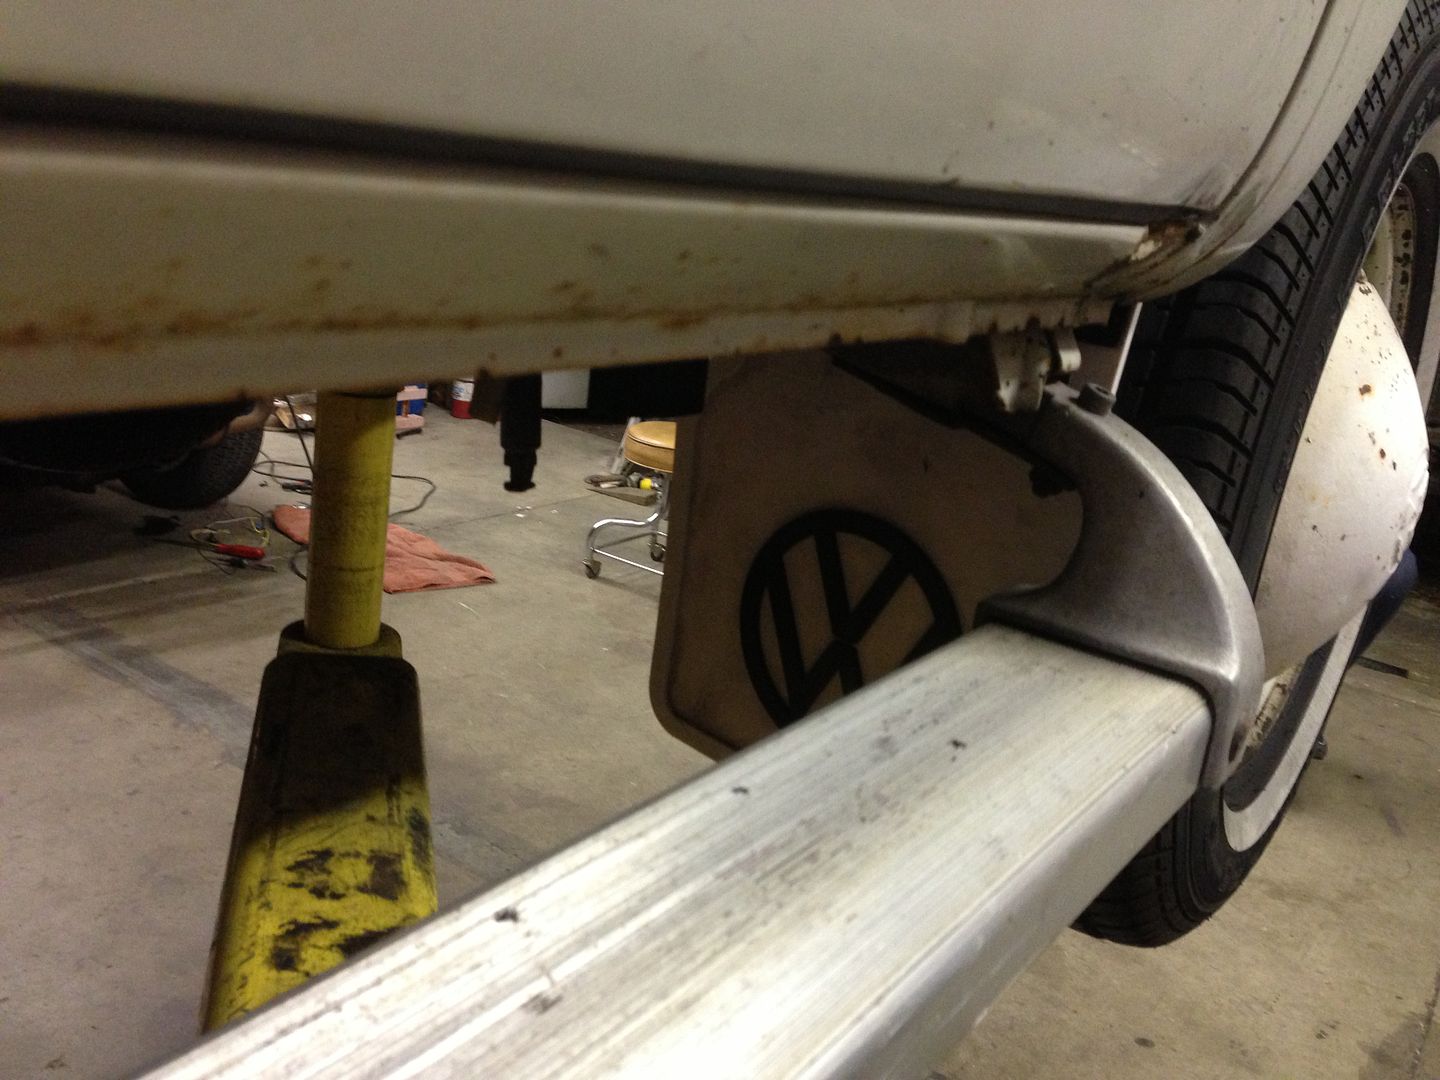
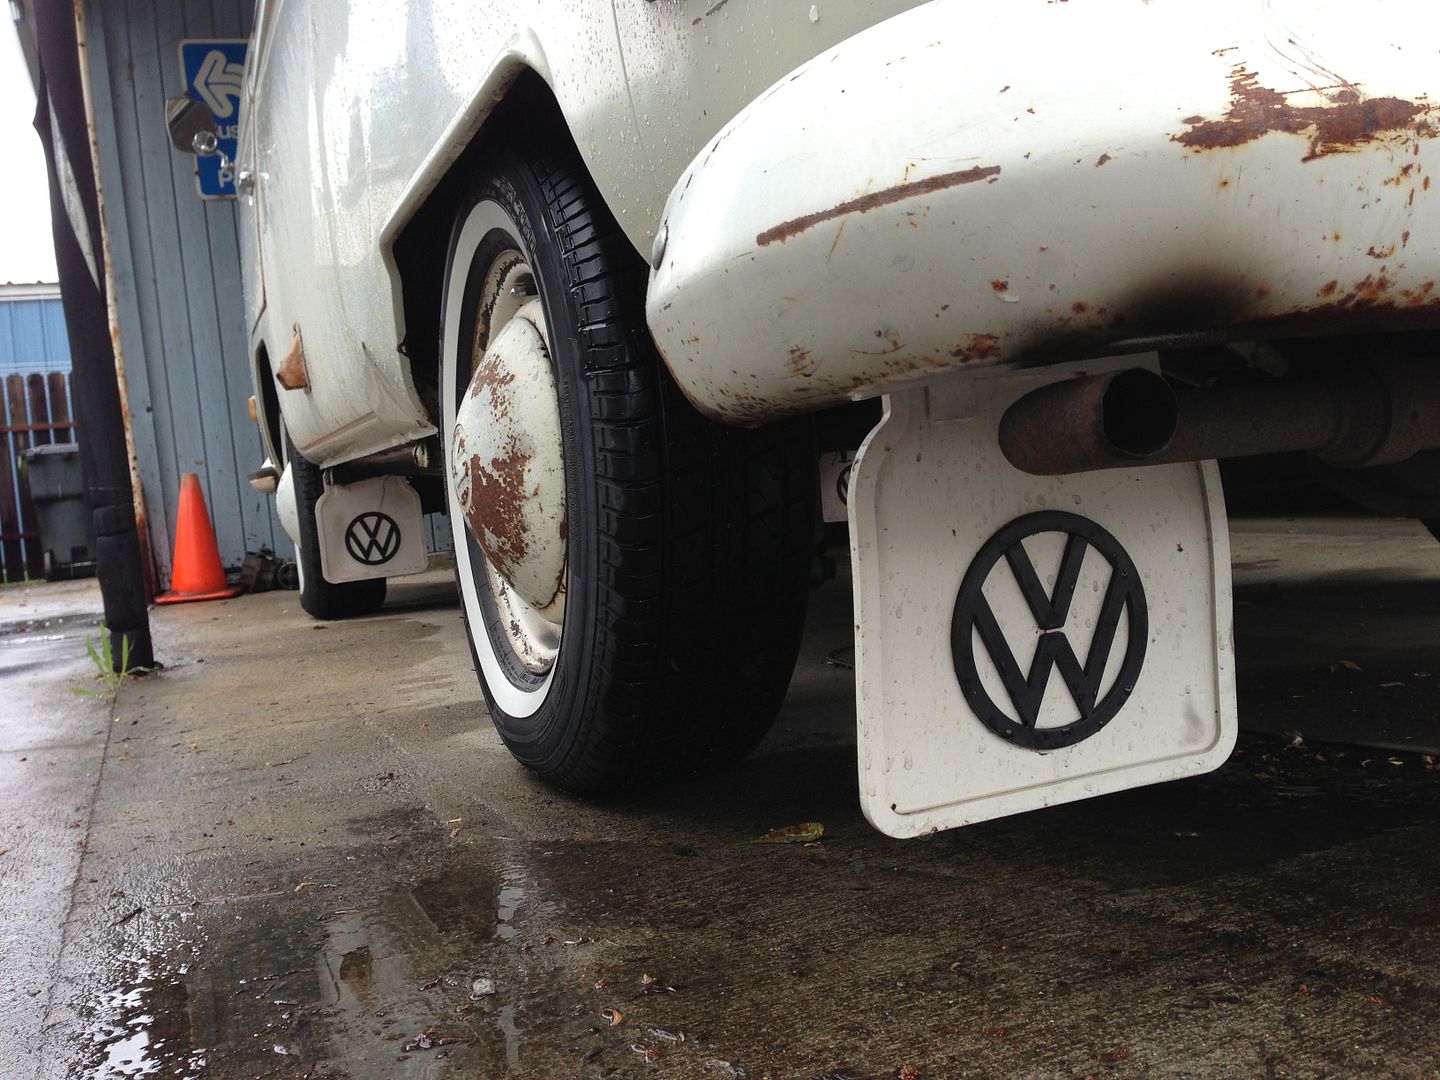
Well, after only 2 years of having the mud flaps for the front of my bus, I finally put them on last night. :D

I debated for a long time on how I was going to mount them. Did a lot of searching and finally saw something I kind of liked.

Here are the pics.

Before

IMG_5447_zps87d2aafc.jpg


After,

IMG_5449_zpsac44f46d.jpg


I have a side step so this one isn't seen as well. Should help keep mud of my side step though.

Before,

IMG_5448_zpsb3b7949a.jpg


After,

IMG_5450_zps753ea40d.jpg


A side view of front and back flaps together.

file_zps99545a7b.jpg


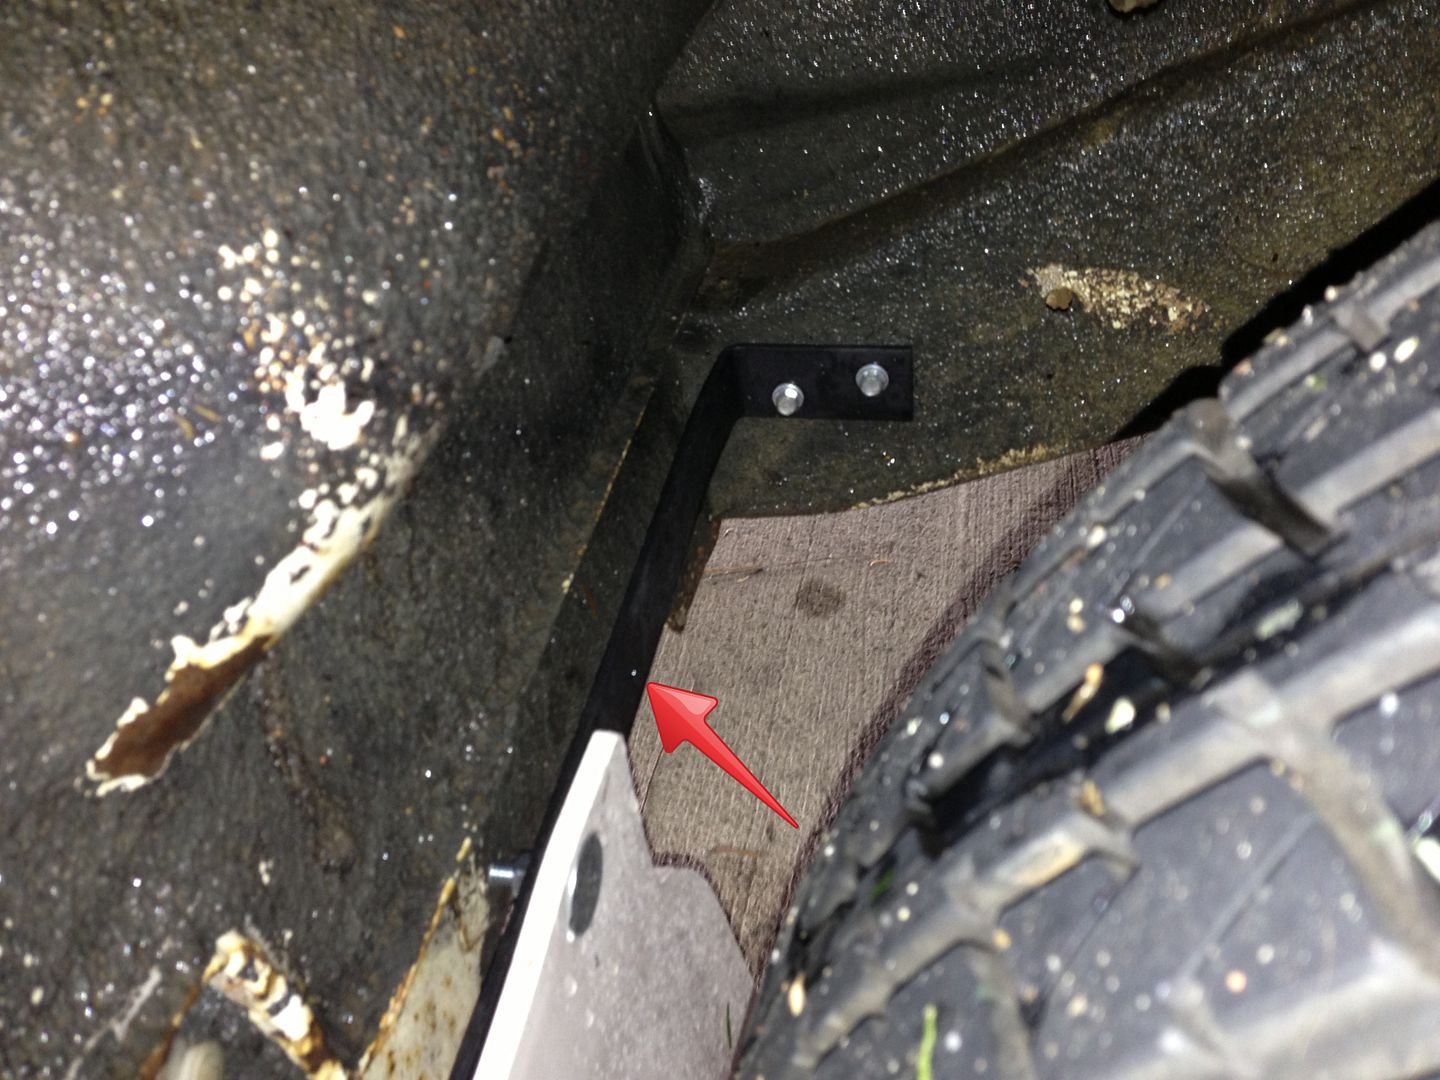
Here is a pic of how I mounted them. The red arrow points to a hole that we drilled so if the mud flap moved up and down or made any rattling noise, we could put a spacer and another screw in it and screw it to the body. So far my first test drive went good with out it.

file_zpsc1f00a48.jpg


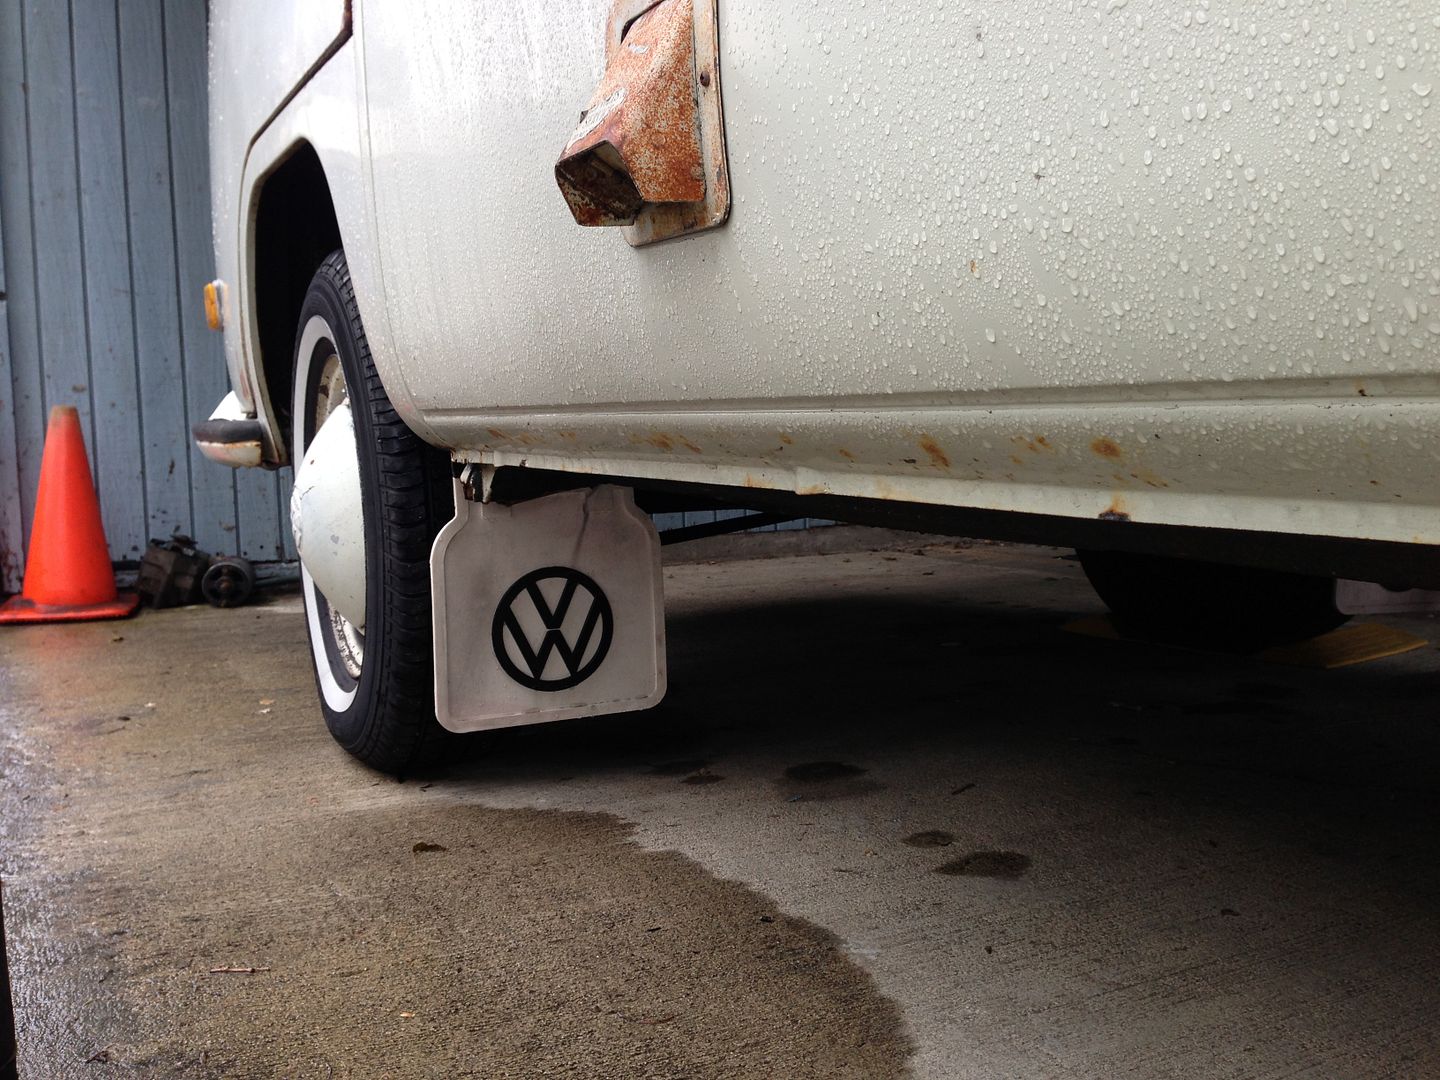
One last pic of another side view. It was raining today and it did a good job of keeping the water off the side of the bus! LOL Ok just kidding. :D

file_zps5098f5bc.jpg


Now I just need to wait for a sunny day so I can clean them. They got pretty dirty laying around in the garage.
 
Just a little update.

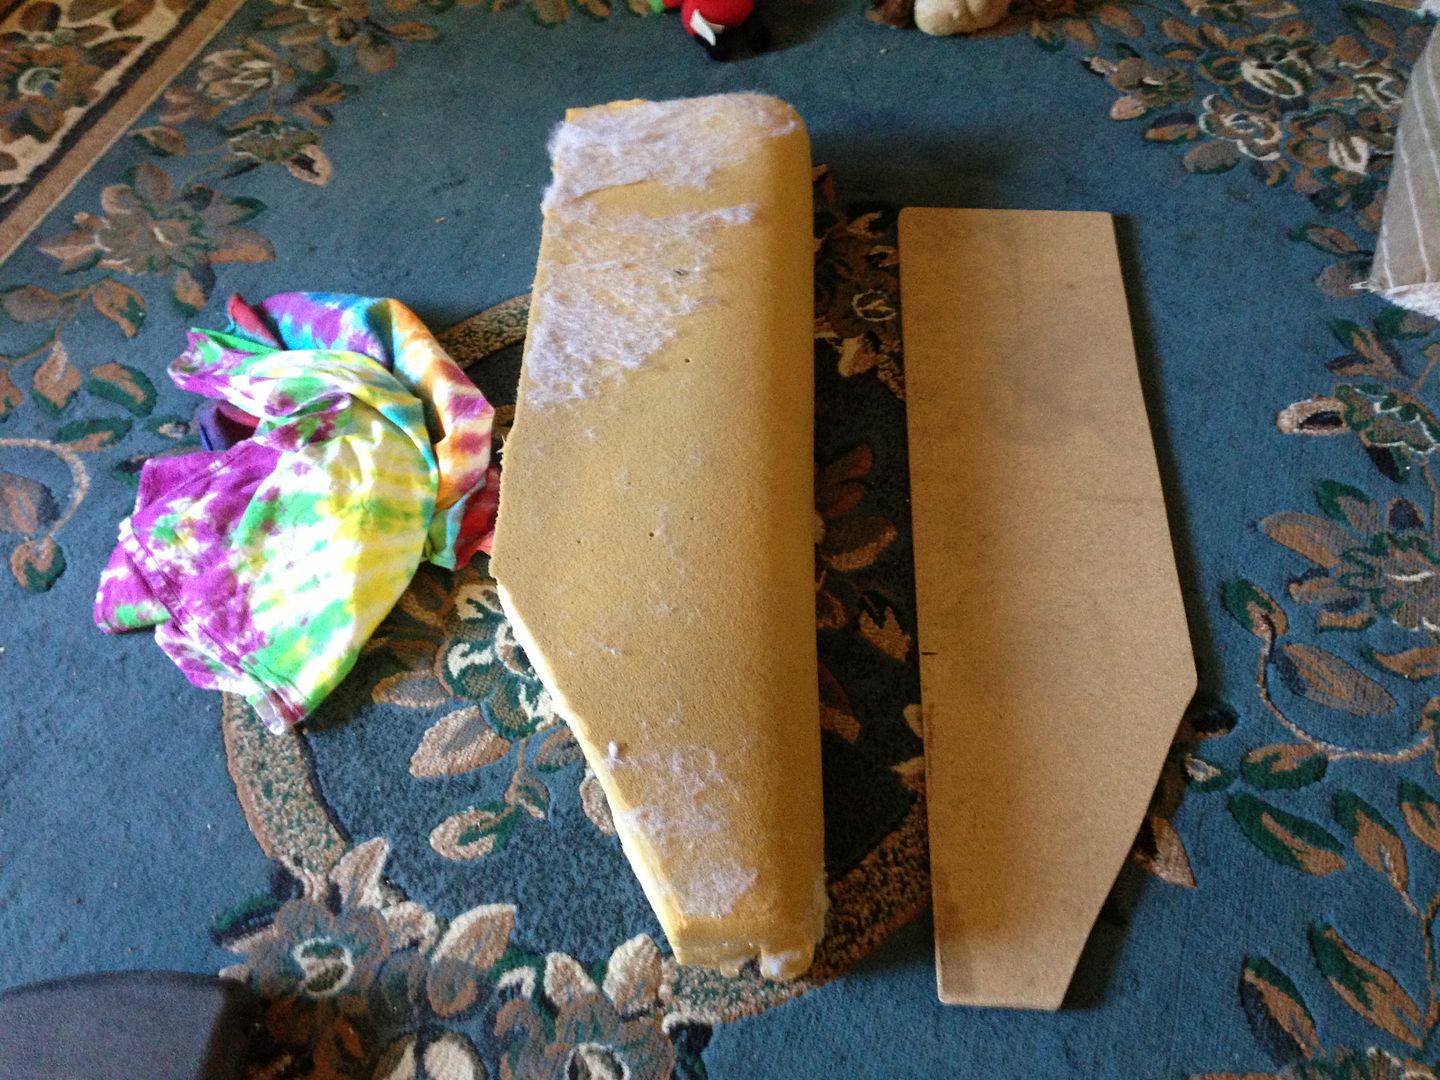
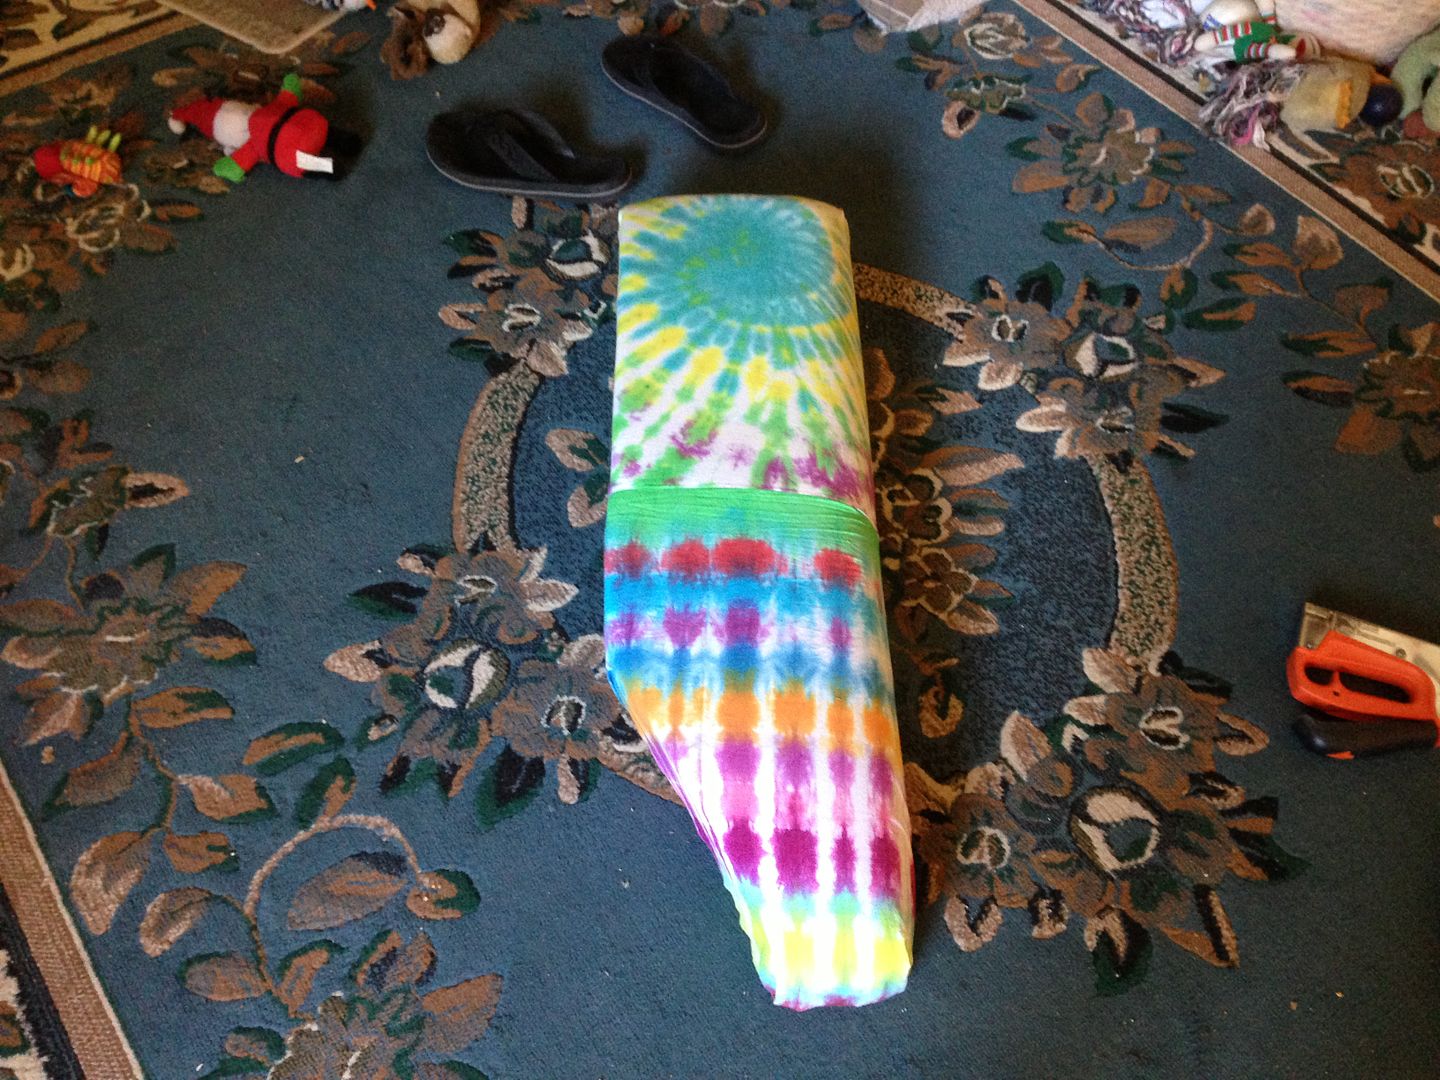
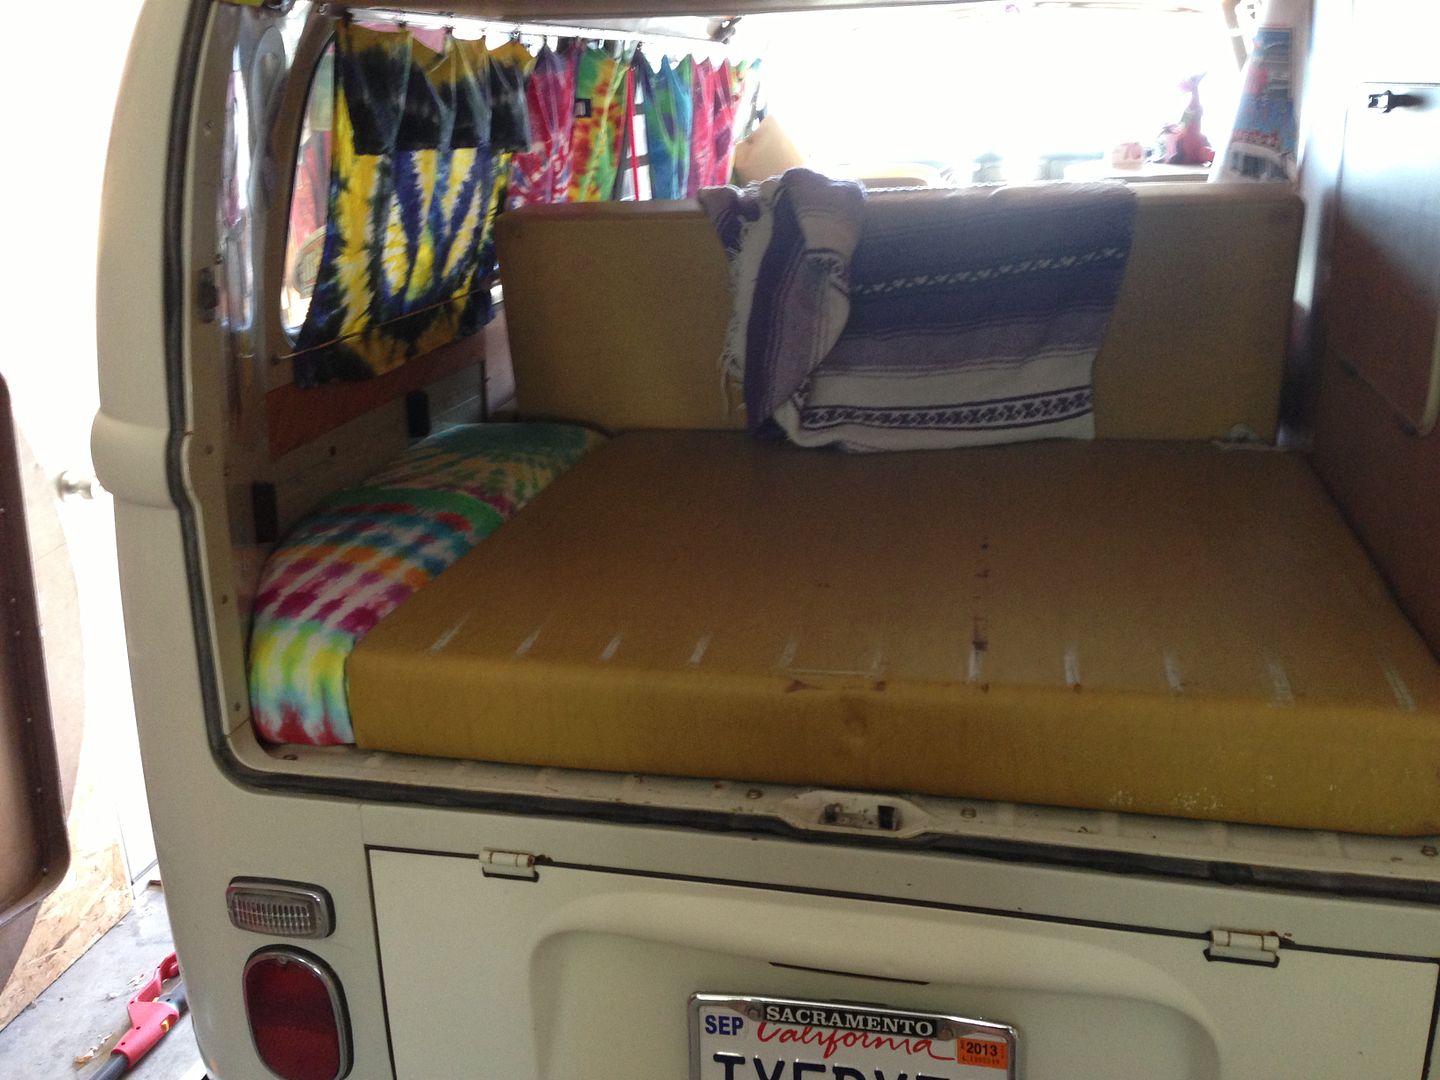
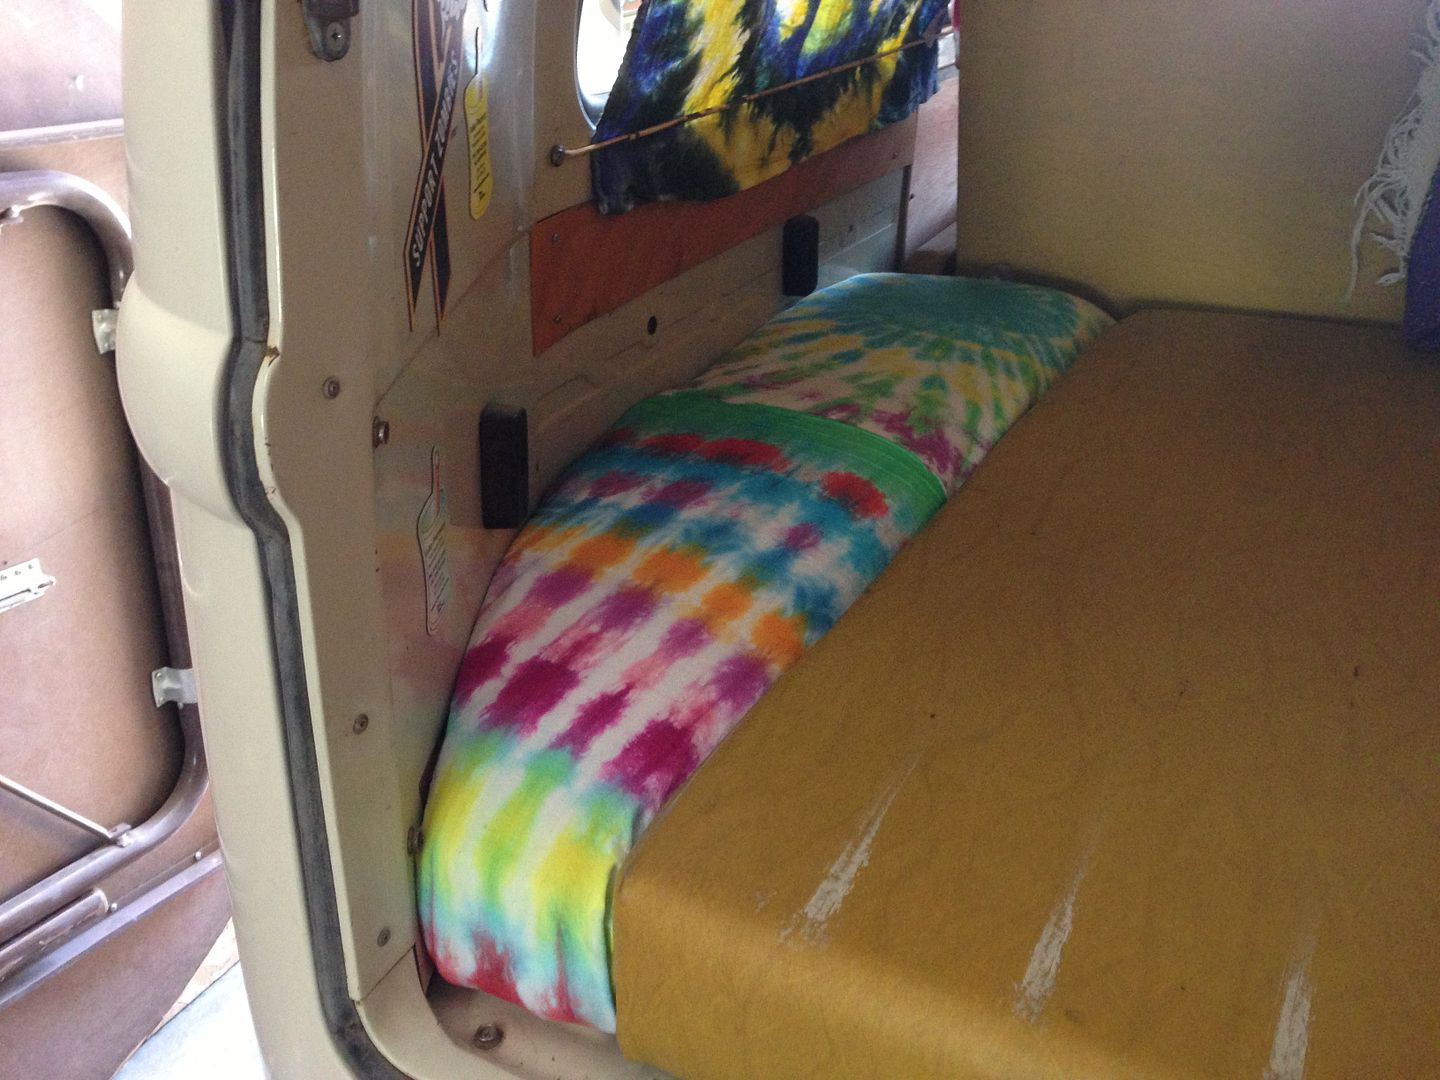
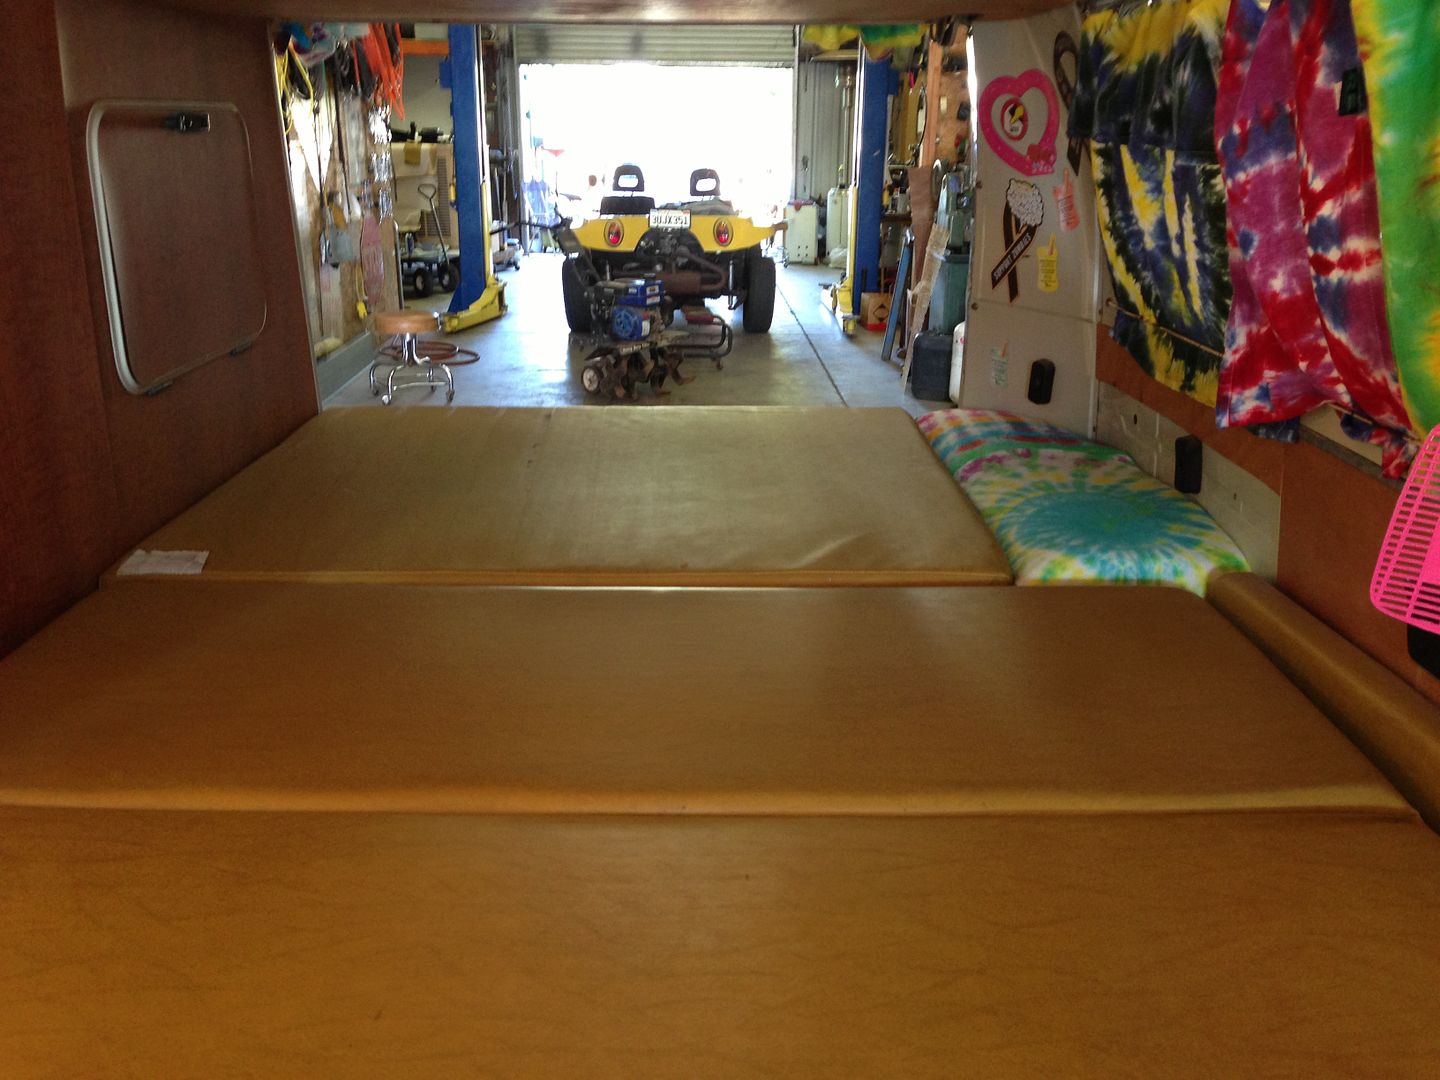
Today I made a spare tire pad. :D

Started with this.


All put together,


Put in place.


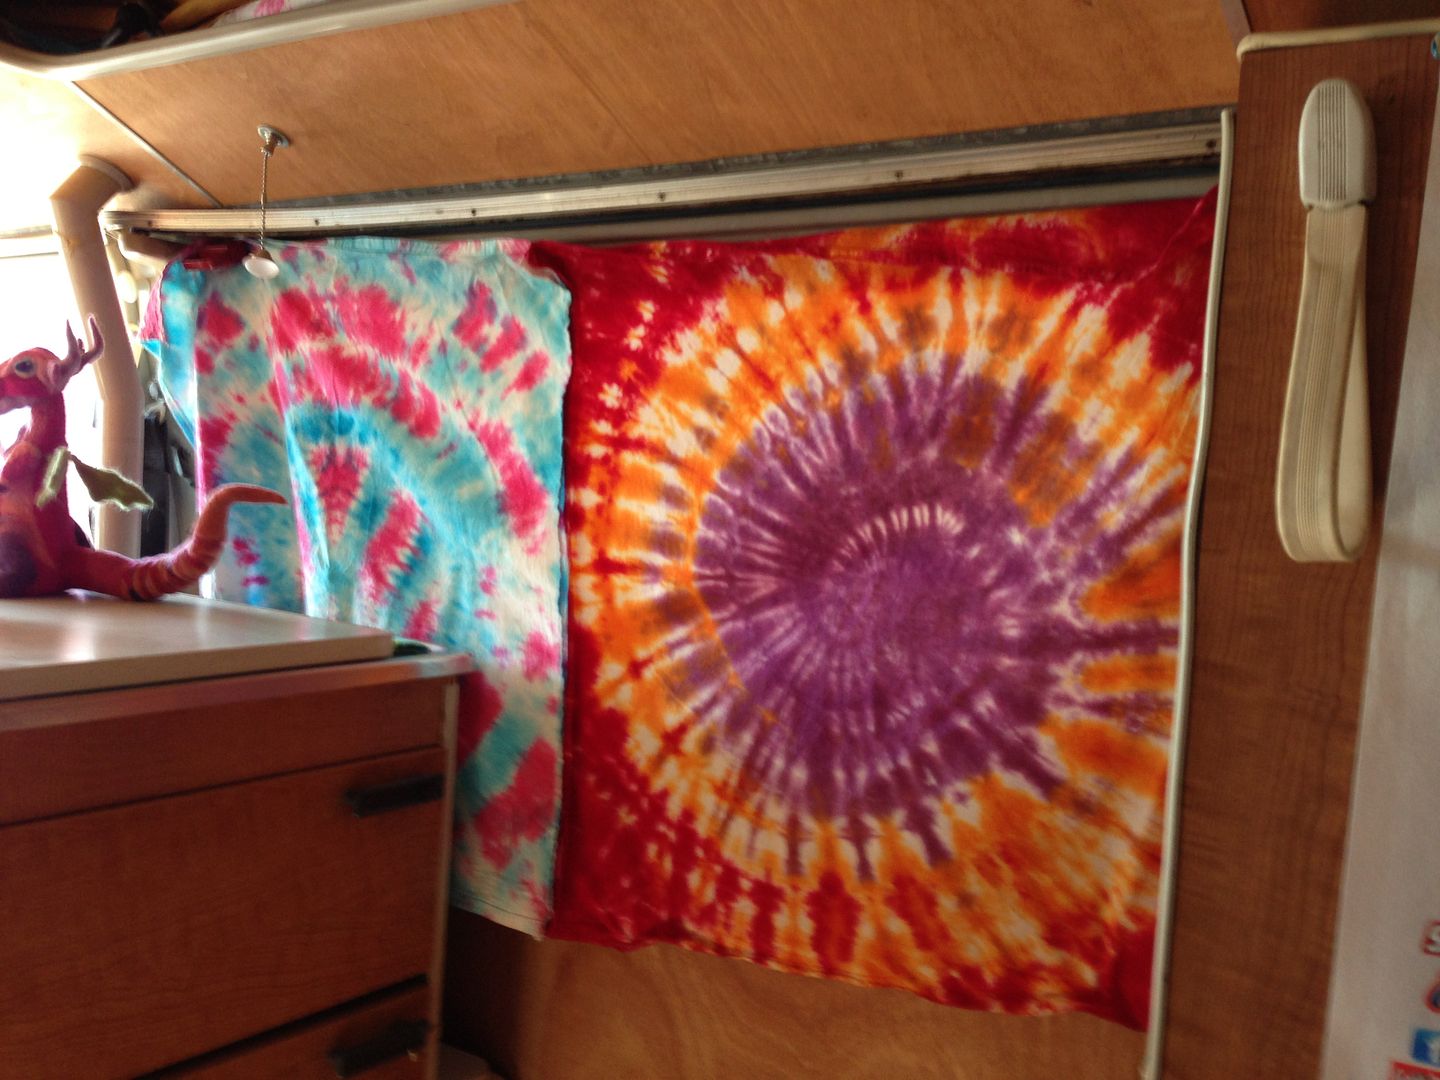
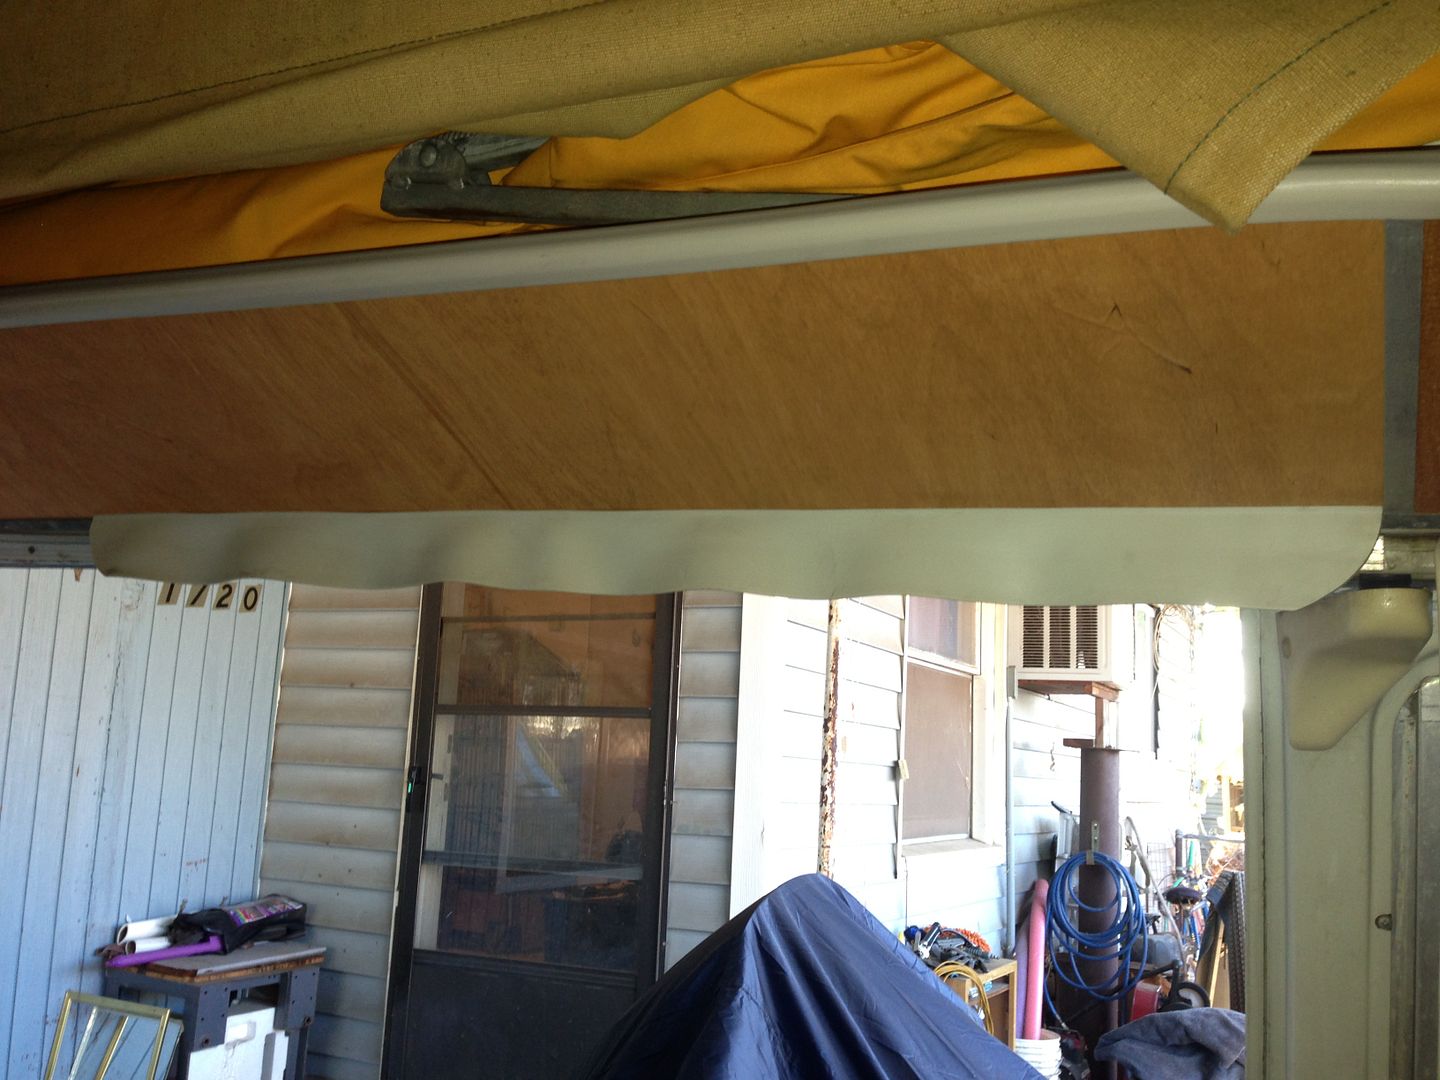
Also made a curtan for the slider. It's going to be held on with a couple magnets for right now. Eventually I will find the hangers that slide in the track. I had a couple packages of them but can't figure out where I put them. LOL


I'm all ready for camping now. :D
 
Today I installed some fun stuff in the bus. :D

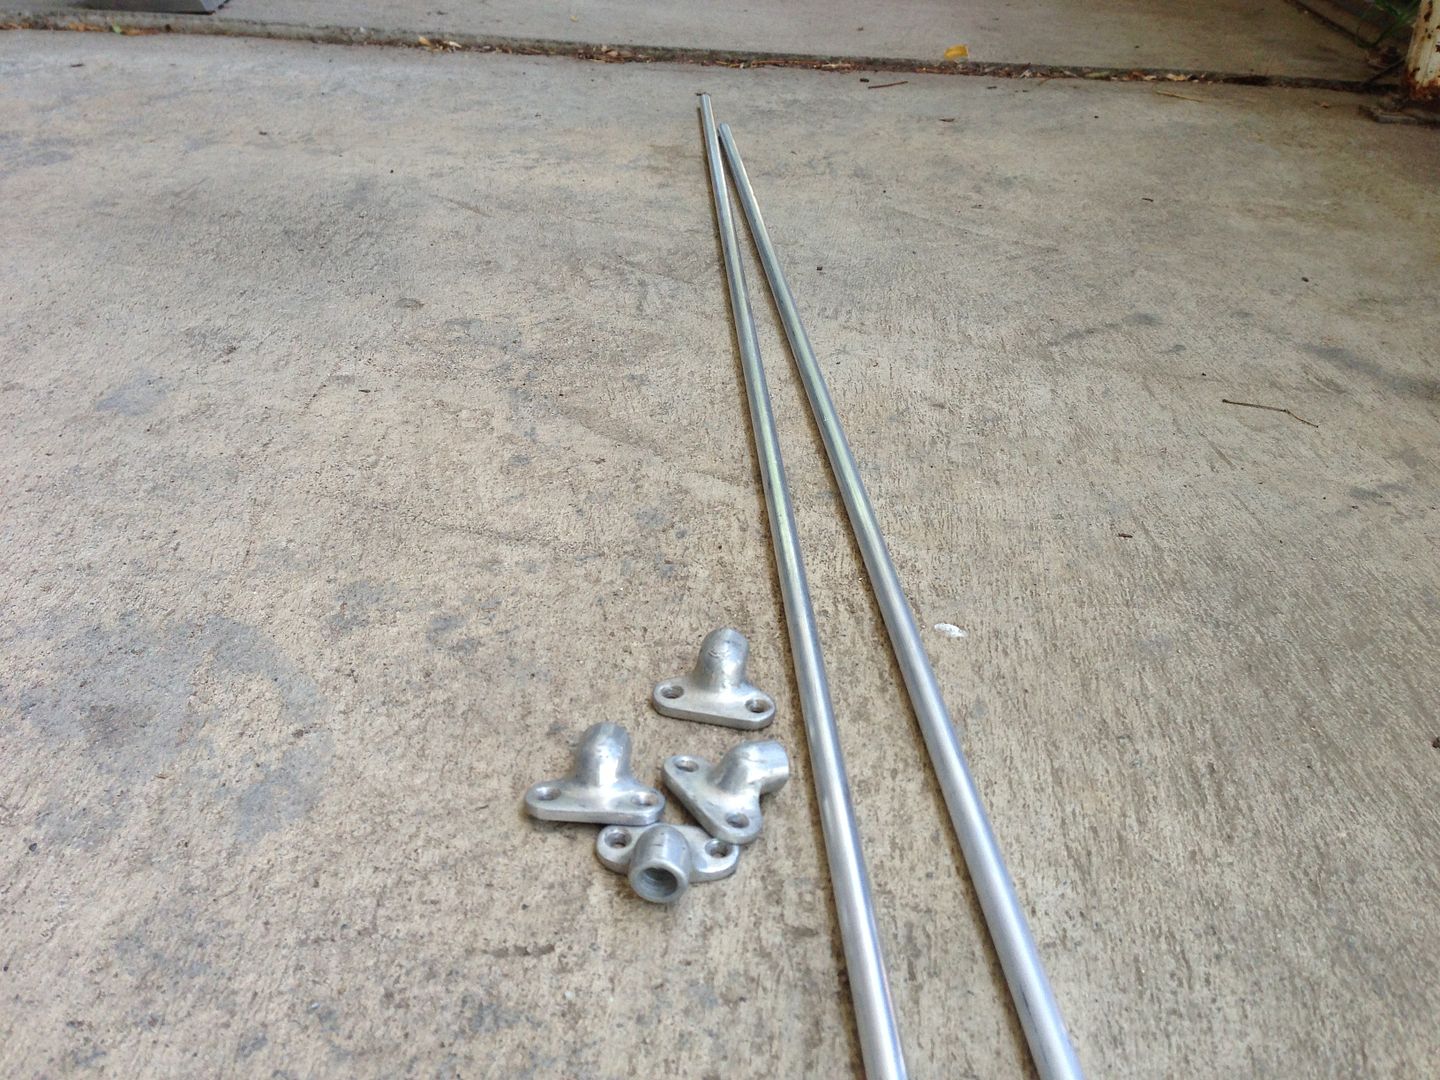
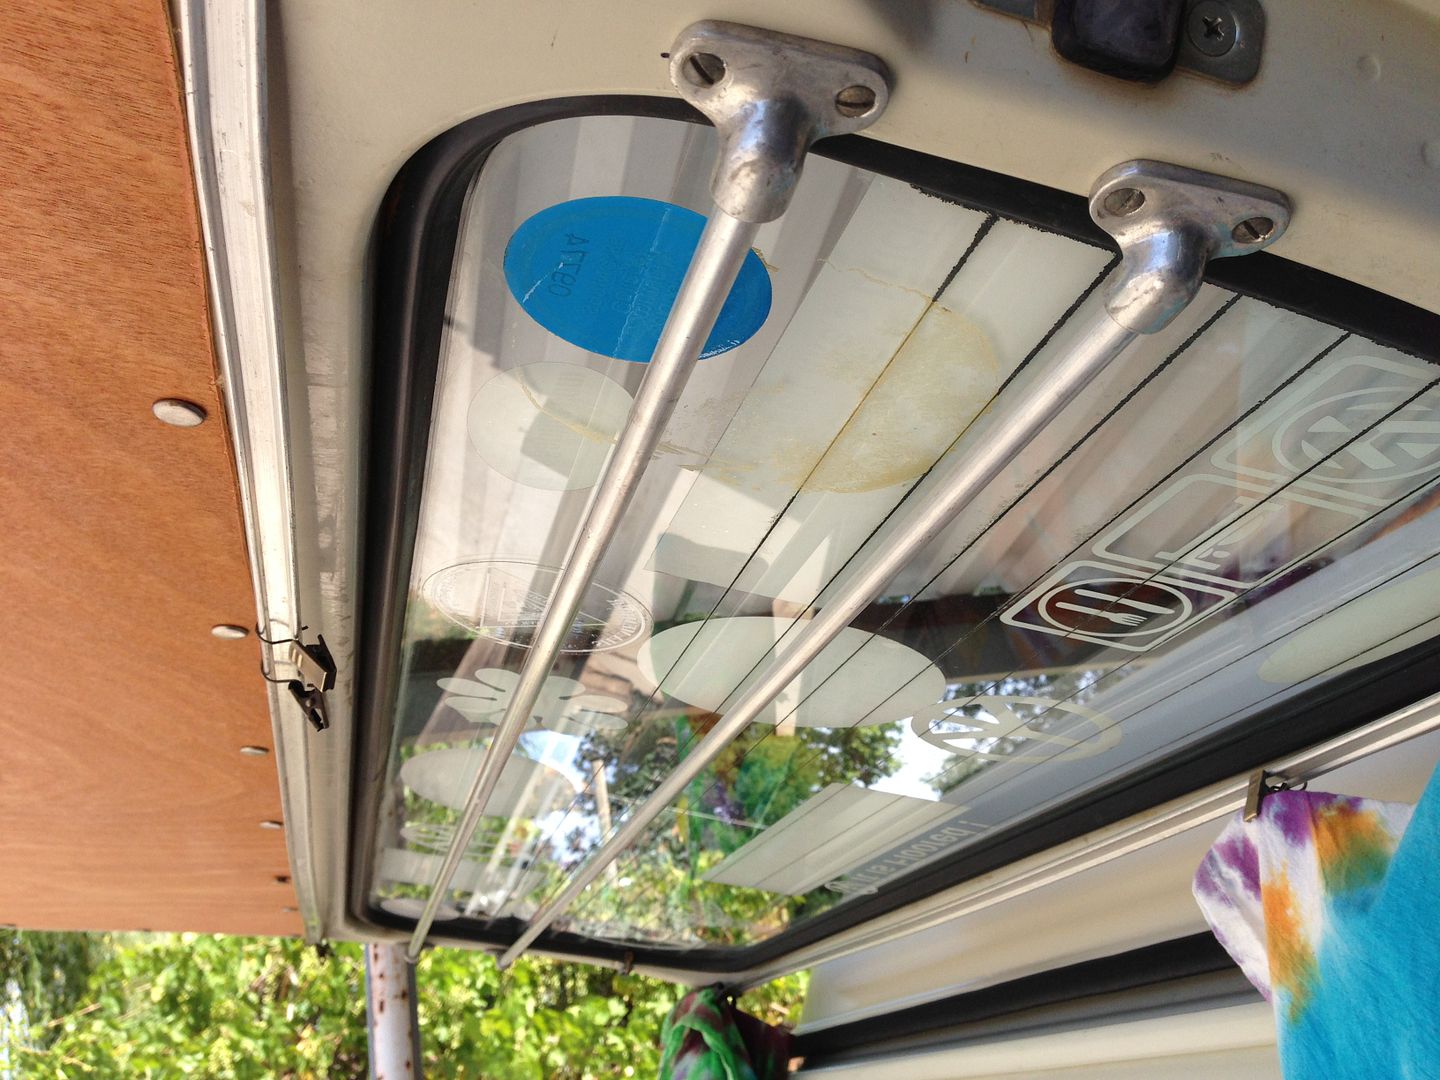
I had some jail bar mounts but no bars, so I ran down to the local aluminum store and bought to bars. Came home and installed them. The first holes I have put in my bus. :shock:

The parts,


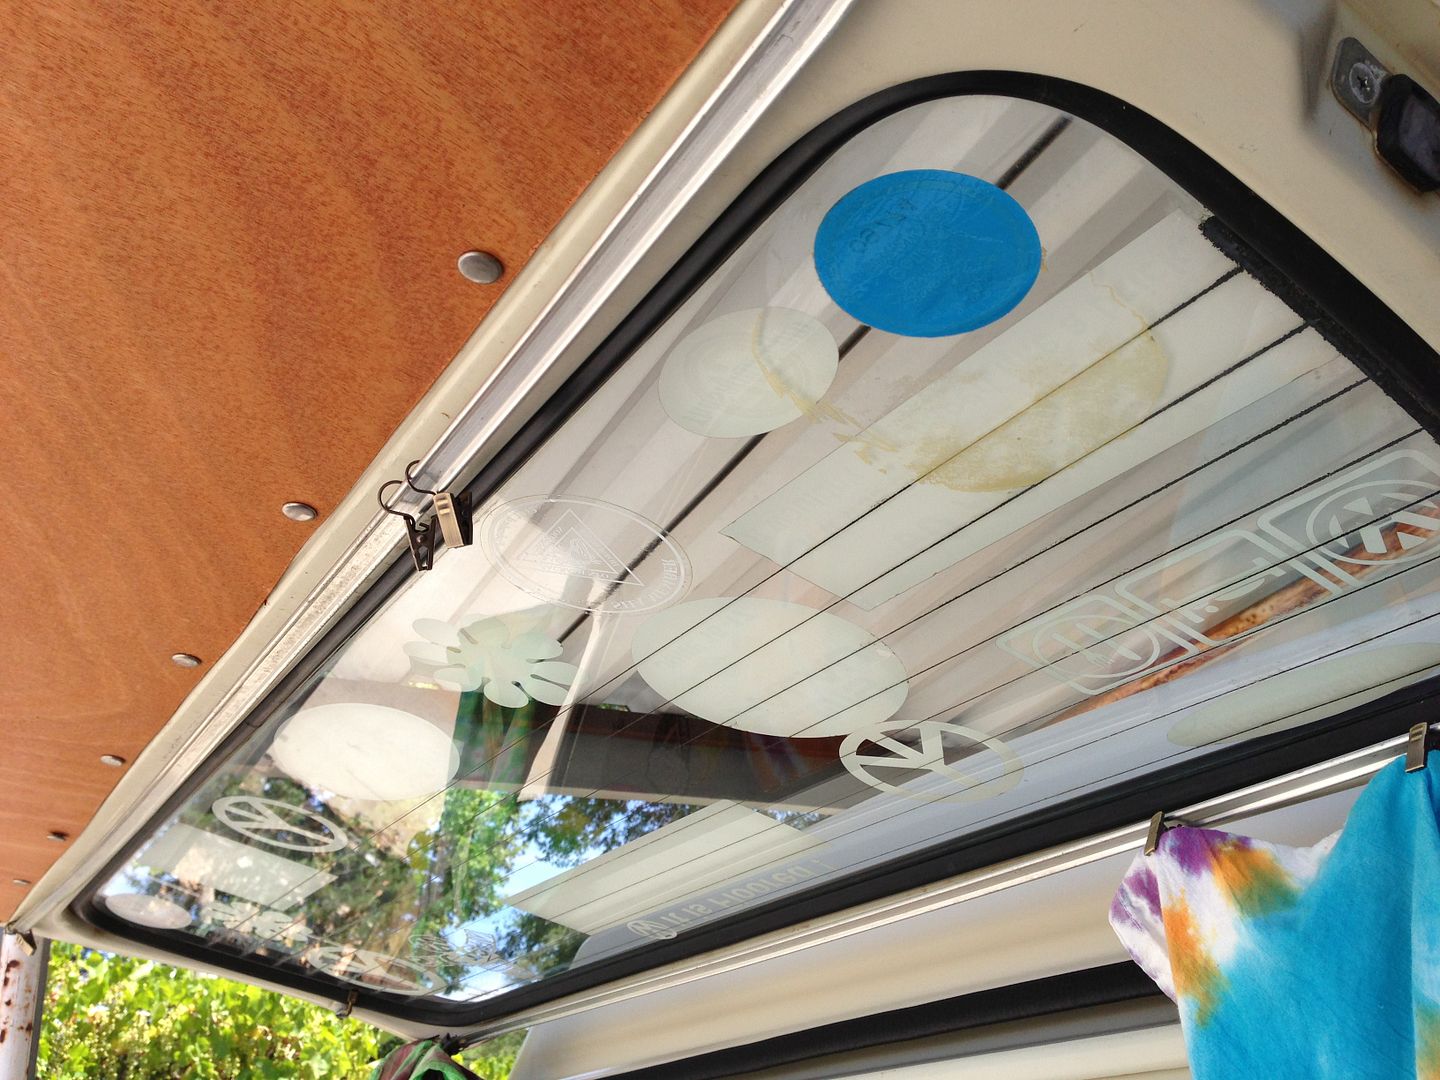
Before


After.


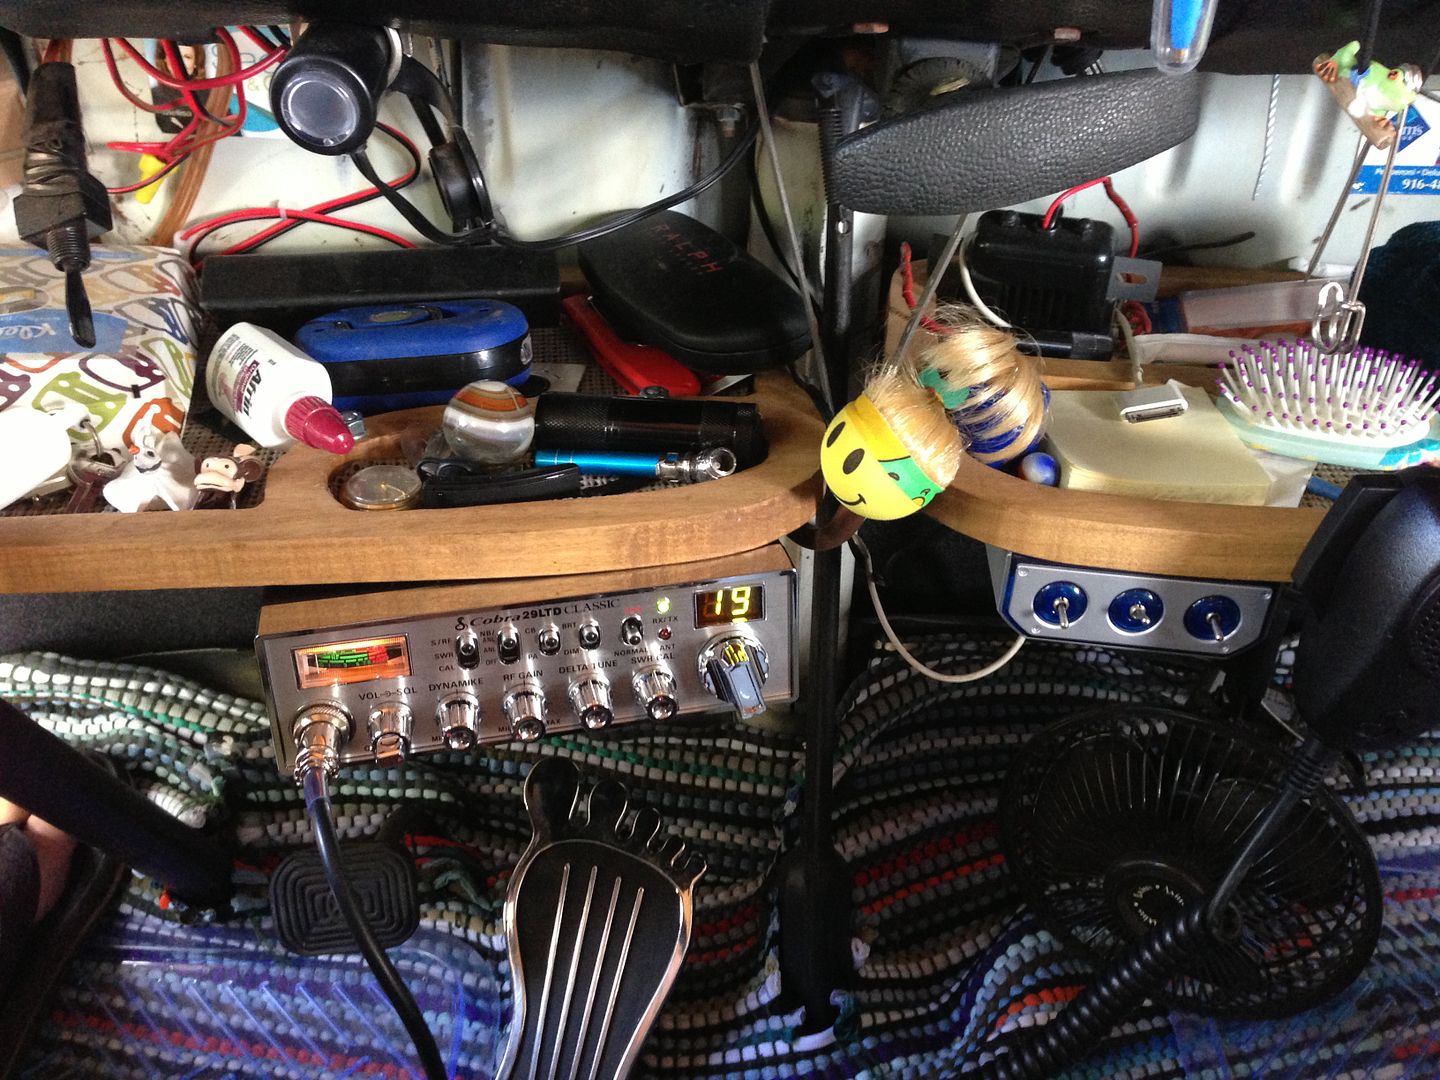
I also installed a CB. Not sure why, but just thought it would be fun. Ok, I actually wanted it for not only the "period look" but also to use as a "walkie talkie" when we travel in caravans. I figure I wont need a walkie talkie though, as mine is mounted in permanently. Well kind of. :D

I mounted it to my under dash shelf.


I probably won't get to use it often, but I have it and will turn it on when I'm going down the freeway, maybe I will get lucky and hear some truckers talking. Now I need to come up with a CB handle. :D
 
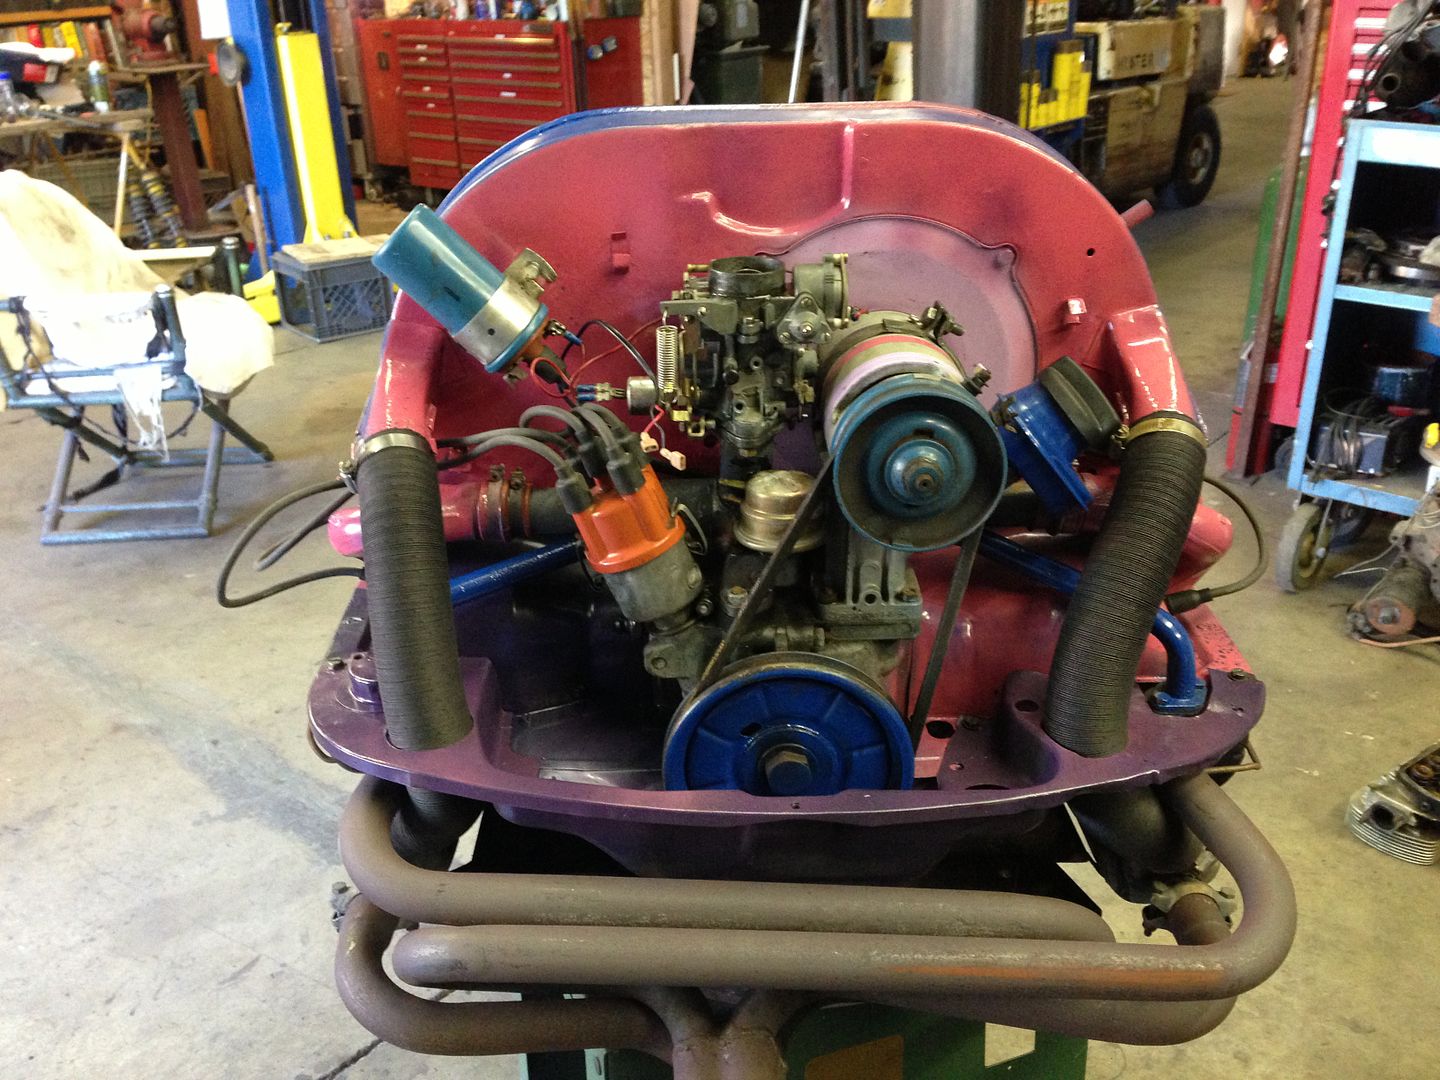
I have been wanting a 1776 for my bus for a while now. We decided to save some money and just pull the 1776 out of the 64 bus, put new oil cooler seals in it because it was leaking pretty bad, then put it in my bus. We would put hubby's "built" 1776 in the 64 since I didn't really drive that one that often. ( I don't like the built one because it doesn't want to idle with just one carb and hubby doesn't like dual carbs)

So we pulled the 1776 out and after hubby cleaned it up, I did a little painting. Figured I would make it match the buses theme. :D


I then pulled the 1600 single port out.
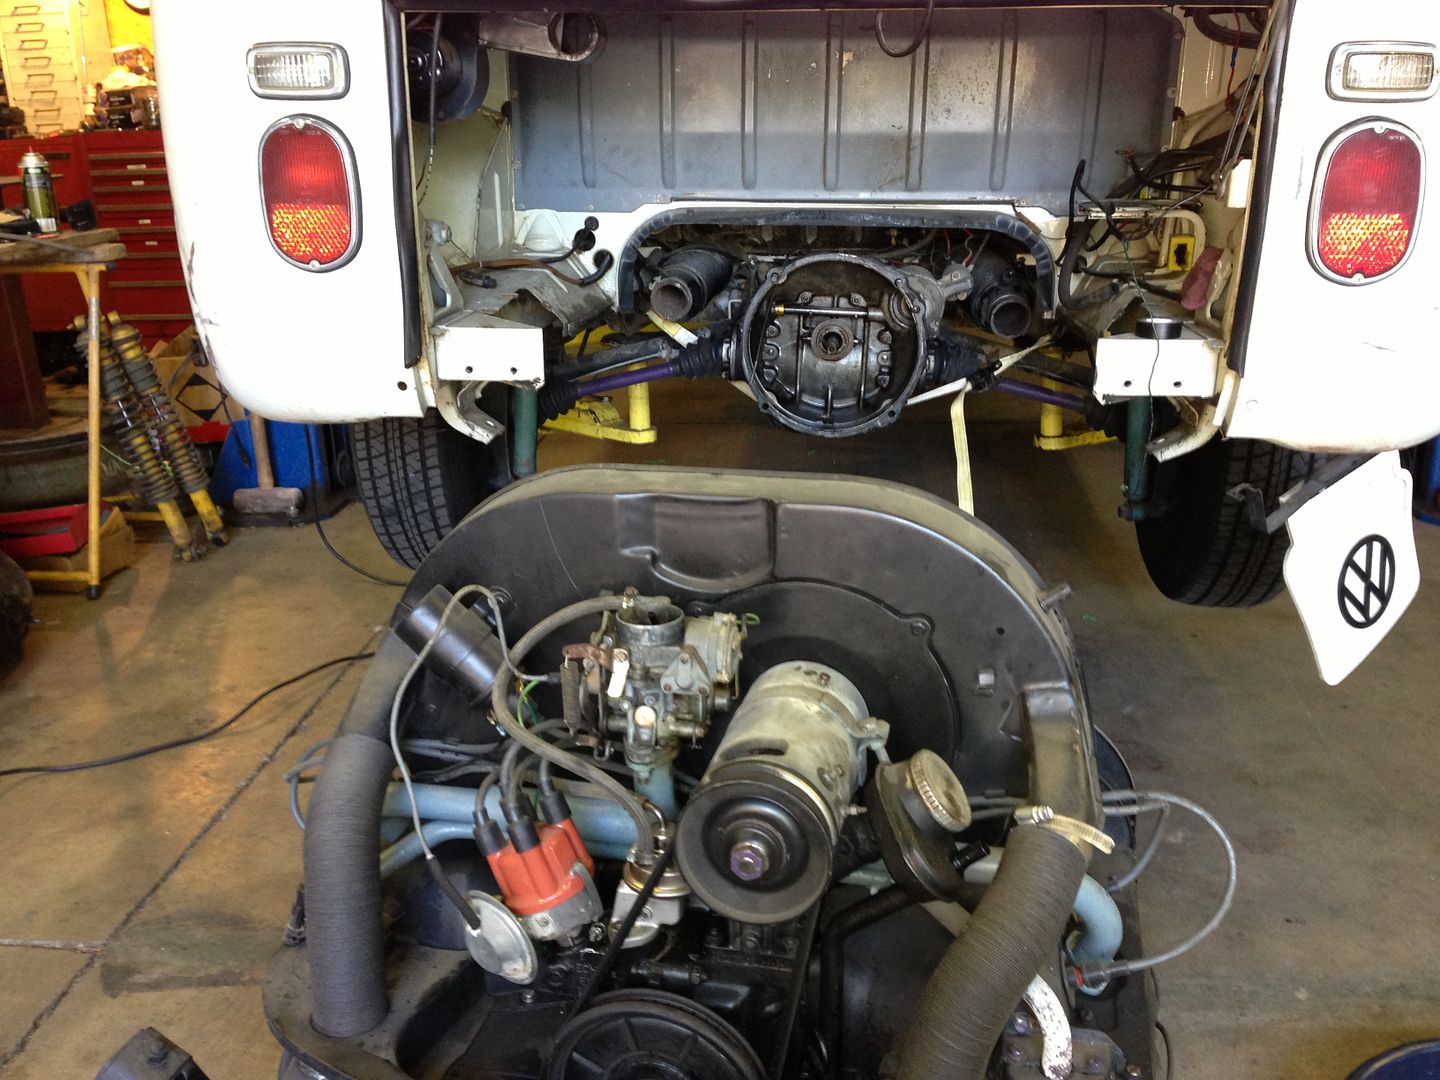


We had to get a new exhaust because we didn't want to run the bus muffler and the header that was on the 1776 was not to my liking. LOL

I bought this one,
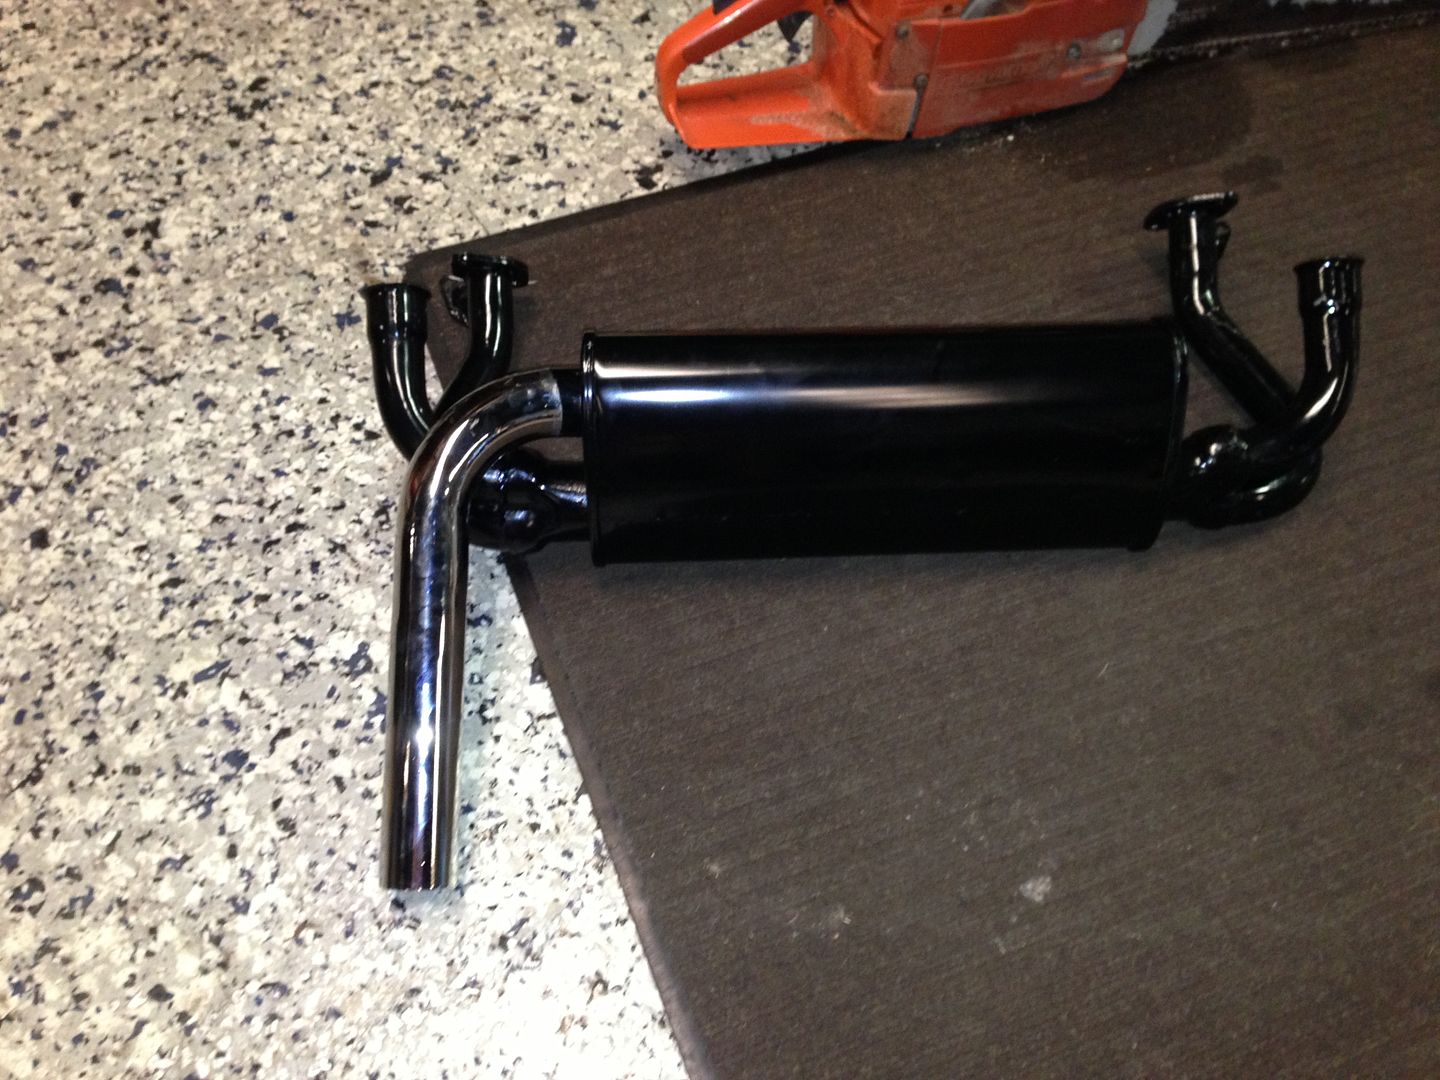


and had hubby do this to it.
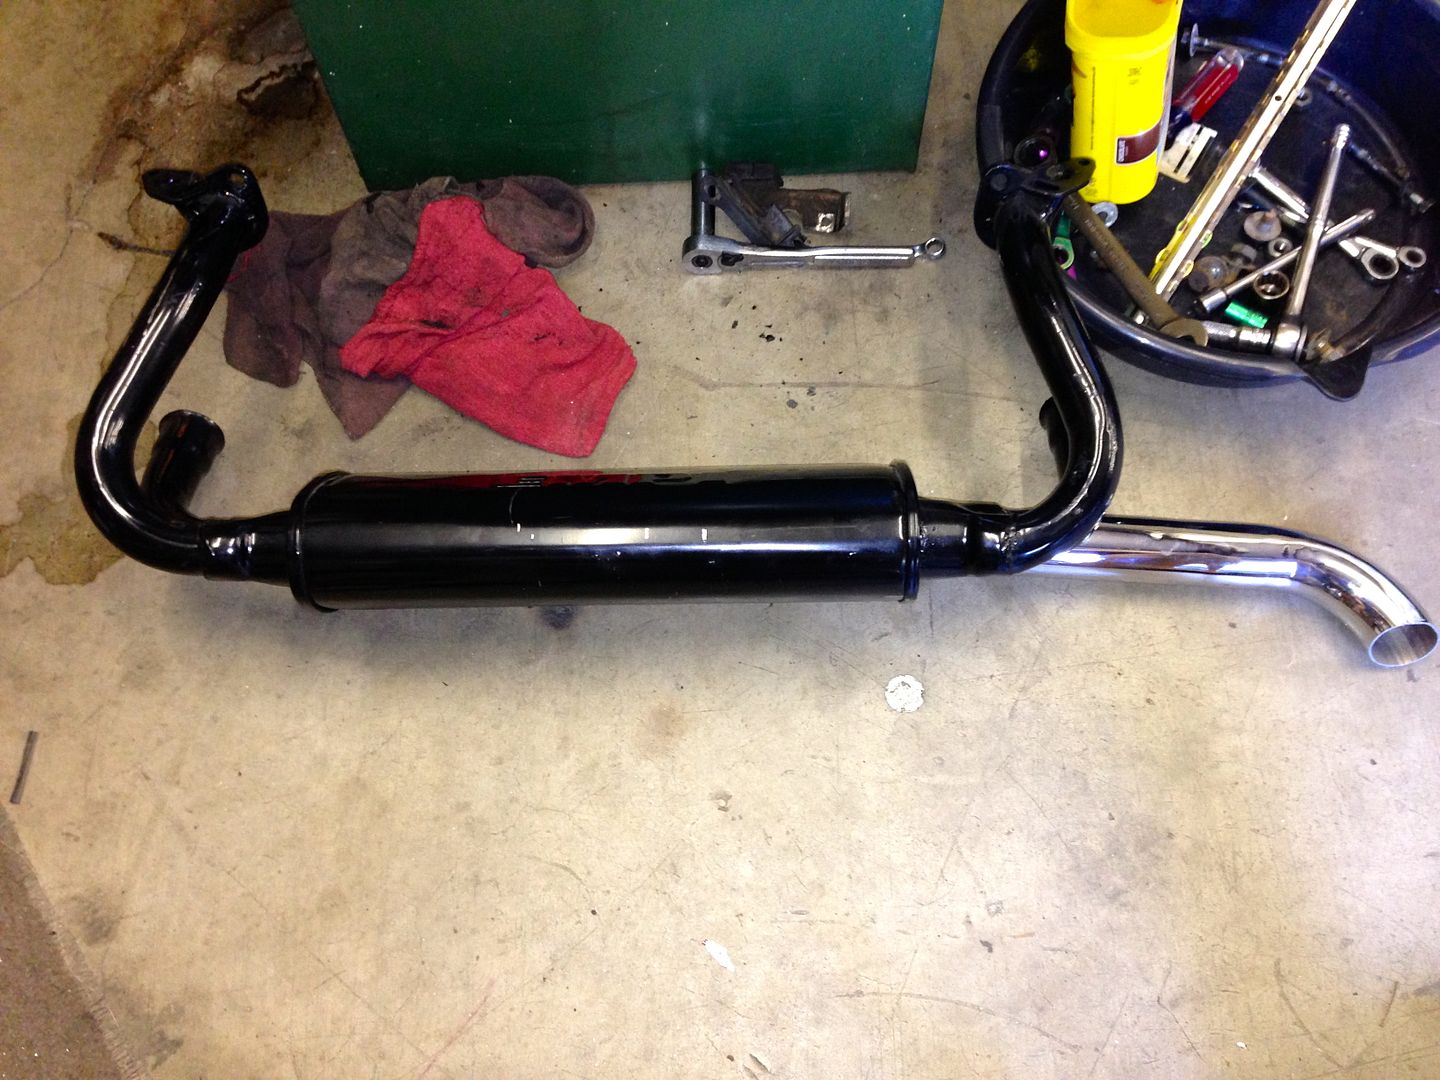


The pipe is actually still on the same side, the pic was just taken two different ways. I didn't like how the pipe came straight out the back so I had hubby cut it, turn it end for end, then weld it back on. It worked great.


Here's just a neat shot (It thought it was neat. LOL) of the motor waiting to ge back in.
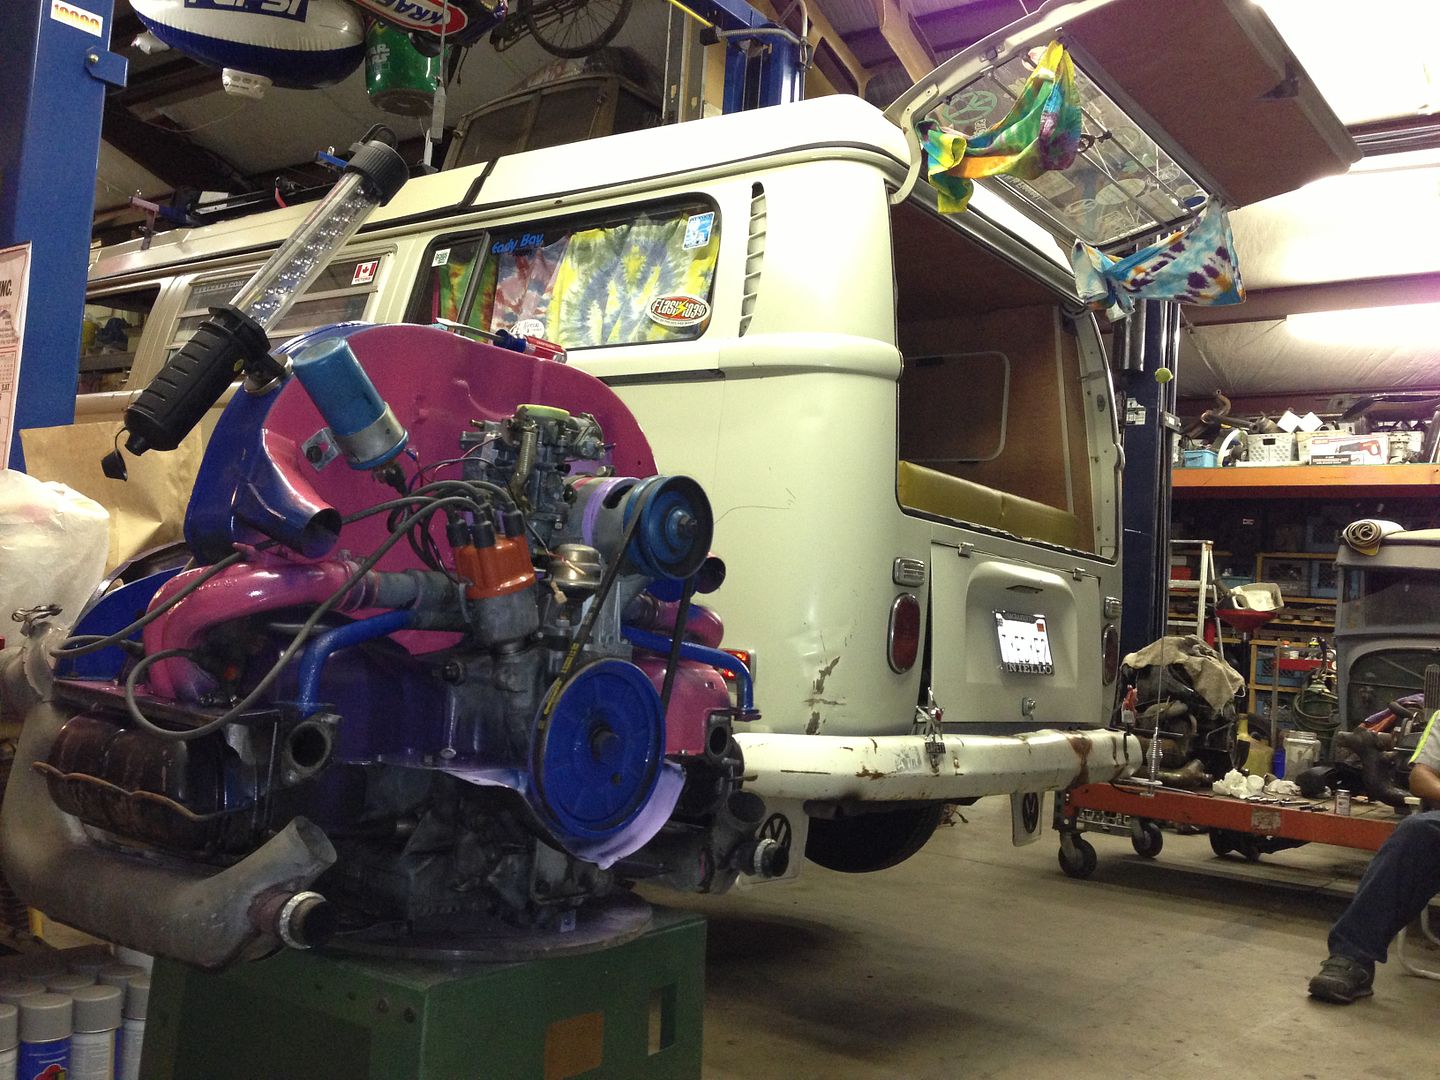


AFter the exhaust was done, we put it on and put the motor in the bus.
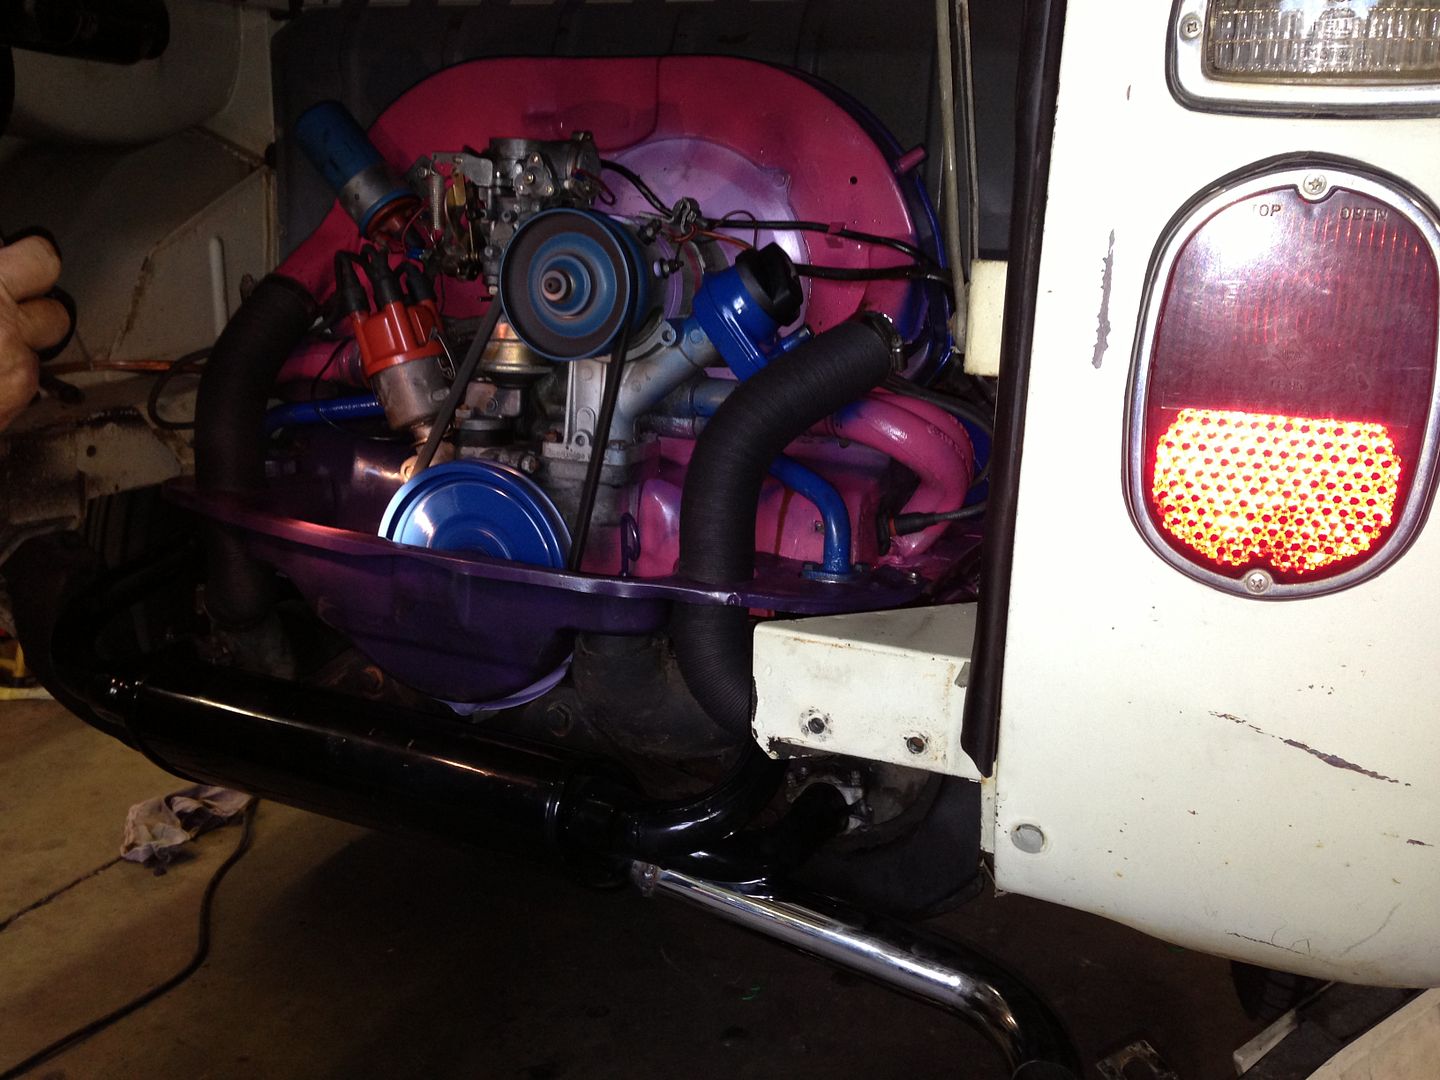


Then hubby told me to shut it down and tomorrow I could pull it back out. He thought I may have pinched an oil cooler seal because it was puking oil out of that area pretty bad.

The next evening we put new seals in again and this time we ran the motor to check for leaks before putting the fan shroud back on. Still leaked. Pulled the oil cooler again and filed it smooth and then tried again. Still leaked. This time hubby was able to see that it wasn't coming from the oil cooler seals. It came from the case itself. :( This motor is history. Bummer deal. I was so looking forward to having a 1776. He is going to see what he can do to salvage it, but for now I have to put a different motor in. We had gotten a 1600 dual port out of a burnt beetle that we bought not to long ago. Our friend Dewey went through it and put what it needed on it to get it running and was using it in his bus till we got his motor rebuilt. So we pulled it back out of his bus and went through the process of R&Ring some of his pieces and parts and putting my stuff back on it. Then we installed it in the bus.


Not thrilled with the red intake but that is the color he painted it and I didn't want to pull it all apart to paint it a better color. :D It is a temporary motor anyway. I do still plan on putting a 1776 in it but for now this will do.

Here is a shot of it all closed up. You can just see the tail pipe. It doesn't stick down too far, but yet just enough. It looks like it is hitting the mudflap in the pic but it doesn't. I like how it turned out and it sounds pretty good. I could have put the bus muffler back on this motor but decided to go with the new one since we bought it and modified it. Sounds pretty good too. Not to loud and not to quiet. :D


I can sure tell the difference from the single port and the dual port. I know I will miss the torque the single had in the take offs. Hope the torque in the top end of the dual port will win me over. It seems a bit more peppy on flat ground but the true test to see how much I will like it will be tomorrow night on the way to work. I have to climb a hill that normally puts me down to 45-50 mph. I sure hope this one will keep that speed or do a bit better. Time will tell.

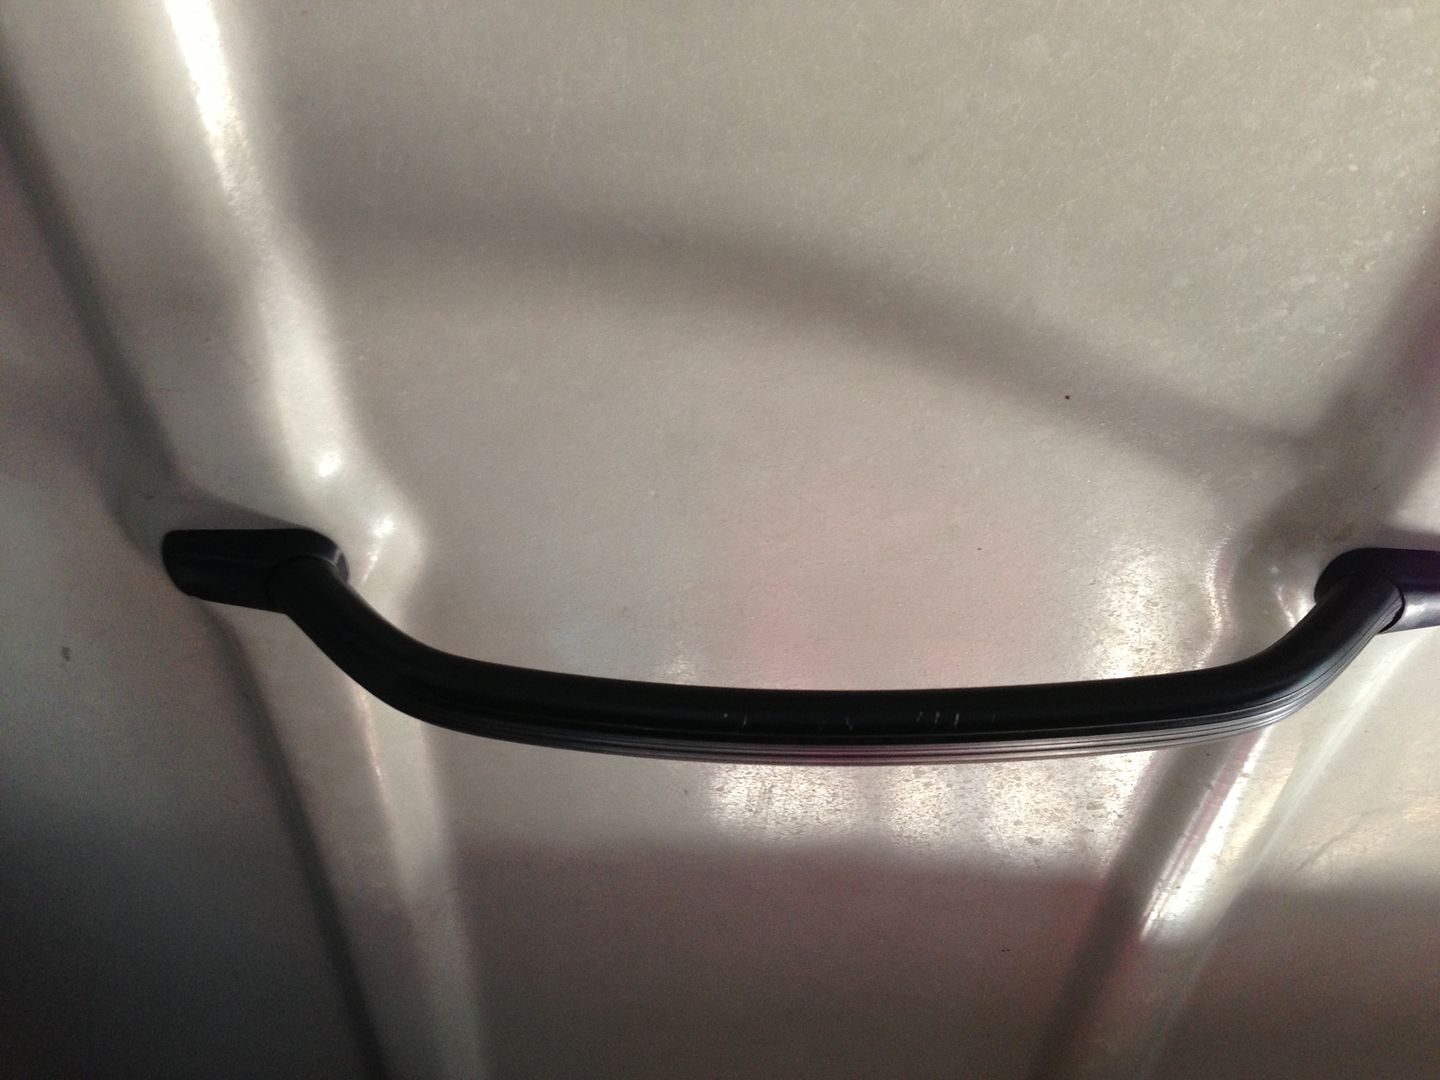
I also installed the new to me handle in my pop top. My original one's black cover shrunk and you could see the metal part of the handle. The new to me one is still in good shape.


Next on the list of things to do is the pop top canvas!
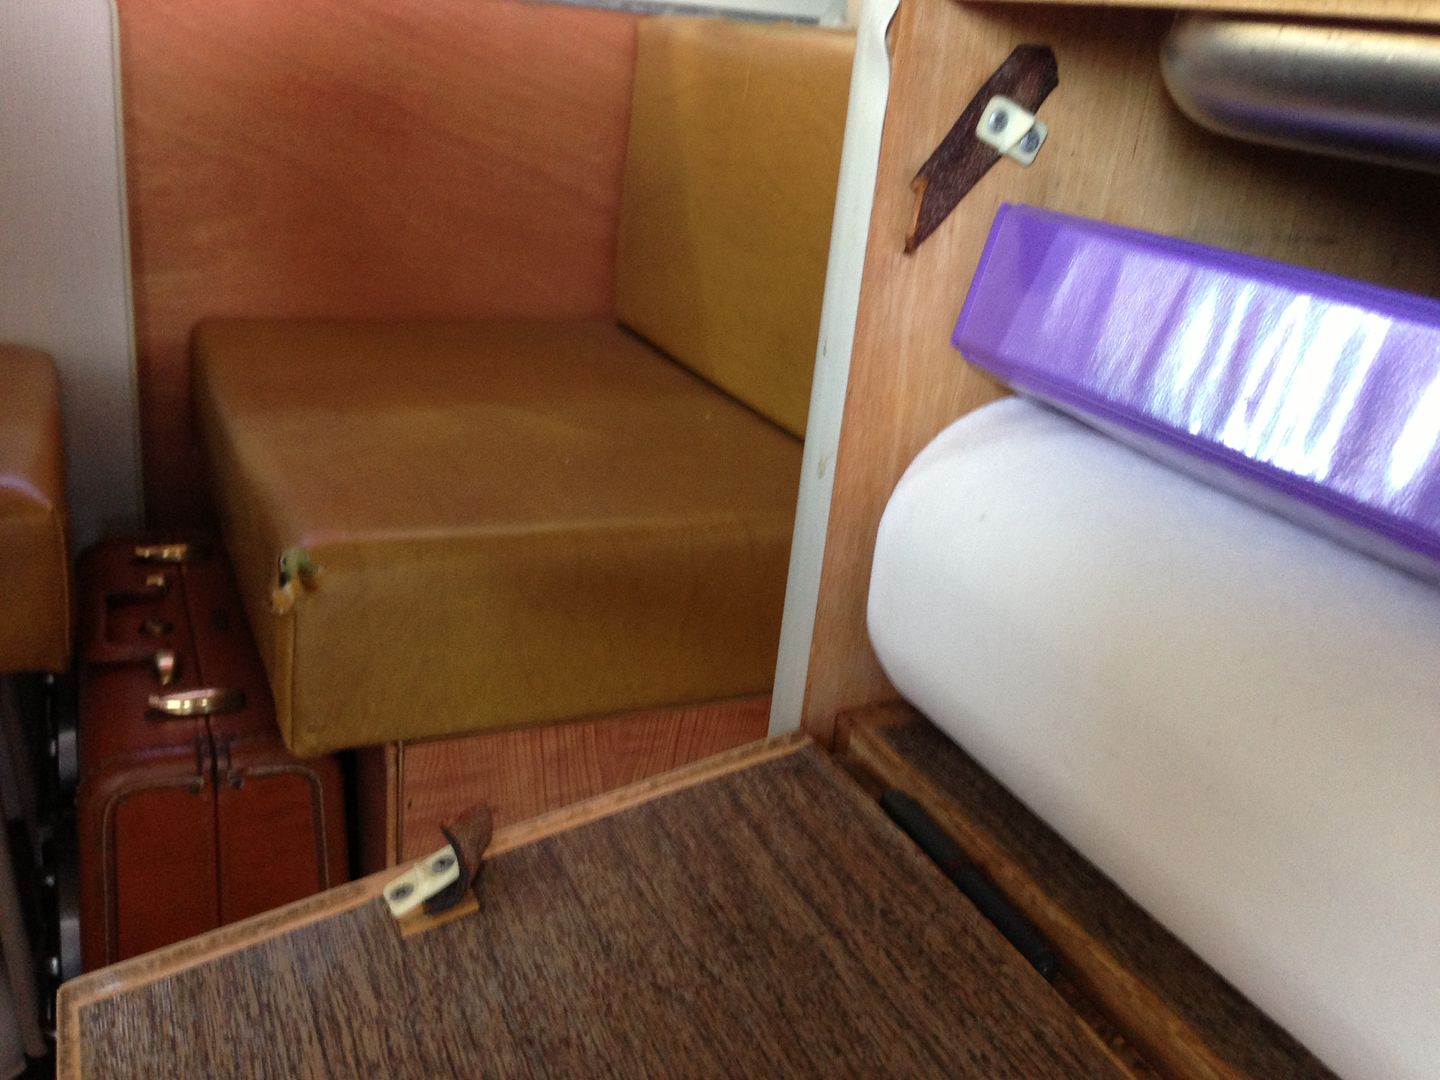
 
After only a few days of the new engine install, we decided to take it back out and try to find the massive leak. It was leaving a puddle of oil about the size of a dollar bill under it!! I don't mind a little oil leak, dime, nickel, quarter, but a dollar bill size leak is to much. After removing the engine and inspecting, some jb weld was used in some suspicious area behind the flywheel. We started on the ground the next day and didn't see any leaks. We put it back in the bus and went to start it and it acted weird. It was like the starter was stuck or couldn't turn it over. Bob rotated the motor over backwards ( I think) for a few turns and had me try again. This time it started and raw fuel poored out of the head. So we shut it down and pulled the fuel pump and replaced with a "new" used one. One I had bought for my other motor not to long ago. He also pulled the carb and replaced the needle and seat. All seemed to be ok. Started up, ran fine, and idled. Later that night we had to go somewhere so we took the bus. Not all was fine. Now it wont idle at all. Soon as you push in the clutch it dies. He tried to adjust the idle at the carb and wasn't successful. I am now waiting for that to get fixed. :(

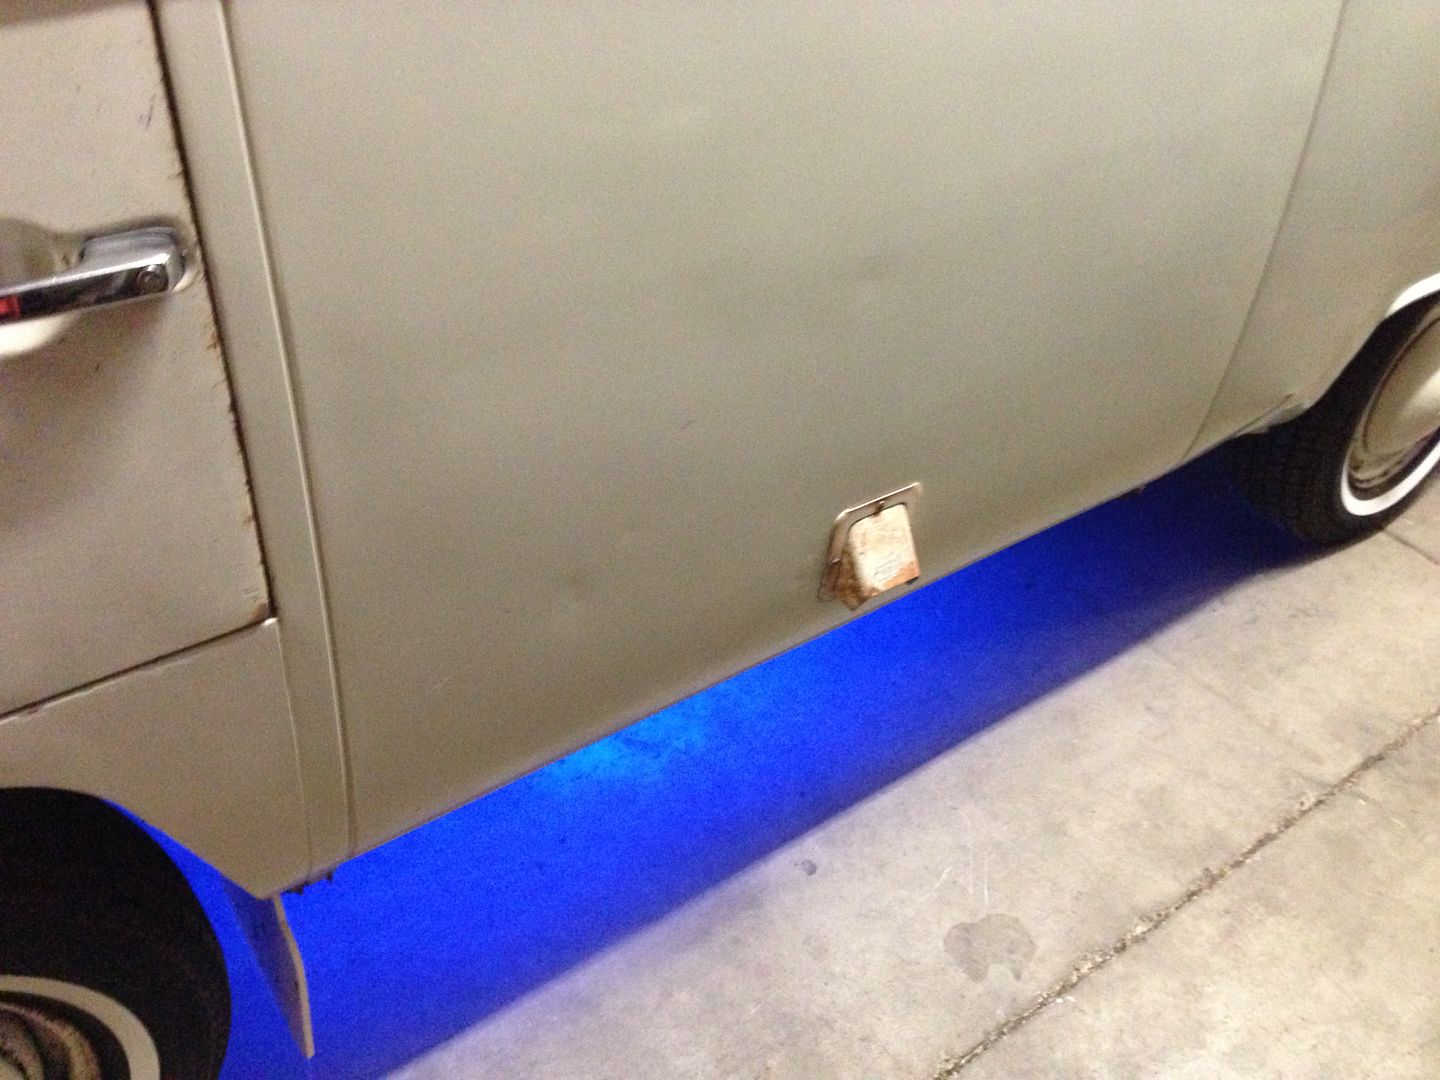
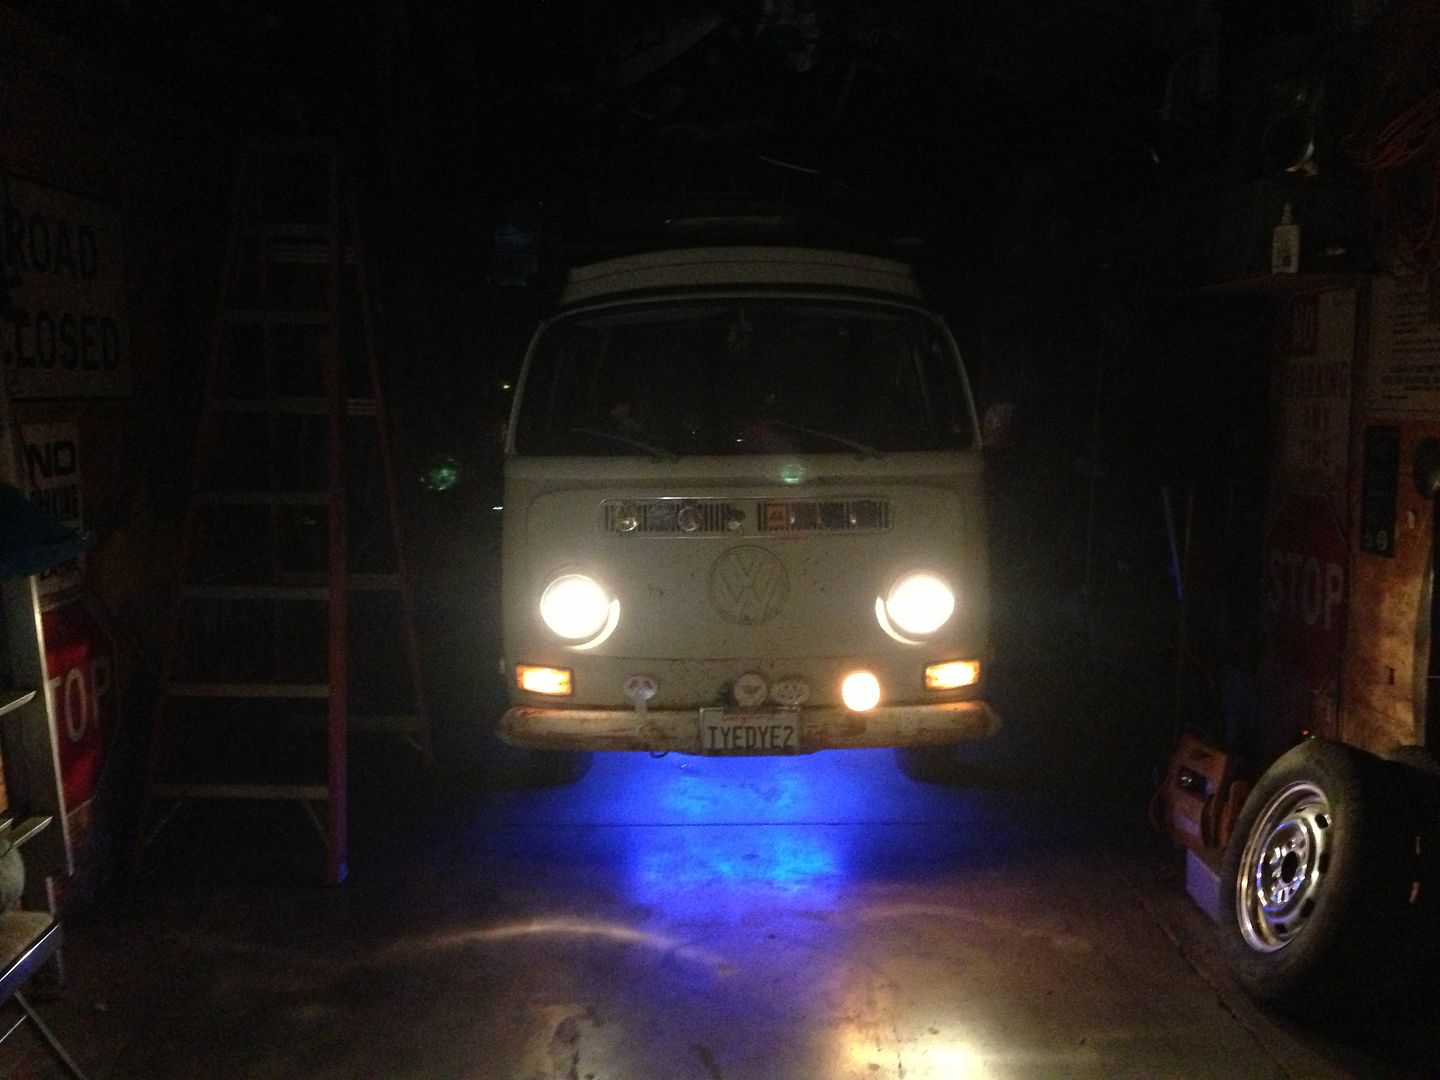
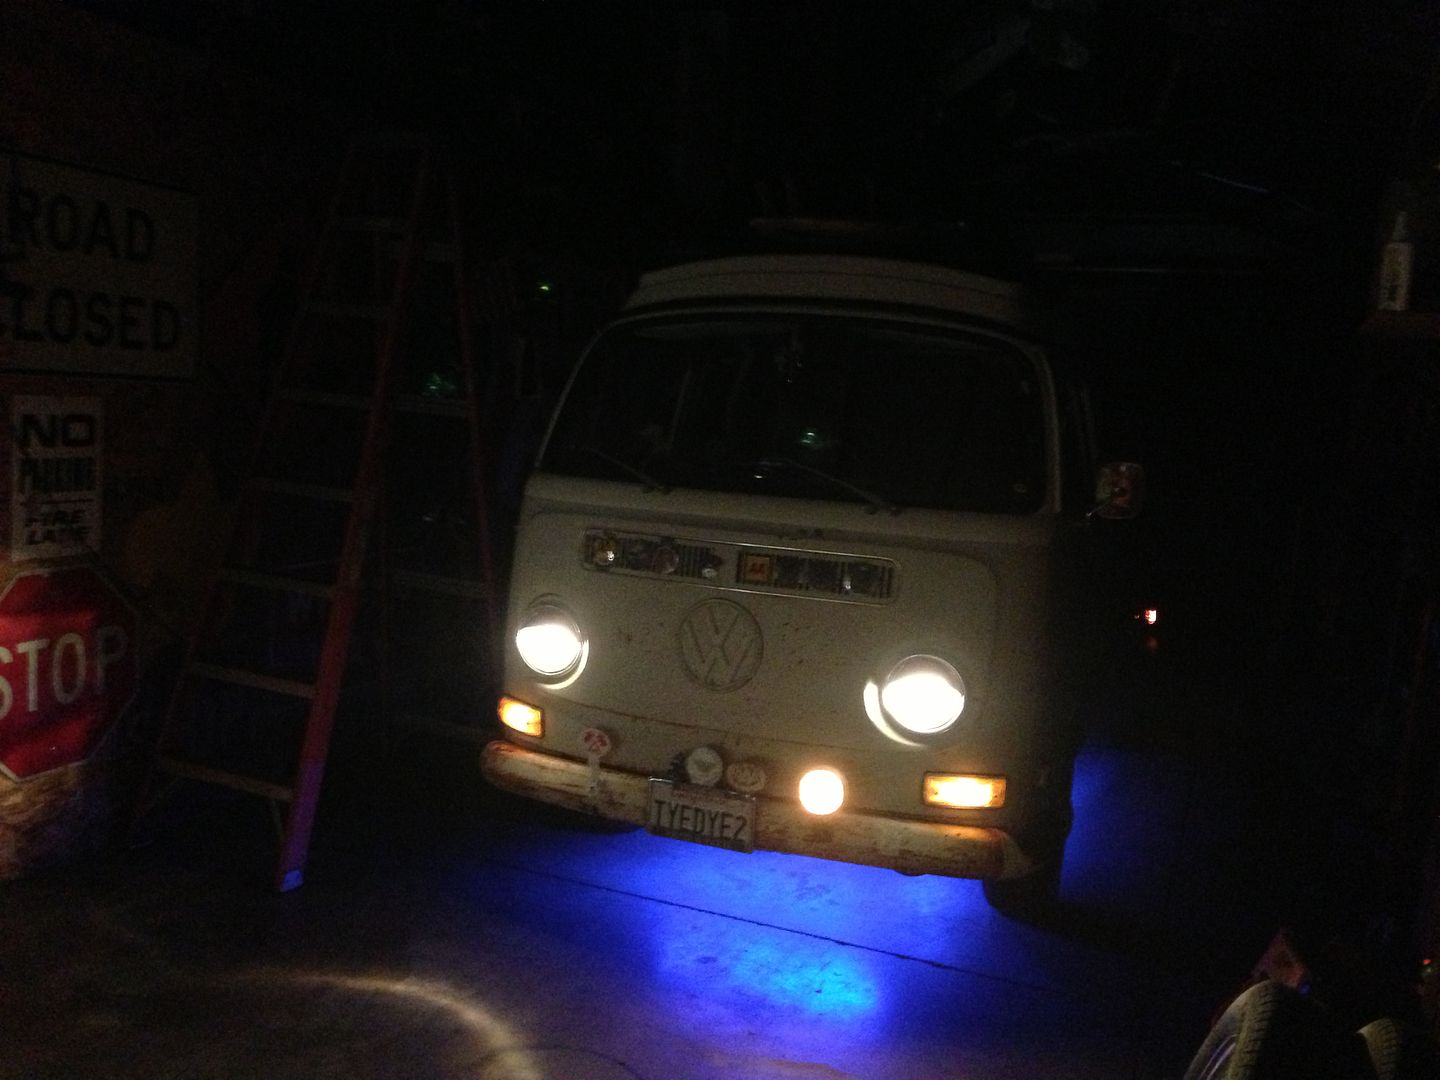
On fun note, we also installed some lights! :D


Now I just need to get the bus running again so I can drive the bus to work at night. :D Shouldn't be able to miss me! :D
 
Just an update on the idle problem. Sometimes it is the simplest things.

A friend of ours came over and had a look at it and when he was starting to mess with the adjustments on the carb he discovered the fuel shut off wire wasn't hooked up to the coil. It was just barely hanging next to the connector so it was actually just barely making contact. He hooked that up correctly and then readjusted the carb and now the bus runs and idles great.

Also, knock on wood, I drove it all over town this morning and so far, no oil leaks!!! :D
 
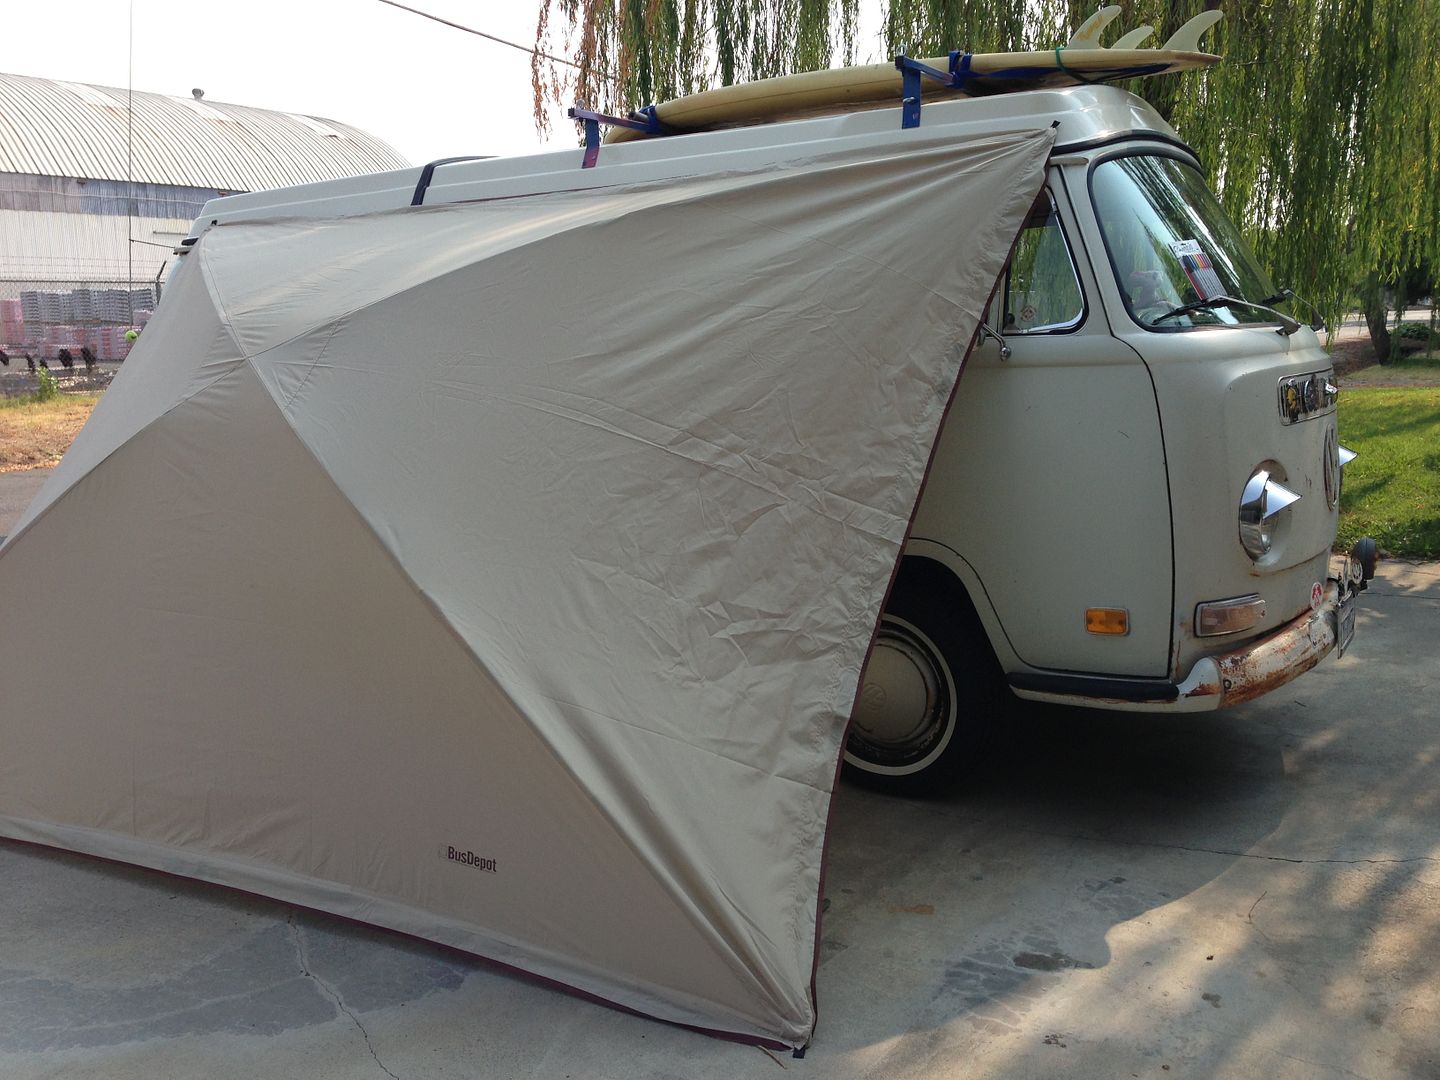
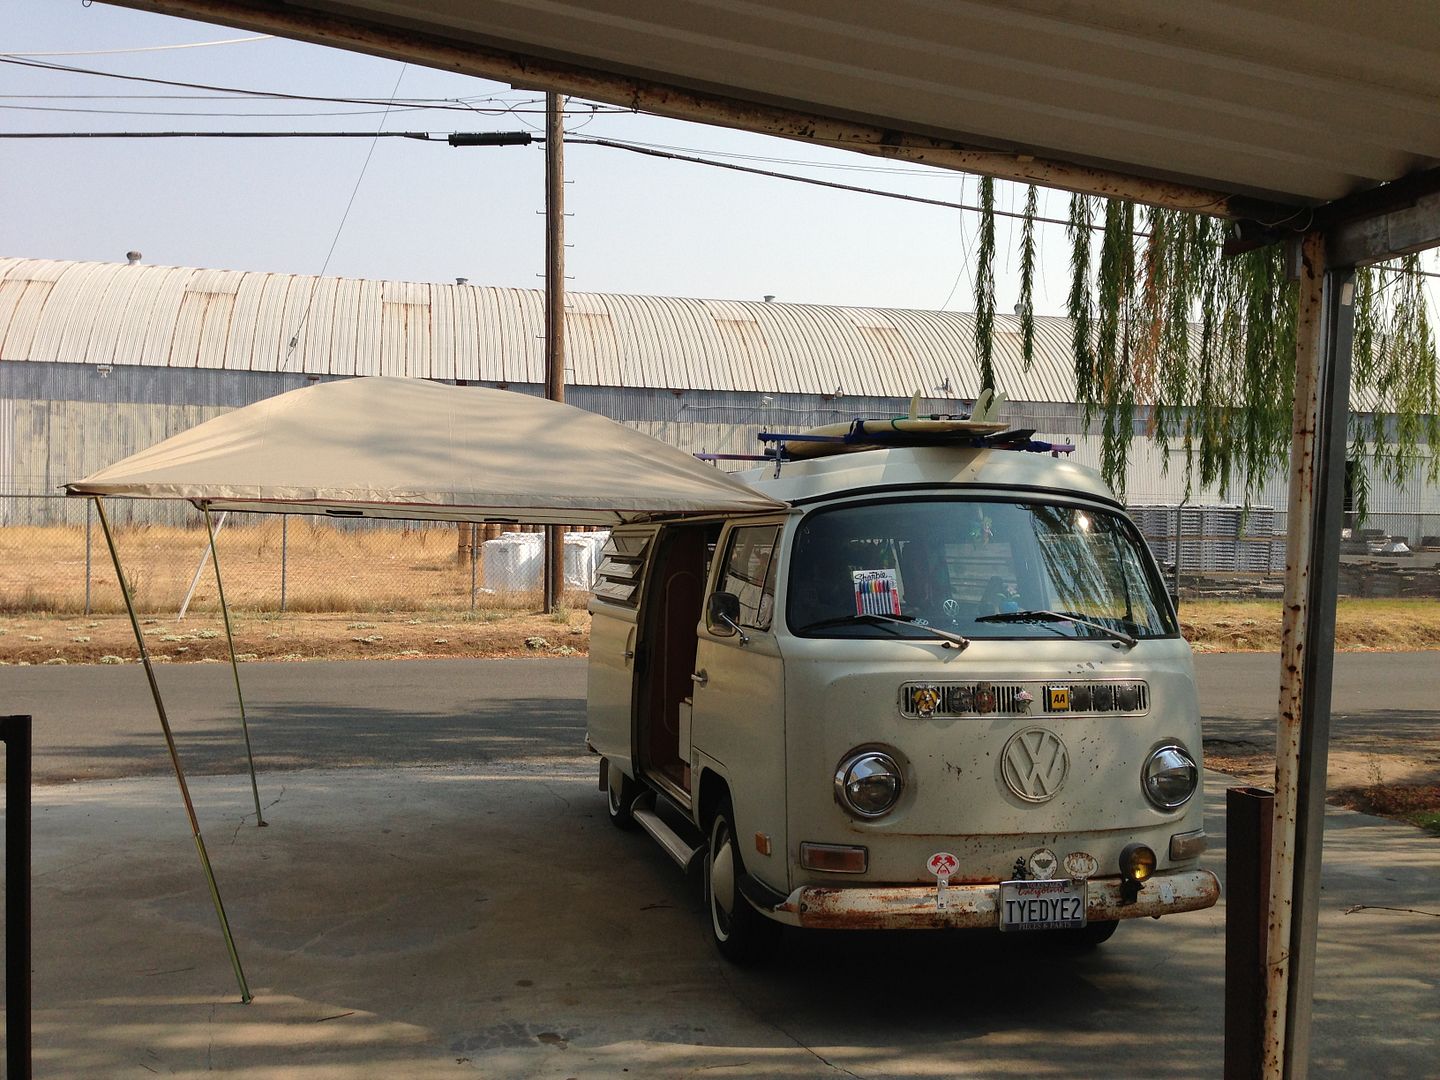
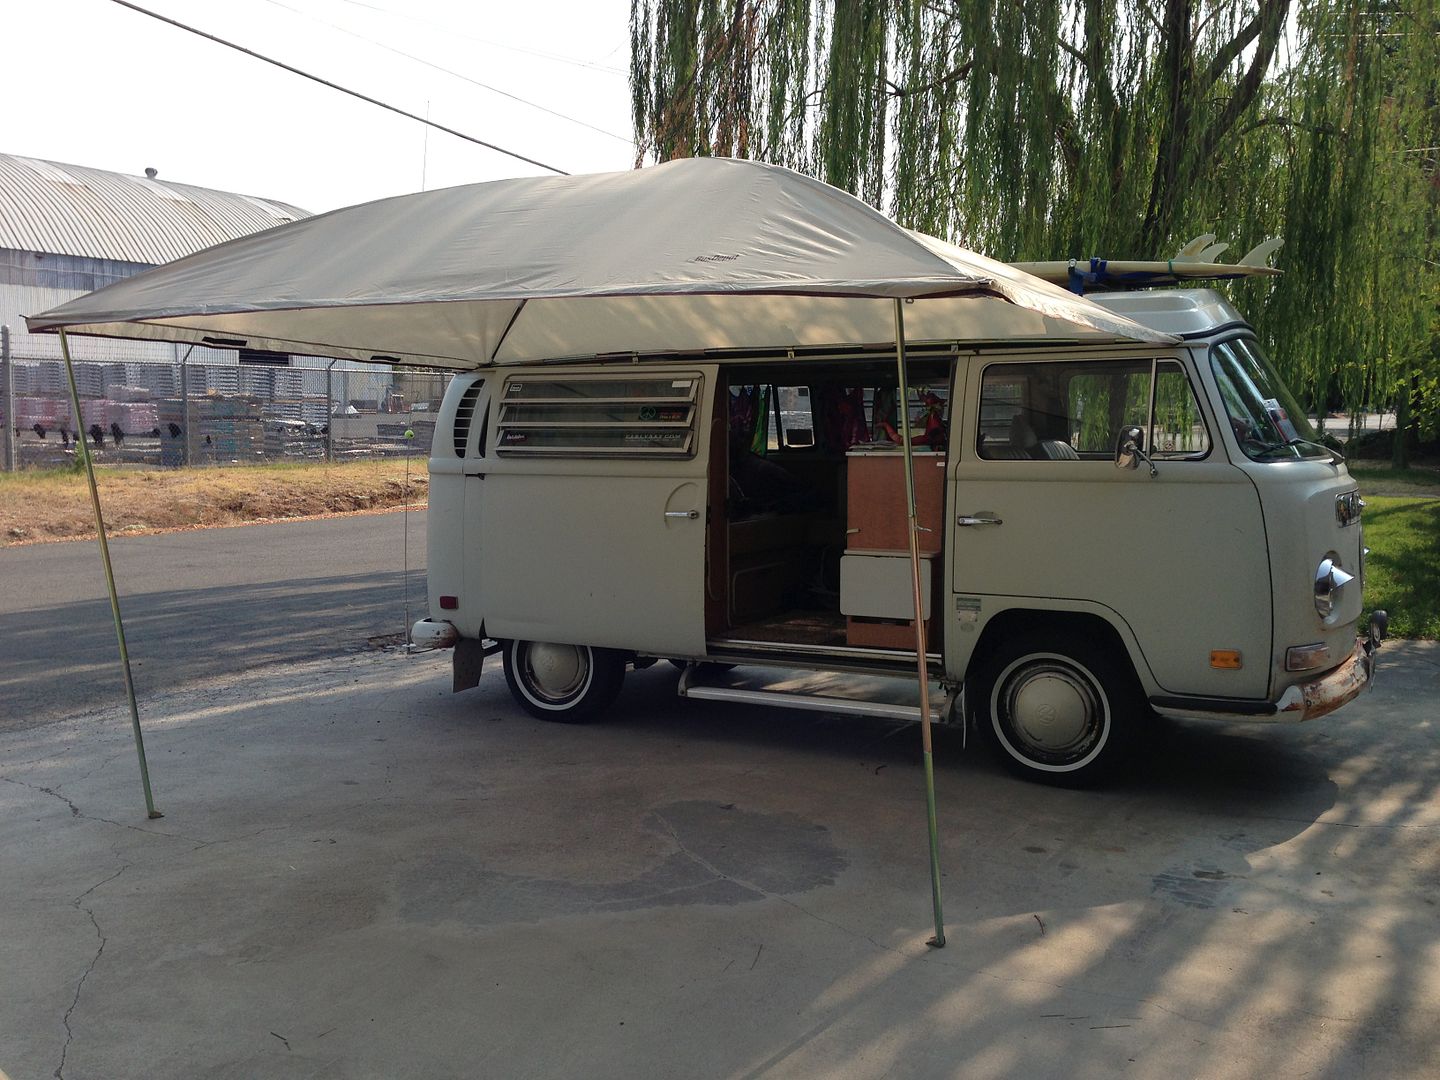
Today I didn't really do anything particular to the bus as far as mechanical wise. I did a test run on putting my Busdepot awning up. :D

Attached to the bus.


Free standing.


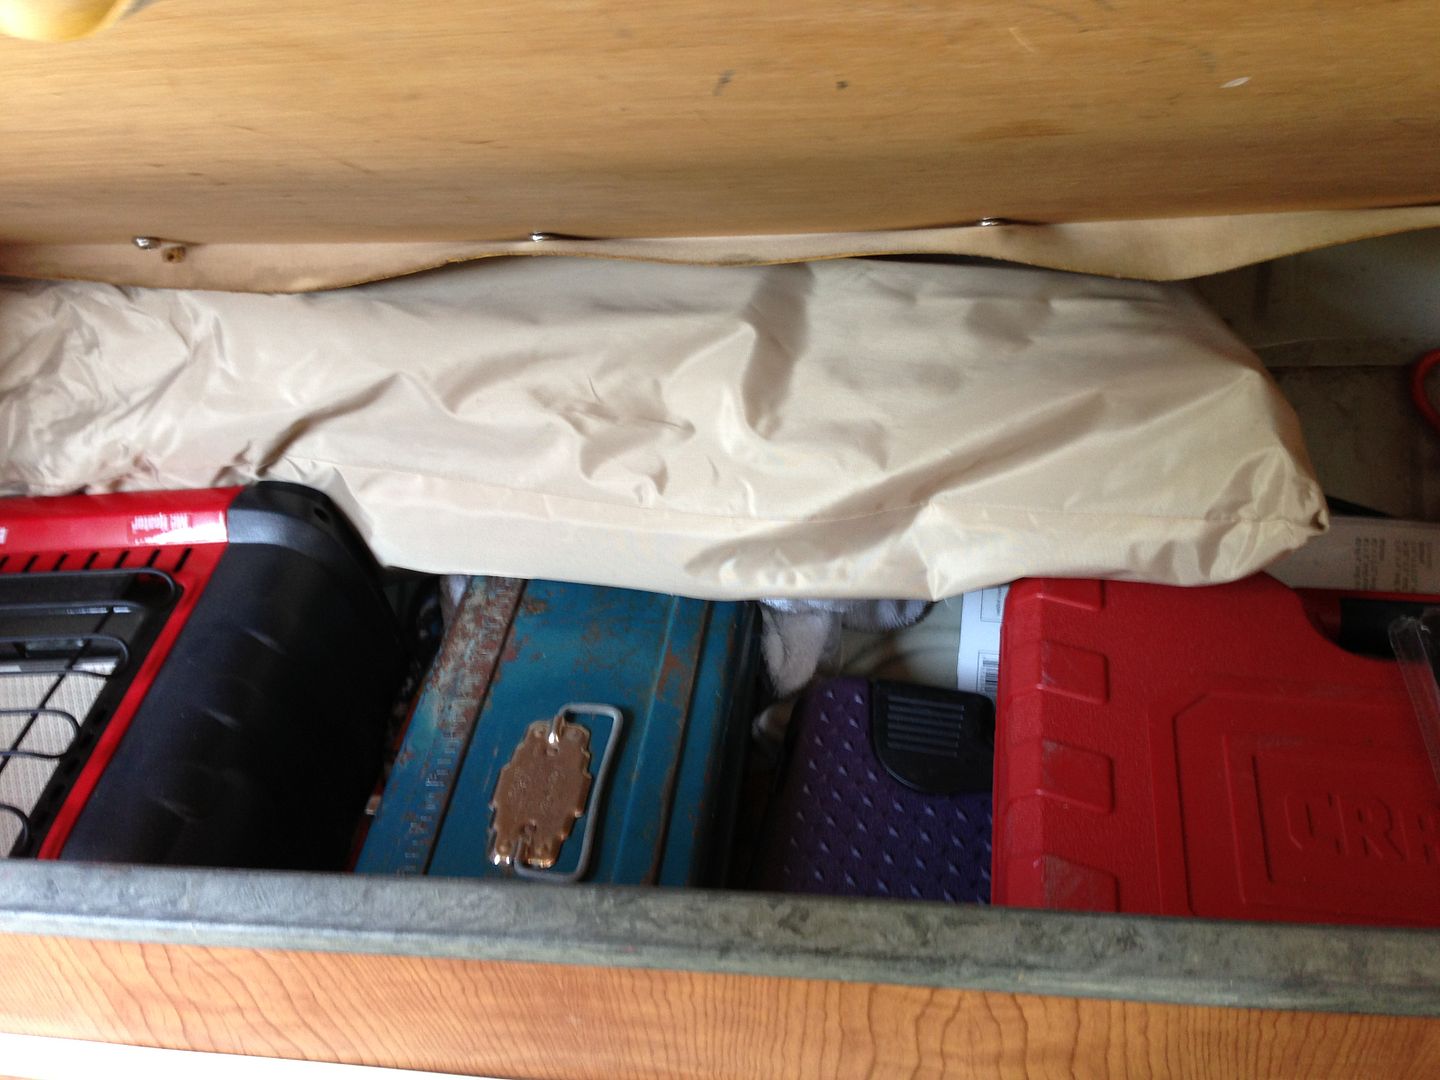
I bought a multi colored pack of Sharpies and marked all the poles so when the next time comes it will be a lot faster for me. :D I also bundled the sections of poles into separate groups. That should help too. It took me just under an hour to put it up, mark it, take pics, and tear it back down. Now it is nice and snug under the seat, waiting patiently for the bus trip! :D

 
Hi Kim, just read through your whole thread, great work 8) , love the workshop, each picture seems to have a different gem in the background (tandem on the wall, old ford, beach buggy etc)
If you'd found Wes in a scrap yard over here in the UK you'd still be welding 2 years on :lol: Nick.
 
NickJ said:
Hi Kim, just read through your whole thread, great work 8) , love the workshop, each picture seems to have a different gem in the background (tandem on the wall, old ford, beach buggy etc)
If you'd found Wes in a scrap yard over here in the UK you'd still be welding 2 years on :lol: Nick.


LOL Yah, we have a lot of junk around here. LOL

Another update.

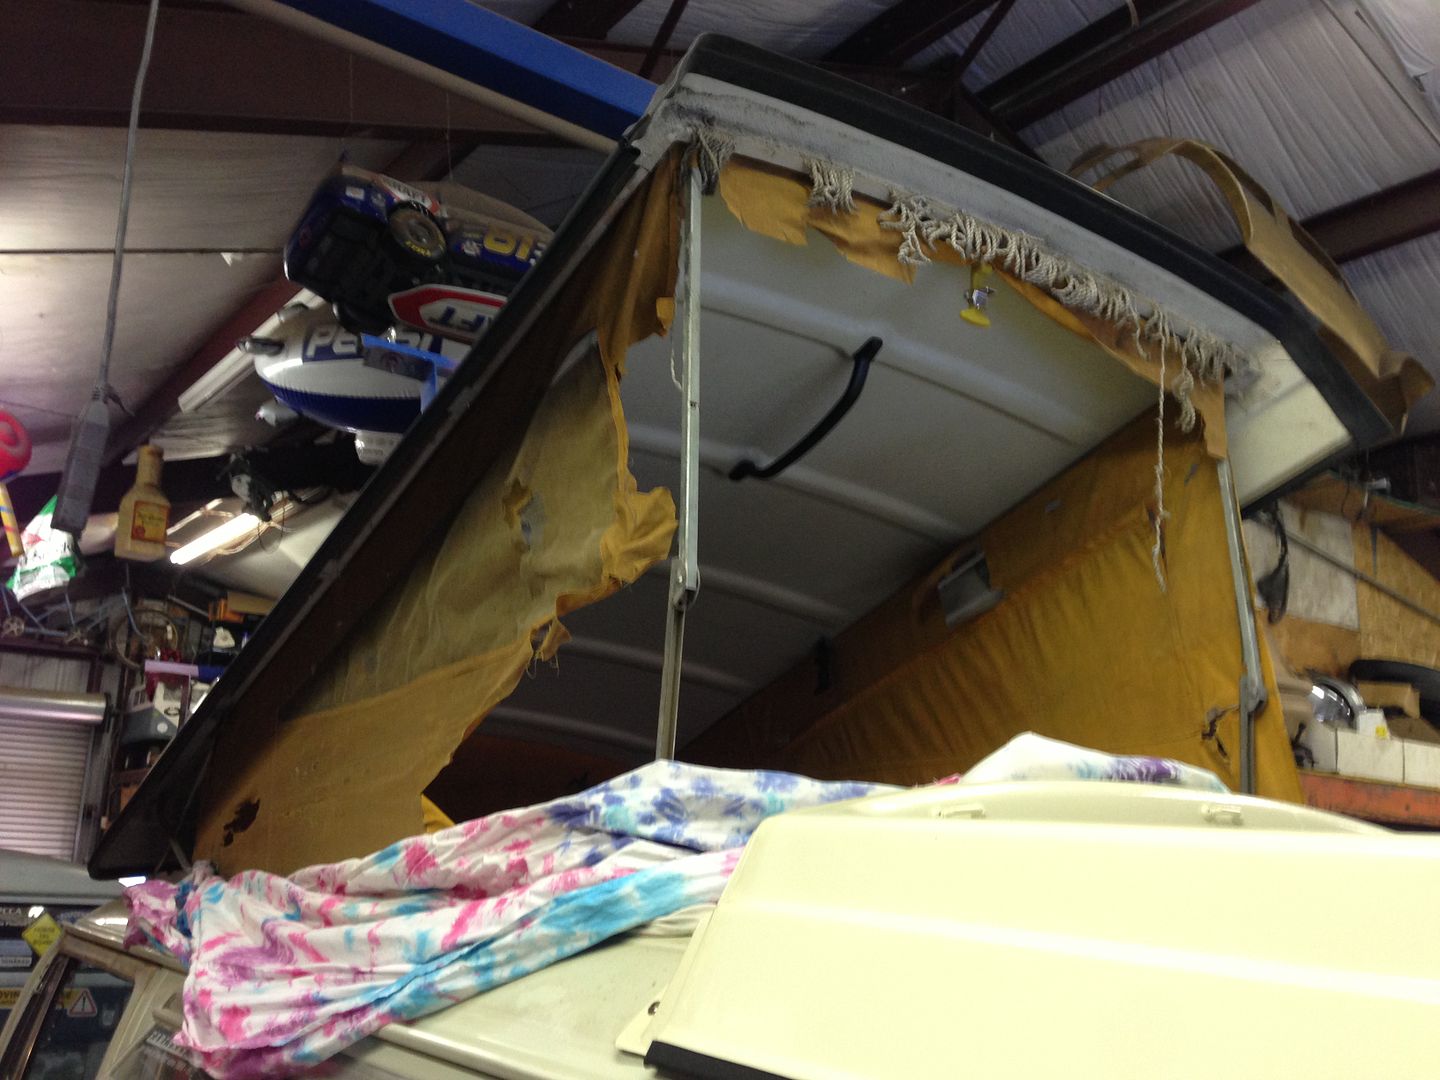
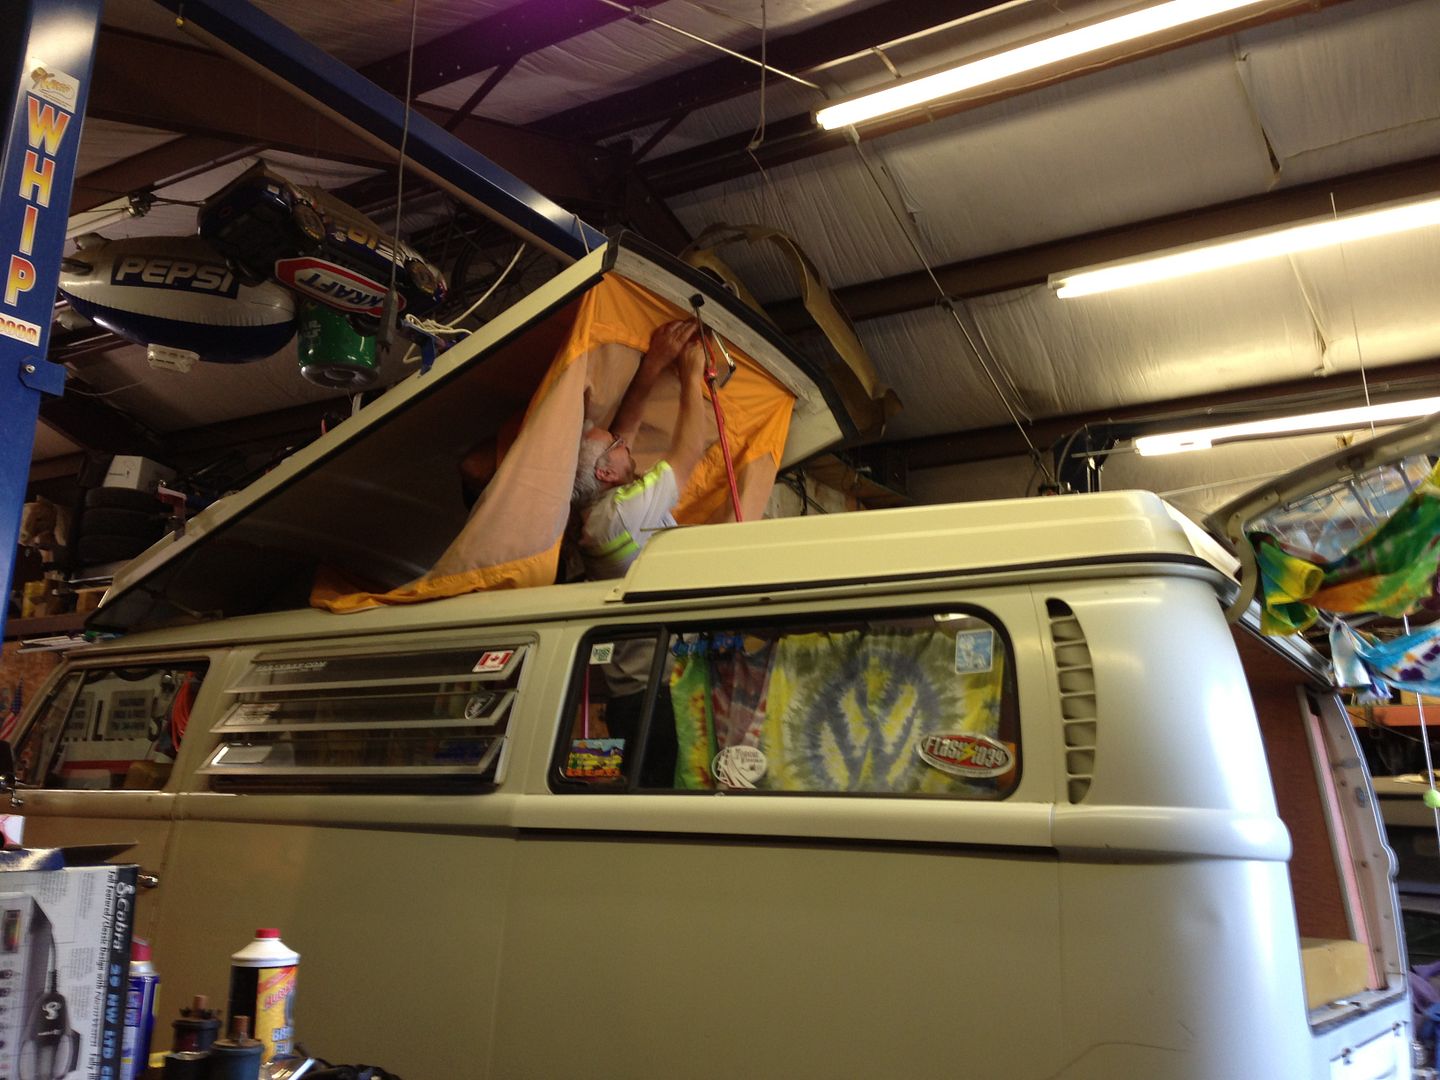
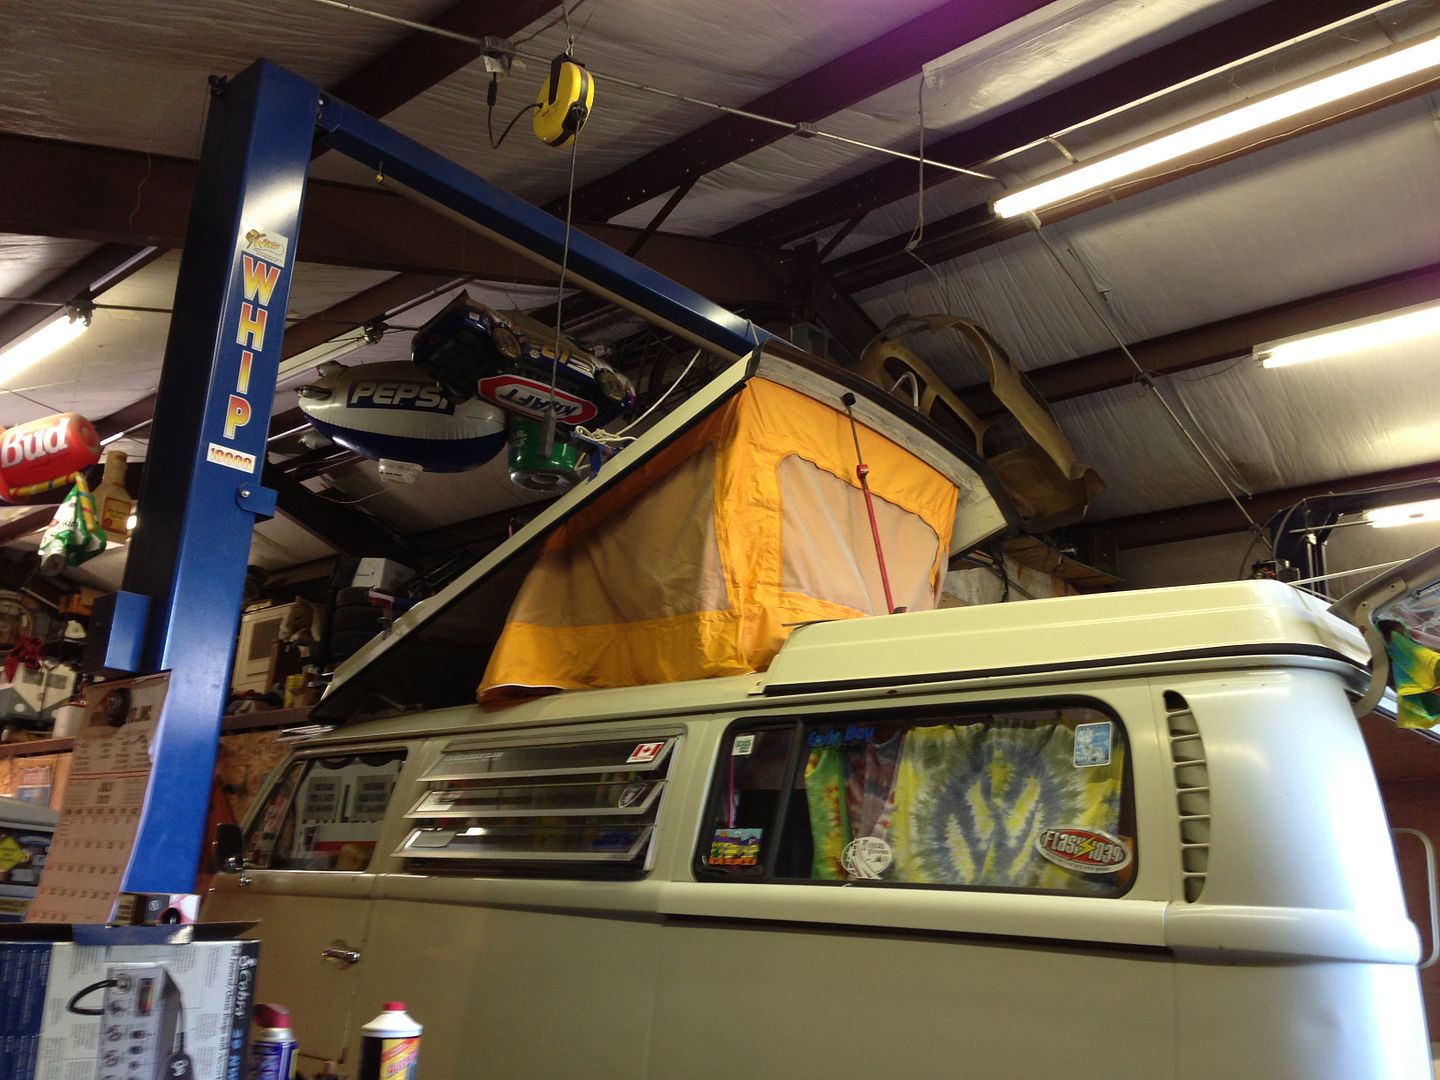
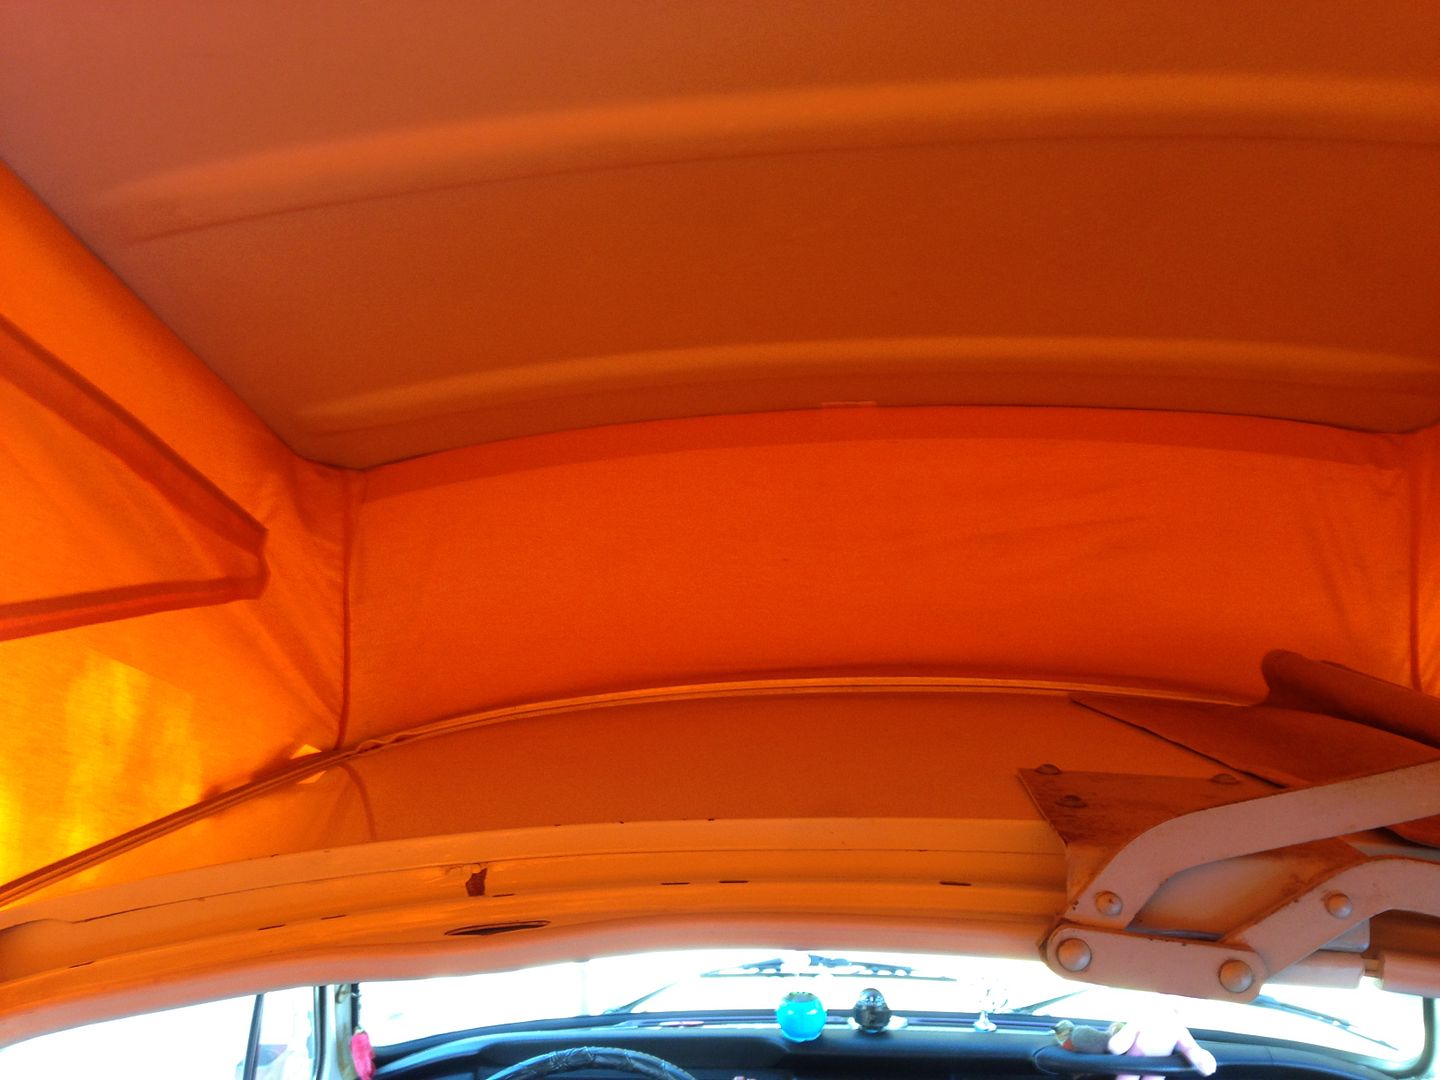
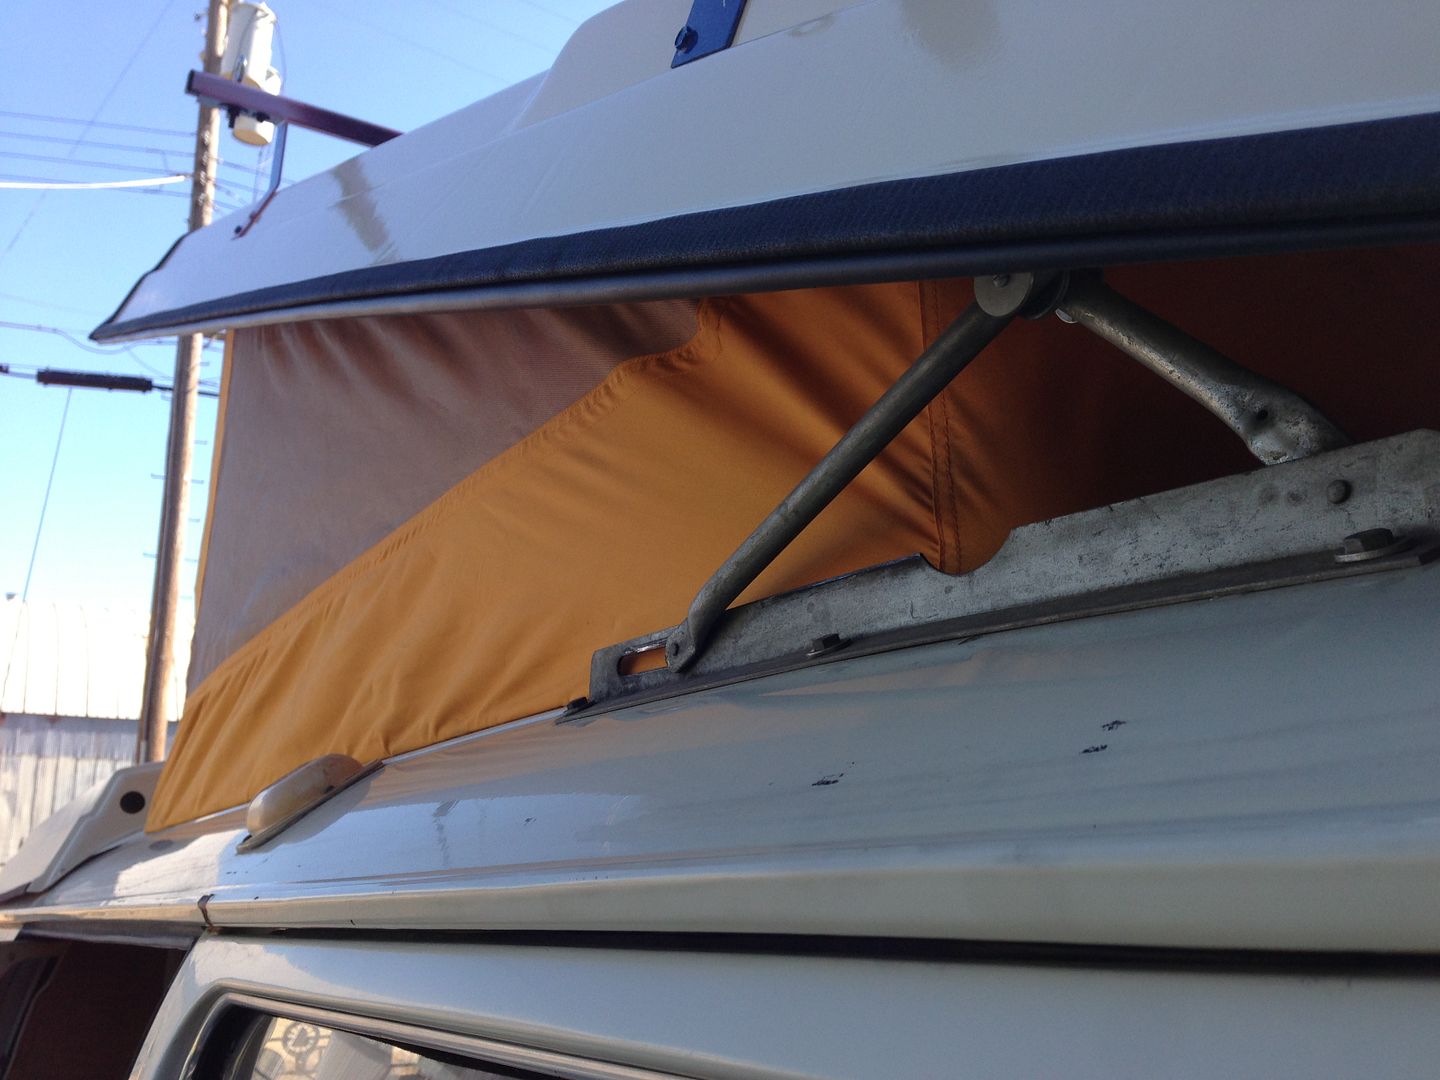
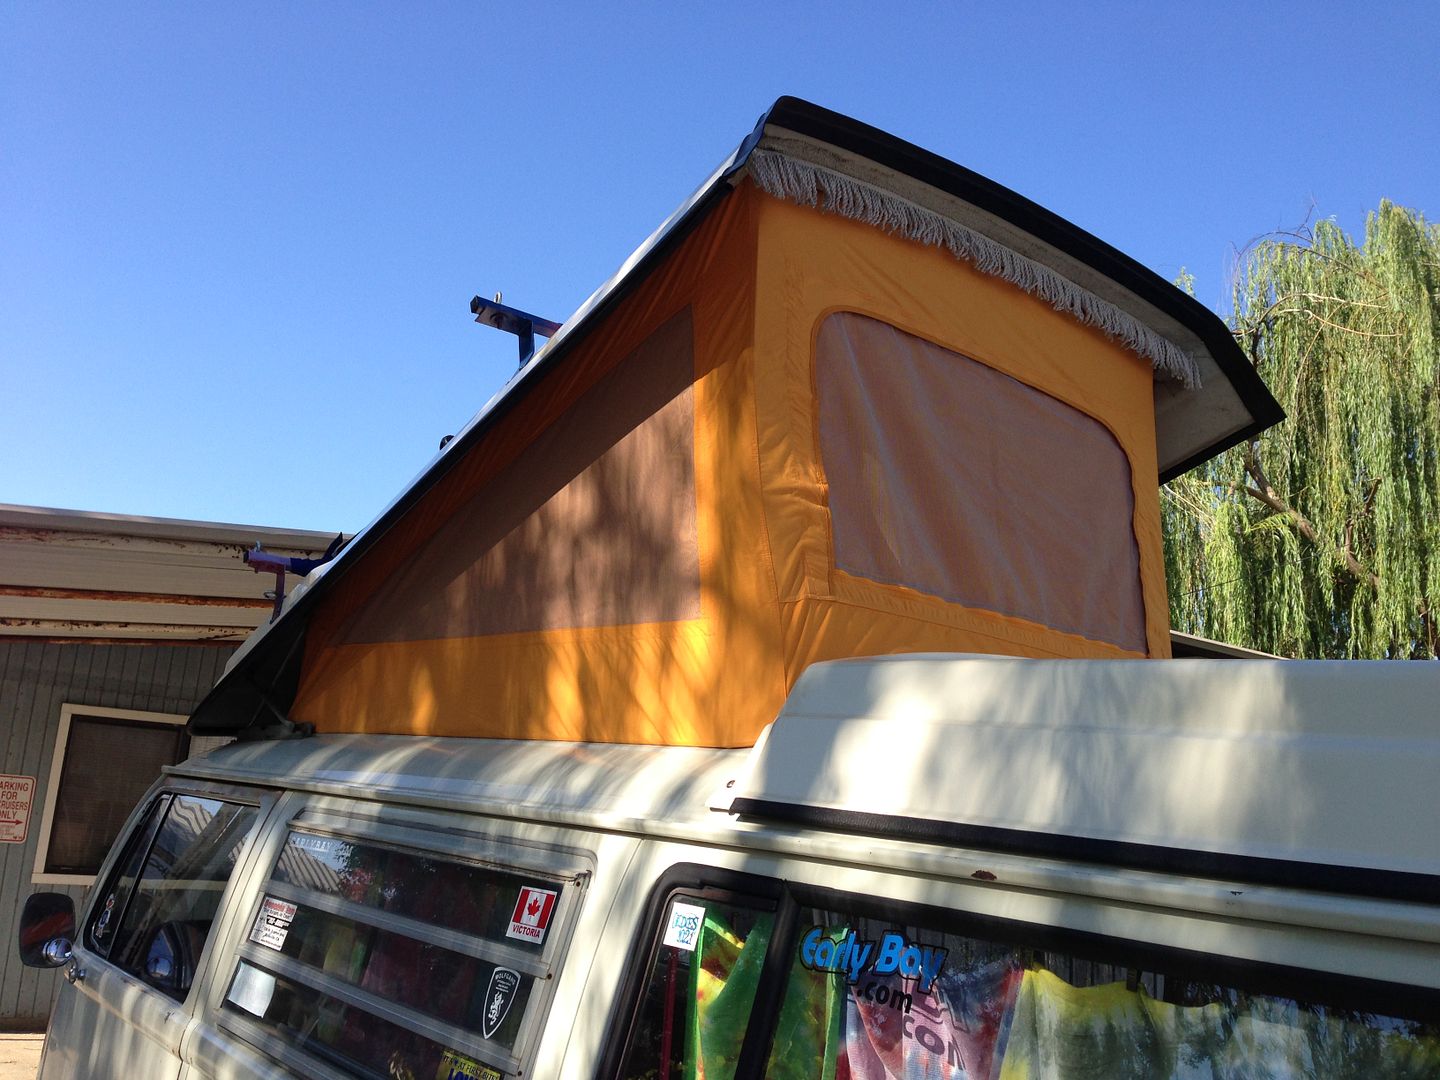
Over the last few days we finally R&Red the pop top canvas.

The old canvas after removing my temporary tie dyed sheet.


Installing the new canvas.


Half way there,


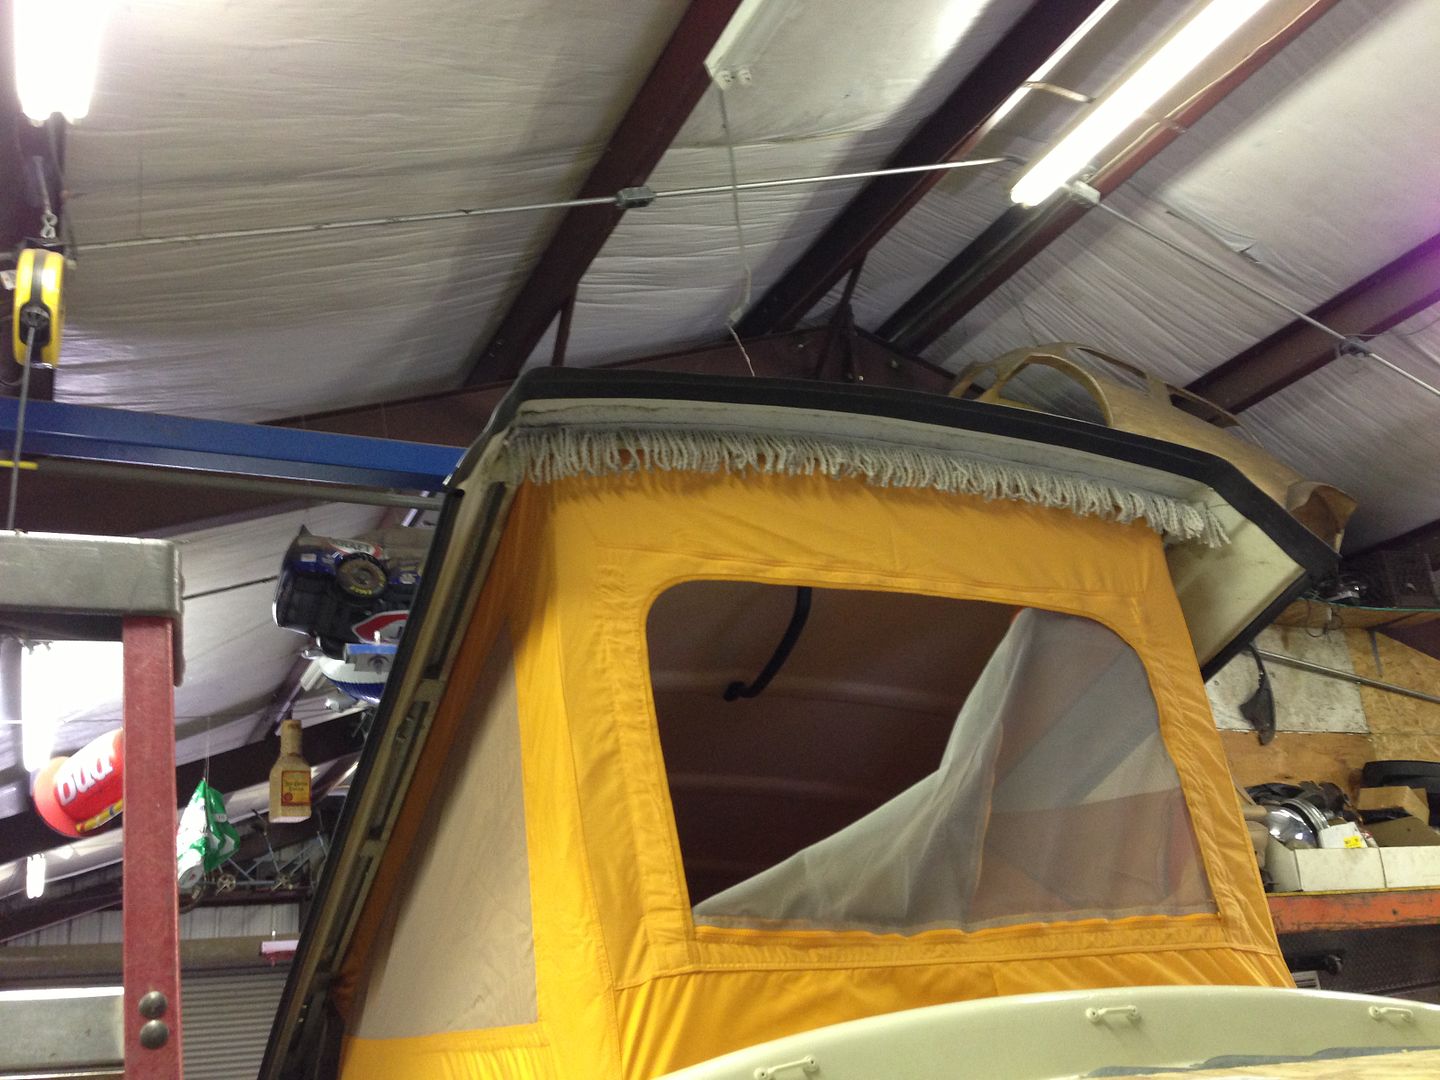
Got the fringe back on.


All done.


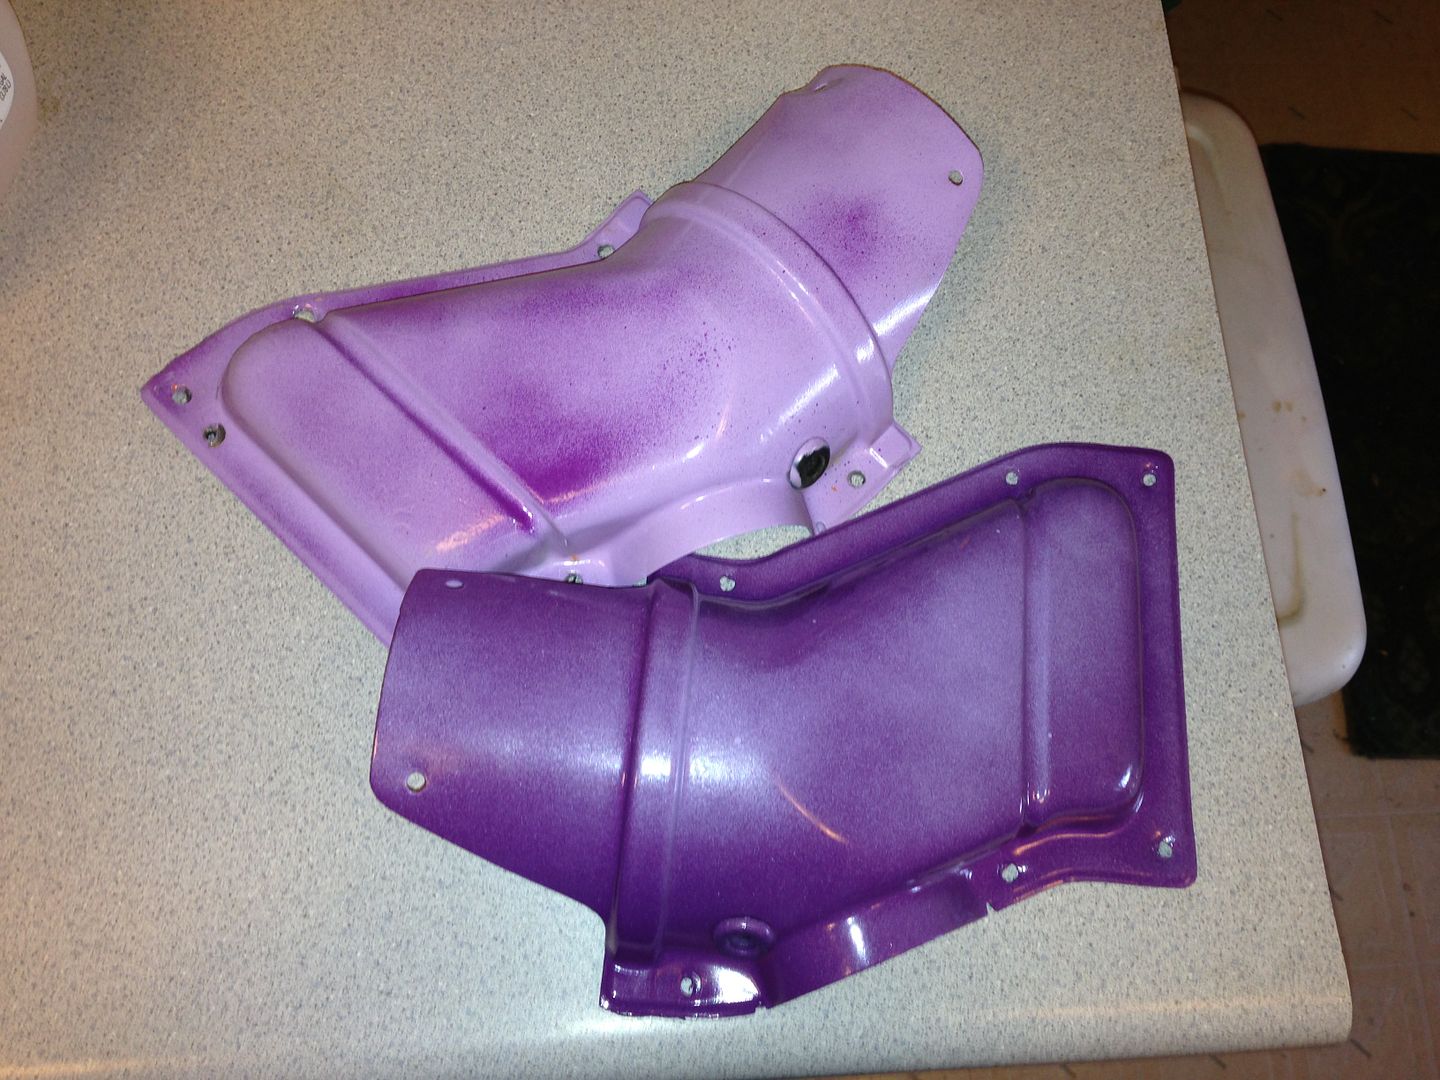
I also bought and installed some ambulance/booster fans. I got a complete kit, wiring and all. So I decided to keep with the theme and painted the covers that came with the fans.


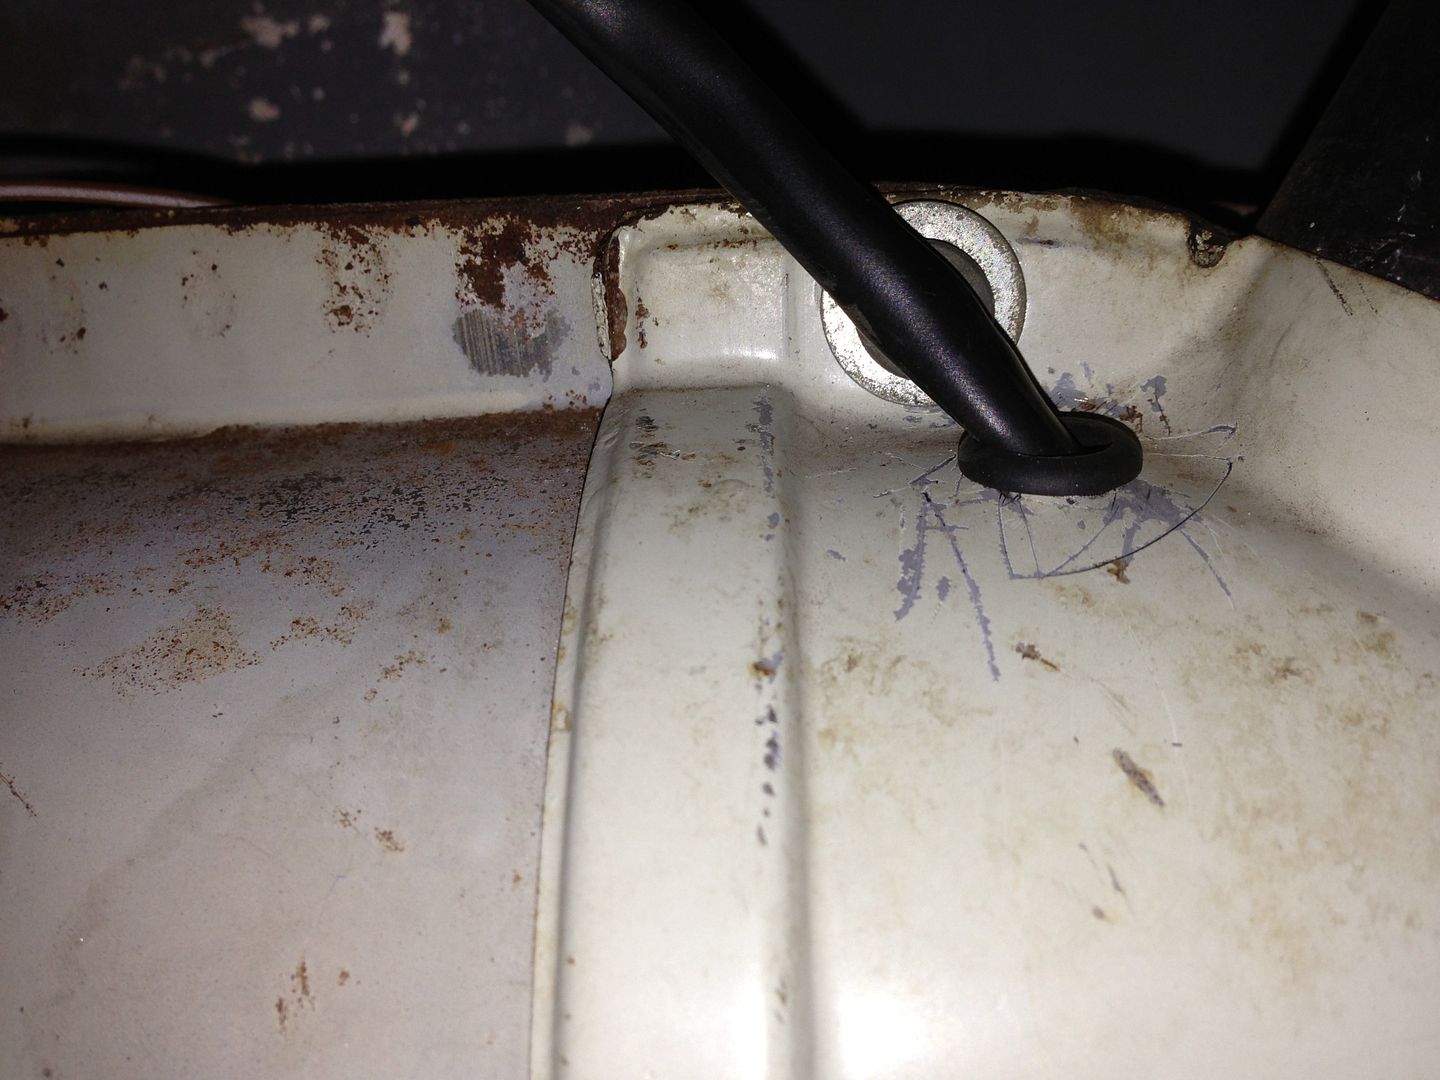
After trying to install the first one, I ended up making a hole in my original covers and using them. The other ones were for a later bus and were a bit skinnier then mine.


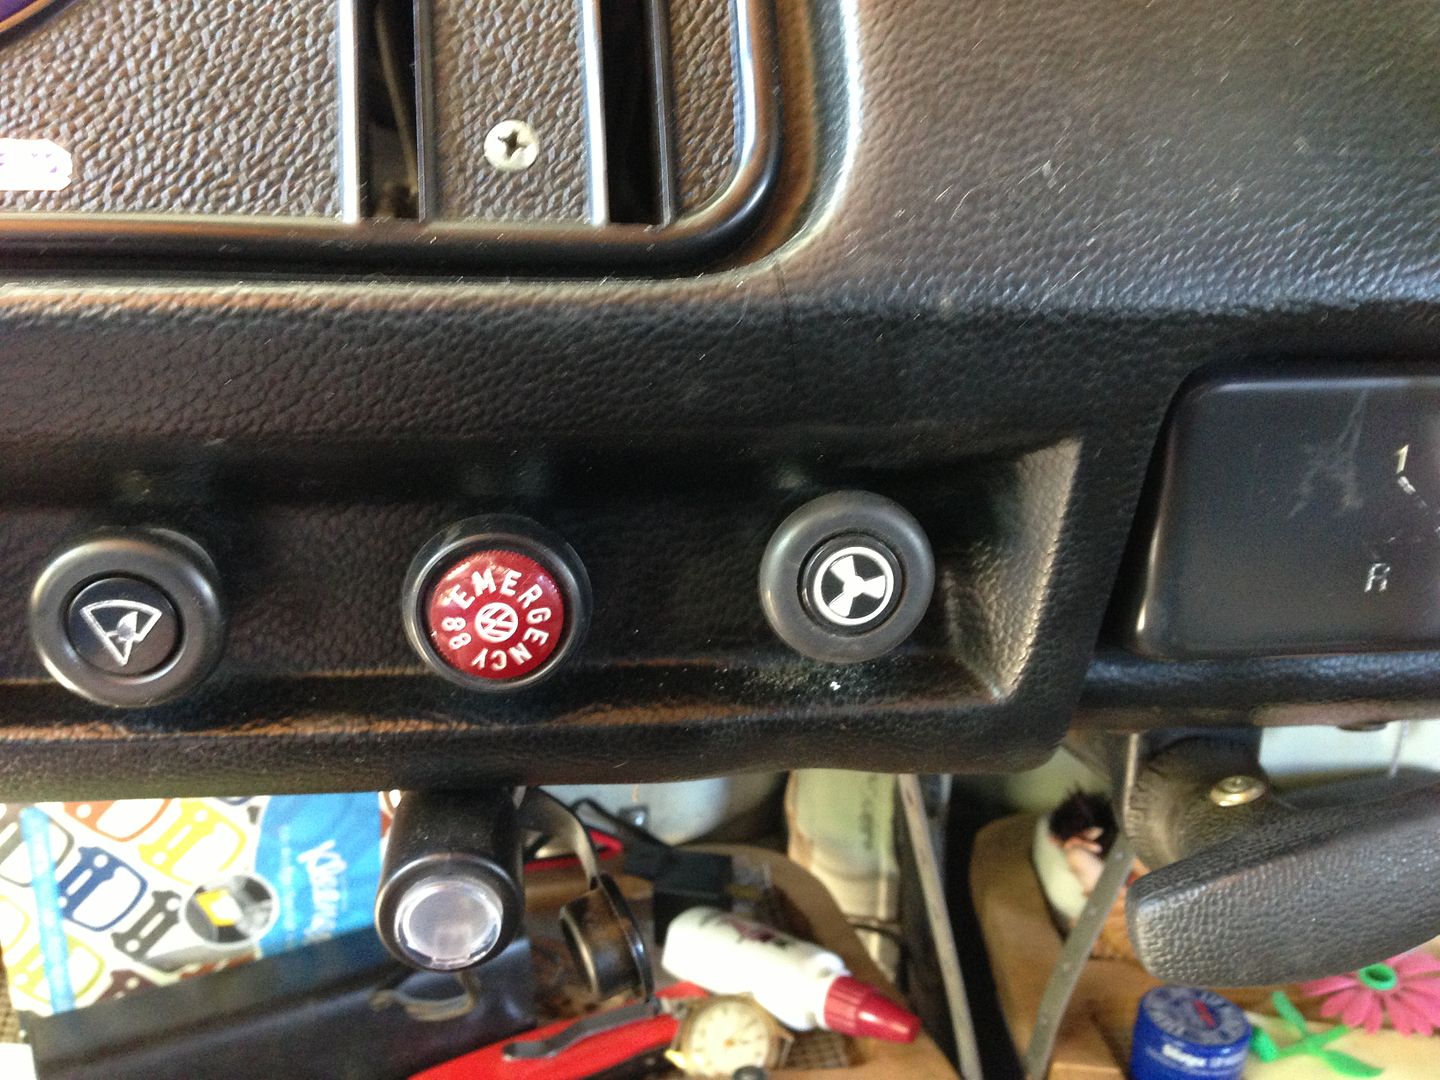
My first hole in my dash that wasn't supposed to be there. :shock: As you can see, it is a bit off from the rest of the switches. It works though! :D


I turned them on and they actually work. :D I did find that if I plug the defrost vents off, I get more air blowing on me. I'm happy with them. :D
 
I made a short video of how loud the Ambulance fans are while driving. I start it off at a stop and click it on from low to high, then the light turned and I'm doing about 40 mph switching it low to high. The fans themselves are not loud at all, it is more the wind noise from them blowing through such a big area, my opinion anyway. :D

[youtube]http://www.youtube.com/watch?v=b8HwHxzIfjE[/youtube]

http://www.youtube.com/watch?v=b8HwHxzIfjE" onclick="window.open(this.href);return false;

Not sure why the youtube thing I"m supposed to use on this site doesn't seem to work, just leaves a huge blank space, but I put the actual link in the box too so you should be able to click on it to watch. :D
 
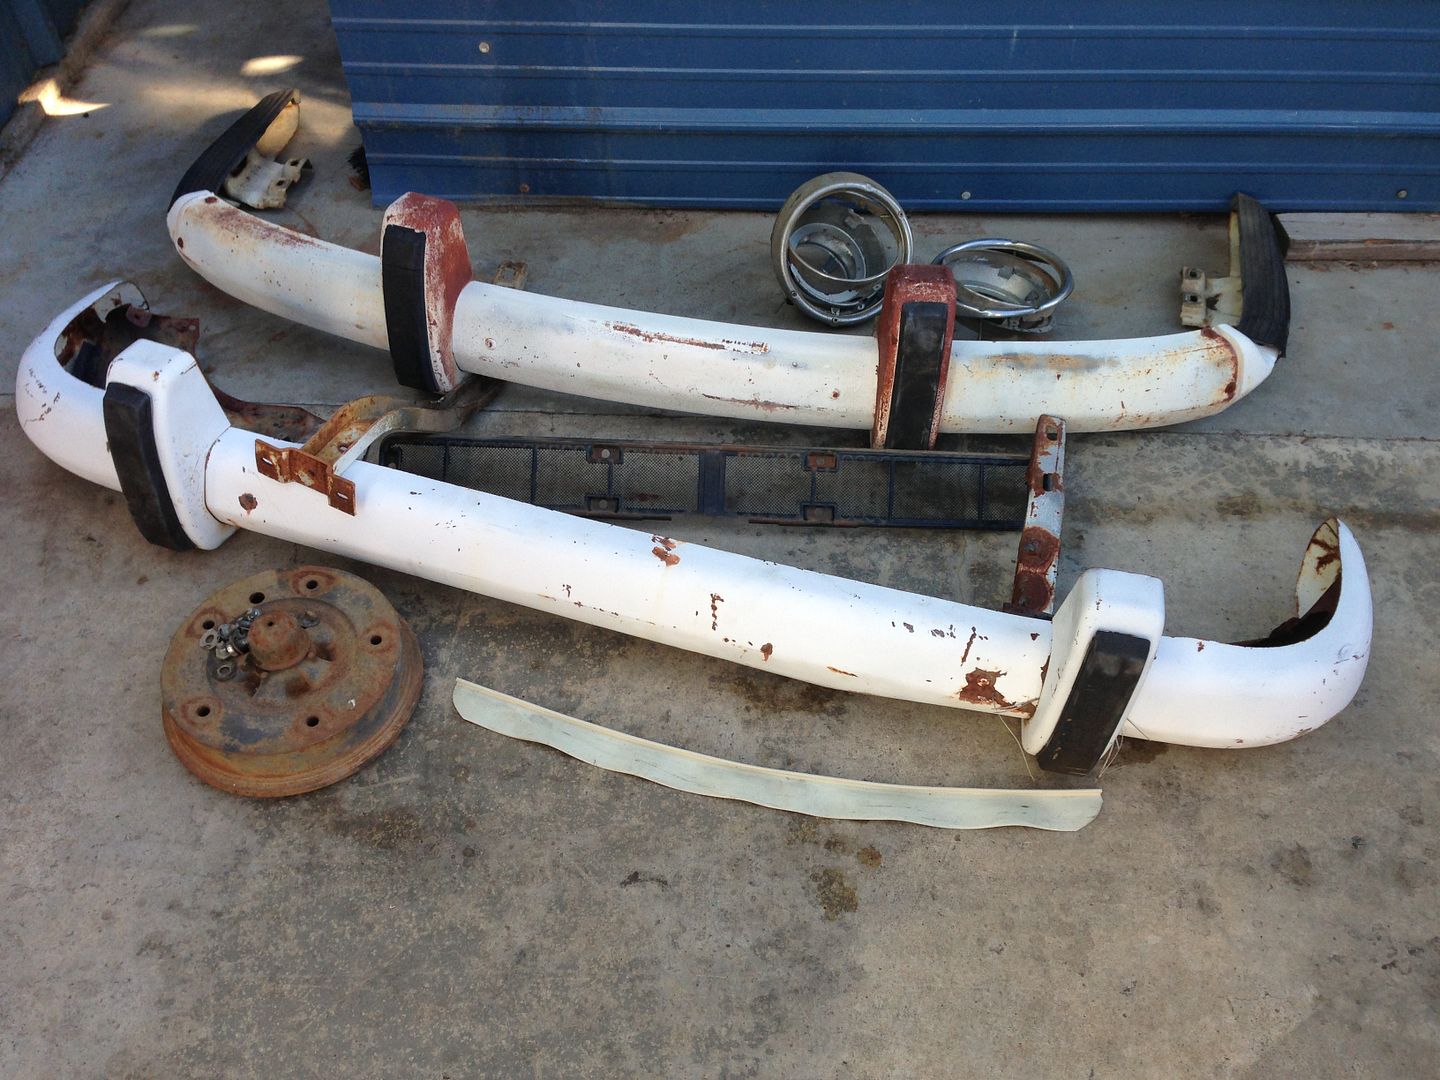
Today we went back to the place we bought my hubby's bus at. We went after his headlight buckets but also wanted to buy a few more things for my bus! :D Here is what I came home with.


My front bumper is a good one, but I want the bumperguards so I will go ahead and replace it (but will keep my original). My rear bumper definitely needs to be replaced. This one is in much better shape. :D I also got another front drum and the little rubber piece that goes inside the slider door opening. It is supposedly to help keep the grease off your clothes when you go in and out.


The grille screen I got for a friend of ours and the headlight buckets are for hubby's bus.

I was going to install the front bumper today but after looking at the guards better, I decided to wait till the other 6 I bought off a guy on the Samba show up. I will pick the best guards and go from there. Although I am kind of leaning on leaving the rusty looking ones on there after all. LOL I'm kind of afraid to pull them off do to how old the bolts are. Might be better just to clean everything up the best I can and run with it. :D I'll decide next weekend after the other guards get here and I will have all day to do the swapping.
 
Nice touch with the rubber guard, it's the detail that counts
 
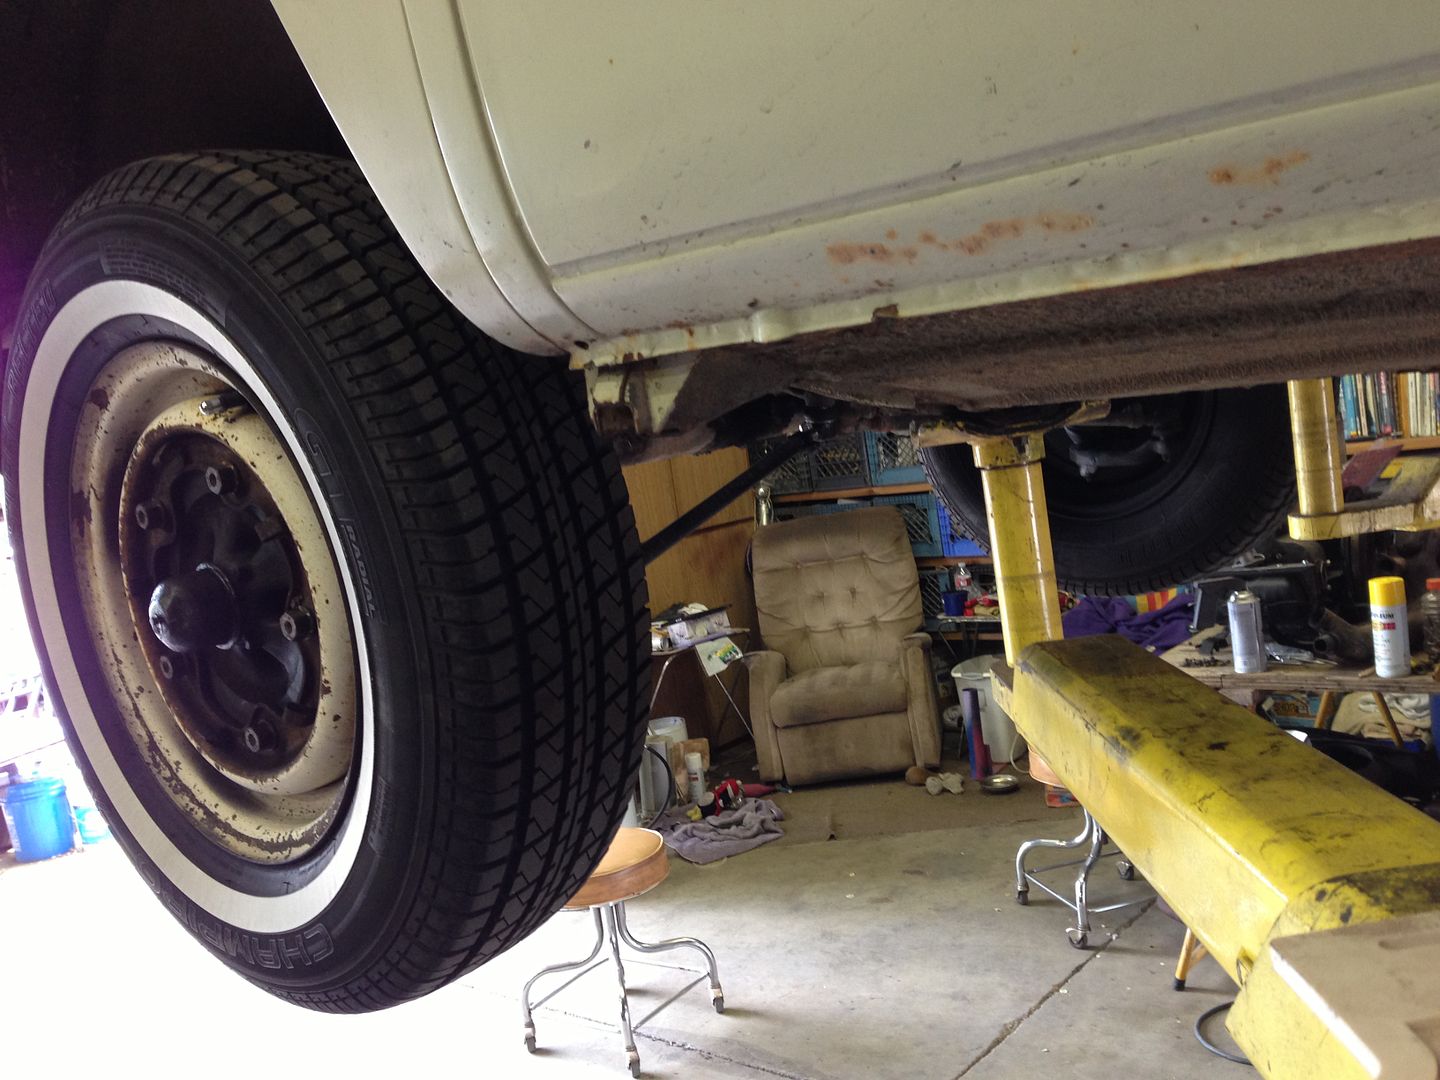
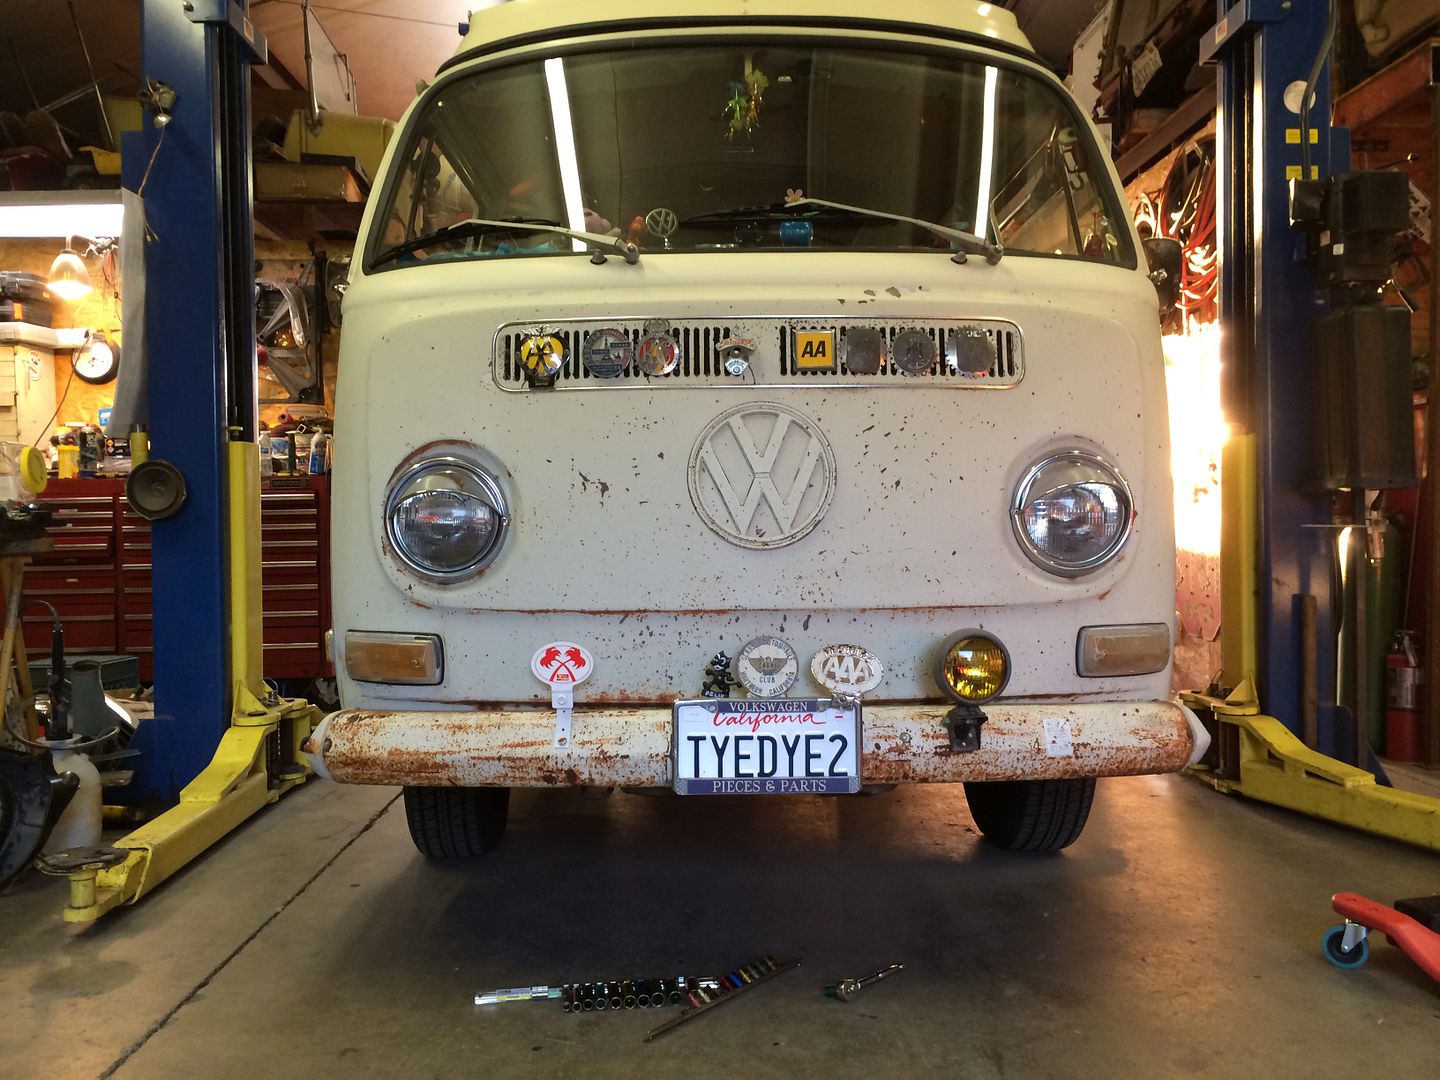
Today we finally got the bus in the garage to R&R the front bumper.

Here is a before pic.


After,


It kind of cleaned it up a bit plus added the bumper guards. I didn't want to paint the new bumpers yet so they will still match the buses looks. Someday down the road I will paint them and the bus. :D

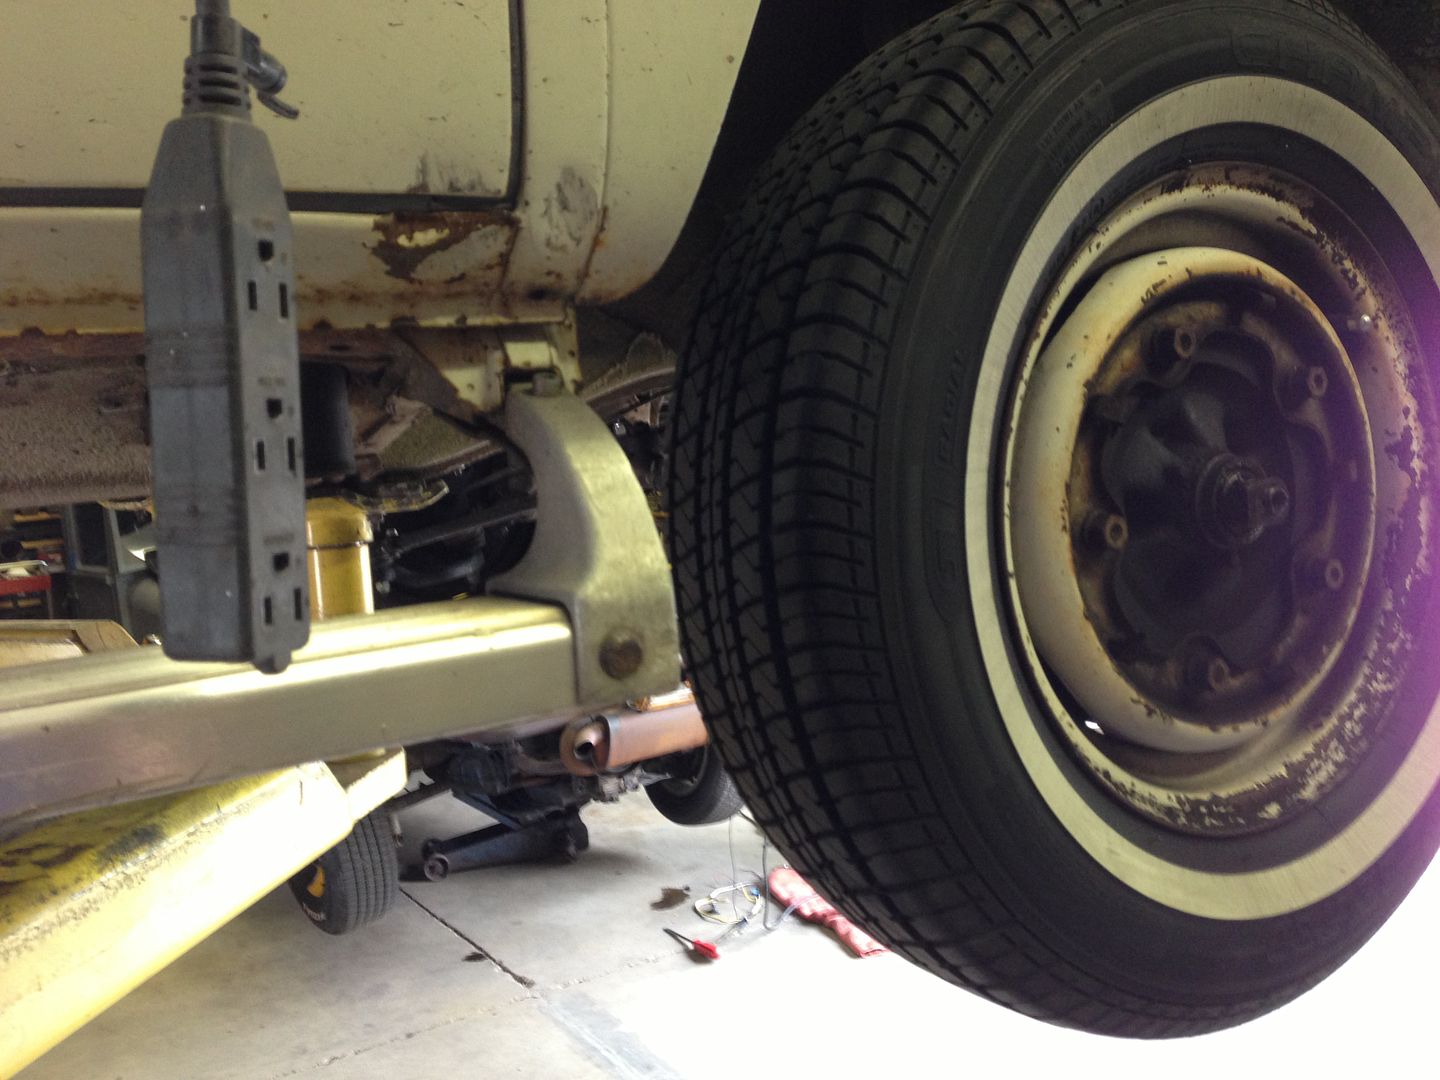
While working on the creeper I took a few pics. Here is one I kind of liked. :D


I still need to do the rear bumper but hubby wants to take a few minor dents out of it first. That will be another day.
 
Wow, 2 updates so close together. LOL

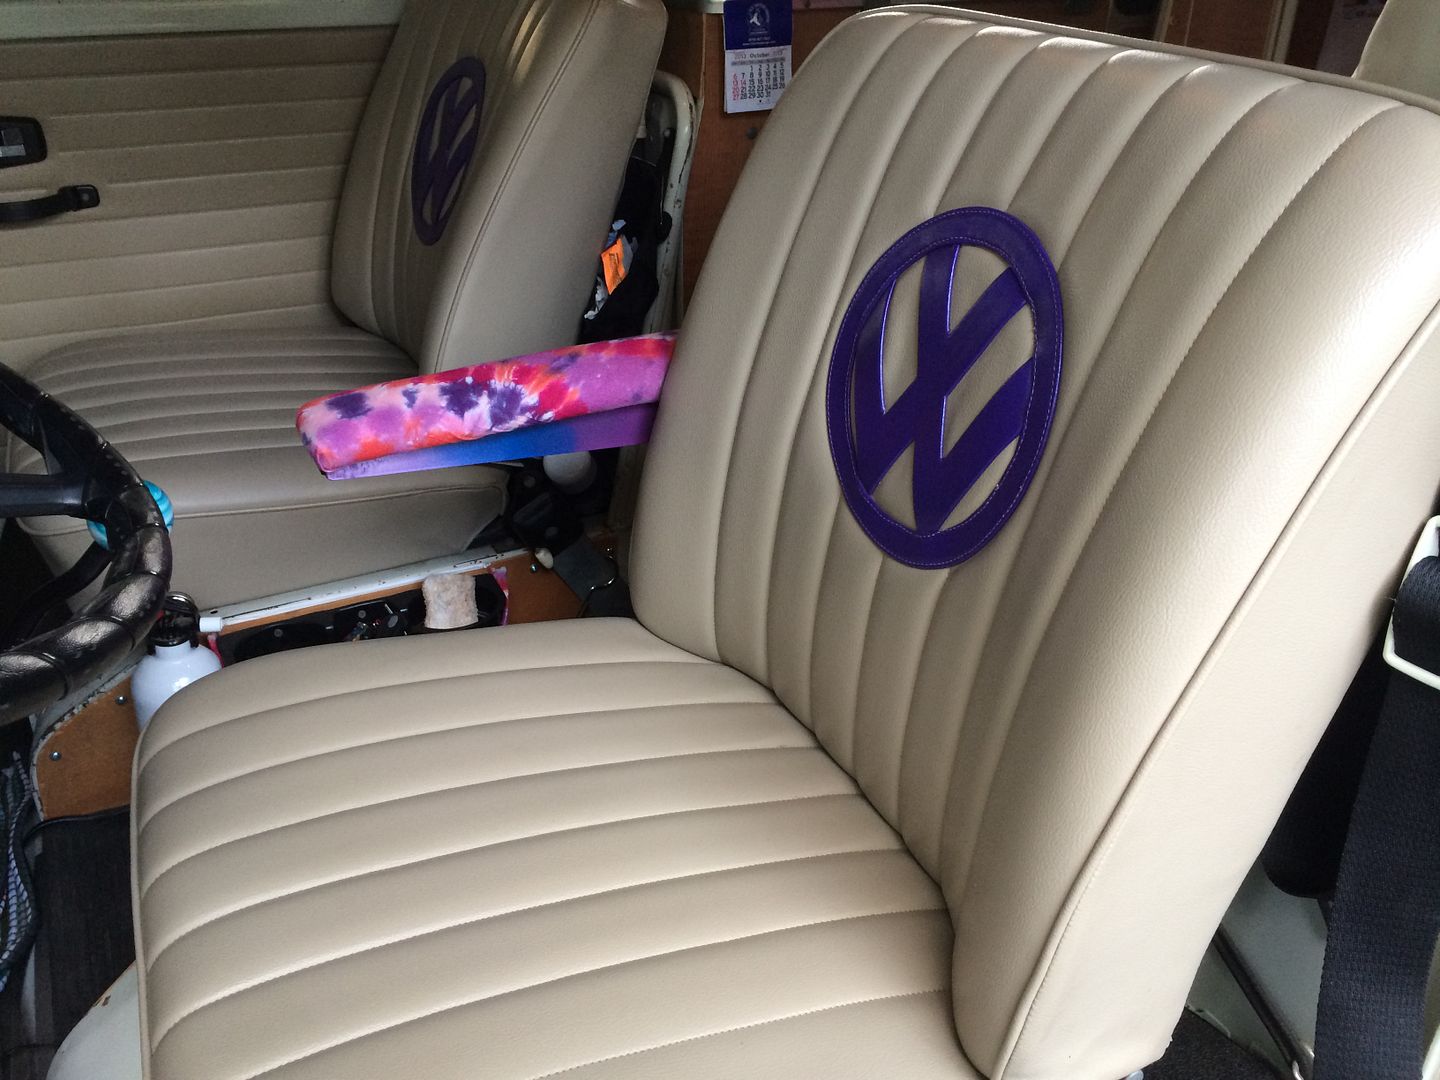
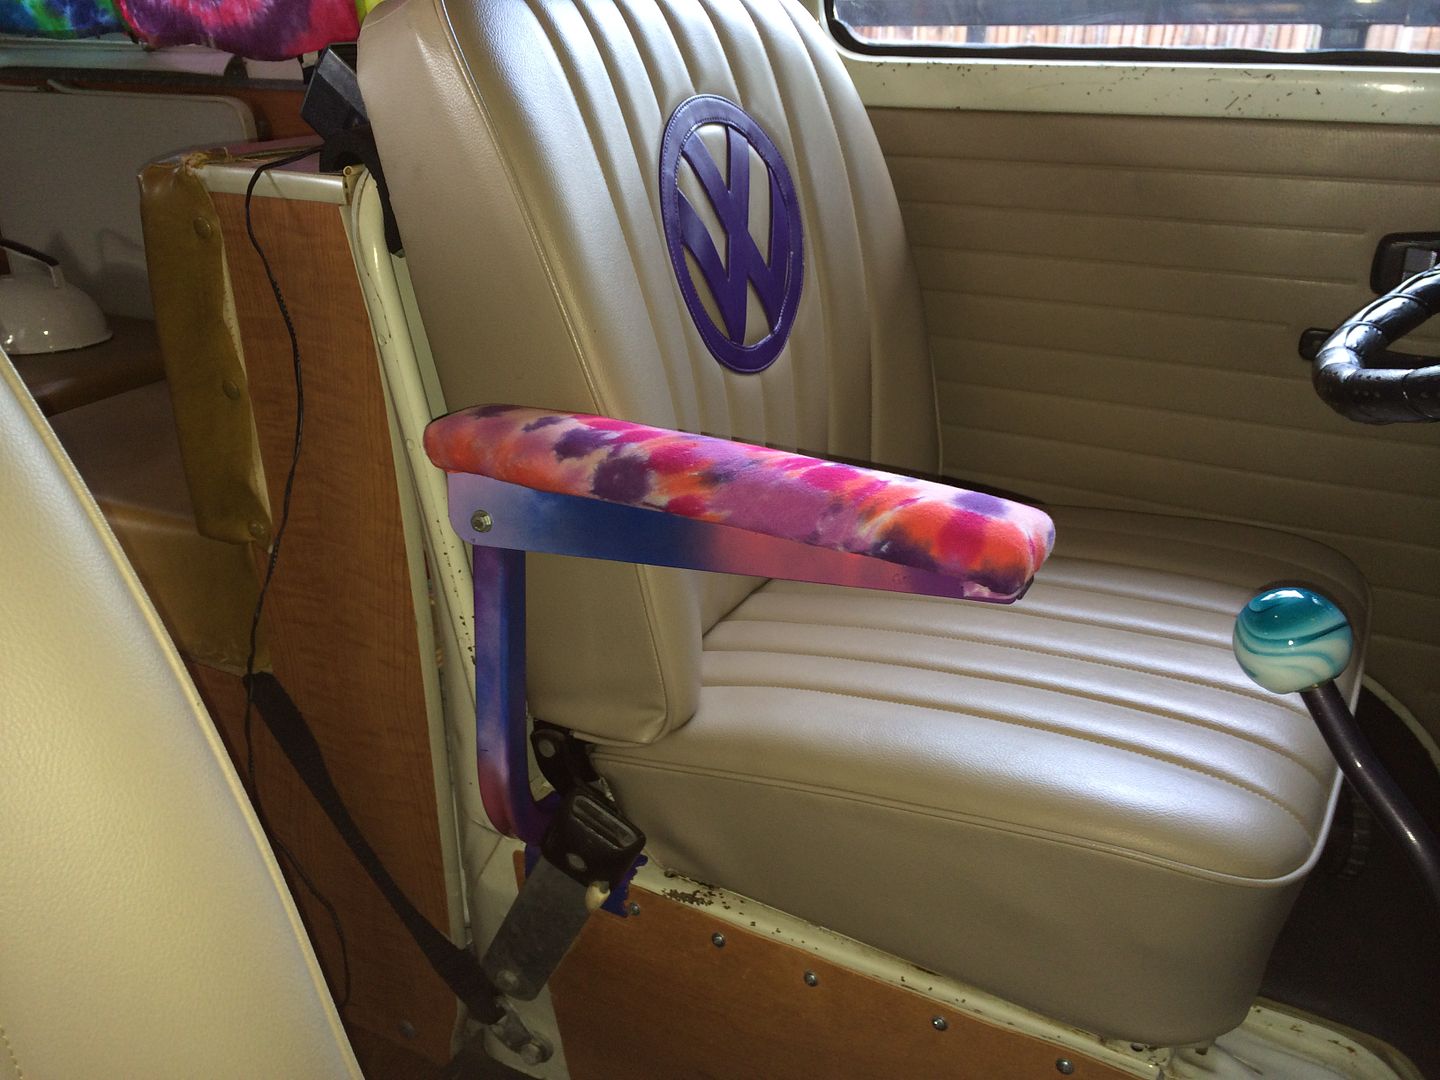
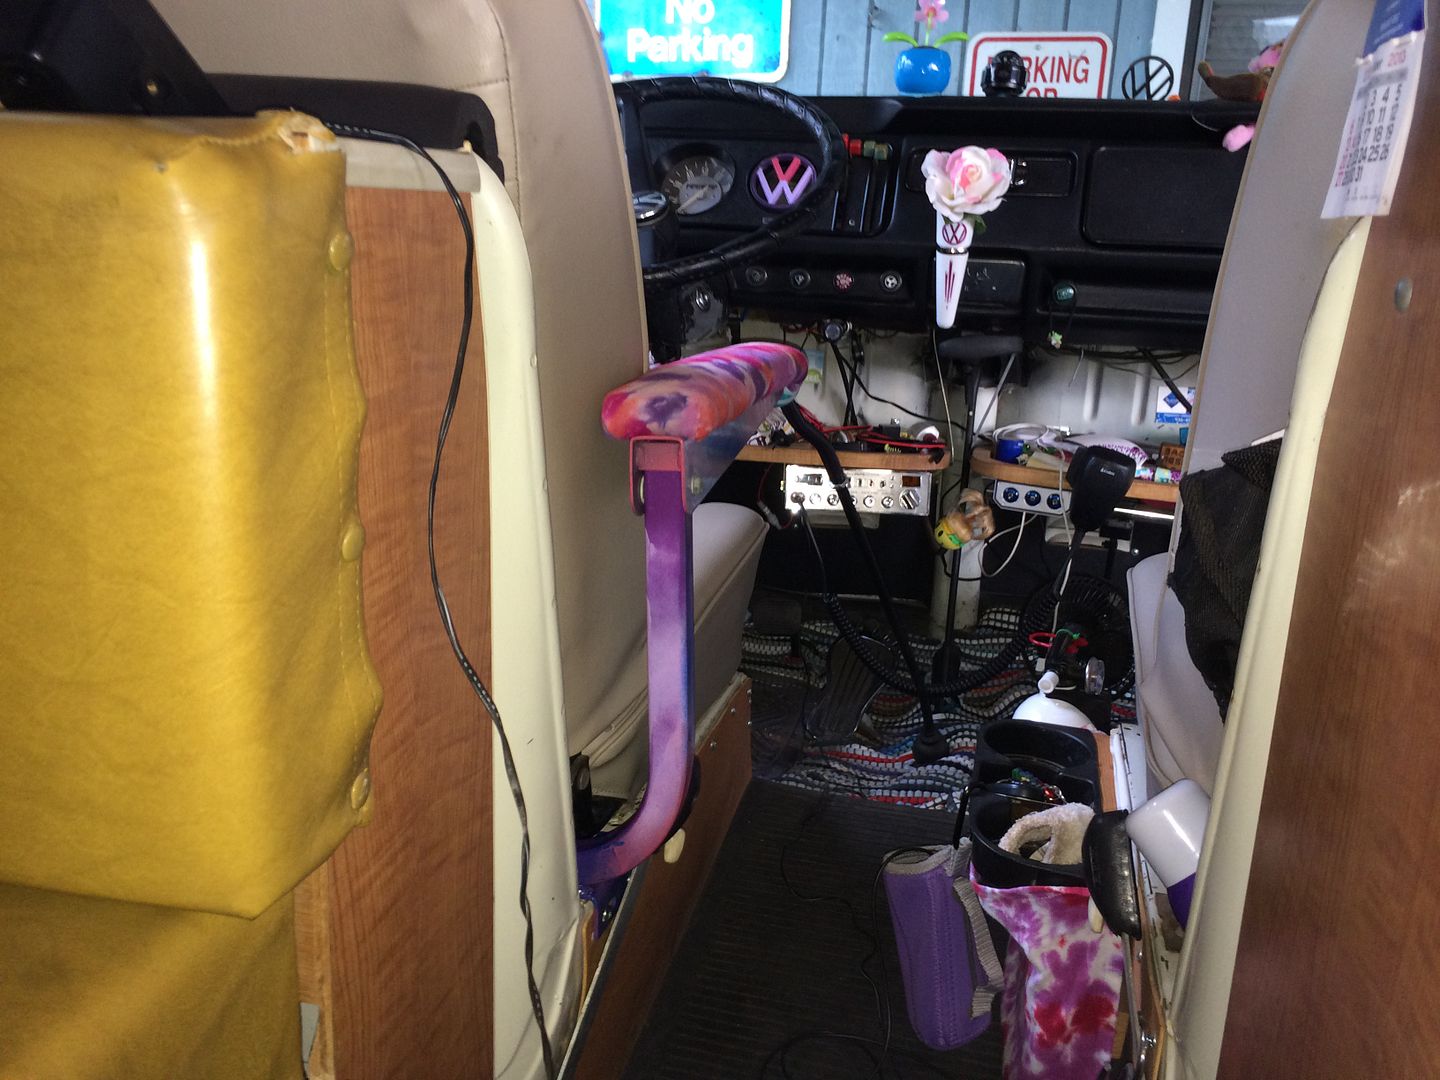
I recently bought a set of seats out of a Euro van because they had armrests, and I thought it would be neat to have armrests. After test fitting them in my friends bus, I decided I didn't think I would like them. So they are now in the rafters. Then I came up with the idea of just making my own armrests and installing them in my bus some how. My plan was going to consist of an armrest and maybe a bar that went down to the seatbelt bolt. Hubby came up with the idea of using an armrest off of one of the handicap scooter aka Lark. We had a set from one of his Mom's old Larks. After looking at them he figured out a way to connect them to the bus and today we did just that. :D

So here is what he came up with. Of course the paint job is all me and I put the tie dyed cover on it. :D


I want to eventually do the same thing to the passenger side, but hubby thinks it is good enough like this for now. I just think it would look more complete with the other side done too. Will make it kind of tight to walk through, but it would still be doable.
 

Latest posts

Top