My 70 Bus!! Wes

Early Bay Forum

Help Support Early Bay Forum:

This site may earn a commission from merchant affiliate links, including eBay, Amazon, and others.
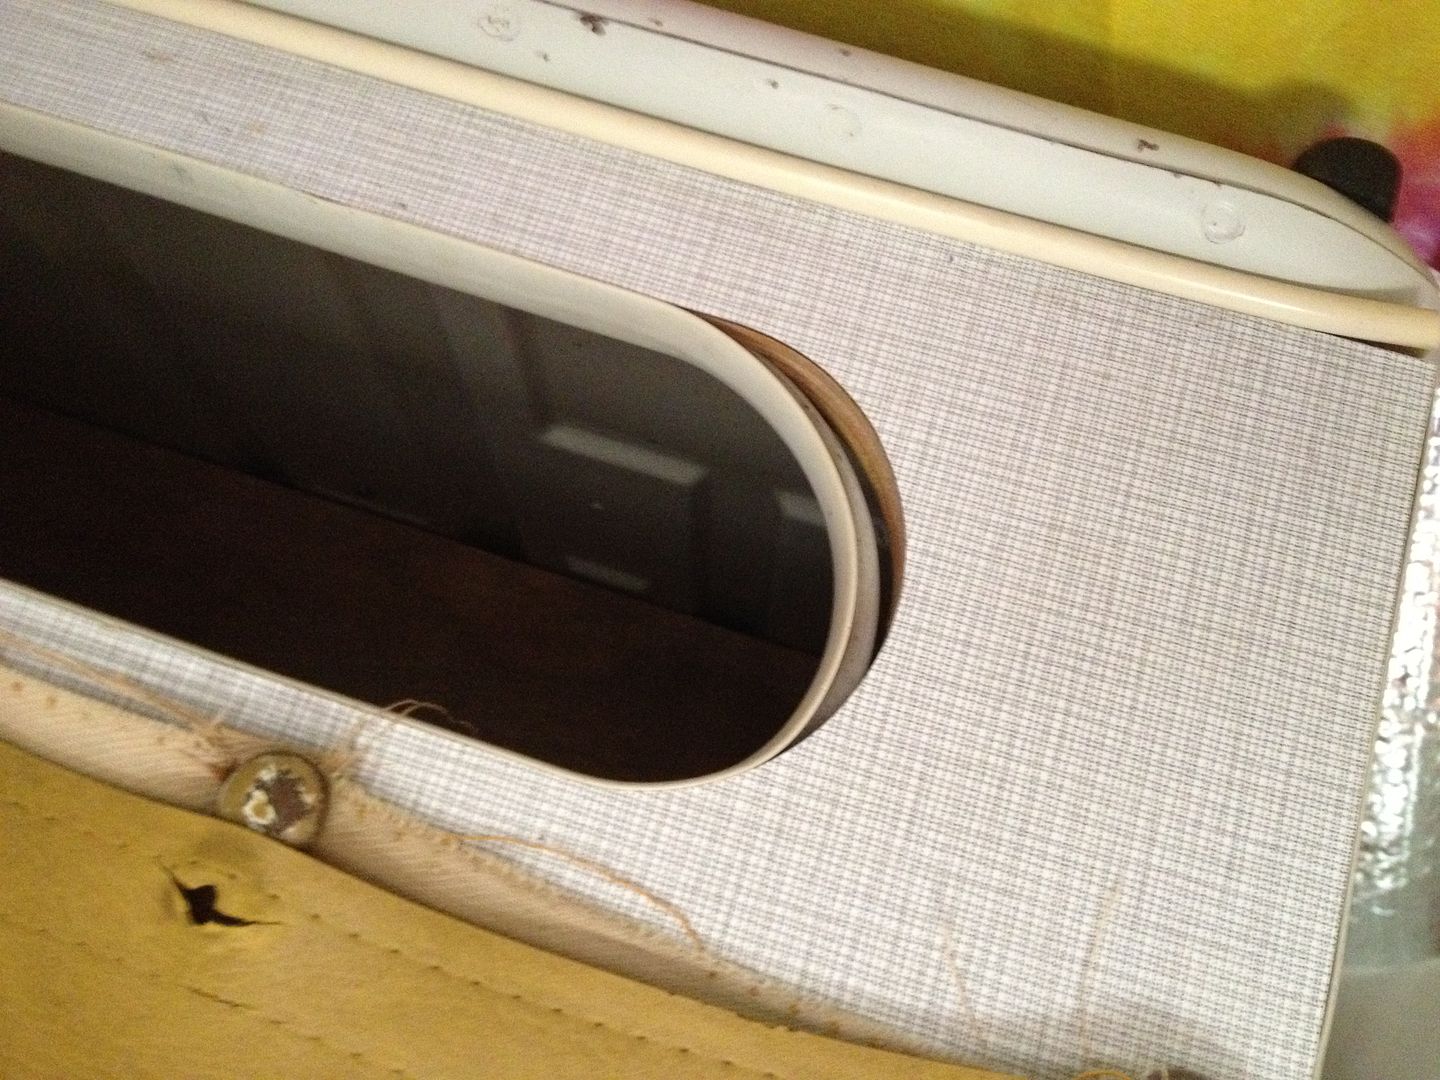
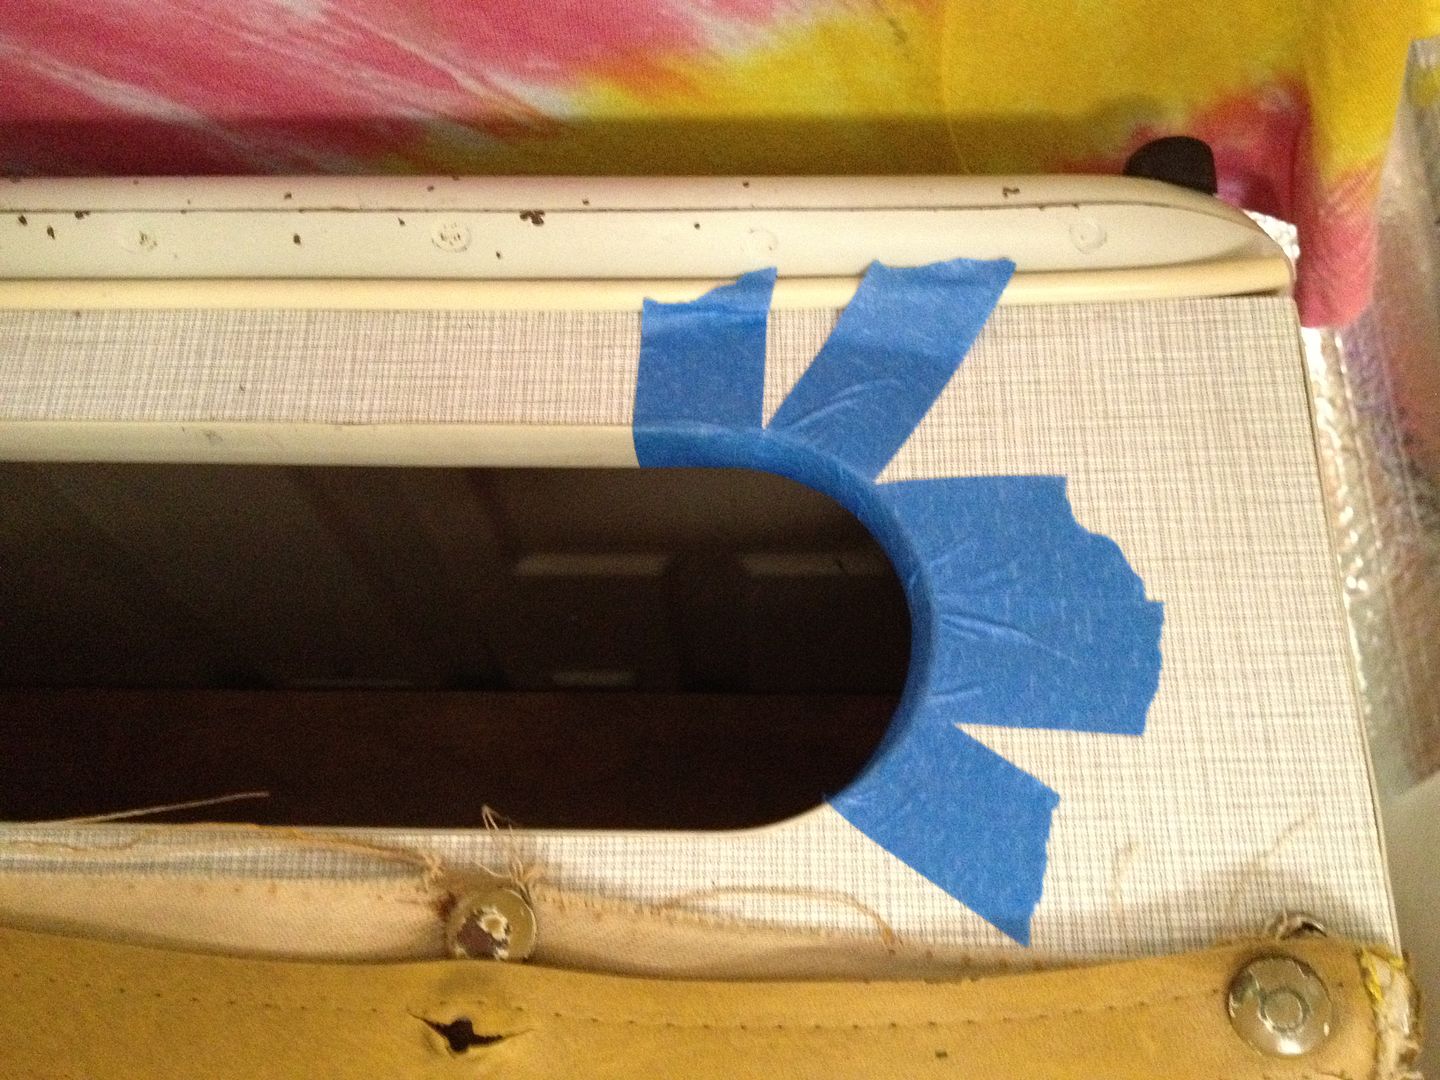
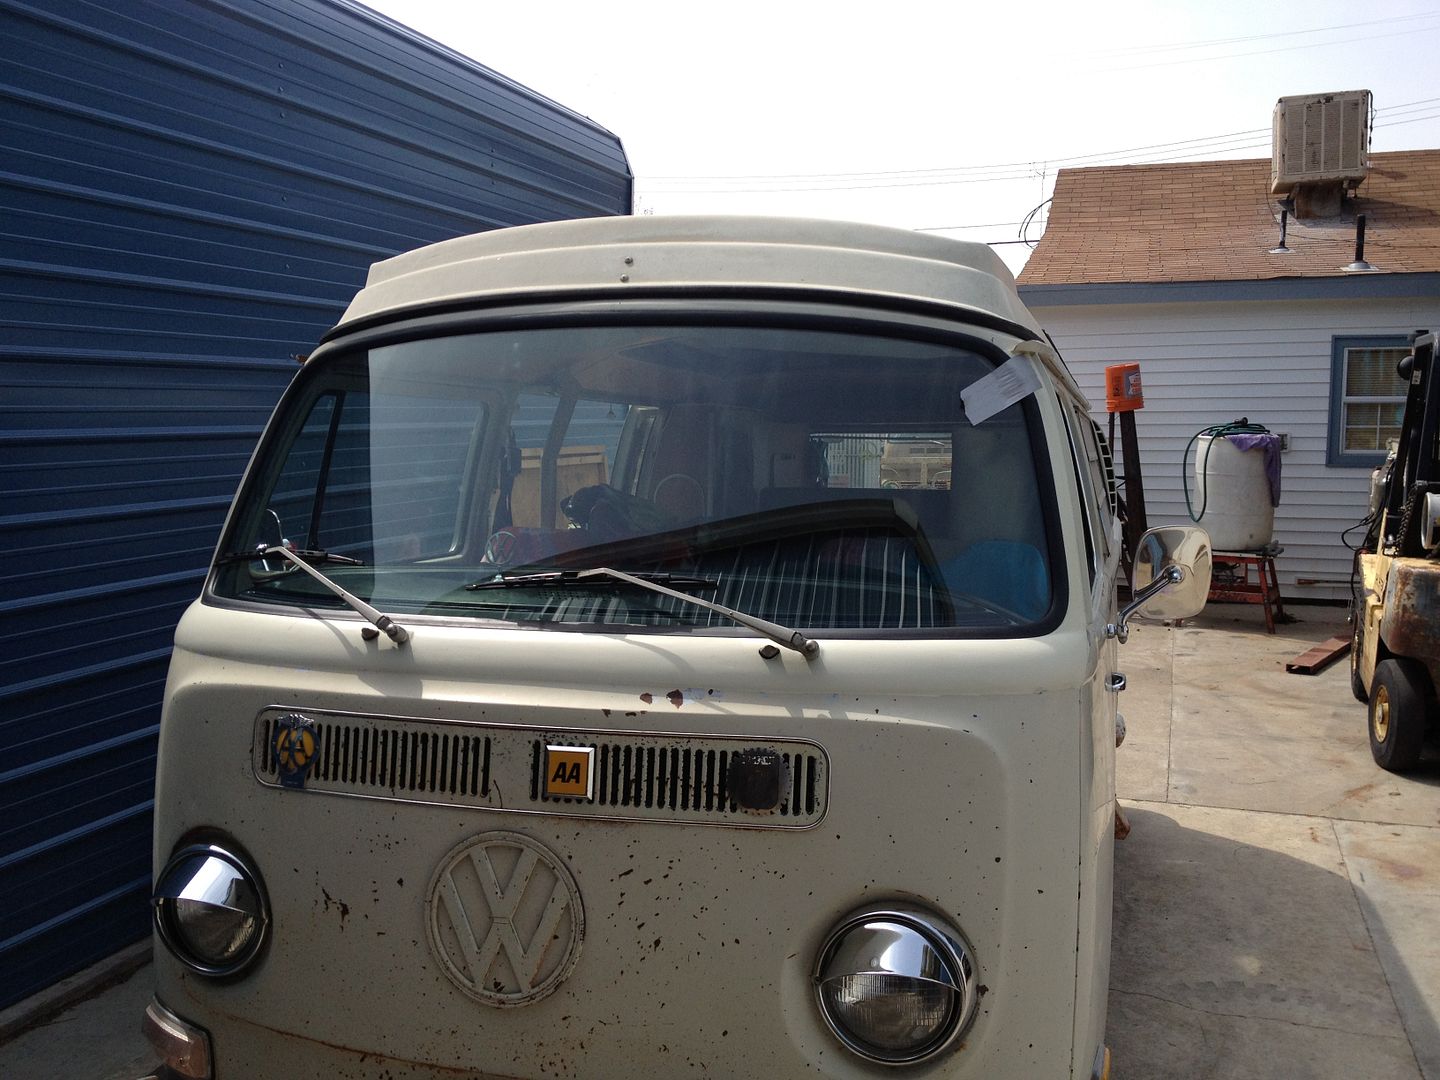
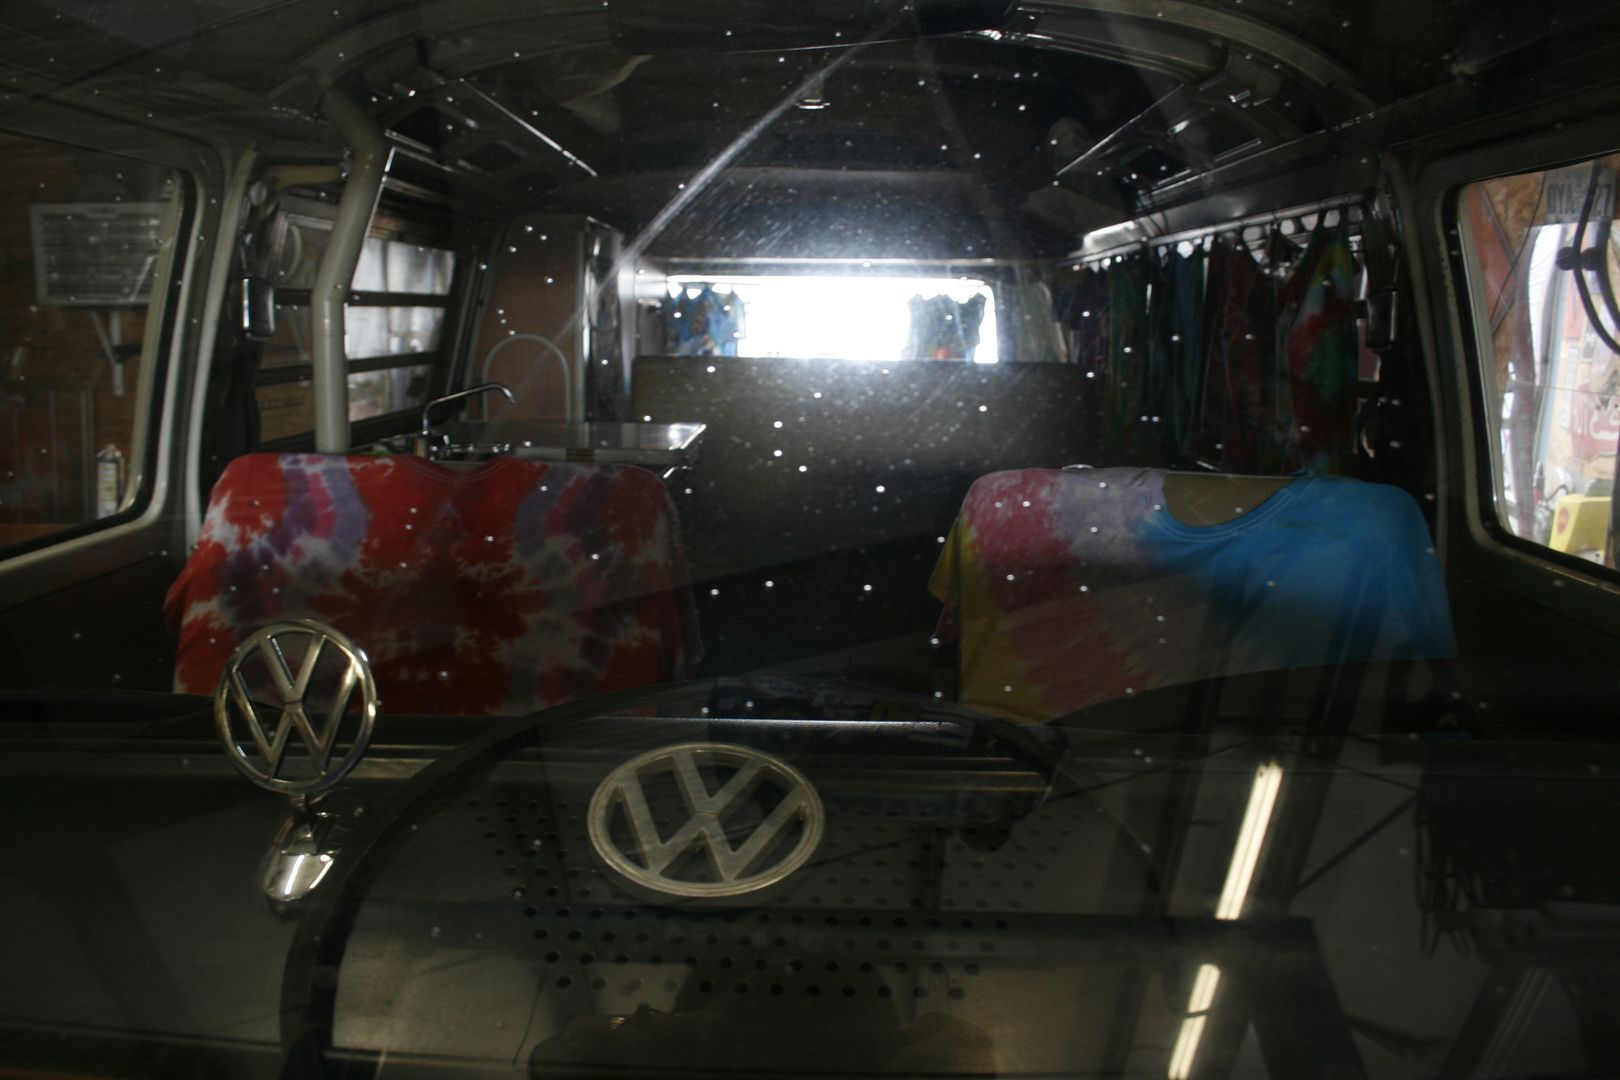
Today I basically just did some cleaning up inside. Had to get all the dust from the Mar Glass out of the inside. Still waiting on the windshield to be installed so not much more I can do right now.

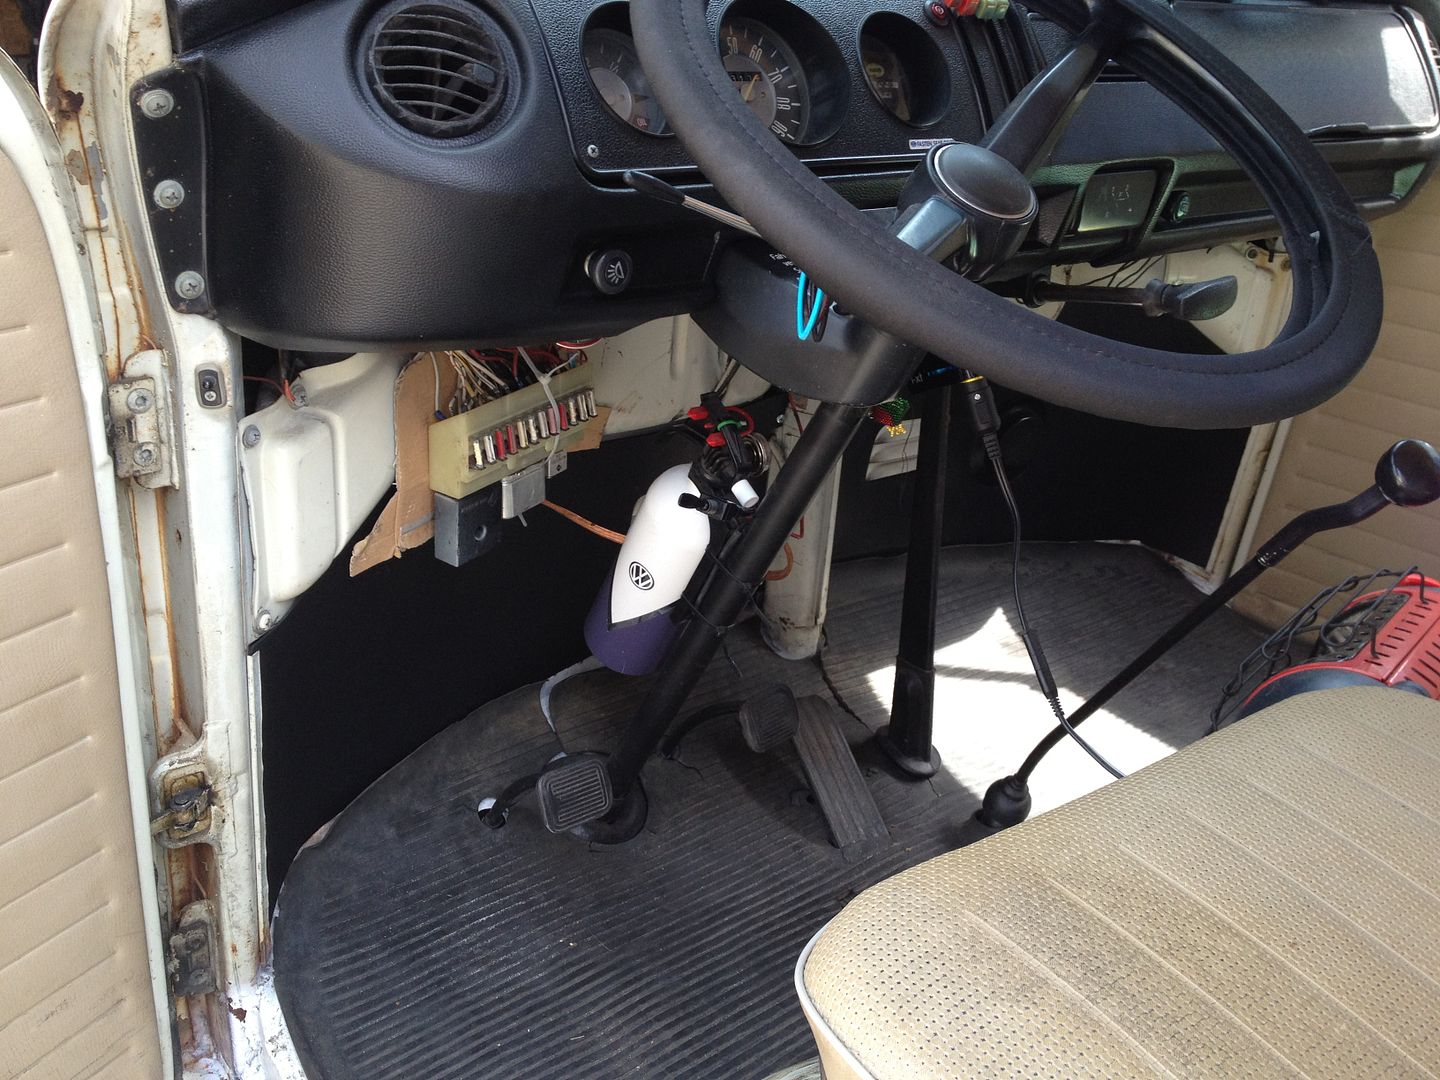
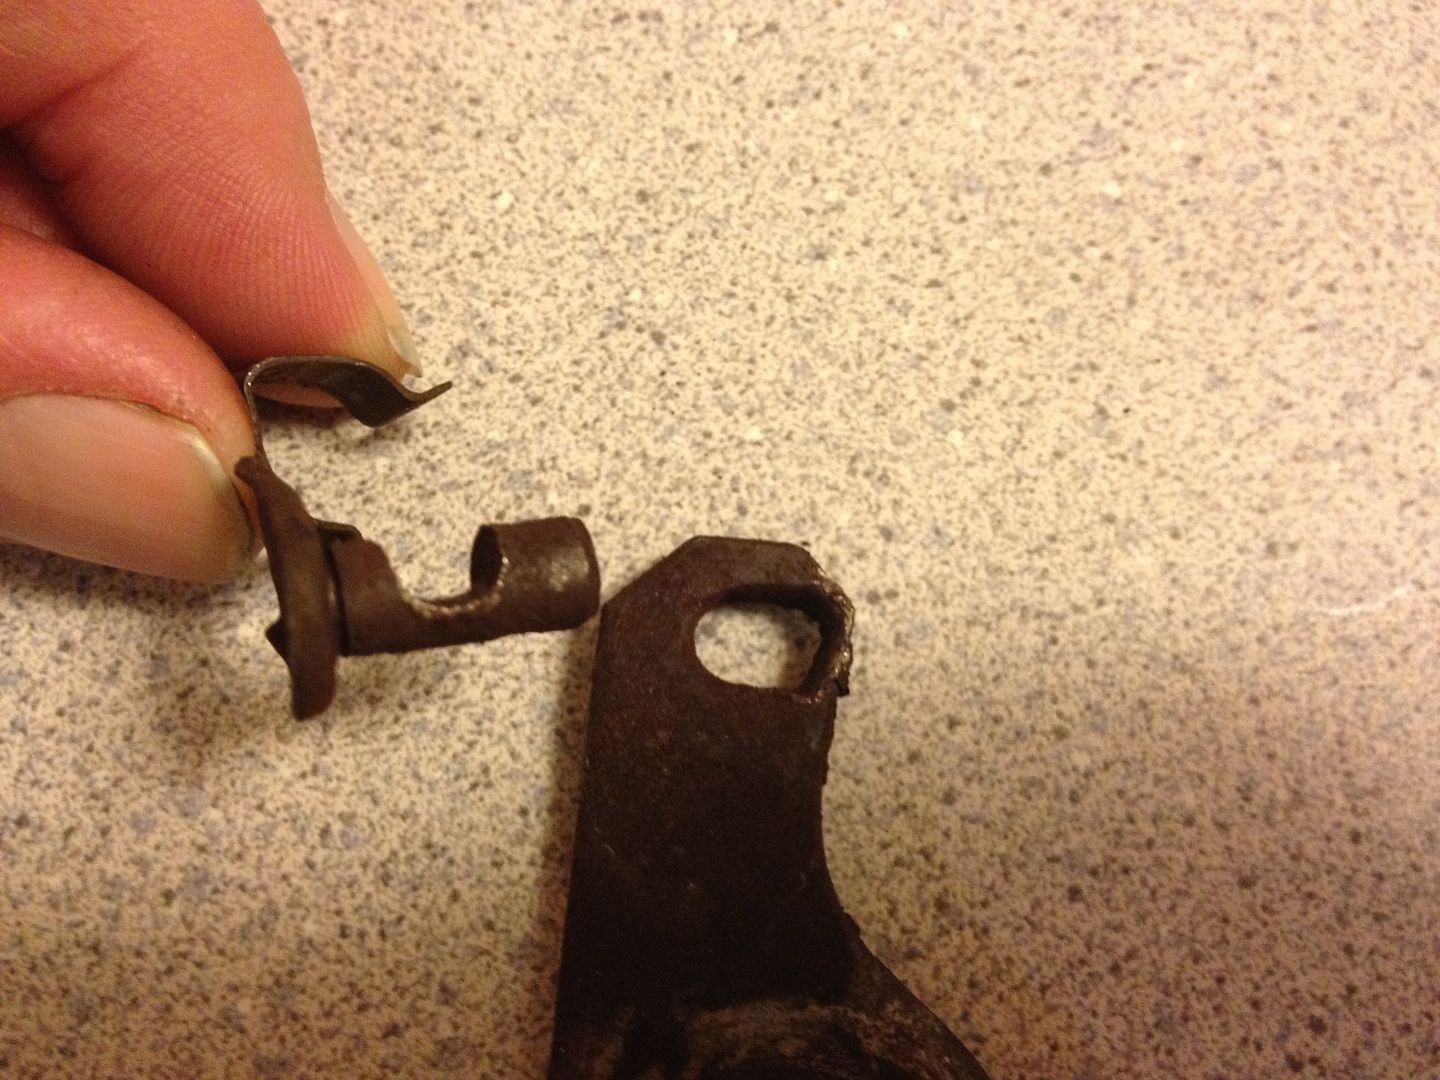
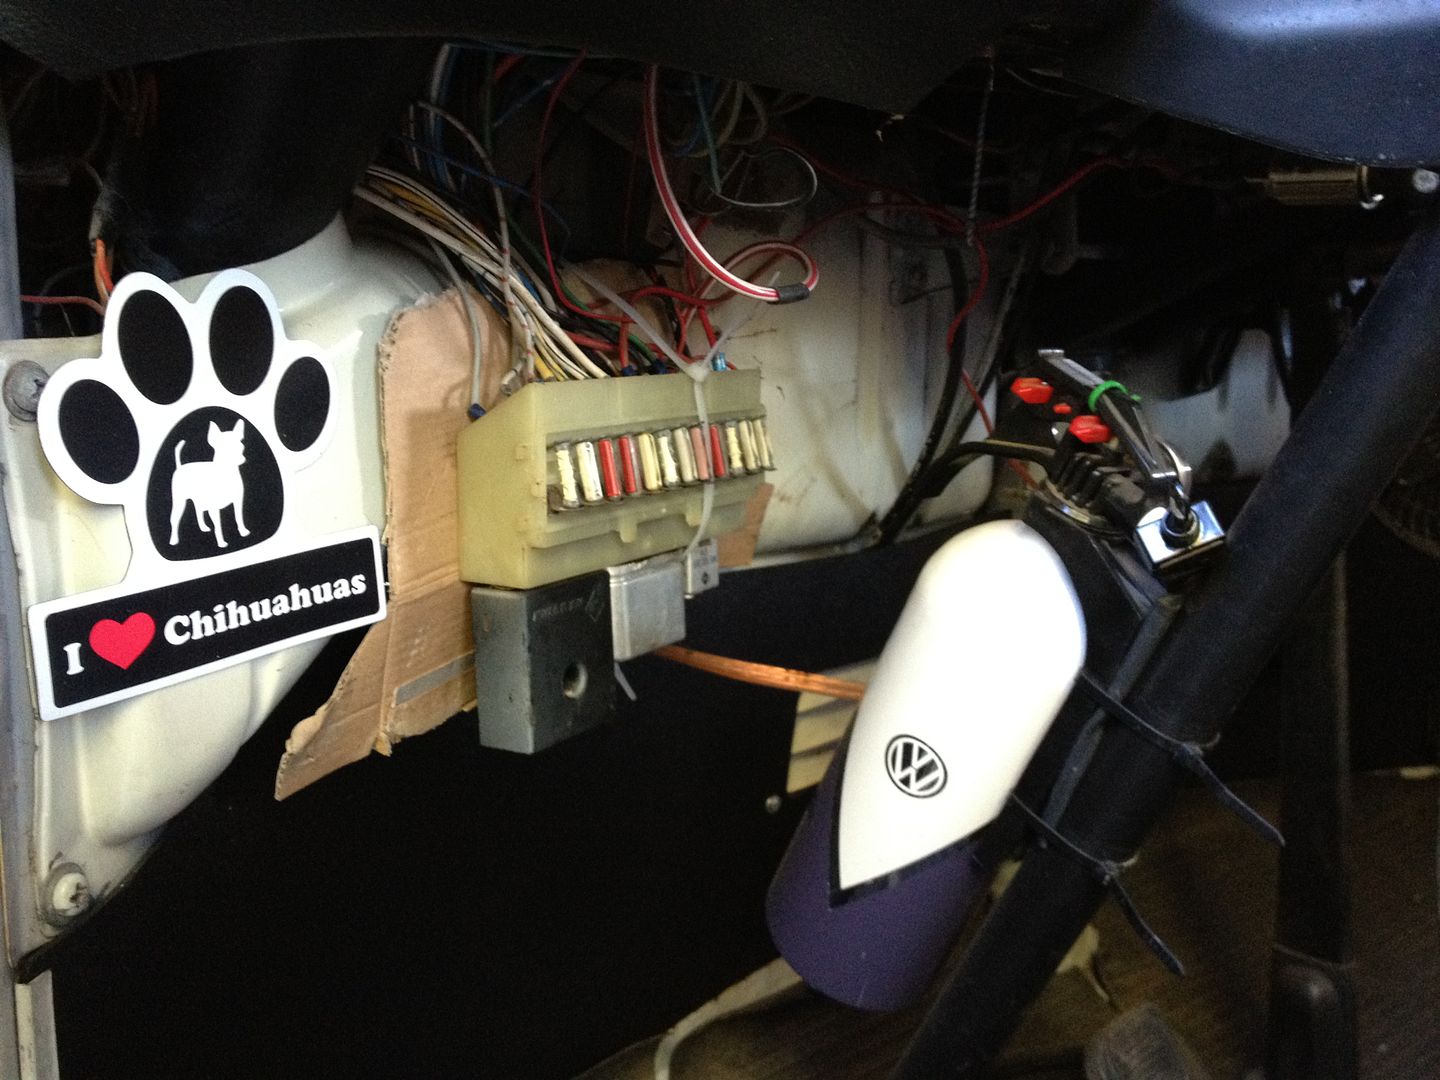
I did try some chrome polish on my turn signal switch and was kind of shocked on how it came out!!

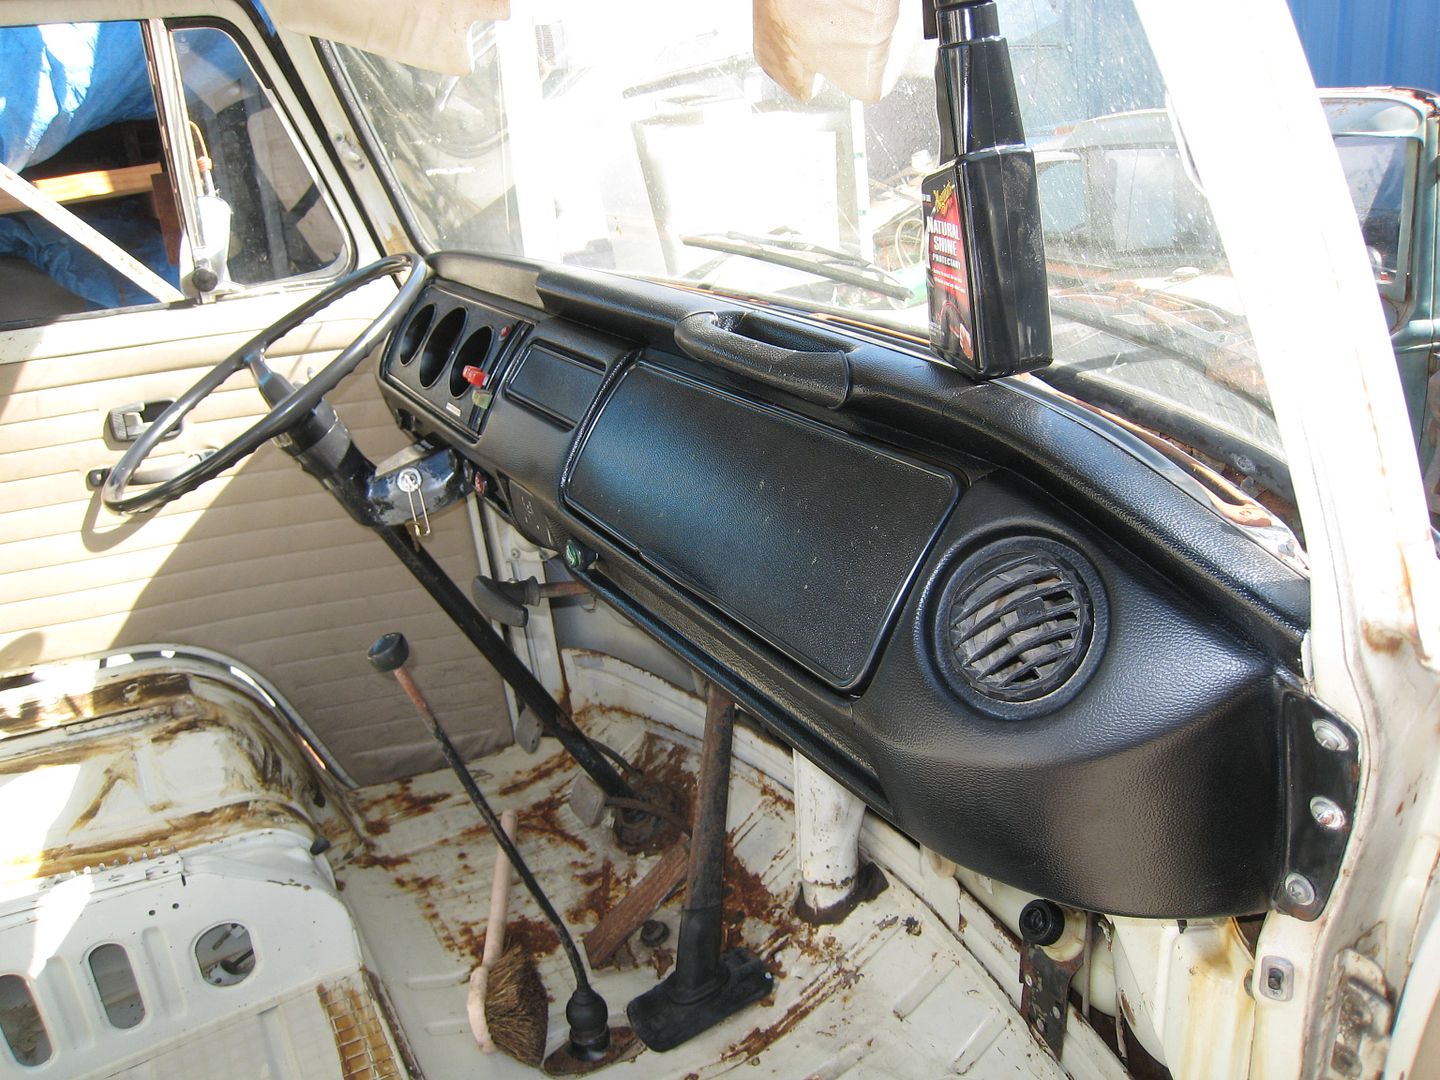
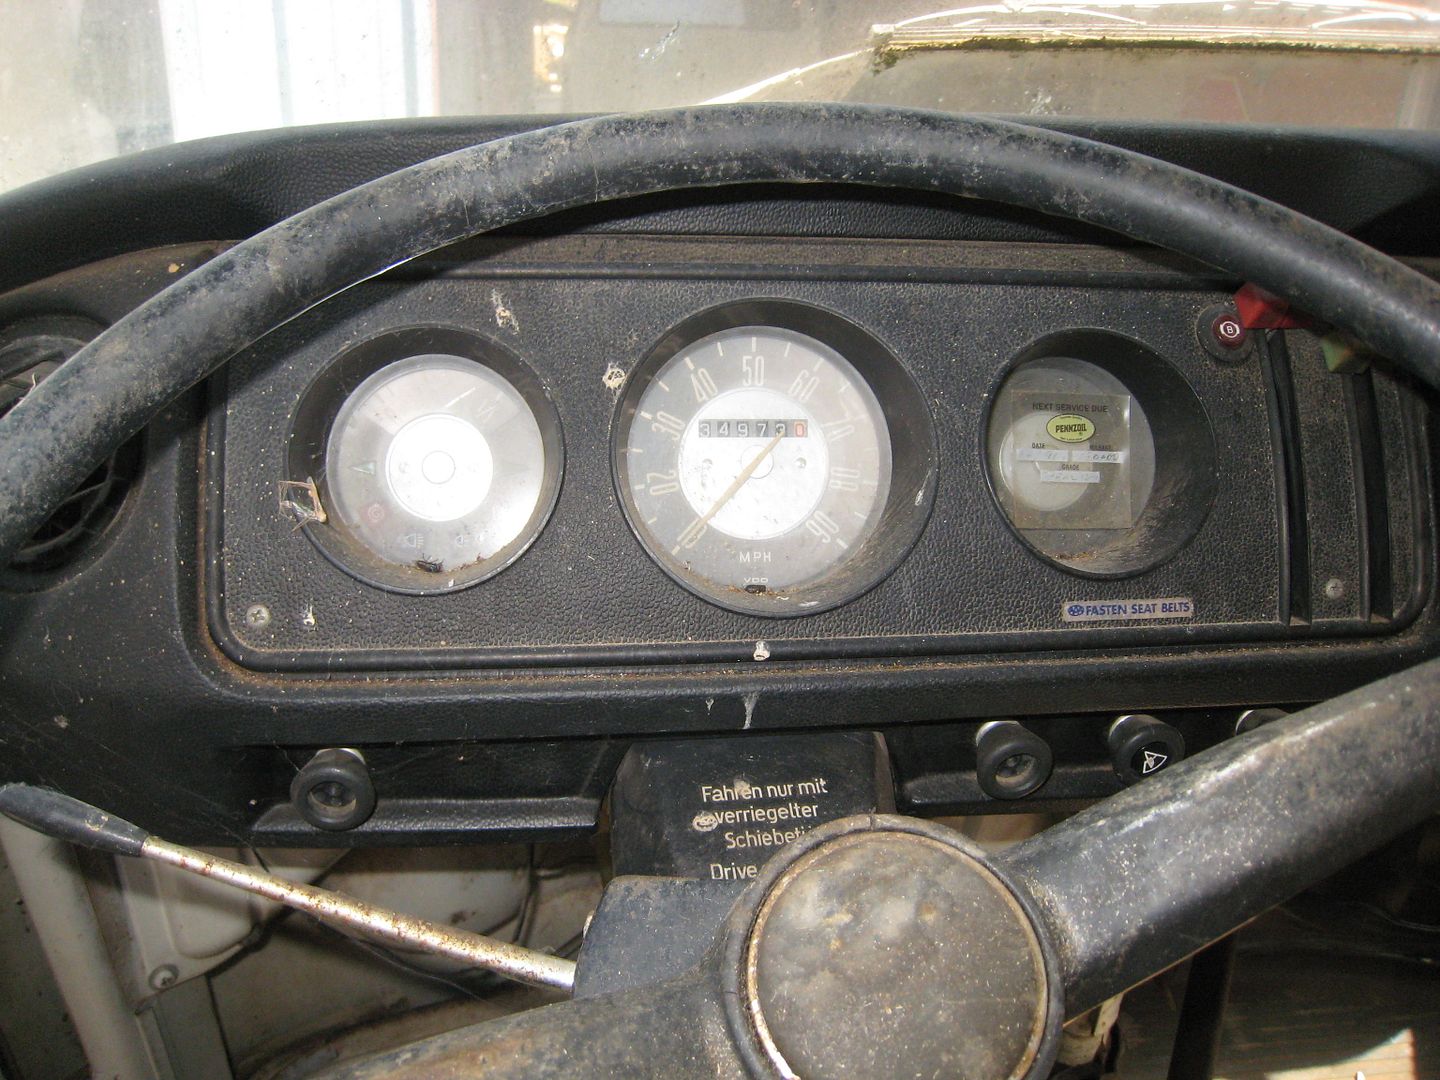
Before ( old pic before I cleaned the dash and all up.)

IMG_1448-1.jpg


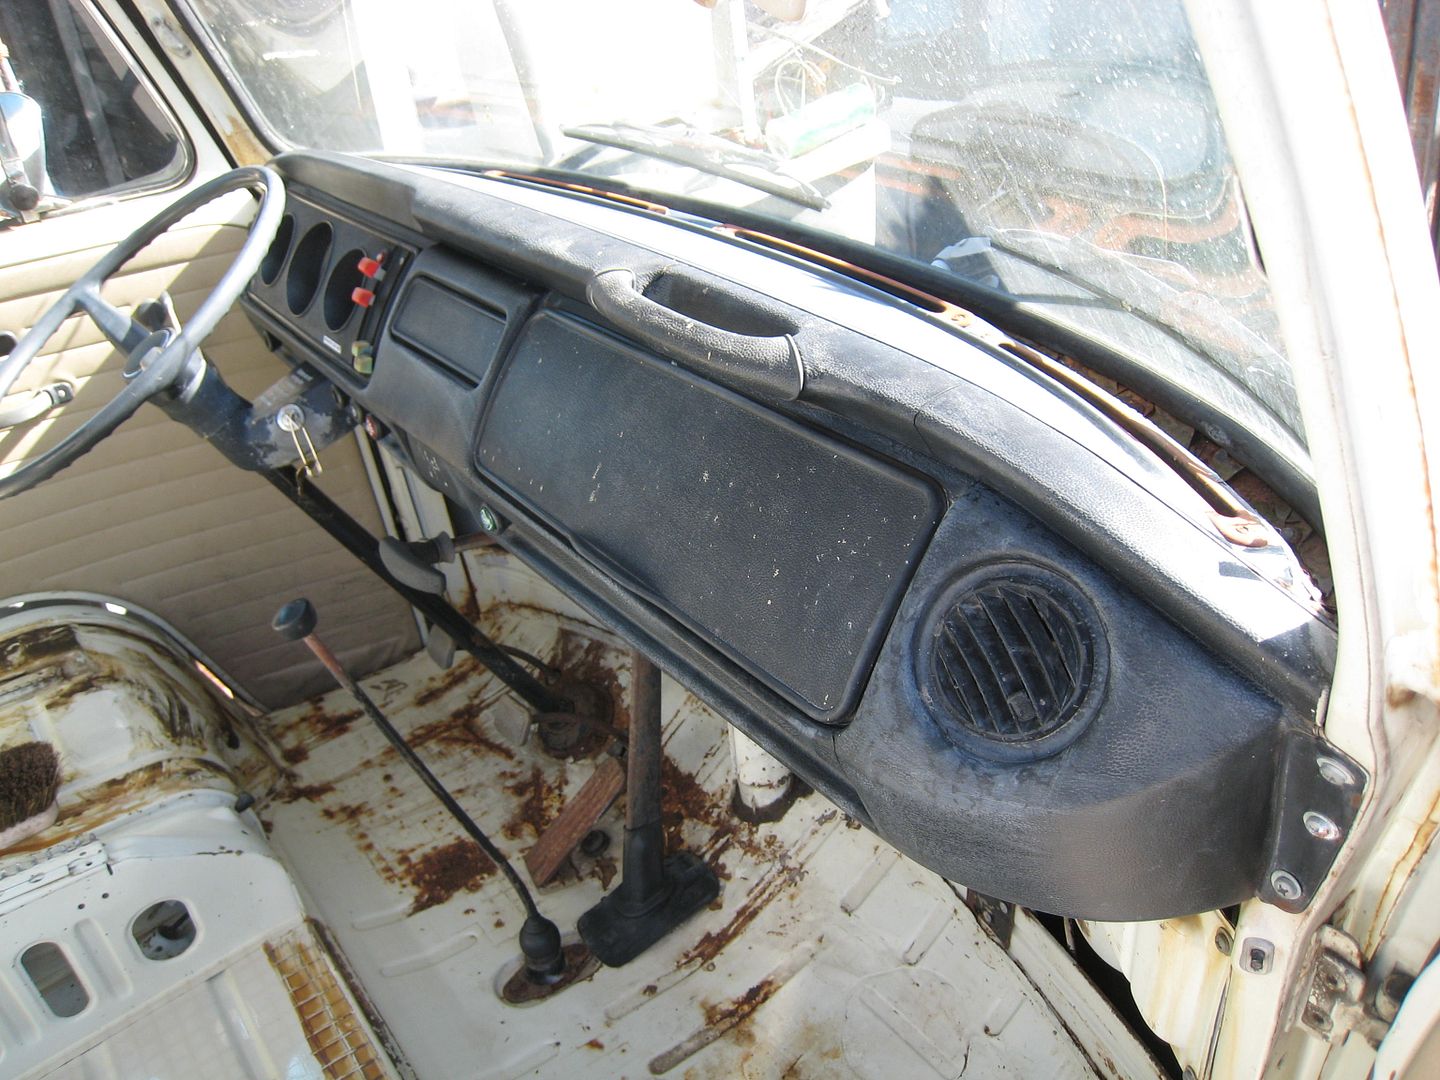
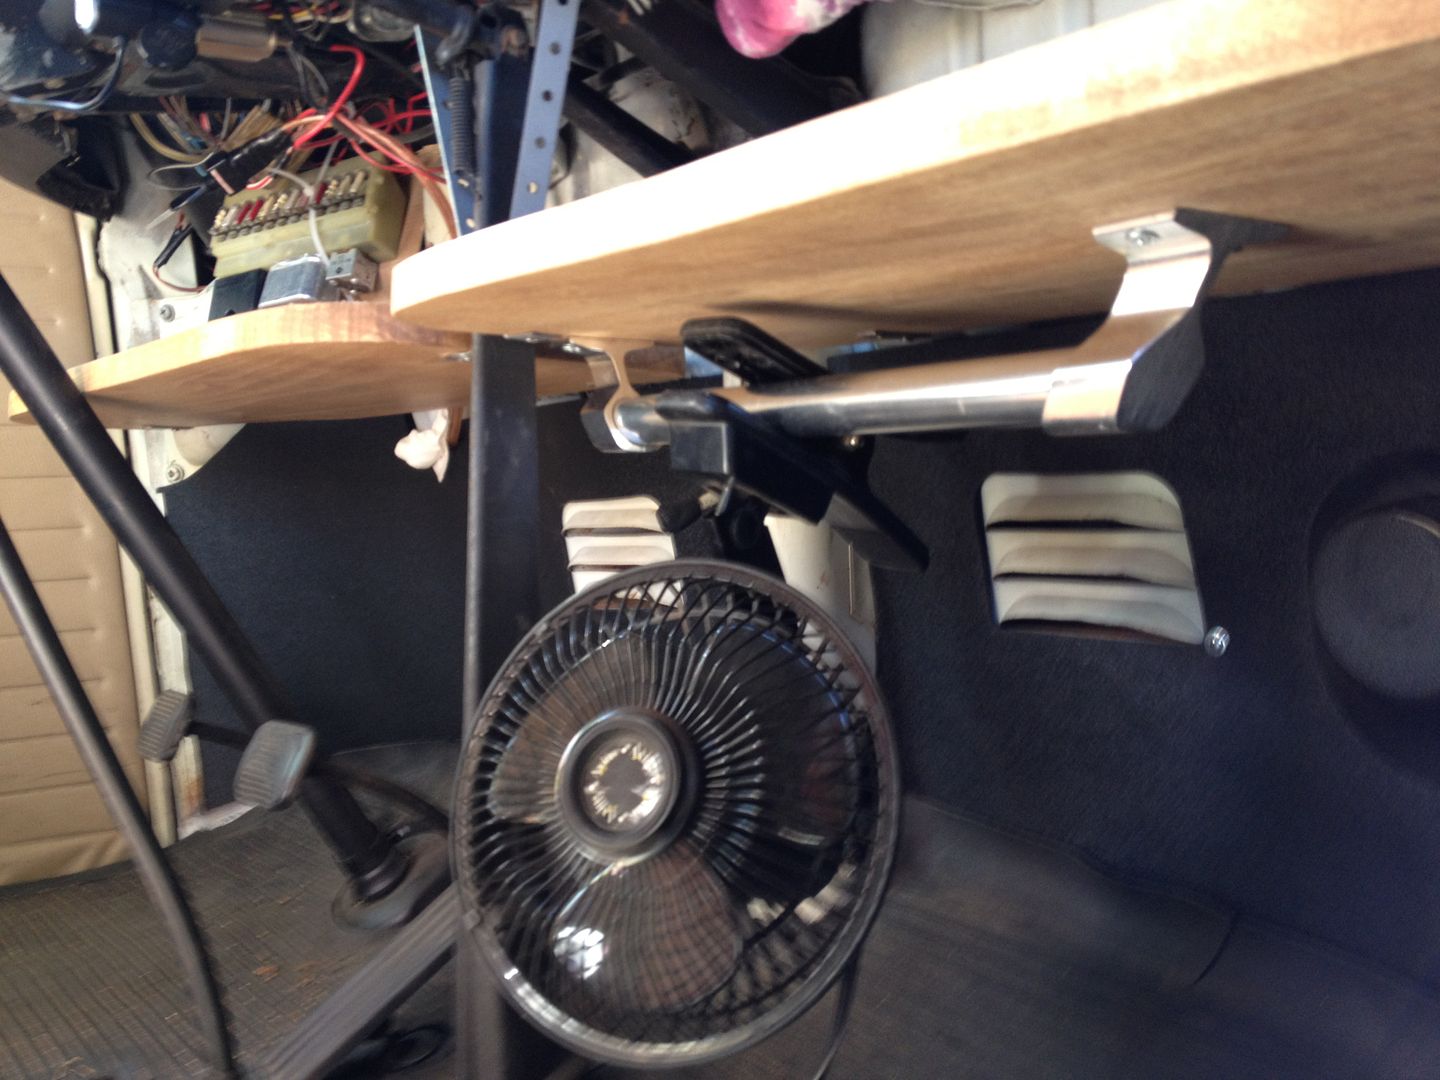
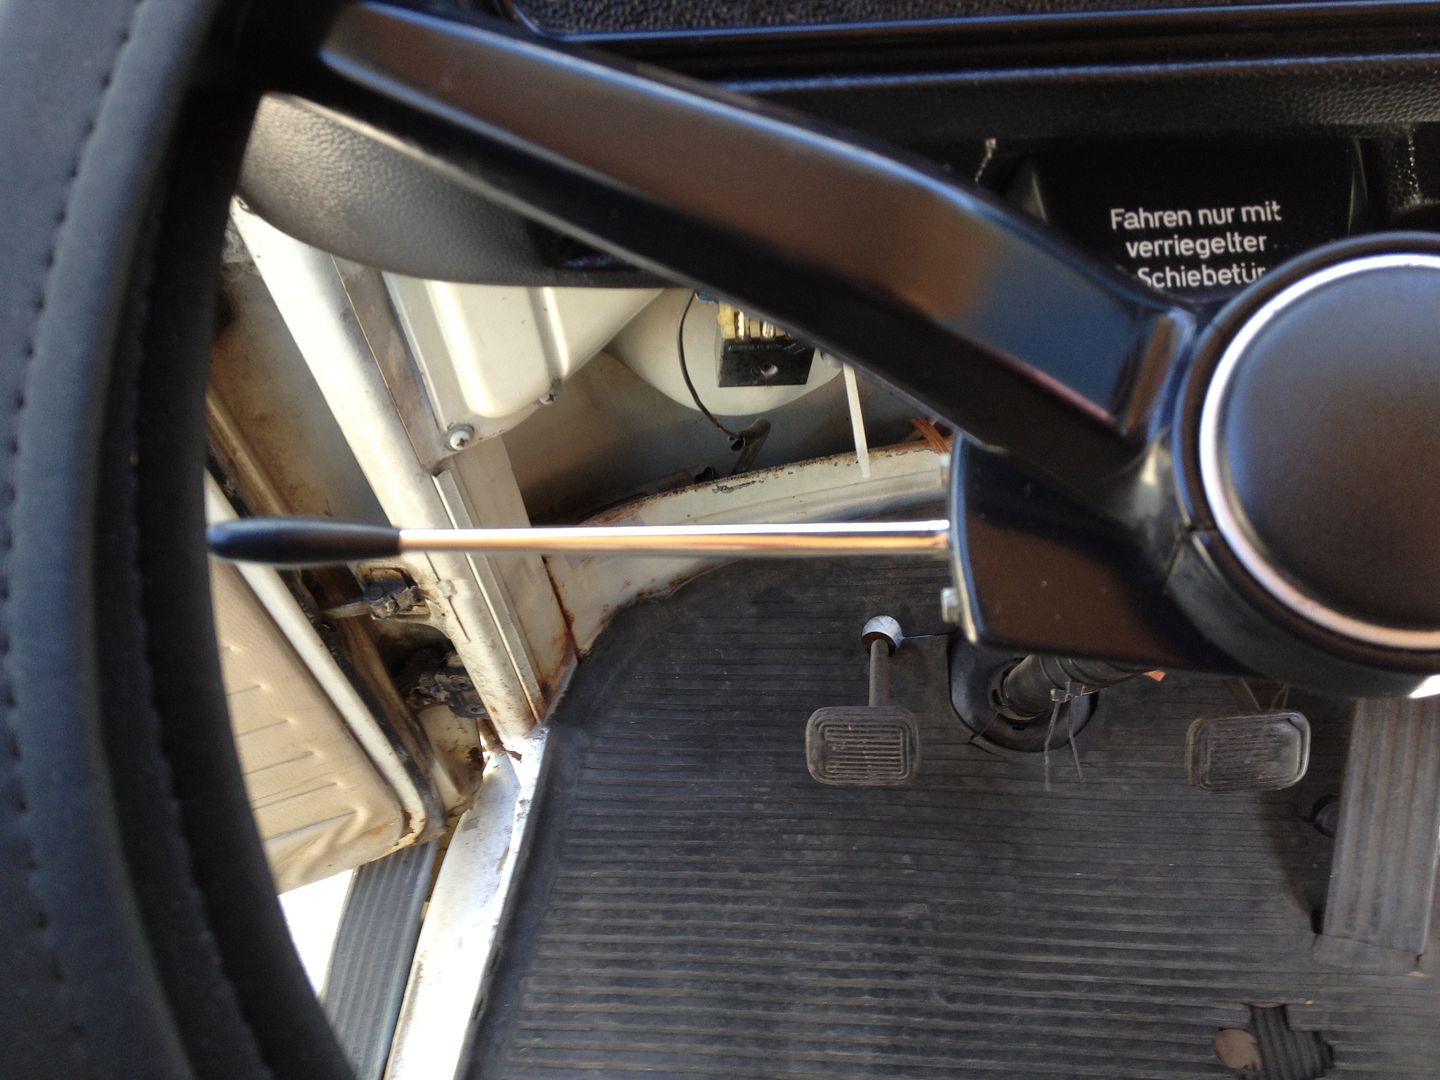
After a little elbow grease and chrome polish.

IMG_3331.jpg


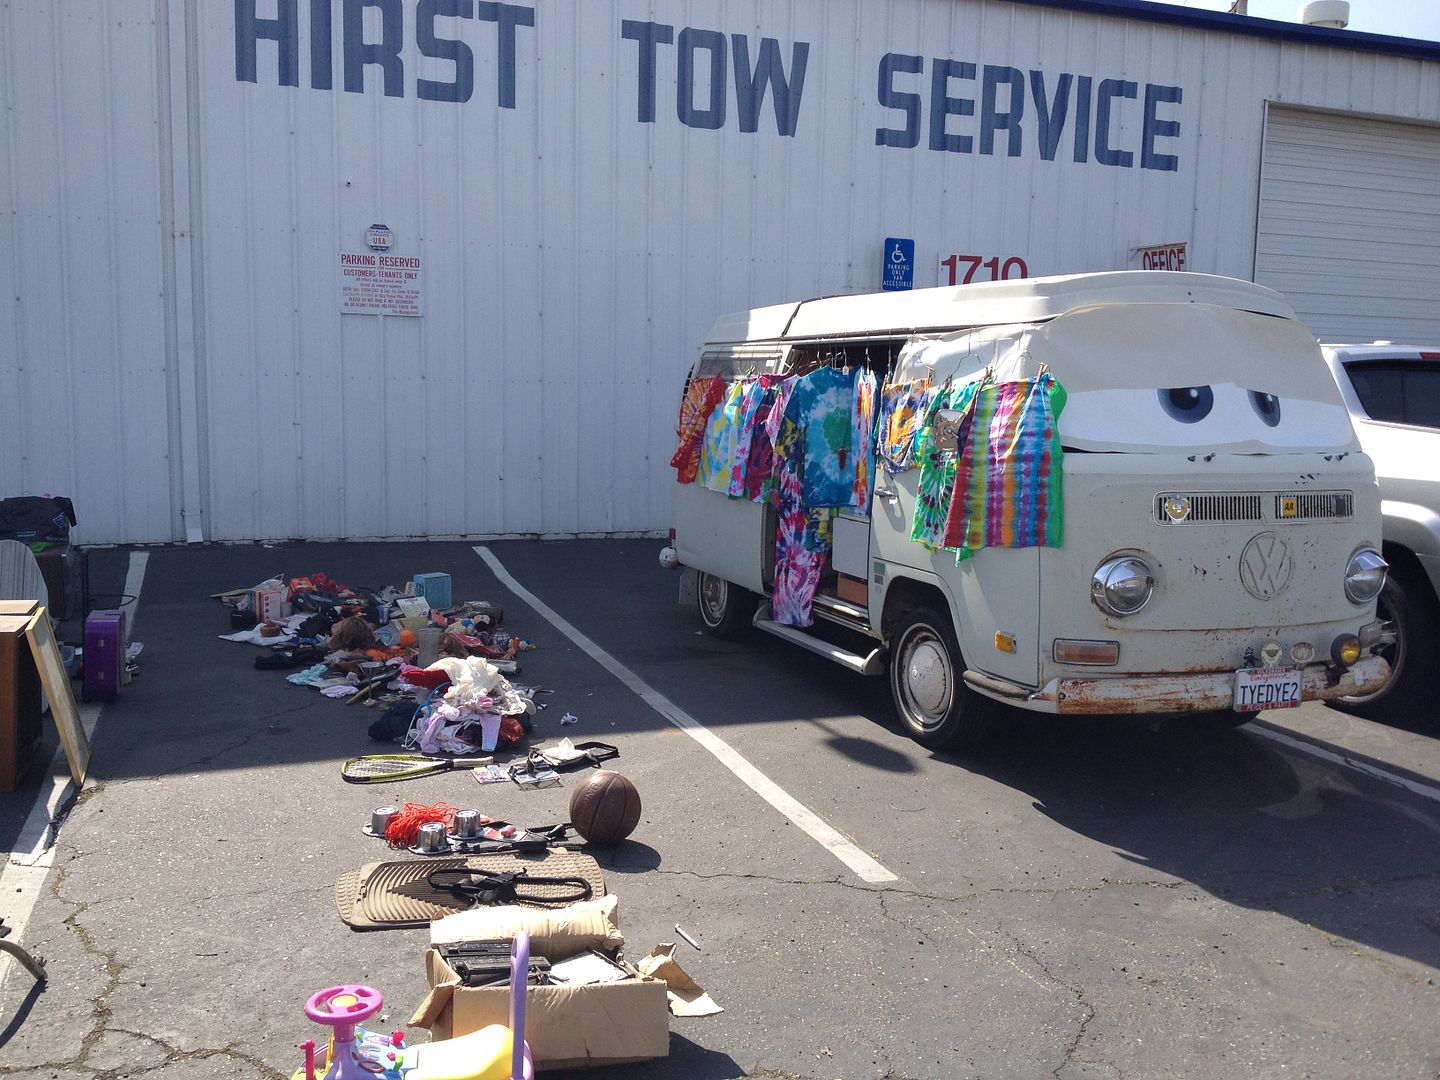
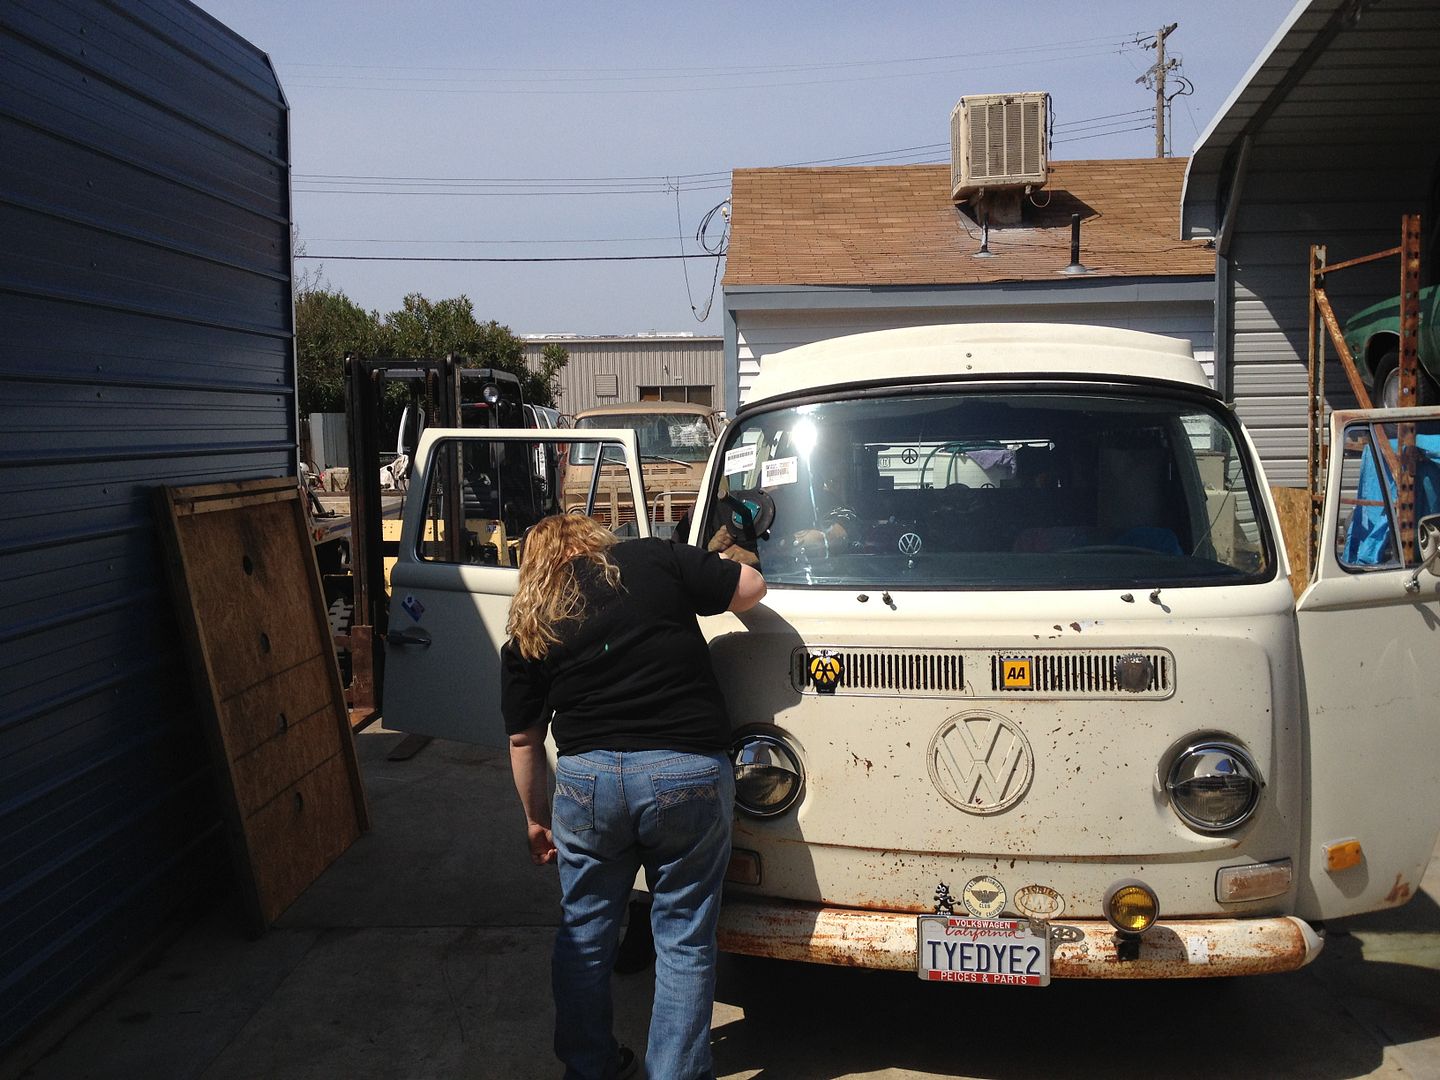
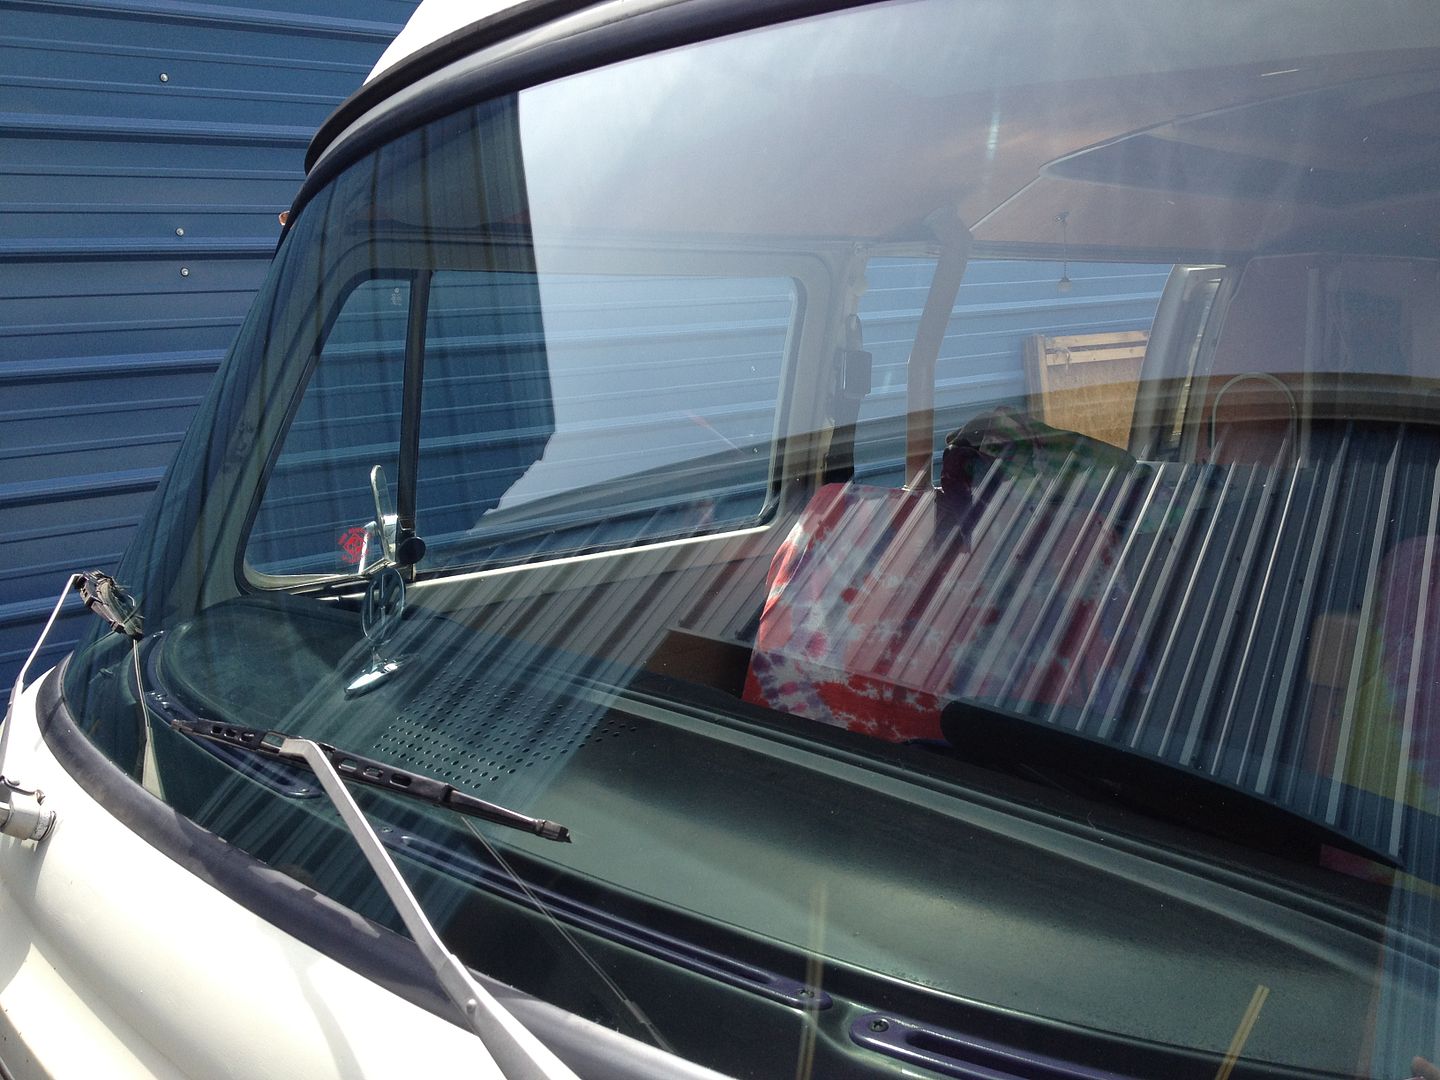
I am getting a bit anxious about getting the windshield in. I wasn't in a big hurry until I got the headliner in and now the weather is perfect bus weather! :D
 
justcruzin said:
I also fixed some of the trim pieces.

501b5e55.jpg


143d52ce.jpg

How did you do that? The trim in my 72 is very stiff, I was thinking about softening it with a heat gun and then glueing it back.

Nice work on there and on the rest of the bus!
 
That is how I did it. With a heat gun. Just get it nice and warm and then start pushing it in. I did a piece of masking tape width section at a time, till I got it all back in. Then I left the tape on for a couple days. The tape is off now and it seems to be doing fine.
 
Easter Sunday we got the windshield in!! :D Although the day before I did drive it to the yard sale we were having at the tow yard, with no windshield! :shock: It was almost like riding a motorcycle. LOL Wind blowing in my hair. I put the window cover on it and had to use a pipe to make it stay up. Kind of turned the bus into a split window for a day. LOL

IMG_3376.jpg


So here is the day of the install.

Step kid and his girlfriend (both work for Safelite) installing the glass. He say's he doesn't like VW's anymore! LOL

IMG_3380.jpg


All in with one minor mishap. He was having issues with getting the top corner of the rubber to go in right and accidenlty cut it when he was trying to push it in more. No biggie though because he just used some of his windshield goop stuff and glued that section. That is why the tape is there.

IMG_3381.jpg


Ok, here is a before. You can see all the bubbles in the glass.

19825f4a.jpg


After,

IMG_3382.jpg


It is really strange driving it and seeing out so clear. Almost like not having a glass there! LOL

I also got my driver kick panel in. I lucked out and was able to run the wire tie that holds my fuse panel through the brake reservior notch, so I didn't have to move it back to where it goes. I kind of like it out front. THat way my relays don't go bad. You know as soon as ai move it to where it goes, they will die on me! LOL

IMG_3383.jpg
 
It's called Meguiars Natural Shine Protectant.

You can kind of see it if you zoom in on this pic. This was the first time I used it.

IMG_1593.jpg


This is what the dash looked like before I used it.

IMG_1589.jpg
 
Just a little update.

I recently decided to try to clean the bottom frame of the Jalousie windows. There was some bad oxidation on them. Ended up using sand paper, WD40, and some steel wool, finished it off with some aluminum polish.

Went from this,

IMG_3591.jpg


To this,

IMG_3596.jpg


Didn't come out to bad.

Today we finally got the bus on the lift so I could check my clutch cable. I am not liking how it feels. Seems like it lets out way late and when it does let out, seems like there isn't much there to let out. Hard to explain, LOL. Anyway, from the looks of the clip and the part the clip clips to, it was a good thing I got to it in when I did.

IMG_3685.jpg


The cable looks good, but I am going to buy a new one anyway and keep the old one as a back up. :D

I did learn something while backing into the garage today. Make sure you check the door before backing in. It may not be up far enough! :shock:

IMG_3680.jpg


Luckily the seal is no good. I didn't ruin a good seal. That and I didn't damage the fiberglass. My next thing to research is coating the top. Then once that is done I can buy a new seal. I have till winter to figure this out! LOL

Here's just an artsy shot of it on the rack! :D

IMG_3678.jpg


Tomorrow I will go buy my parts and hopefully get it back together. :D
 
shame about the roof :roll: on the upside the dash came up a treat! Ill have to get me some of that, my dash never looks completely clean!
 
Another little update! :D

Over the weekend I had planned to install my axle boots. That didn't happen but I managed to install my seat stand mats instead! :D

Before,

IMG_3776.jpg


After,

IMG_3815.jpg


Much cleaner now!! :D

IMG_3816.jpg


I also found me a flower at a yard sale! :D It is solar powered. LOL You should be able to click on the pic and it will take you to my photobucket site and play the short video of it in action! :D


That's it for now. :D
 
Today I went shopping for my Bus! :D Well actually I went to the guy's house that I bought my bug from to pick up a few parts he found that went with my bug. He asked me if I wanted to buy a tent for my bus. After a little negotiating, I cam home with this!!

IMG_3878.jpg


I have yet to stand it up, but from what I can see of it, it looks to be in good shape. As far as I know I am missing one pole and one corner connecter. He used a part for a regular pop up for the missing corner piece. I will eventually try to find the correct pole and piece.

Tomorrow I will set it up and see what it looks like!! :D
 
I put my tent up today! It is in pretty much excellent condition. Only thing I could see that was not in great shape was it has about an inch to inch and a half rip on the rubber piece that attaches to the bus's rain gutter. Other then that there are no rips or tears.

IMG_3885.jpg


IMG_3882.jpg


I am missing the rear middle piece referred to as the "red middle piece" in the manual.

IMG_3888.jpg


I'm also missing one of the legs that extend. In the manual they are referred to as pole 8 and 9. That and one of my poles is missing the little springy thing that pops out and goes in the hole of the other pole.

IMG_3890.jpg


Springy thing that one pole is missing,

IMG_3887.jpg


I wish I could have set it up and got pics with it next to the bus, but it was 100+ today so I put it up in the air conditioned garage! LOL
 
Thanks to Sarah on here, I made me some shelves for my bus! Sarah made her a set and I liked them so I asked if she would send me a pattern. She did! :D I made mine a bit different though! :D So here is what I started out with.

IMG_3908.jpg


IMG_3911.jpg


I made me a jig to make an outline of where I wanted my ledge.

IMG_3919.jpg


Here's the passenger side.

IMG_3920.jpg


Driver side. I took a broken VW rearview mirror to make a outline for one of me cubby's!

IMG_3921.jpg


All cut out and stained.

IMG_3923.jpg


Before I could install them I had to do some rearranging in the bus.

IMG_3917.jpg


I raised my fuse panel up and then relocated the fire extinguisher. This is just temporary till I find a better place for it. I want it to be easy to get too, but durring the winter months I need that spot for my Buddy Heater so eventually it will be moved again.

IMG_3918.jpg


I installed a bar to clamp my fan too under the shelf.

IMG_3930.jpg


Passenger side has a cup holder. I will eventually try to find something to put under the hole so one can put a can in there too. For now it is only for cups that have a bigger top then bottom! LOL

IMG_3932.jpg


Driver side has an option for a cup holder but I left it as a cubby for now. I like the cup holder I have in between the seats better but figured I would at least make a spot for one, that and it makes it match the passenger side a bit better. :D

IMG_3934.jpg


I also installed a 3 way power adaptor. I liked it because of the on off switches and also the lights. I did mess up one light durring the install though. :( The power part of it still works though. Only thing I didn't like about it was I had thought I could leave it's power point plugged in and just use the switches, but the power point has a light also. So I still have to pull it out a bit. I may try to remove the light later though.

IMG_3936.jpg


The finished product. All ready in use!! :D

IMG_3939.jpg
 
Kim they look wiked!! Glad it all worked out ok and I love they're personal to you 8) Enjoy the extra storage space.. I did. :mrgreen:
 
As some of you may have seen in the "What did you do to your bay today" thread, I have made me a temporary fix to my pop top canvas. I wanted to add this to my bus's thread too.

Here is before,

IMG_1459.jpg


That was a pic from when I first got the bus. I actually got a bit to excited to try on my home made fix, that I forgot to take more current pics of it. It now has areas that I have tried to sew up to keep it from completely falling apart.

Here is what I started with for the fix. Two white sheets sewn together. Drew half the VW emblem on.

IMG_3986.jpg


Then tied it up,

IMG_3988.jpg


Then I did this,

IMG_3999.jpg


And the final product was this,

IMG_4040.jpg


IMG_4041.jpg


It's not a permanent fix, but it is something that I can use till I can afford the correct canvas! At least now I can pop the top and not be embarrassed about my ugly canvas! :D
 
Great to see all the hard work on your bus, I'm going to need to do some of those things!
Lovely looking bus, to think it was nearly scrapped :shock:

Keep up the good work :)
 
Thanks you guy's! I have to admit. I love working on my bus. Just wish money would come as easy as me wanting to work on it! LOL The nice thing about it is I can drive it as I wait for money to be saved! :D
 

Latest posts

Top