Supertramp
Well-known member
I know this will be blasphemy, but for a long time I was never really into Westy's. Yours has brought me round. Love it.
VanillaBear said:I know this will be blasphemy, but for a long time I was never really into Westy's. Yours has brought me round. Love it.
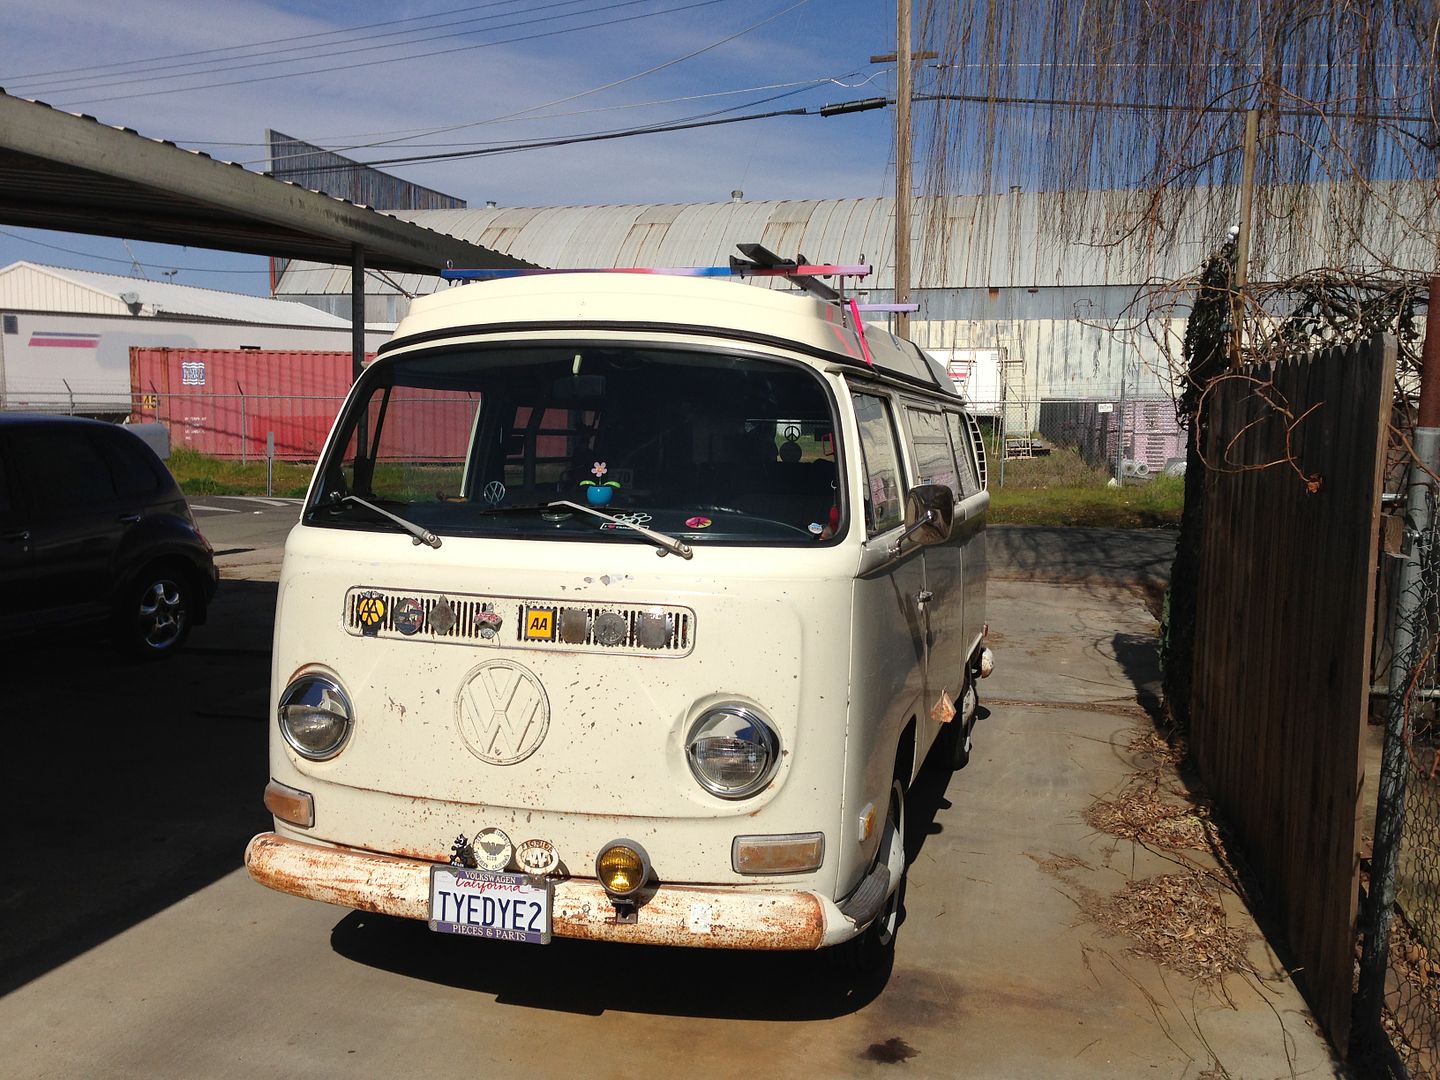
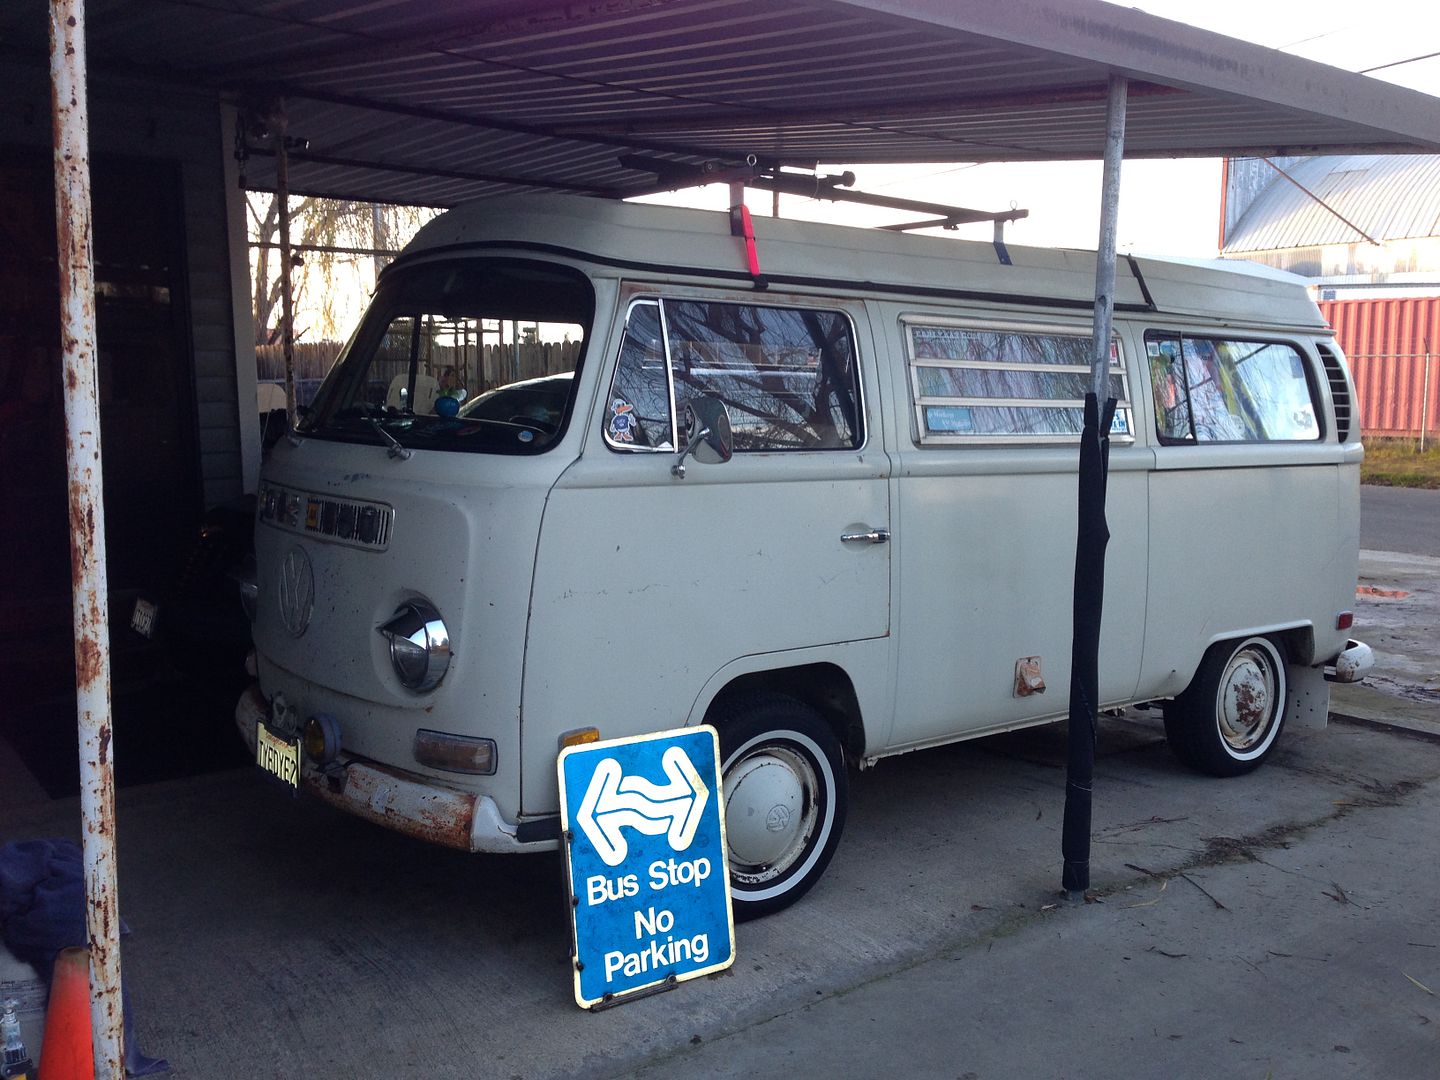
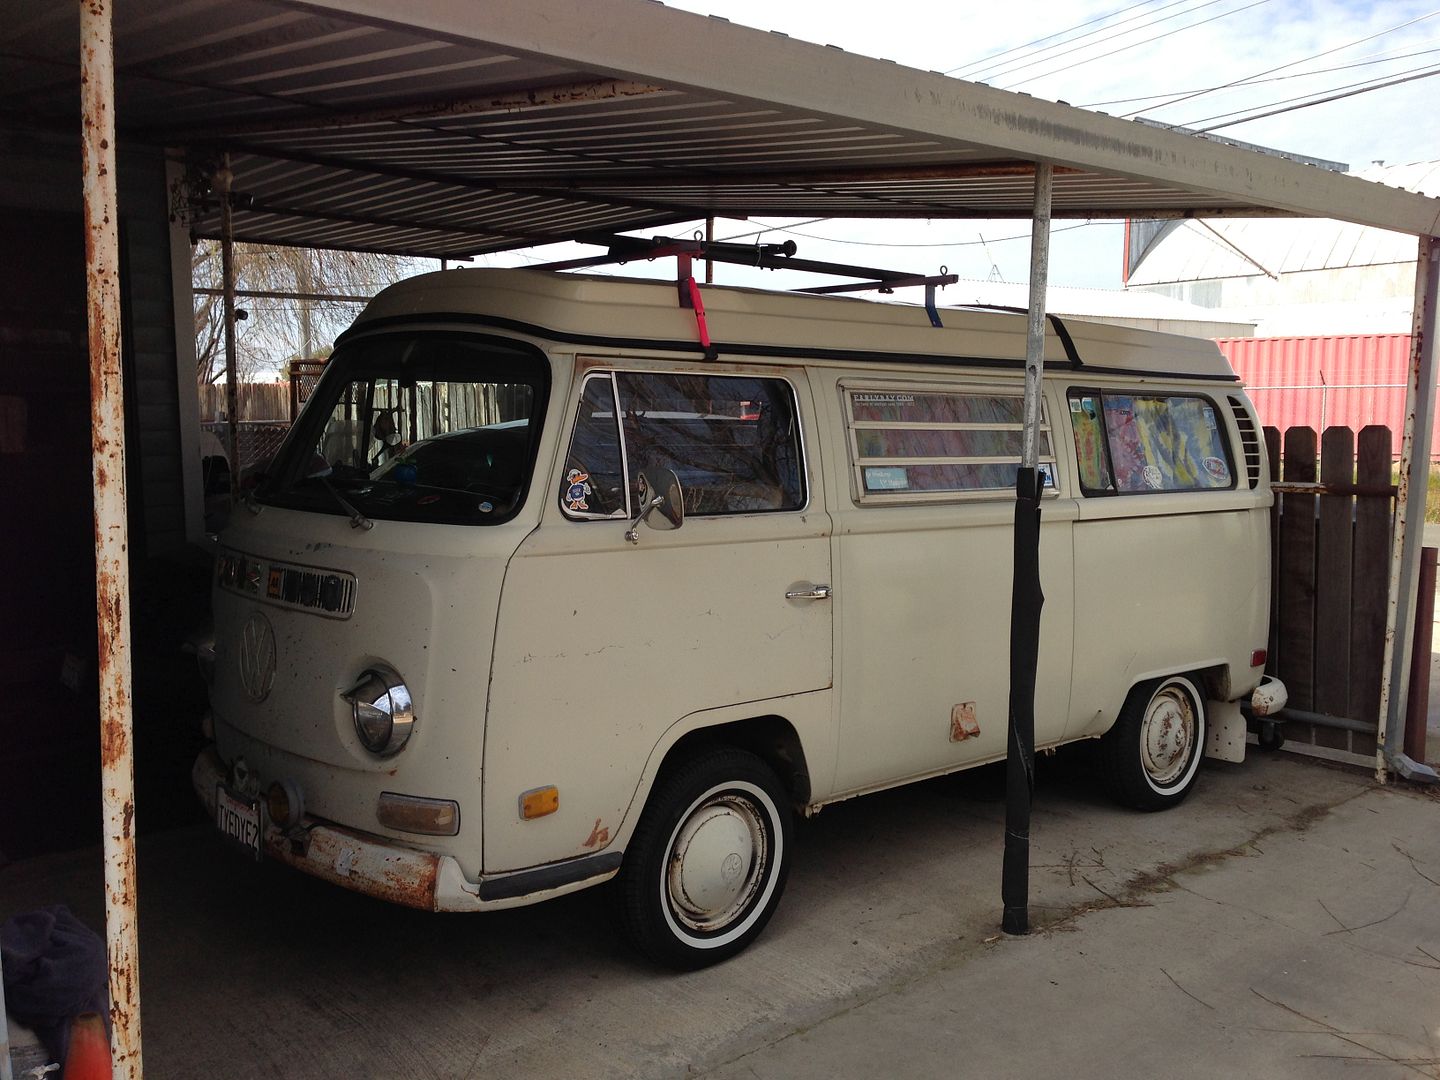
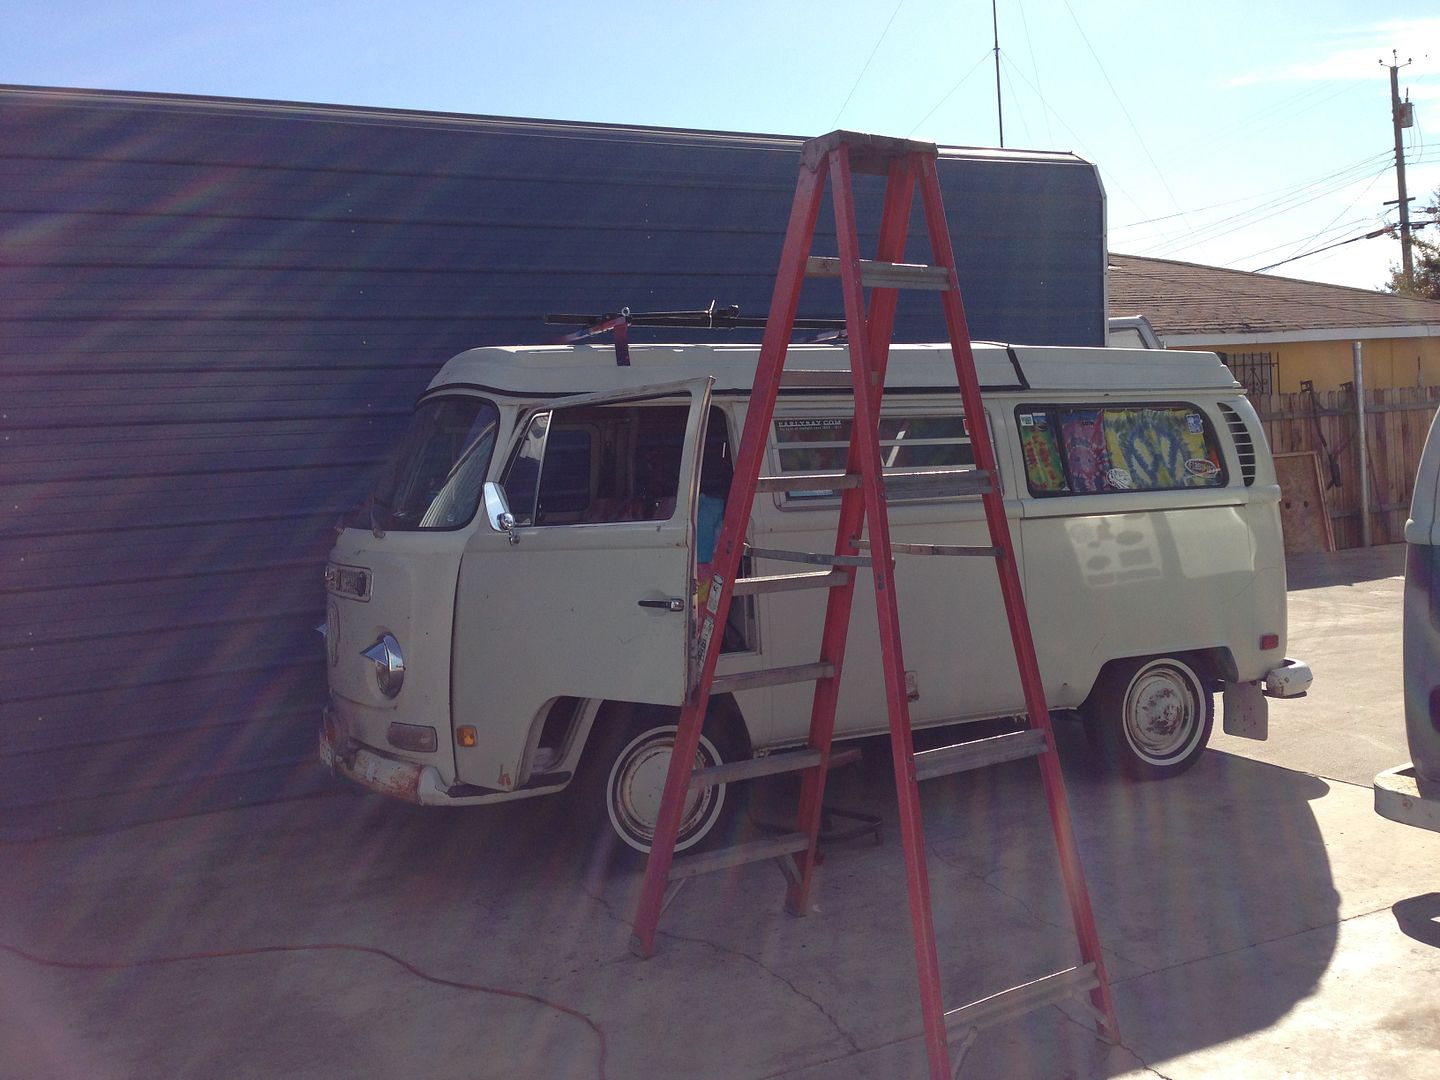
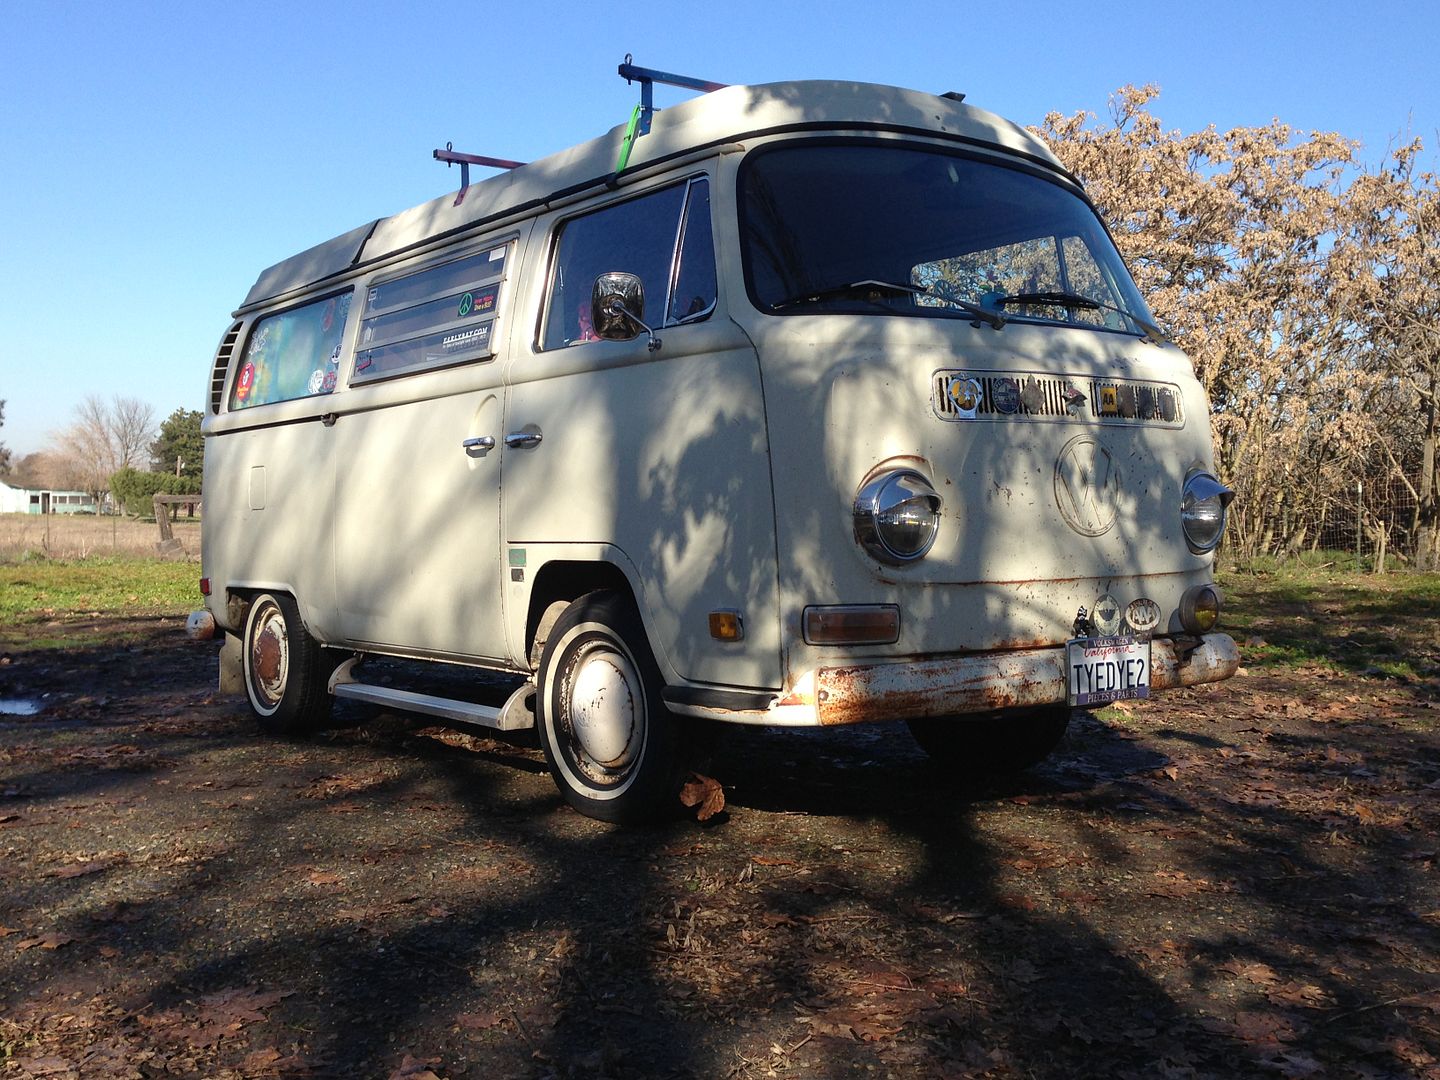
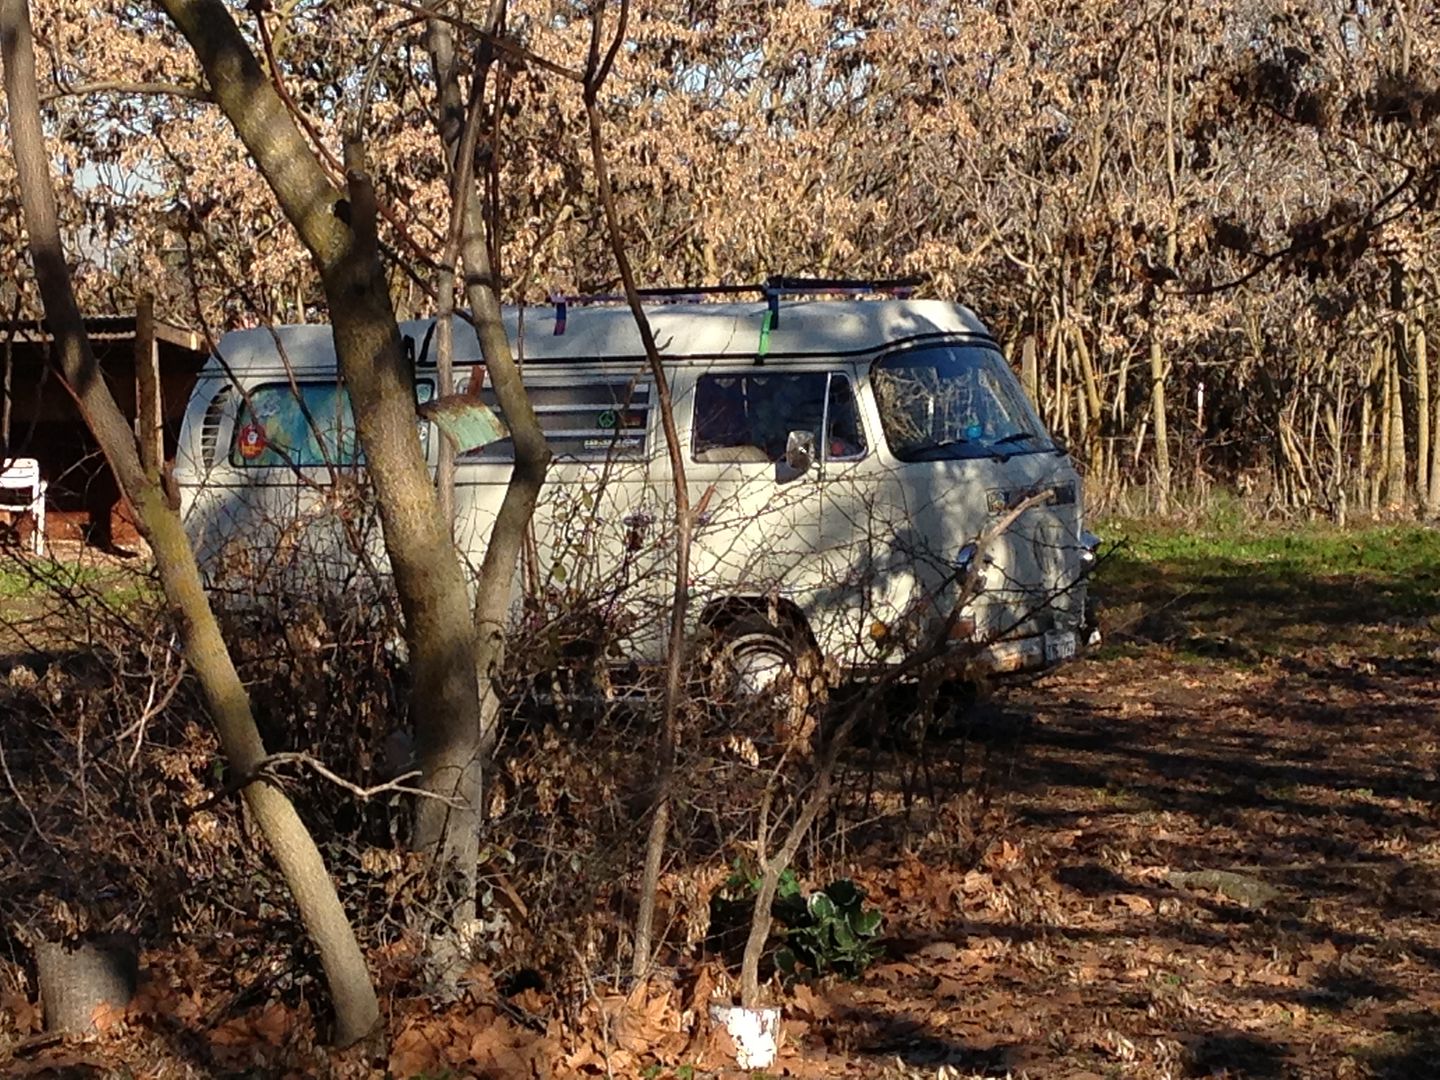
 I have to admit, I never was into Bay window busses ( I own a splitty) until I found this Westy. I didn't know what I was missing! I love this bus. I have more miles on it in the 10 months I've owned it, then my splitty that I have owned for about 10 years give or take!

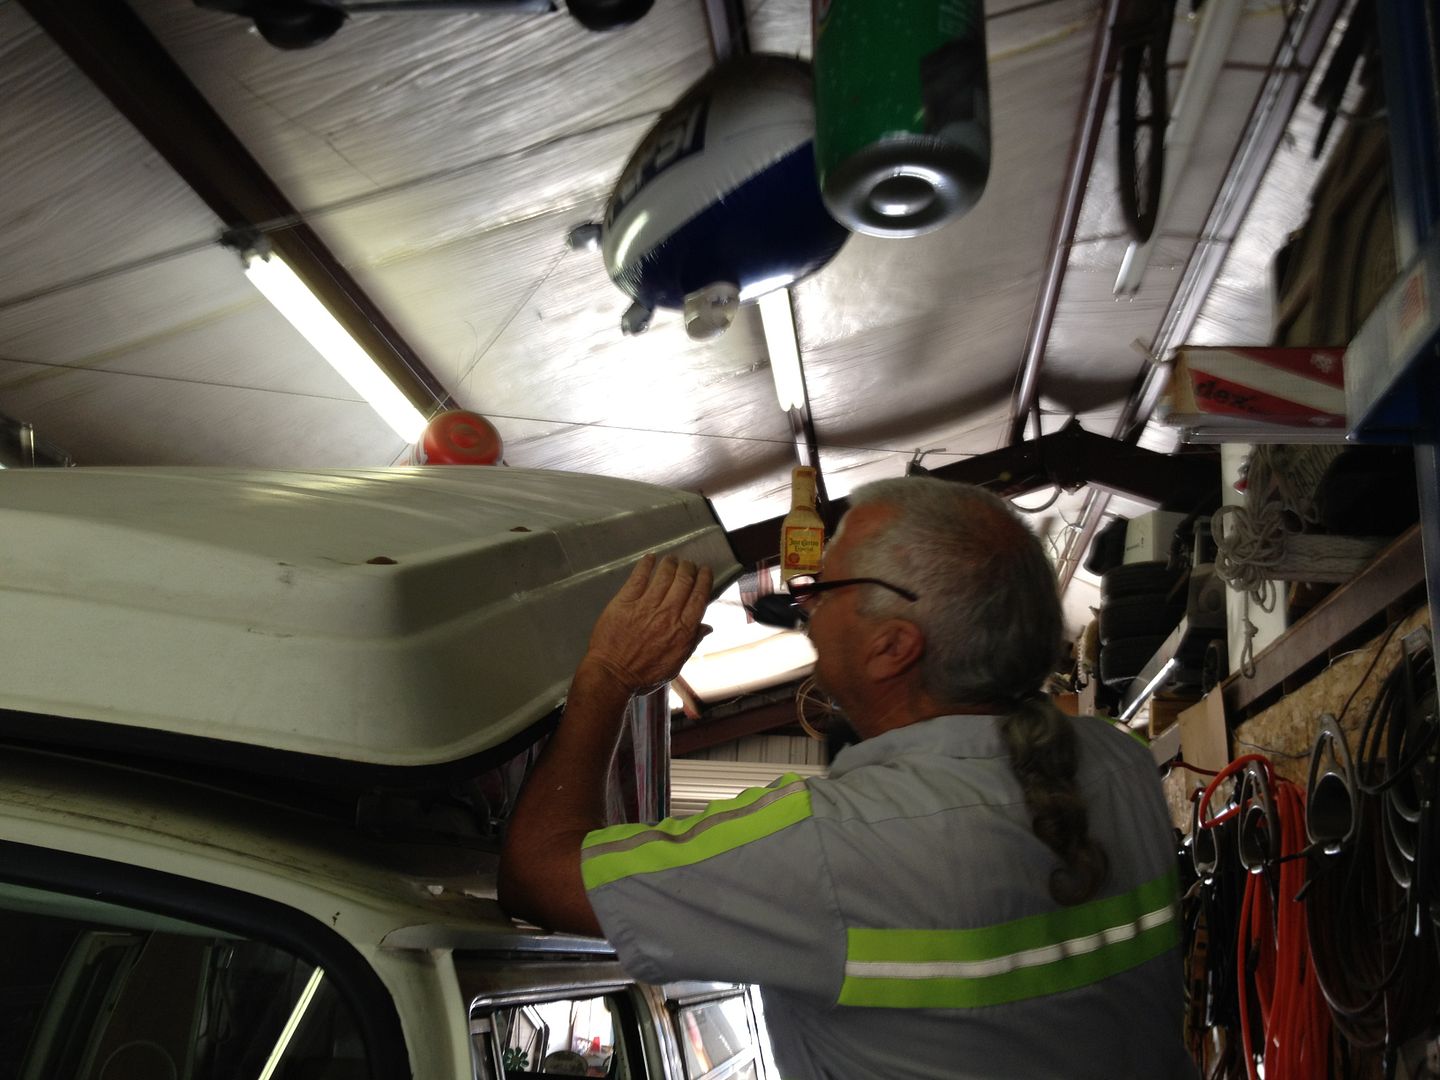


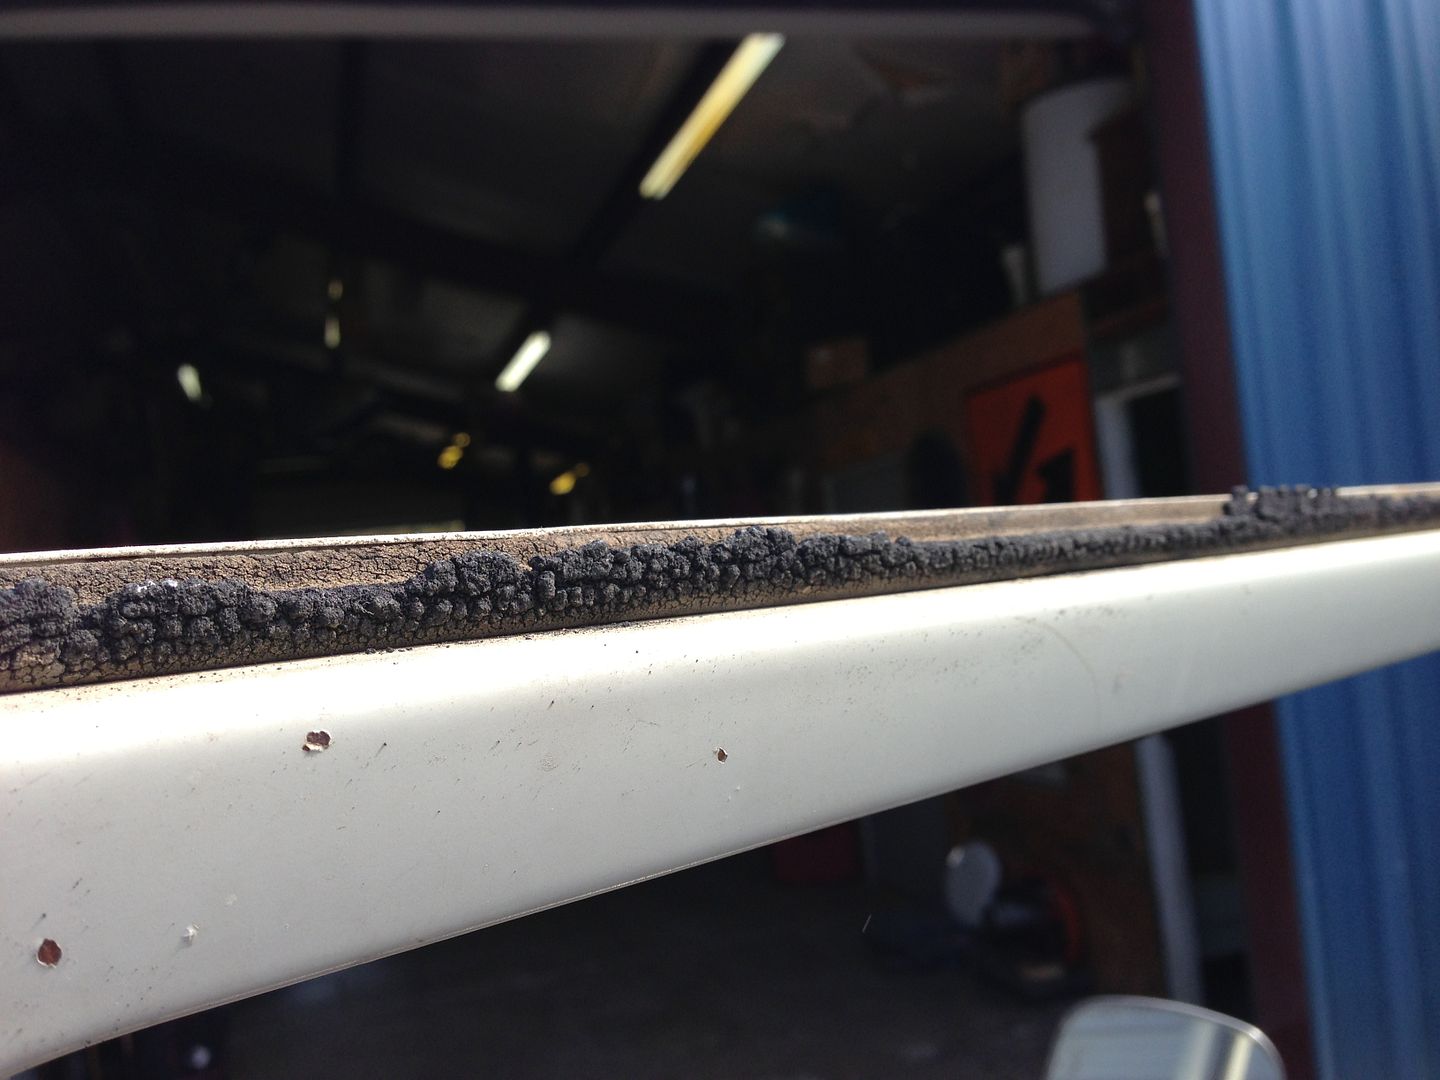
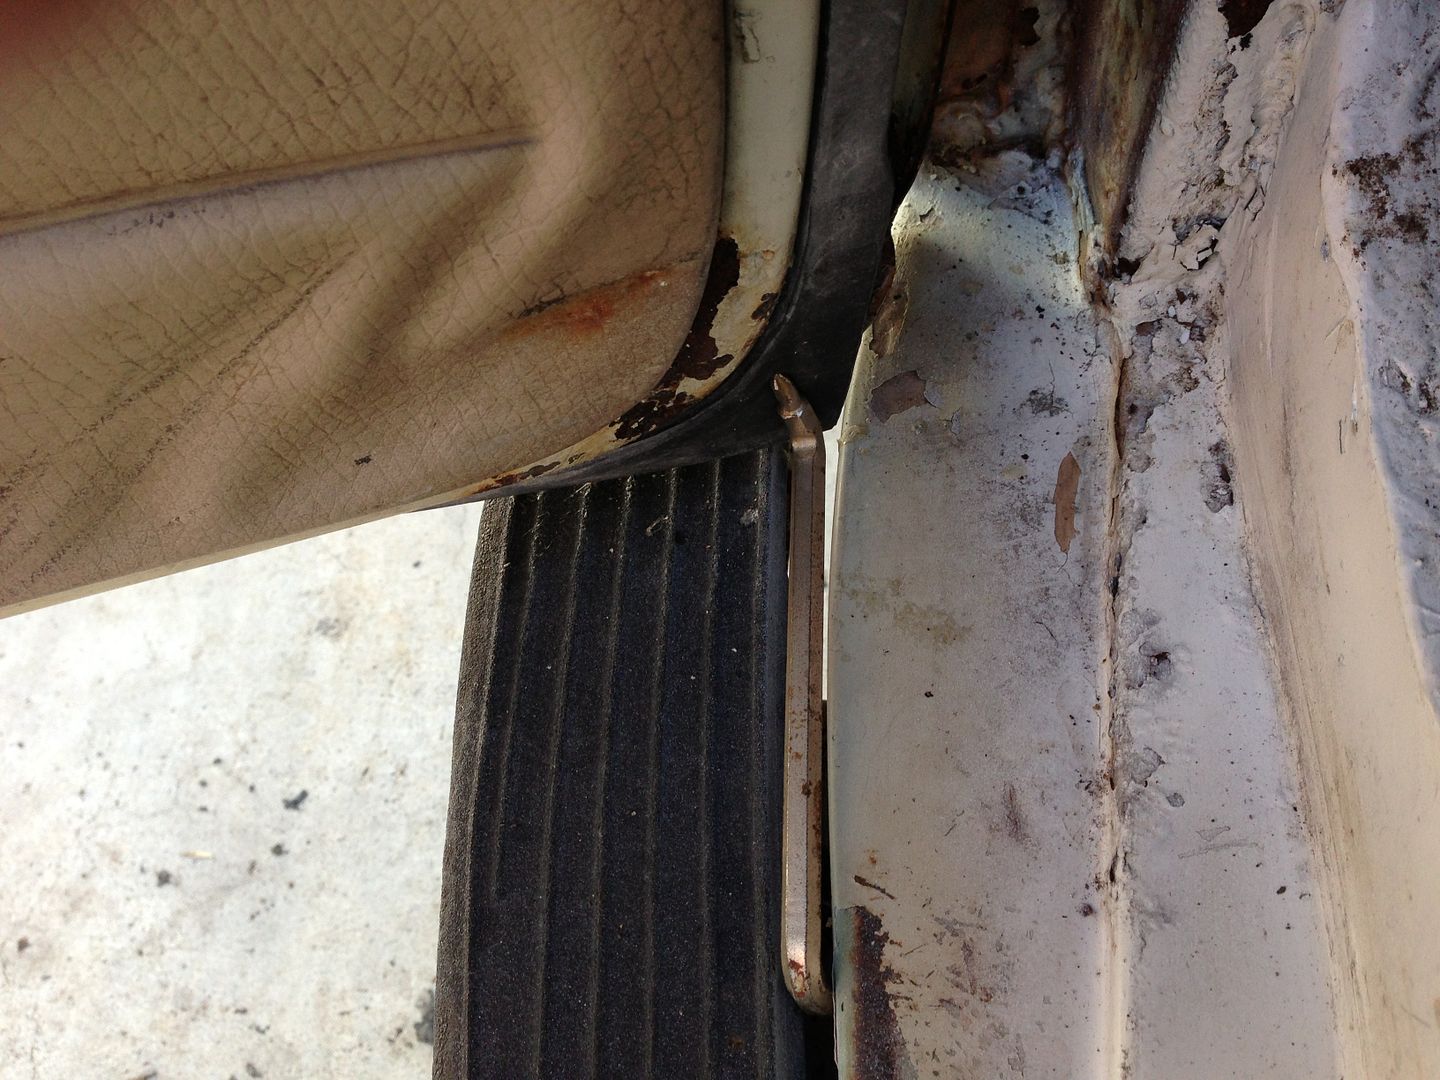
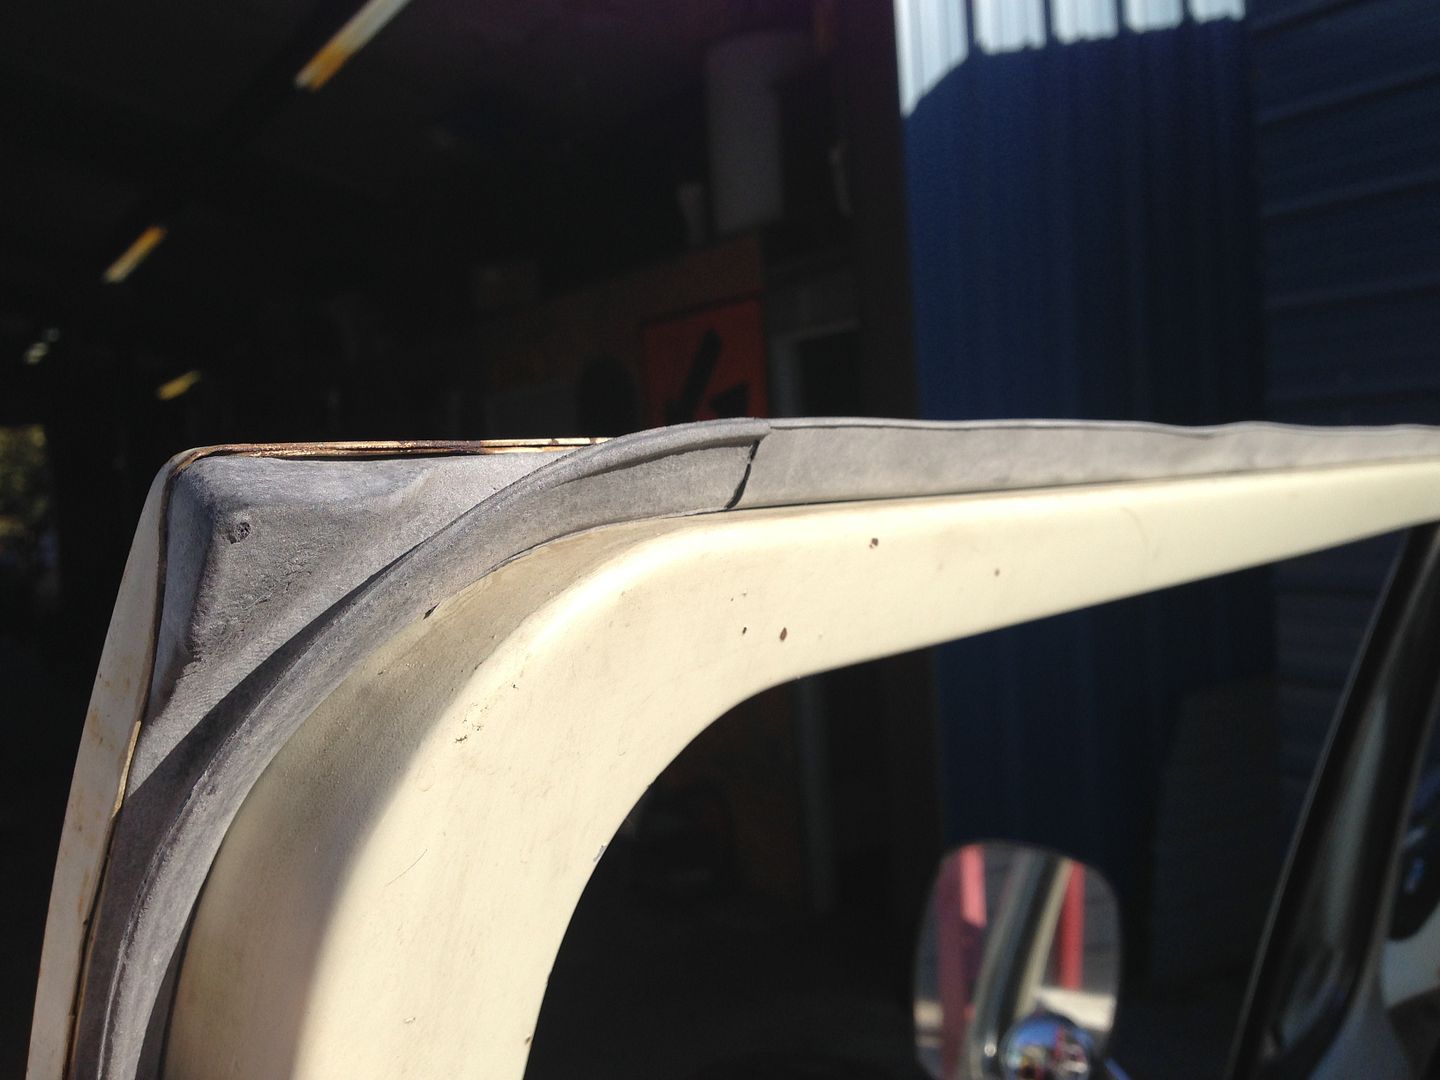
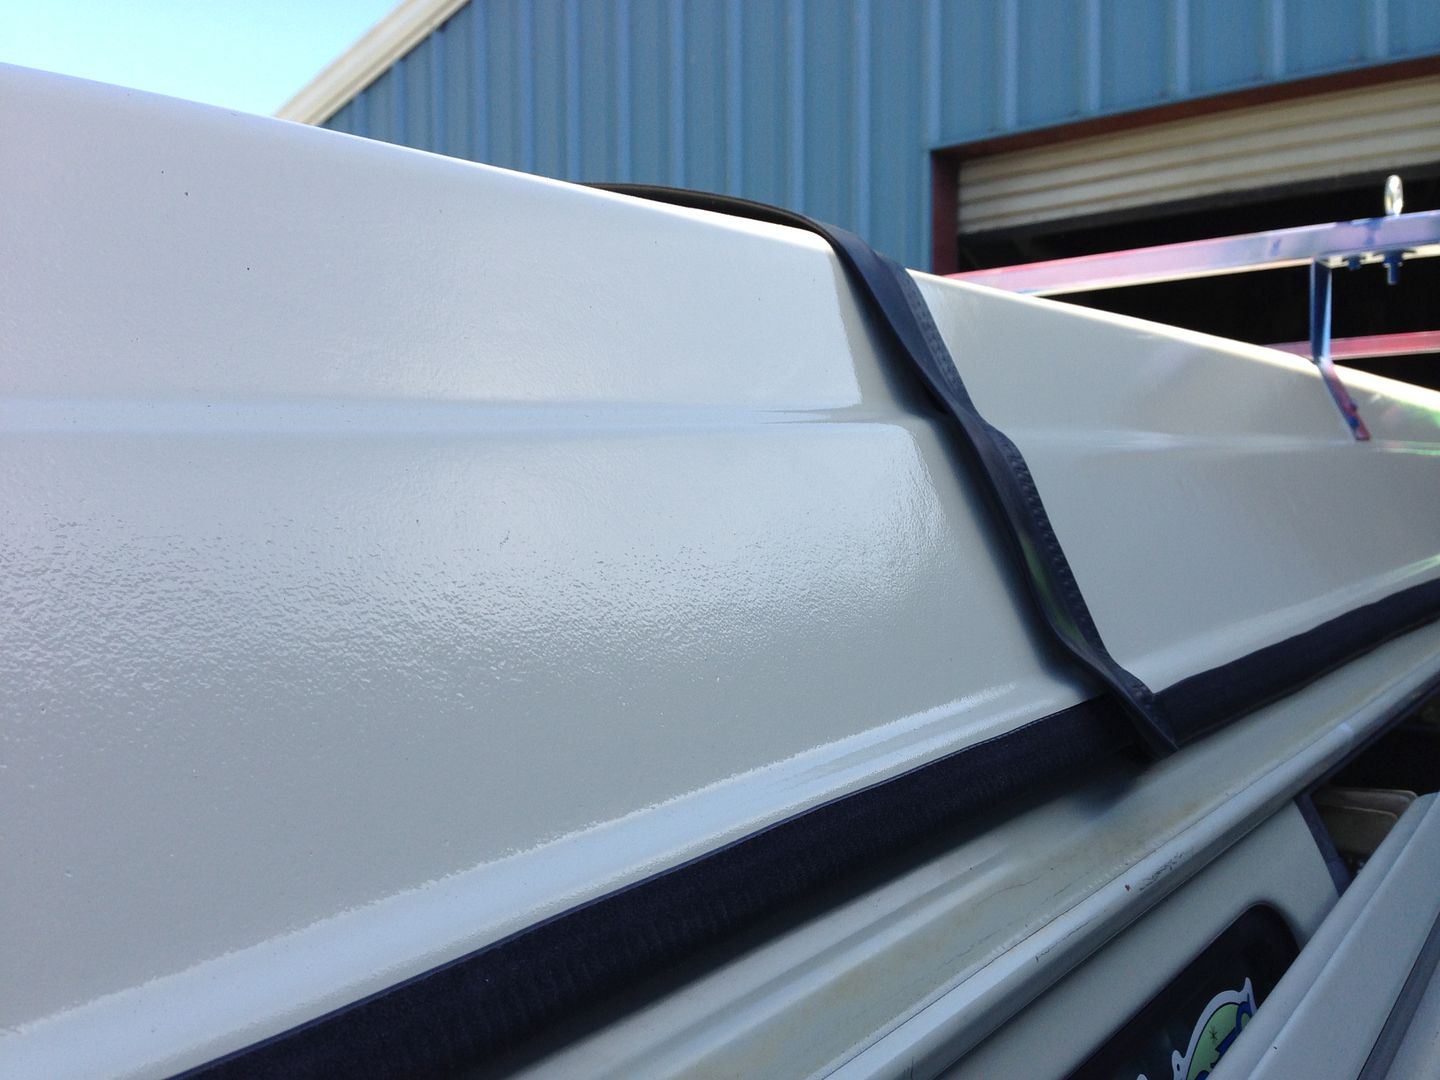
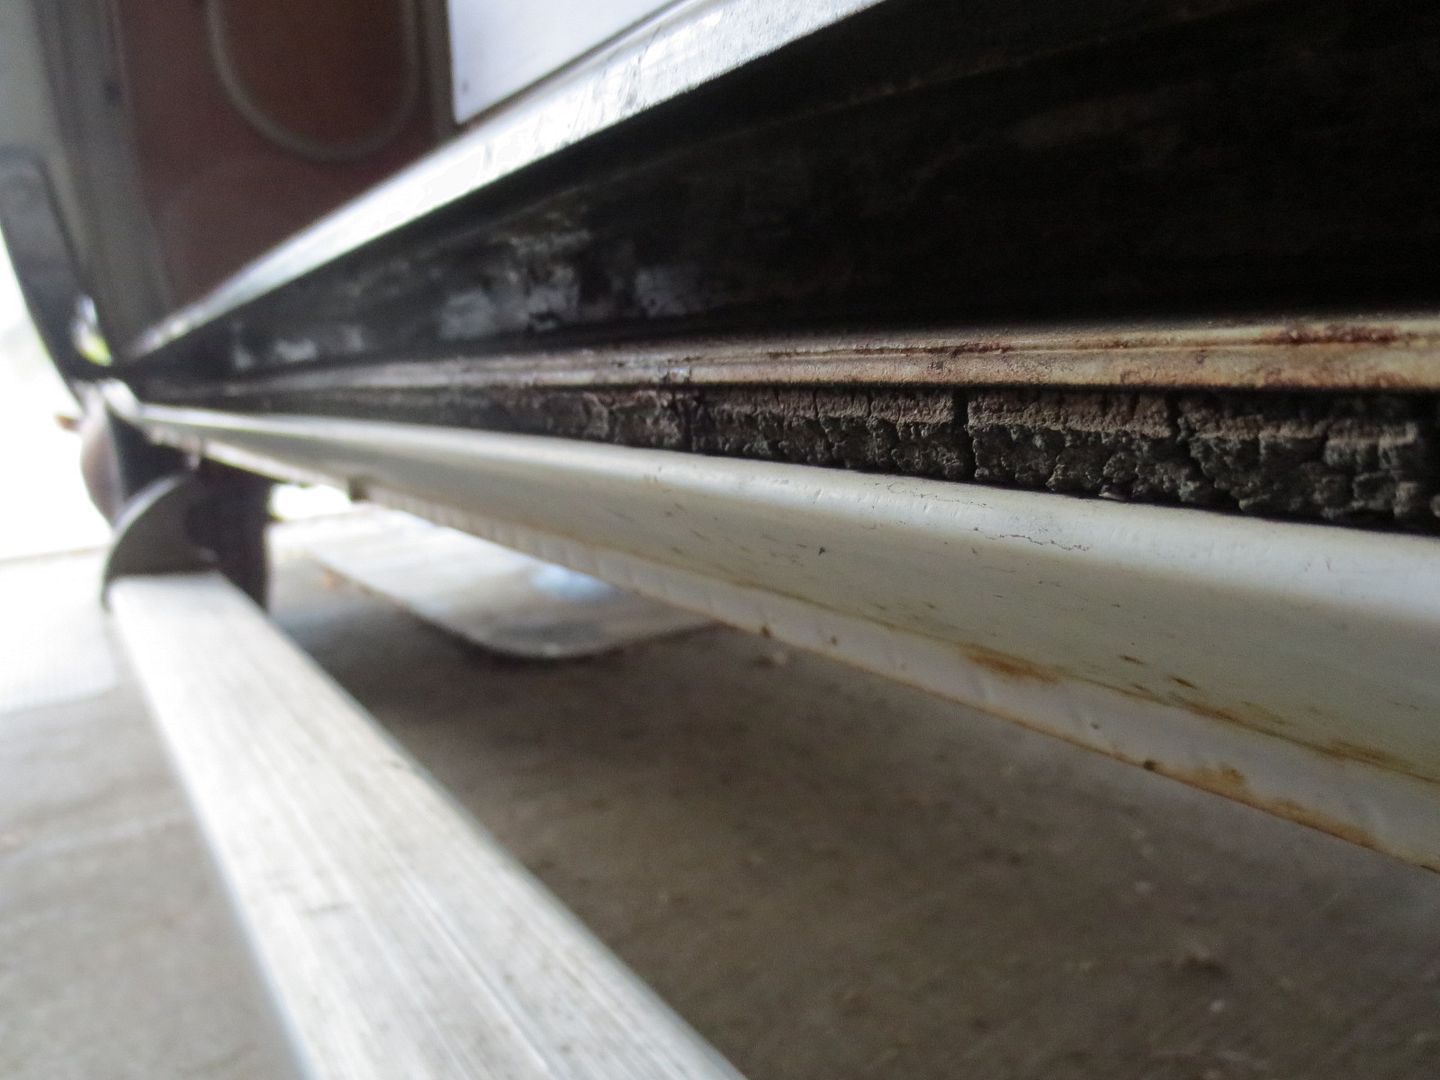
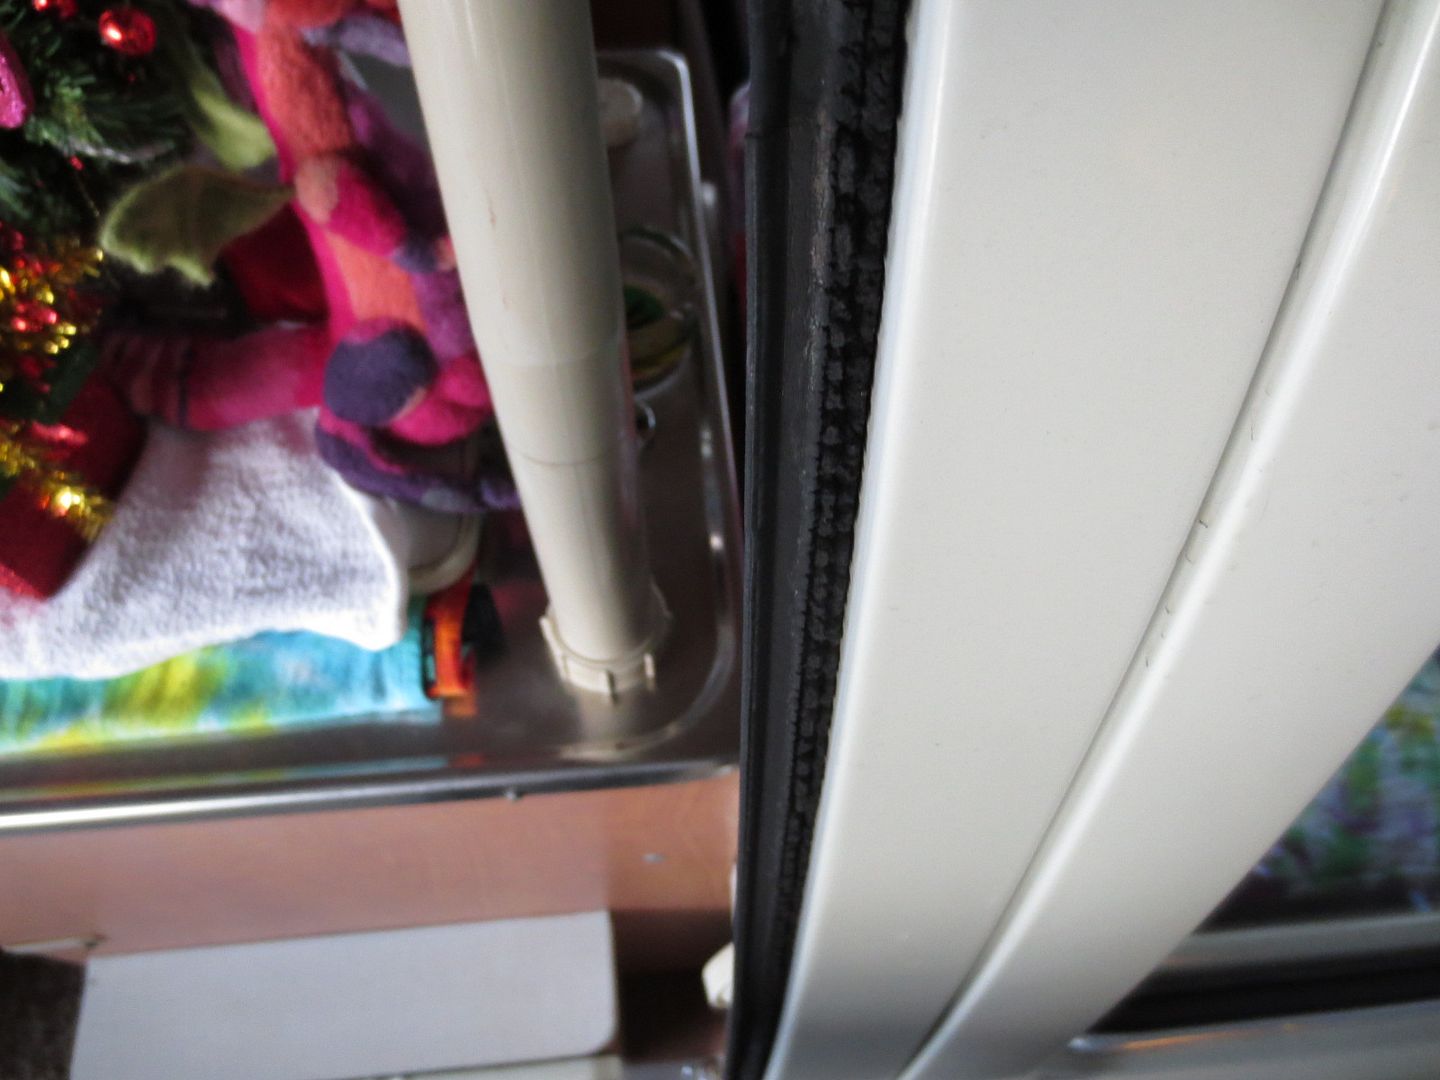
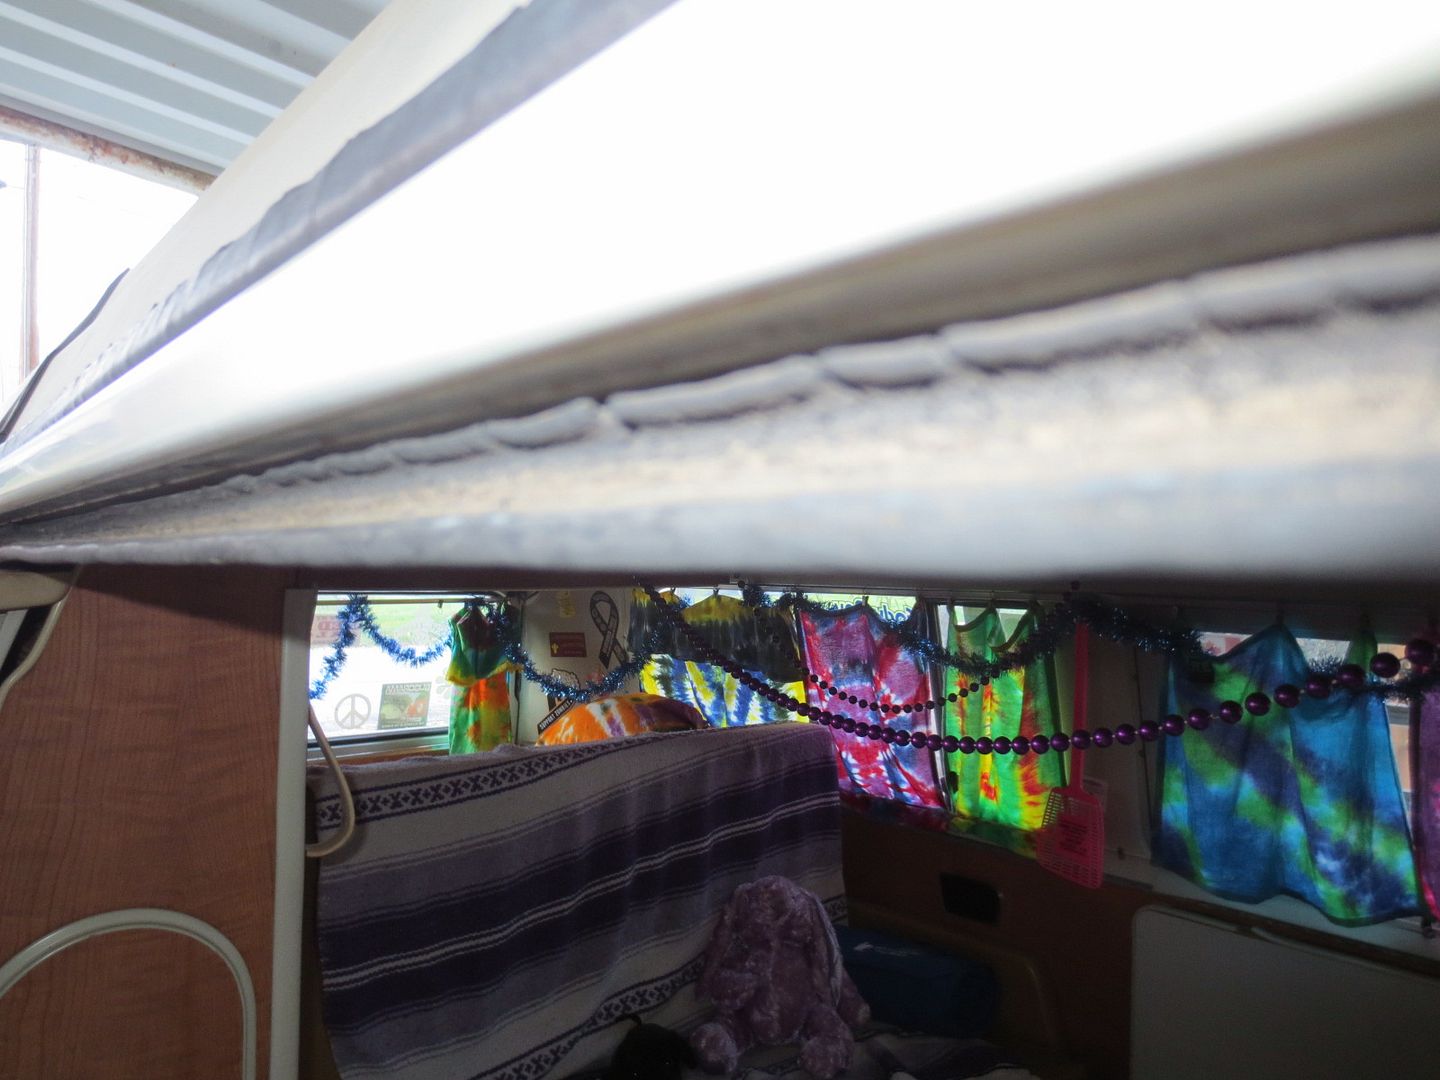
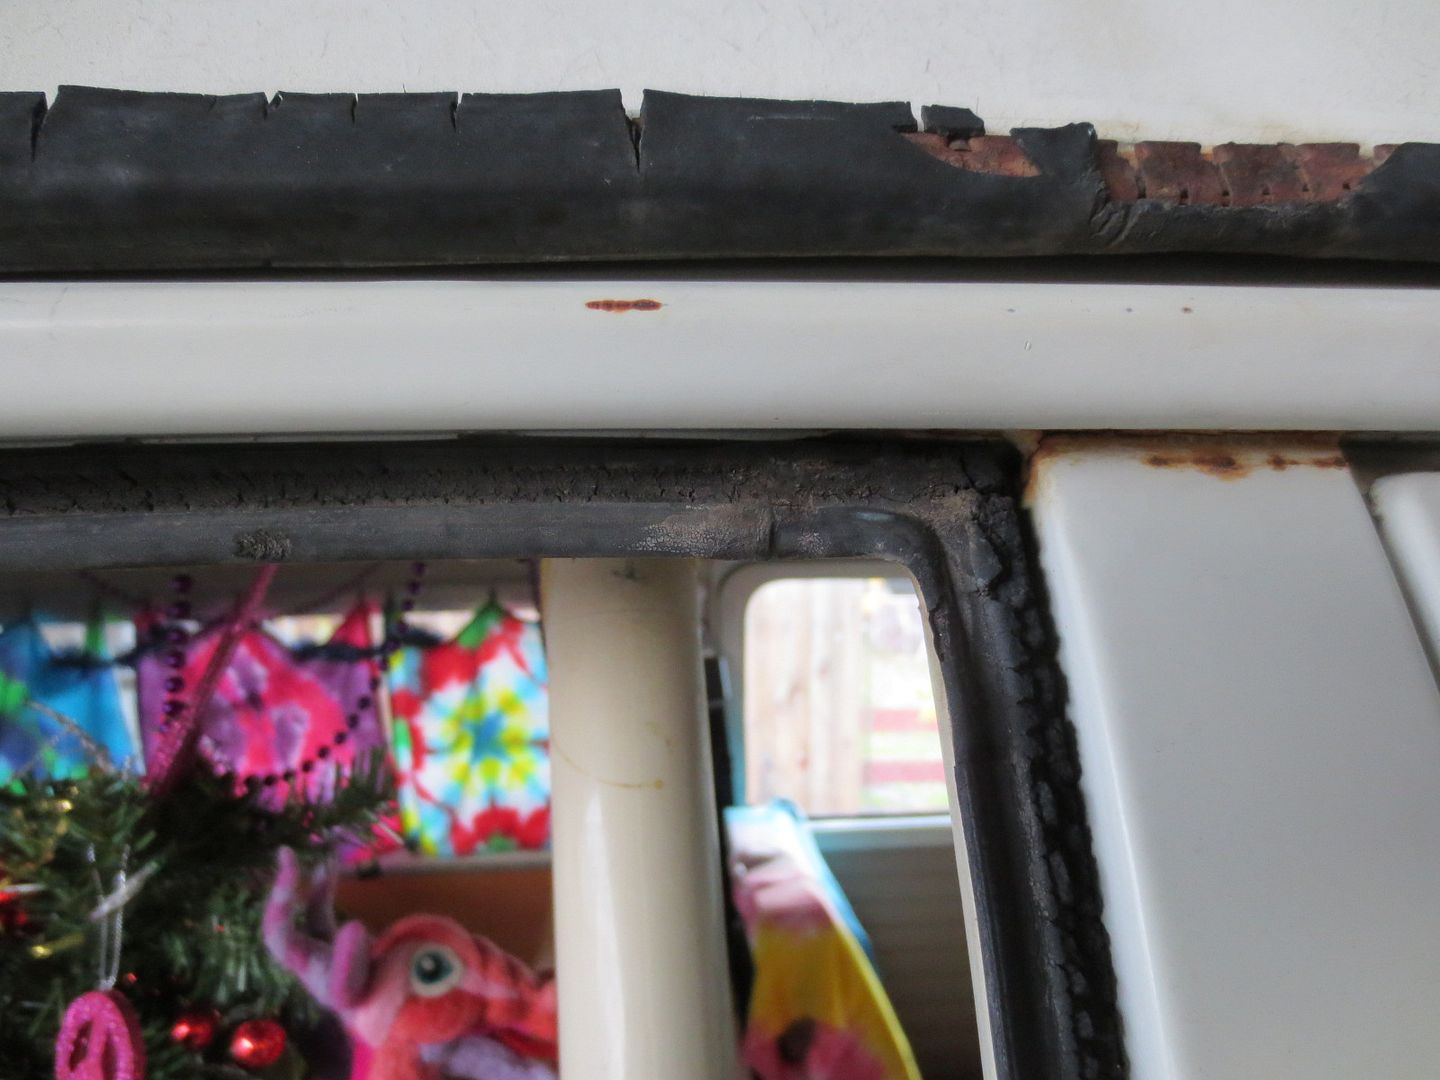
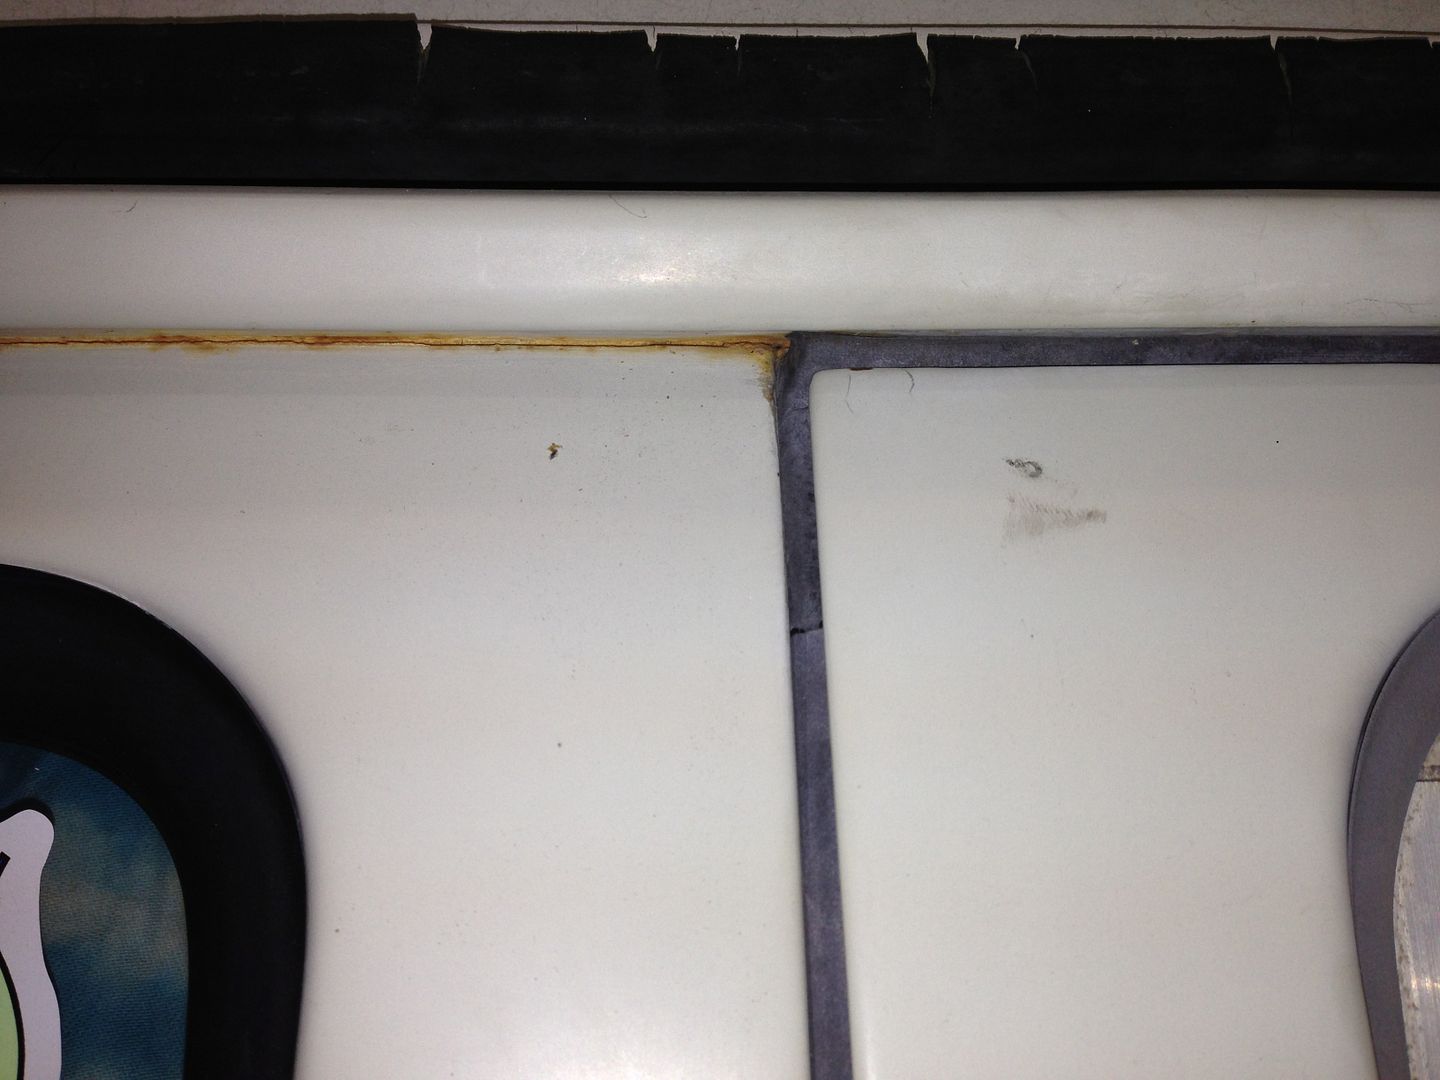
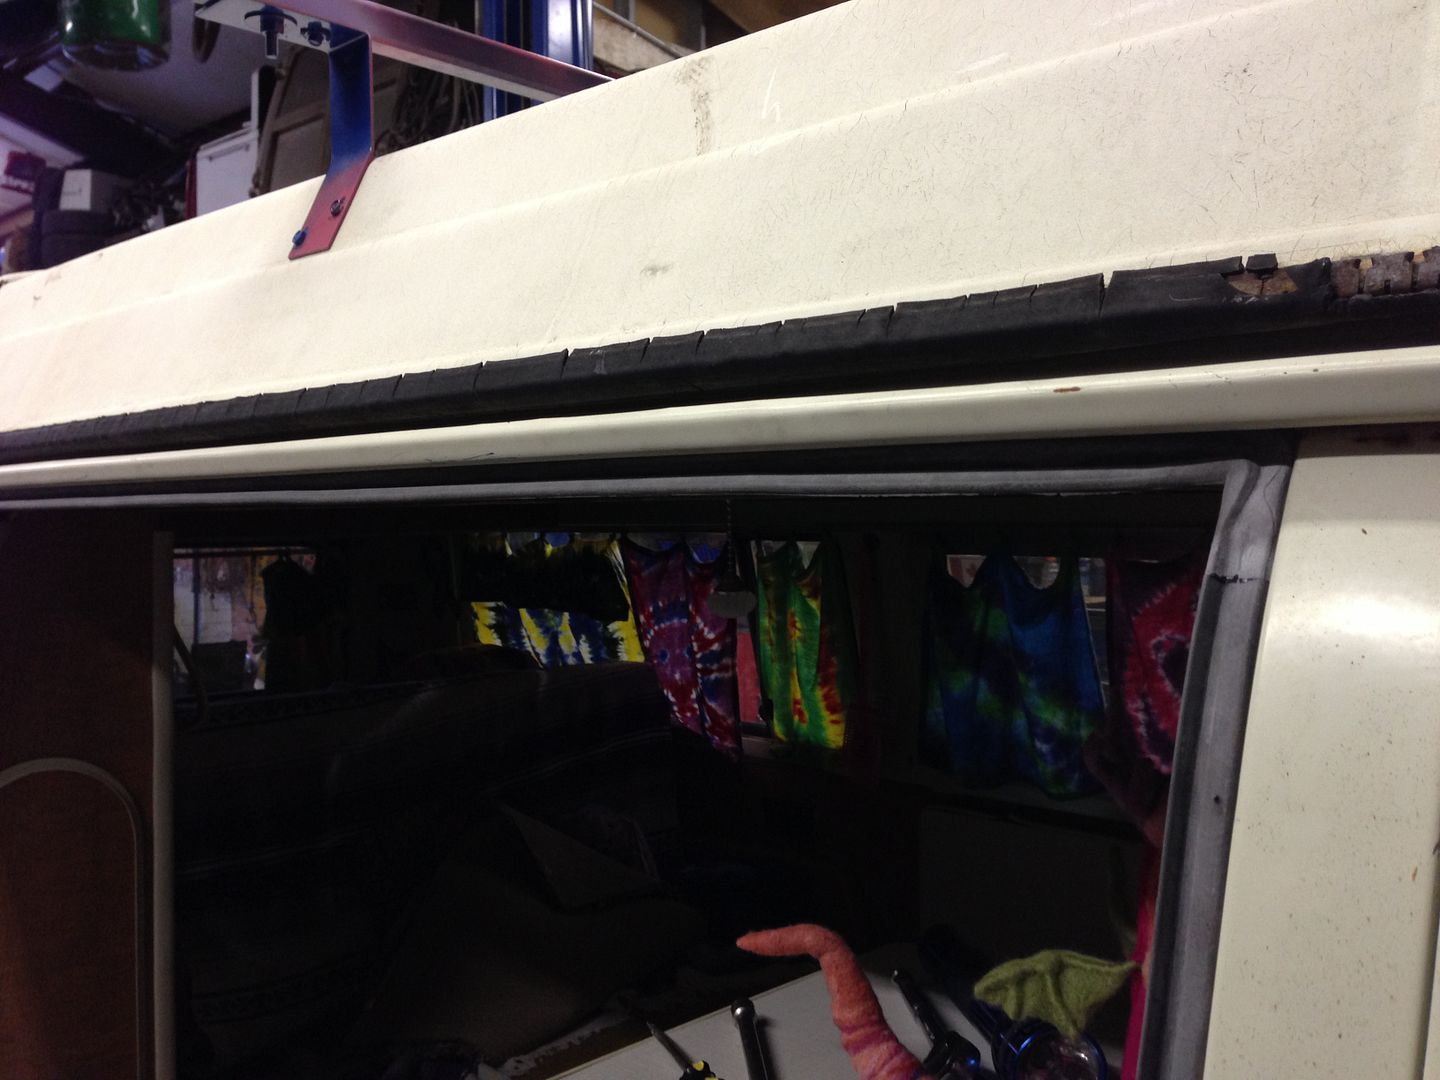
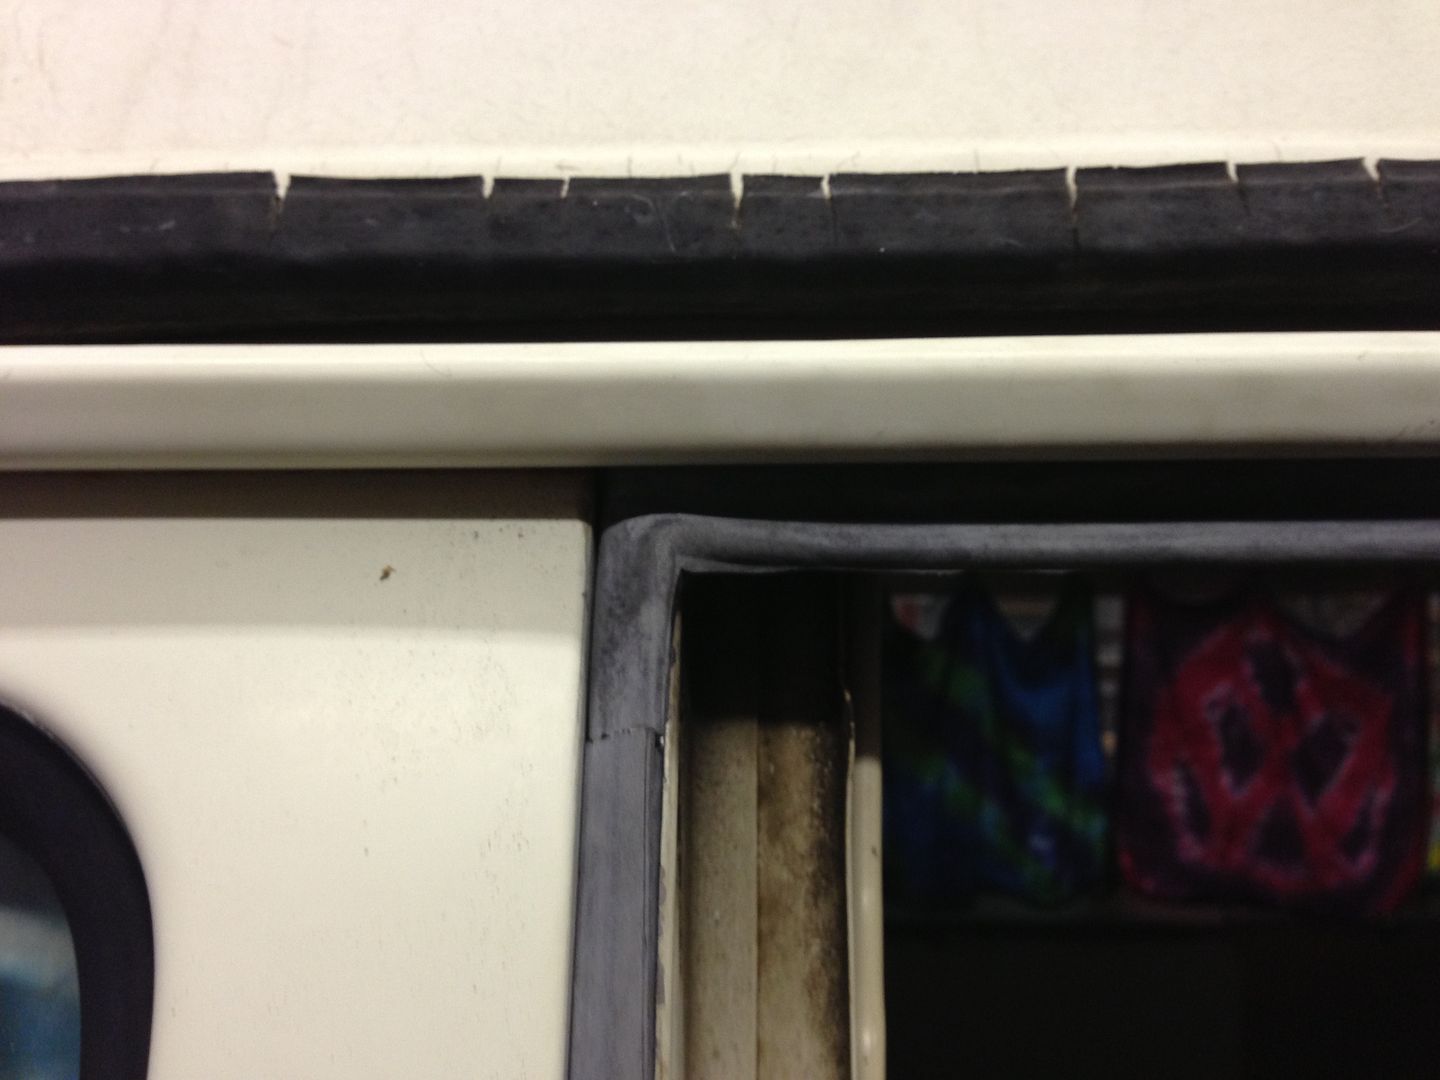
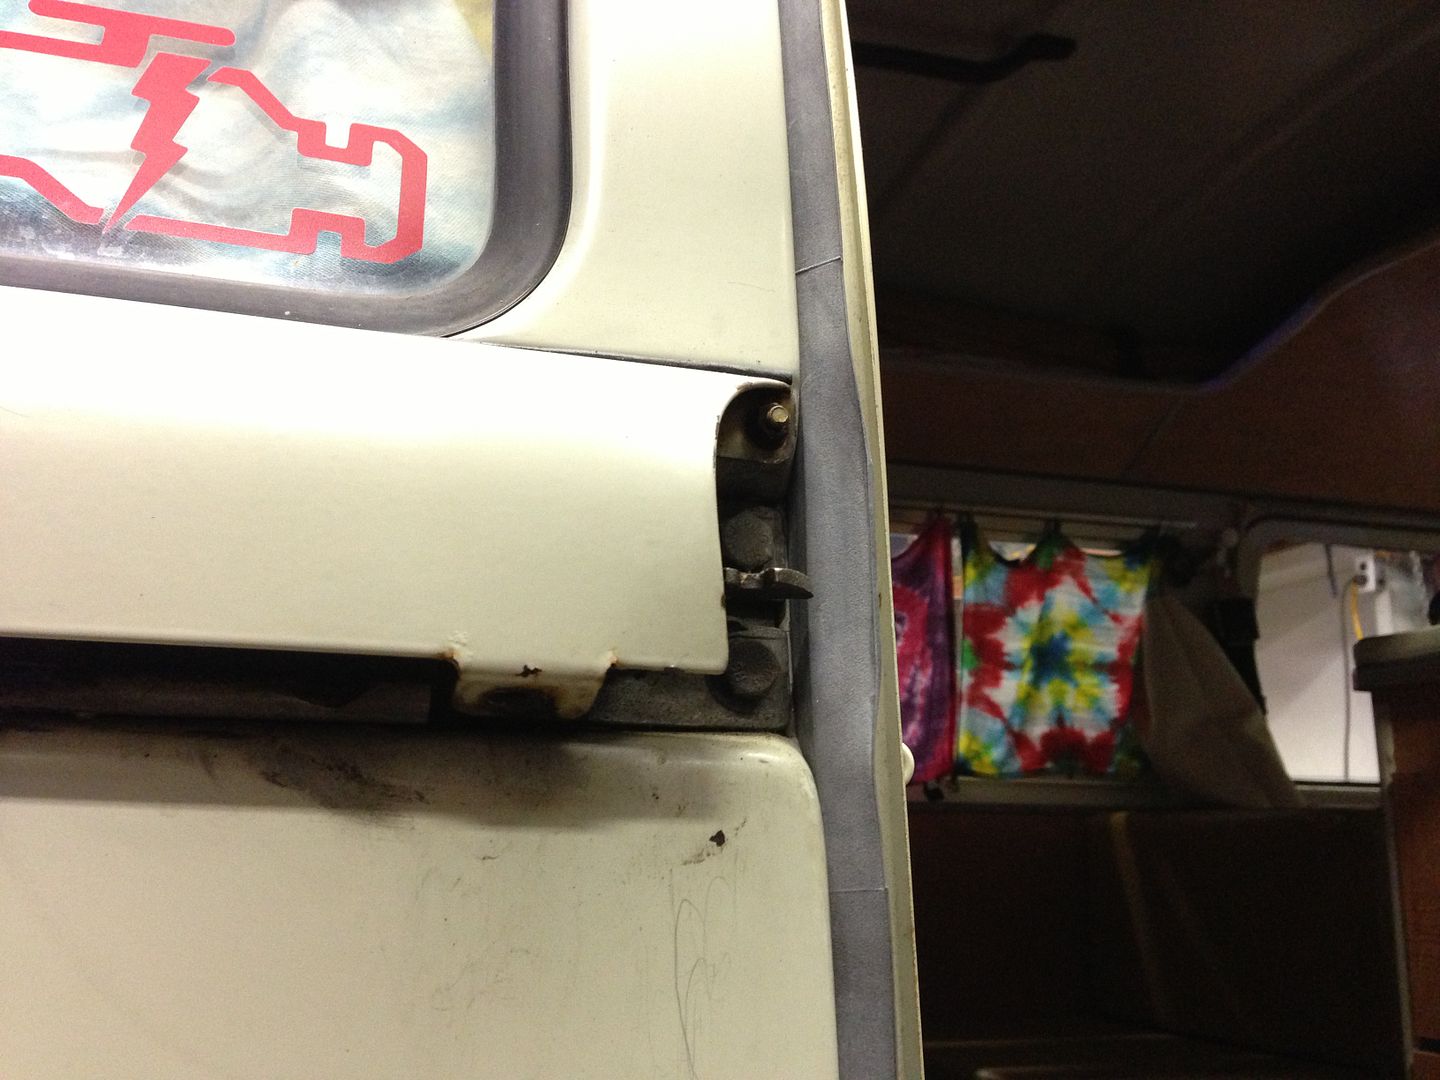
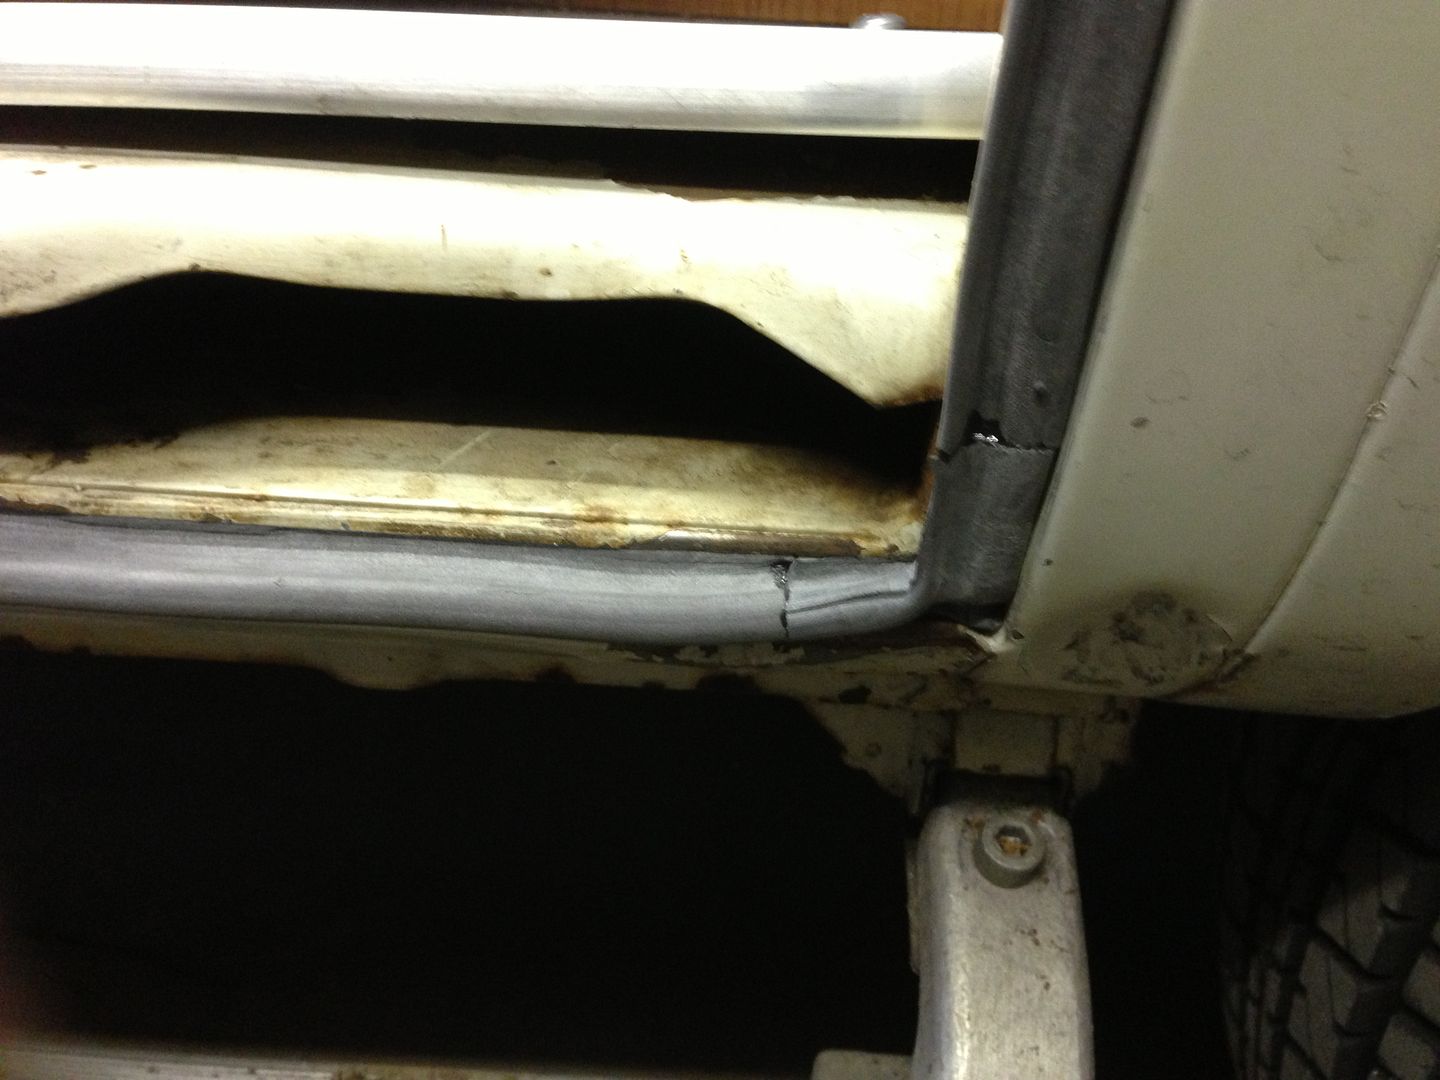
 Kind of weird to look up at the door and see no light coming in though for the driver side! My rear door seal probably needs to be replaced eventually but it is still pretty soft and pliable so I'm not to worried about it yet. That and eventually I will probably replace the main seals for the jalousie (sp) windows. So the seal part of the job is almost done!
  I sure do enjoy driving it.
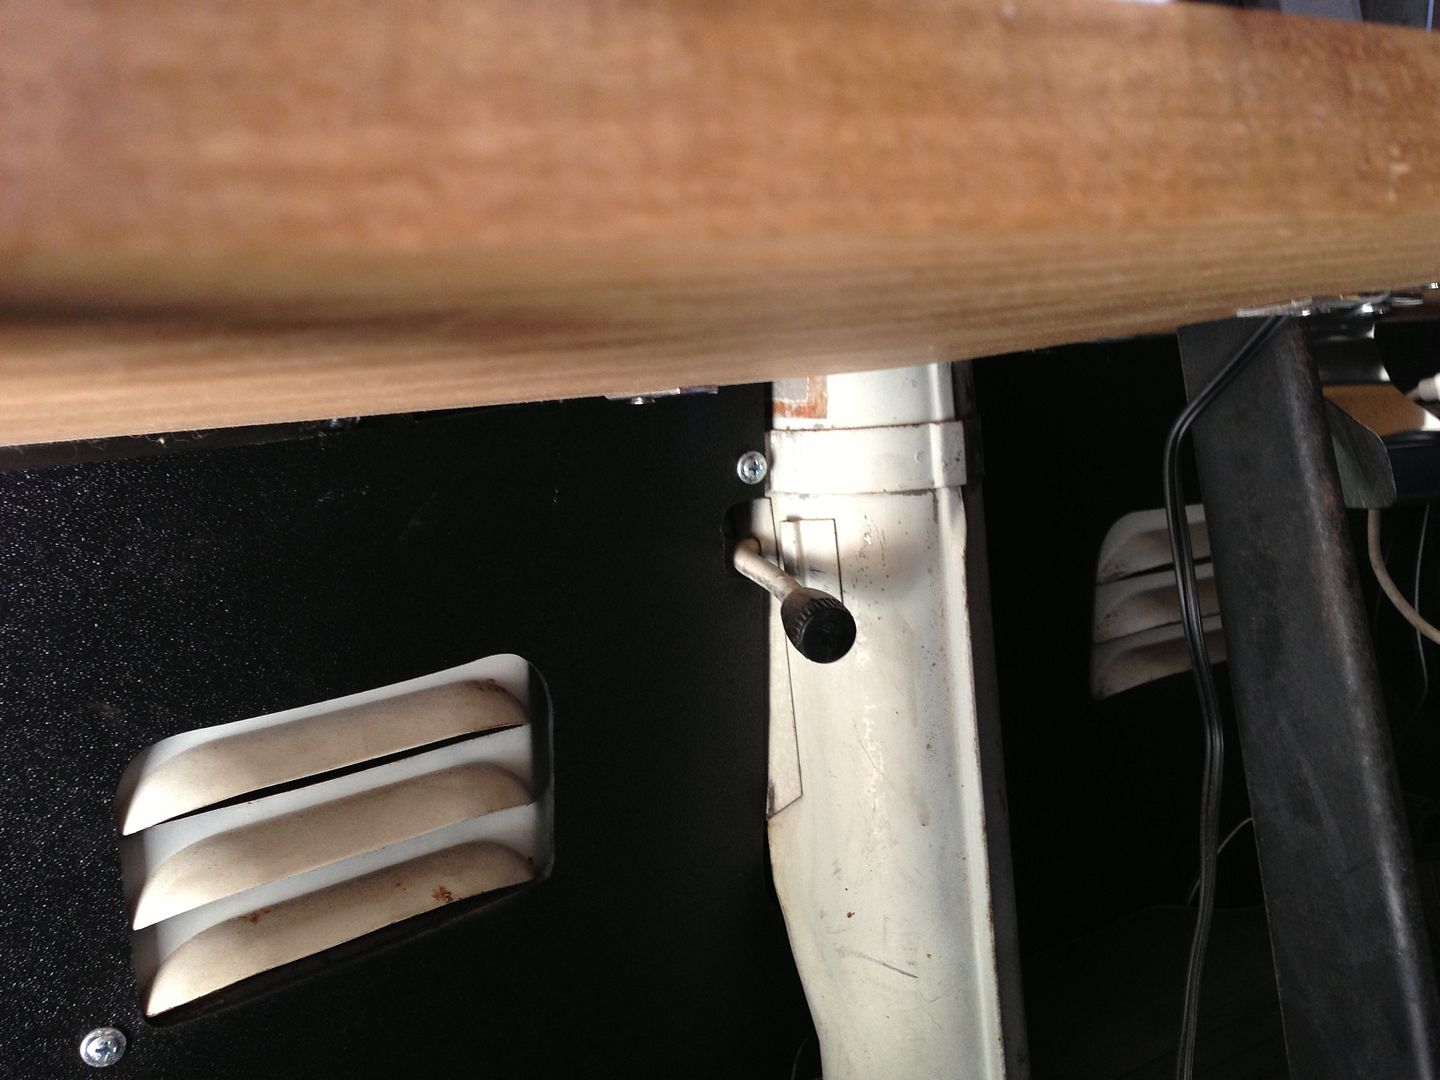
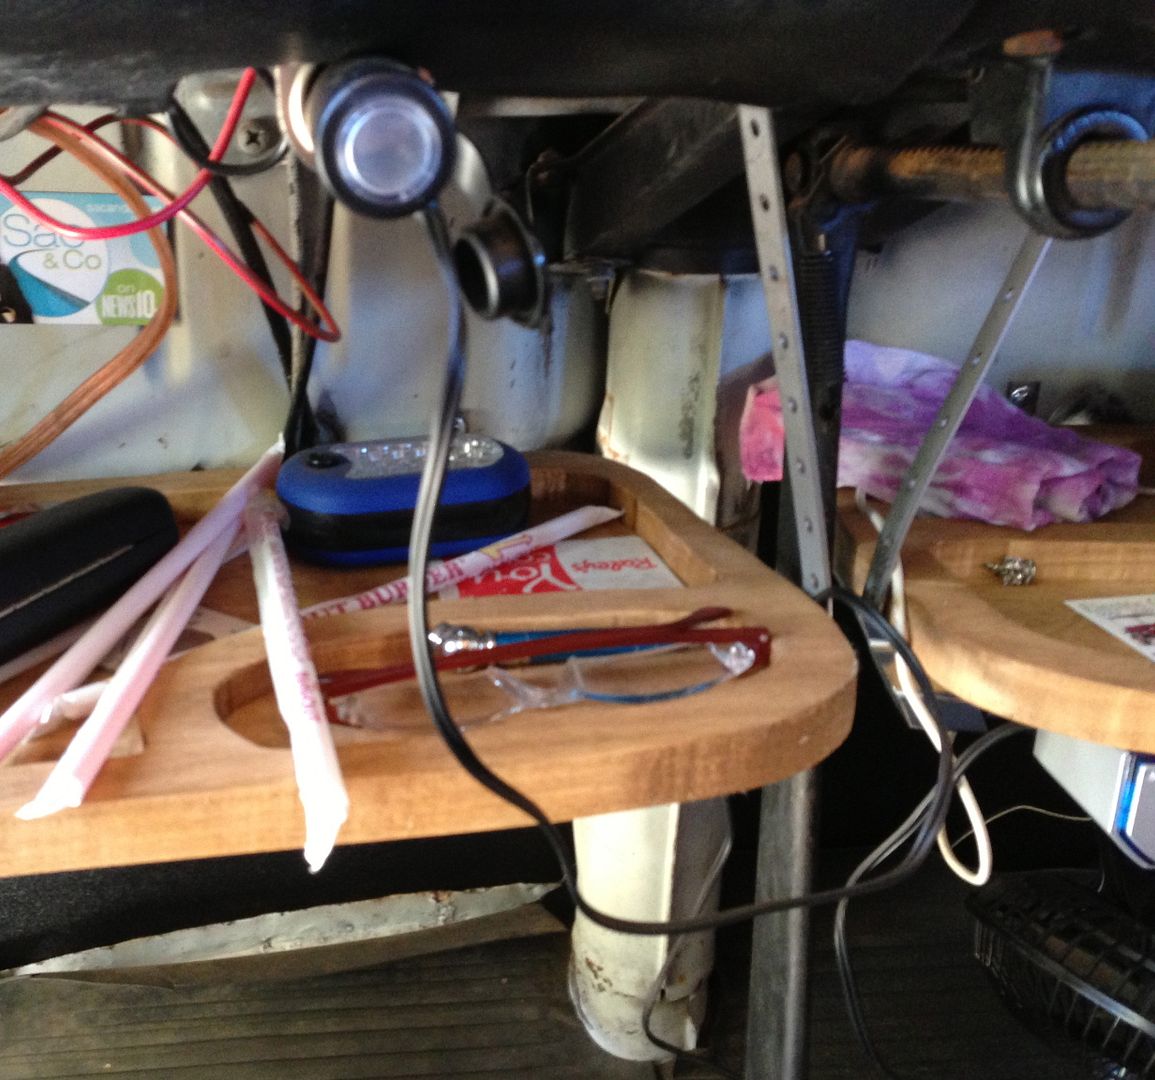
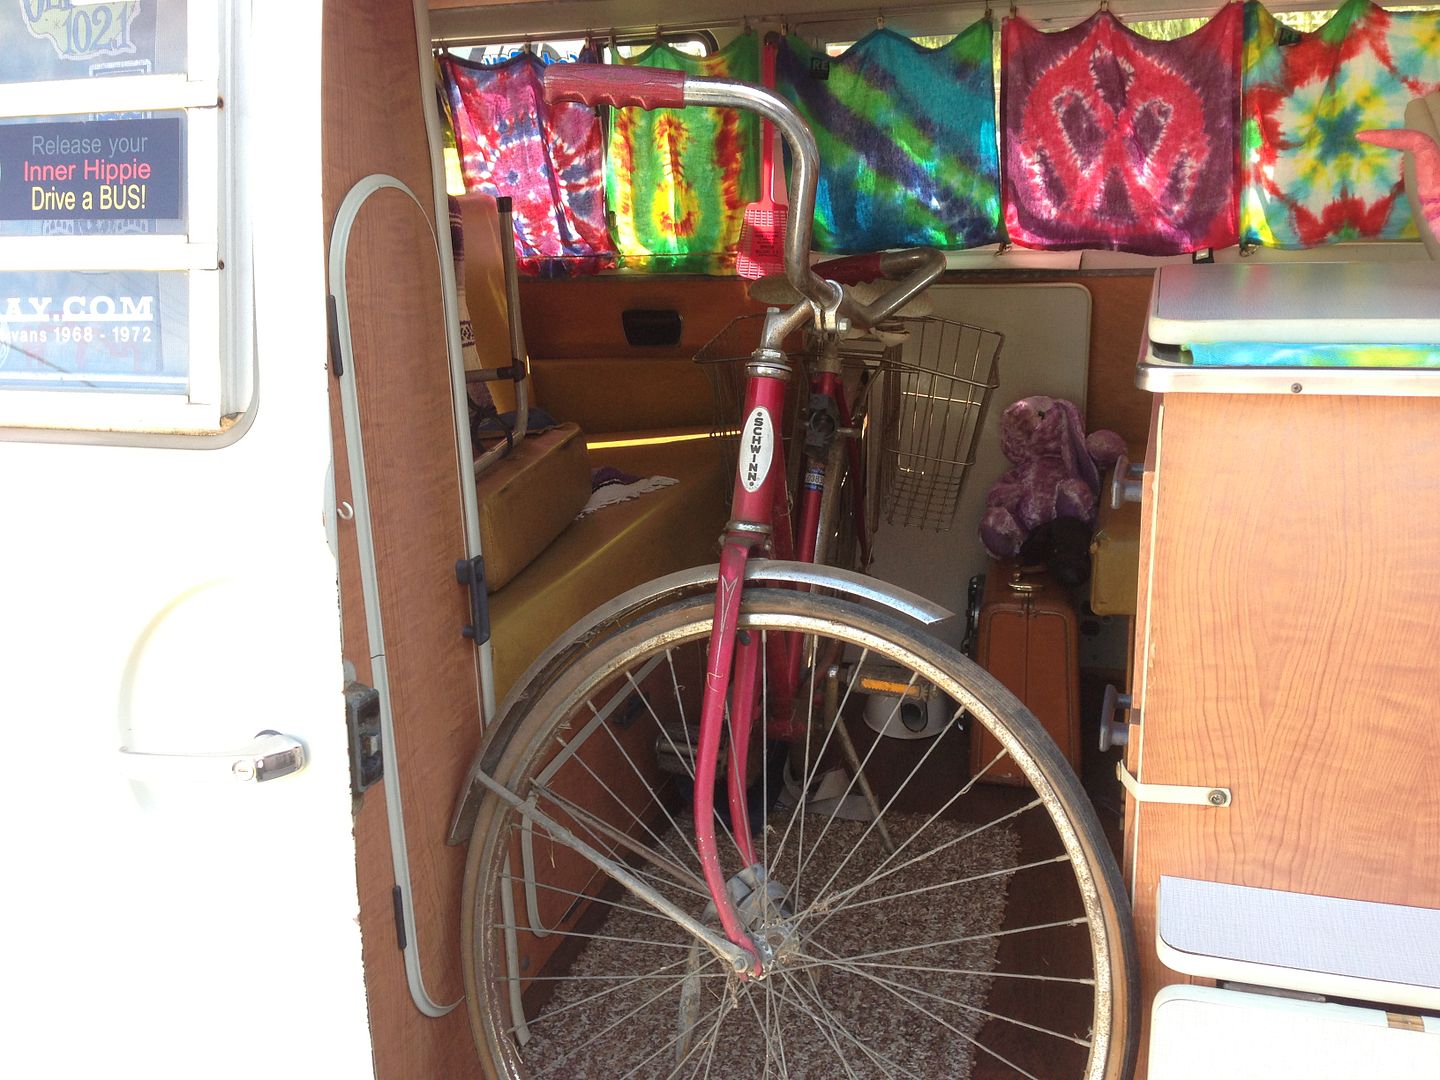
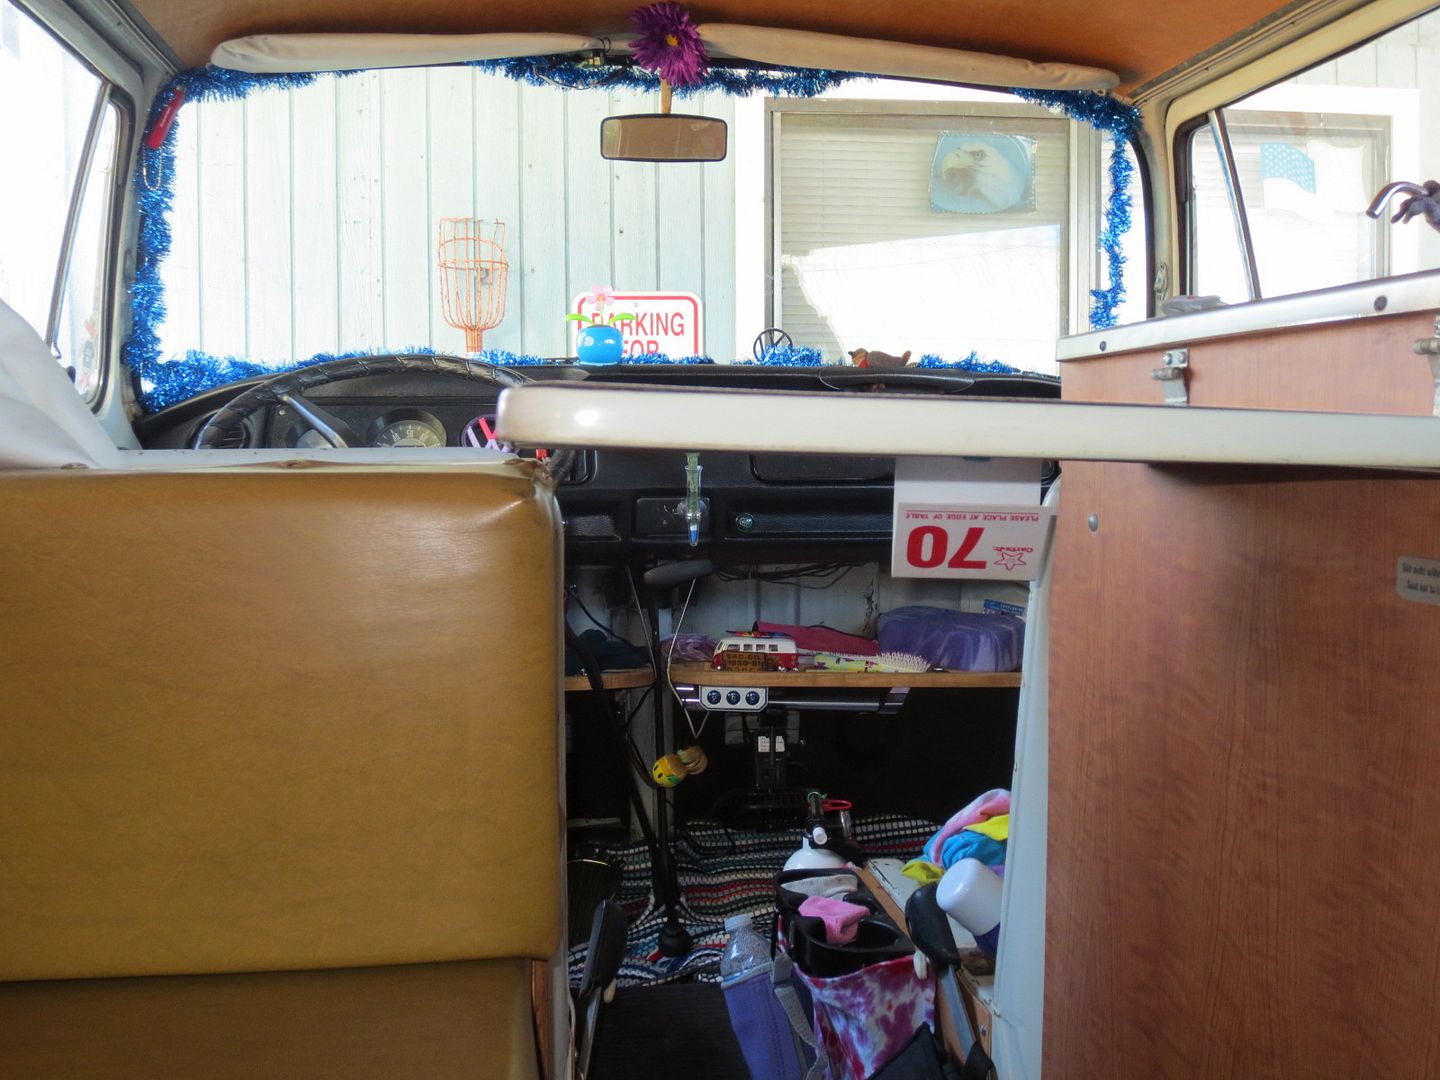
I thought it was pretty neat how that little sink cover flips over and turns into a table!
Daverob73 said:I thought it was pretty neat how that little sink cover flips over and turns into a table!
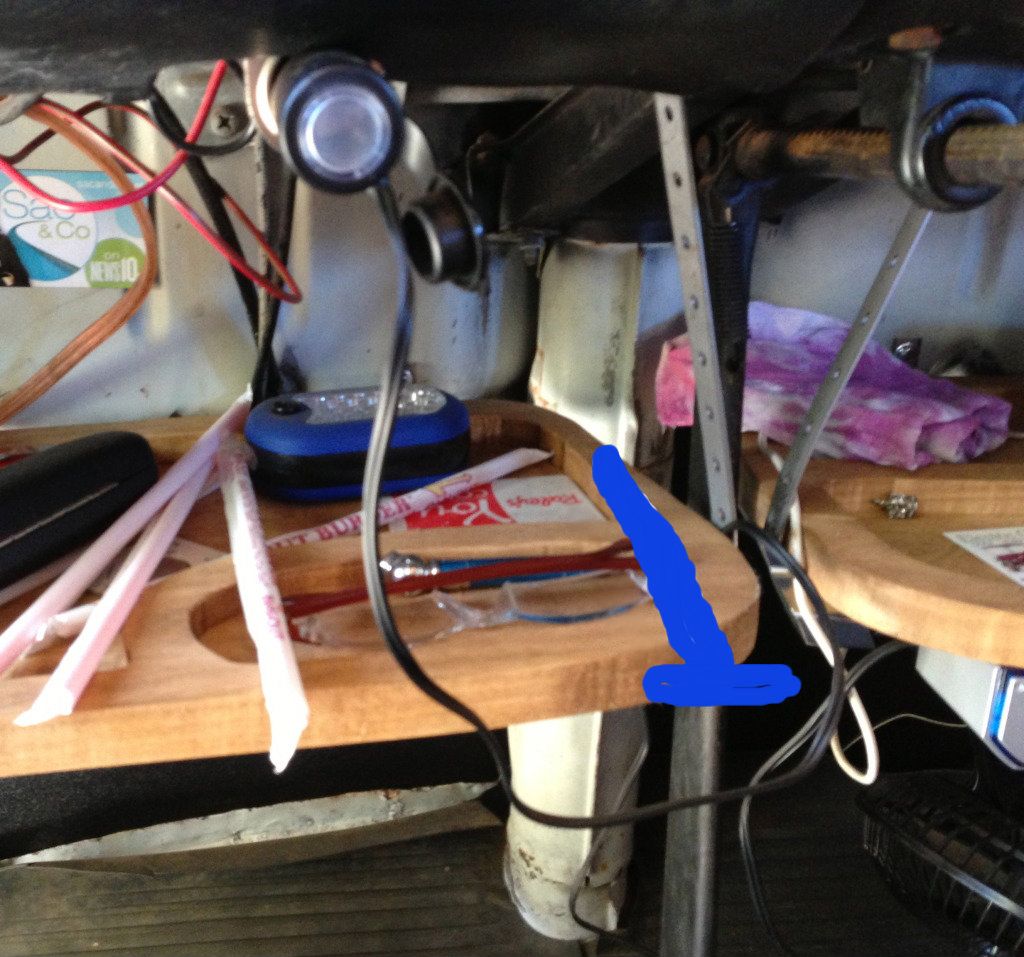
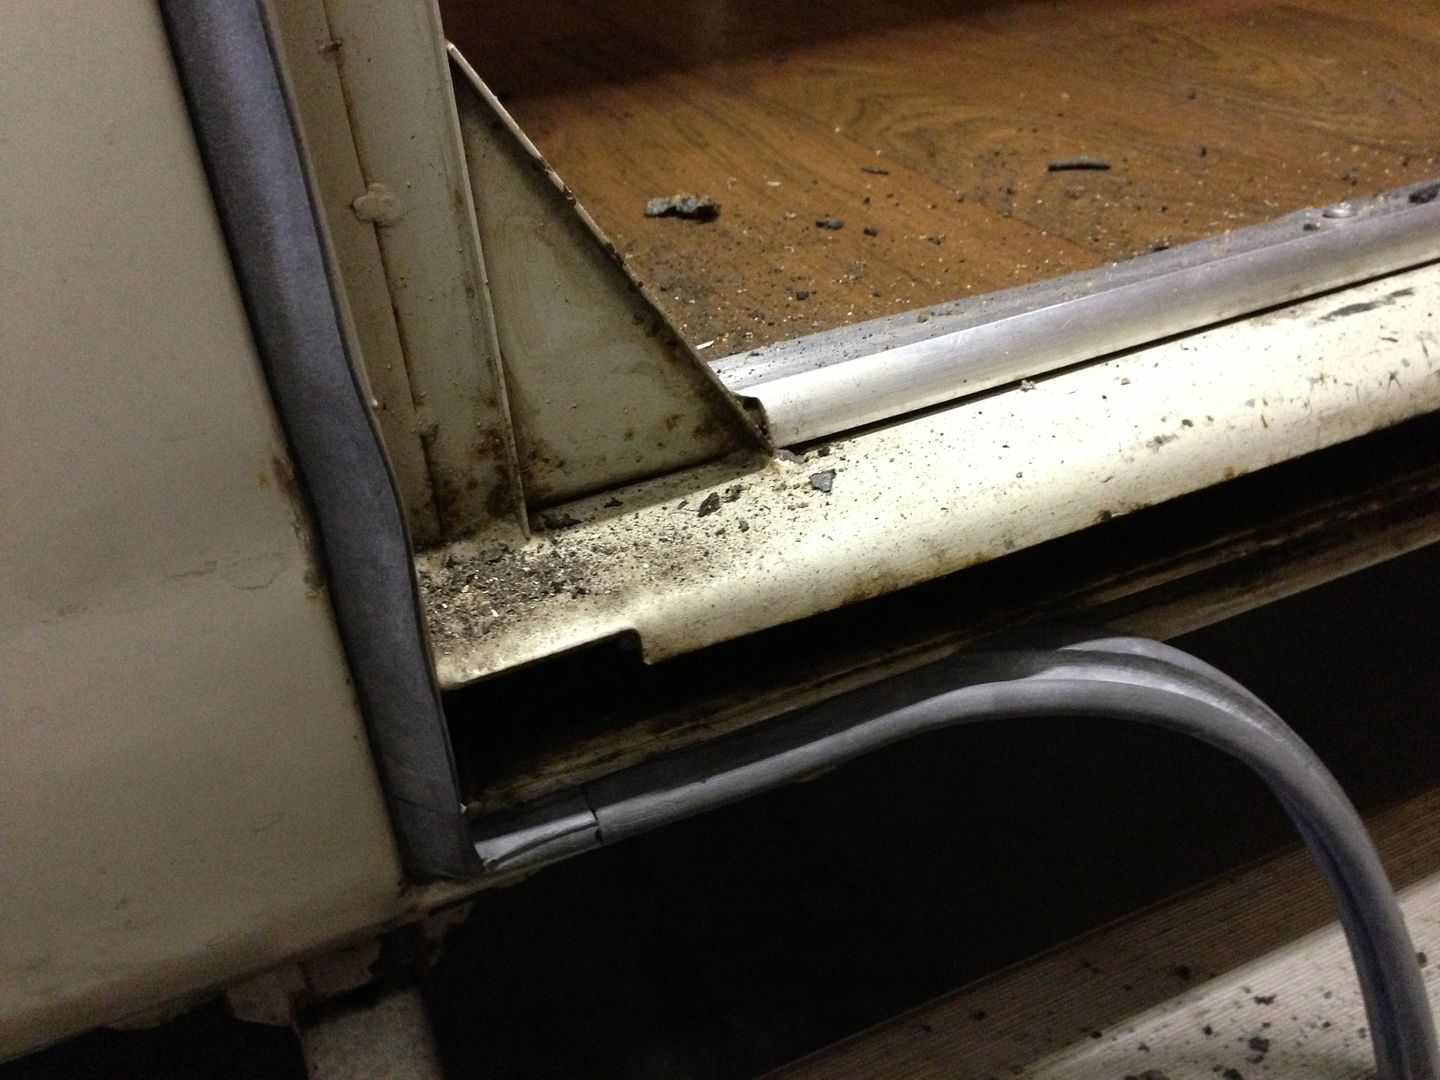
Does your sink cover have some sort of support under it when it turns into a table? Mine doesn't sit horizontal when it's down :?
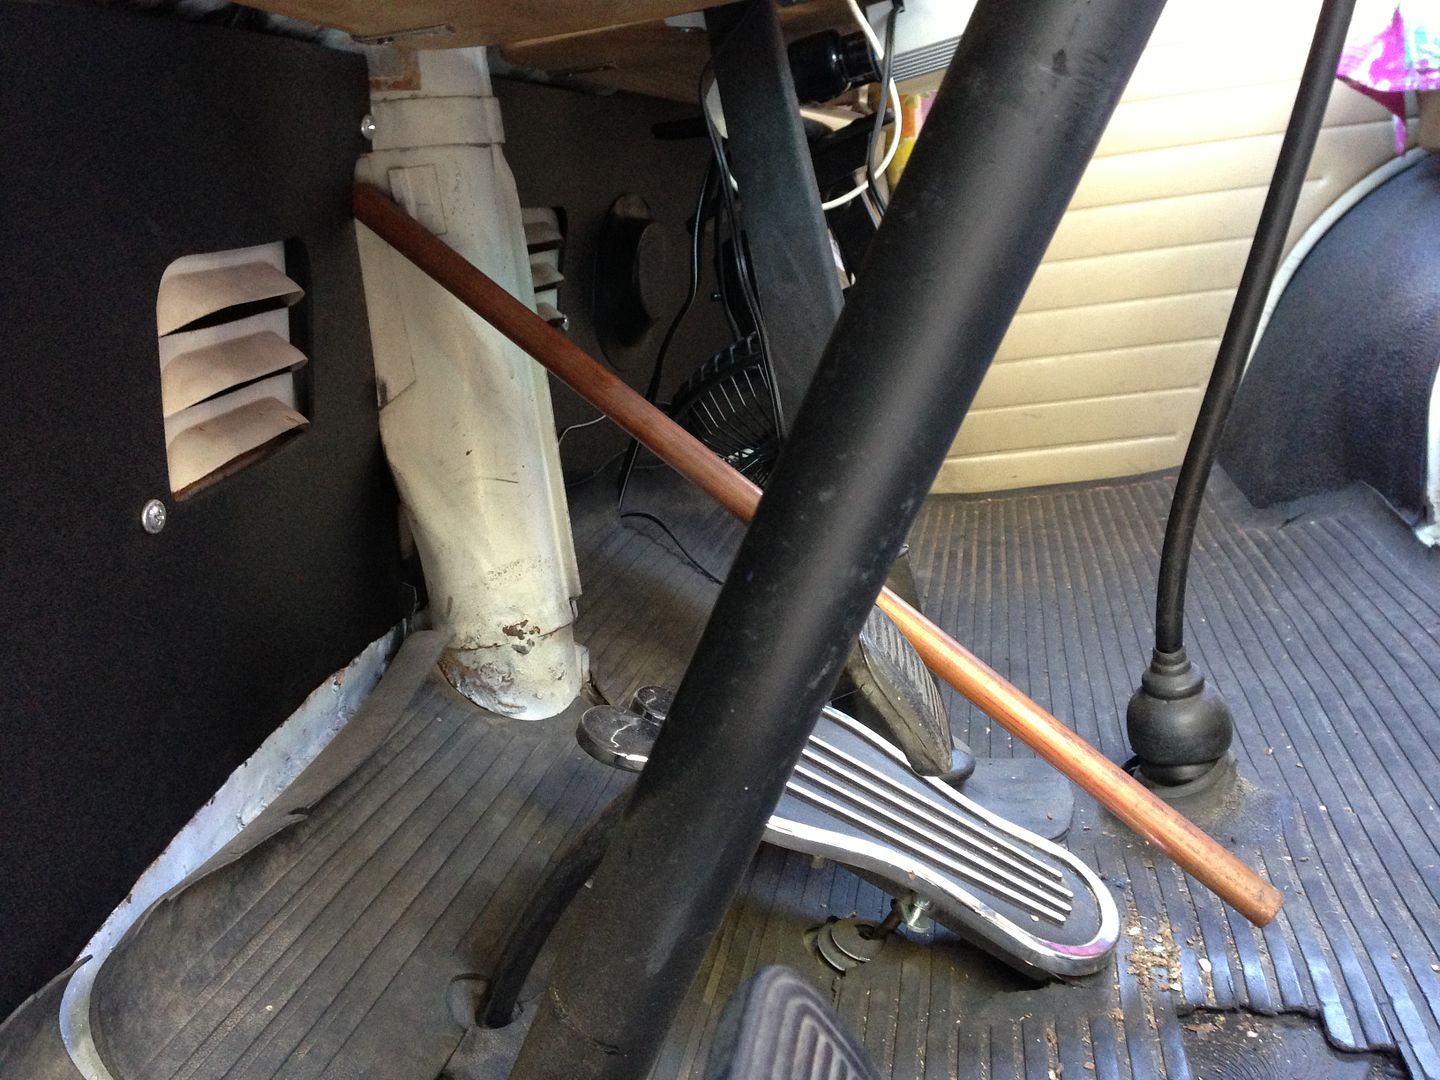
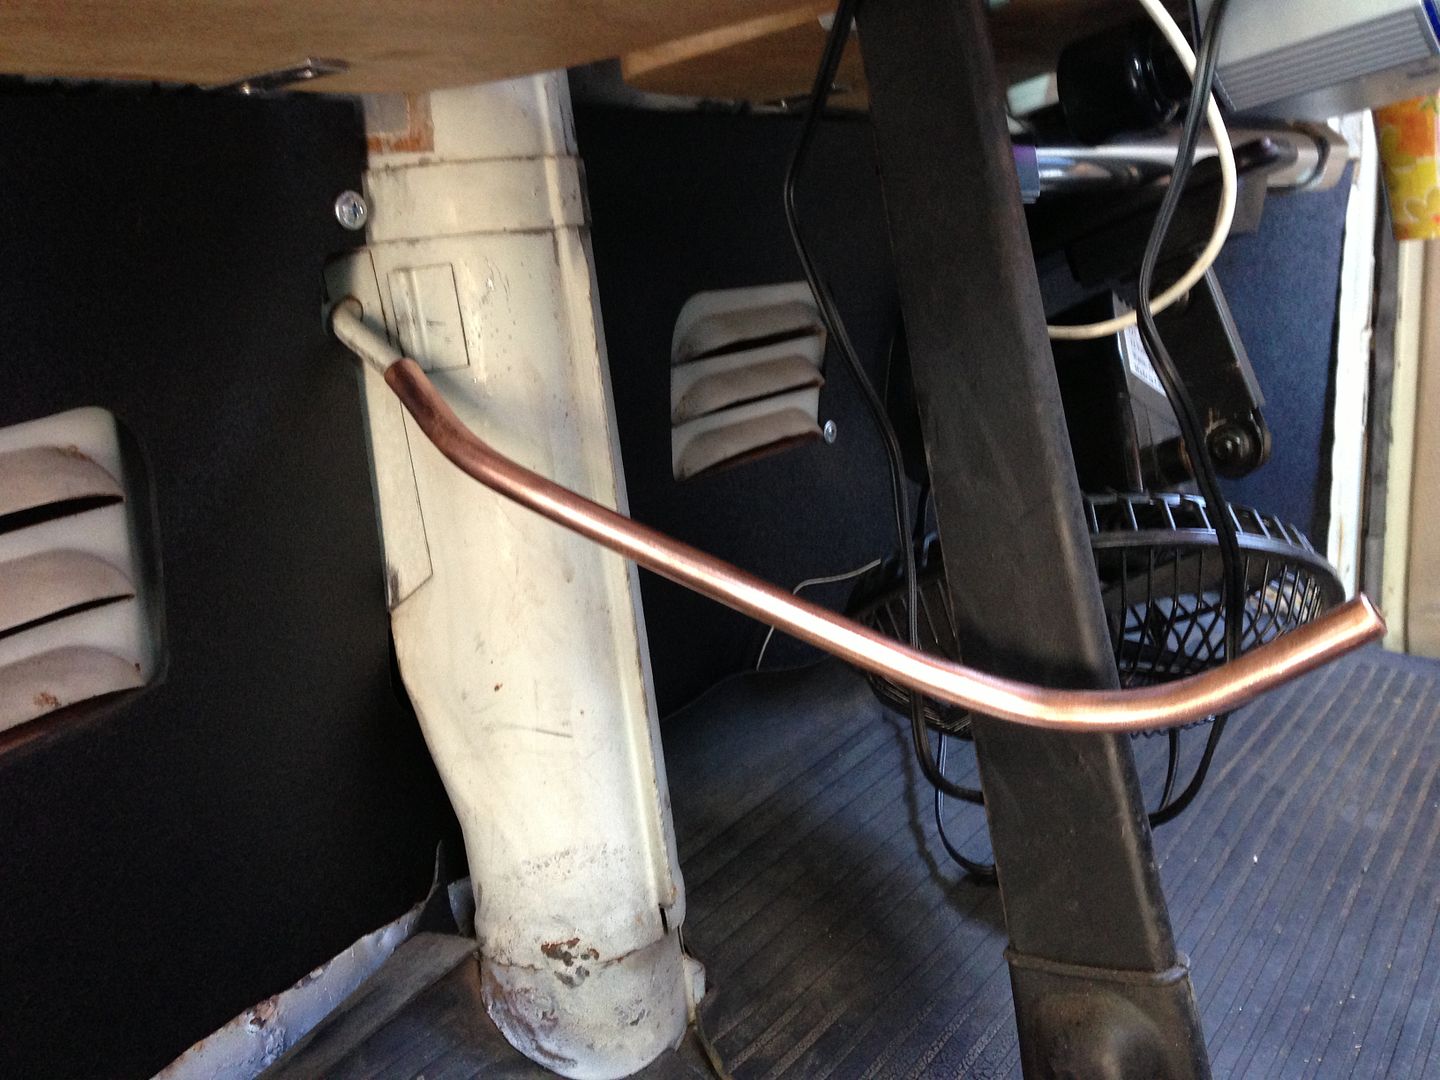
I've seen some with a triangle support, but I'm wondering if this was added after 1970.
Nice work on your bus by the way
Daverob73 said:I guess they added the triangular bracket in 1972 to support the table :?:
Will be good to see the pics when you add them


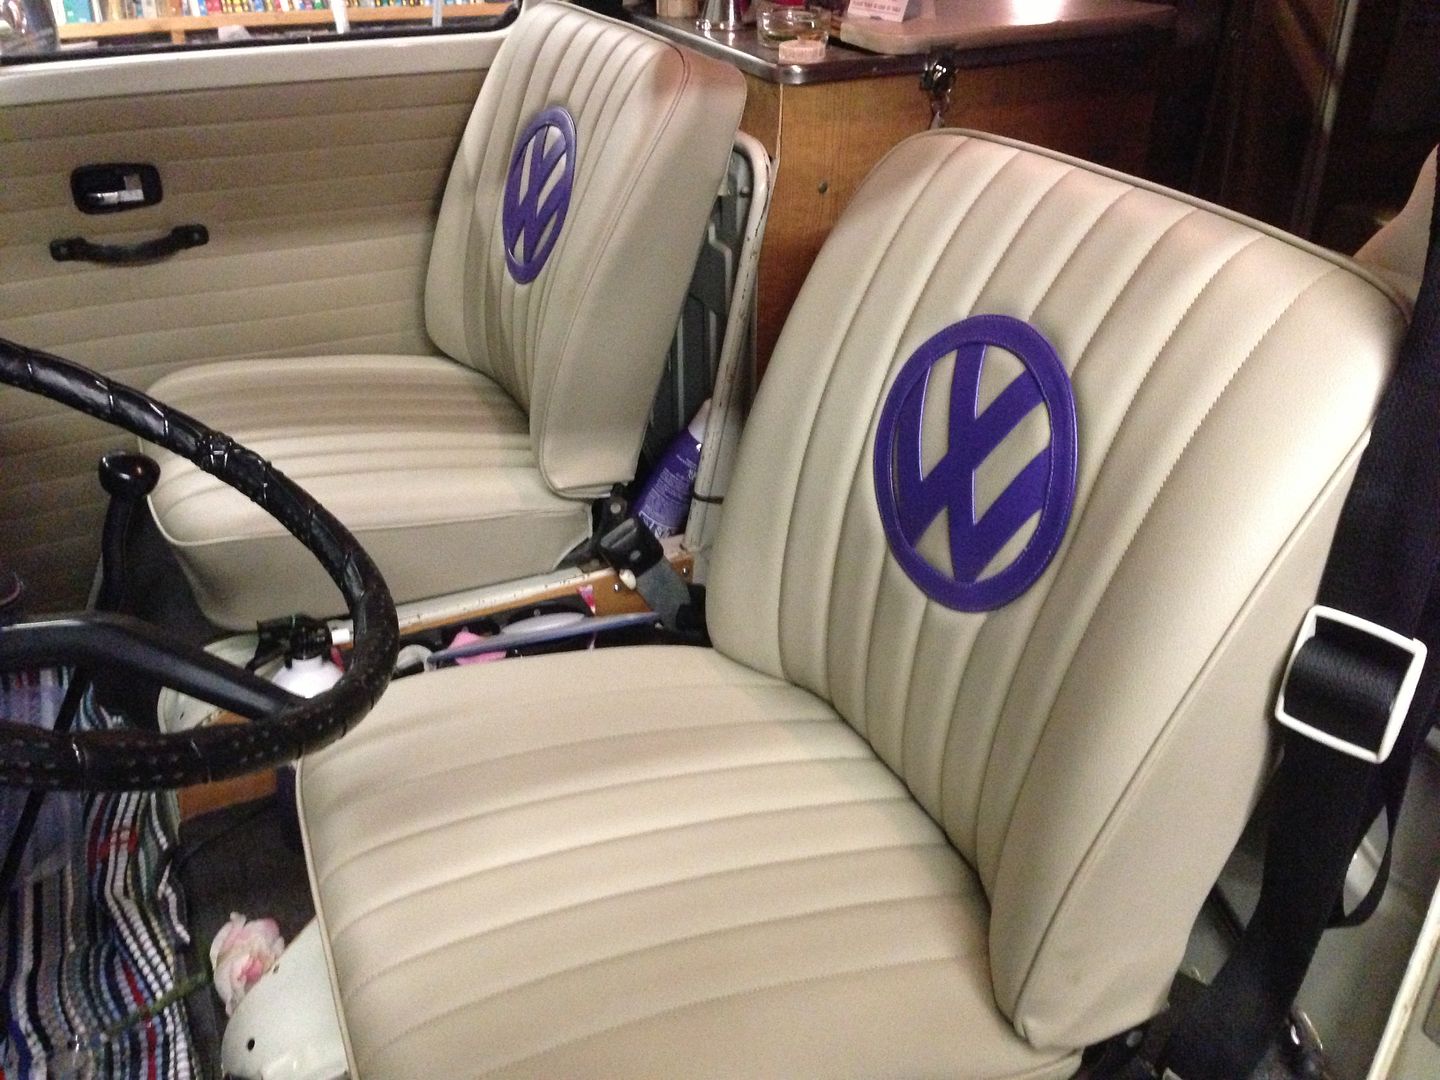
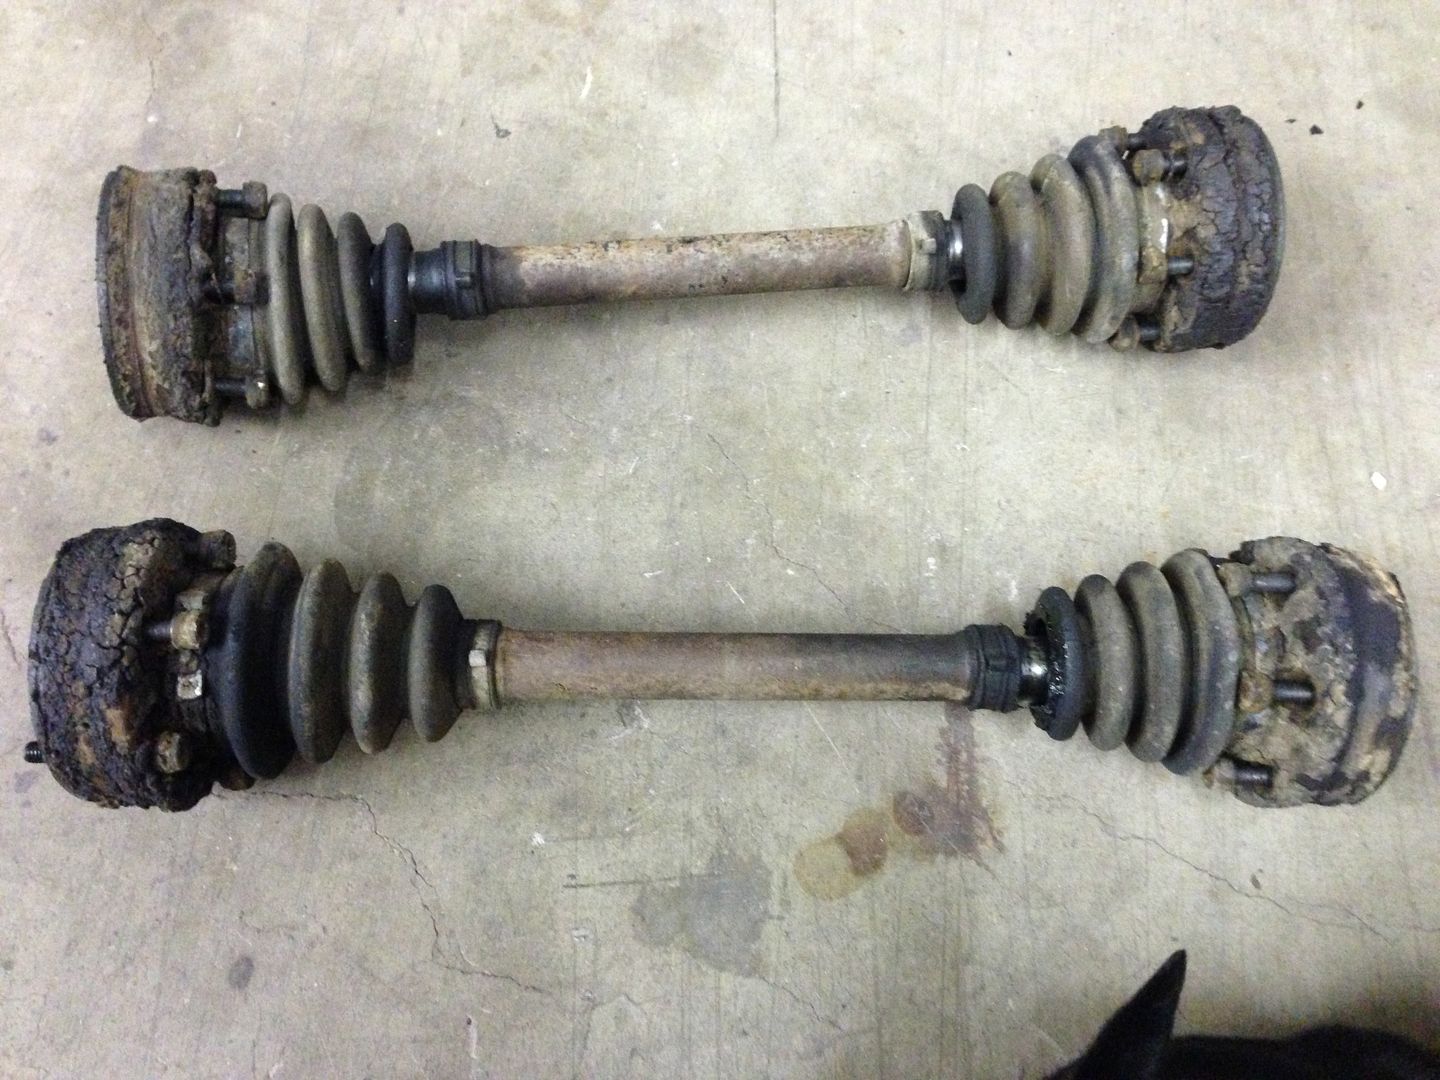
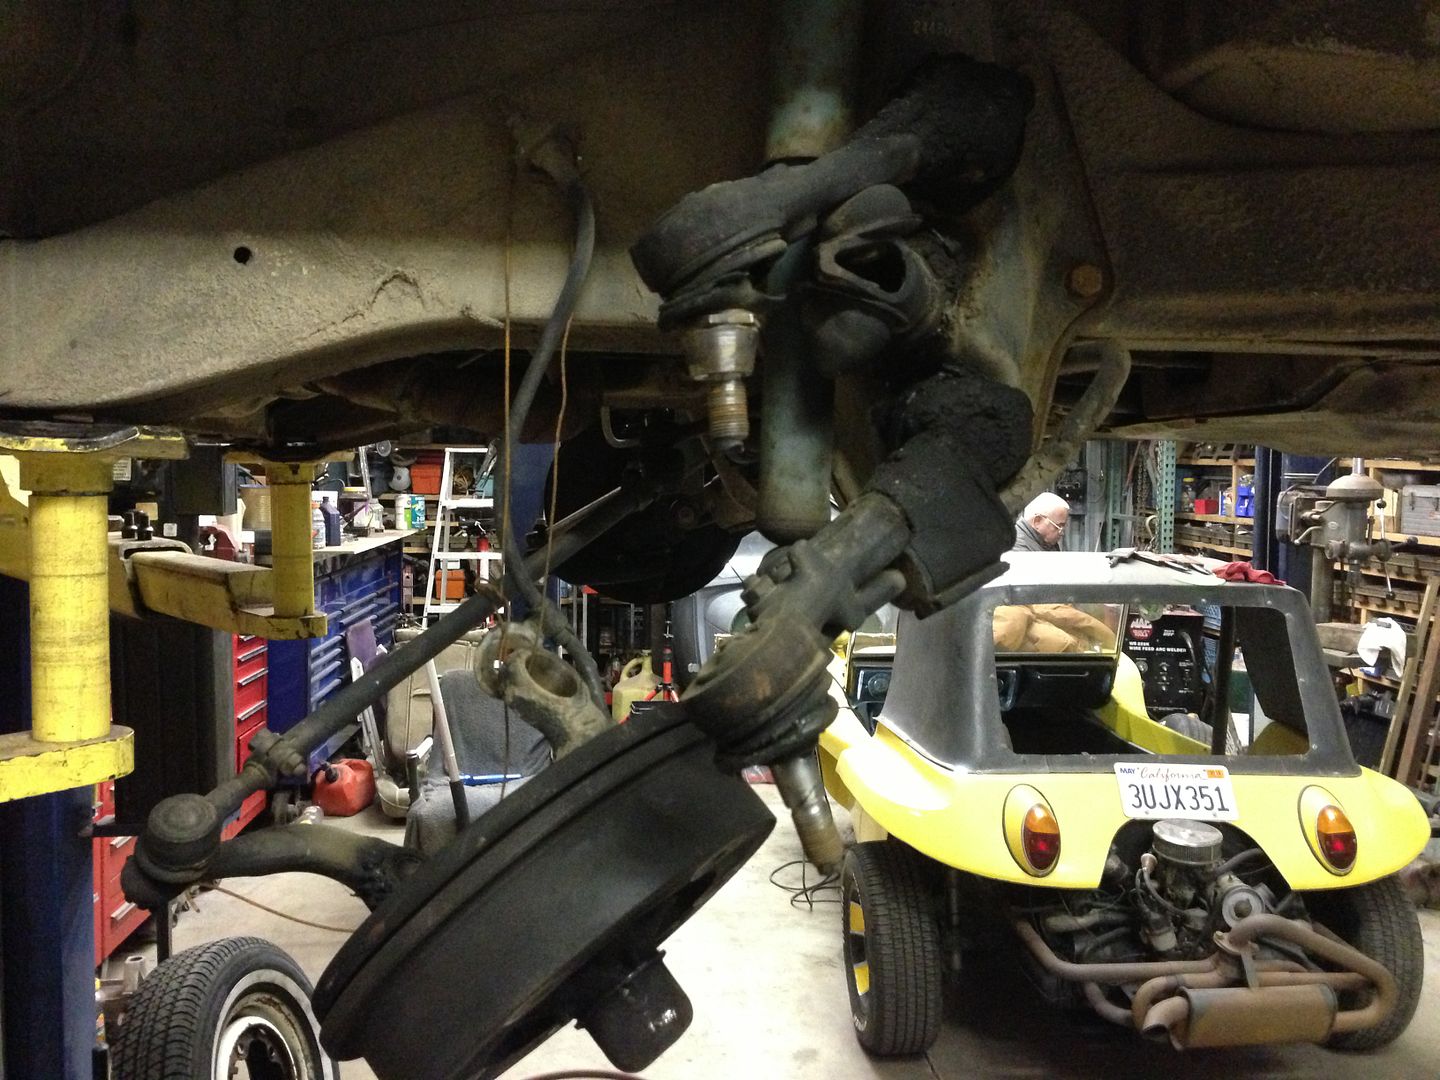
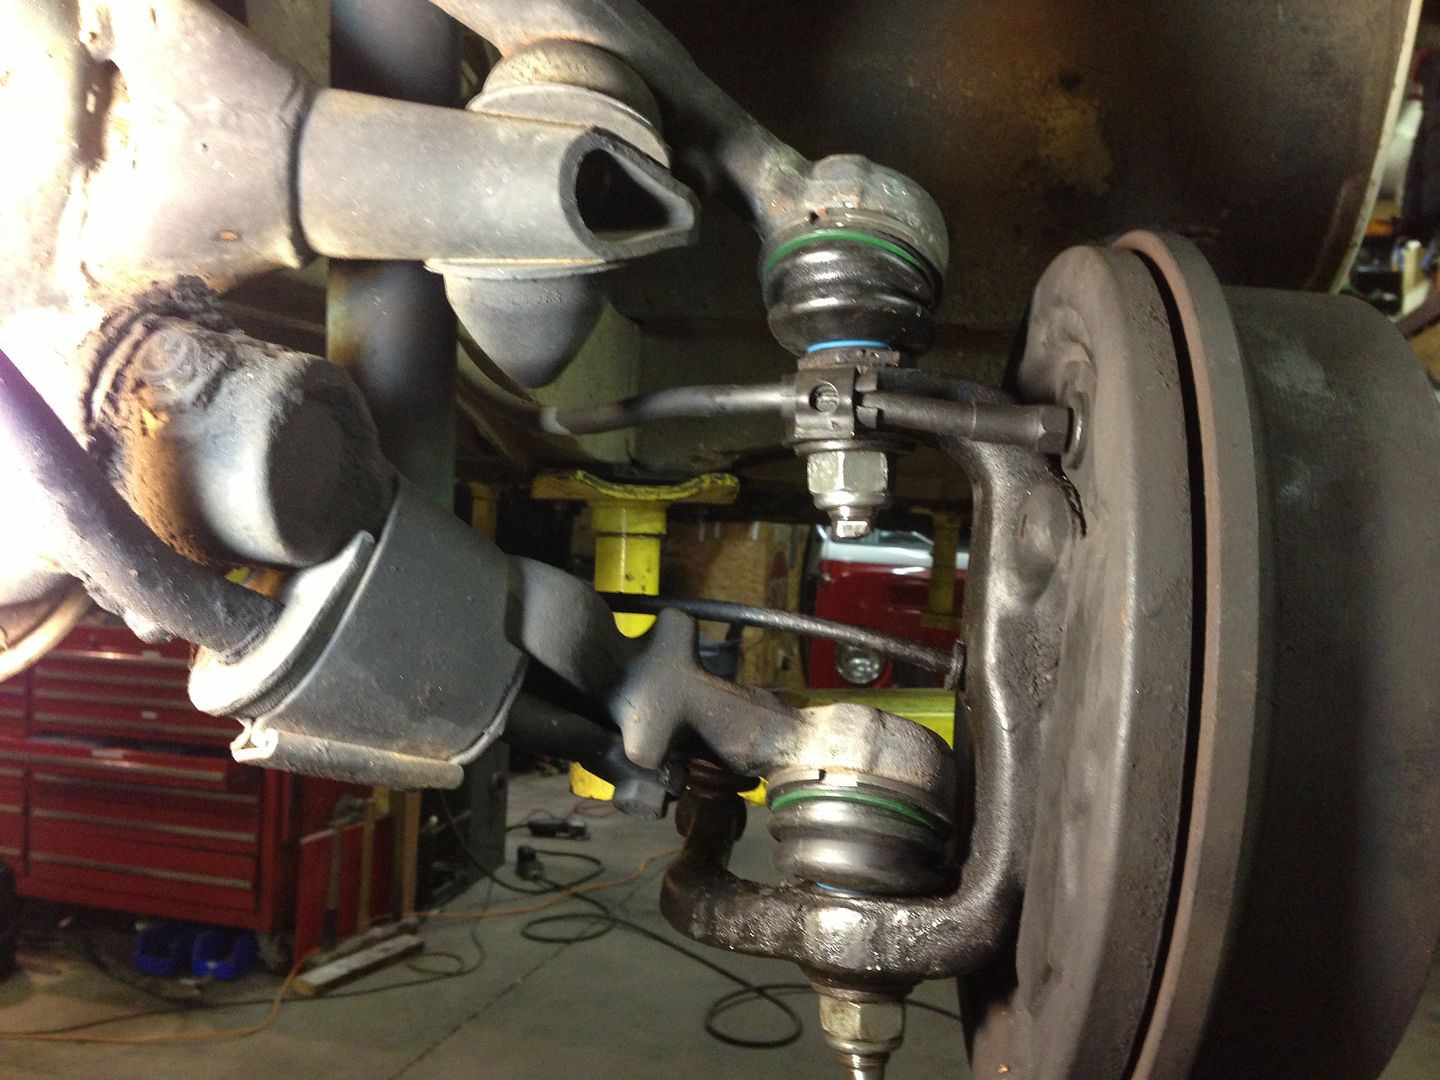
 Will update once I get the seats back. Been biting at the bit to get them back and now that they are, I can't drive the bus. LOL Need to finish the ball joint job that we started when the seats were sent off. Hopefully that will be done maybe by Tuesday night.
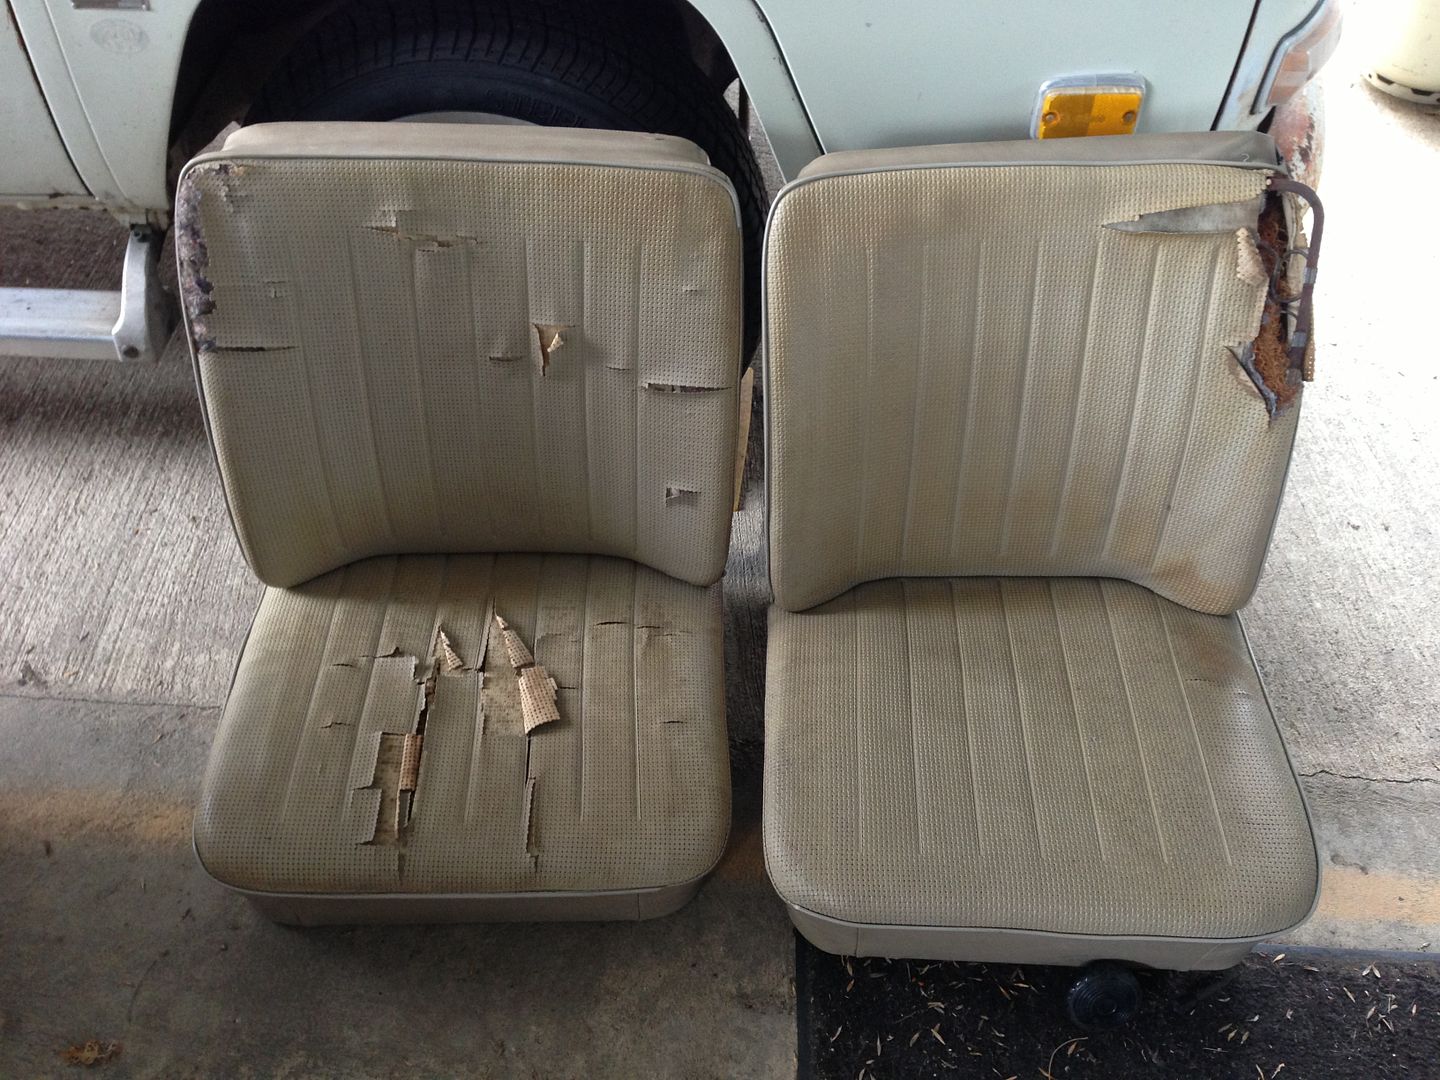
 )
)

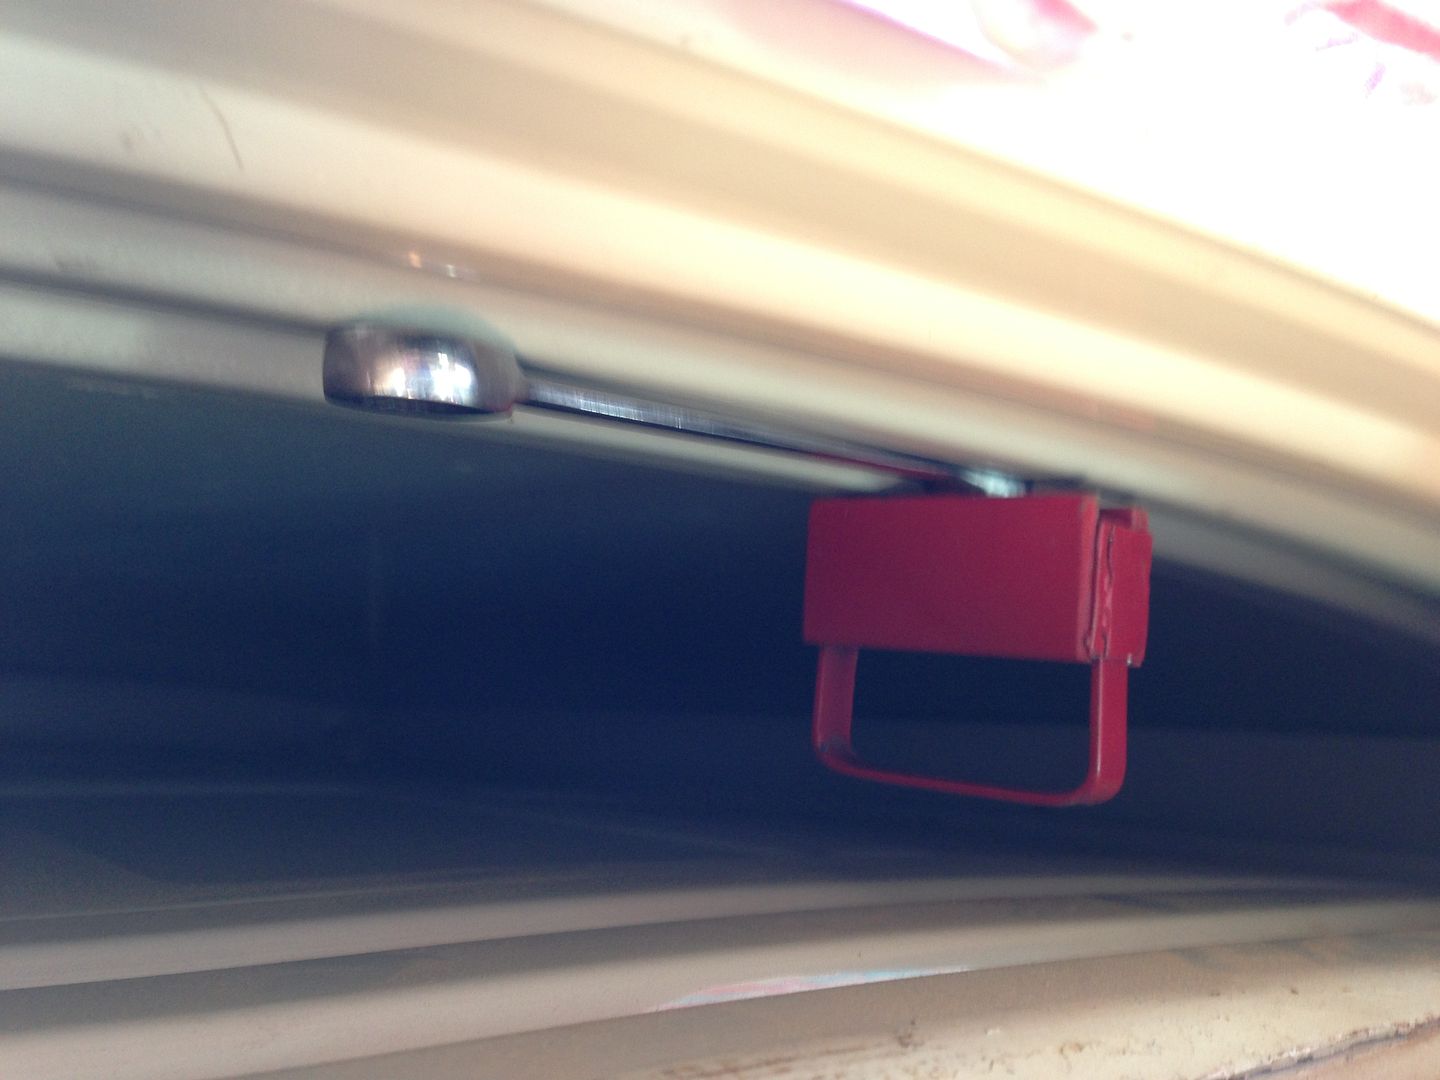
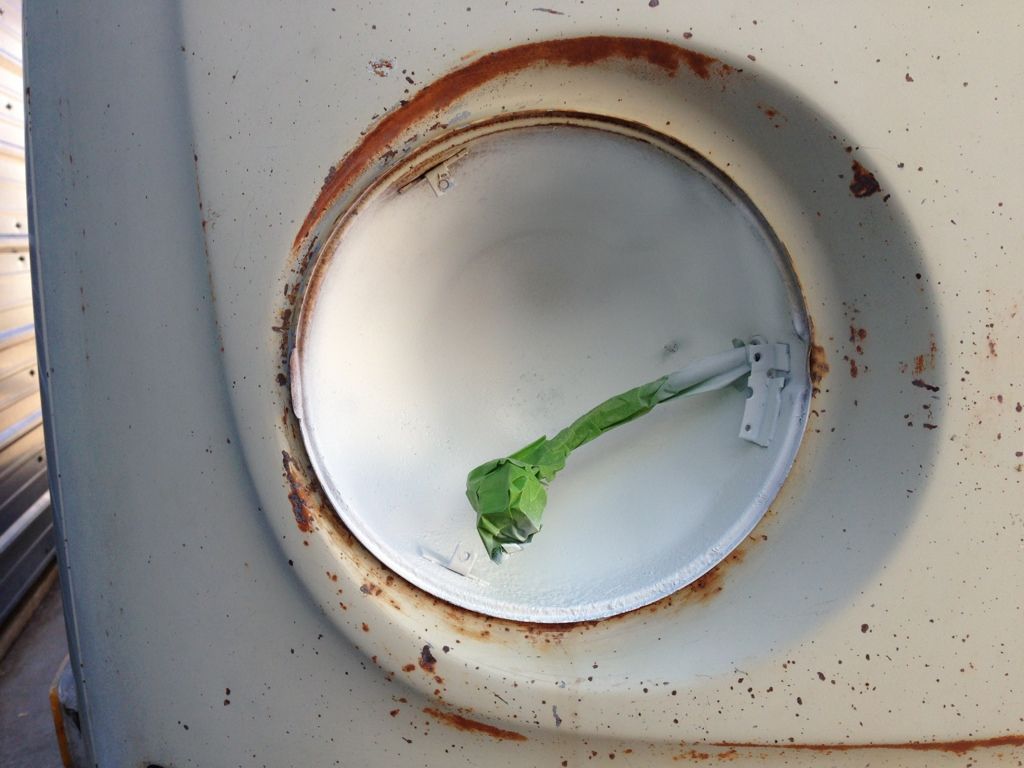
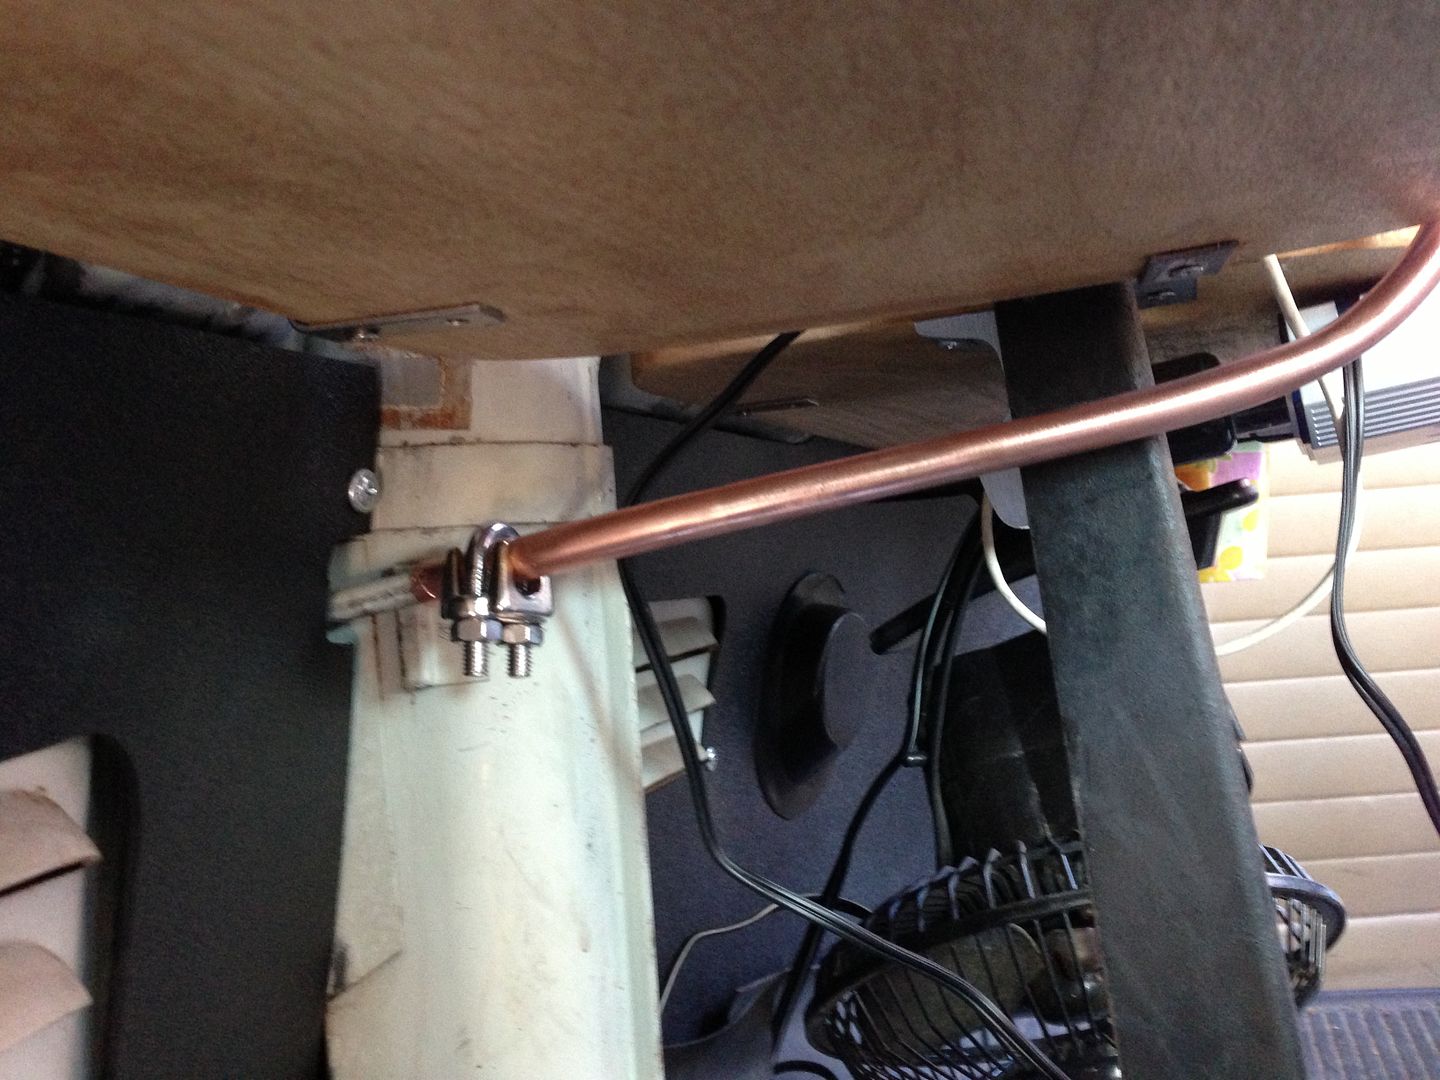
 It held the wrench while I went back out and used the philips screwdriver to remove the screws. (My current canvas doesn't have an opening to be able to reach threw.)