MY 72 CROSSOVER RESTO

Early Bay Forum

Help Support Early Bay Forum:

This site may earn a commission from merchant affiliate links, including eBay, Amazon, and others.

si.

Well-known member
Joined
Mar 13, 2012
Messages
65
Reaction score
0
Location
Bournemouth
hello every body
im new to the vw scene,and thought id put up a build thread to document and get advice for the full restoration of my bay.
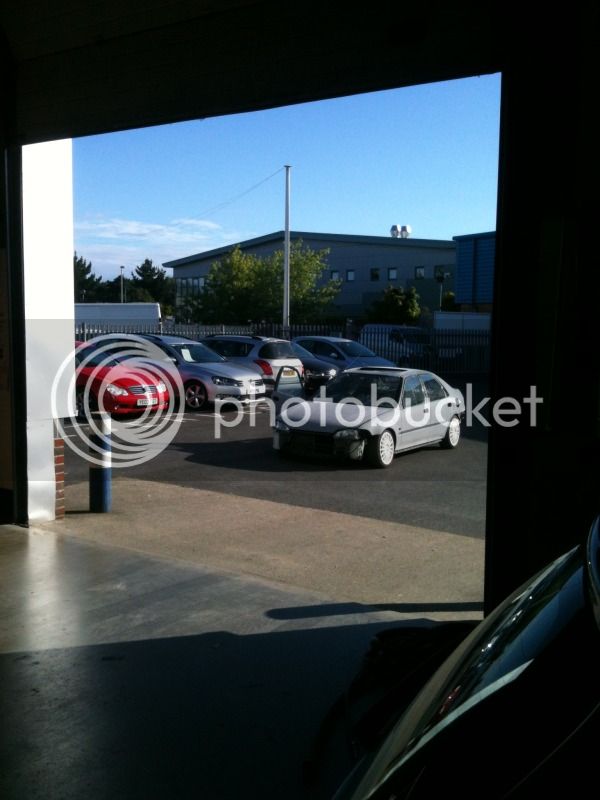
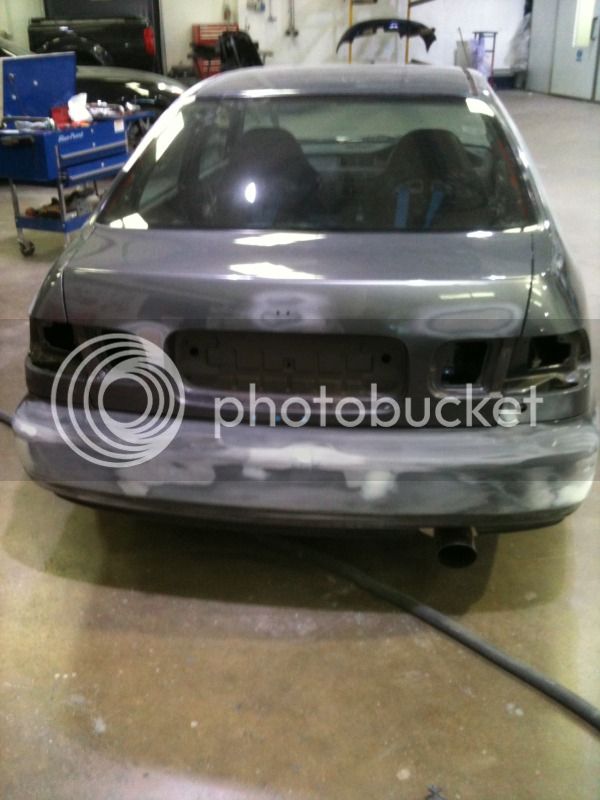
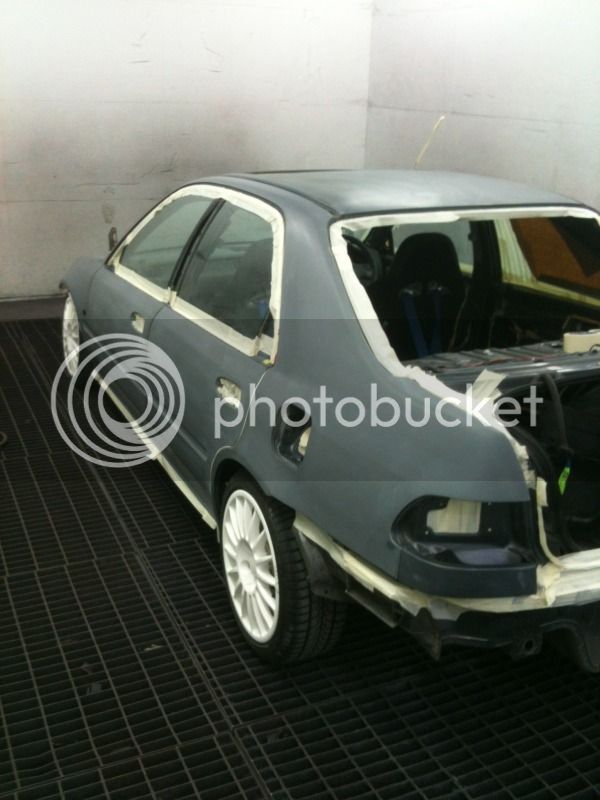
ive recently sold my evo to start the ball rolling and got hold of a bay window.

i work in a body shop and am lucky enough to have the help and knowlage of the various skills my workmates have.

its going to be a slow process as the van i have has a few more issues than first thought.

some pics the day i got it

007-1.jpg


008.jpg


010.jpg


012.jpg
 
beleve it or not we picked this bus up form south london and it drove all the way home to poole with my other half following behind.

after a few brake downs and many oil top ups on the way home it finally arived at work,a long and tiring 7 hour journey (in a normal car a hour and a half trip)

but she made it


028-1.jpg
 
so the work begins

at a first look it looked as if it needed just a few repairs.
2 outriggers
sills both sides
front wheel arches
and a few bits here and there

deep down i probably knew it would need more
and with a bit of poking about it seems it needs alot more

all out riggers
all jacking points
all sills inner outer and middle
both front wheel arches
both rear wheel arches
both rear corners
lower front panel
upper front panel
silding door
both cab doors
etc etc etc

some pics of some bad bits


019.jpg


021.jpg


022.jpg


023.jpg


024.jpg


025.jpg


016.jpg
 
more digging about and i found some plates have been rivited to the cab floor and on removal its now a bit flintstones style

003.jpg


005.jpg
 
small update half the panels needed are now on order and work will start shortly

a freind at work has donated some wheels and tyres,if nothing else they are a vast improvement on whats on there now as it came with some badly dented wheels with tyres only fit for scrap.


this was the best on there (check out the cracks)


027-1.jpg


these will be much better and safer (even if its only going in and out of the workshop for the next few months)


001-1.jpg
 
mini update today

got the front and rear bumper off (only snapped one bolt) and looking at them i think with a bit of loving they will be re used


003-1.jpg


this gave me a chance to check out the front panel and all is good (with some work it will be)

006-2.jpg


005-1.jpg


006-2.jpg


rear panel will be good to

004-1.jpg
 
While i was at it i thought i may aswell put me freebie wheels and tyres on (thanks adam)

at least these are round and have good tyres.
even if they will only move a few yards of the next couple of months.

from these

027-1.jpg


to these

009.jpg


this gave me a chance to poke around the front and rear wheel arches.....all looks alot better than i thought it would.

007-2.jpg
 
tiny update

package one arrived today.

average quality copy parts

early front wings (minor mods required)
n/s sill
battery tray


001-2.jpg
 
nipped in to work for a few hours this weekend.
stripped out the front panel,windscreen and dash.
all came out very easy. windscreen came out a little to easy but the pics will show why.

front panel seems that it can be saved but will require a repair panel for the screen.

will prbbably get the upper front panel including the bulge

on with the rusty pics

o/s a piller

005-2.jpg


n/s a piller

006-3.jpg


sanded a few bits of rust off the front panel to judge if it needs a complete front or not. i think it can be saved. covered the bare metal with a quick bit of primer.

008-1.jpg


009-2.jpg


parts trolly after just a few hours

007-3.jpg
 
parts delivery number 2

early rear arches (small mods required)
pair of late rear corners

001-3.jpg
 
ok,this build so far was copied from my thread on vzi and was started a month ago so it may look a bit odd to start with......bear with me


this is now where im at with it today 13.3.12

ive now had a change in direction sleightly as to colours and things.
ive got the origanal colour code (L354) and had a spray out card done at work and am going to go with the original colour the van left germany with.

i am also going to turn it back to a panel van. it will still be kitted out with camping gear as we want to use it next year but keep the outside looking factory (ish).

cutting and welding will start this coming weekend (im very excited :D )
and will be updated on here from now on

thanks for looking

si
 
monkeyvanwestybike said:
hello!
Good luck with it, and keep the pix commin we like um on here ! :)


thanks bud.....i do like to take alot of pictures

i love the vw forums they are freindly unlike a certain evo forum i used to be a member of thats full of know it all,but know f**k all people with no support or worthwhile advise.

i like it here in the slow lane where rust is ok :lol:
 
I suspect thats what mine was like pre resto' as i've not been able to find a single panel that hasn't had a repair!!

Good luck!!
 
bit of an update, not posted few a few weeks and a few little things have changed.
ive moved the van from my work to my father in laws workshop a few miles down the road. main reason being that we are busy at work and space is tight,also hes a dab hand at this sort of stuff.

its new home for the next few months

010-3.jpg
 
cut out the cold air vent from the front panel (not to everyones taste i know)

made up some support brackets to add some strength and welded a sheet over it all
not the best picture but you can just about make out the brackets

011-2.jpg


first skim of filler.
also welded over the 3 holes for the vw badge and 2 holes for the number plate
i will be having a badge stuck on but i also want the option of not having one

015-2.jpg


also cut out the bad bits of the o/s cab floor and have put some step bits in to support the new floor section

016-1.jpg


had the engine cover at work and spent 3 or 4 days getting it rot free, not in a bad way at all and is probably the most rust free part of the van. adam at work then played about with it untill it was nice and streight. a coat of high build primer and its the first piece of the van sorted.
only a small part of the project i know but nice to have at least one thing sorted.
the doors will be coming to work next and then the rear hatch. at least then while at work getting paid i can still do some bits on the van :D

014-2.jpg


will be spending the day tomorrow (if theres no rain) on the floor section and tony has started to make up the repair sections for the wind screen.
more updates and pics tomorrow if dry

si
 
good work dude, its great your doing it yourself, it must do your head in when you do it as a job as well :evil:
I like a smoothed front when its done well, its nice to be different 8)
what are you gunna do about indicators? early ones or little aftermarkets? (or in the headlights like they do on bugs 8) )
 
Thanks for your comments bud.
Luckily for me I'm foreman at a body shop so I only do hands on when it suits me.
As for indicators I'm going bug style inside the headlamps.
Smooth and clean is my goal,and I'm going to really put in the time with the prep as I want it as straight as it can be. I don't have a needed by date, although it is or should I say it will be my daily :D
 
ok its been 2 months since my last update, ive not given up its just been quite wet and i had lost a bit of motivation.
during the rainy weather ive been doing some prep work on panels that are removable at work doors,boot,engine cover,dash,bumpers etc.

my motivation is back :D

boot lid taken back to bare metal and all old fiber glass and filler removed. some nasty dents had been filled but not pulled out. so these were pulled out and lightly filled. no rust t be found :)

012-2.jpg


013-2.jpg
 
so bare metal,dents removed and a light skim of filler and some good high build primer.
another bit done and looking good

052.jpg


051.jpg
 

Latest posts

Top