My 72 Danbury

Early Bay Forum

Help Support Early Bay Forum:

This site may earn a commission from merchant affiliate links, including eBay, Amazon, and others.
Thanks Dexter :)

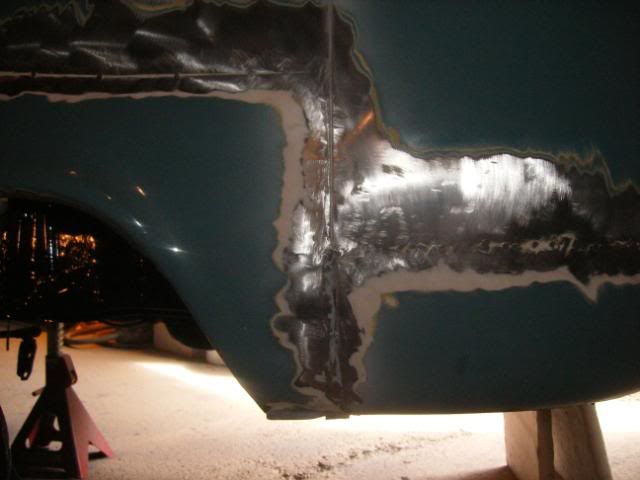
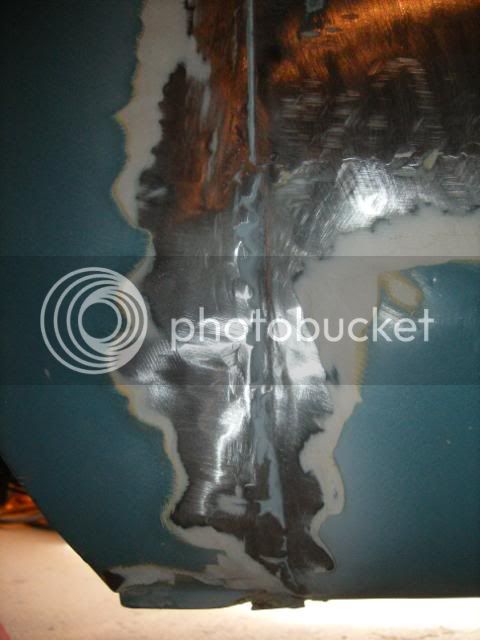
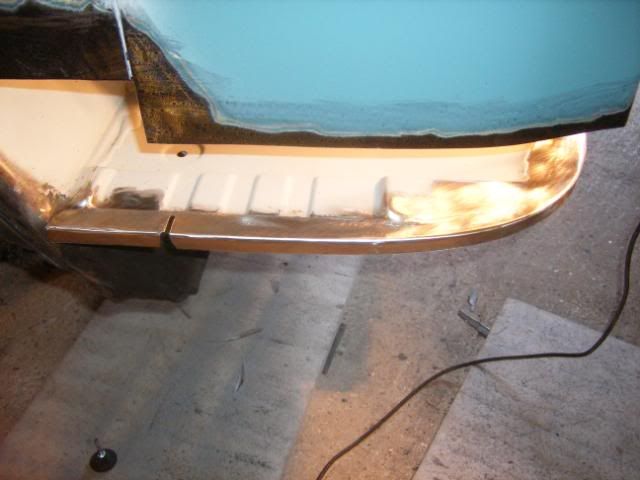
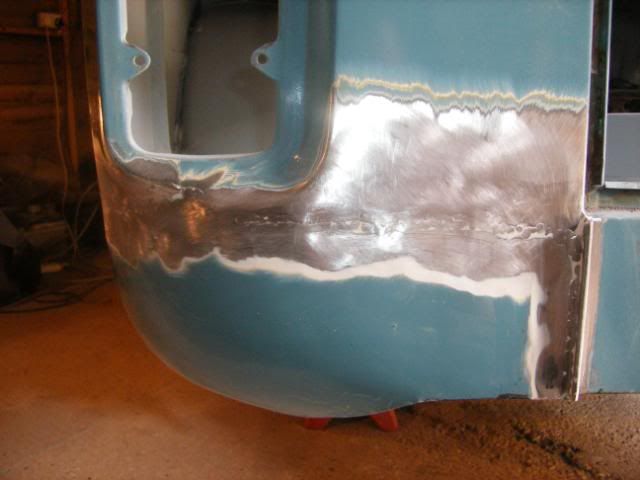
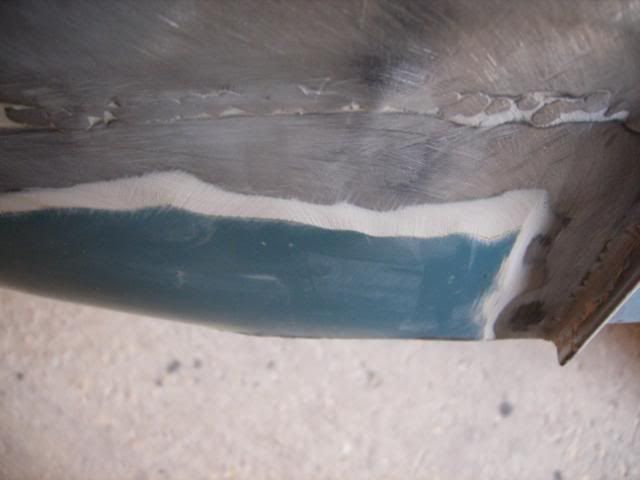
Well I've started the nearside rear corner, the Previous Owner/Repairers repairs looked ok originaly but as expected, and after lots of digging through filler, I didn't find anything that was worth leaving so chopped it all back out to the original metal to start it again. The pictures show the story of what was lurking beneath the filler:
DSCF3770.jpg

DSCF3773.jpg

DSCF3775.jpg


This bit was really nasty:
DSCF3776.jpg


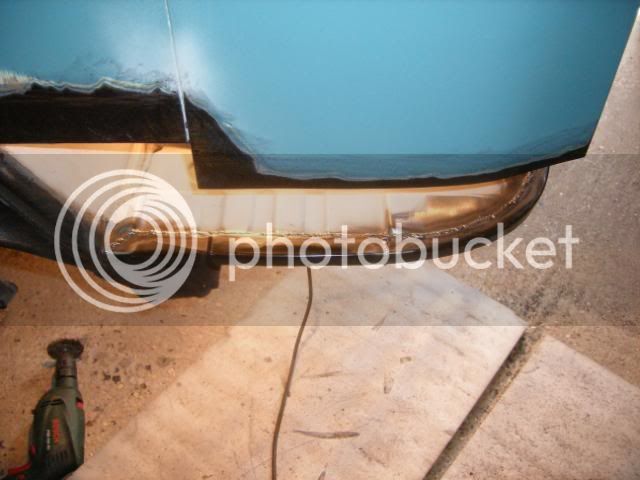
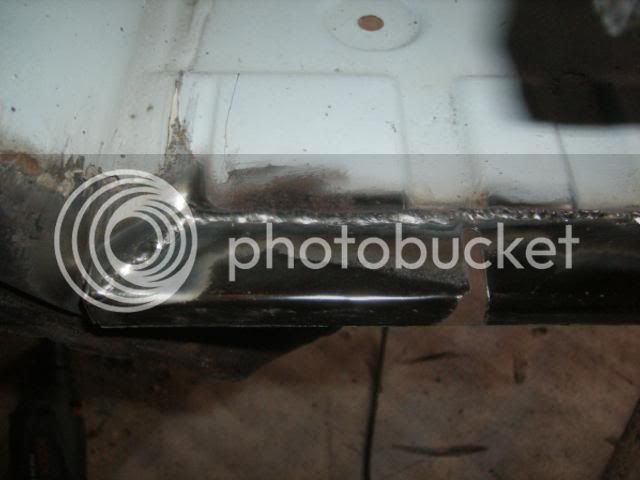
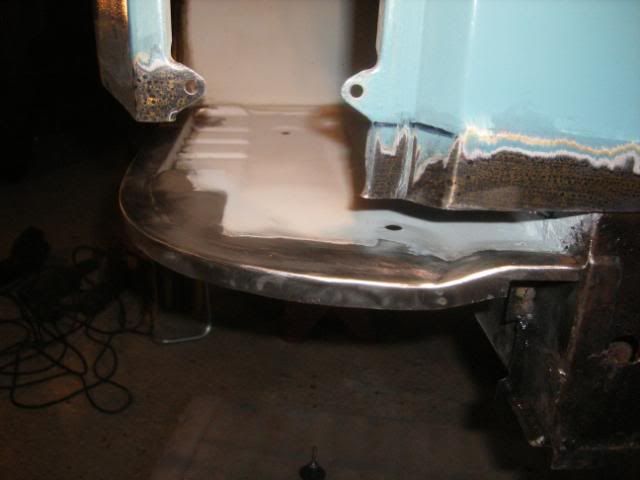
Once removed I could see that the battery tray was rotten at a few places on the outer edge. The rest of it however was great so I decided that rather than replace the whole thing I'd just do the bits that had rusted, this worked out pretty well. Also note the previous repair to the lower end of the rear post.... this is merely a patch welded over the rot?.... needless to say that has been added to the to do list :roll: :
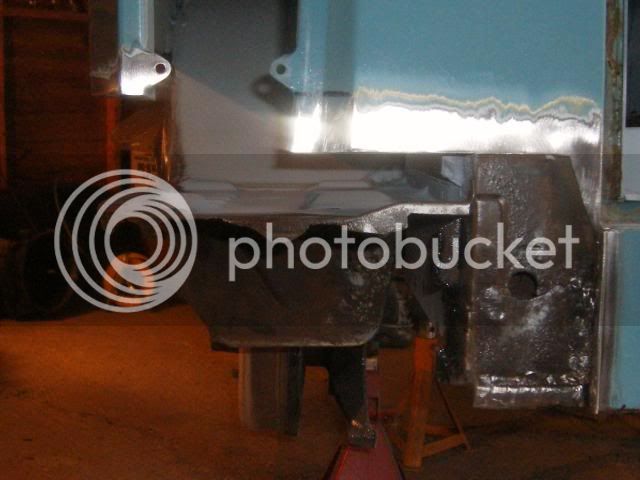
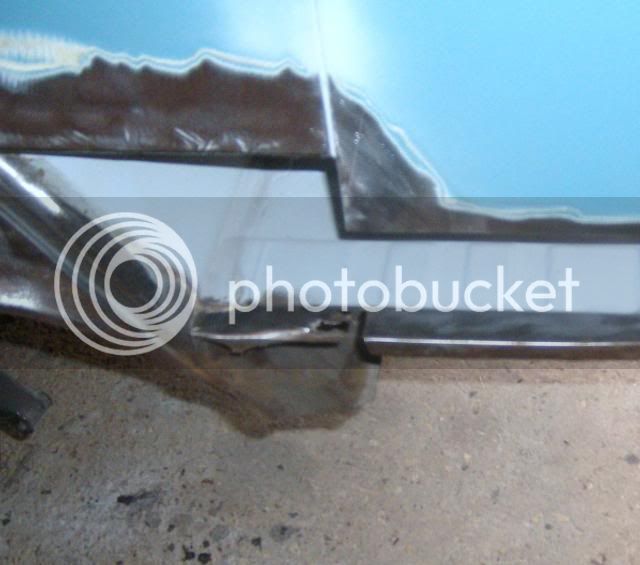
DSCF3781.jpg

DSCF3782.jpg


And the repair:
DSCF3793.jpg

DSCF3797.jpg

Ground back:
DSCF3800.jpg

DSCF3804.jpg

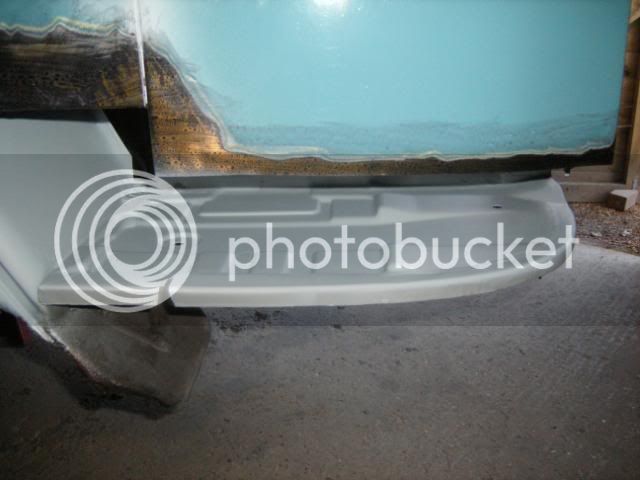
Primed:
DSCF3806.jpg


The rear stone guard/closing panel is also a bit shot, as is the lip of the inner arch so these are next.
 
Dude, what are you using to grind back your welds and take paint off your new pannels?
I guess flap disks but what grit? Evey grind back looks awersome - when ever Iv ground back its never ever as smooth as yours!

Your repairs = amazing, absoulte quality and the effort you put into your thread is outstanding, a massive help to me and no doubt others so thanks for all your updates.
If you got a £1 for everytime Iv clicked on your thread you would be a very rich man :D
 
Hi Ched, thanks for the kind words.

For stipping back paint/old filler etc and preparing panels I use Stripping discs from Frost:

http://www.frost.co.uk/item_Detail....D=16&subCatID=&FrostCat=Cleaning&FrostSubcat=

For grinding welds I use flap discs first (of varying grades) to get the weld almost flush and then I have a small 50mm flexible pad in the end of my drill with varying screw in abrasive discs and surface conditioning discs to gently finish. 3M supply one and and there are various cheaper versions available too:

http://www.consumablesexpress.co.uk/acatalog/copy_of_Roloc_Range.html
http://www.consumablesexpress.co.uk/acatalog/Bibielle_Surface_Conditioning_Discs.html

Hope that helps?
 
Its been a long time since my last confession..... I mean update!

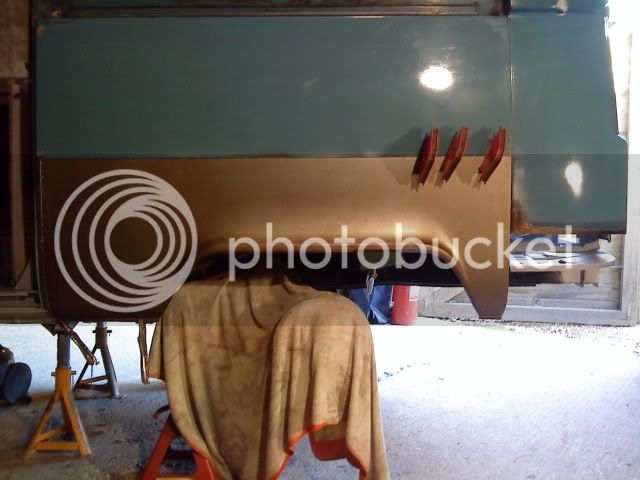
Not a lot to show as I kept forgetting to take my camera but the inner arch and rear stone guard is all repaired now and I have trimmed and trial fitted my rear arch repair:

DSC00170.jpg


Next I need to trim and trial fit the rear corner repair too, and then once I'm happy all the parts fit eachother and line up correctly, I'll weld them on for good.
 
Fantastic work, your welding looks top notch!

As said before this thread is like a repair manual, its always easier to tackle a repair after you've seen it done, so, thanks and keep the updates/pictures coming ;)
 
Nice to see the thread is back - please, please get more pics up :shock:
 
Thanks guys...... you've made me feel as though I was missed :oops:
Really can't wait until I'm all done and the van is back on the road and hopefully in a future Earlybay line up, as it'll be great meeting all of you face to face. Through posting my progress on this forum and in return for all the kind words of support, tips and encouragement, I feel now as though I owe it to each of you, as much as myself, to get the van finished.... I will get there.... Cheers!

Having said that, I most likely won't get anymore done until next week now though as I'm only free Sunday this weekend and provided the weather is ok plan to put the tools down for once in favor of treating myself to some VW Therapy with a day out at Slough Swapmeet.... as it is only 30mins or so down the road for me :)
 
Just read your post from the begining and its awesome. It looks like all the bits you have had to do are what i have just started on. Had my van over at my mates and went at it with a scraper, crowbar and an angle grinder just to see what i have.

I can only hope mine gets anywhere near as good as yours.

One question where have you been getting your panels (corners, sides etc) from, i know the front arches were genuine but are all the others?

I'm staring at the front of mine and need both arches, inner and outer lower front panel and the same repairs to the inner arch/bulkhead area as you have done and i must say you have inspired me to do a good job rather than a quick patch up...thanks :)
 
Nugsy said:
One question where have you been getting your panels (corners, sides etc) from, I know the front arches were genuine but are all the others?

Hi Nugsy, I get my panels from all over to be honest... I've bought several that I haven't used as they have been so poor. The only way I could get half decent fit for the rear corners was to buy the full OEM (Brazilian) ones and cut off the lower pieces that I needed. For the rear arches I have also used OEM (Brazilian) quarter panels and cut the off the sections I need. An expensive way of doing things but the only way I have been satisfied with fit and quality.

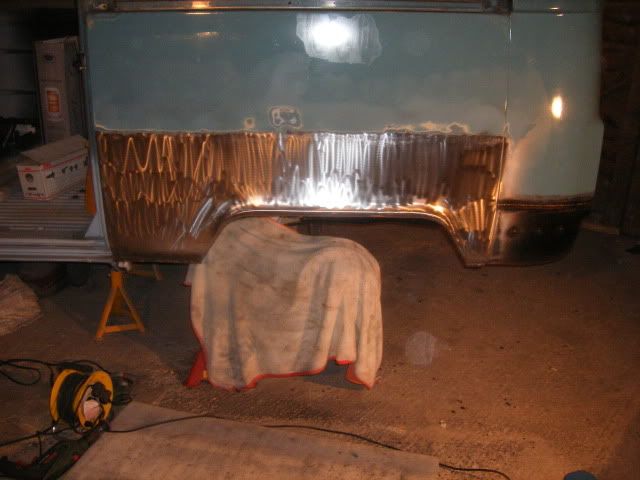
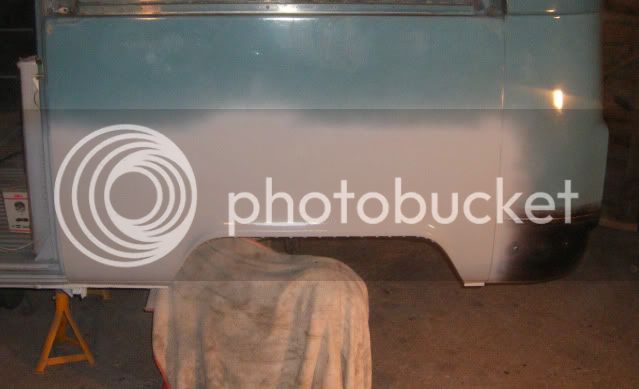
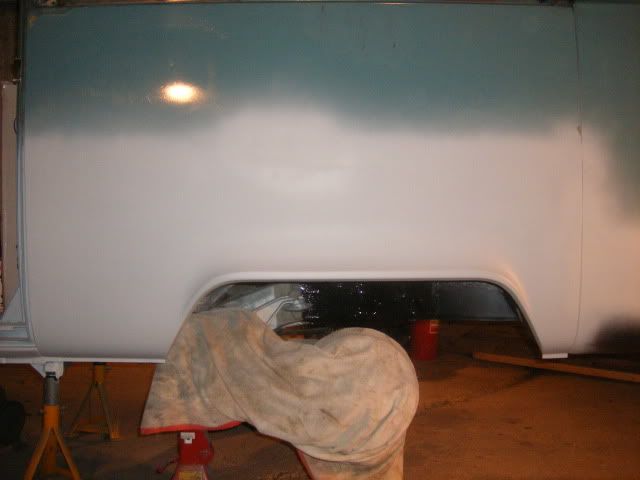
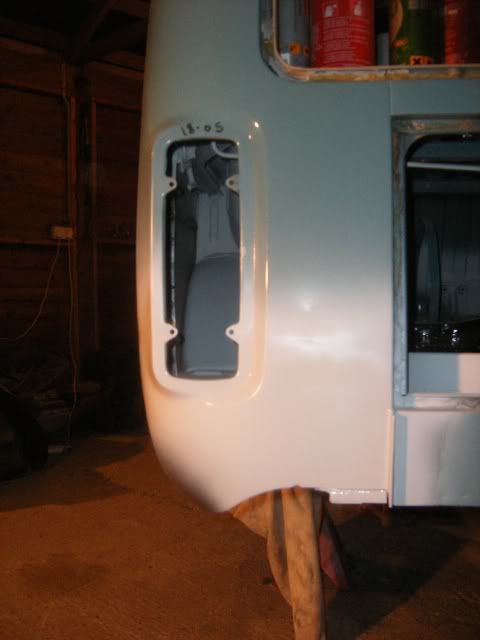
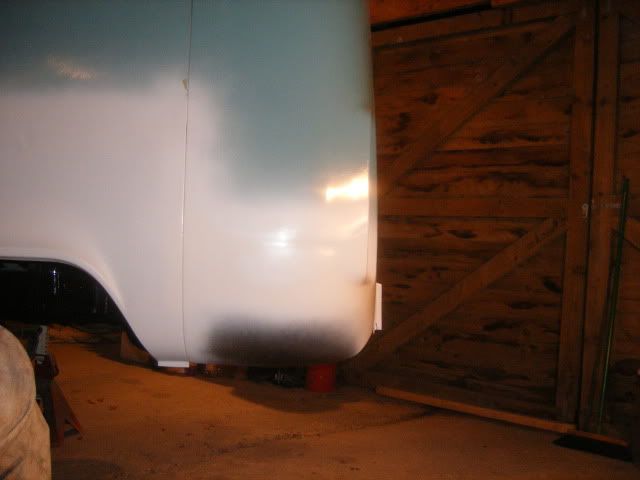
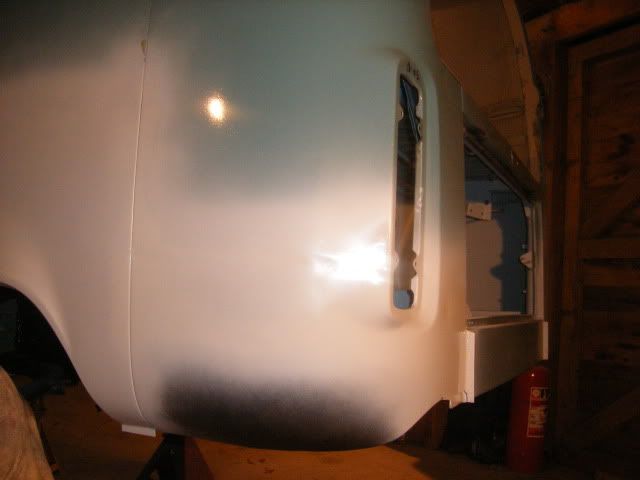
Been getting on with the work and have now fully welded and ground back the nearside rear arch and rear corner, I also had to thoroughly bare-metal and clean the rear arch repair panel, as despite the wax coating it had several light patches of surface rust that I needed to get rid off before etch priming:

DSCF4033.jpg


DSCF4039a.jpg


DSCF4050.jpg


DSCF4053.jpg


DSCF4057.jpg


DSCF4047.jpg


Suffered a little heat distortion from the welding in the centre of the side arch panel but fortunately nothing serious and nothing that a light skim of filler won't sort, and to be honest this side had a few light dings and dents in it already anyway.

Need to seam seal all the panel joins and then it's on with the repair to the lower lip of the rear quarter window..... getting there slowly!
 
looking fantastic mate. it makes me want to redo bits on my bus when i see how great you can get yours to look
 
the magic of zinc primer. everything looks awsome in photos with a coat of it.
you must be nearing completion now. next summer?
 
Was hoping to have it finished in time for use at my wedding next spring.... however we have also just completed (yesterday) on a new house which needs a shed load of work too...... so I expect that progress on the bus will be a fair bit slower than normal for the foreseeable future? :roll:
 
Hi All,

Just thought I'd throw in a quick post to say that I'm still here......

It's been a busy few months... in fact half a year, (wow :shock: where did that go?) since my last post and although I've not progressed very much with the Bus, in fact not at all.... I have accomplished some other key life milestones!

I believe that people say buying a house and getting married are two of the most stressful things you will ever do.... well like I fool I did them both at the same time! :roll:

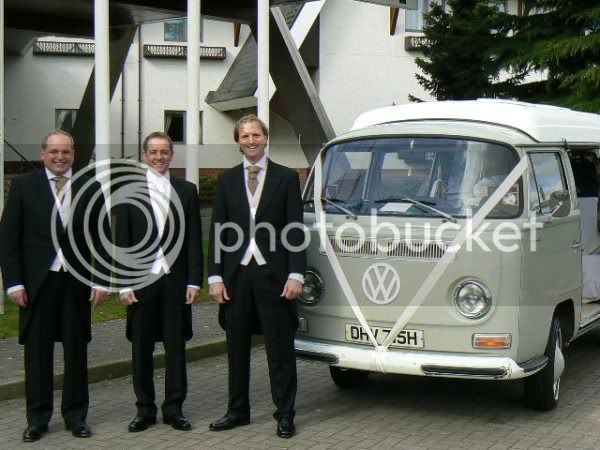
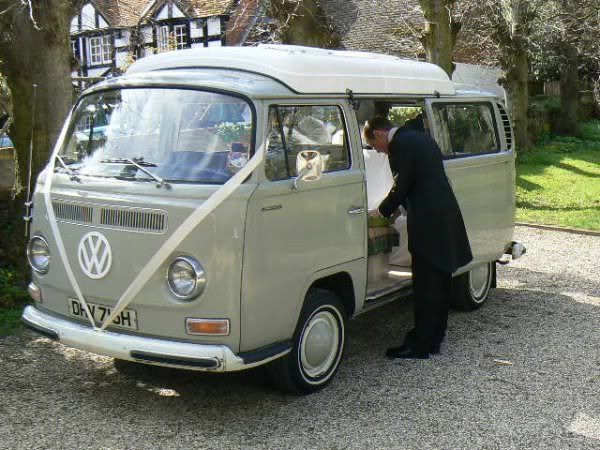
In Jan, my good lady and I bought a new house, which between then and now has and is taking up every minute of my spare time redecorating. Then in April (Fri 16th to be exact) our year long planning and stress came to ahead as we finally tied the knot! We had a great day and despite my Bus not being anywhere near completed, as I had always hoped... my good mate and Usher Dean transported me to the Church in Style..... Early Bay Dormy Style!

Me (middle) and my Best Man Ian and Usher Andy, Dean was taking the Pic:
bmw072.jpg


Trying to figure out my button hole... :
bmw078.jpg


Unfortunately after the wedding we were devasated to learn that the dreaded Ash Cloud had put an end to our Honeymoon before it had even begun, however after lots of hassle and delays... we finally managed to get away a bit later for a nice few weeks relaxation in the sun.

So with all that behind me and a nice dose of inspiration from Stonor this weekend..... I am well and truly back on with the Bus so watch this space for updates!

Cheers

Dan ;)
 
good to know your back on it :) i was starting to panic i'd catch up with you doing my resto and wouldnt know where to go next :D
 
Welcome back (and in style with those pics) ;)

Well done on the wedding and glad you finally managed a honeymoon.

Forget the house and get on with van :D
 

Latest posts

Top