My 72 Danbury

Early Bay Forum

Help Support Early Bay Forum:

This site may earn a commission from merchant affiliate links, including eBay, Amazon, and others.
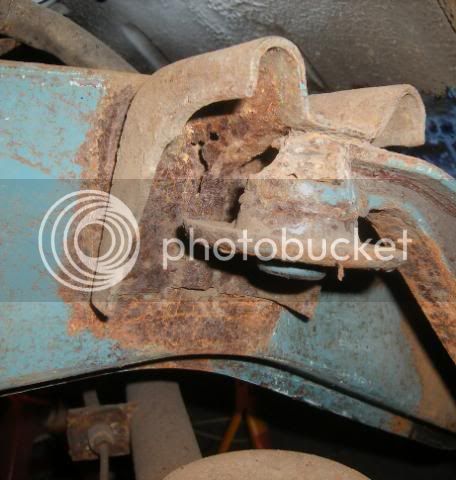
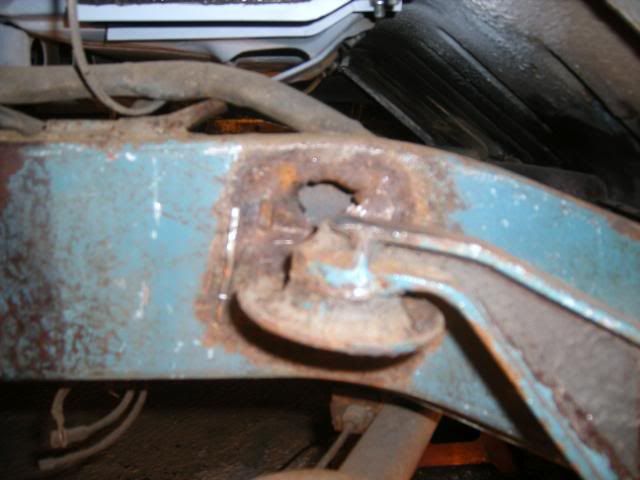
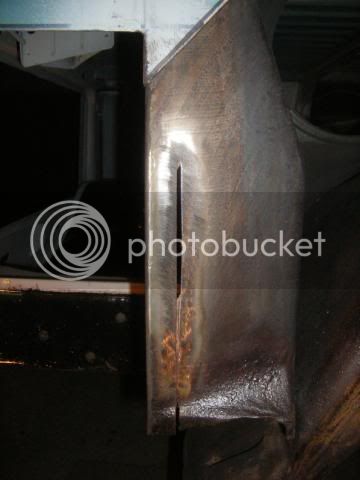
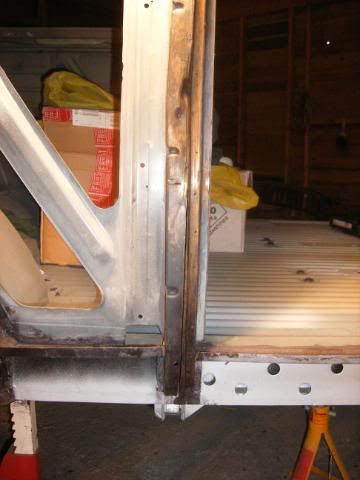
id fill the hole in the chassis then buy a foot of beffy angle iron and cut a 5cm long bit then weld it in place job done
 
andewilson said:
id fill the hole in the chassis then buy a foot of beffy angle iron and cut a 5cm long bit then weld it in place job done
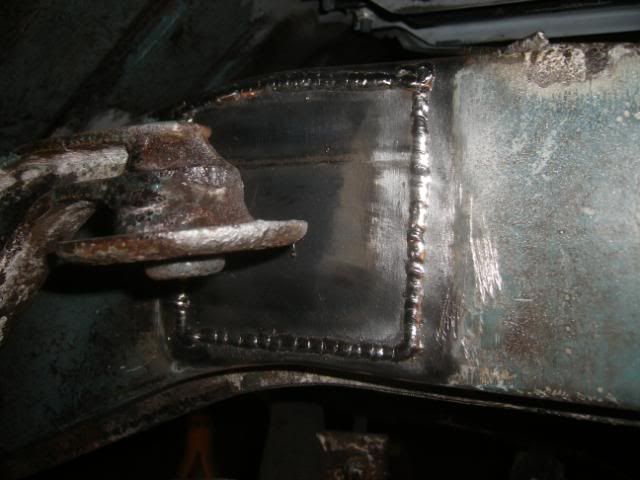
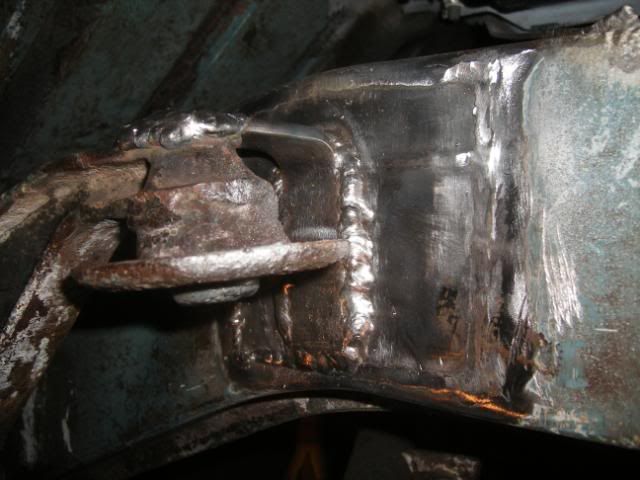
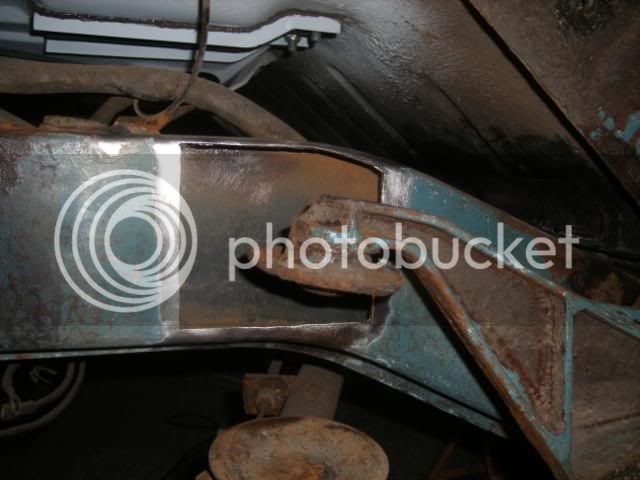
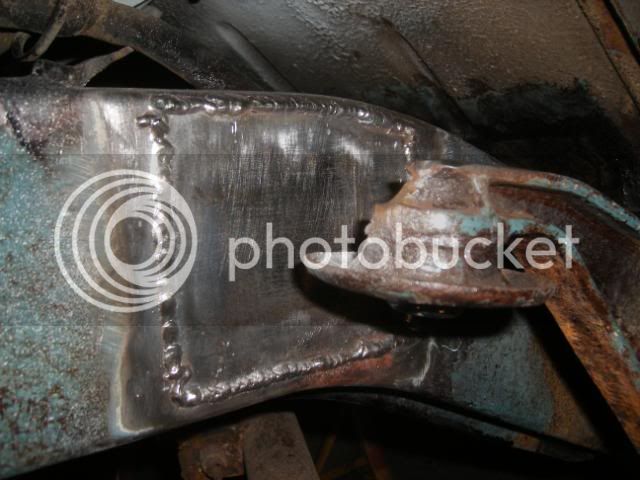
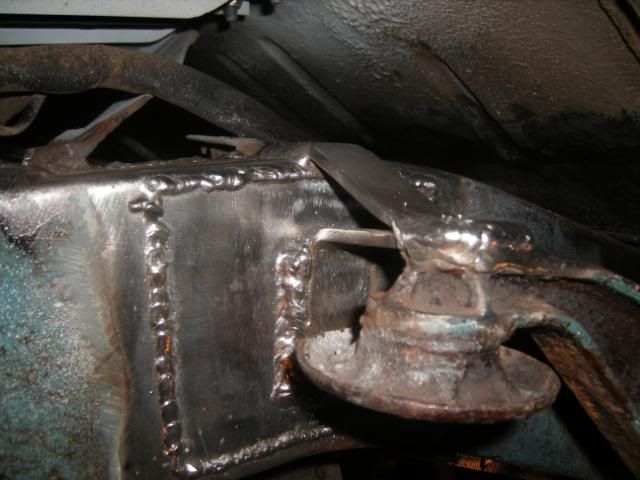
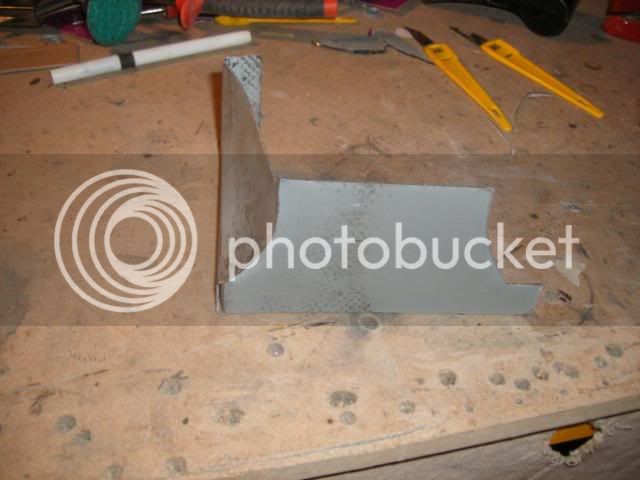
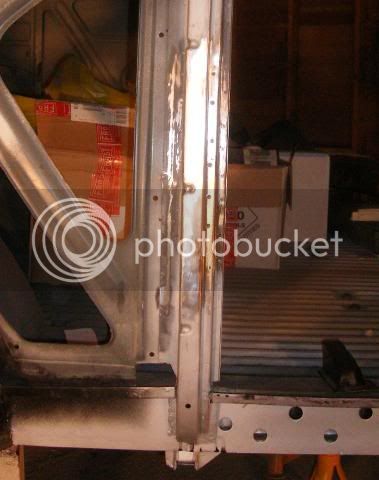
Well that is pretty much exactly what I did :wink:

DSCF2495.jpg


DSCF2497.jpg


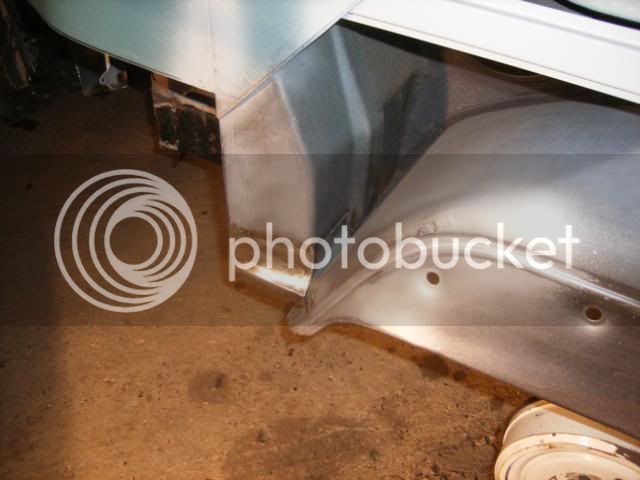
The right hand side needed the same repair too:

DSCF2509.jpg


DSCF2521.jpg


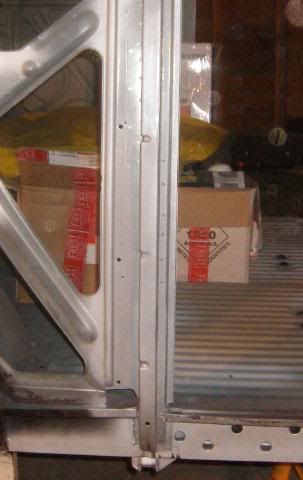
DSCF2524.jpg


DSCF2529.jpg


DSCF2531.jpg


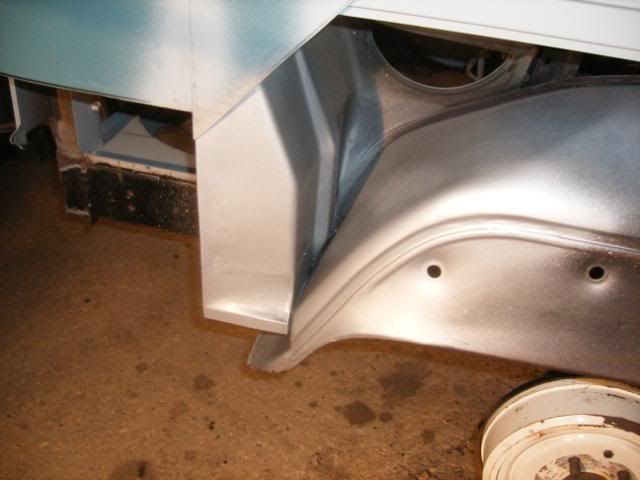
You'll notice I had the idea to add an extra bit of supporting angle iron on this side as I thought some extra support/strength wouldn't do no harm - so I went back and added this to the first side too.

I've since painted and seam-sealed all these welds and the supports to be sure no water can sit in the nooks and crannies!

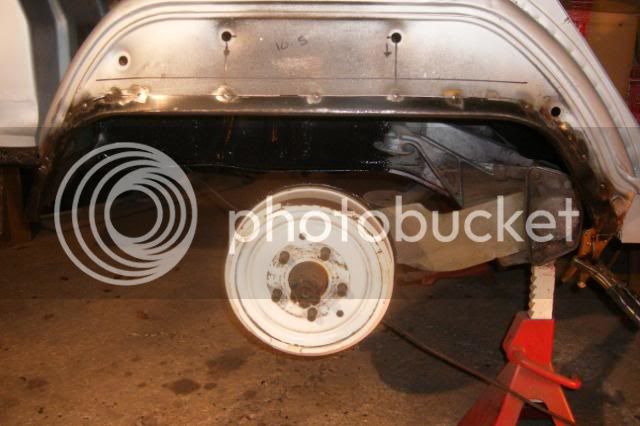
I also did a small repair to the right hand rear inner wheel tub too and have since spent what feels like forever scraping as much of the old under seal off as I can, trying to get the rear underbody cleaned up for some POR15. What a crappy job... hours lying on my back on a cold dusty floor, covered in filth with aching arms, shoulders, neck, back etc etc!!!! :evil:
 
yet another awesome resto tread! top notch work fella and amazing attention to detail. keep at it, its going to be a sweet van when completed and the satisfaction that you did it yourself will make up for the hard work. very inspiring!!!!! 8)
 
Thanks for the previous comments guys :D

Been cleaning and painting the rear underside for the past couple weeks, however today I ran out of paint so decided to take a deeper look into the following discovery I made a few weeks back... so to recap:

Camperdan said:
I've also discovered that now with the fuel tank removed and taking a good look at the inside of the offside rear quarter panel, I can see that the prior repaired accident damage down that side (which I already knew was there but appeared minor from the outside) was in fact pretty damn serious and worst still, had not really been repaired at all but instead it would seem has simply been left beaten in with a sheet of metal then spot-welded over the damage from the outside and fillered over!!! Why? :evil:
So it looks like to do this properly I am gonna have to dig it all out and take a much closer look - maybe, just maybe it will be repairable without the need to replace the complete offside rear quarter panel, however at the moment I suspect not.
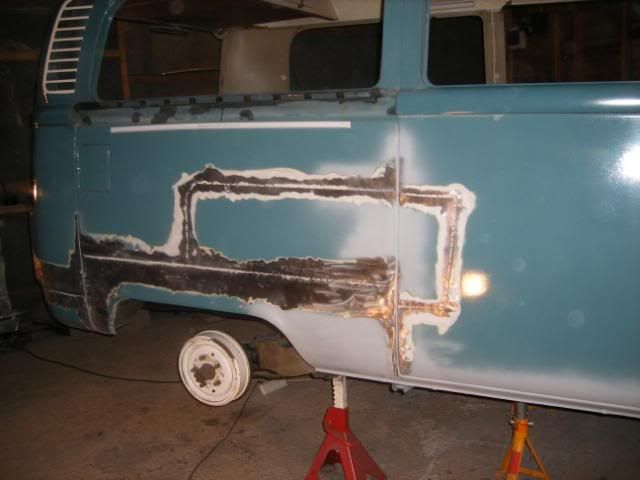
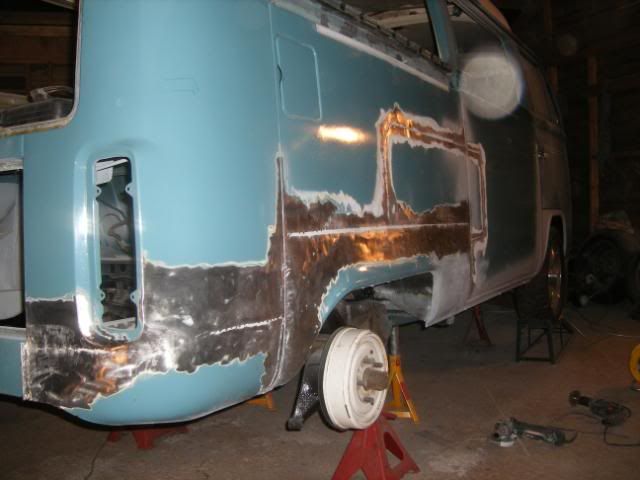
Well, I followed the repair joins and dug out shed loads of filler and then decided to pick off the crappy tack welds for a deeper look..... I'll let the pictures do the talking or I might swear! :shock: :

DSCF2668.jpg


DSCF2670.jpg


DSCF2676.jpg


DSCF2677.jpg


DSCF2678.jpg


So... it seems that the only way forward will be to cut the lot off from the swage line down and graft in the lower sections from the following:

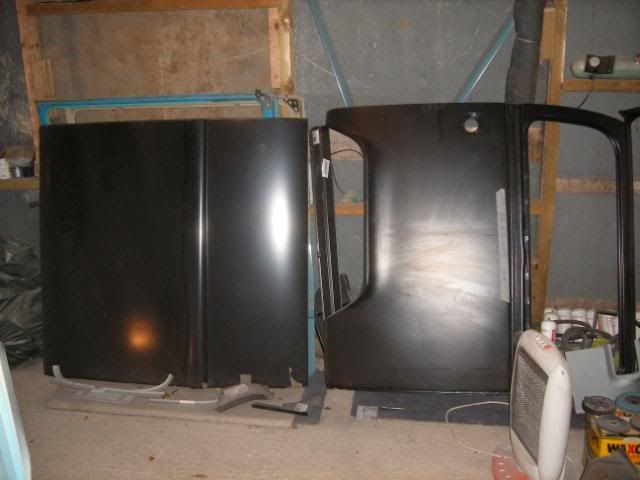
DSCF2682.jpg


However I really don't want to loose my original fuel filler flap (correct for 1972) for the later style filler of the repair panel - so I may need to cut round this somehow? To say that I am a little apprehensive of the repairs ahead would be the understatement of the year so if anyone on here reading this has replaced the rear quarter and middle side panels before - please reply or PM me as I've plenty of questions regarding the best way to go about it?

Cheers! :roll:
 
mate that looks like it would have been more of an effort than cutting the damaged out and repairing properly.

baybus replaced his whole middle panel. he used a LHD repair panel (as they dont make a RHD) and then got a swadge from a RDH donar and grafted it in. i think there is some detail on his gallery thread about it.

its best to get it all sort now so you wont have to worry in the futher about it coming back and biting you - keep it up :)

NaFe
 
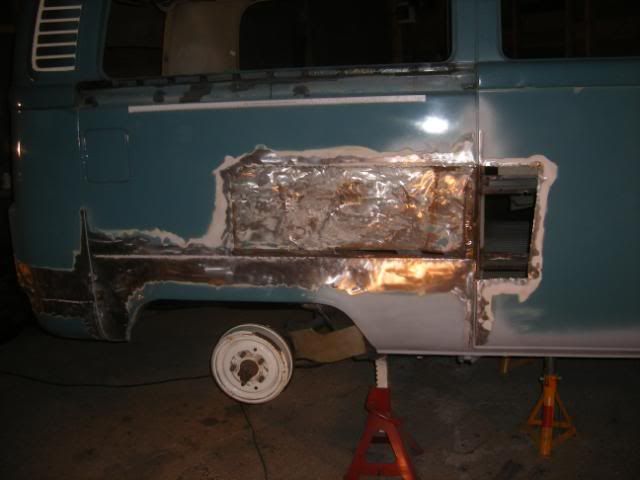
Well, after much thought and dithering, measuring everything I could think of and taking umpteen reference photos..... I cut out the damaged/dented area of the rear quarter:

DSCF2751.jpg


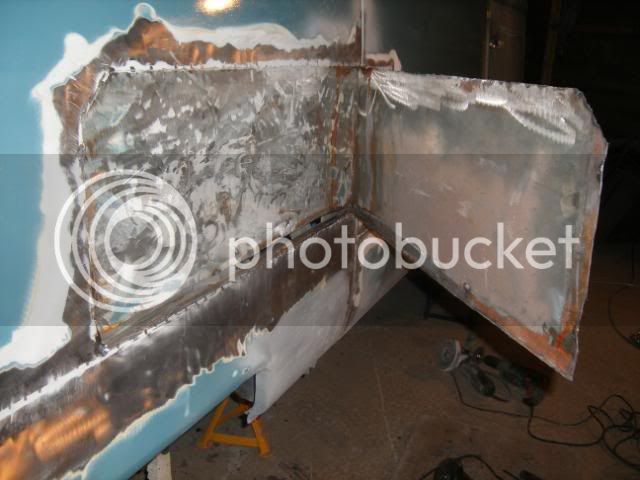
I then set about trying to establish just how damaged the centre panel was too... and discovered that pretty much from the hole down, all along its length was nothing but filler? A few light taps from inside with a hammer revealed:

DSCF2781.jpg


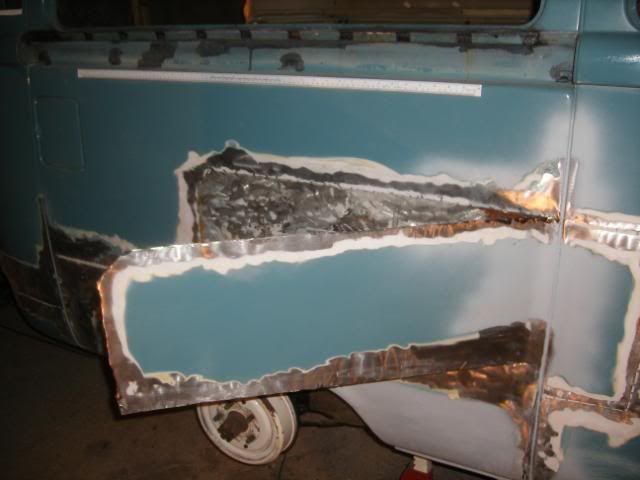
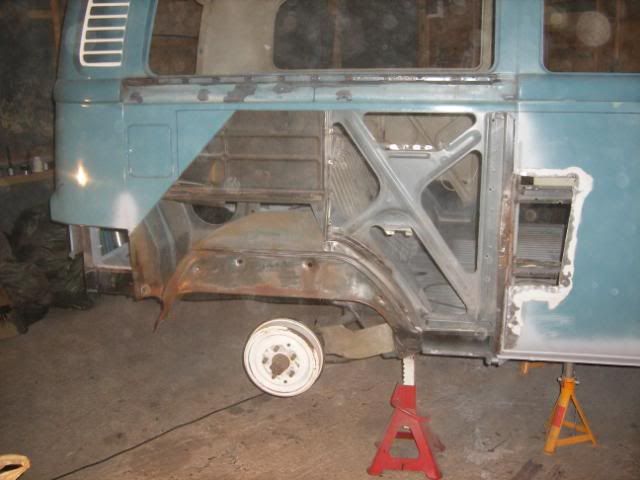
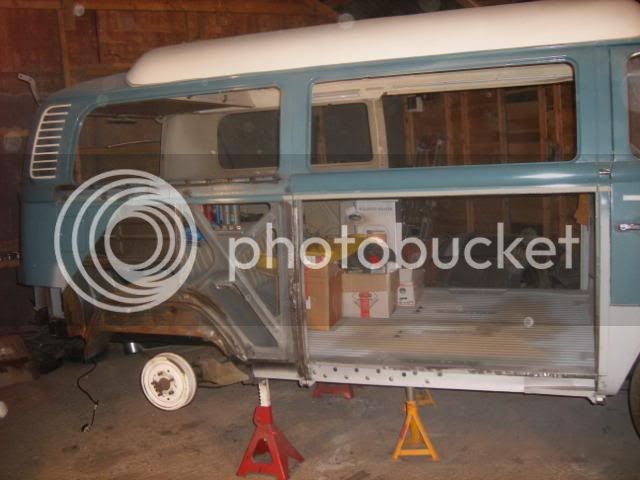
So, considering that I have the full repair panel (although only useable from the swage line down as it's LHD) I decided 'what the hell' and further adopted my new motto of... if in doubt - cut it out! So now I'm left with what currently resembles a twin-slider:

DSCF2805.jpg


It's funny as although the van looks in a real sorry state like this, I feel it looks a whole lot better for having got rid of all that dented and mangled metal?

I've got few minor repairs to make to the C-pillar where that has some damage too and also the rear inner arch... but then I'll have the fun of matching and grafting in the new panels... I'm actually quite looking forward to it!

Just need the weather to warm up though... as currently its f f f f f f freezing in that barn!!! :shock:
 
nice to see the bodges being removed mate. its always a bit scary chopping large sections out but it will look good when you've stitched the new panels on :)
 
Had the day off yesterday... it doesn't look a lot but it took nearly 5 hours just to make the following small repair - however considering it was below freezing in the barn it was a miracle that I could even walk let alone work considering all the layers I had on!!! Of course I had to allow time for star jumps and tea to warm up as well???

Rust and cut-hole from Previous Owners repairs:
DSCF2840.jpg


Home-made fabrication:
DSCF2848.jpg


Repair panel welded in and hole welded up:
DSCF2858.jpg


Primed:
DSCF2860.jpg
 
Managed to get a few hours in one evening this week and repaired the damage to the C post. As well as the obious dent/damage it also had been cut straight down the centre by the PO when the original outer arch was cut off and they had cut too deep... so not only had they covered up loads of damage but they had damaged it even further and then just covered that over too? I welded up the cut and then cut out the damage section and welded in a replacement piece I made:

Before:
DSCF2867.jpg


After:
DSCF2872.jpg


Primer:
DSCF2878.jpg


Looks better now... and should be a lot stronger, just have a small repair to make to the bottom of the post and then jobs a good'n.
 
Small update;

Made a repair to the inner arch lip, only tacked it on for now as I need to be certain it is exactly in the right position before final welding:

DSCF2889.jpg


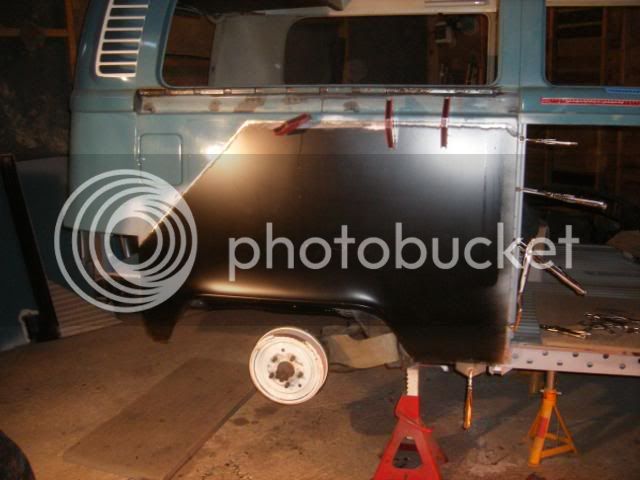
Then after lots of measuring and trimming (so that I could keep the original fuel filler flap correct for 72), I was ready to offer up the cut-down new rear quarter panel for a trial fit:

DSCF2895.jpg


Really pleased with the fit so far, just hope I don't get too much distortion in this panel when finally seam welding it... but that's a little way off yet, as before I weld anything I need to trial fit the rear corner and centre side panel to make absolutely sure everything lines up and fits to each other as VW intended?
 
Mate,

I love your work - great quality and attention about it - look fwd to seeing the progress.

keep it up :wink:
 
Thanks for the comments guys!

I take my time and try my best? I've learnt so much doing this project and can't wait to get it finished and back on the road...... although there is so much more to do? :?
 
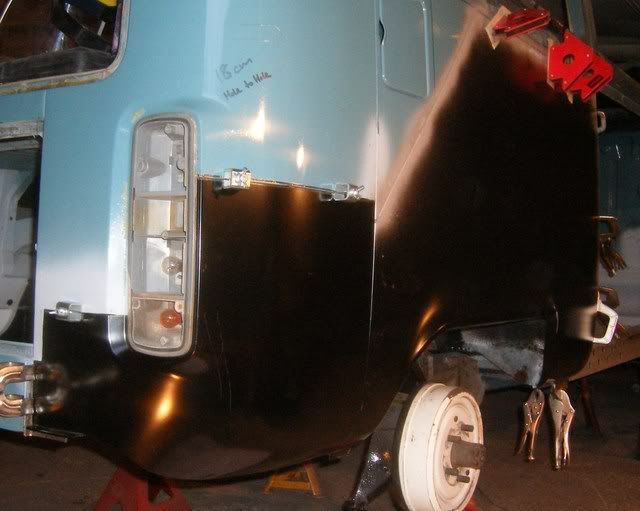
Got the corner all trimmed to size and offered up last weekend:

DSCF2935-Copy.jpg


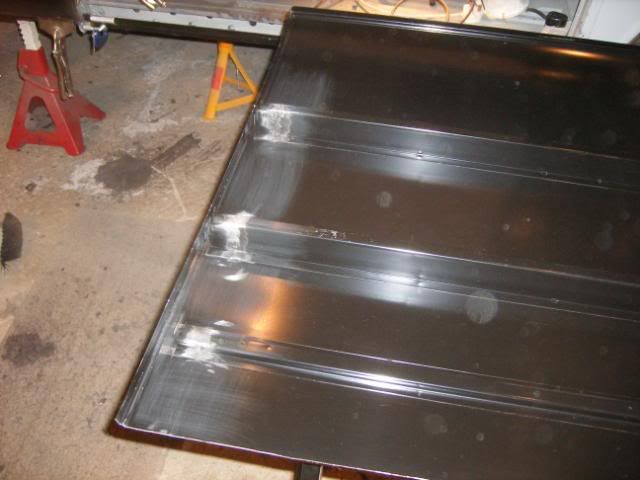
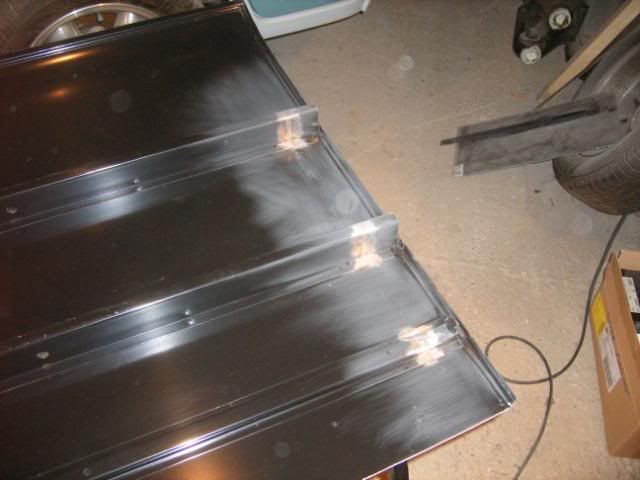
Still not welded anything yet though as want to get the middle side panel trial fitted first too. Spent a couple evenings this week cutting that down to size in preparation and also modifying it from LHD to RHD by cutting and swapping the ends of the strengthening ribs on the inside of the panel:

DSCF2961.jpg


DSCF2960.jpg


Hope to get a few hours in at the weekend and get that finally offered up too.
 

Latest posts

Top