You are using an out of date browser. It may not display this or other websites correctly.
You should upgrade or use an alternative browser.
You should upgrade or use an alternative browser.
Our Camper - Dorothy, 1970 RHD Devon
- Thread starter Whistler
- Start date

Help Support Early Bay Forum:
This site may earn a commission from merchant affiliate
links, including eBay, Amazon, and others.
mattp
Well-known member
Nice progress, Ronnie, excellent work :mrgreen:
A
Anonymous
Guest
will be working on her rear end next time i do like a plump bum :lol: :lol:
- Joined
- Nov 28, 2012
- Messages
- 926
- Reaction score
- 52
- Location
- Herne Bay, Kent
- Year of Your Van(s)
- 1970
- Van Type
- Devon
ronnie12342003 said:will be working on her rear end next time i do like a plump bum :lol: :lol:
:lol:
Can't wait!
- Joined
- Nov 28, 2012
- Messages
- 926
- Reaction score
- 52
- Location
- Herne Bay, Kent
- Year of Your Van(s)
- 1970
- Van Type
- Devon
Just a little update, haven't been doing a great deal the last week or so due to work and just needing a rest.
I filled in the welds and ground them all down. As I needed to get some paint on to stop the rust coming I decided to try my hand at filling :lol:
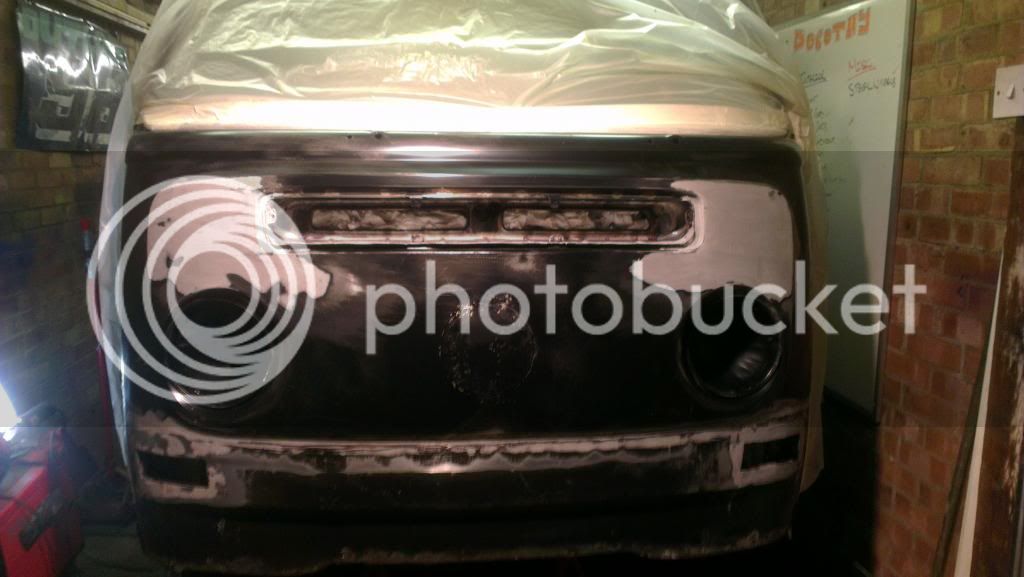
This was after I had done the filling and put some primer on and then skimmed over the parts that I missed.
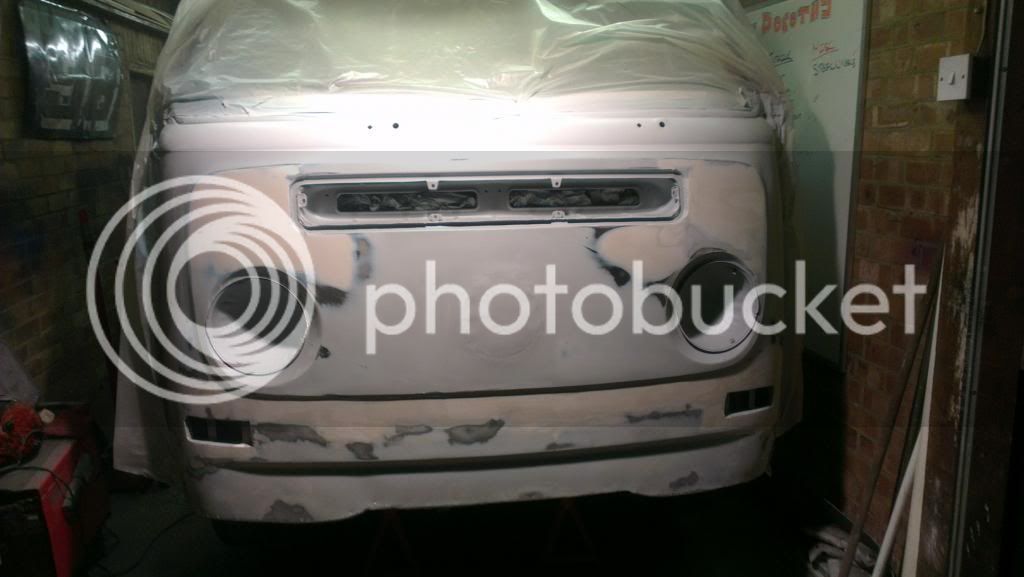
Rubbed down again and another coat of primer. I ran out of one half way through and had to use another I had laying around hence the darker grey towards the left
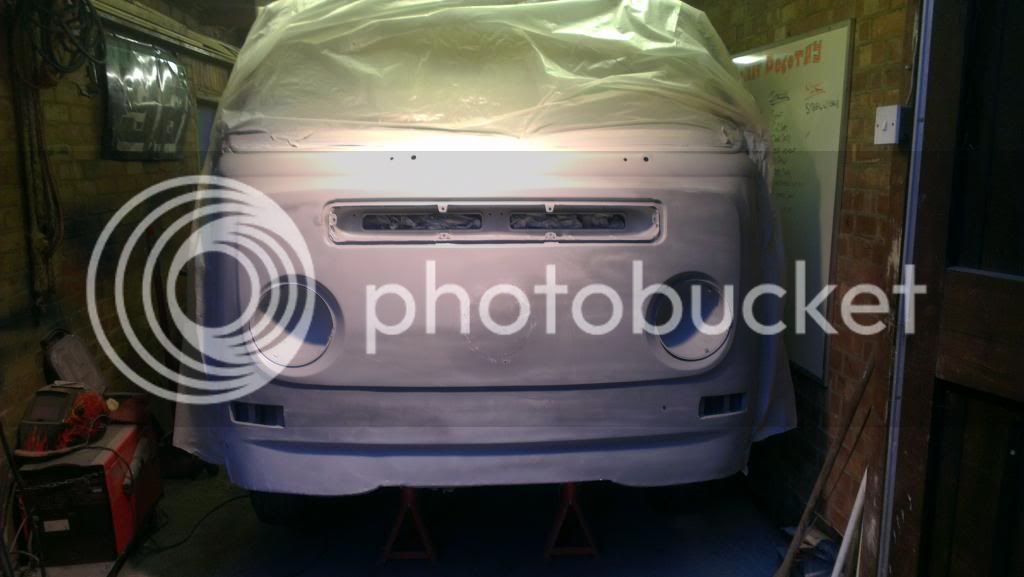
I think this was another coat of primer, it could also have been the actual blue but with crap lighting, can't remember
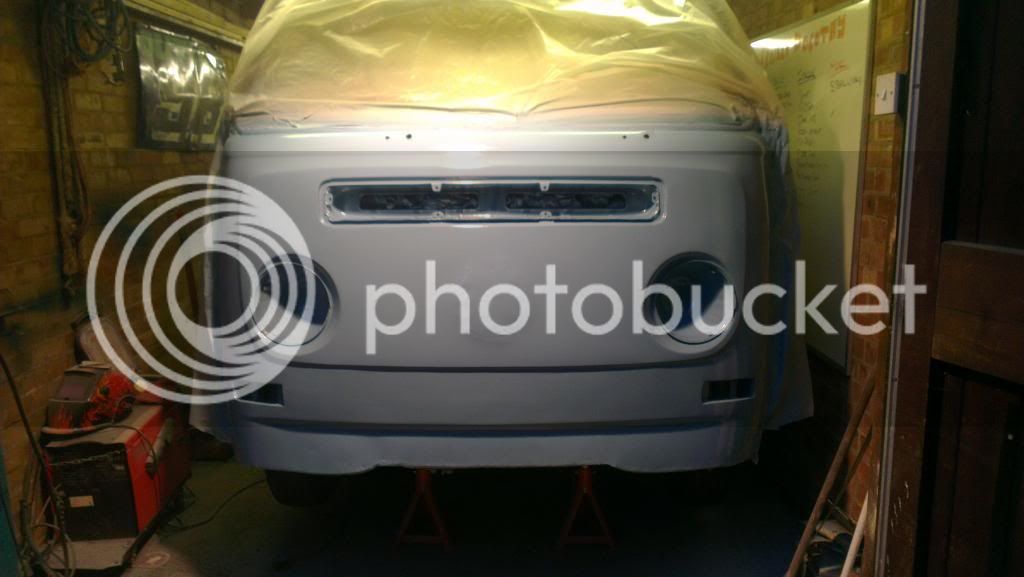
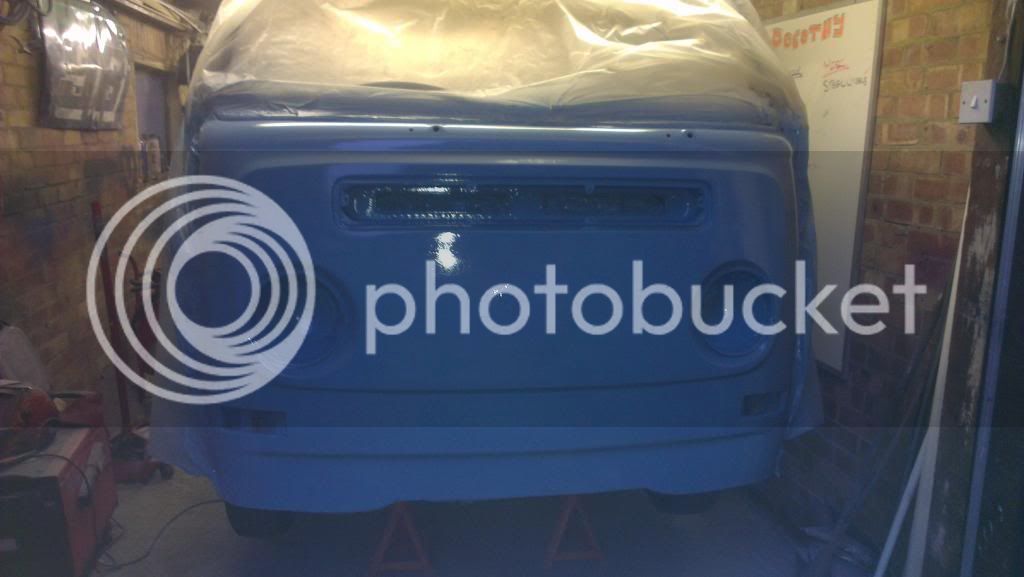
This was dark with no flash, photo's are great at lying haha!
And in daylight. I know the badge is in the wrong place, I just stuck it on with tape to take the picture. I also wanted to save the actual location until it's ready for the final fitment :roll:
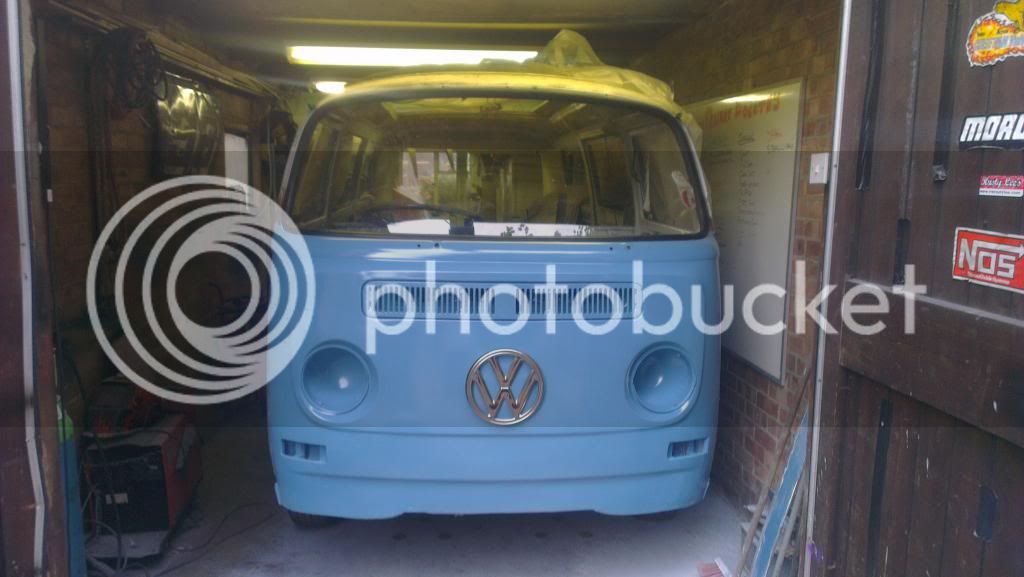
I can see loads of bits that needed doing again but as this is all coming off to be painted professionally I decided that was enough. By the way, this is not the colour we are going for, this was just the can that a local paint supplier created based on colour matching a panel I gave them.
**Every time I see this photo it makes me smile! Who knows when it last looked like an earlybay!***
I filled in the welds and ground them all down. As I needed to get some paint on to stop the rust coming I decided to try my hand at filling :lol:

This was after I had done the filling and put some primer on and then skimmed over the parts that I missed.

Rubbed down again and another coat of primer. I ran out of one half way through and had to use another I had laying around hence the darker grey towards the left

I think this was another coat of primer, it could also have been the actual blue but with crap lighting, can't remember

This was dark with no flash, photo's are great at lying haha!

And in daylight. I know the badge is in the wrong place, I just stuck it on with tape to take the picture. I also wanted to save the actual location until it's ready for the final fitment :roll:

I can see loads of bits that needed doing again but as this is all coming off to be painted professionally I decided that was enough. By the way, this is not the colour we are going for, this was just the can that a local paint supplier created based on colour matching a panel I gave them.
**Every time I see this photo it makes me smile! Who knows when it last looked like an earlybay!***

$58.00
$69.99
Revell 07674 VW T1 Camper 1:24 Scale Unbuilt/Unpainted Plastic Model Kit
ChoiceToysUS

$46.69
Billet Window Crank, for All Years VW Beetle, Pair, Compatible with Dune Buggy
✅ Dune Buggy Warehouse

$9.94
$10.95
Empi 00-4428-B VW Bug, Beetle, Sun Visor Clips, Type 1, 68-79, Black, Pair
MOORE PARTS SOURCE

$32.04
Airfix Quickbuild Volkswagen Light Blue Camper Van Brick Building Model Kit, Multicolor
Amazon Global Store UK

$9.37
Empi 4429 Ivory Sun Visor Clips for Vw Bug 1965-1967/ Vw Bus 1968-1979, Pair
MOORE PARTS SOURCE

$7.91
$15.33
Door Panel Clips, for VW Aircooled Door Panels, 50 Pieces, Compatible with Dune Buggy
Appletree Automotive

$10.00
Volkswagen Genuine VW Driver Gear VW Logo Specifications T-Shirt Tee - X-Large - Black
wolframitersqga
- Joined
- Nov 28, 2012
- Messages
- 926
- Reaction score
- 52
- Location
- Herne Bay, Kent
- Year of Your Van(s)
- 1970
- Van Type
- Devon
gninnam said:Looking good dude 8)
Thanks! And the cool thing is, that it's only going to get better, as I won't be doing it next time haha
- Joined
- Nov 28, 2012
- Messages
- 926
- Reaction score
- 52
- Location
- Herne Bay, Kent
- Year of Your Van(s)
- 1970
- Van Type
- Devon
NickJ said:Hey nice work, I bet it's given you a real lift to look at that front panel 8) :mrgreen:
Yeah, it was a massive lift once she was finally an early bay again! And for it to just be clean really :lol:
- Joined
- Nov 28, 2012
- Messages
- 926
- Reaction score
- 52
- Location
- Herne Bay, Kent
- Year of Your Van(s)
- 1970
- Van Type
- Devon
So Super Ronnie came back round today. I was a little gutted as we had to rip out some of the work that I did, which sucked, not only because it's £££ we've wasted, but also my time as well! And something I created was destroyed. However, the end result was very much worth it.
After cutting a lot out, the bus ended up like this
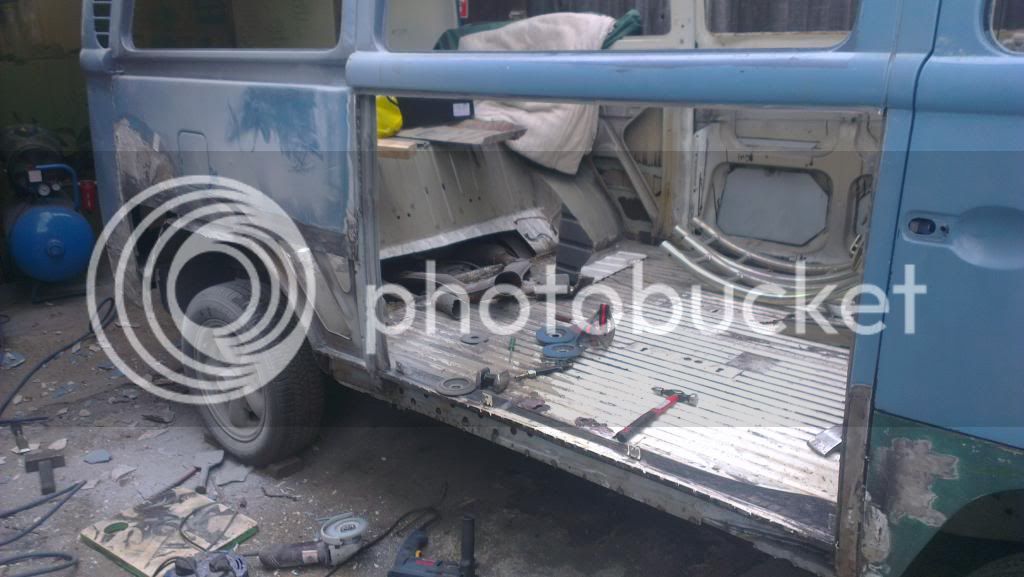
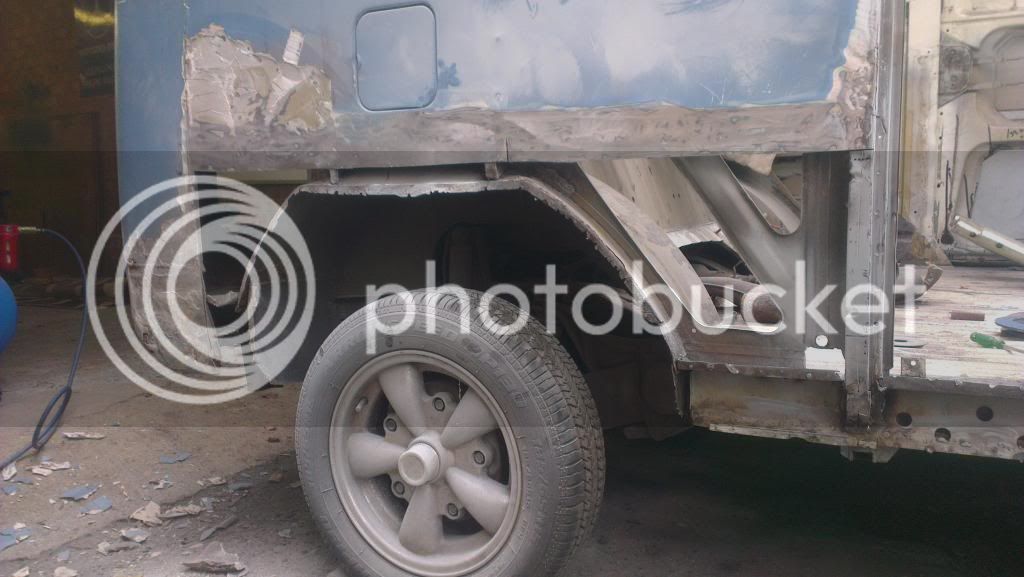
That was the centre panel to the belt line gone...the rear wheel arch gone...the rear closing panel and the forward closing panel gone...the rear battery tray gone...looks like the bottom of the corner is gone...also the struts across the centre panel removed.
Needless to say there was A LOT of filler...I think we may have actually removed it all now. It looks that from the whack she had they've not bothered with trying to beat it out or even repair it. Just load up the filler...
The return lip on the inner arch was knackered as well, so Ronnie put a lip back on so we could attach the outer arch.
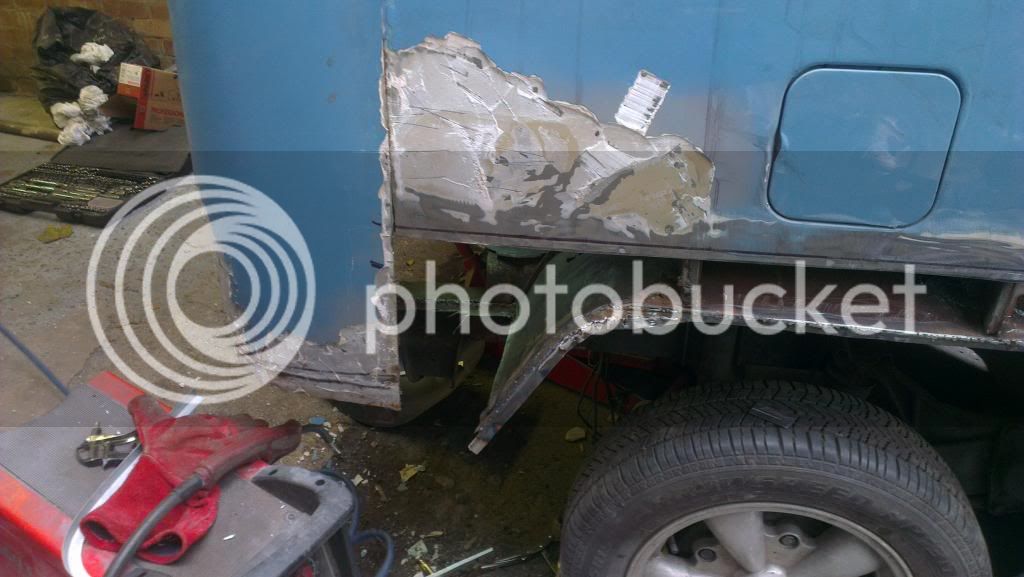
This is the corner that was a repair at some point before. I believe that Ronnie didn't do anything to this, this is exactly like it was on the bus! Just covered in filler.
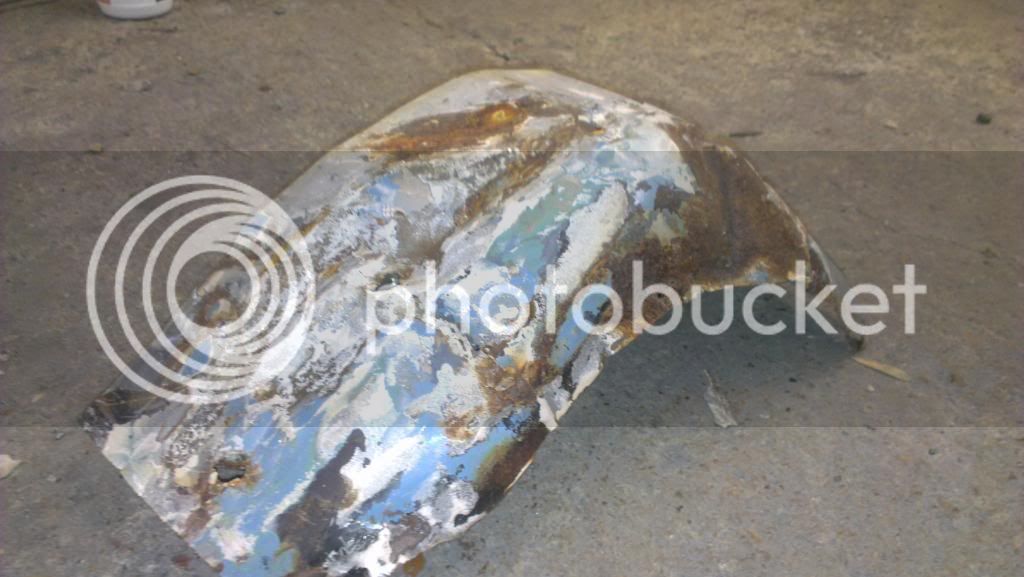
The wheel arch ready to weld up, a return lip and the rear corner clamped in.
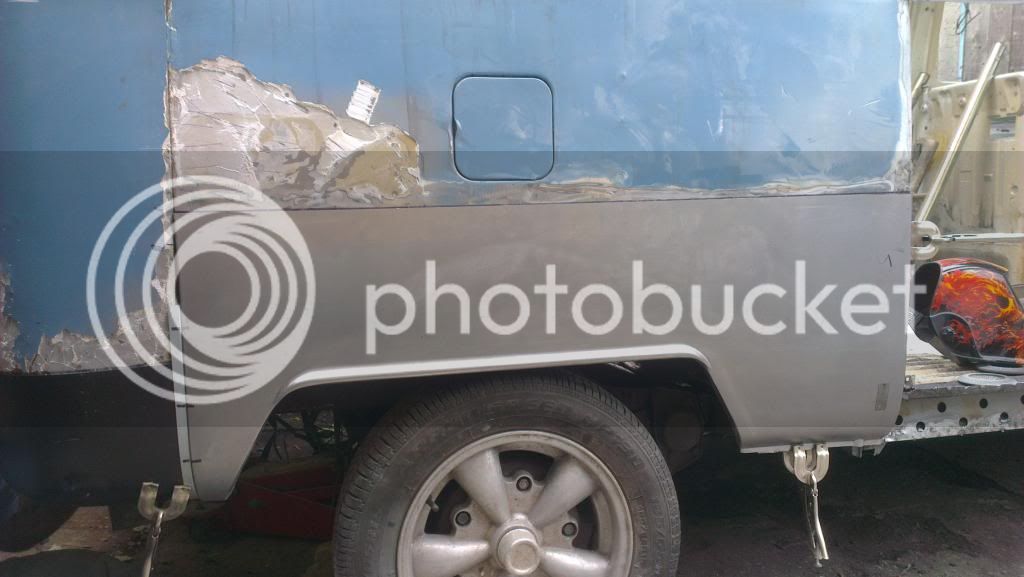
The wheel arch went in, Ronnie did a lot of tidying up around the B and C posts for the centre panel. It was cut just under the belt line. And an outer sill attached to the bottom. Plugged through the bottom lip of the centre panel and the top of the outer sill. It has a nice line running a long the side now. Unfortunately I don't seem to have any pictures of that bit for some reason. So here it is all done.
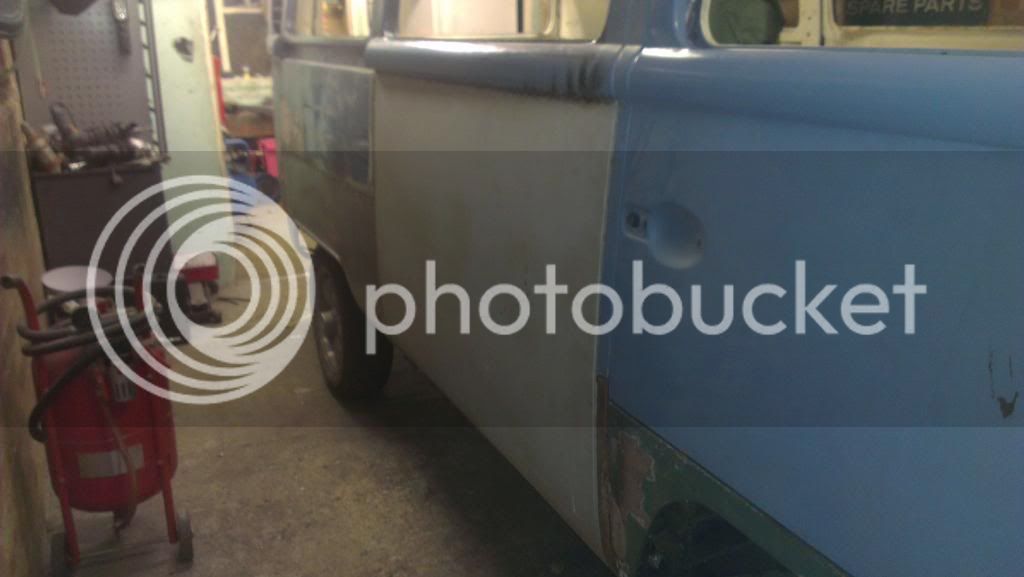
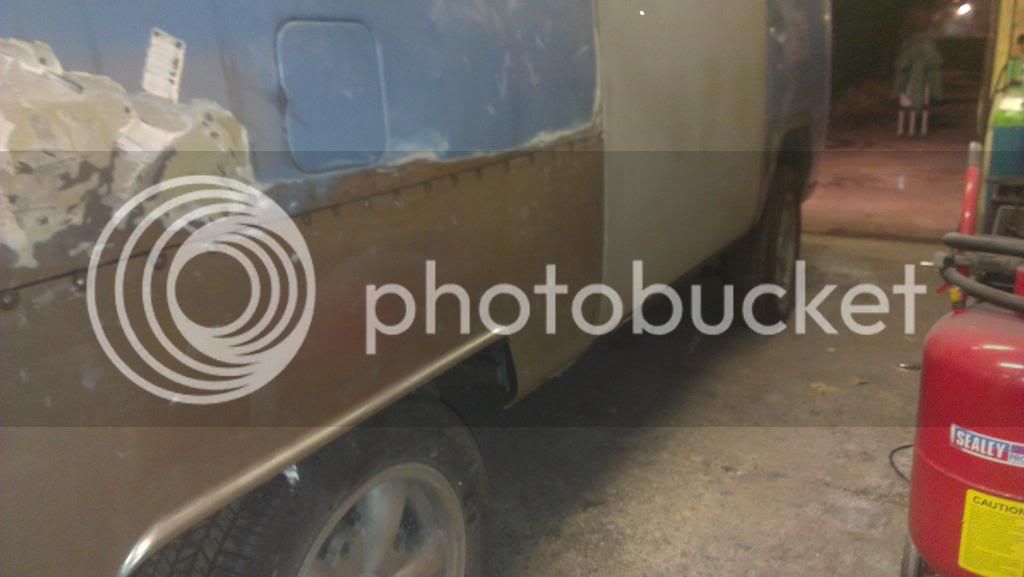
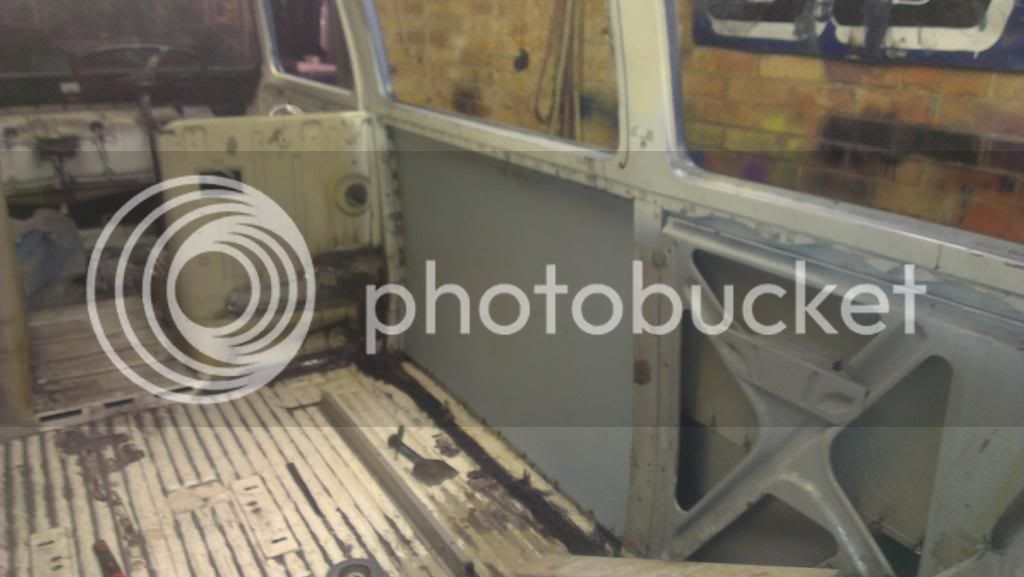
We were unable to fit the struts back in today as the paint was still drying. And at that point I think Ronnie had worked enough for me to send him home
Just the outer b-post to stick back in as my one was wonky and then the closing panels and corner to do and that's that side a LOT better 8)
And the rear corner as it sits at the moment.
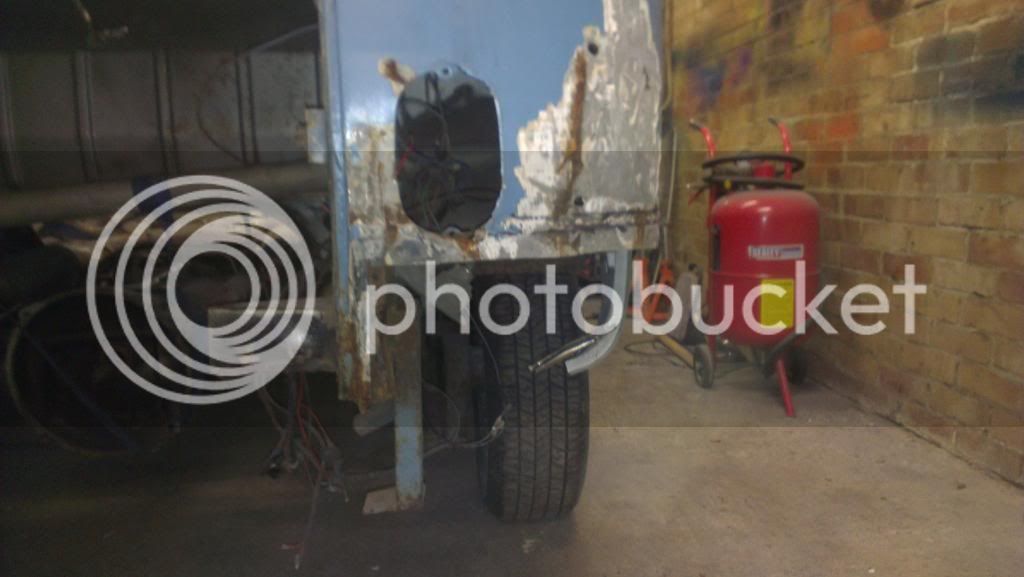
Thanks again Ronnie, another very successful day!
After cutting a lot out, the bus ended up like this


That was the centre panel to the belt line gone...the rear wheel arch gone...the rear closing panel and the forward closing panel gone...the rear battery tray gone...looks like the bottom of the corner is gone...also the struts across the centre panel removed.
Needless to say there was A LOT of filler...I think we may have actually removed it all now. It looks that from the whack she had they've not bothered with trying to beat it out or even repair it. Just load up the filler...
The return lip on the inner arch was knackered as well, so Ronnie put a lip back on so we could attach the outer arch.

This is the corner that was a repair at some point before. I believe that Ronnie didn't do anything to this, this is exactly like it was on the bus! Just covered in filler.

The wheel arch ready to weld up, a return lip and the rear corner clamped in.

The wheel arch went in, Ronnie did a lot of tidying up around the B and C posts for the centre panel. It was cut just under the belt line. And an outer sill attached to the bottom. Plugged through the bottom lip of the centre panel and the top of the outer sill. It has a nice line running a long the side now. Unfortunately I don't seem to have any pictures of that bit for some reason. So here it is all done.


We were unable to fit the struts back in today as the paint was still drying. And at that point I think Ronnie had worked enough for me to send him home
Just the outer b-post to stick back in as my one was wonky and then the closing panels and corner to do and that's that side a LOT better 8)
And the rear corner as it sits at the moment.

Thanks again Ronnie, another very successful day!
68_early_bay
Well-known member
Nice work 8)
- Joined
- Nov 28, 2012
- Messages
- 926
- Reaction score
- 52
- Location
- Herne Bay, Kent
- Year of Your Van(s)
- 1970
- Van Type
- Devon
Thanks all. I am really glad Ronnie offered the help, we initially went with the idea that it doesn't really matter about what I was doing as someone was always going to prep and paint it professionally (although I do think my first try at the front panel turned out pretty bloody well!) But we have changed our minds now, and given the choice this is the way to go. Even just for the things that I've learnt whilst assisting.
- Joined
- Nov 28, 2012
- Messages
- 926
- Reaction score
- 52
- Location
- Herne Bay, Kent
- Year of Your Van(s)
- 1970
- Van Type
- Devon
Next up I had to take all the paint and filler off the rear panel and the corner so we could see the line we need to work to.
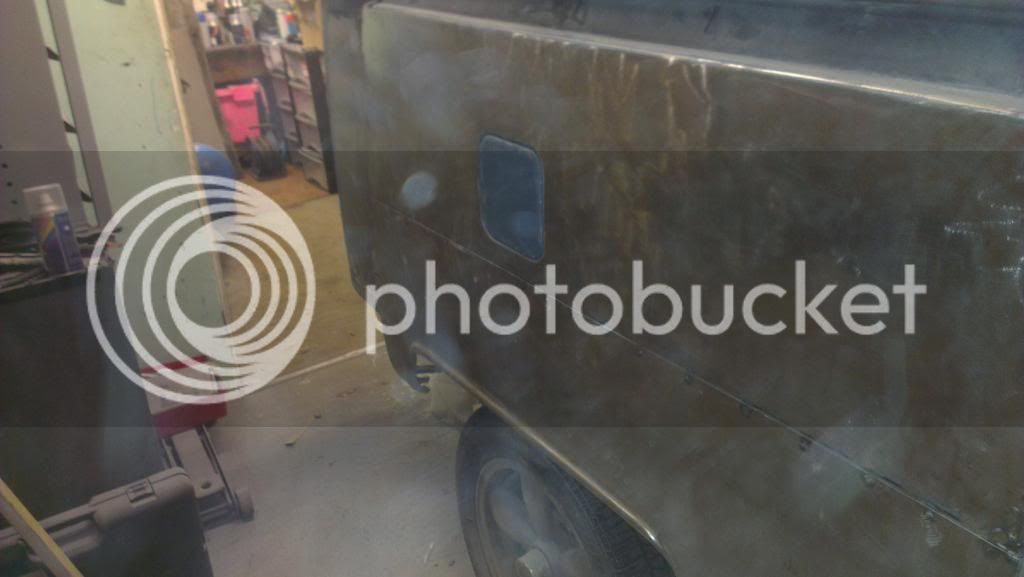
There was some rear chassis work that needed doing due to it splitting and being bent due to the accident. Ronnie made that part good, also welding the nut back in for the rear bumper which was a pretty smart idea. He also used a spare inner B-Post repair I had to fabricate the D (?) post and give it the strength back it needed.
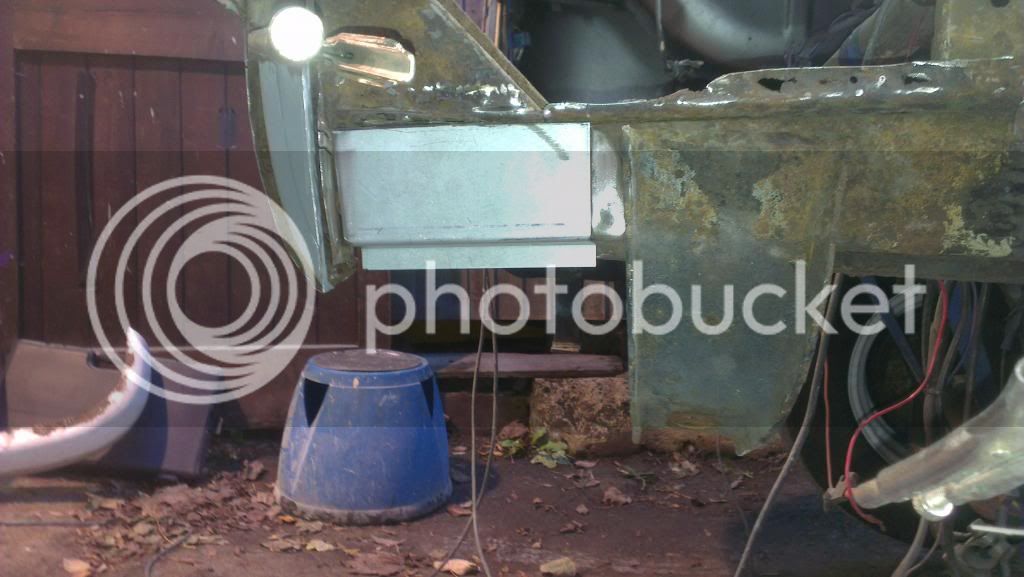
Next up was the corner, Dorris' light repair panel, the rear closing panel and battery tray. When I ordered the battery tray and corners they were the crap corners and the best quality trays. The corners we well off!! Shame that we cannot afford the corners Autocraft are now doing. And now, some weeks later I sort of regret not buying one. But by buying one (the other side is fine as far as I am aware), I would have had to buy the other...£650 is just too much to fork out. But I am confident, that even with **** panels Ronnie will be able to get it spot on.
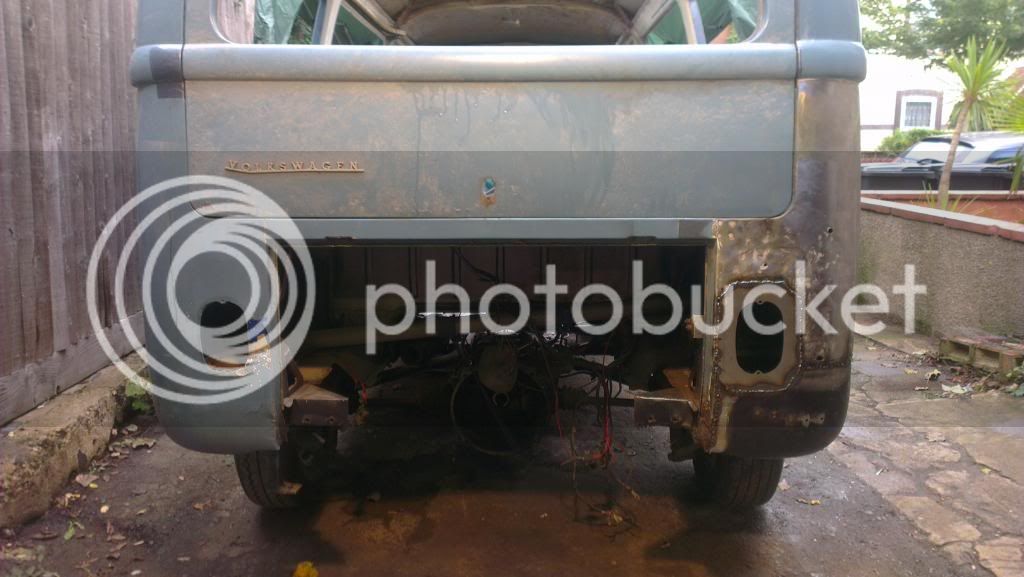
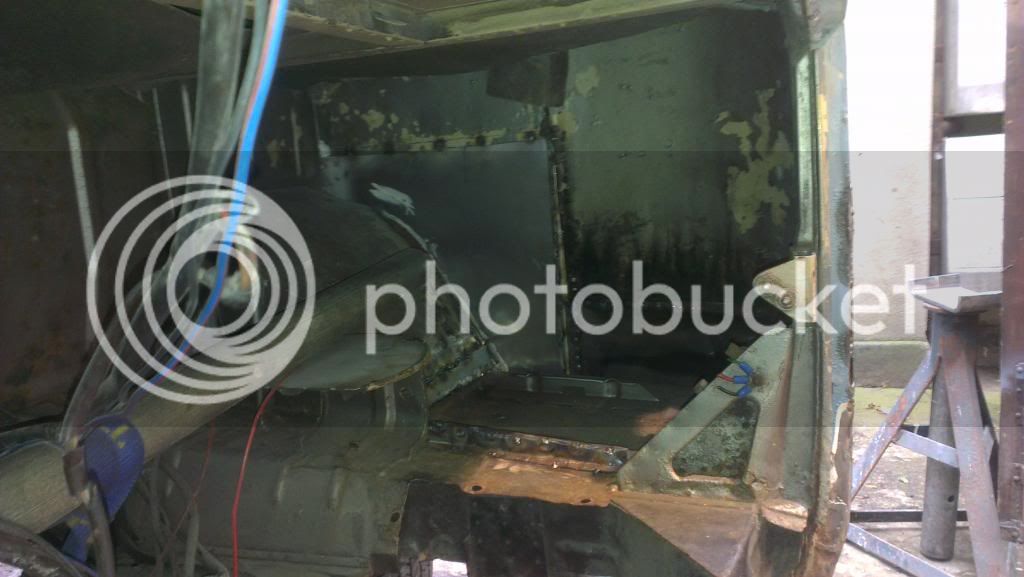
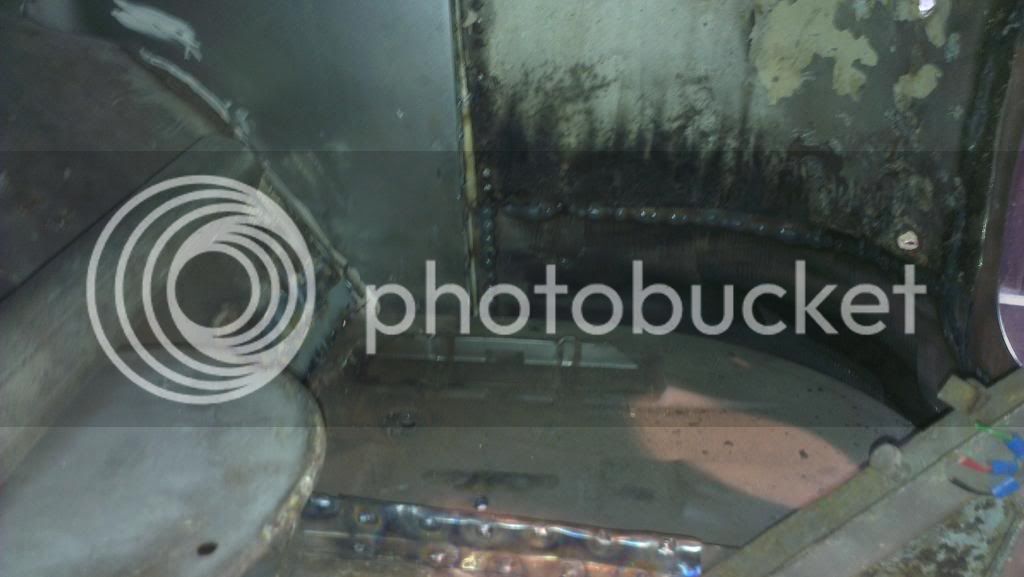
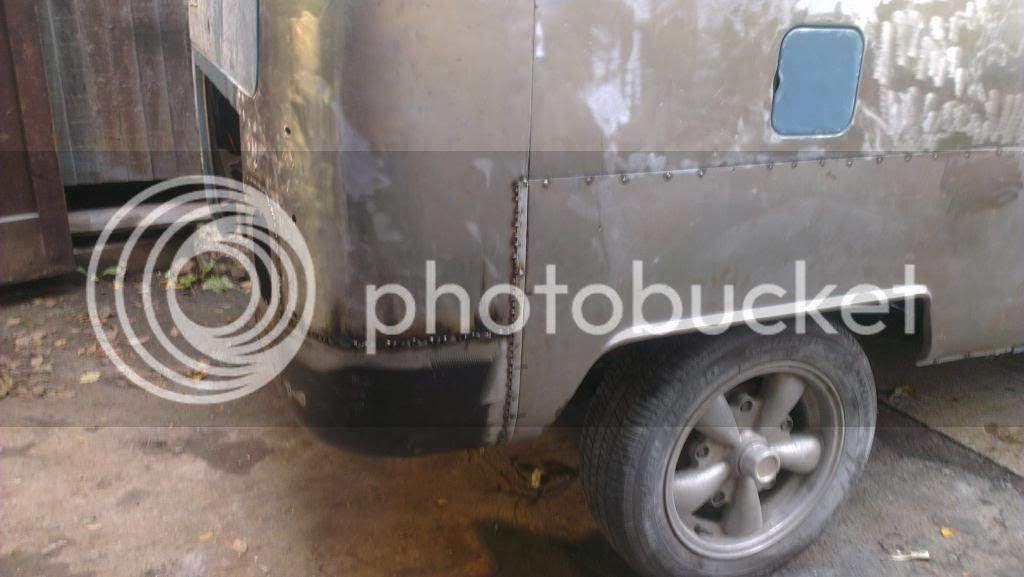
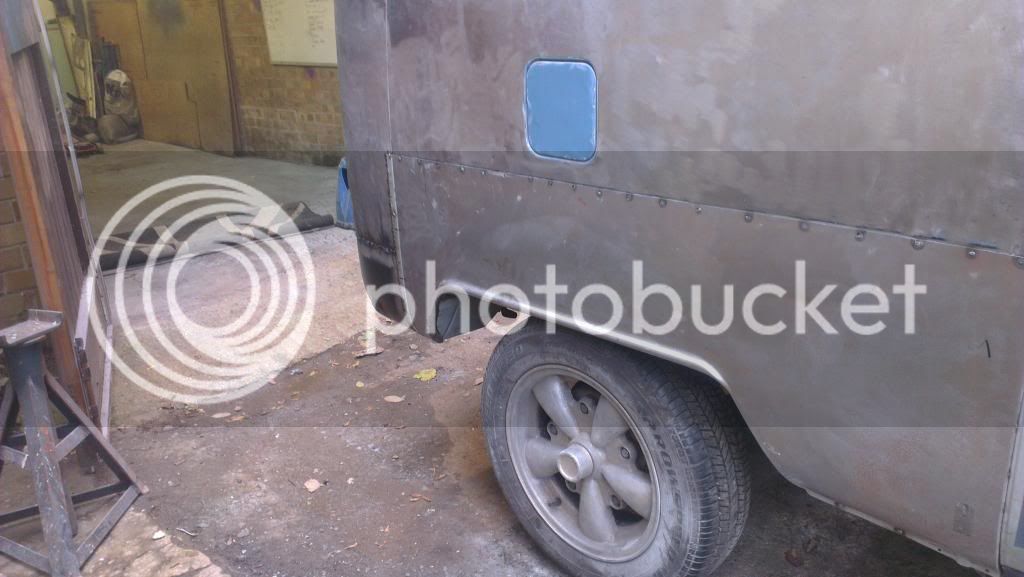
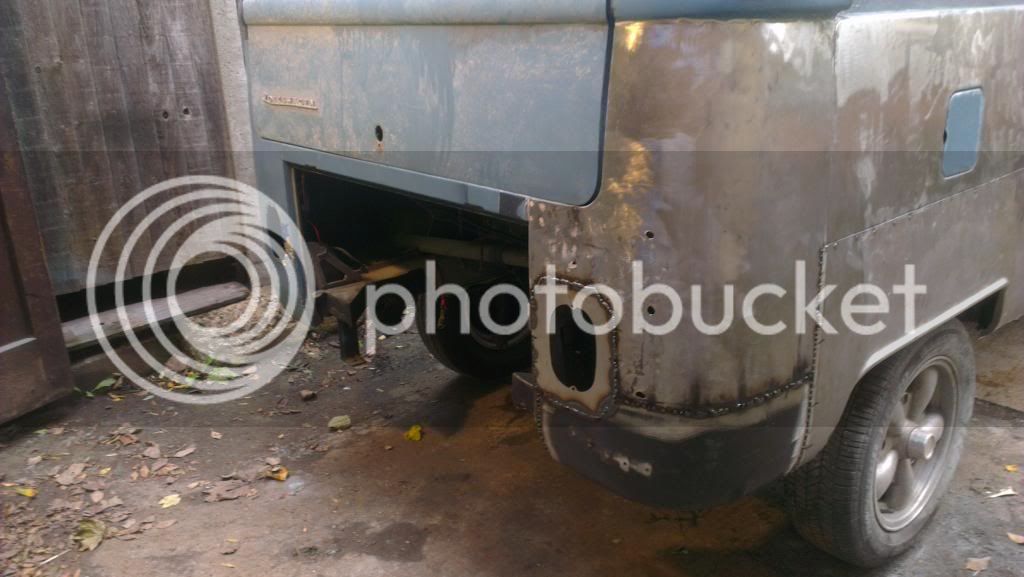
Next up was for me to clean up the welds, and fill in any bits that needed doing. So that I did!
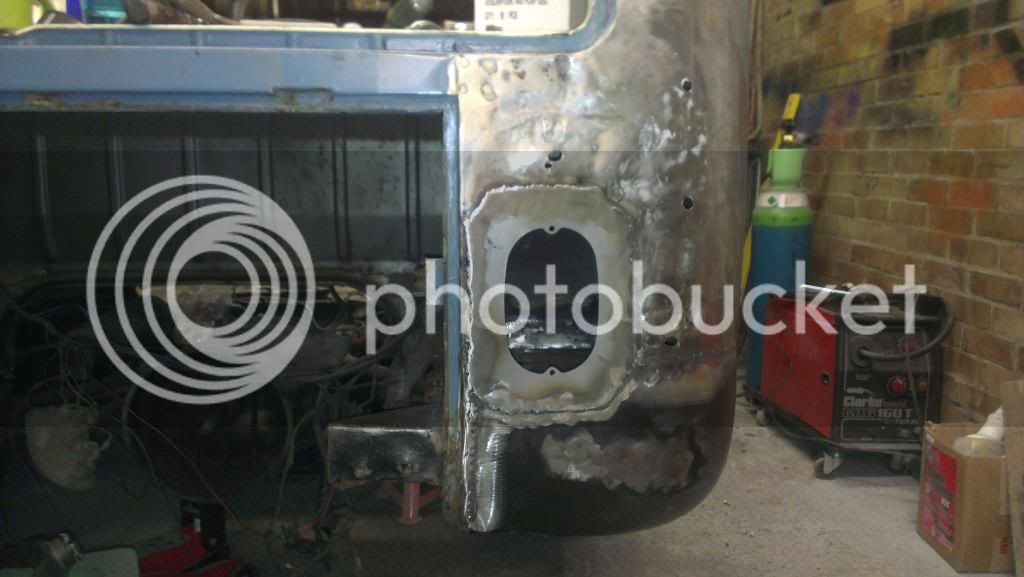
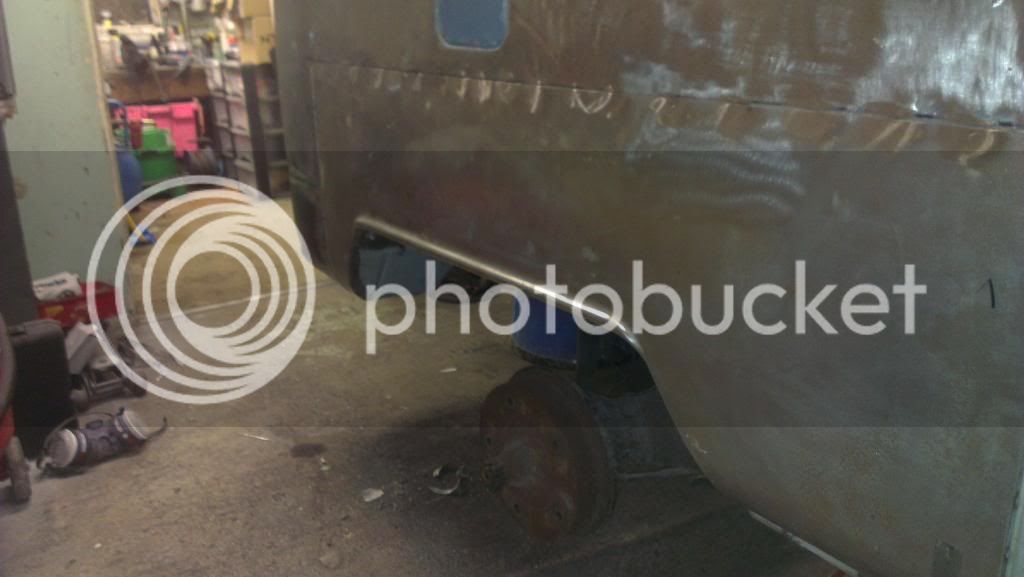
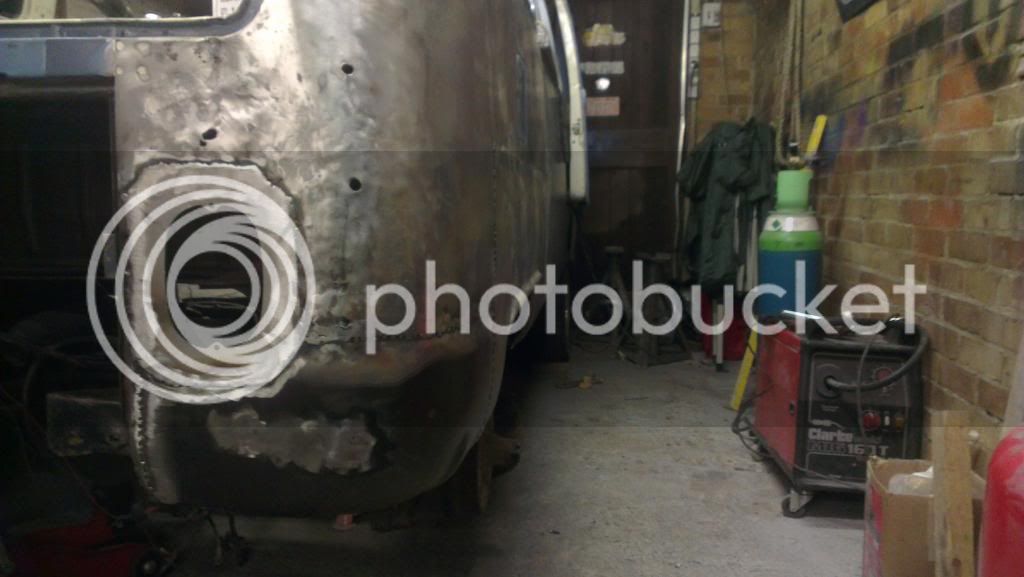
Because the corner was so far away from the battery tray I had to cut a couple inches off another tray (thanks Neilswheels !) and fill the gap as it were. I also had to to a tiny amount of patching to the rear closing panel.
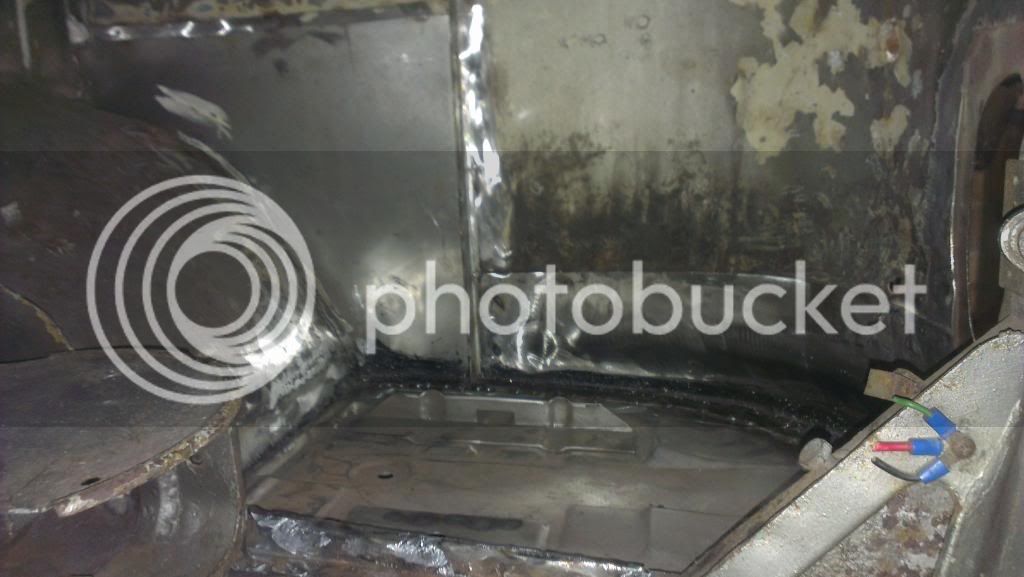
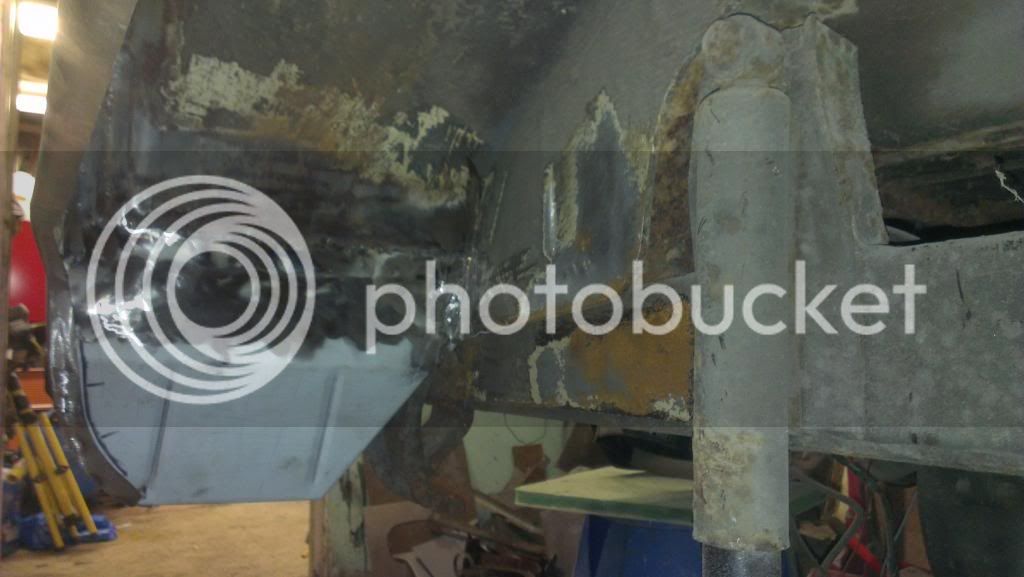
Next up is the other side. Hopefully that side is fine and it will just be a case of cutting out and replacing so shouldn't be anywhere near as fiddly and time consuming as the drivers side.
That's the rear corner, light panel, tray, and arch skin. Then apart from the sliding door panel that needs finishing we are about there for all the welding WOOOOHOOOOO!!!! arty0041:
Hopefully painting the underside and and inside floor will be next on the list either this weekend or next. Then let the prep for paint work begin!!

There was some rear chassis work that needed doing due to it splitting and being bent due to the accident. Ronnie made that part good, also welding the nut back in for the rear bumper which was a pretty smart idea. He also used a spare inner B-Post repair I had to fabricate the D (?) post and give it the strength back it needed.

Next up was the corner, Dorris' light repair panel, the rear closing panel and battery tray. When I ordered the battery tray and corners they were the crap corners and the best quality trays. The corners we well off!! Shame that we cannot afford the corners Autocraft are now doing. And now, some weeks later I sort of regret not buying one. But by buying one (the other side is fine as far as I am aware), I would have had to buy the other...£650 is just too much to fork out. But I am confident, that even with **** panels Ronnie will be able to get it spot on.


Next up was for me to clean up the welds, and fill in any bits that needed doing. So that I did!


Because the corner was so far away from the battery tray I had to cut a couple inches off another tray (thanks Neilswheels


Next up is the other side. Hopefully that side is fine and it will just be a case of cutting out and replacing so shouldn't be anywhere near as fiddly and time consuming as the drivers side.
That's the rear corner, light panel, tray, and arch skin. Then apart from the sliding door panel that needs finishing we are about there for all the welding WOOOOHOOOOO!!!!
Hopefully painting the underside and and inside floor will be next on the list either this weekend or next. Then let the prep for paint work begin!!
68_early_bay
Well-known member
Real nice progress :lol: nice work 
- Joined
- Nov 28, 2012
- Messages
- 926
- Reaction score
- 52
- Location
- Herne Bay, Kent
- Year of Your Van(s)
- 1970
- Van Type
- Devon
Thanks guys, whilst I may have learnt a lot we wouldn't be anywhere near this position if it wasn't for Ronnie, Matt and all you on the forums! So a massive thanks to you all!
- Joined
- Nov 28, 2012
- Messages
- 926
- Reaction score
- 52
- Location
- Herne Bay, Kent
- Year of Your Van(s)
- 1970
- Van Type
- Devon
Next on the list was a repeat to the other side!
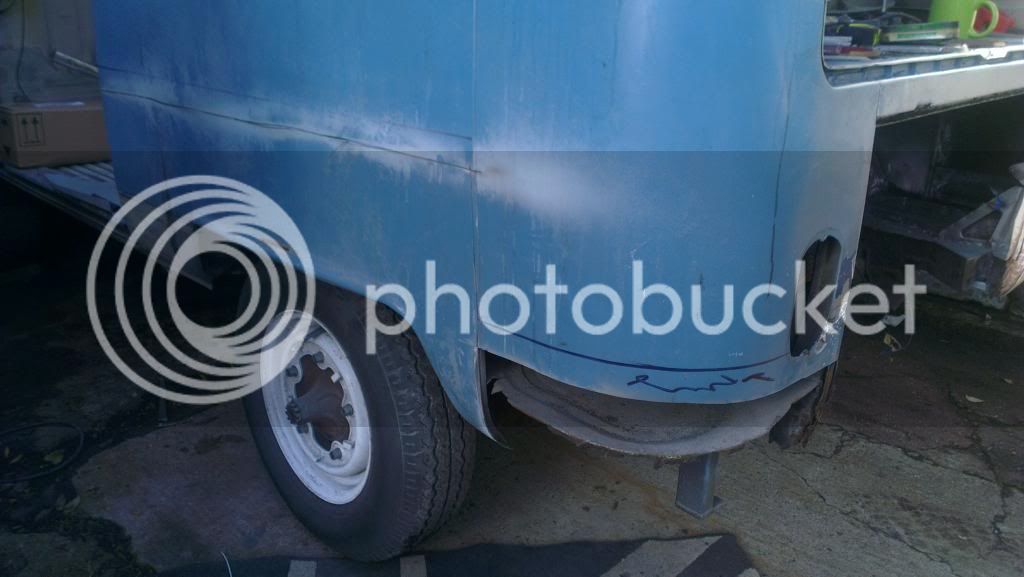
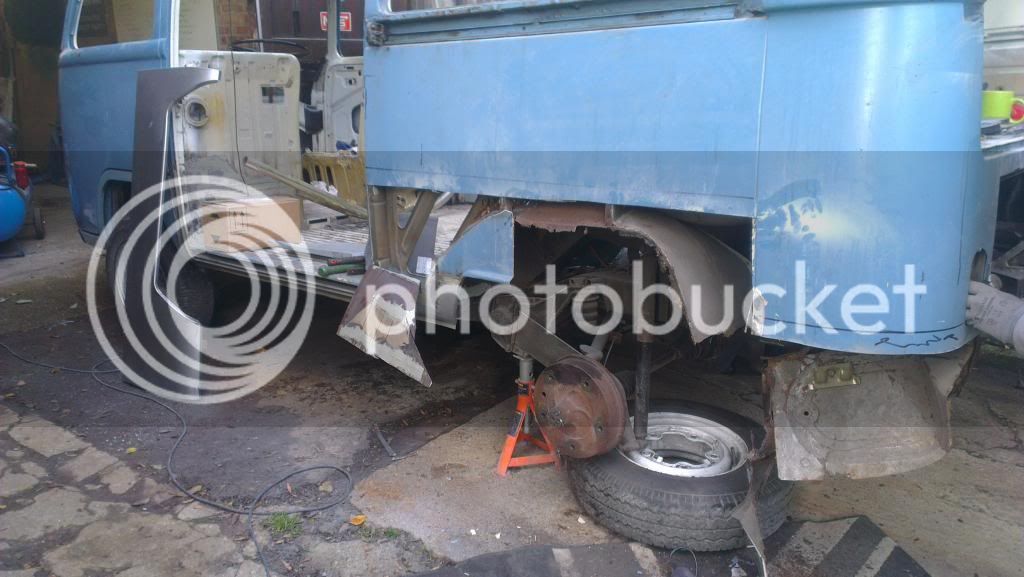
I had to pop out at this point, left my phone in the car. So fast forward a few hours and...
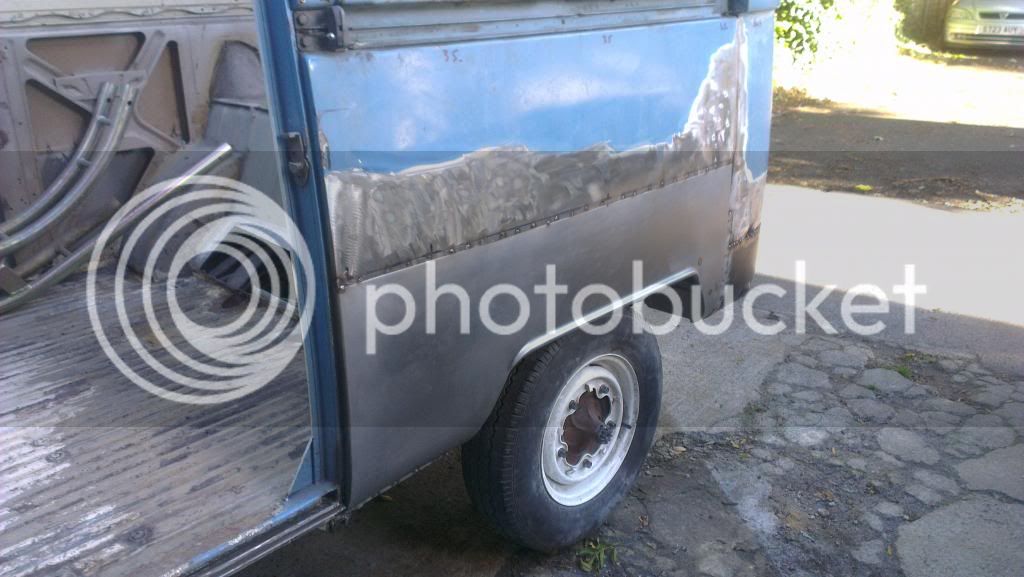
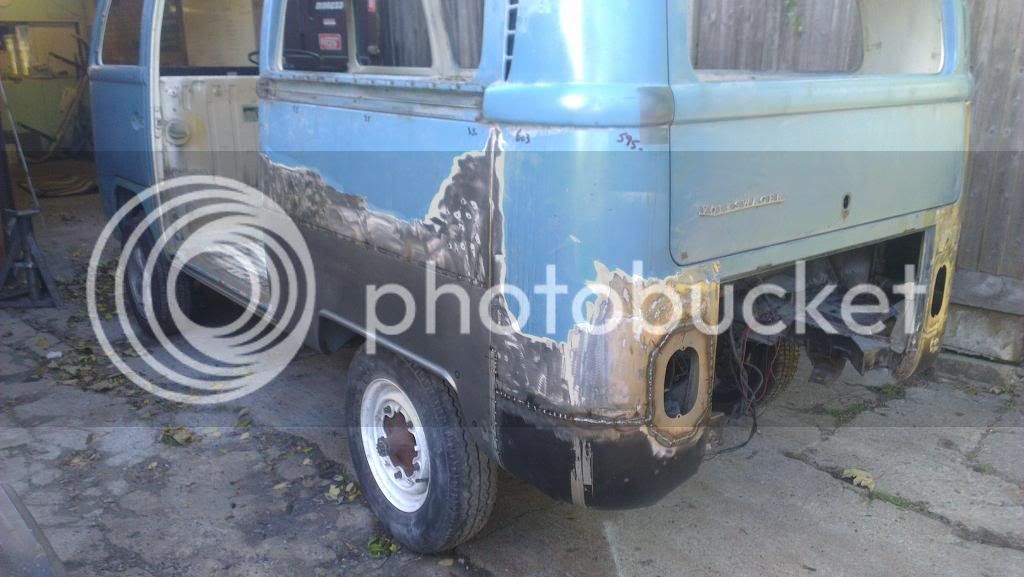
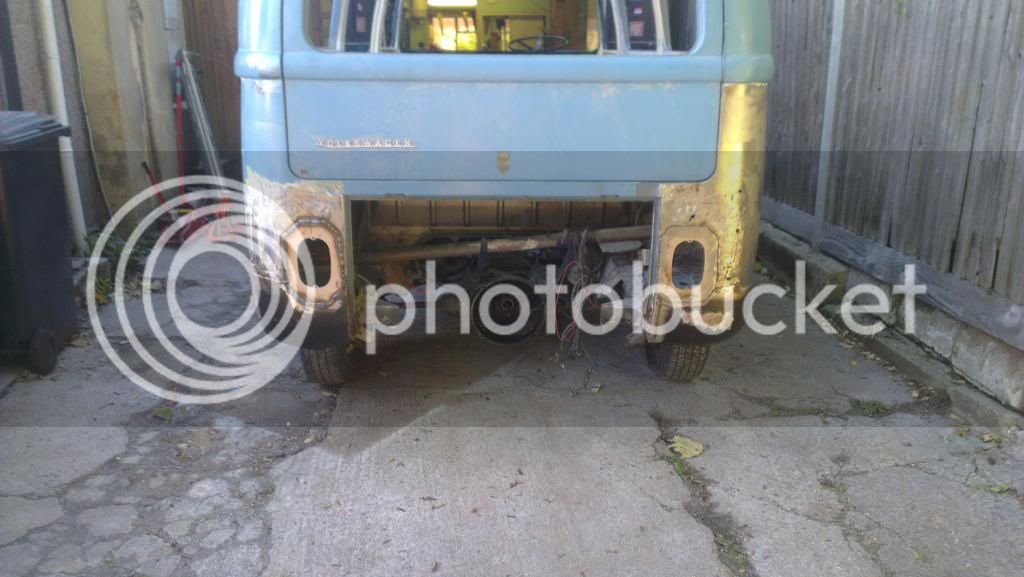
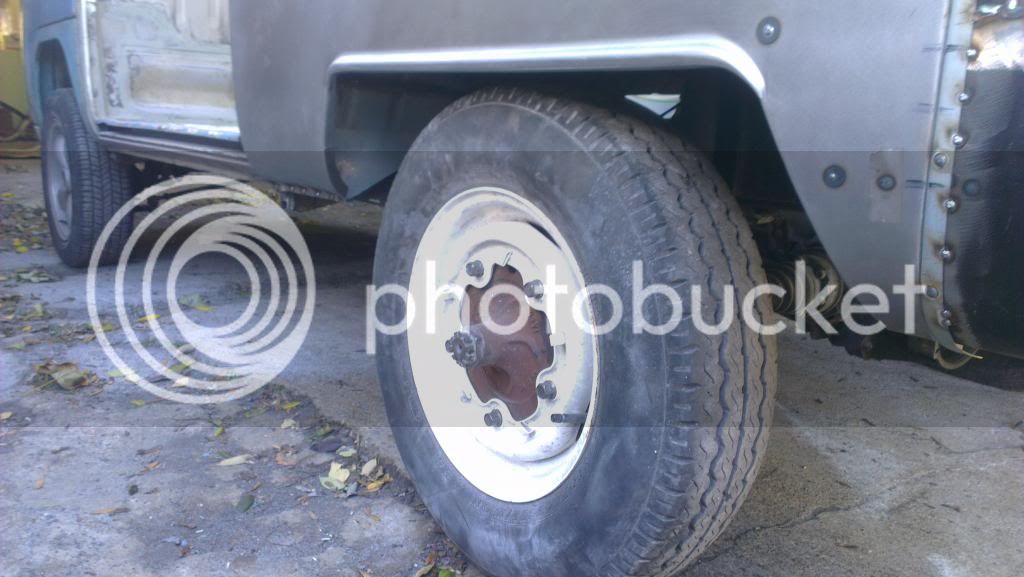
Thanks Ronnie That is the rear corner, returns, wheel arch, front closing panel, rear closing panel and battery tray all done.
Then on the Sunday the idea was to get at the underneath. Once we tipped her we had an idea that we've been discussing for about 8 months now...
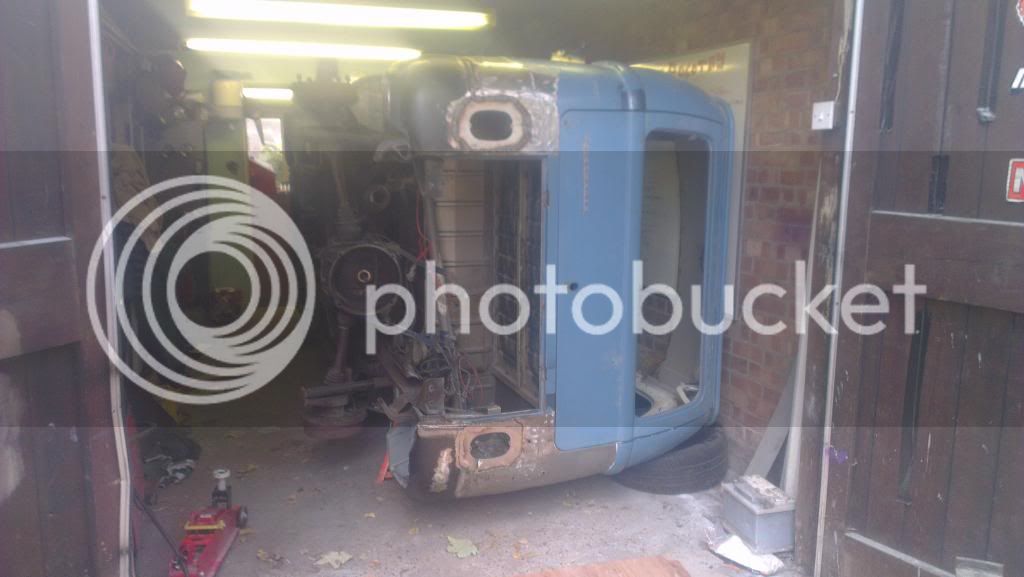
Pushed it in the garage! I am absolutely gutted we didn't do this 8 months ago when I was doing so much of the work underneath. We talked about it, and I am sure I measured and was happy it would fit. I just can't think why we didn't do it. But as I keep telling my self, live and learn!
Few pics of the before
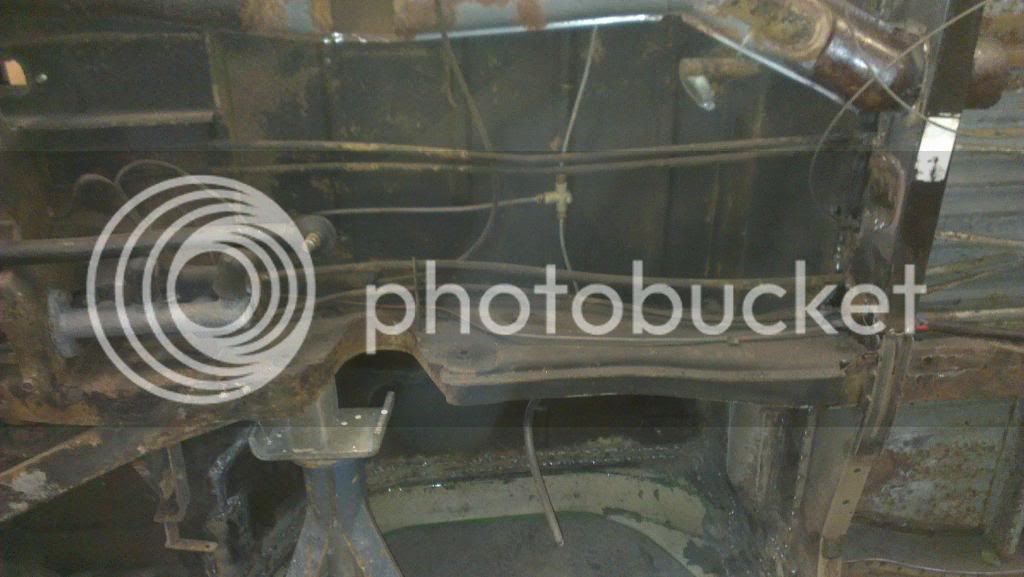
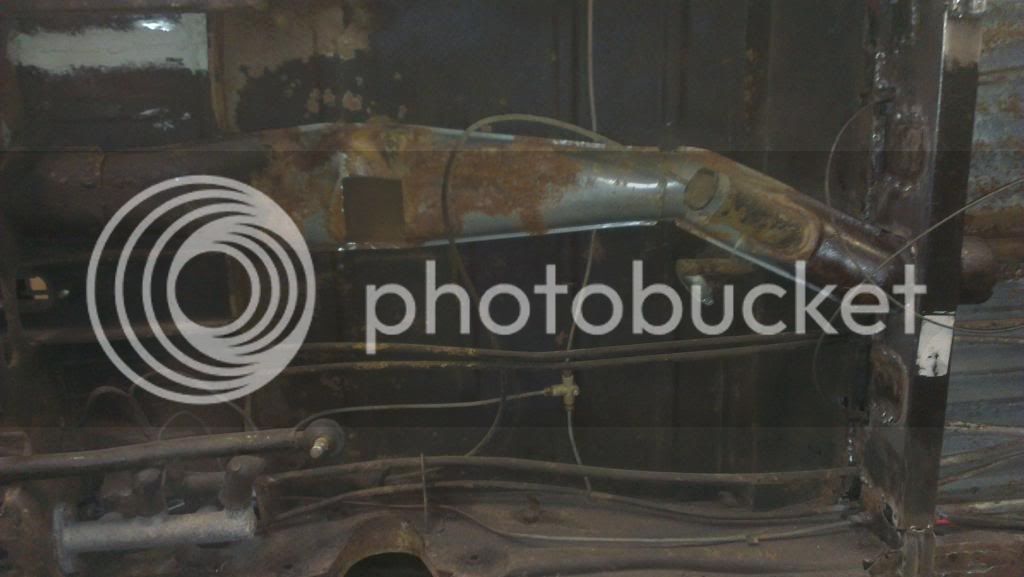
The girlfriend spent two days with the wire wheel and various other tools to get as much of the rust and underseal off as she could. Then dad broke out the shot blaster.
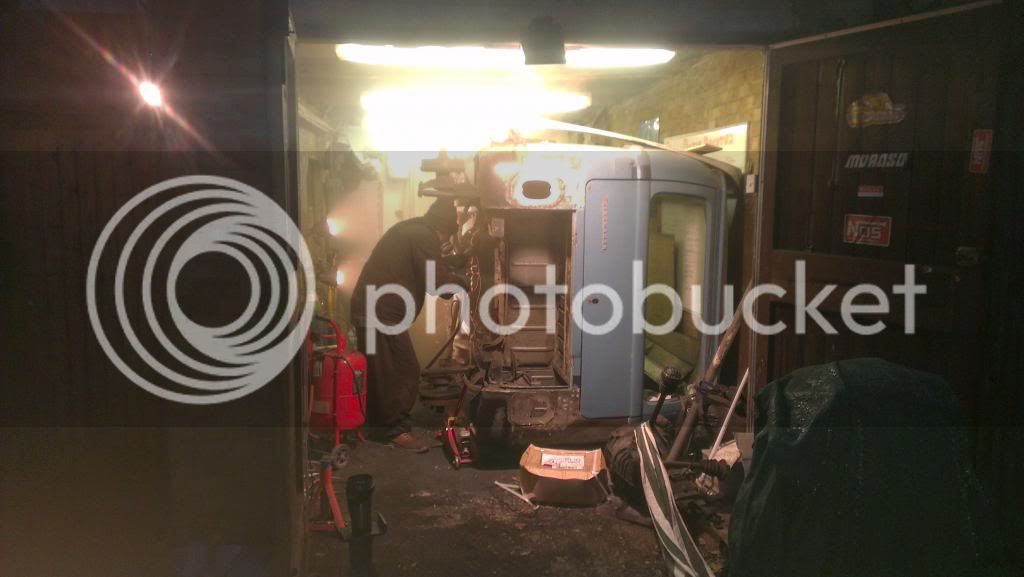
We have a sealey one and to be honest, it is amazing when it actually works. But you seem to spend more time working out why it isn't working than it actually working. Saturday he managed to do most of the underside. Sunday he spent literally all day doing about a third of the beam, much was it that it just wouldn't work properly.
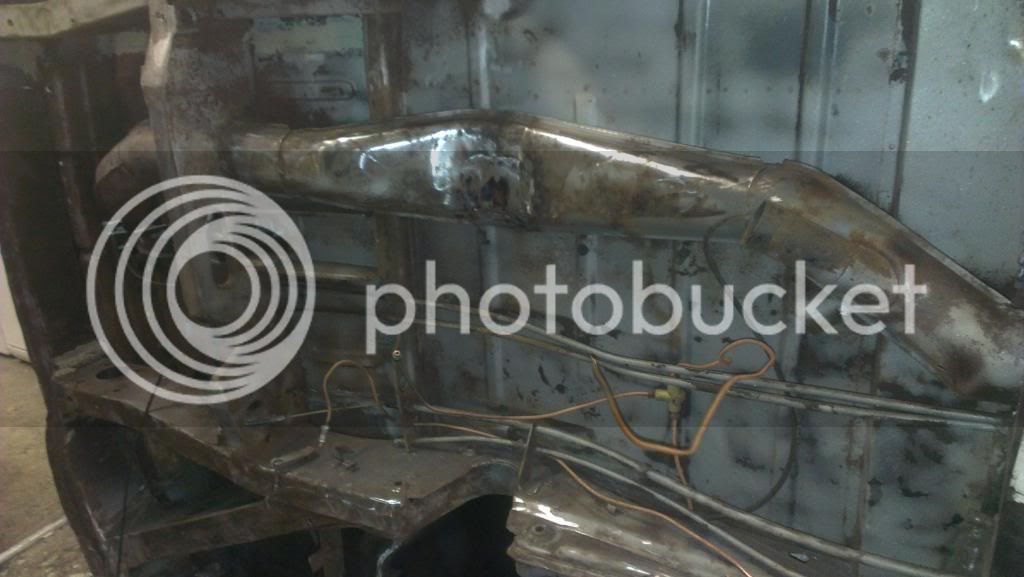
I went round with the welder and tidied up anything that I think needed tidying. Also a few patches, as well as the heater tube.
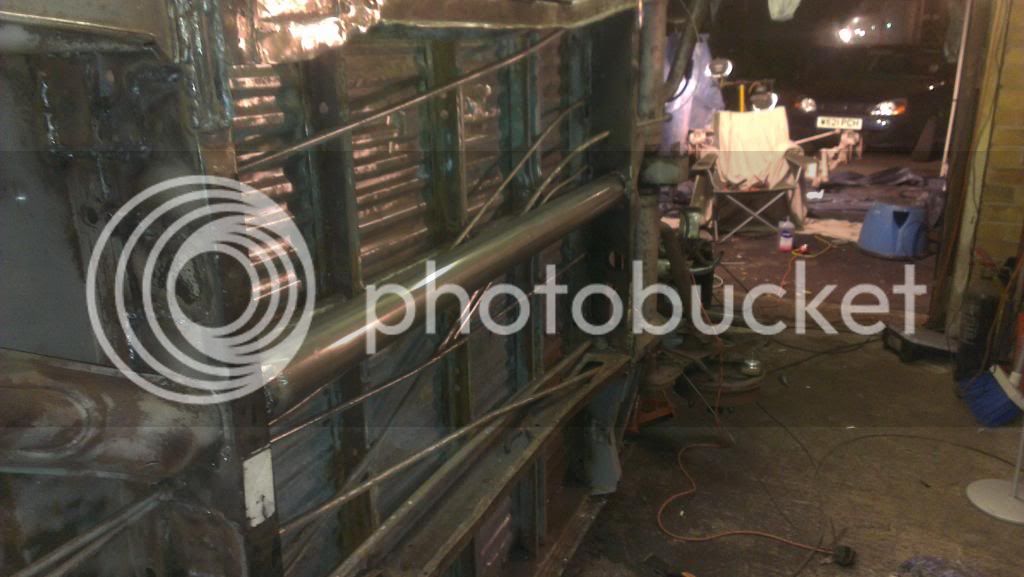
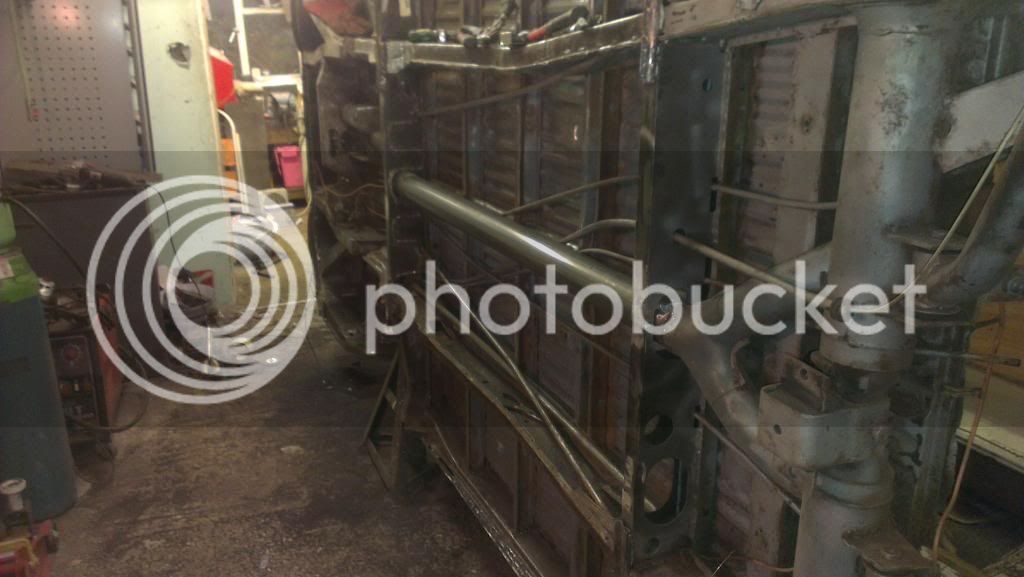
I think this one was after a degrease and an etch prime
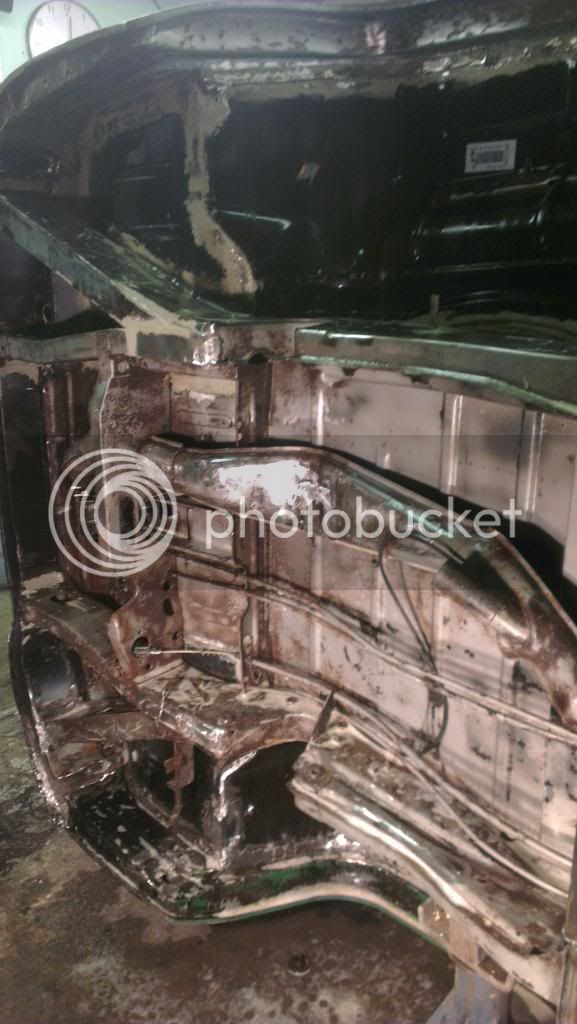
Then sealed up the joints.
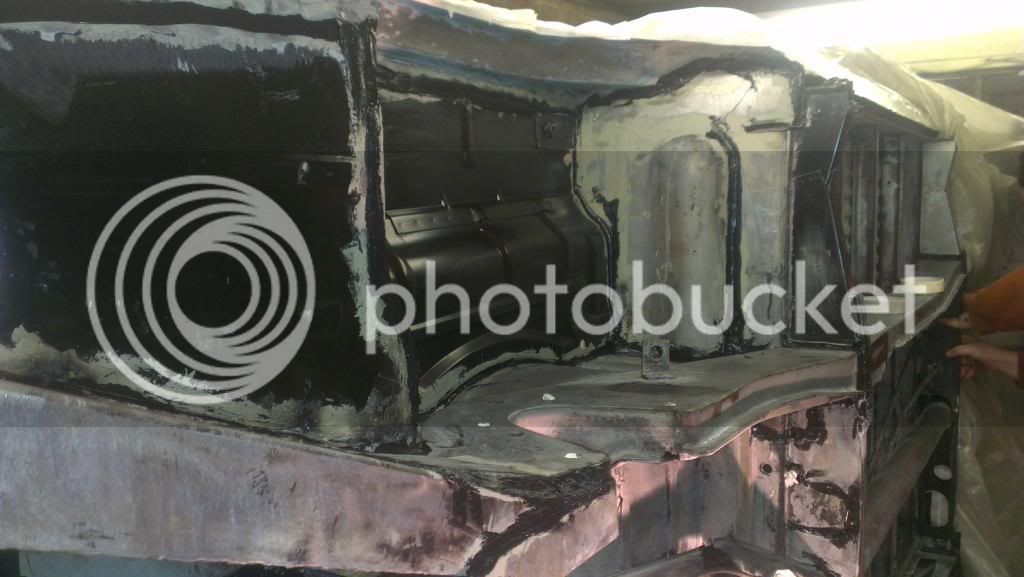
Then some stone chip!!
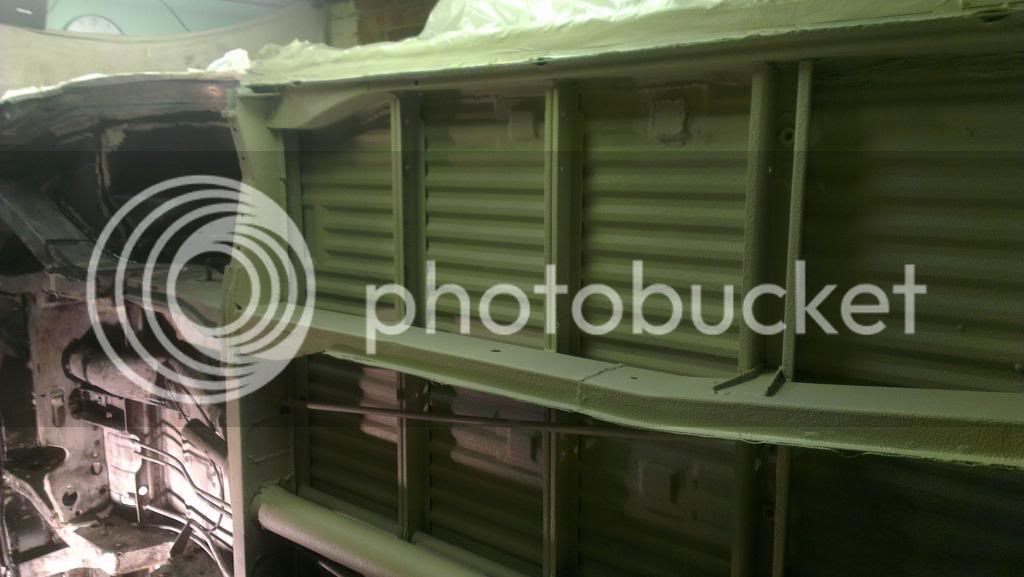
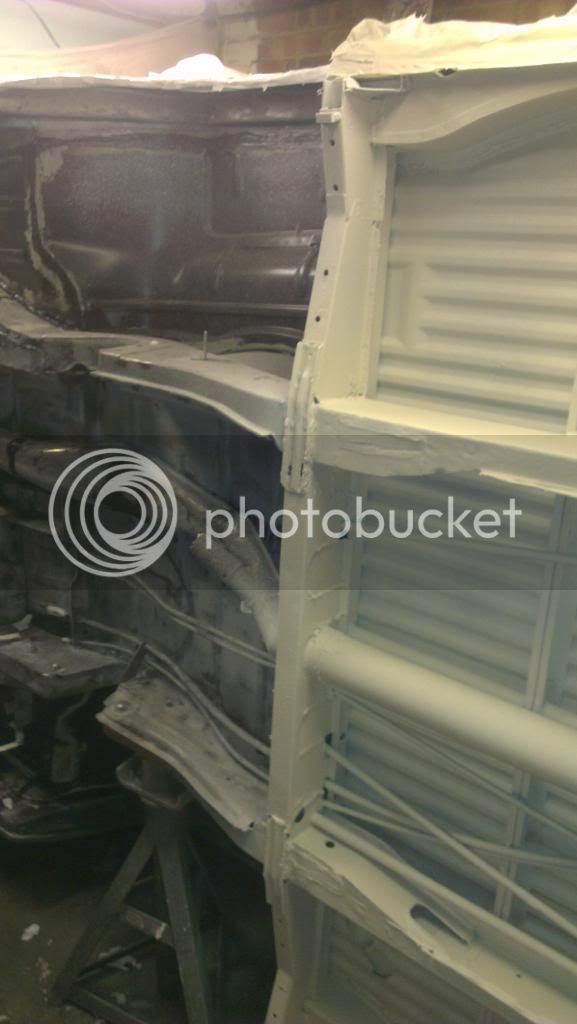
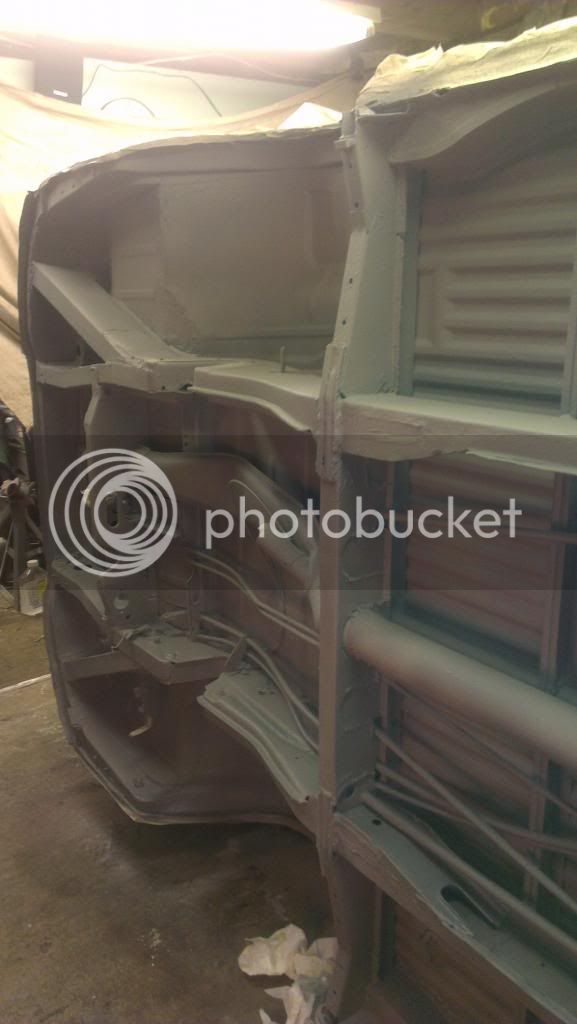
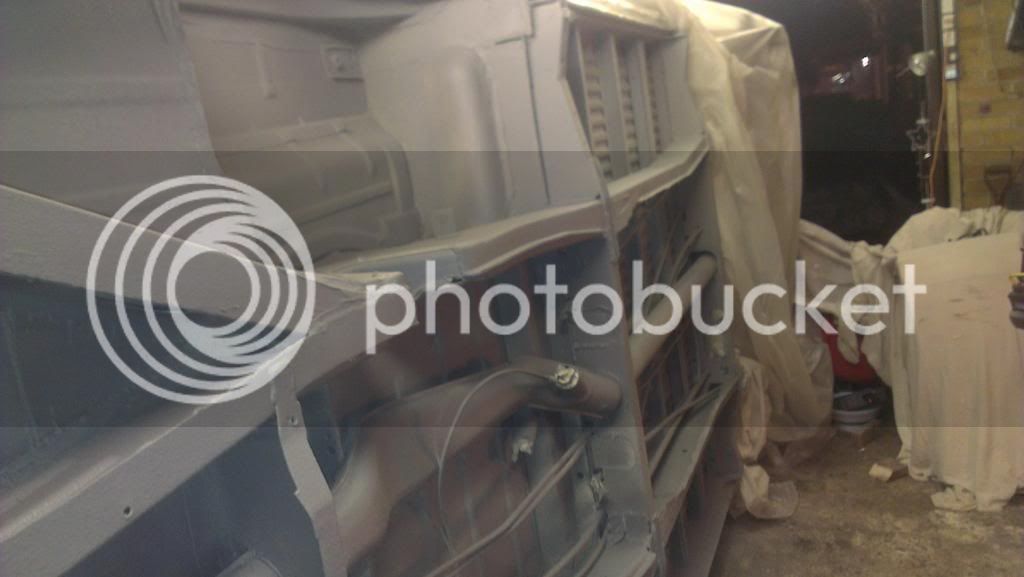
There was some confusion between dad and myself and to the rear cross member it had 12 litres of stone chip :lol: Hopefully that's enough...
Next up was a satin black that we have got fromThe Rust Shop who sponsor the forum. Really nice people and always more than happy to help. A kit included a de-greaser, etch primer and the rust seal. I was hoping to put on three coats of the rust seal but you have to apply each coat within 6 hours of each other, and considering I wasn't getting home until 5/6pm it was going to be yet another very very late night. Now I cocked up a bit here, I bought a spray gun and half a tin didn't go very far...I later worked out that thinning in a bit (although it says it shouldn't be needed), and also not having the gun setup right was to blame (but the first time I'd ever used one, so I think on my second go I did a bloody good job!!!) So the first coat was half of black, and half of a silver. But the second coat I managed to get excellent coverage and I am more than happy with what I've done. It does say that 3 coats is for heavy use, such as marine use so I think two is adequate.
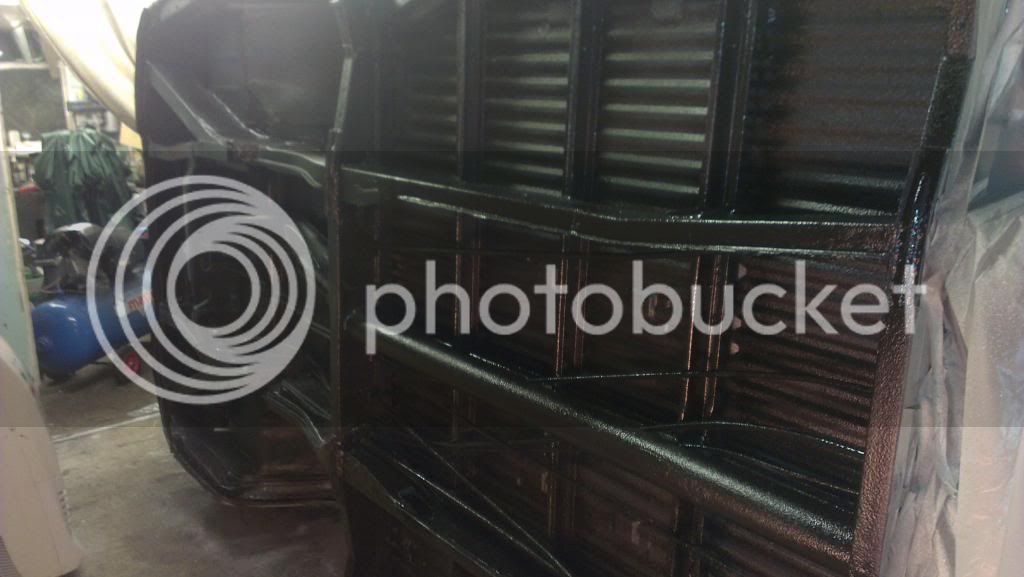
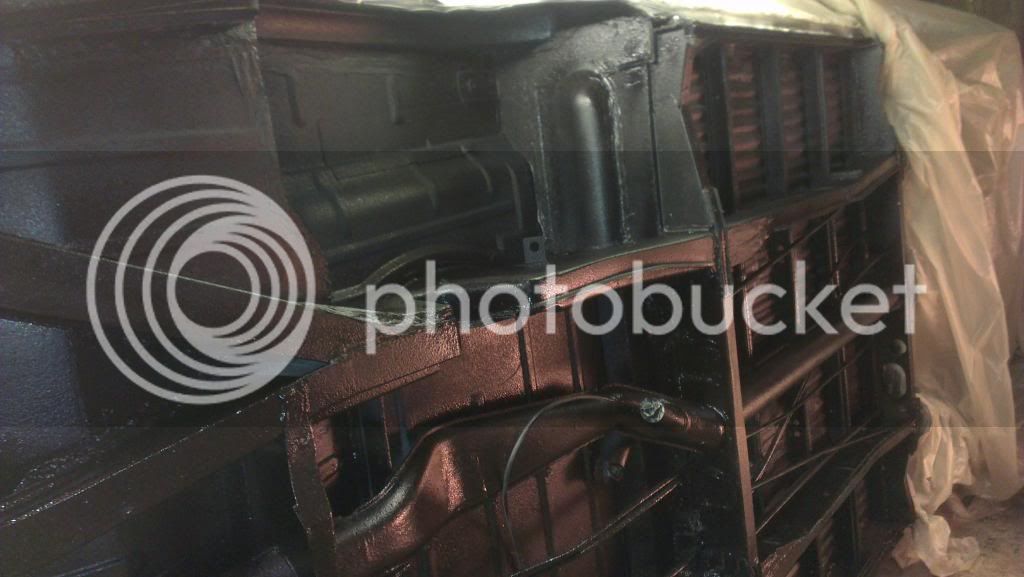
So after a series of really late nights last night was a night off :bliss: Tonight however we have to get her back out, roll her over, tidy up the garage as it's a fricking mess in preparation for Ronnie tomorrow, where hopefully all the welding will finally be finished.
We could only go up to the rear cross member as I still have to do a couple of repairs to the rear end. But hopefully that won't take too long to get painted and then that is the underside done.


I had to pop out at this point, left my phone in the car. So fast forward a few hours and...


Thanks Ronnie
Then on the Sunday the idea was to get at the underneath. Once we tipped her we had an idea that we've been discussing for about 8 months now...

Pushed it in the garage! I am absolutely gutted we didn't do this 8 months ago when I was doing so much of the work underneath. We talked about it, and I am sure I measured and was happy it would fit. I just can't think why we didn't do it. But as I keep telling my self, live and learn!
Few pics of the before


The girlfriend spent two days with the wire wheel and various other tools to get as much of the rust and underseal off as she could. Then dad broke out the shot blaster.

We have a sealey one and to be honest, it is amazing when it actually works. But you seem to spend more time working out why it isn't working than it actually working. Saturday he managed to do most of the underside. Sunday he spent literally all day doing about a third of the beam, much was it that it just wouldn't work properly.

I went round with the welder and tidied up anything that I think needed tidying. Also a few patches, as well as the heater tube.


I think this one was after a degrease and an etch prime

Then sealed up the joints.

Then some stone chip!!


There was some confusion between dad and myself and to the rear cross member it had 12 litres of stone chip :lol: Hopefully that's enough...
Next up was a satin black that we have got fromThe Rust Shop who sponsor the forum. Really nice people and always more than happy to help. A kit included a de-greaser, etch primer and the rust seal. I was hoping to put on three coats of the rust seal but you have to apply each coat within 6 hours of each other, and considering I wasn't getting home until 5/6pm it was going to be yet another very very late night. Now I cocked up a bit here, I bought a spray gun and half a tin didn't go very far...I later worked out that thinning in a bit (although it says it shouldn't be needed), and also not having the gun setup right was to blame (but the first time I'd ever used one, so I think on my second go I did a bloody good job!!!) So the first coat was half of black, and half of a silver. But the second coat I managed to get excellent coverage and I am more than happy with what I've done. It does say that 3 coats is for heavy use, such as marine use so I think two is adequate.


So after a series of really late nights last night was a night off :bliss: Tonight however we have to get her back out, roll her over, tidy up the garage as it's a fricking mess in preparation for Ronnie tomorrow, where hopefully all the welding will finally be finished.
We could only go up to the rear cross member as I still have to do a couple of repairs to the rear end. But hopefully that won't take too long to get painted and then that is the underside done.
Similar threads
Vehicle For Sale
'72 "Betty Blue", RHD Modernised Devon Moonraker Campervan
- Replies
- 0
- Views
- 270
Vehicle For Sale
1971 westy weekender
- Replies
- 0
- Views
- 288


