


dubscum
Well-known member
thanks for all your nice comments 8)
during this build you will see how little I know about early bays. I know I like the look of them. But I don't know much about the engines of what year parts are or when handles they have or westie interiors etc. I knew what I wanted on my last bus, but paid for any major work. I'm quite handy, but have the shortest concentration span and a memory like a siv. I don't listen when I should and I don't read up on thing. I have to do them to learn them to learn them. So this bus is the keeper so I want to do all my own work and how I want it. So I will be asking loads of stupid and simple questions :? I know slamwerks did my lower, but I wanted running gear, seat belt holders and chassis notch's to be done safely and correctly, here goes
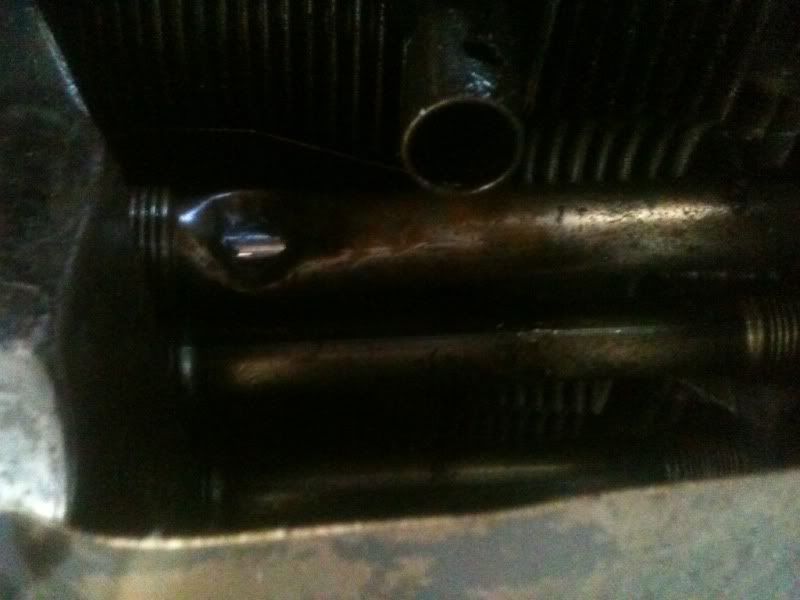
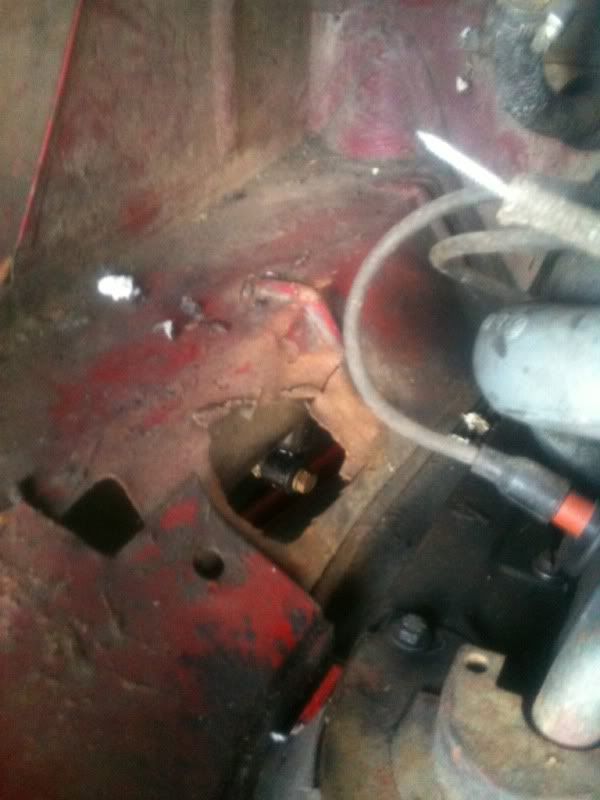
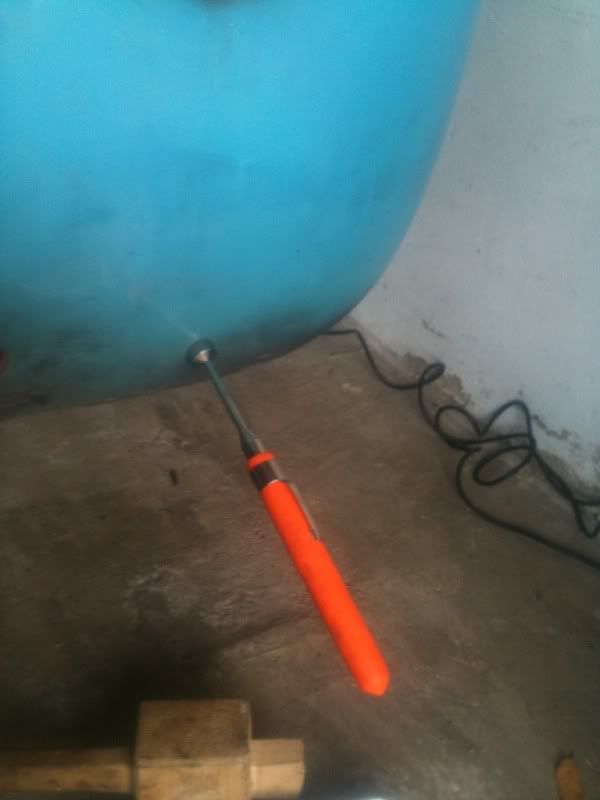
I was looking round the bus and spotted this hole in the push rod tube (think it's called that) so first set of stupid question, do I change all 8 of them, do they have / come with seals. best place to get them.
Do i need to remove the heads to change them ? anything to watch out for ? I do own a Haynes manual
its quality repairs like this that inspire confidants
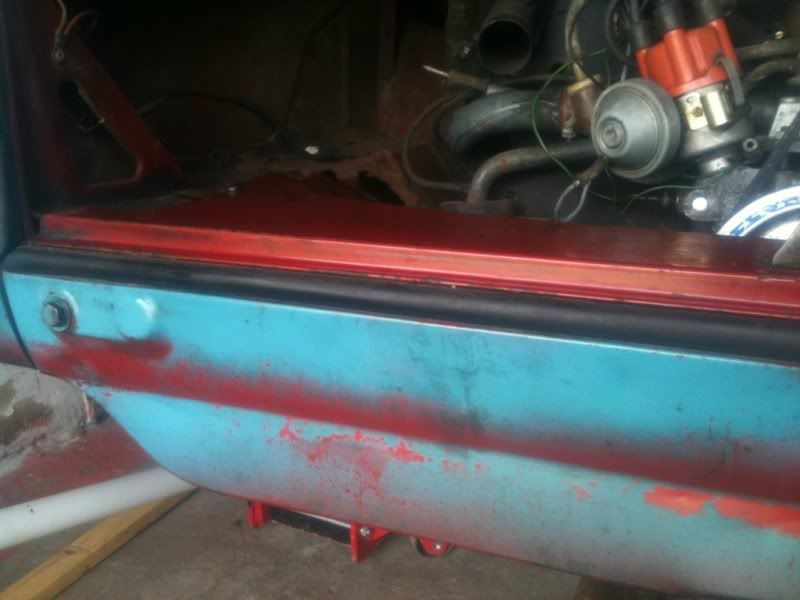
the colour coming up a treat
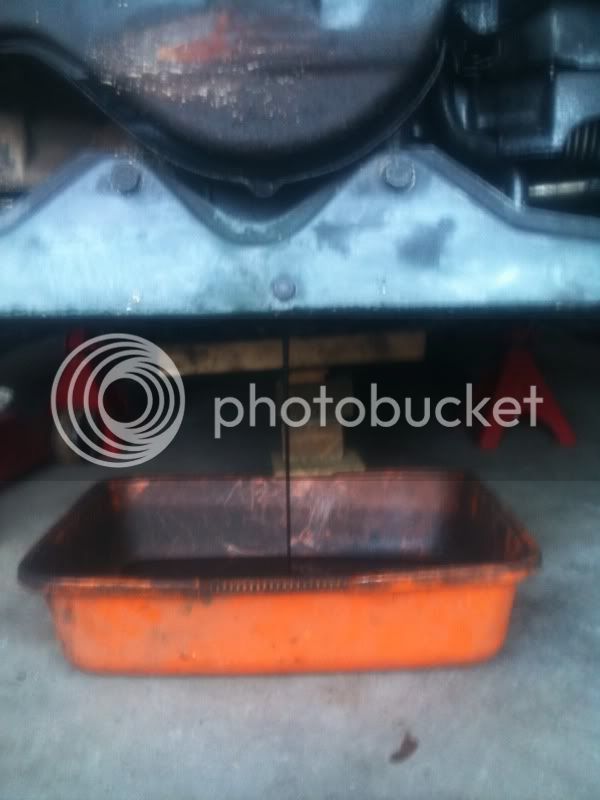
drained before dropped, you can also see how shaved the engine bar is
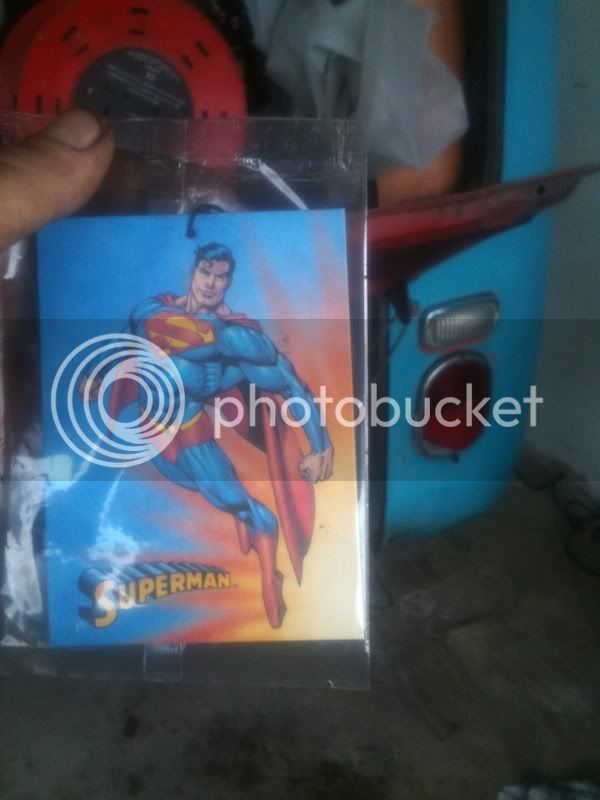
me wife bought me this. matching colours and 19p from home bargains. Proper little bobby dazzler !
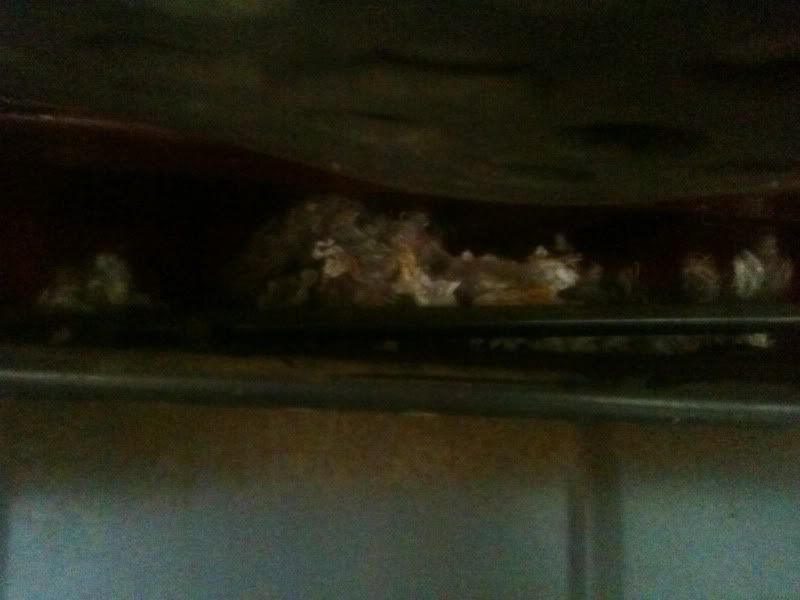
not sure what's nesting in there
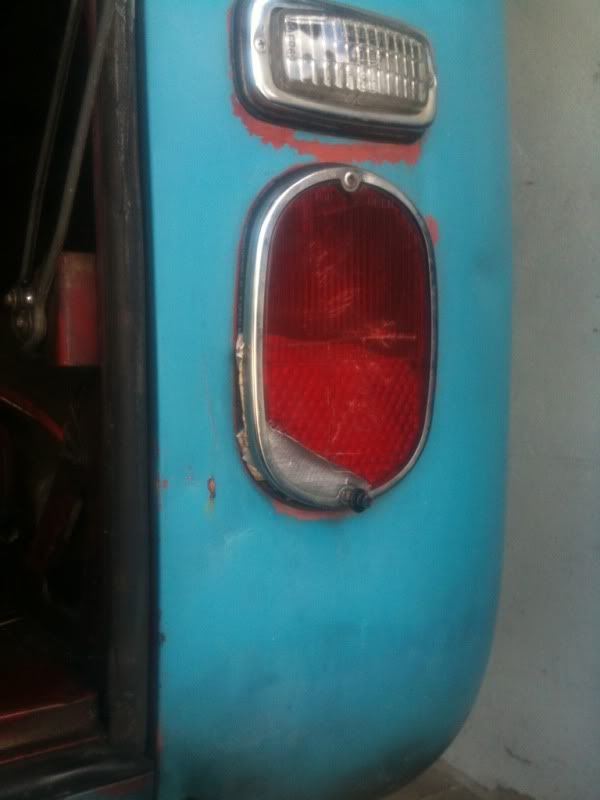
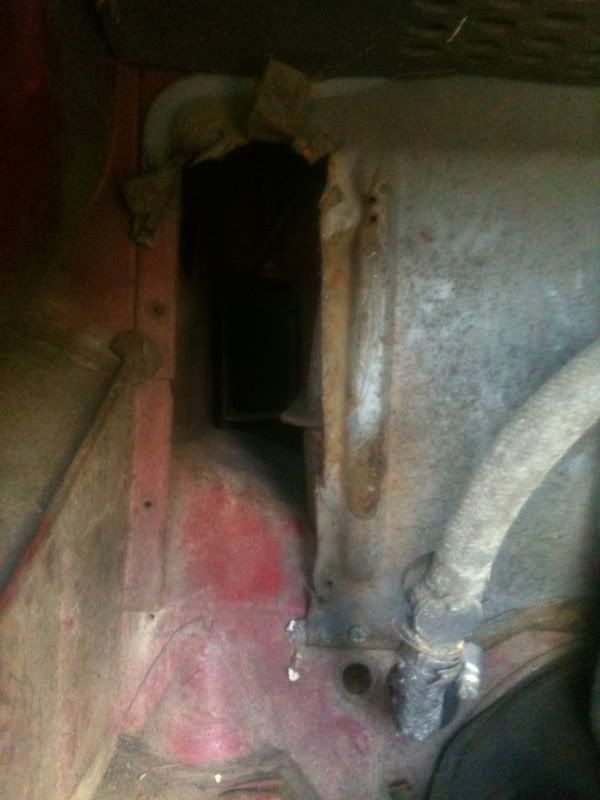
not sure what these crazy cuts are for ? maybe a heater as the rear light wires have been tapped into too
metal
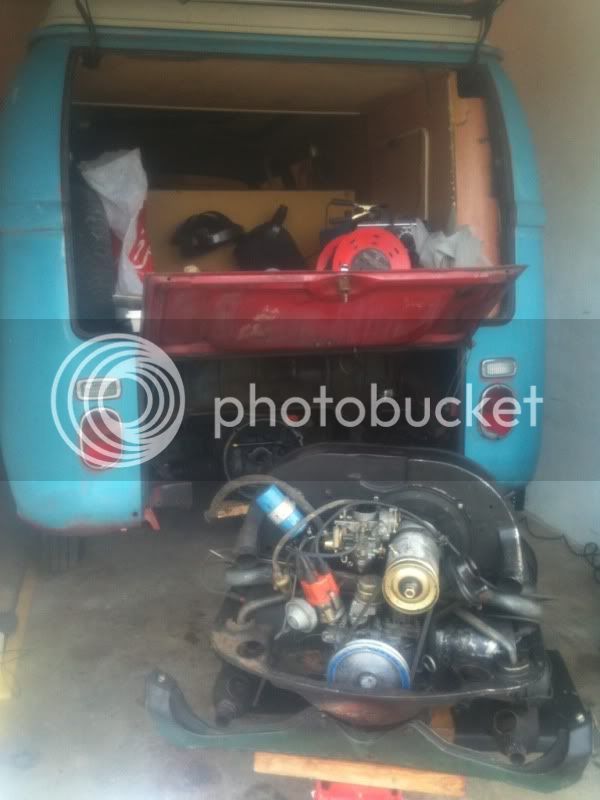
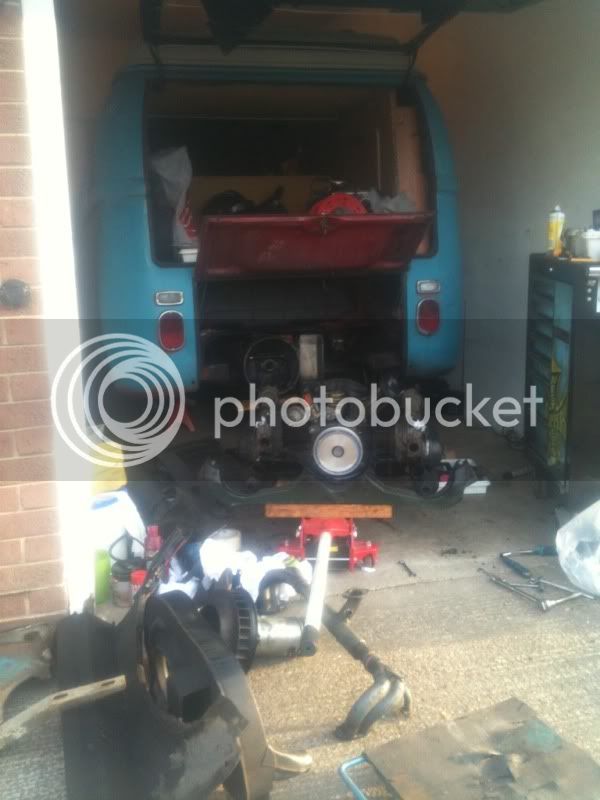
engine out
I take it the "scat" bottom pulley thing, when 0 is at the top piston 1 is at top dead centre or something, I left it on in case i messed something up. if I mark it up take it off remove the piece of tinware and put it back. all will be right ?

8)
during this build you will see how little I know about early bays. I know I like the look of them. But I don't know much about the engines of what year parts are or when handles they have or westie interiors etc. I knew what I wanted on my last bus, but paid for any major work. I'm quite handy, but have the shortest concentration span and a memory like a siv. I don't listen when I should and I don't read up on thing. I have to do them to learn them to learn them. So this bus is the keeper so I want to do all my own work and how I want it. So I will be asking loads of stupid and simple questions :?
I know slamwerks did my lower, but I wanted running gear, seat belt holders and chassis notch's to be done safely and correctly, here goesI was looking round the bus and spotted this hole in the push rod tube (think it's called that) so first set of stupid question, do I change all 8 of them, do they have / come with seals. best place to get them.
Do i need to remove the heads to change them ? anything to watch out for ? I do own a Haynes manual
its quality repairs like this that inspire confidants
the colour coming up a treat
drained before dropped, you can also see how shaved the engine bar is
me wife bought me this. matching colours and 19p from home bargains. Proper little bobby dazzler !
not sure what's nesting in there
not sure what these crazy cuts are for ? maybe a heater as the rear light wires have been tapped into too
metal
engine out
I take it the "scat" bottom pulley thing, when 0 is at the top piston 1 is at top dead centre or something, I left it on in case i messed something up. if I mark it up take it off remove the piece of tinware and put it back. all will be right ?
8)