Spring Valley Bus meets Corvair

Early Bay Forum

Help Support Early Bay Forum:

This site may earn a commission from merchant affiliate links, including eBay, Amazon, and others.
OSullivan said:
I've done nothing :( But the wheels should be back soon!Want to get some paint repairs done before the mighty rust takes hold!Hope you get them on for when the sun shines!

thanks mate, look forward to seeing your bus 8)

Just
 
The sink on any US Westy has a stupidly large waste from California (strange seeing as the bus was made in Germany), and a standard UK trap wont fit cause the thread is to long on the rear, so had to cut the nut off the back as it was thread-locked on.

004-5.jpg


Now fitted a standard caravan waste that takes a 38mm flexi pipe

006-5.jpg


005-5.jpg


My first thought was to fit a grey waste container under the sink, so as not to drill the floor, but now i have a small waste pipe I may yet drill and put the wast outside freeing up some well needed cupboard space...........still undecided.

Just
 
Spot the addition................

008-9.jpg


Thanks to Early VW for the Tach 8) Brightens up the drab dash quite nicely i think

007-7.jpg


Just
 
creationblue said:
Spot the addition................

008-9.jpg


Thanks to Early VW for the Tach 8) Brightens up the drab dash quite nicely i think

007-7.jpg


Just

If you ever rev that to 10 you are an animal, and I'll shake your hand if the engine survives!
 
Today was floor day!

Got a sheet of 3mm ply tho anyone else doing this i would recomend 4mm! Anyway stapled the 3mm to the sub floor

003-9.jpg


Then glued the lino in place

004-6.jpg


Then in went the sink unit

008-10.jpg


Sounds simple :lol:

Now the flooring is in place I fitted the Rivnuts

005-6.jpg


and bolted the RnR in place.

006-6.jpg


Then I fixed the rear cabinet, screwed the fridge unit to the cabinet which in turn bolts to the RNR, then loomed the cables behind the sink and now they are ready for termination into the consumer unit and 12V Fuse box. I installed everything only to find the water pump had a wire off :evil: so out came the sink unit again to repair the pump. Thankfully now all back in ready for the final stage of connecting the wireing 8) got dark so came in......Oh i fitted a 12V socket next to the gas too.

Just
 
Nice work and lots to be a good job 8)

Why you recommending 4mm floor??
 
gninnam said:
Nice work and lots to be a good job 8)

Why you recommending 4mm floor??

The 3mm is a bit flimsy, I was in two minds as is didnt want to raise the units by to much and throw the fixing points out, as it happened it wouldnt have made any difference and the exta mm would have ment the alloy edge strip would have fitted better.........I guess on the plus side it was easier to fit and its lighter.

Just
 
creationblue said:
gninnam said:
Nice work and lots to be a good job 8)

Why you recommending 4mm floor??

The 3mm is a bit flimsy, I was in two minds as is didnt want to raise the units by to much and throw the fixing points out, as it happened it wouldnt have made any difference and the exta mm would have ment the alloy edge strip would have fitted better.........I guess on the plus side it was easier to fit and its lighter.

Just

Thanks for the tip! I need to replace my floor has well. What was original used by Westfalia?
 
surfbus said:
creationblue said:
gninnam said:
Nice work and lots to be a good job 8)

Why you recommending 4mm floor??

The 3mm is a bit flimsy, I was in two minds as is didnt want to raise the units by to much and throw the fixing points out, as it happened it wouldnt have made any difference and the exta mm would have ment the alloy edge strip would have fitted better.........I guess on the plus side it was easier to fit and its lighter.

Just

Thanks for the tip! I need to replace my floor has well. What was original used by Westfalia?

I cant remember I will have to measure, but you have to use something like 10mm on the ribbed cargo floor, then because the floor raises over the sills you then use a thinner ply to level things off, but you dont want to lift the final floor to high or else your side fixing point wont align......and seeing as mine was all done ad-hock it was a bit suck-it-and-see :lol:

Just
 
creationblue said:
gninnam said:
Nice work and lots to be a good job 8)

Why you recommending 4mm floor??

The 3mm is a bit flimsy, I was in two minds as is didnt want to raise the units by to much and throw the fixing points out, as it happened it wouldnt have made any difference and the exta mm would have ment the alloy edge strip would have fitted better.........I guess on the plus side it was easier to fit and its lighter.

Just
You're meant to be able to get the floor AND the lino crammed into the threshold strip. :)
 
ZedBed said:
creationblue said:
gninnam said:
Nice work and lots to be a good job 8)

Why you recommending 4mm floor??

The 3mm is a bit flimsy, I was in two minds as is didnt want to raise the units by to much and throw the fixing points out, as it happened it wouldnt have made any difference and the exta mm would have ment the alloy edge strip would have fitted better.........I guess on the plus side it was easier to fit and its lighter.

Just
You're meant to be able to get the floor AND the lino crammed into the threshold strip. :)

Yes thats what I did, but my floor is 5mm thick with the lino on top and the threshold strip is 6mm(ish), just me being fussy really

Just
 
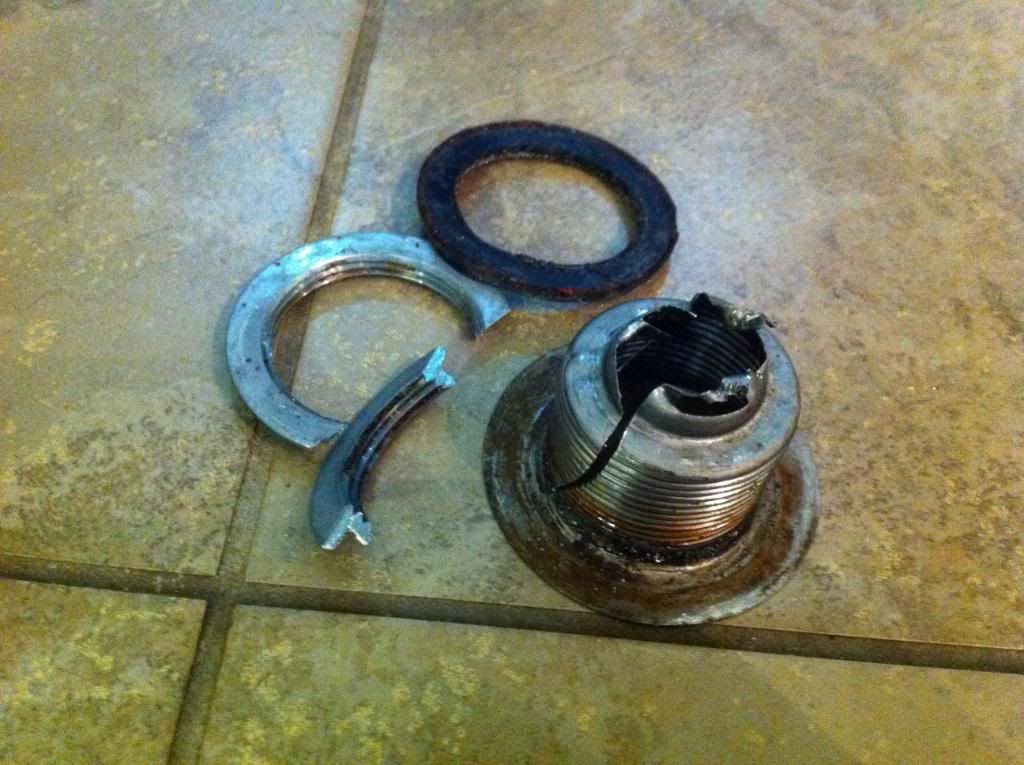
Managed to get a day on the bus. Started by checking the water tank for leaks, and yes it did :lol: cleaned all the muck out the valve (which was jamed oped) and jobs a good 'un

001-9.jpg


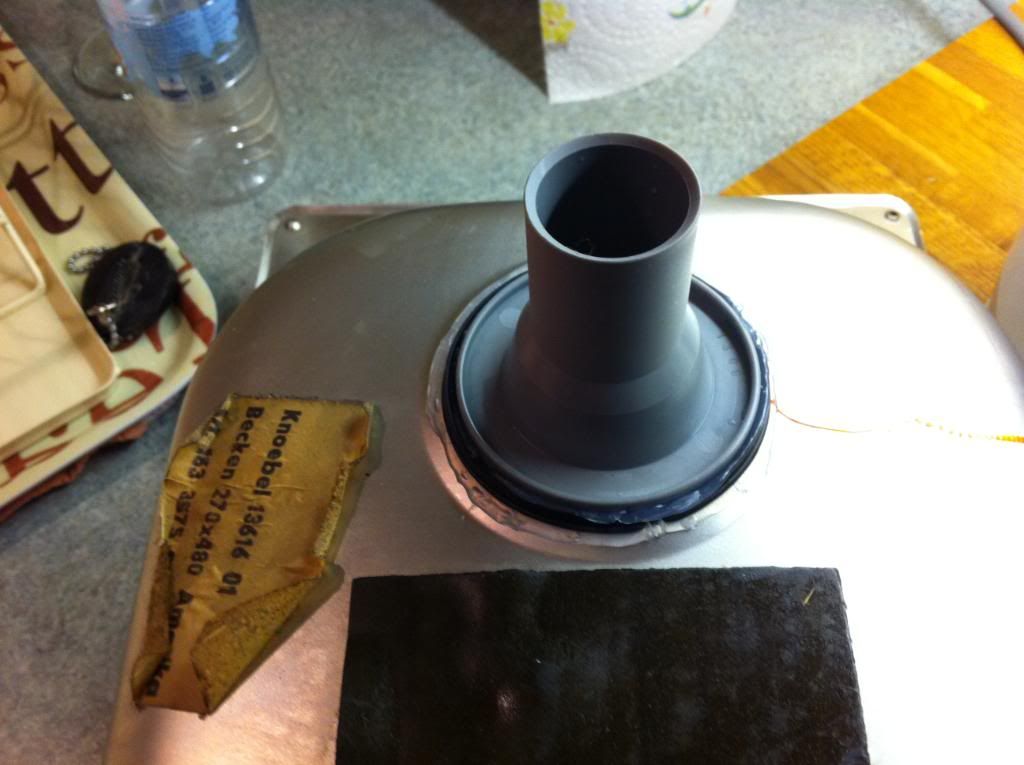
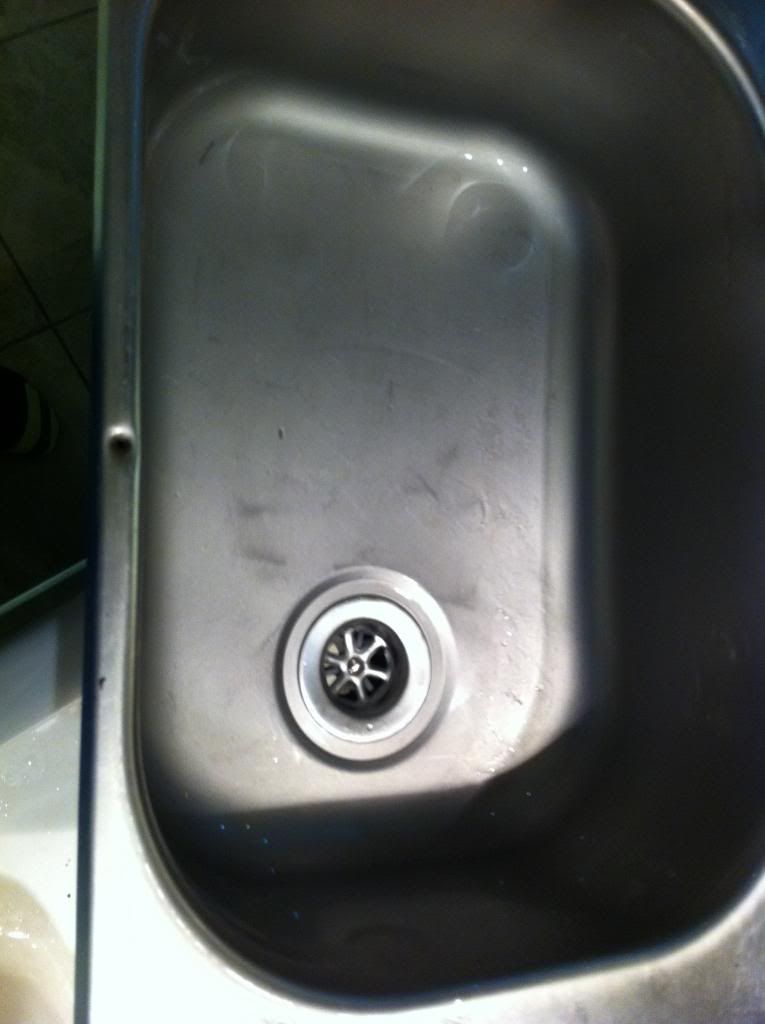
modded the sink unit so I could pick up on the OG fixing using a T-bolt

002-9.jpg


Then Brett (Terrierman) came round with some structural adhesive and bonded the panel I made to the bulkhead. Thanks again Brett, a beer or two will be in order. The panel will be covered with material.

003-10.jpg


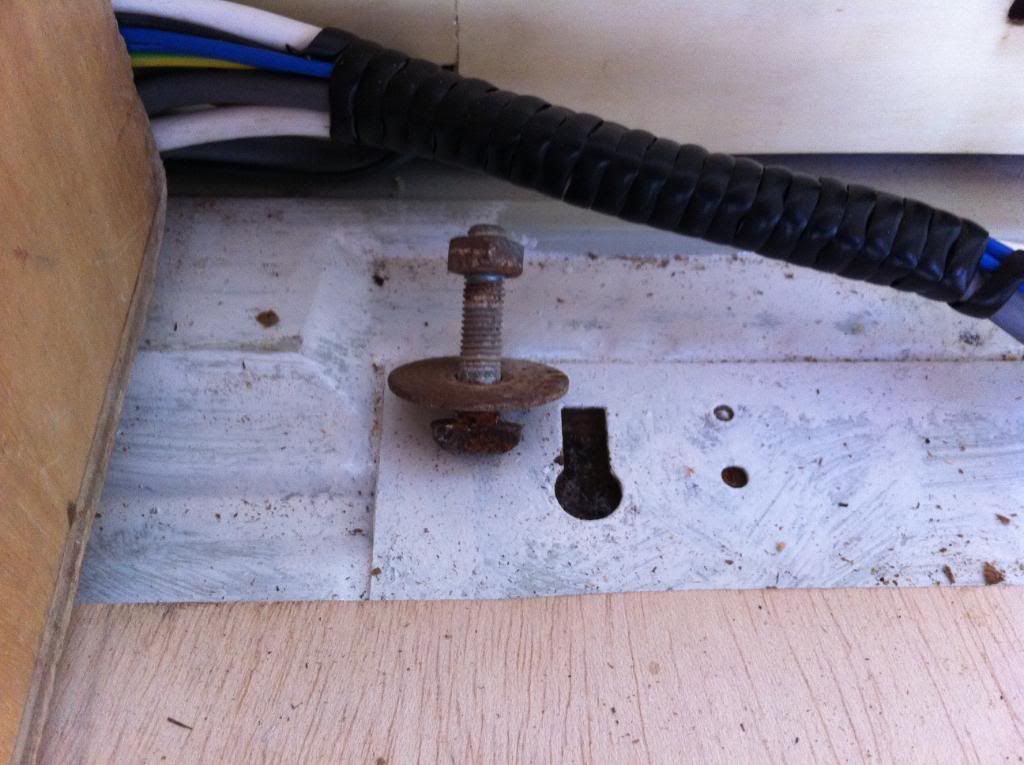
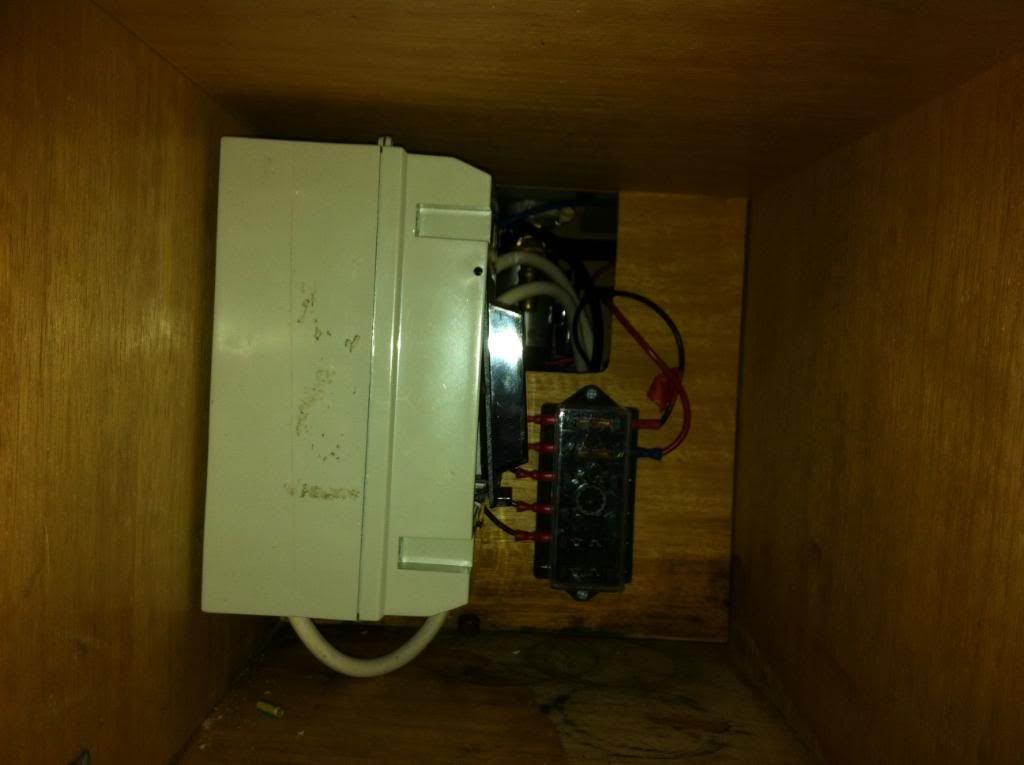
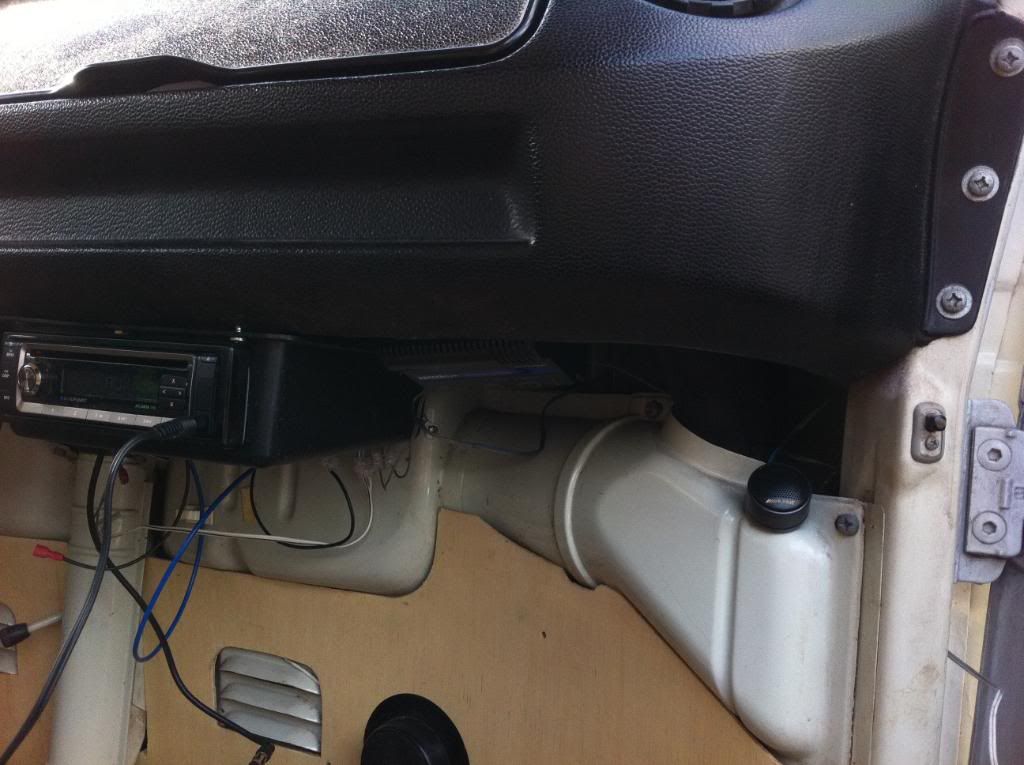
Next up, test and terminal the mains & 12V system, there is a aux fuse box here with the earth bar and connections at the rear.

004-7.jpg


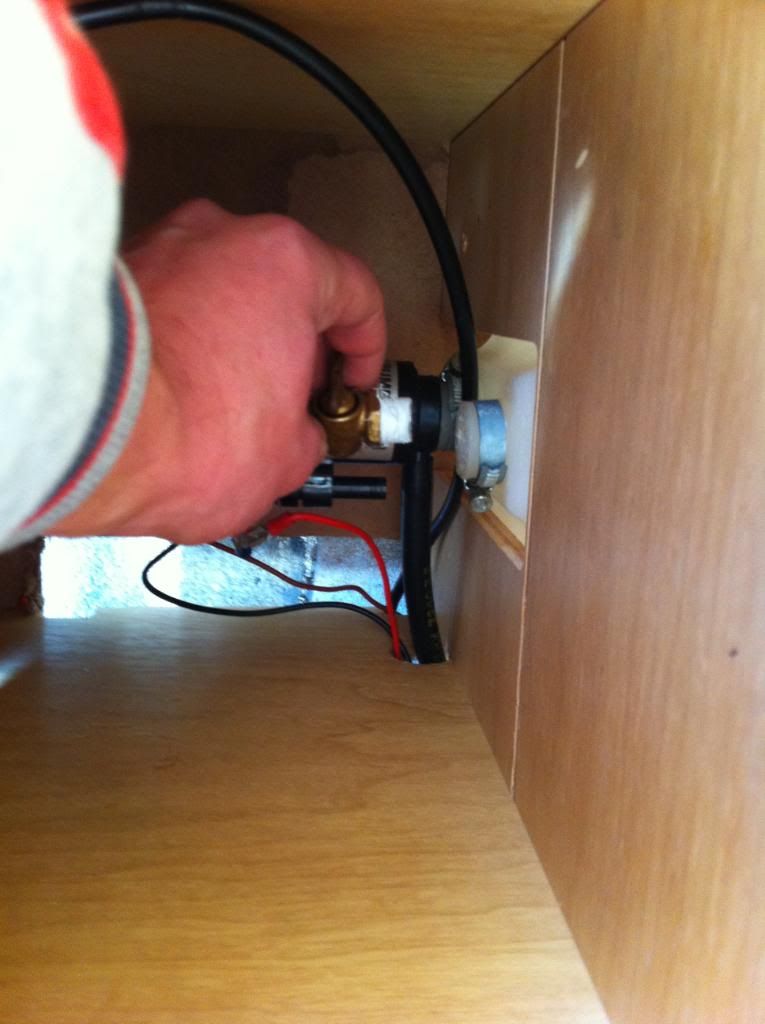
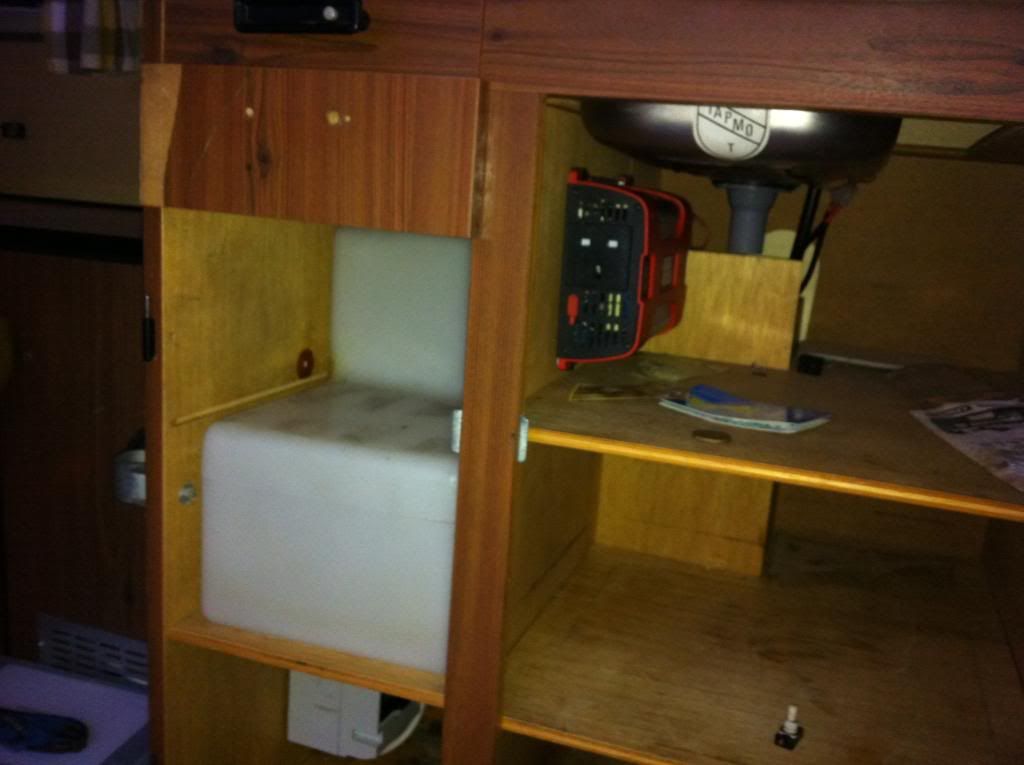
Inverter under the sink

005-7.jpg


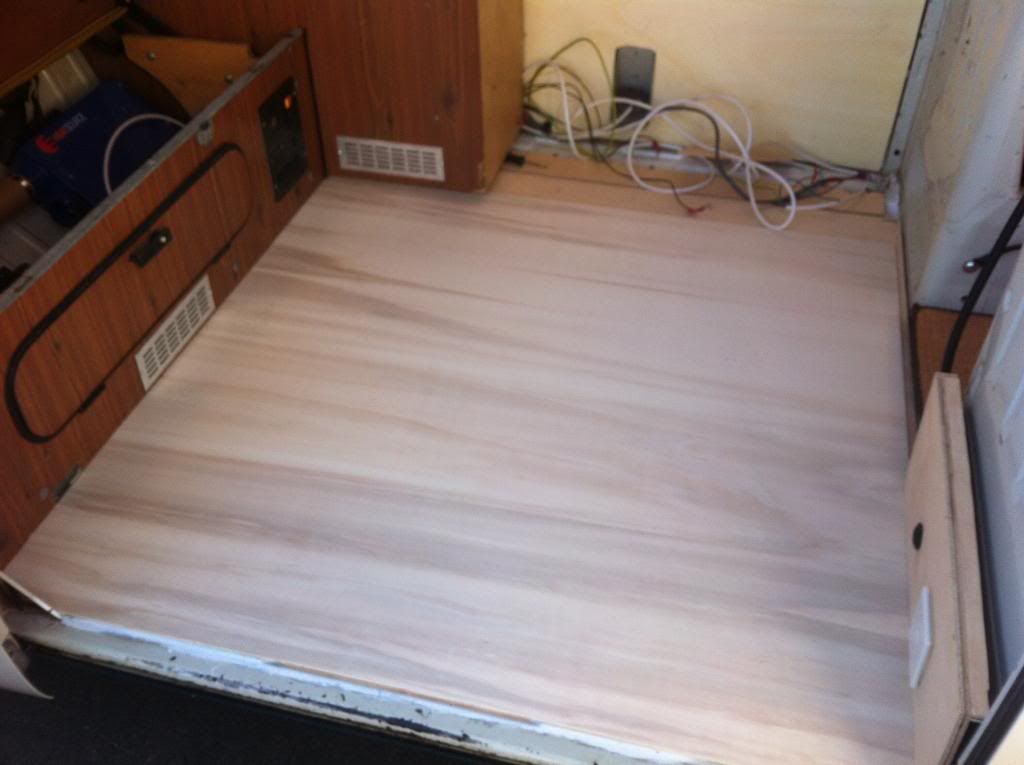
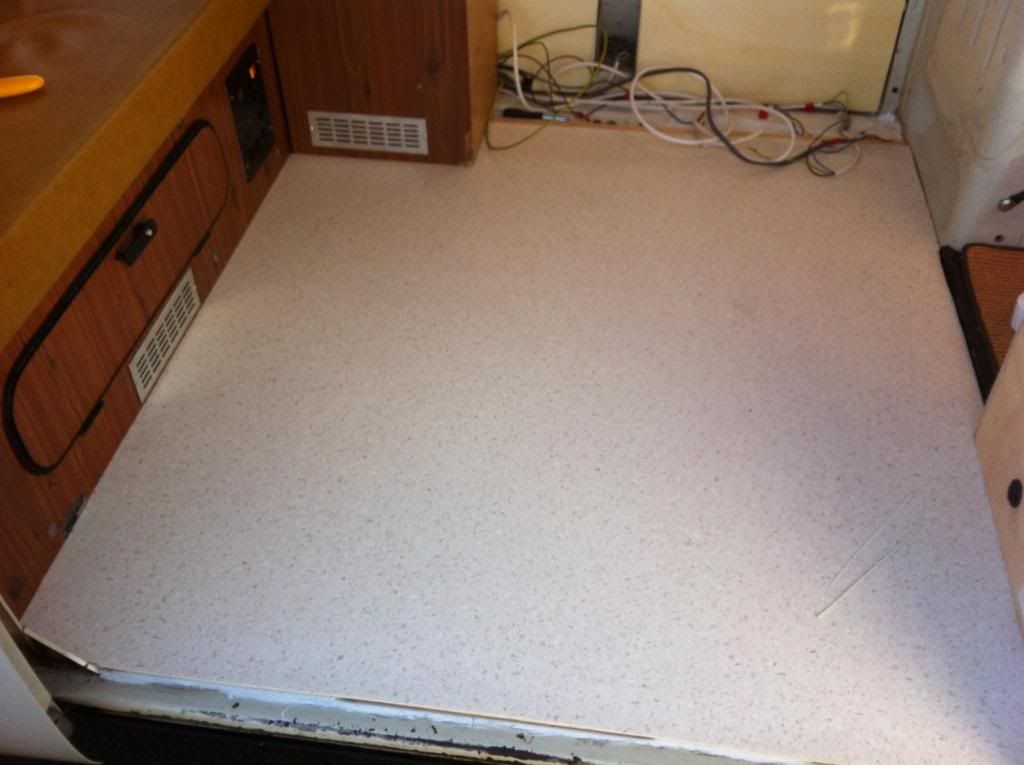
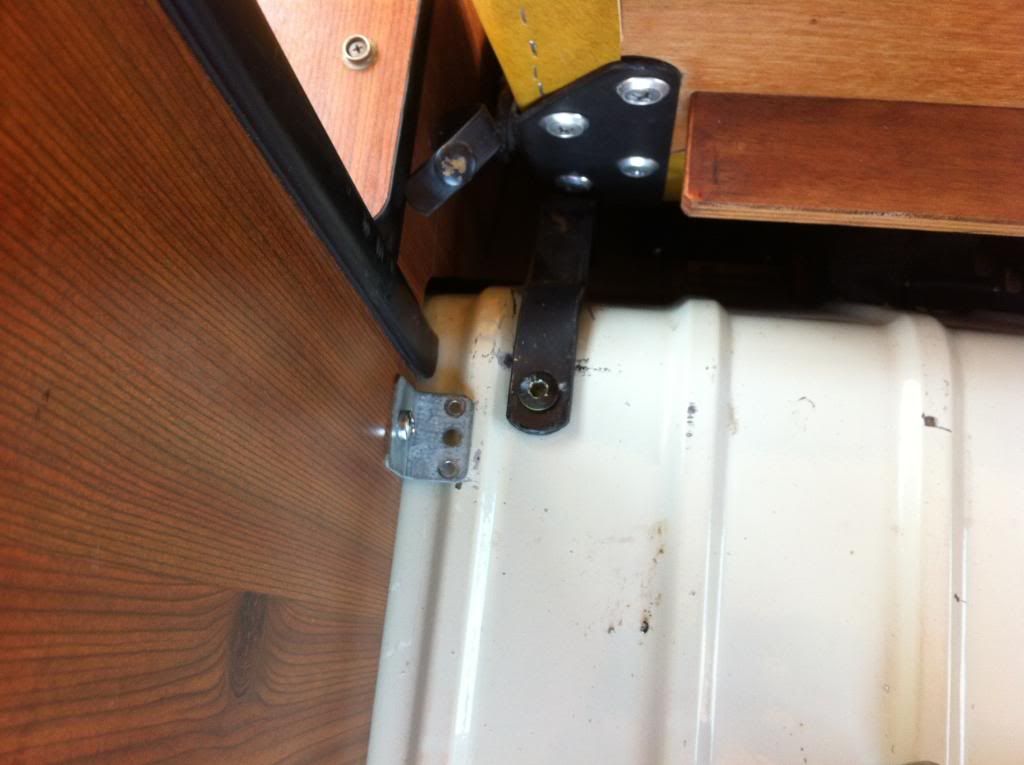
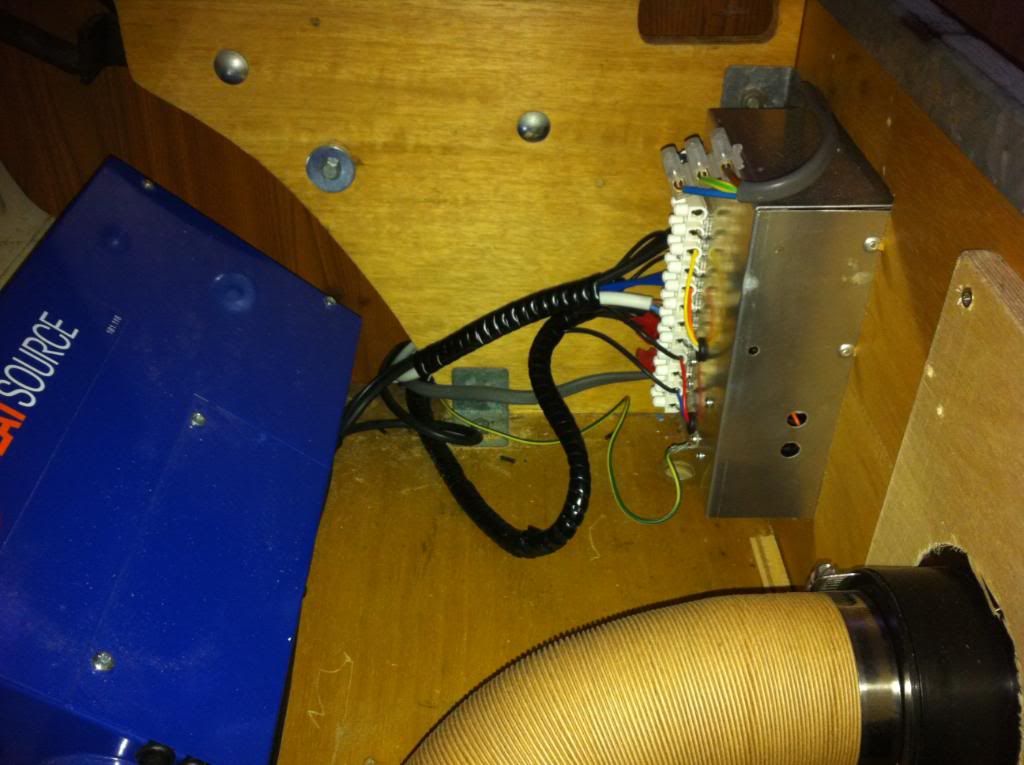
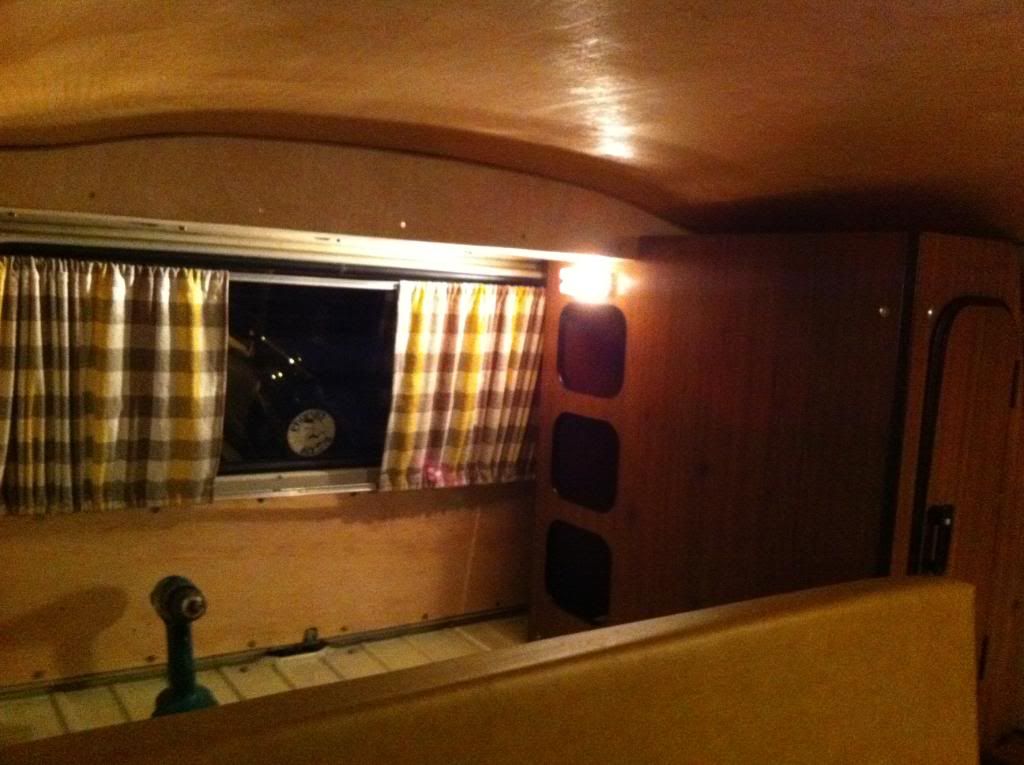
Zig wireing complete, and made a panel to house the Propex vents in the RNR front door.

006-7.jpg


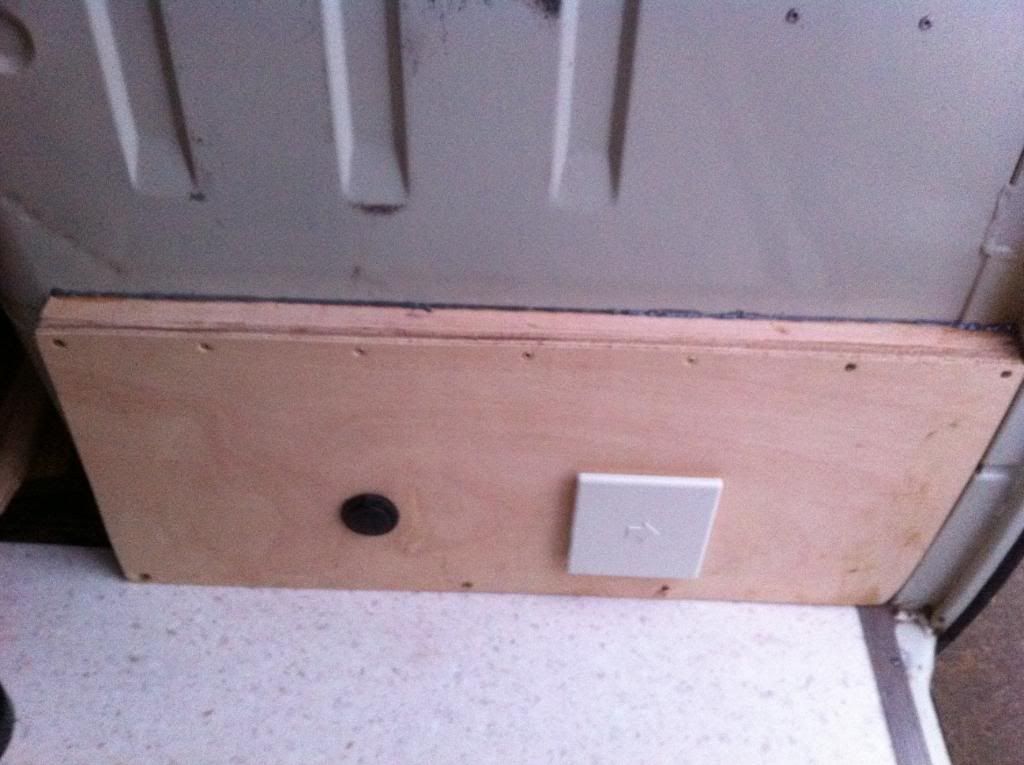
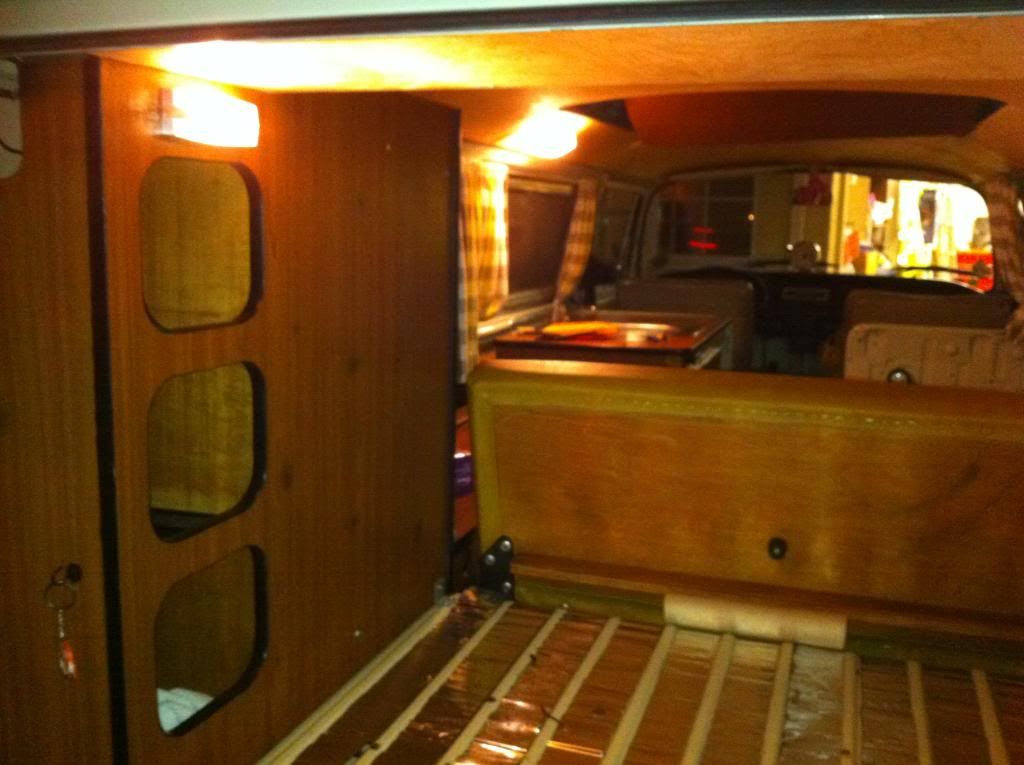
Side cupboard put back together, which hides more wires
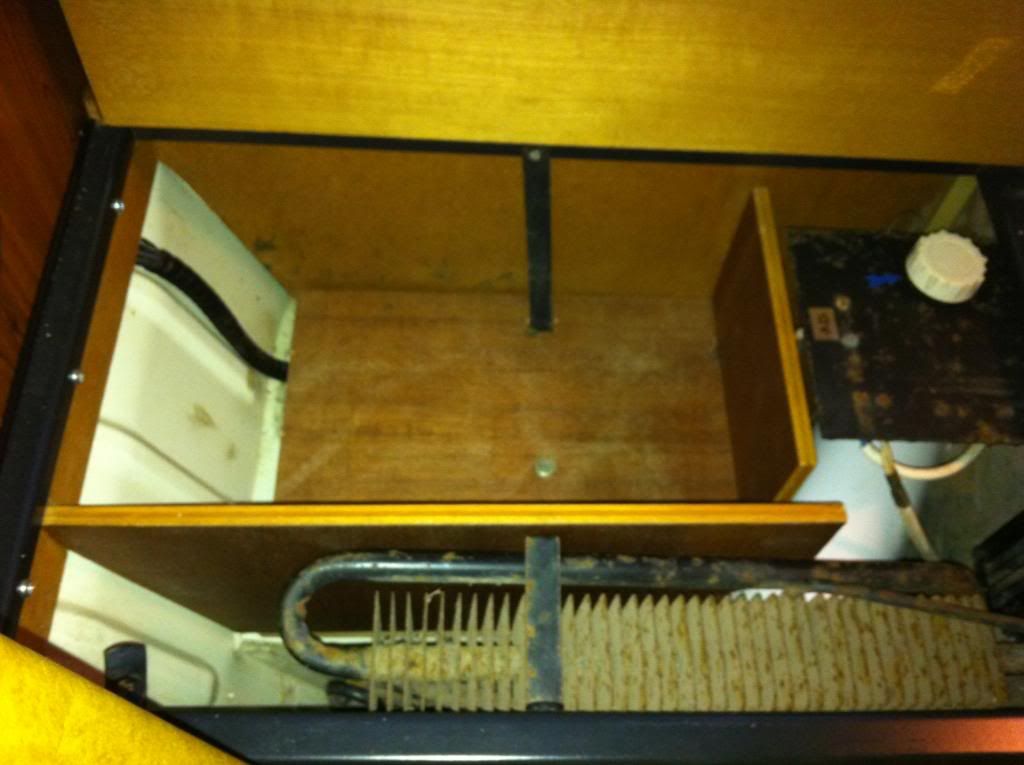
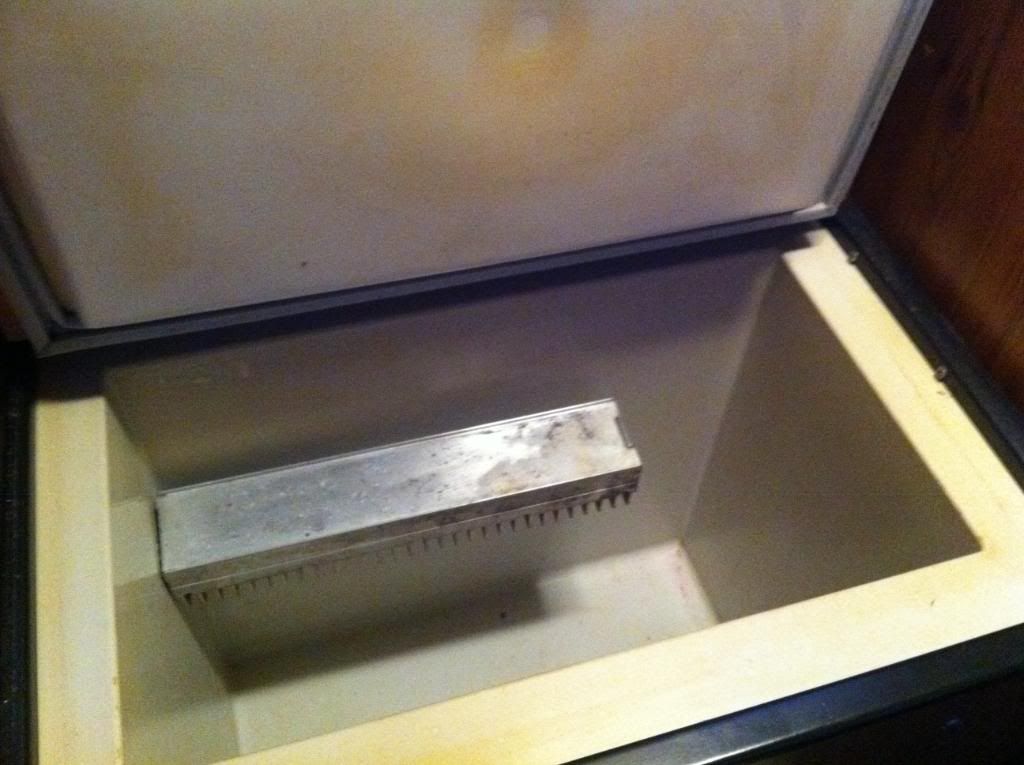
008-11.jpg


Fridge nice n cold

009-11.jpg


There were some scrates to the cupboard door, so used some fence paint to hide these, worked ok

010-12.jpg


Then installed a rear bed light,

011-8.jpg


and put down some dynamat type stuff

012-6.jpg


Nearly there, then I got to start on the cab doors, then roof & poptop canvas.................. :lol:

Just
 
Man, looks well 8)
Looks to be a great little setup more space and a much better spec.
I've done absolutely nothing :lol:
 
r73 said:
Man, looks well 8)
Looks to be a great little setup more space and a much better spec.
I've done absolutely nothing :lol:

Well you know what its like 5 in a bus :lol: :roll:

Just
 
Certainly do :D I'm seriously considering splashing out on a new awning tho. :roll:
 
creationblue said:
Wots wrong with the one you got?
It just takes a while to set up and put away and as were planning on a few nights here and there speed and maybe a slightly smaller one would be handy
 
r73 said:
creationblue said:
Wots wrong with the one you got?
It just takes a while to set up and put away and as were planning on a few nights here and there speed and maybe a slightly smaller one would be handy

Know wot u mean that's why we did away with the awning and used a gazebo
 
Managed to get another sneaky day on the bus, Mrs wants all my 'junk' removed from the house so I told her I need the time getting it in the bus :lol: .......... Today I have sound :D Only ever had a Kenwood head unit with tape deck that came with the bus, so now I have a supply upfront from the LB it was time for an upgrade ;)

Picked up a Blaupunkt Altantic unit this week off a mate that he never used, so in it went. Then back in the day I ran a half decent settup in my Oak Green GTi and kept the amps and speakers...........so out they came, Alpine DDD, which in the mid '90s cost me a packet :lol: 6" bass units with tweeters & passive crossovers. I may in the future put the Bandpass 10" JBL sub inbetween the cab seats which has been sitting in the shed for more years than i care to remember :? Didnt go to town on the settup, but at least I have tunage........of course the aerial connecting didnt fit, so i need an adaptor :roll: Oh and notice the slice in the door card....that was me :roll:

001-10.jpg


Sneaky sweeter so as not to catch the eye of the theiving scum

002-10.jpg


Its nice and punchy, exactly how I remembered 8)

Then wired up the tacho...........it rocks!

004-8.jpg


Illumination is cool and the gang

005-8.jpg


And bespoke bed cushion fits a treat thanks to Jo at J&S, notice its shaped to go round the fuel fill, most EB conversions have units here

003-11.jpg


Just
 
Fair play just, looking good 8)
i have a couple of days off this wk so i might try and spend some time on mine but you put me to shame with what you get done :roll:
cheers shaun :D
 

Latest posts

Top