creationblue
Well-known member
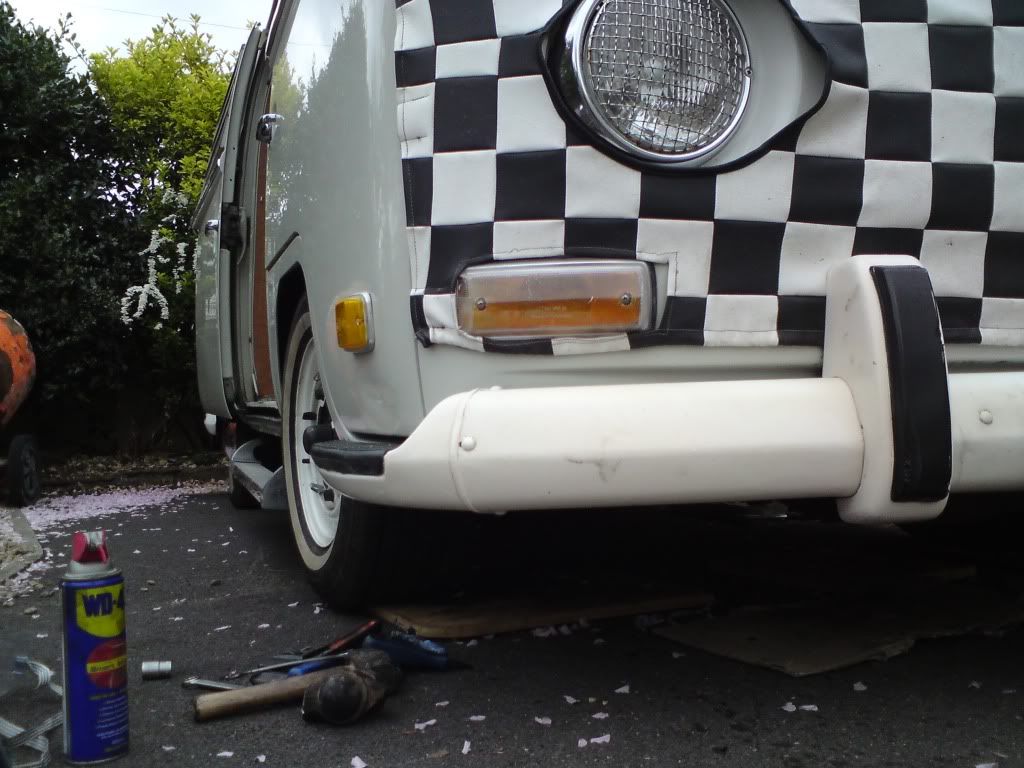
Well all i can say was 'what a ******* that job was!'
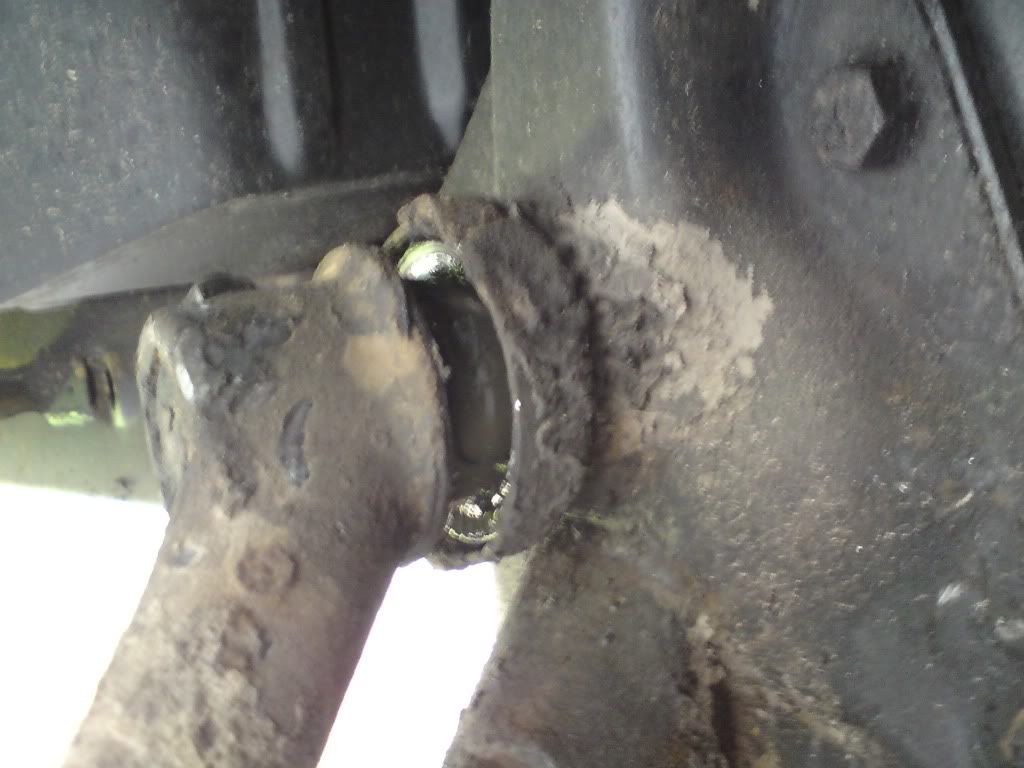
Pretty much took me all day, firstly i took the skin off my index finger with the very 1st spannering!!!! :evil: Thought right ill pull the leaves out the offside so set about stripping the anti-roll bar off, the brake line, and the shock. The bottom of the shock has a inner sleeve and this welded itsself to the bottom bolt :? took grinding and twisting with a set of stilsons and an hour before i could free it.
Next i cut off the bump stops, this was easy

Undid the grubs holding the torsion leaves and set about hammering them out........2 hours later i gave up, they just would not budge!!!!..... and started to strip the other side :evil: .......eventually they started to give
A load more hammering......
**** they were tight!!!!! just my luck :roll:
All that effort for this.......*******s!!!
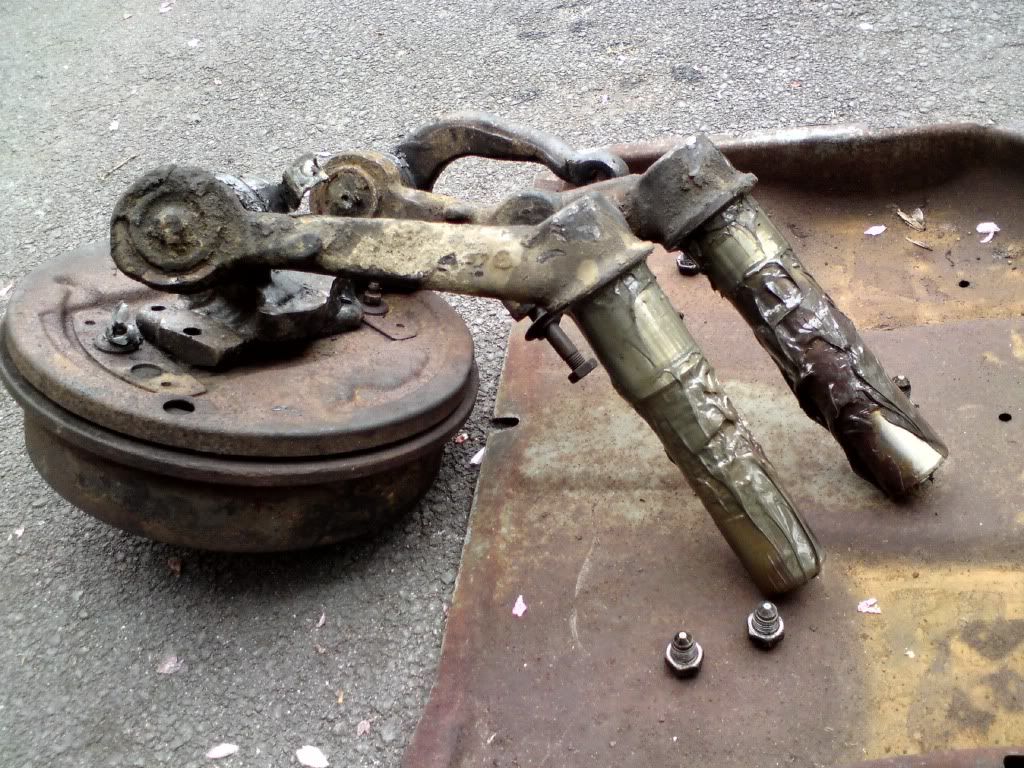
Out came the leaves..............easy job
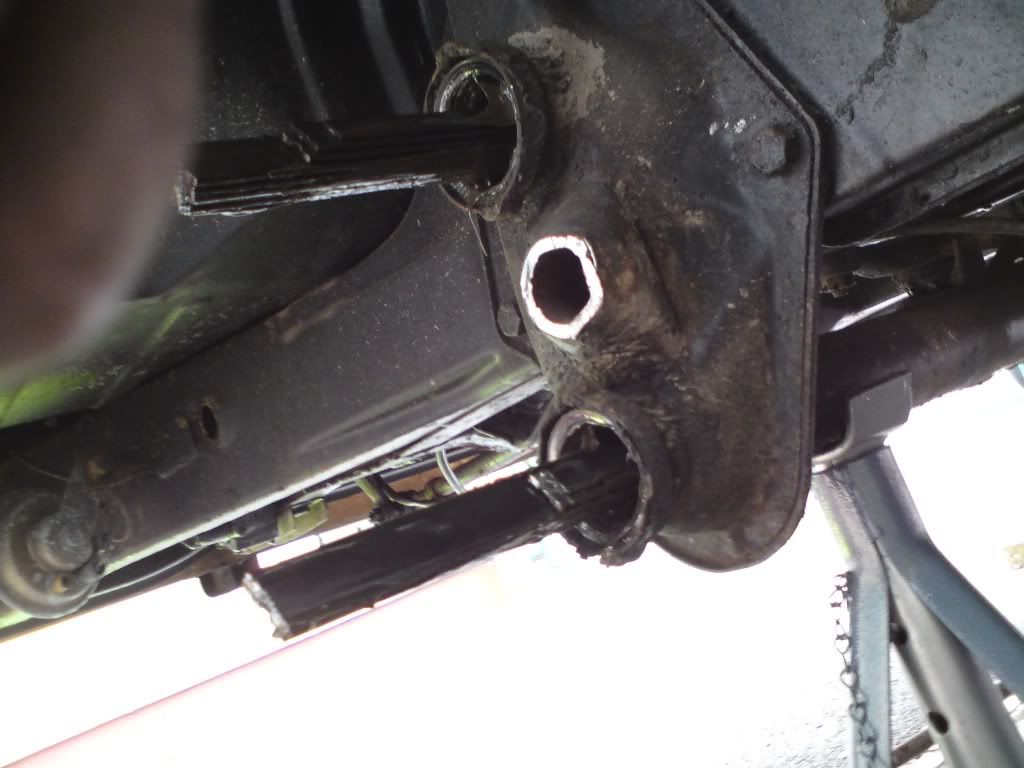
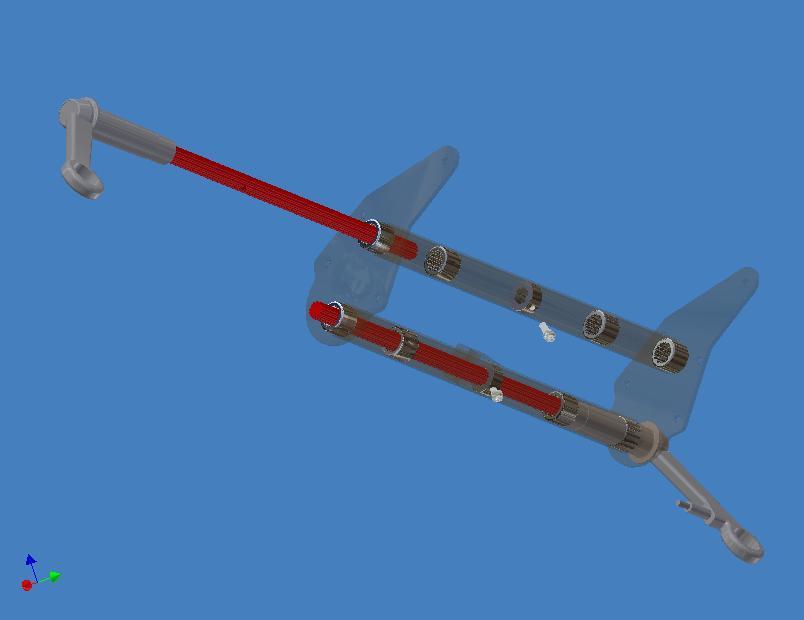
In went the new torsion bars......easy job
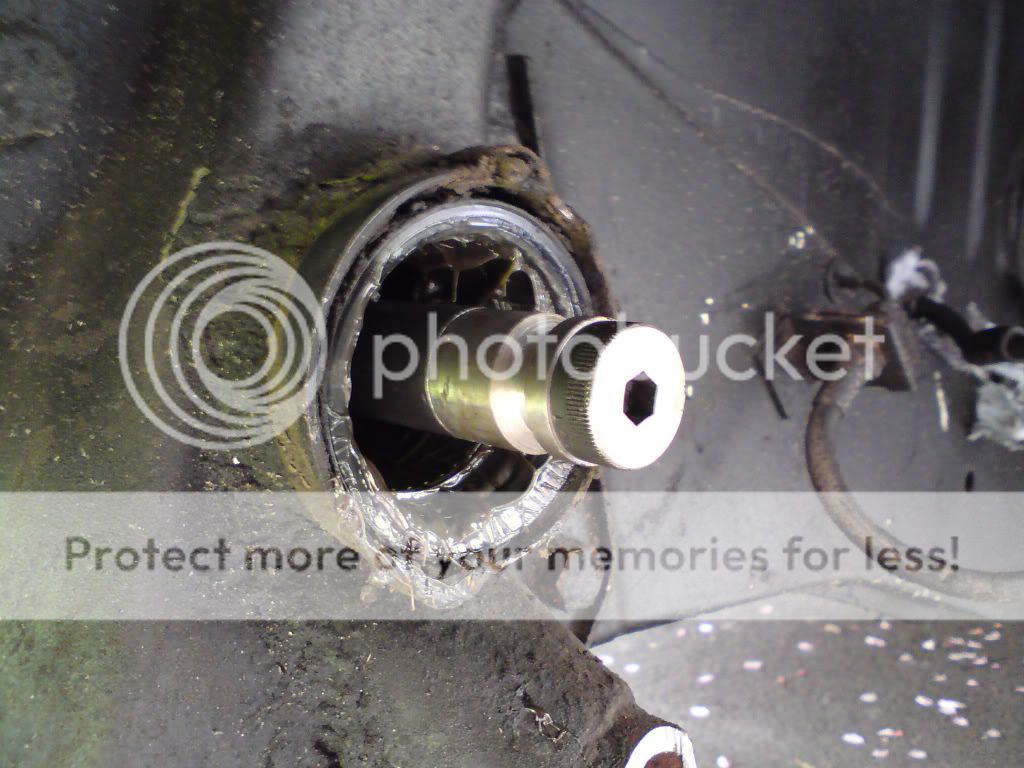
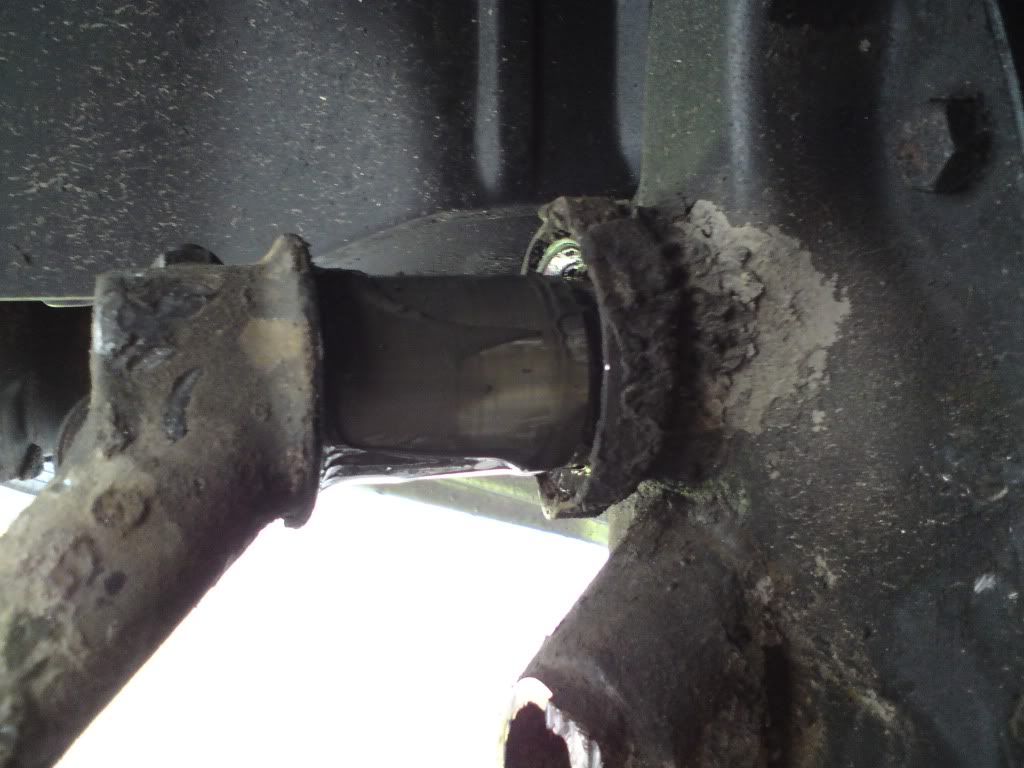
And on went the trailing arms........fairly easy, a bit fiddly to get then in the bearing housing, and it didnt help that some weld forced the cap off.....will have to silicon that back on!
Tightened up the grubs holding the arms and not forgetting the middle 2, I had to disconned the gear linkage to get to the top one. then fitted the coil-overs 8)
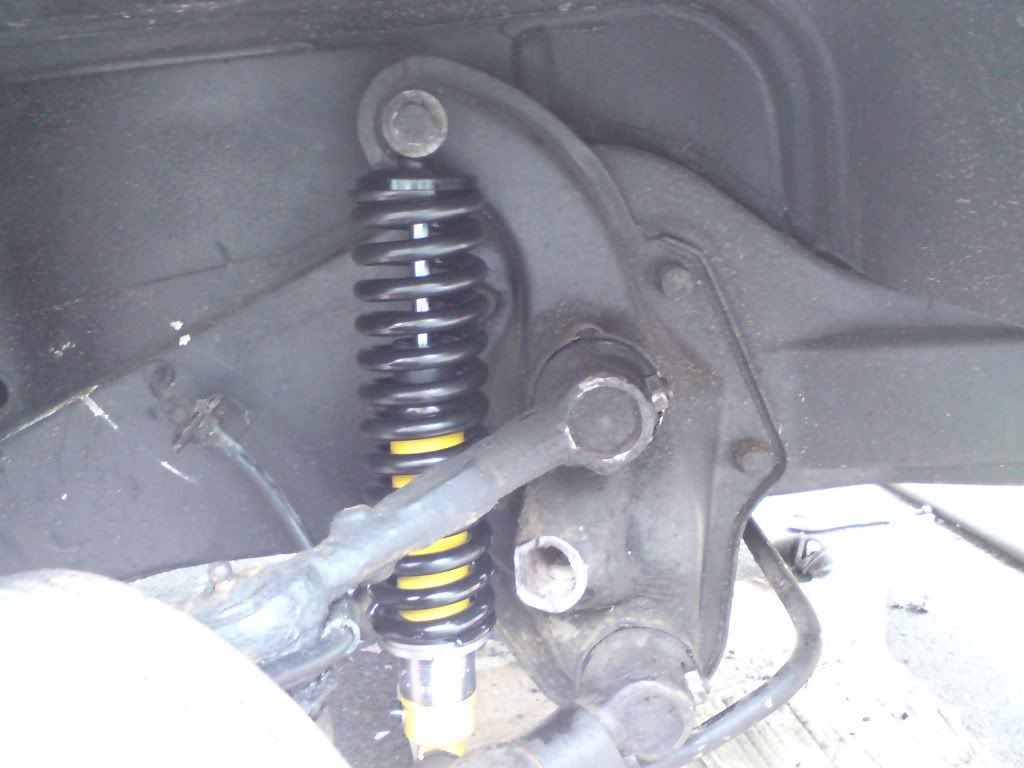
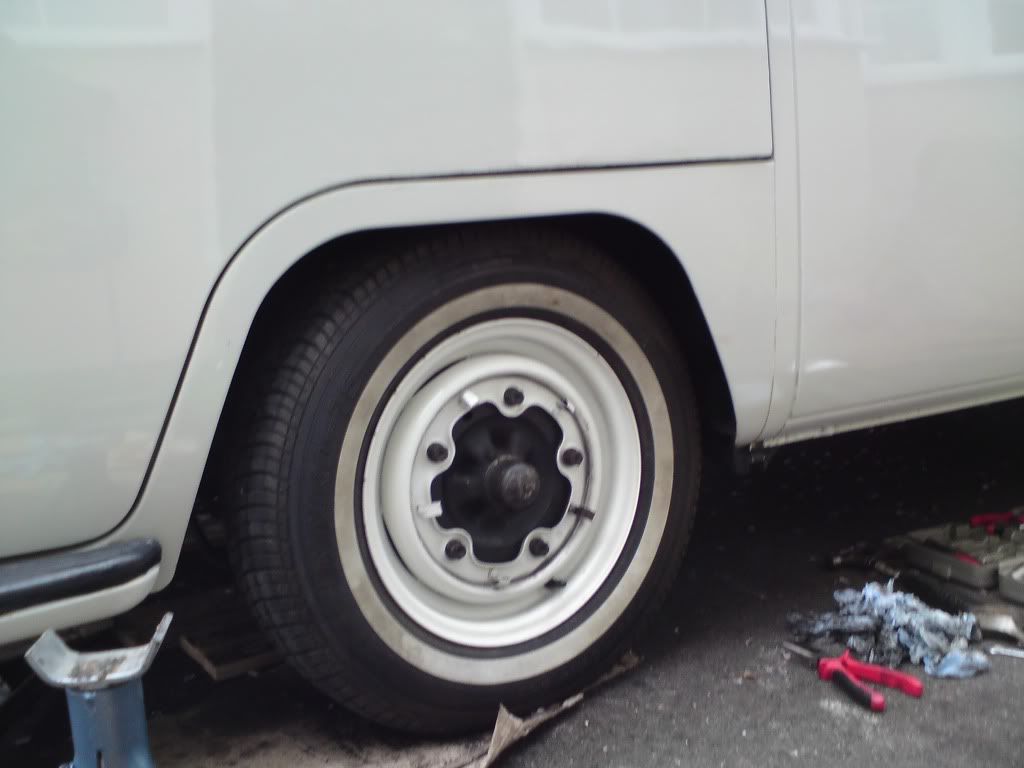
I left this on the factory settings for now as i ran out of time, this is the highest setting.
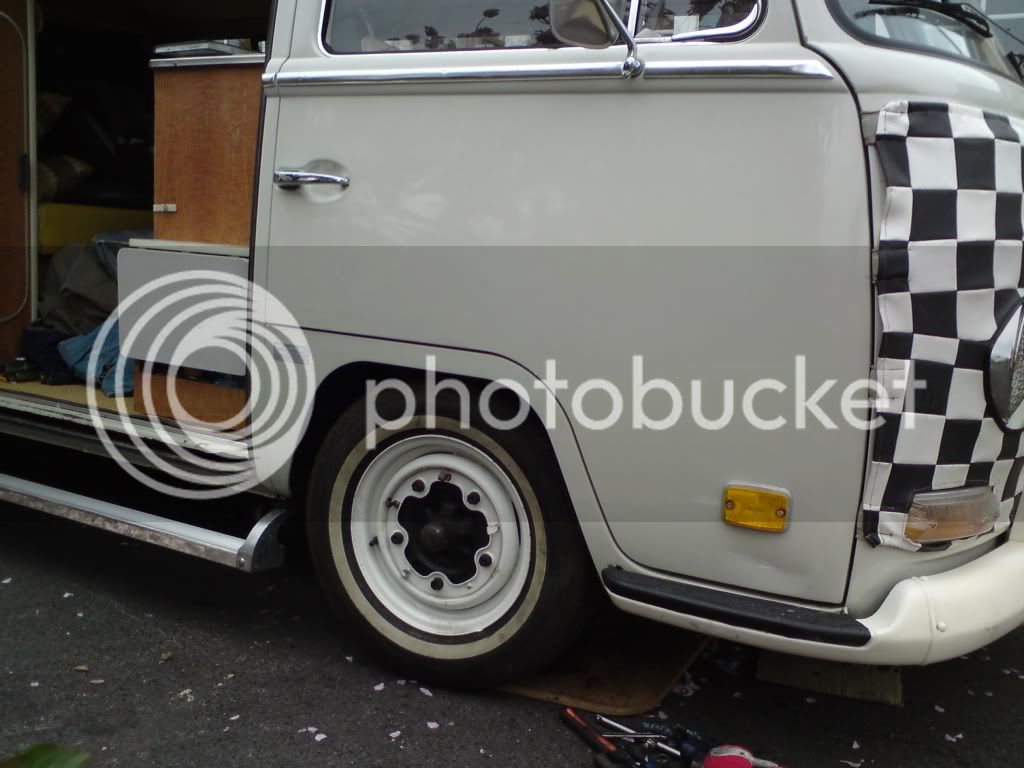
Next to refit the brake pipes, this was a pig, i eventually worked out that if i undid the union that joins the rubber hose to the copper i could swivel the rubber and get it attached to the drum :roll: Ok all worked well on the near side 8) But the cocking thing snapped off on the other side :evil:
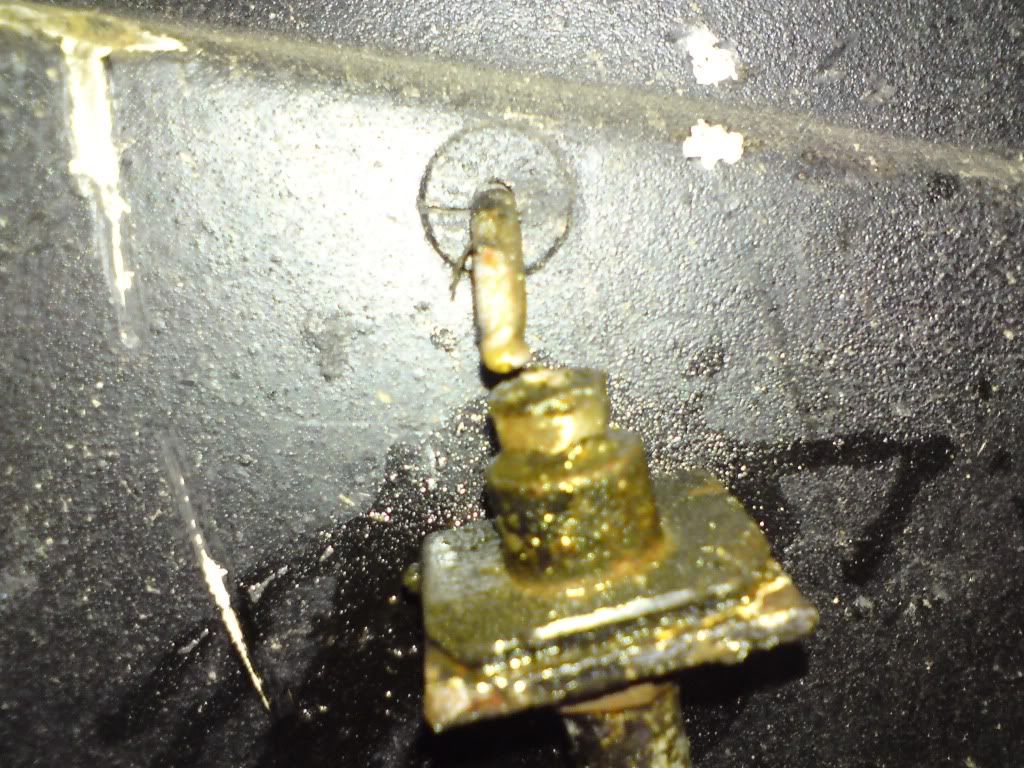
Bollox, no time or energy or parts to repair it so wheels went back on!!!
Looks like there is a T piece thru the chassis leg so I should be able to replace the snapped brake pipe and unions, never done brake lines before so any help appriciated on where to get the hardware and will i need any specialist tools?
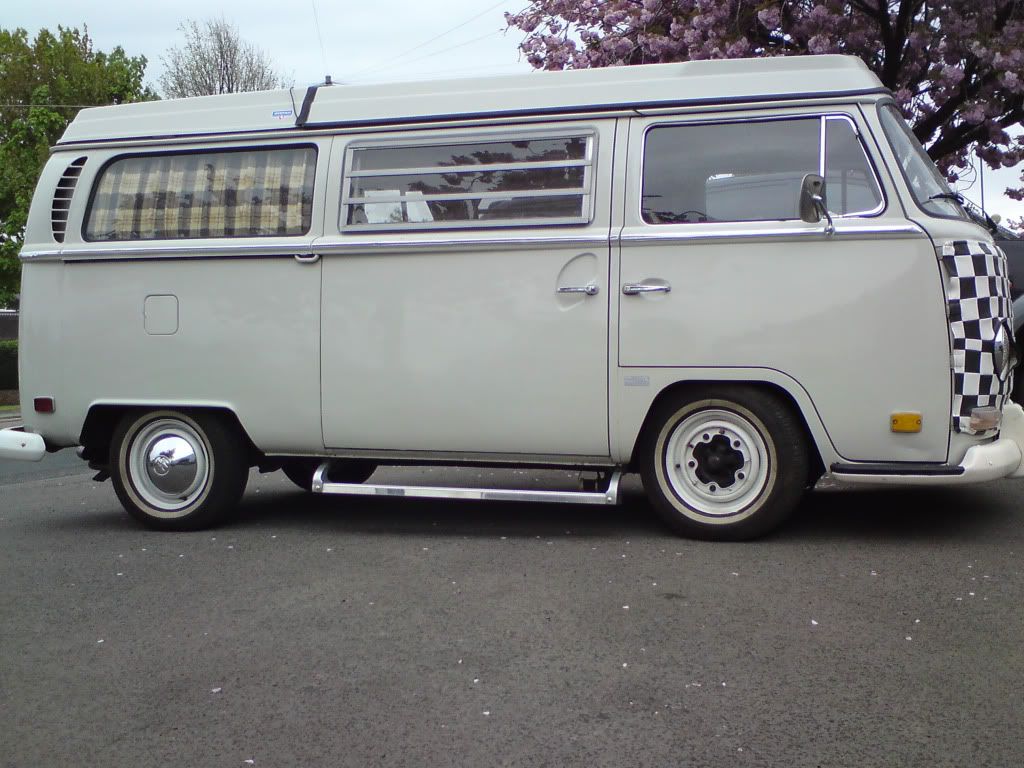
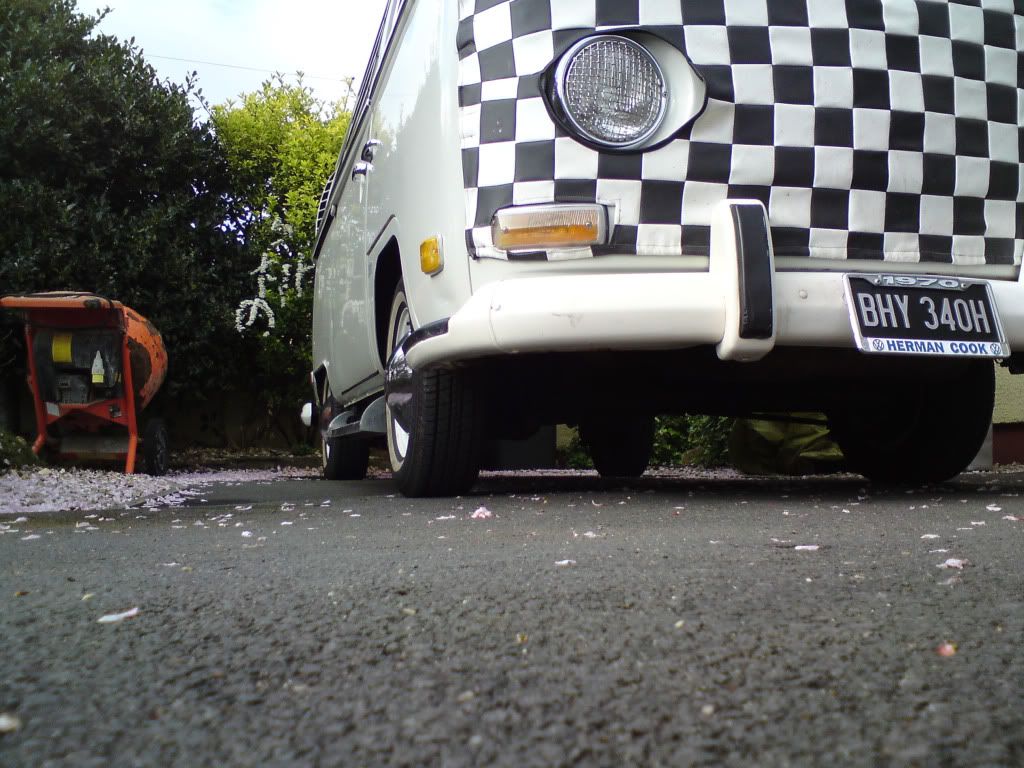
Anyway the stance is pretty good seeing as i havnt done the rear yet
Before
After
Just
Pretty much took me all day, firstly i took the skin off my index finger with the very 1st spannering!!!! :evil: Thought right ill pull the leaves out the offside so set about stripping the anti-roll bar off, the brake line, and the shock. The bottom of the shock has a inner sleeve and this welded itsself to the bottom bolt :? took grinding and twisting with a set of stilsons and an hour before i could free it.
Next i cut off the bump stops, this was easy
Undid the grubs holding the torsion leaves and set about hammering them out........2 hours later i gave up, they just would not budge!!!!..... and started to strip the other side :evil: .......eventually they started to give
A load more hammering......
**** they were tight!!!!! just my luck :roll:
All that effort for this.......*******s!!!
Out came the leaves..............easy job
In went the new torsion bars......easy job
And on went the trailing arms........fairly easy, a bit fiddly to get then in the bearing housing, and it didnt help that some weld forced the cap off.....will have to silicon that back on!
Tightened up the grubs holding the arms and not forgetting the middle 2, I had to disconned the gear linkage to get to the top one. then fitted the coil-overs 8)
I left this on the factory settings for now as i ran out of time, this is the highest setting.
Next to refit the brake pipes, this was a pig, i eventually worked out that if i undid the union that joins the rubber hose to the copper i could swivel the rubber and get it attached to the drum :roll: Ok all worked well on the near side 8) But the cocking thing snapped off on the other side :evil:
Bollox, no time or energy or parts to repair it so wheels went back on!!!
Looks like there is a T piece thru the chassis leg so I should be able to replace the snapped brake pipe and unions, never done brake lines before so any help appriciated on where to get the hardware and will i need any specialist tools?
Anyway the stance is pretty good seeing as i havnt done the rear yet
Before
After
Just