The Dropped Dough Ball

Early Bay Forum

Help Support Early Bay Forum:

This site may earn a commission from merchant affiliate links, including eBay, Amazon, and others.
easy said:
I will get a pic for you of their postion. I pre loaded them before adjusting so that I got a perfect travel rate. I will need to do a cheeky tub of the arches tho as they do rub a small amount when cornering under full load. 8)

I've heard/seen this mentioned - can u elaborate plse Easy - as this could be some of my woes!

nice tub job...very similar to where I need to go -- no chassis notches [or already done?]
 
dubdubz said:
easy said:
I will get a pic for you of their postion. I pre loaded them before adjusting so that I got a perfect travel rate. I will need to do a cheeky tub of the arches tho as they do rub a small amount when cornering under full load. 8)

I've heard/seen this mentioned - can u elaborate plse Easy - as this could be some of my woes!

nice tub job...very similar to where I need to go -- no chassis notches [or already done?]

No probs dooder. It just means that you push up the spindles before tightening down the adjusters and then push up the adjuster and tighten. It means that its already under load before pushing the adjusters up. You can mess about with each adjuster, and say only do it on the top one and not the bottome etc, until you get the best ride, that suits you.

Myself and most of my mates do this and it works well, gives you more beans from everything. :mrgreen: Not very clear, but you get the idea ;)
 
easy said:
No probs dooder. It just means that you push up the spindles before tightening down the adjusters and then push up the adjuster and tighten. It means that its already under load before pushing the adjusters up. You can mess about with each adjuster, and say only do it on the top one and not the bottome etc, until you get the best ride, that suits you.

Myself and most of my mates do this and it works well, gives you more beans from everything. :mrgreen: Not very clear, but you get the idea ;)

nope still confused :lol: so the angle on each trailing arm is different and the tightening of the balljoint nuts to their respected places created the preload?

any links or further pics or real ejeet explanation....... :lol:
 
dubdubz said:
easy said:
No probs dooder. It just means that you push up the spindles before tightening down the adjusters and then push up the adjuster and tighten. It means that its already under load before pushing the adjusters up. You can mess about with each adjuster, and say only do it on the top one and not the bottome etc, until you get the best ride, that suits you.

Myself and most of my mates do this and it works well, gives you more beans from everything. :mrgreen: Not very clear, but you get the idea ;)

nope still confused :lol: so the angle on each trailing arm is different and the tightening of the balljoint nuts to their respected places created the preload?

any links or further pics or real ejeet explanation....... :lol:

Sorry dood :oops: im rubbish at explaning myself! :oops: :lol: maybe someone else can do it better. :lol:
 
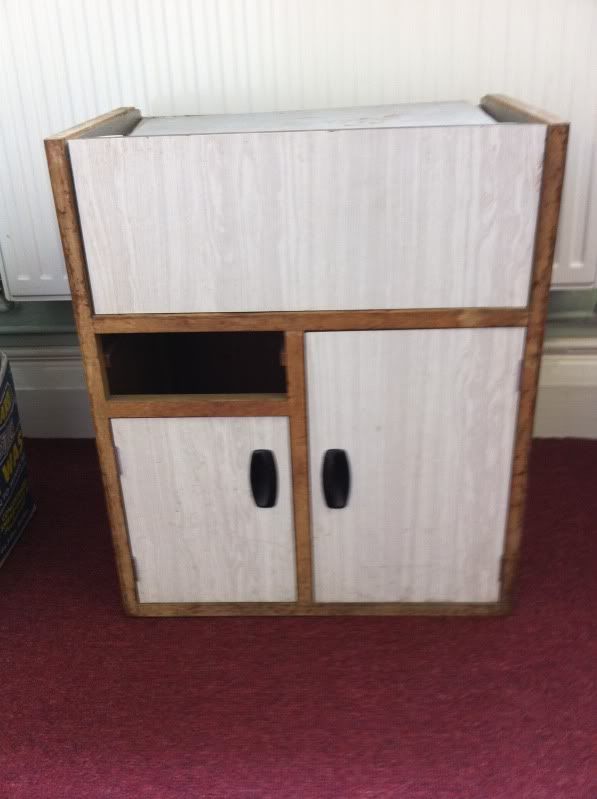
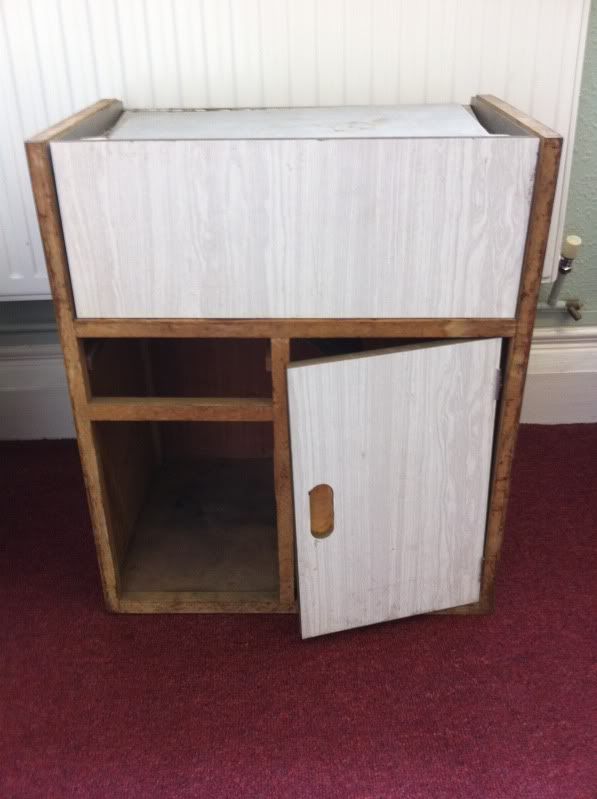
Right then, i finally got meself a Devon Moon racker Cabinet!! (2 Actually! :lol: ) so i have started the resto job on it, with a view to putting it in the bus.

Taking the thing apart for cleaning and sanding, plus replacing all the screws for new ones 8)

IMG_0281.jpg

IMG_0283.jpg


Sanding has begun! so will put up the piccies tomorrow.
 
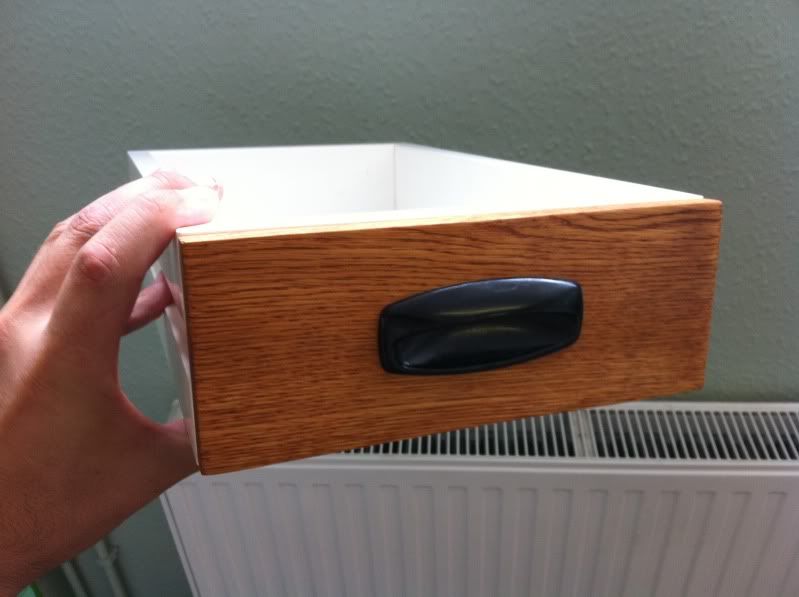
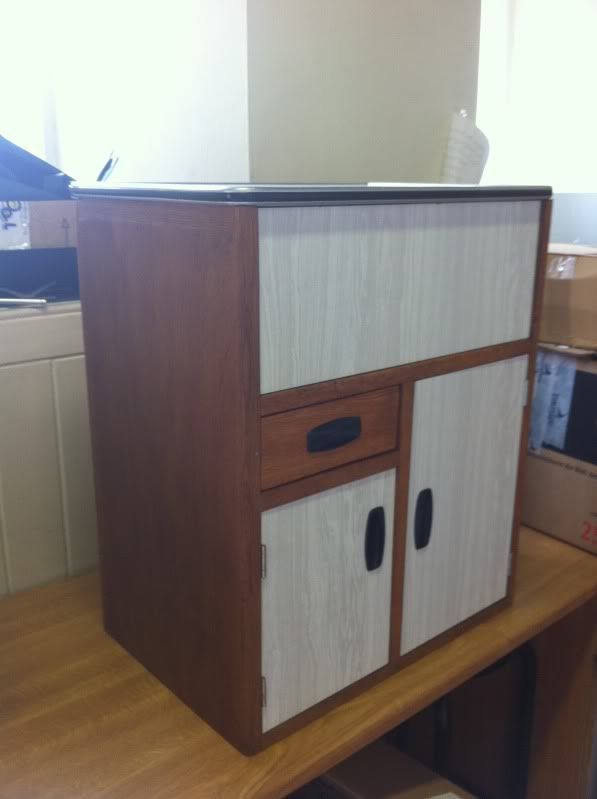
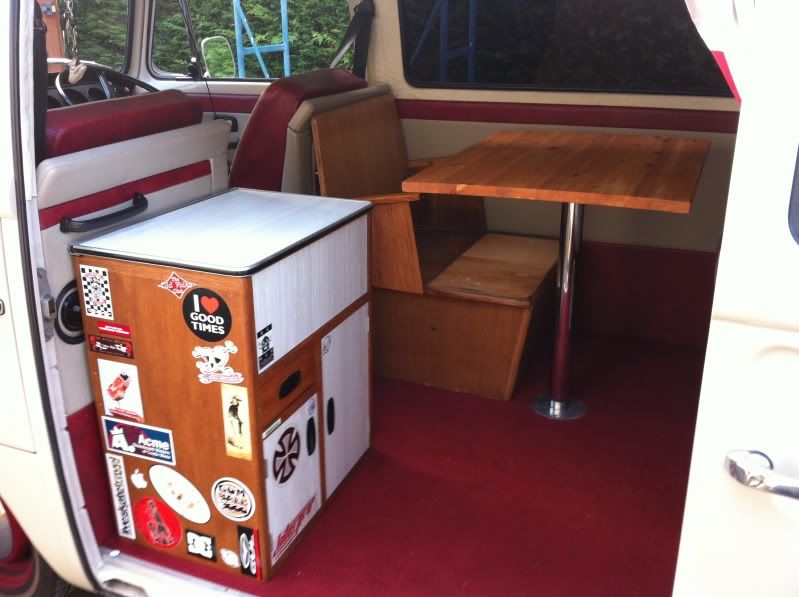
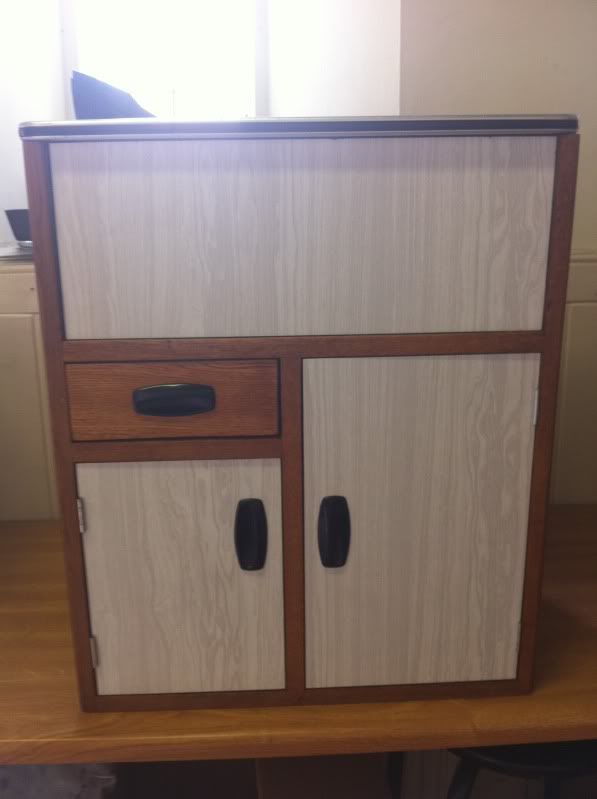
Got the cupboard finished! Took some time and some sanding but after a good staining session its all finished. :mrgreen:

IMG_0293.jpg
IMG_0320.jpg
IMG_0321.jpg


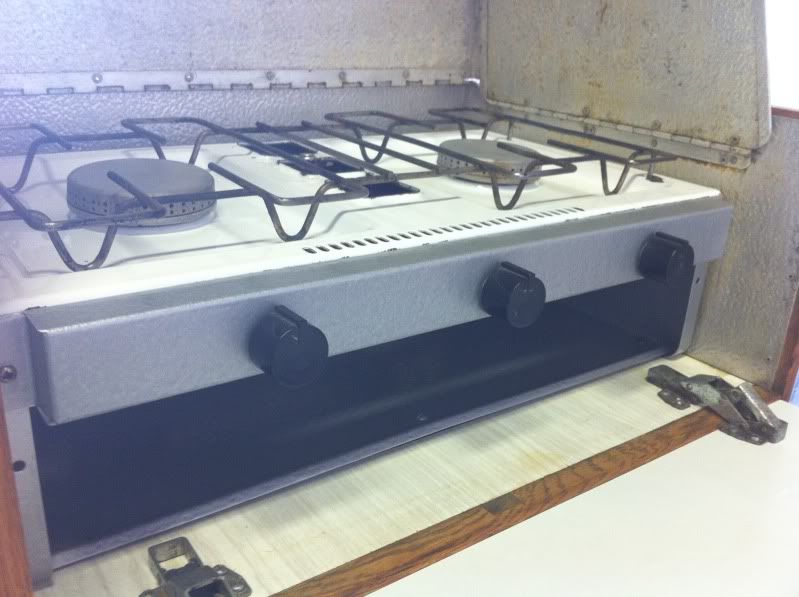
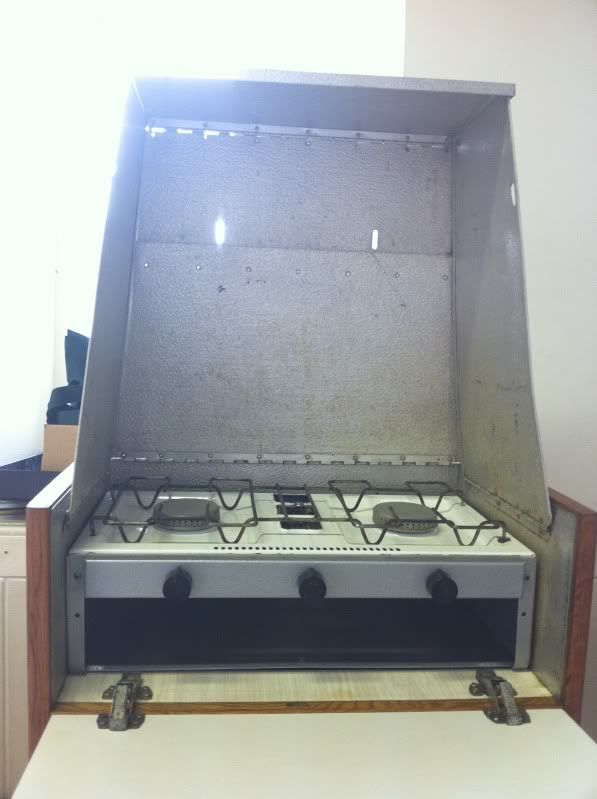
Also fixed and painted the cooker :mrgreen:

IMG_0323.jpg
IMG_0322.jpg


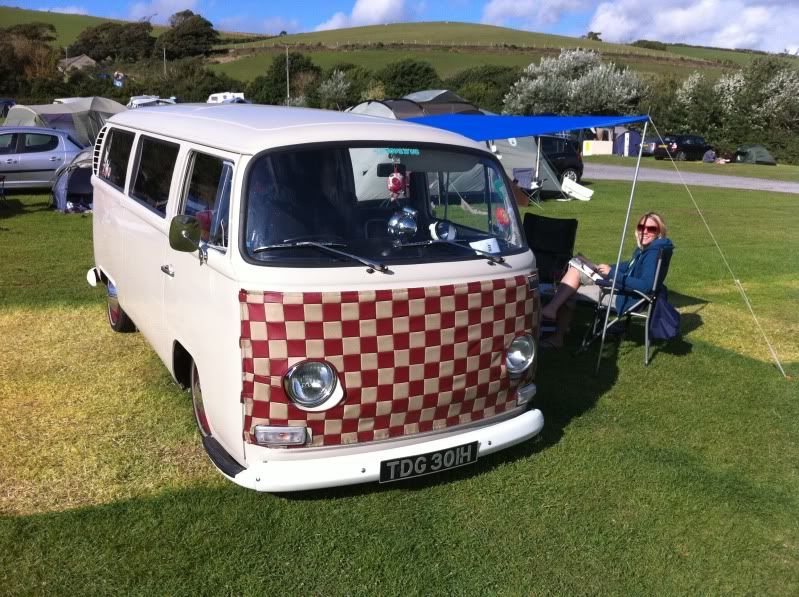
All fixed just in time for this weekend 8)
 
Rockin the campsite, after just sneaking over the speed bumps :lol:

IMG_0297.jpg
 
easy said:
dubdubz said:
easy said:
No probs dooder. It just means that you push up the spindles before tightening down the adjusters and then push up the adjuster and tighten. It means that its already under load before pushing the adjusters up. You can mess about with each adjuster, and say only do it on the top one and not the bottome etc, until you get the best ride, that suits you.

Myself and most of my mates do this and it works well, gives you more beans from everything. :mrgreen: Not very clear, but you get the idea ;)

nope still confused :lol: so the angle on each trailing arm is different and the tightening of the balljoint nuts to their respected places created the preload?

any links or further pics or real ejeet explanation....... :lol:

i think this is what I have done as well....

basically the 2 adjusters on the beam are in different positions....
so the torsion leaves are working against each other rather than in harmony.... they are twisting at different tensions...

i had to take out one of the balljoints on each side and support the hub assembly so you can move the trailing arms independent of each other.....

meaning that if the bus was jacked up with the wheels and hub assemblies removed the top and bottom trailing arms would rest at different angles.... makes it a bit of a pain to get the hub assembly/balljoints back in place but can give a better/firmer ride.

kind of works as if you had a foksey adjuster in your beam.... top leaves are adjusted via the adjuster where as the bottom leaves are left in stock position.... i always had a better ride with my old beam and foksey.... but it just wouldnt go low enough....

hope that helps a bit?!?!

Sorry dood :oops: im rubbish at explaning myself! :oops: :lol: maybe someone else can do it better. :lol:
 
Interior nearly finished :D just got to sort out some cusions for the buddy seat and what type of new floor :?:

Anyway here is the cabinet i rebuilt and the buddy seat that i refurbed and rebuilt a new arm and rest for :D

I think it like like one of those camping buses now ;) :lol:

VanInteriorSept2010004.jpg
 
Cheers doods, 8) they are not fixed in, so I can take them out when I want to :mrgreen:
 
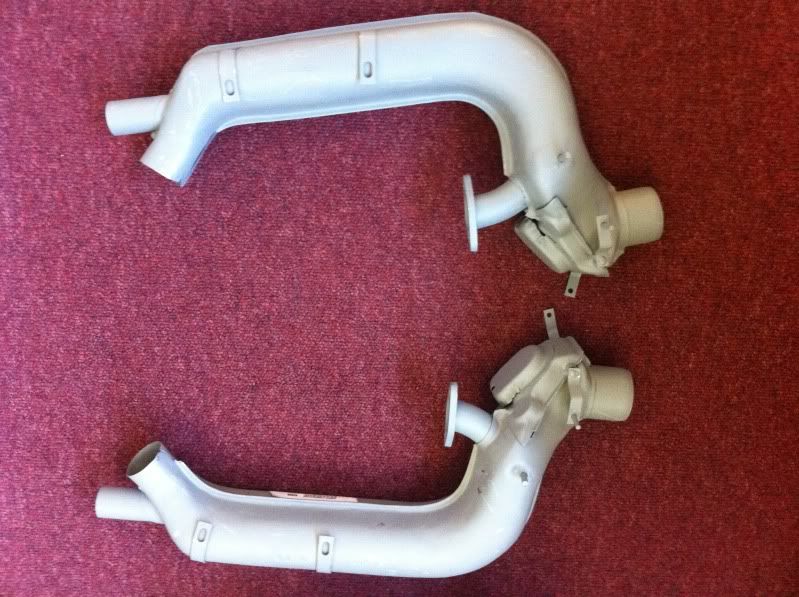
New Heat exchangers purchased! now to paint and wrap them, to stop em rotting and keep the heat in!

NewHeatExchangers002.jpg


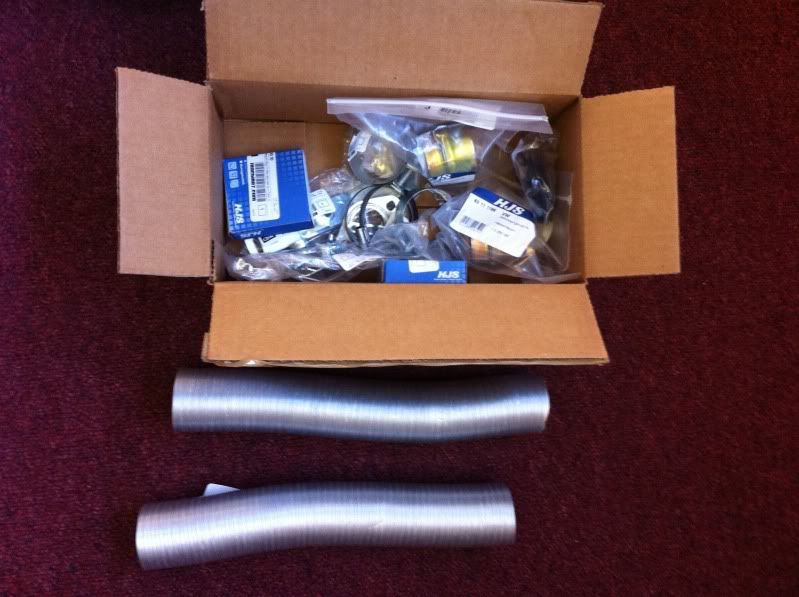
all new fittings :)

NewHeatExchangers004.jpg
 
61 stu said:
looks mint 8)

Ive got loads to sort out over the next month, got some adjustable spring plates on order and its service and MOT time, plus ive got to fit a new floor soon and get some upholstery done on the new buddy seat 8)
 
Make sure you document thework you are doing to the HX so we can all learn dude ;)
 
will do dood! painting starts next week! 8)
 

Latest posts

Top