The Restoration of Stanley.

Early Bay Forum

Help Support Early Bay Forum:

This site may earn a commission from merchant affiliate links, including eBay, Amazon, and others.
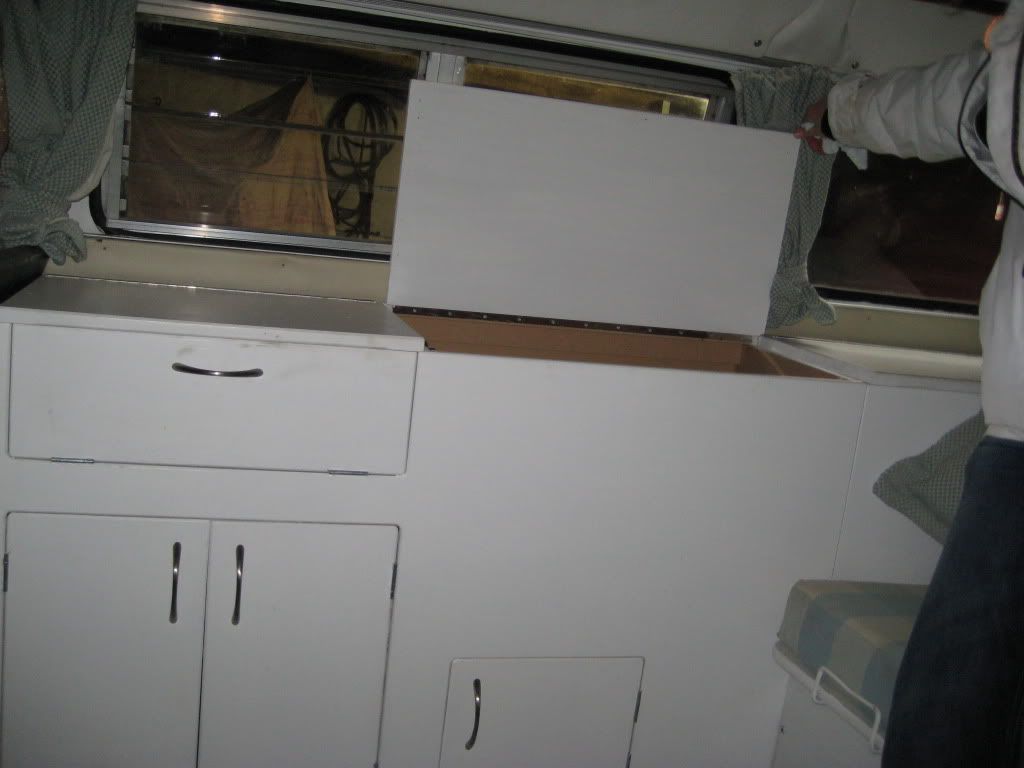
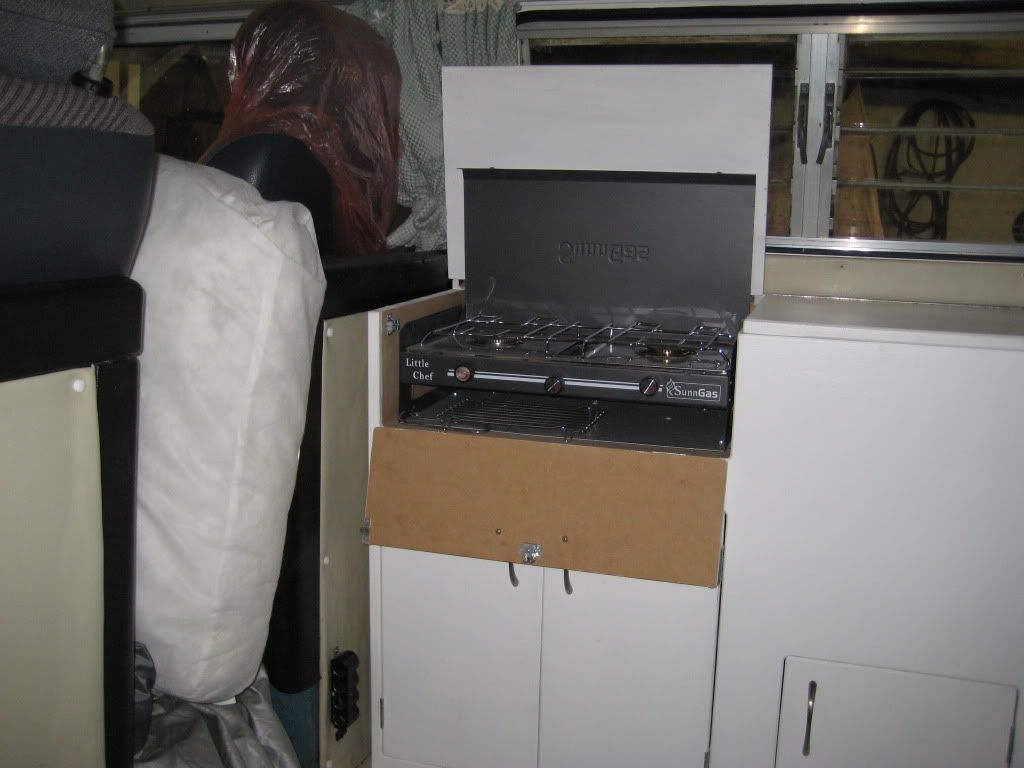
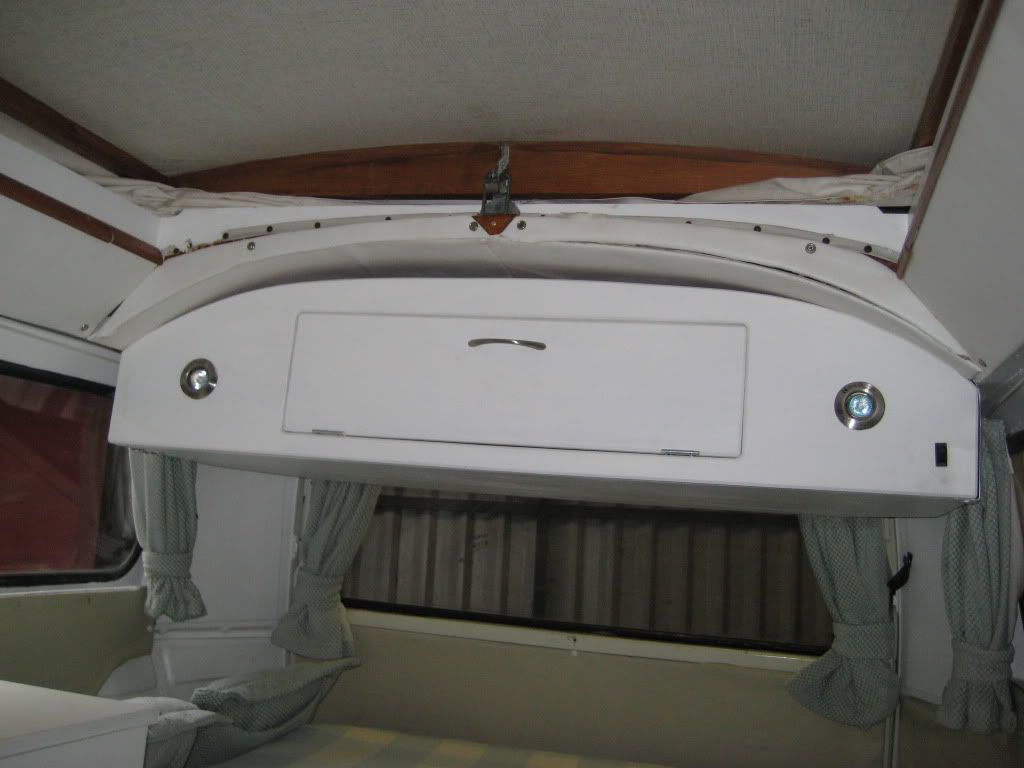
Thanks for your replies, the interiors certainly going to be unique when Tracys finished with it! its going to be 21st century comforts with a 70s twist but the van will retain its original character but i'll let Tracy tell you what she has in mind. anyway got any good links to building/designing a modern interior for a tye 2?
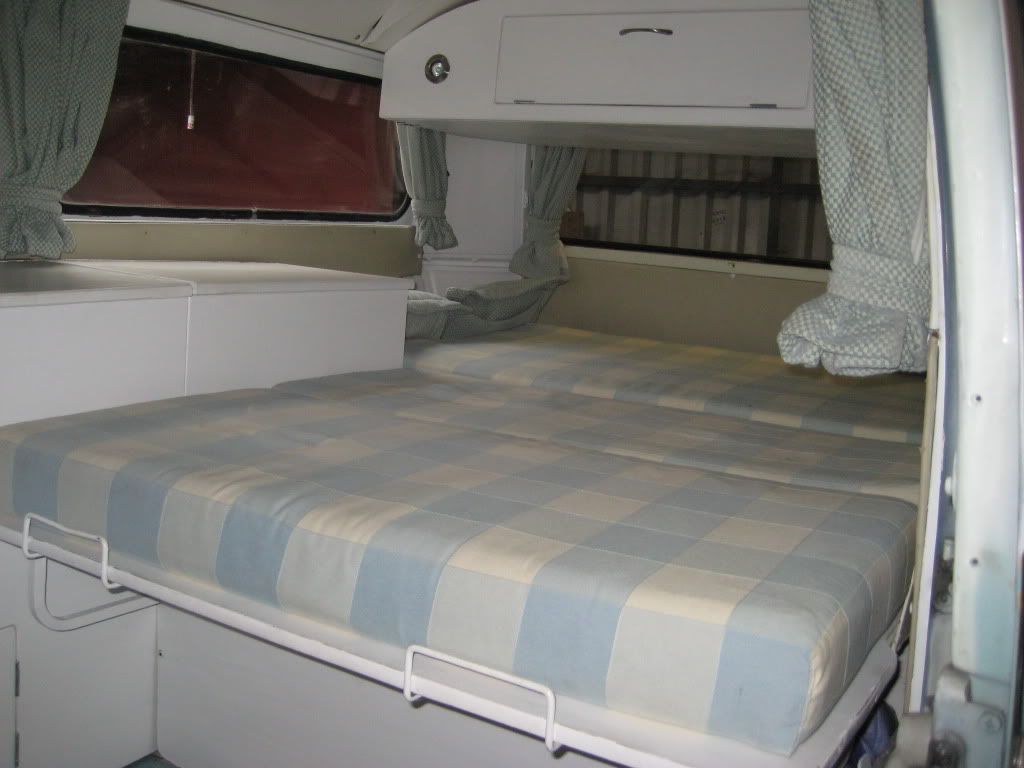
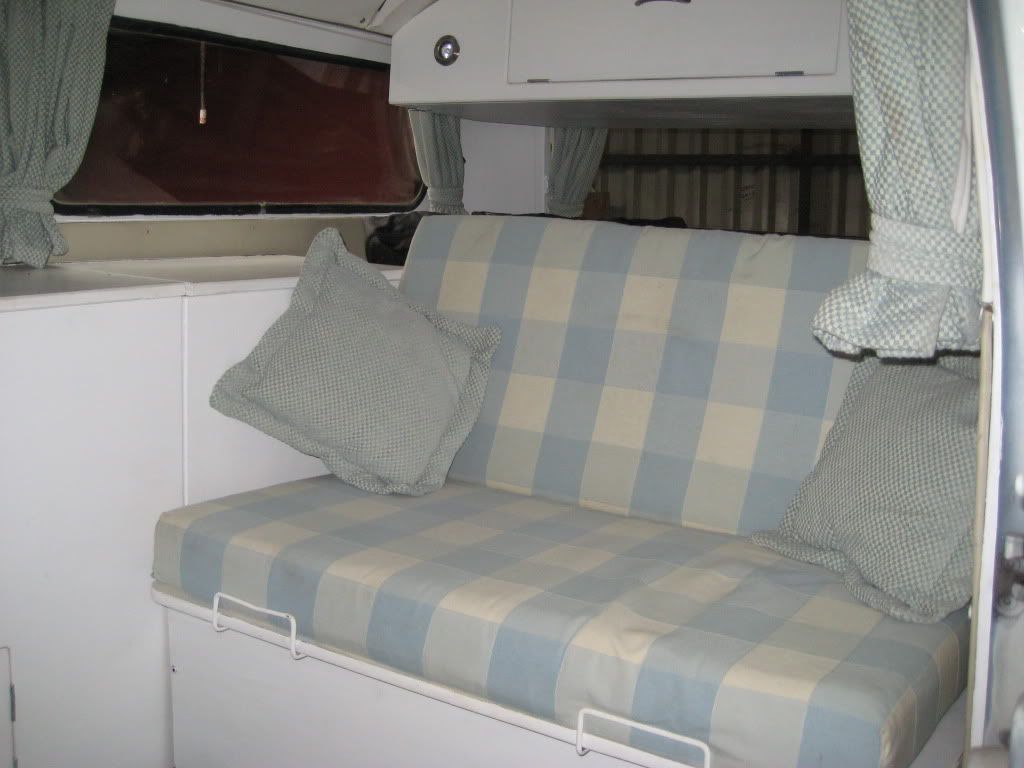
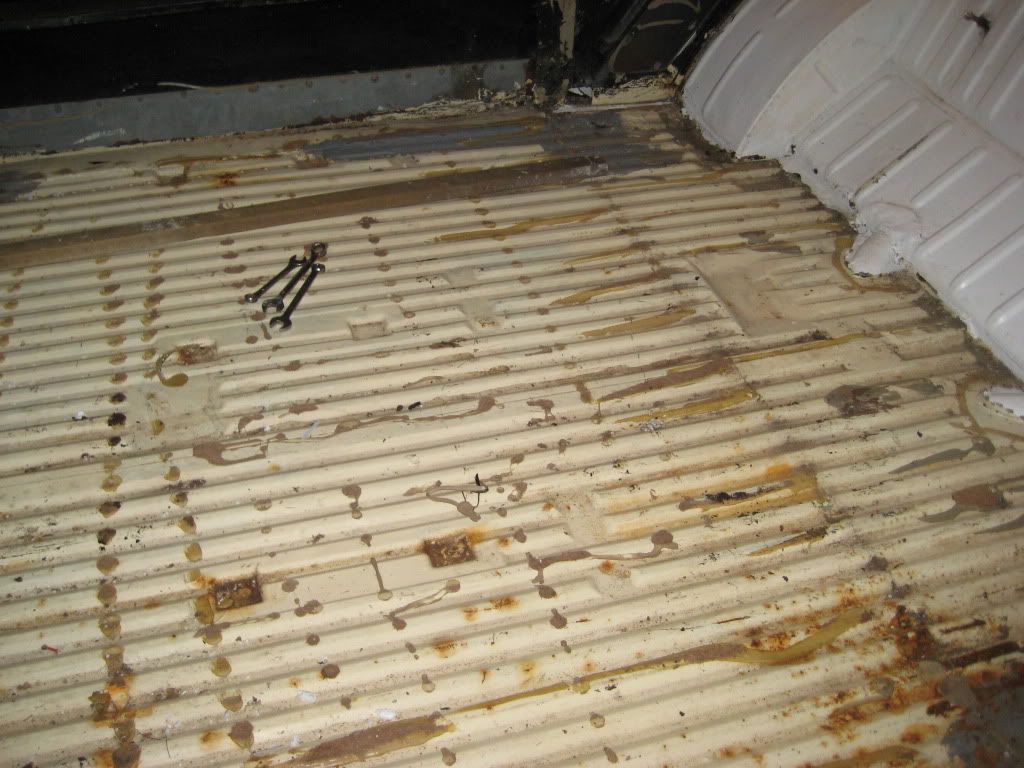
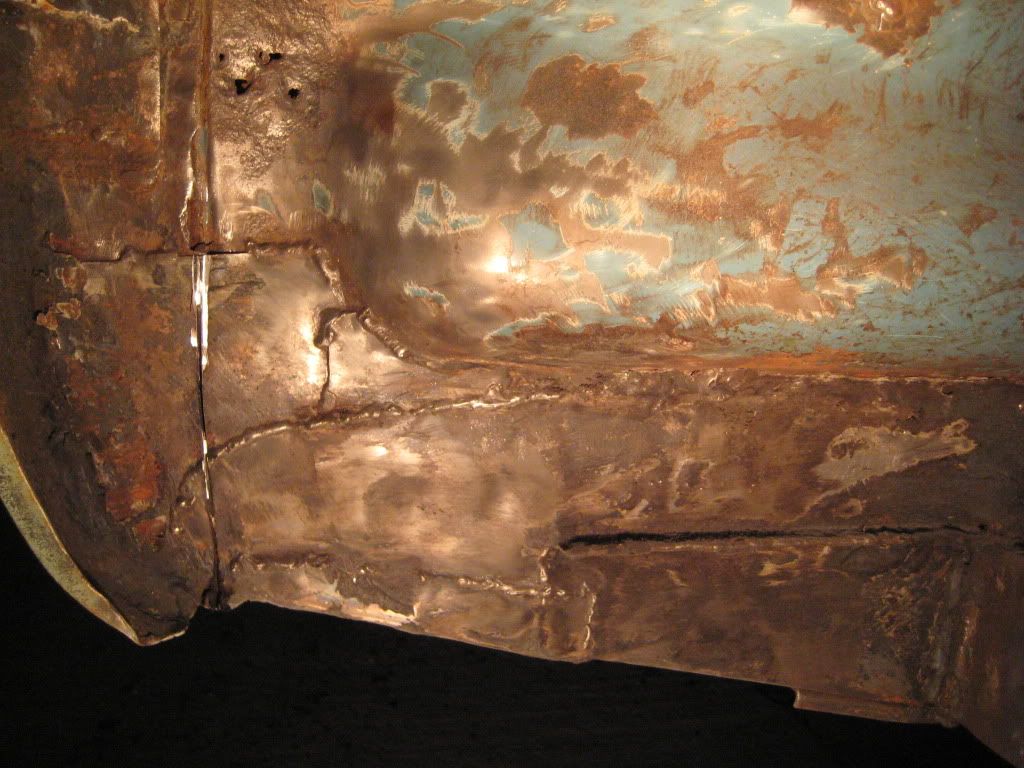
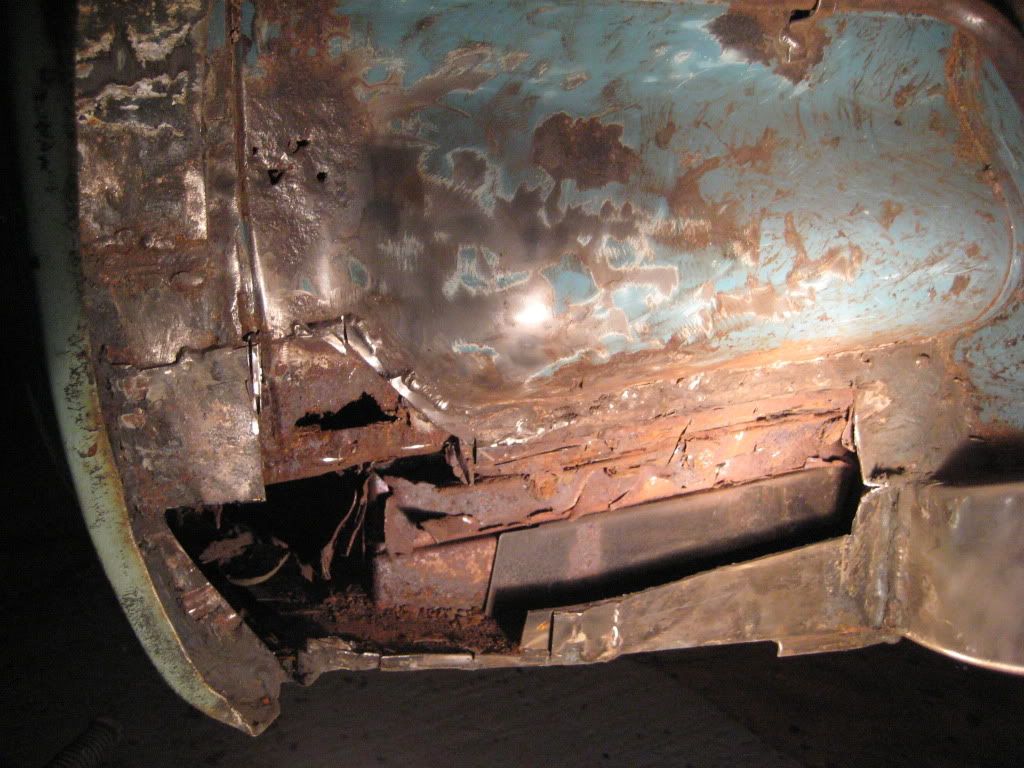
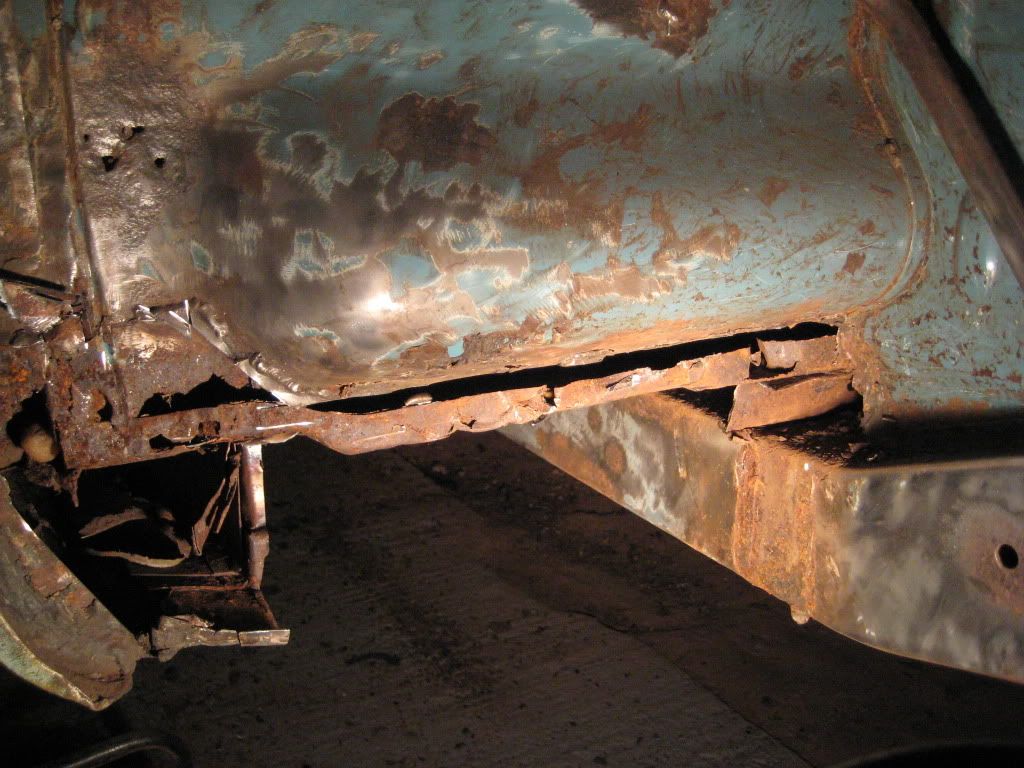
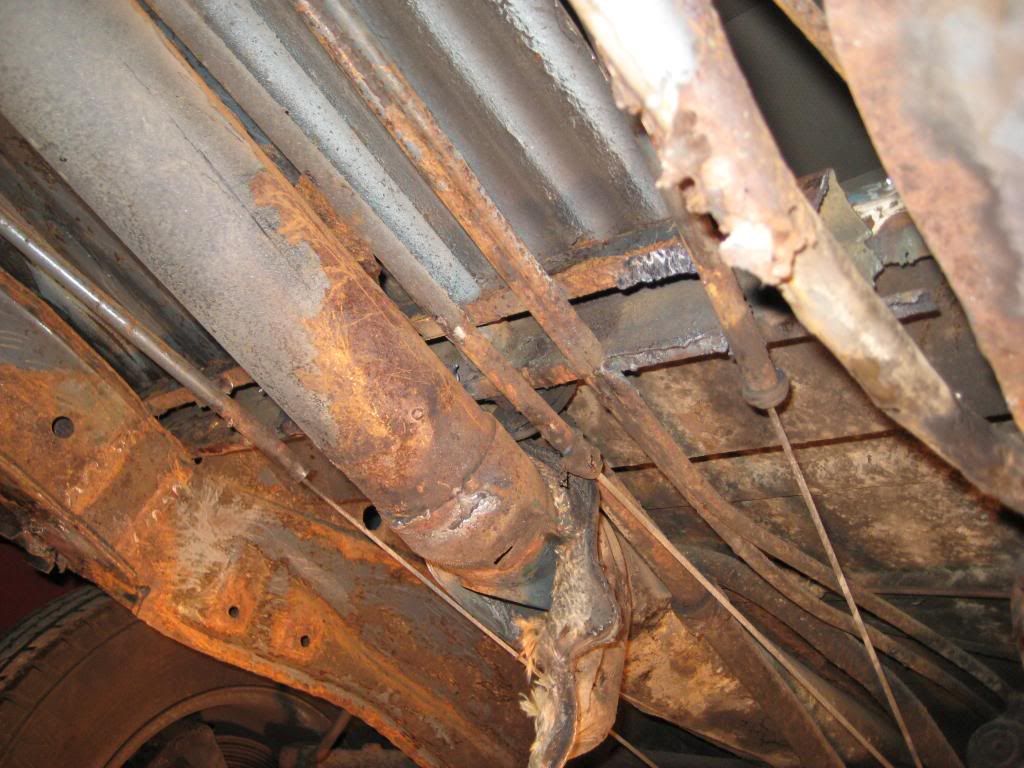
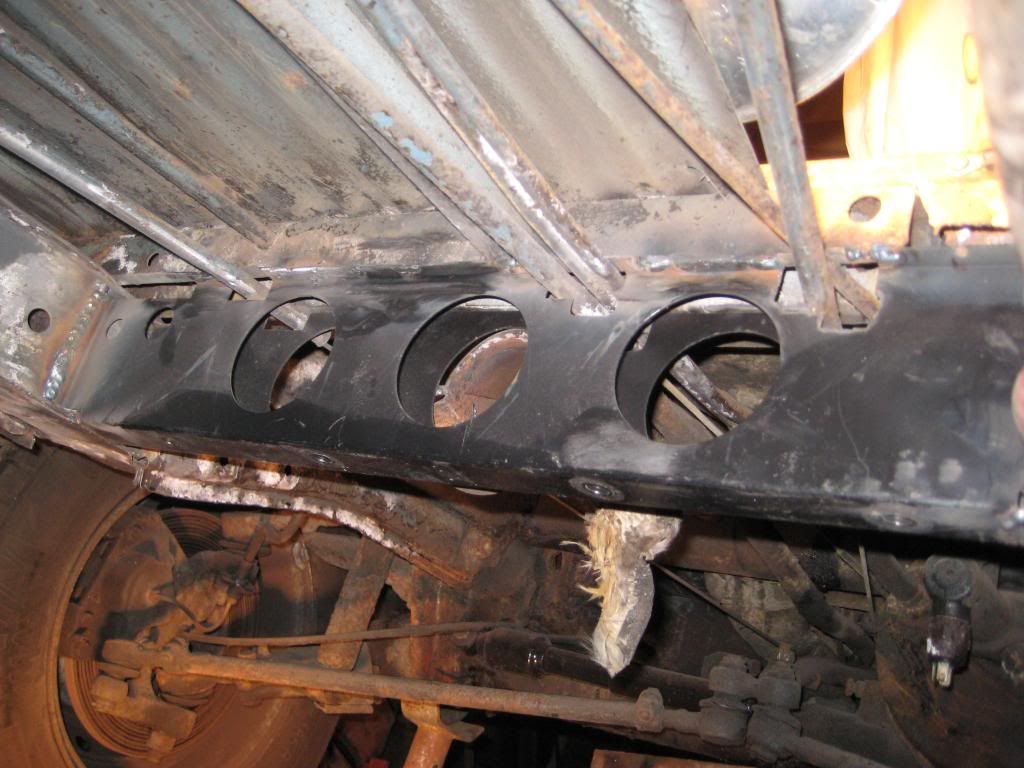
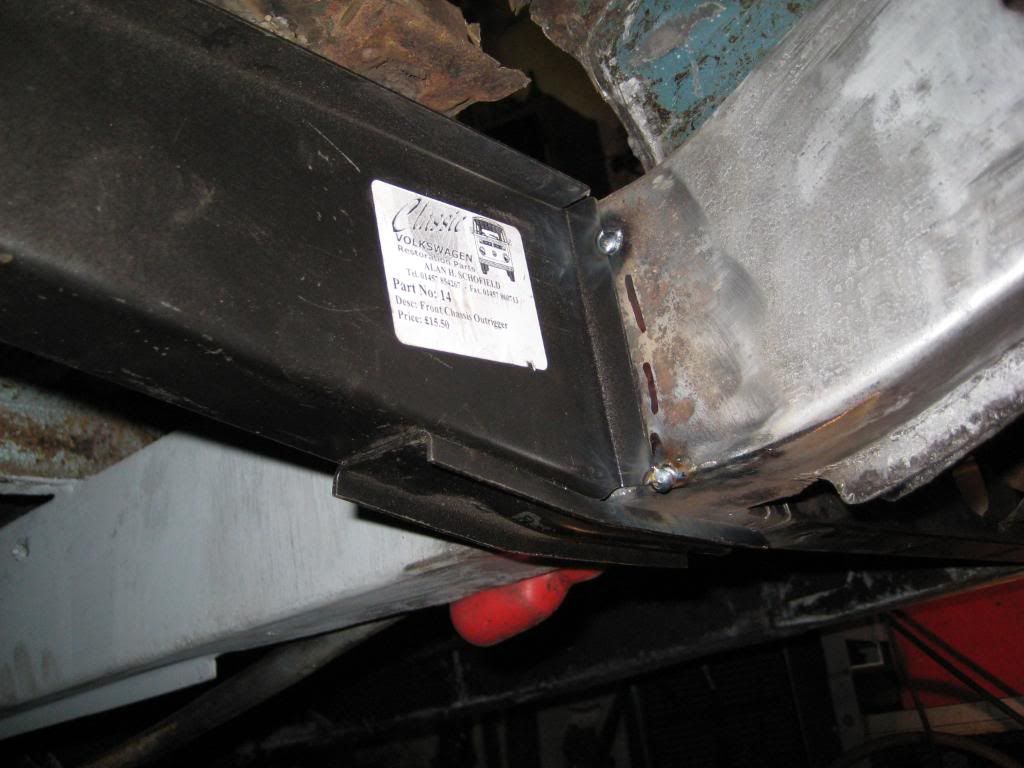
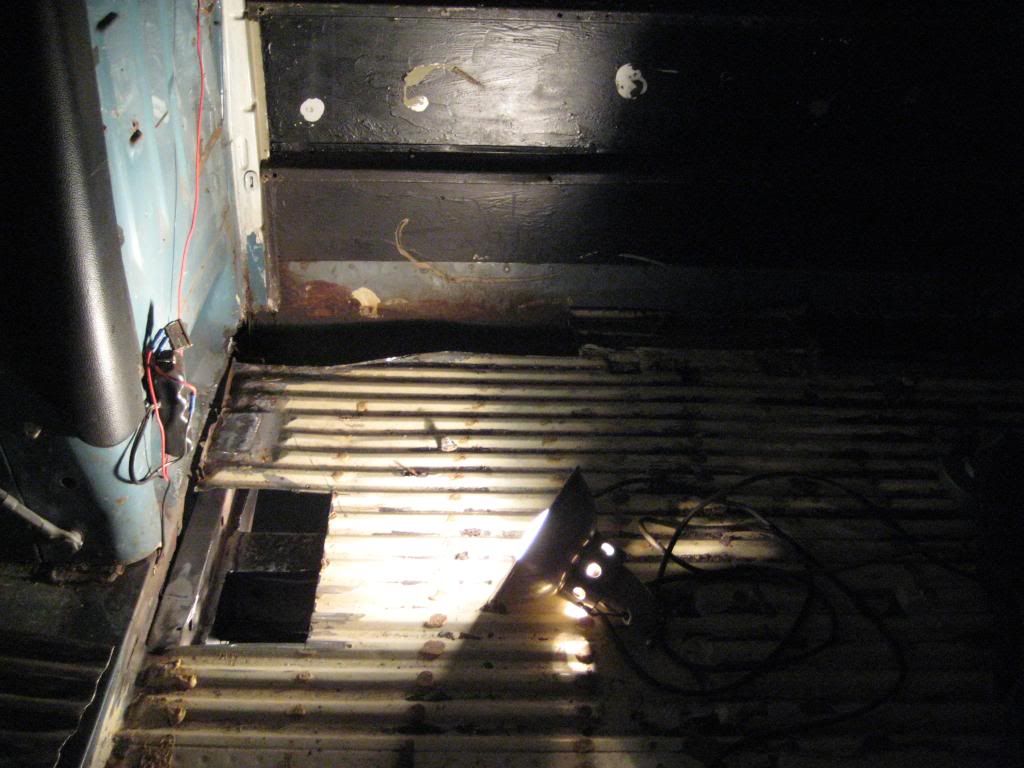
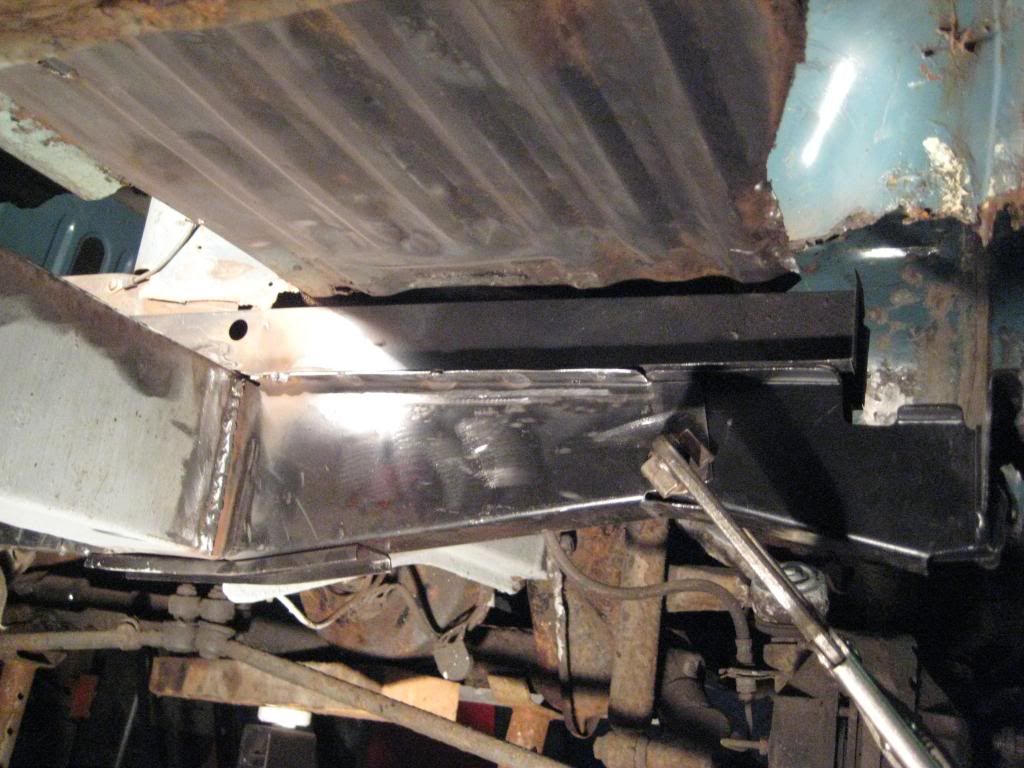
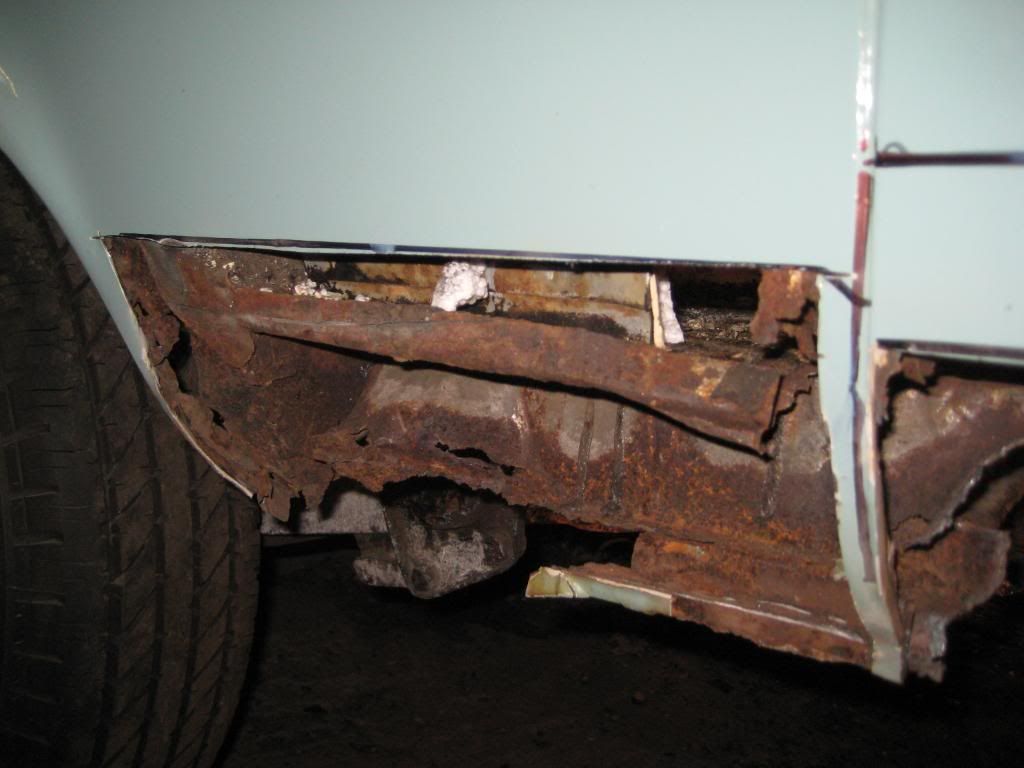
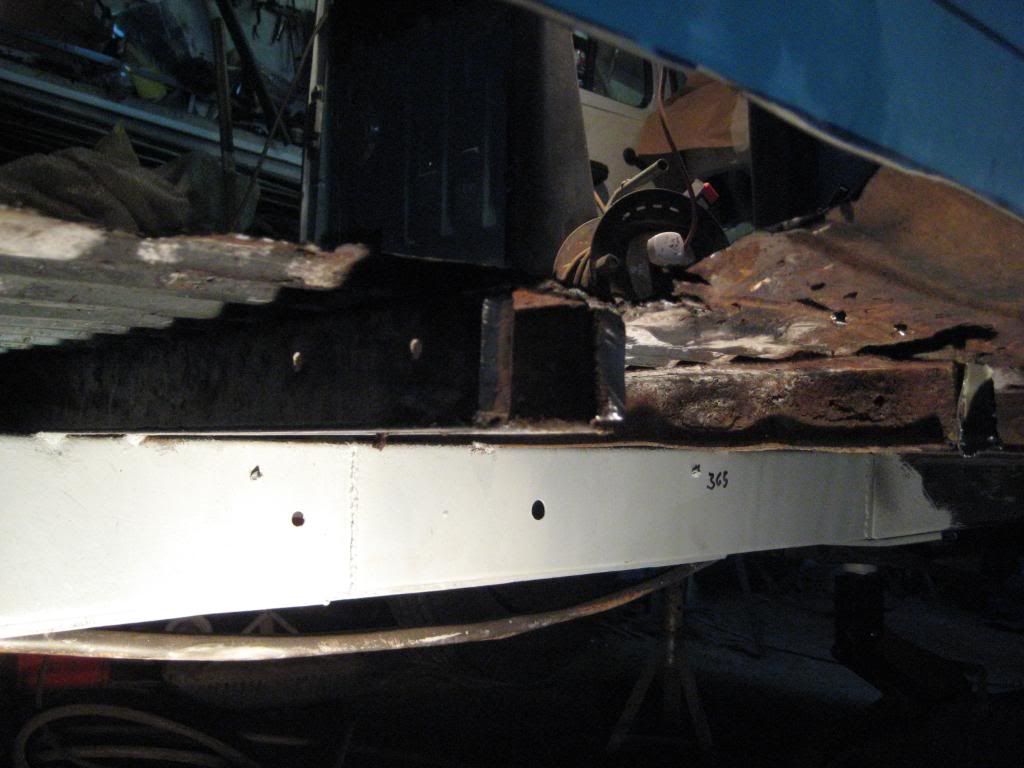
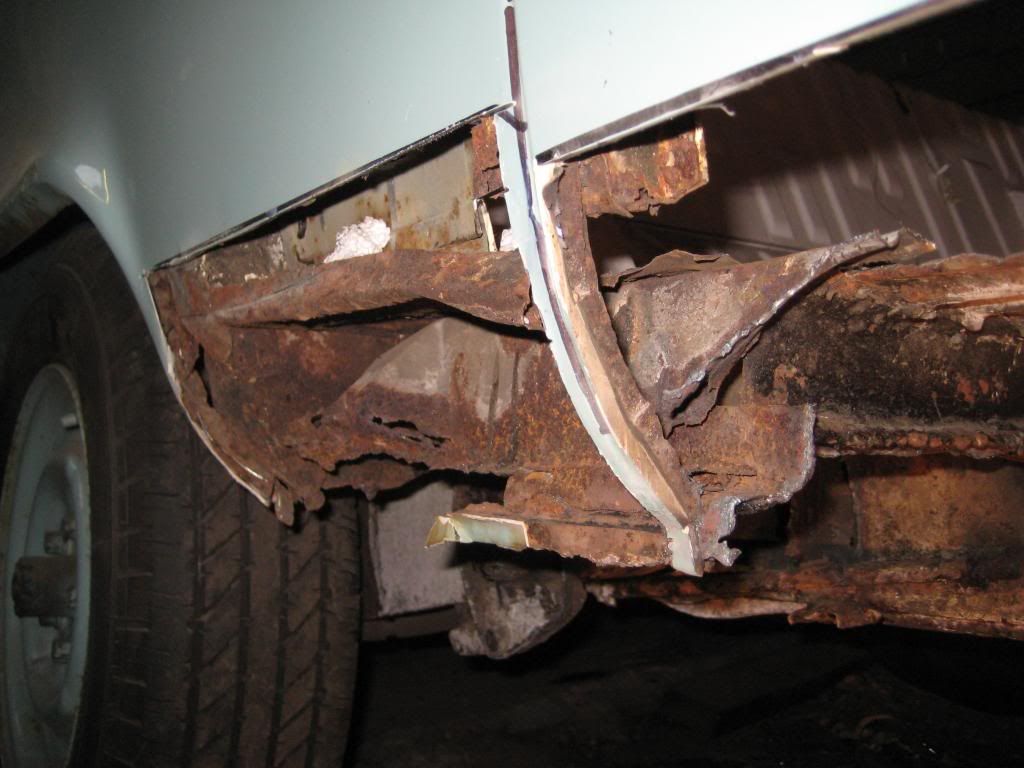
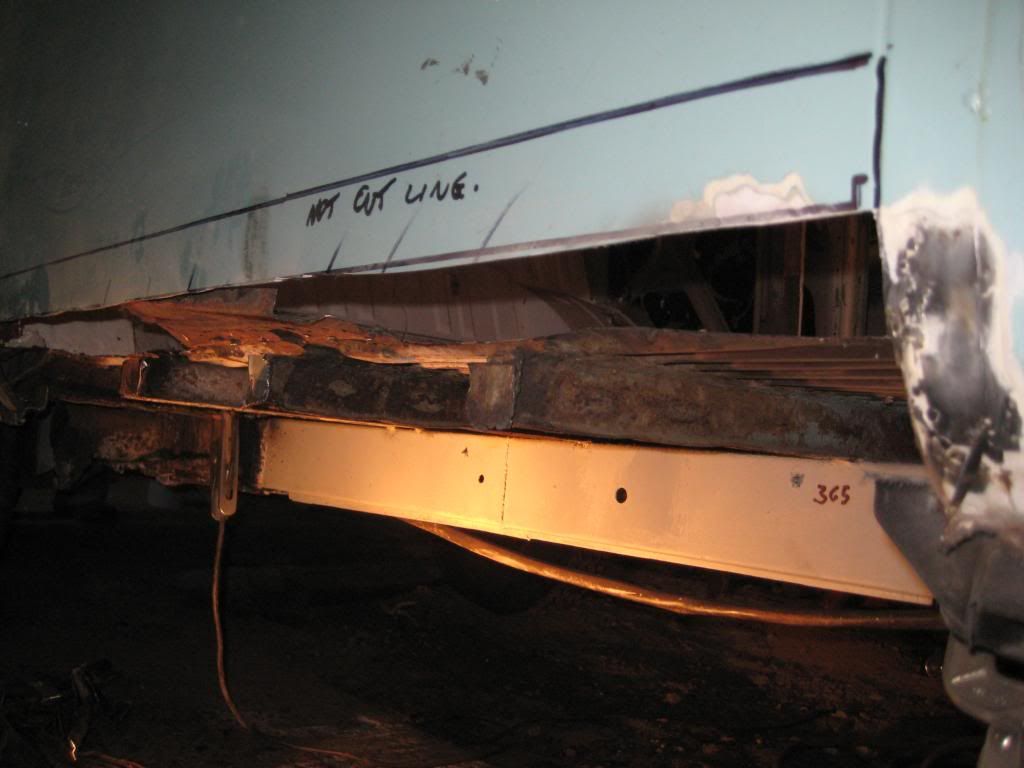
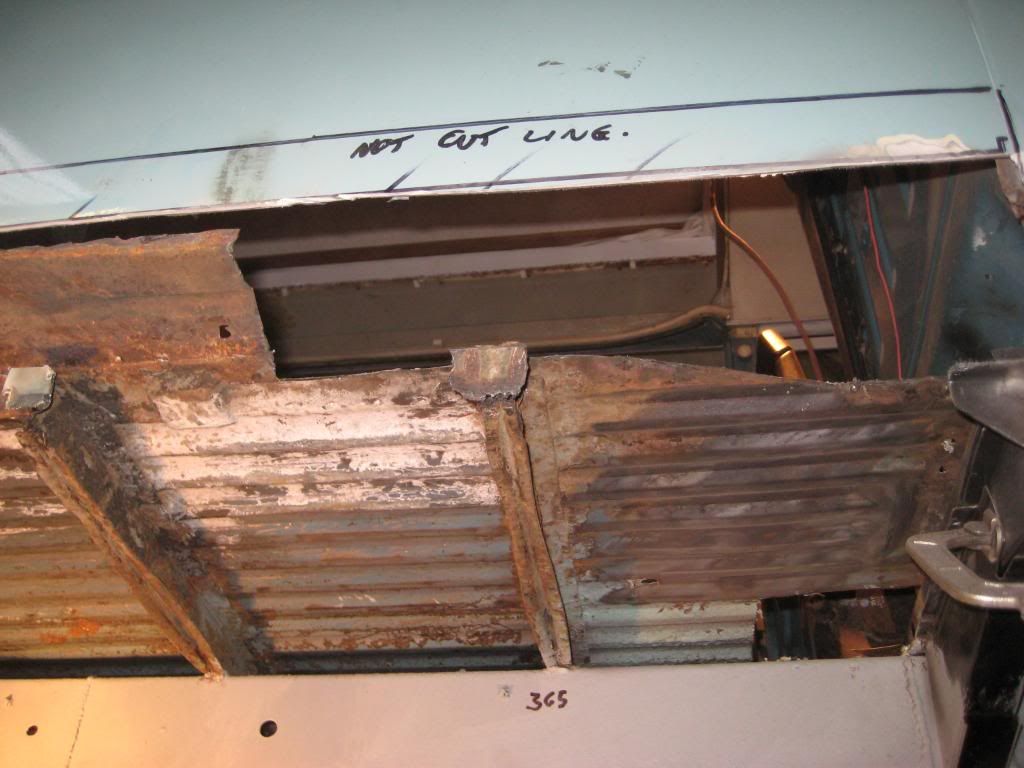
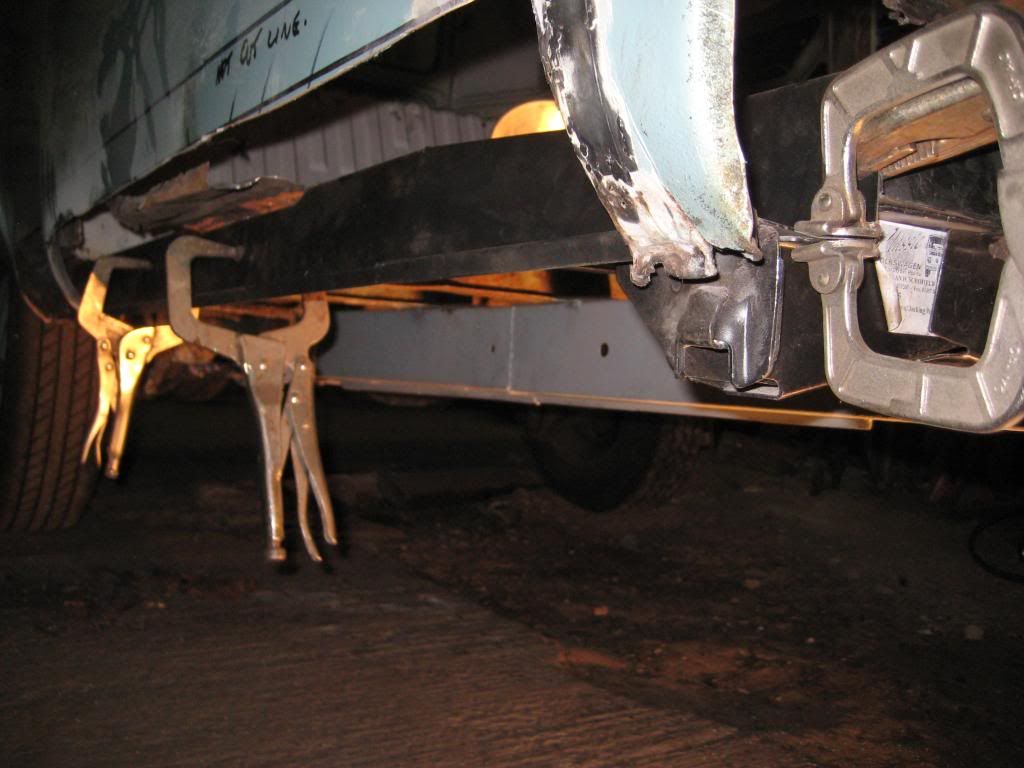
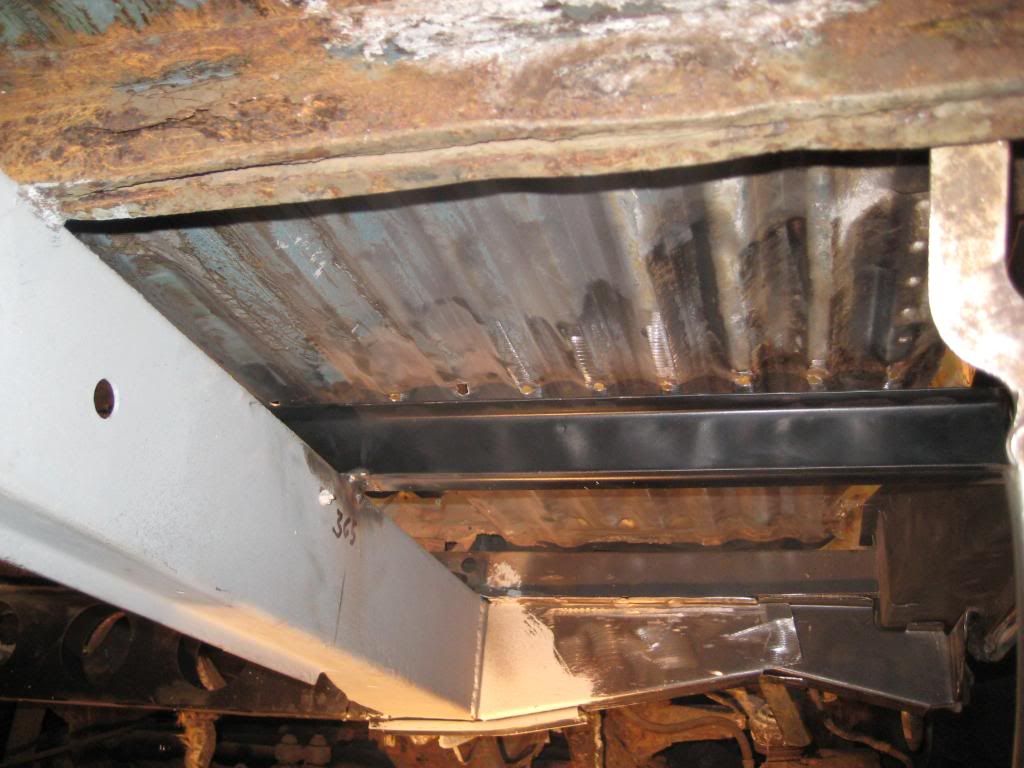
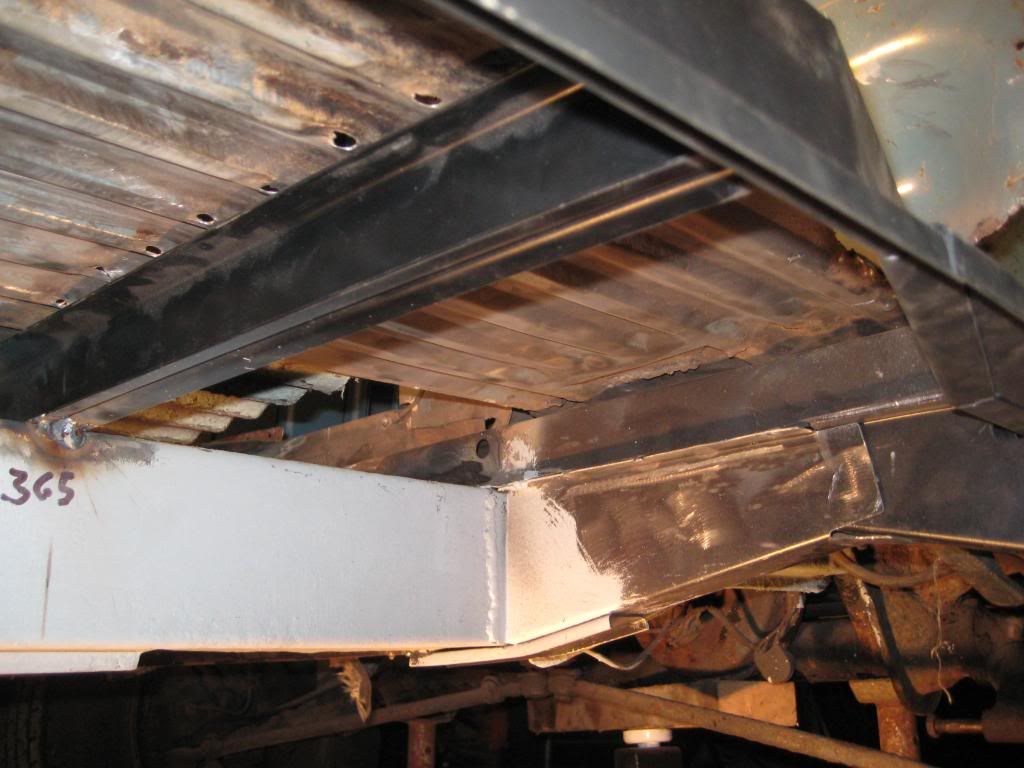
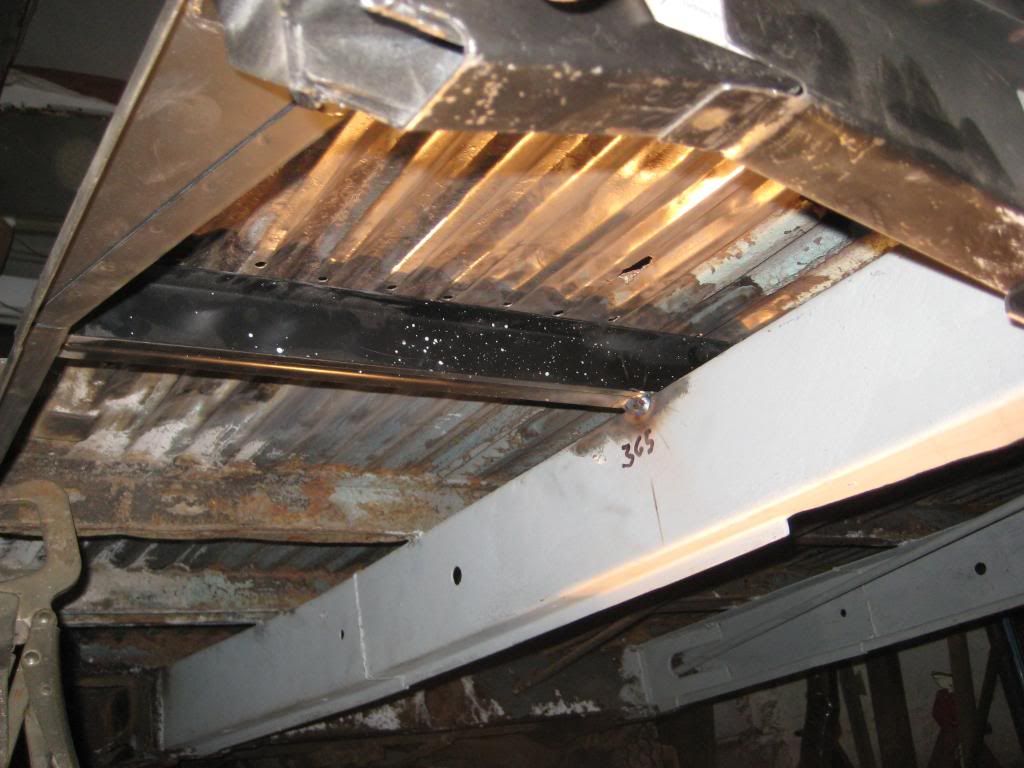
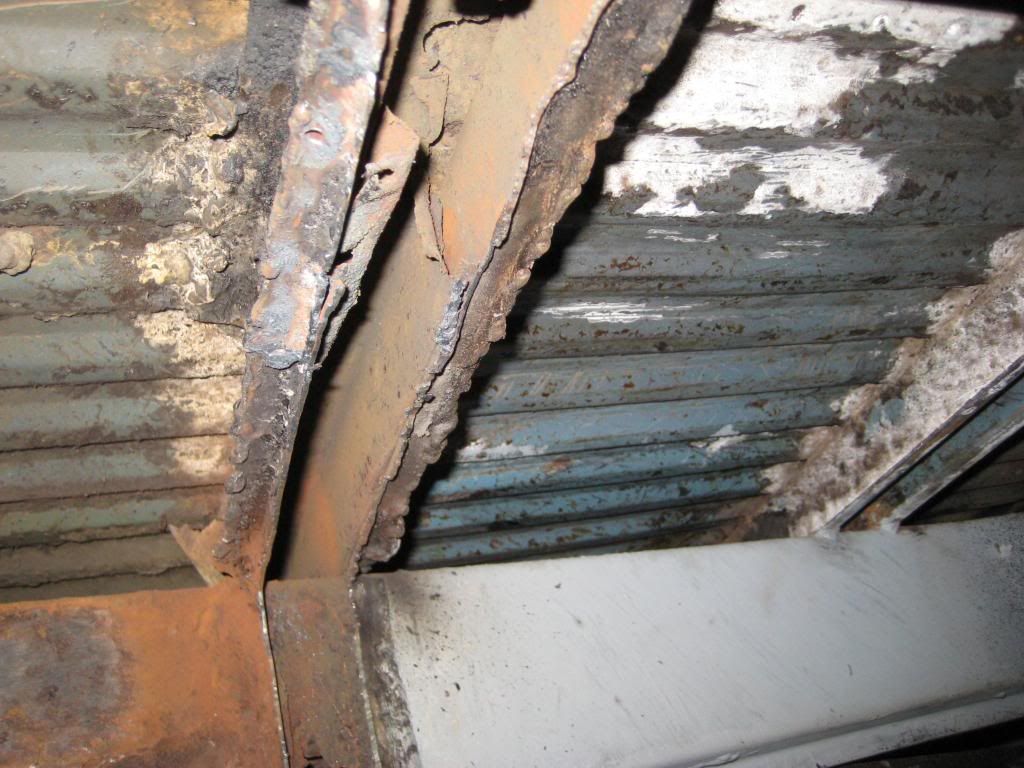
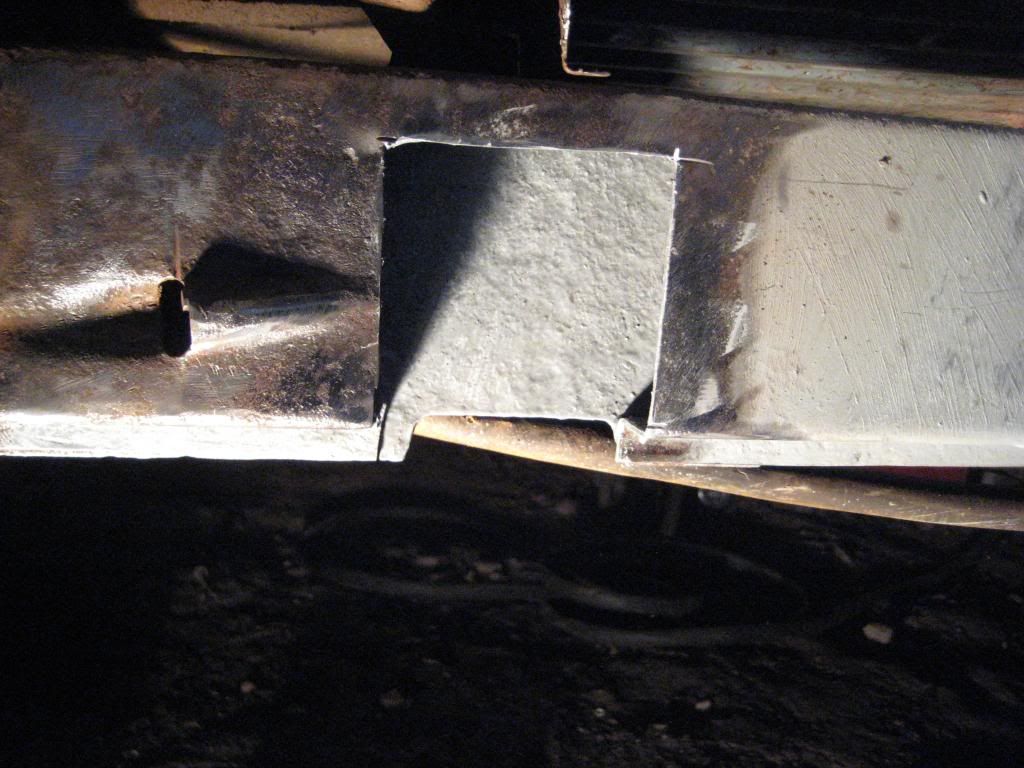
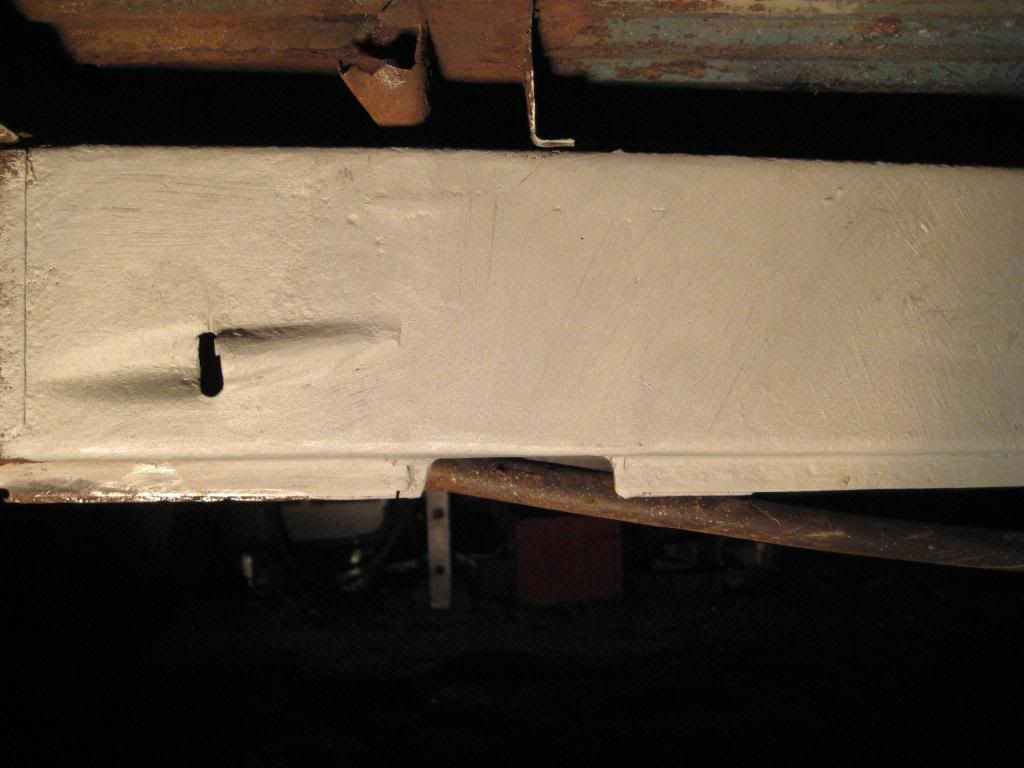
looking for a design that incorporates afull size bed instaed of the rock and roll one but keeps the walk through but first to get it 100% underneath


/
 
its not bad but been patched up over the years for mots on outriggers sills so Tracy could have used it as it is but shes very keen to make it her own , this includes a colour change , new interior etc, i want to make the underneath perfect so anything suspect will be cut out and replaced so everythings 100% and it wont need doing in 3 years time. i think it has potential to make a very nice van, its a good year to have with its up rated brakes. we looked at lots and ones at £8000 were not great, how much is a fully restored early bay these days that has no issues? id love one myself!


/
 
today we tackled the interior, everything out and all panels off! and hidden surprises!!!!! well no fortunately its a good solid floor with a couple of old small patches to redo nicely. The 3/4 cupboard and overhead unit with lights was from kustom Interiors and cost £789.00 by the previous owner, its brand new its going on ebay minus the cooker and lights unless anyone on here wants to make an offer? ;)
anyway i'll let the pics do the talking

http://i173.photobucket.com/albums/w42/ironagedesigns
/stanleythecamper098.jpg

stanleythecamper098.jpg


stanleythecamper092.jpg


stanleythecamper102.jpg


stanleythecamper100.jpg


stanleythecamper081.jpg


stanleythecamper105.jpg


stanleythecamper111.jpg


stanleythecamper106.jpg


stanleythecamper114-1.jpg
 
Now the interiors stripped out i made a start on replacing the off side sills and outriggers and anything else i uncover!!!!

TURN AWAY NOW TRACY!!!!! (Don't worry it will be lovely in the end)

under the underseal was this patch, the outrigger was patched but solid, i carefully cut away the repairs but underneath this repair the usual !!!

To gain access to the top hat section i was thinking of removing a small section of floor the edge needs repair anyway and graft a new section in, what do you Guys think? the floors are very solid overall so i want to keep them in, only had an hour on it this evening.

stanleythecamper119.jpg


stanleythecamper121.jpg


stanleythecamper122.jpg
 
Looks like a very sound bus, and will be fantastic when finished.

Wish mine was in such great condition! :roll:

Great work.
 
Been making some progress this week! scraping all the underseal off and years of dirt and anything suspect is coming off and being replaced with new metal, i want this to last another 40 years!!!! front crossmember was corroded and patched so i removed it with my plasma cutter and in went a new one complete with captive nuts so i can bolt the belly pan back with stainless steel bolts so it can be easily removed .

heres some pics of cross member cut out

stanleythecamper129.jpg


new one in

stanleythecamper137.jpg


next step is to line up front outrigger (just tacked for now), replace end of top hat then remove and replace off side sill sections

stanleythecamper145.jpg
 
Got a couple of hours in today, positioned and cut and grafted in new front top hat section and outrigger welded on using original sill as a reference, cut front of inner sill away in this picture, a replacement sill had been welded over the top of the rusty original!!!! nice!

stanleythecamper150.jpg


stanleythecamper152.jpg


stanleythecamper149.jpg


stanleythecamper147.jpg


Where the Inner sill was welded to the floor the floor had rusted through and been covered with a strip of steel, repairs will be required along this edge, the rest of the floor is sound so i don't think replacing the floor is worthwhile so i'll fabricate repair sections.

stanleythecamper151.jpg
 
Time to see what the sill is really like , and it was gone! what was left simply had another sill over the top, so replace the lot!!! could really do with some clear pictures of the b post and the rear post where they join the sill as they have gone, can anyone post a picture or link please?

so heres the pics so far, i;m replacing the floor support ends as well, inner sill is just clamped for now to use as a datum.

stanleythecamper163.jpg


stanleythecamper155.jpg


stanleythecamper156.jpg


stanleythecamper157.jpg


stanleythecamper158.jpg


stanleythecamper161.jpg


stanleythecamper165.jpg


stanleythecamper169.jpg


stanleythecamper170.jpg


stanleythecamper171.jpg


stanleythecamper172.jpg
 
Thanks, its great when you replace a rusty lump of van with a nice new part! getting there slowly, i could really do with a detailed photo of how the posts meet the sill, anyone?
 
Will have a look to see if I have any pictures.
Looks like you are steaming ahead 8)
 
Thats great thanks, i'd be interested in how it welds to sill inside as well and how the closing panel finishes, many thanks for your help.
 
Great work, I'm doing the exact same thing at the moment, just at a much slower pace :D
You need this site: http://www.specialpatrolgroup.co.uk/spooky/" onclick="window.open(this.href);return false;
Take a look at the inner/outer sill sections, a brilliant help to me when I did the N/S
Keep up the good work and keep the pictures coming, inspirational to me to keep going when its bloody freezing outside.

Mags
 
Cheers Mags, great link very useful. Its funny because i'm looking at other peoples restos on here for inspiration as well!!!! i guess we've all been there at some point, the best thing about doing it yourself is at least you know its all been done properly!!!
 
Braved the cold tonight and got the 2nd Floor support welded up, I plug welded it through the holes where i had removed spot welds inside the van and grafted it onto the original support under the centre of the van, the next top hat is ok so next job rear outriggers, can anyone tell me if the handbrake tubes are available?

stanleythecamperrearcorners035.jpg


stanleythecamperrearcorners038.jpg


stanleythecamperrearcorners036.jpg
 
Made a start on rear offside outriggers today, found some corrosion behind one of them so repair that first

stanleythecamperrearcorners057.jpg


stanleythecamperrearcorners050.jpg


New Top hat section needed as well

stanleythecamperrearcorners045.jpg


Hopefully i'll have some after pics later
 
Didn't get much done as had to weld my Sons exhaust, but managed to fix the rust behind where the out rigger go's

stanleythecamperrearcorners096.jpg


stanleythecamperrearcorners098.jpg
 
Top