1968 Campervan conversion

Early Bay Forum

Help Support Early Bay Forum:

This site may earn a commission from merchant affiliate links, including eBay, Amazon, and others.
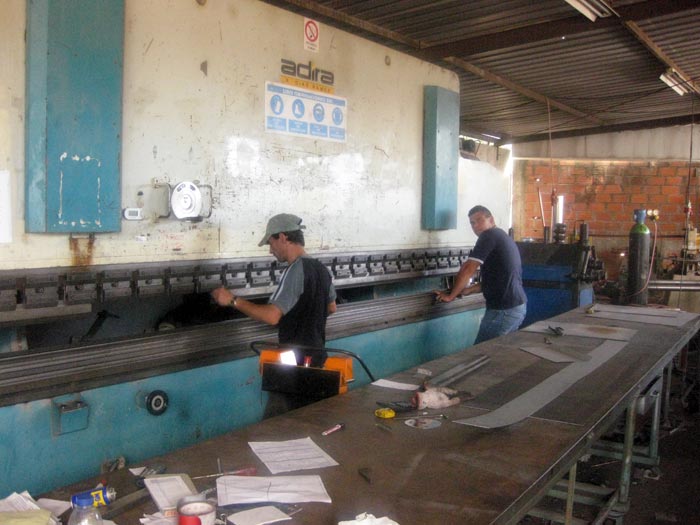
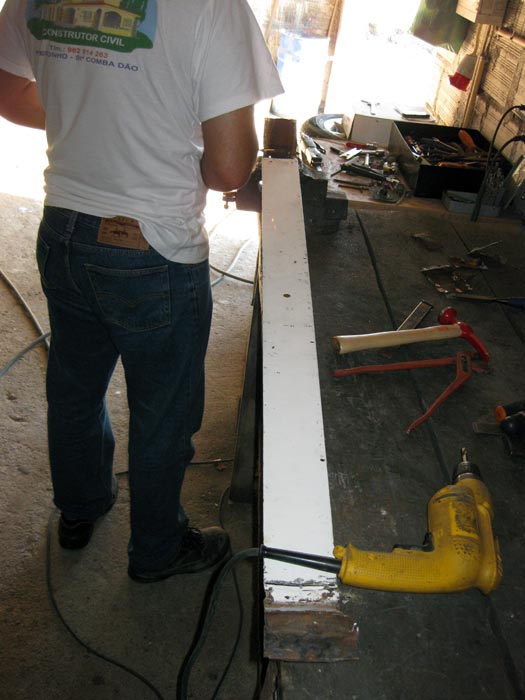
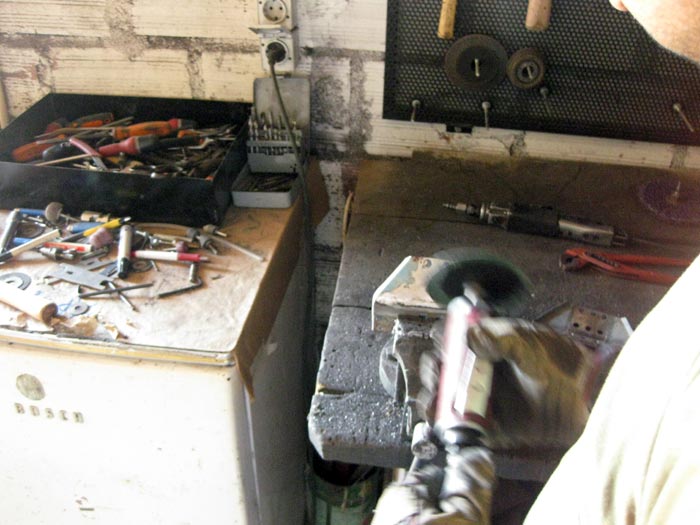
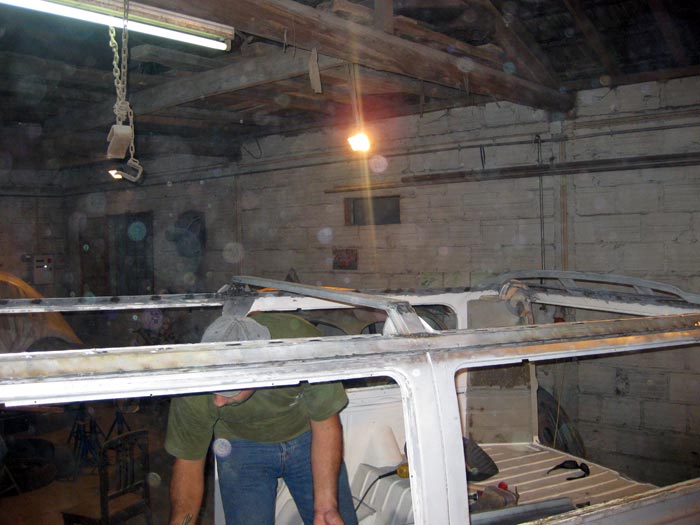
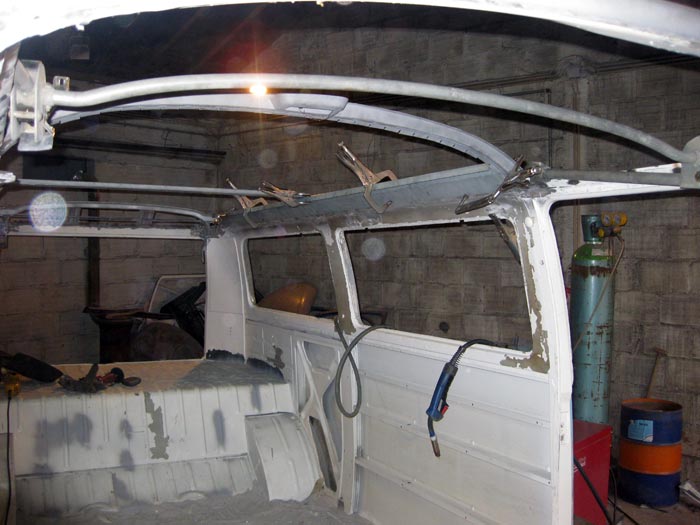
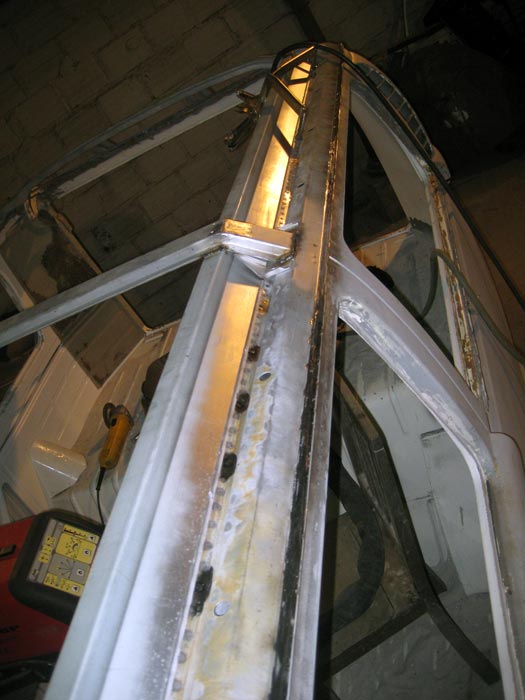
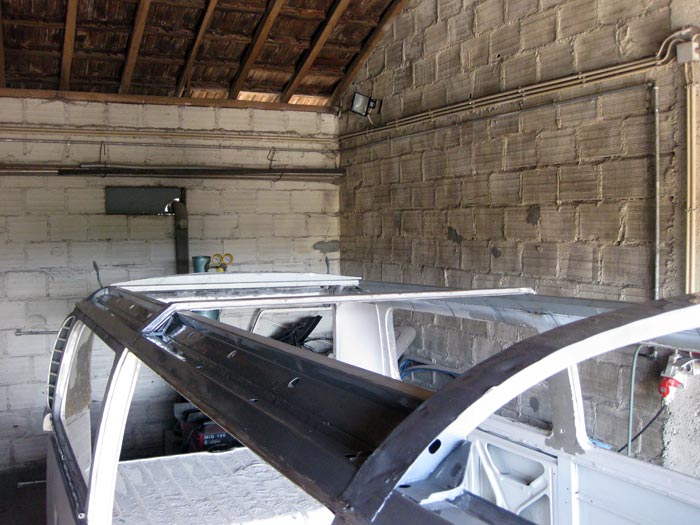
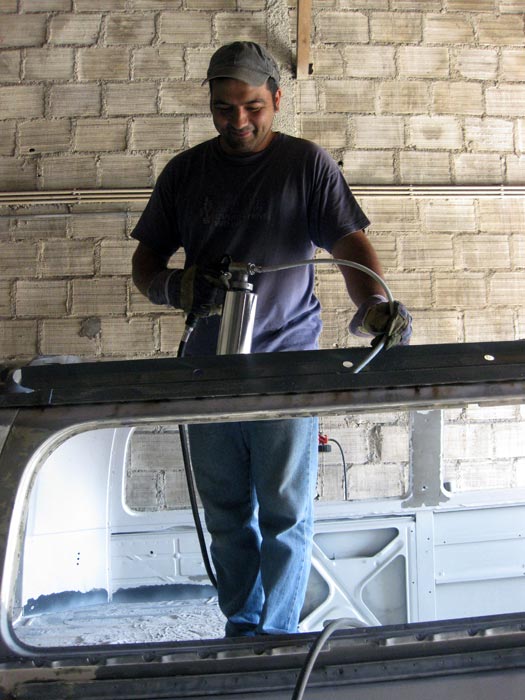
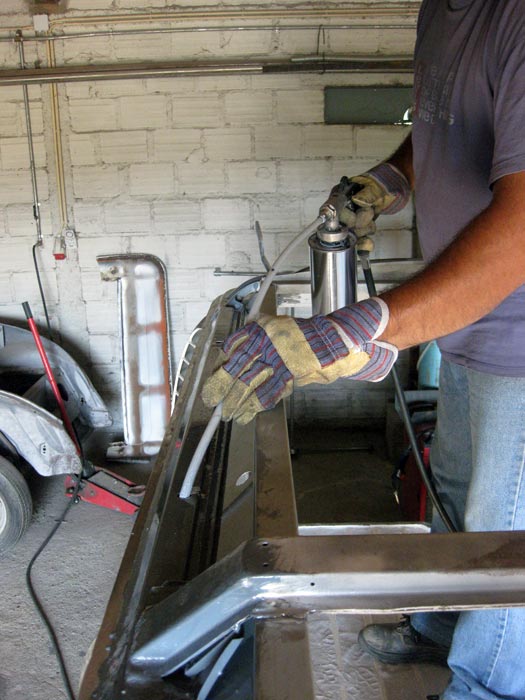
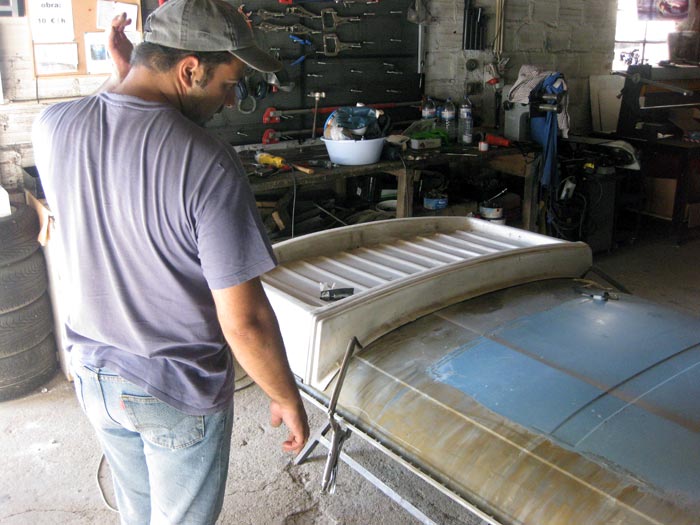
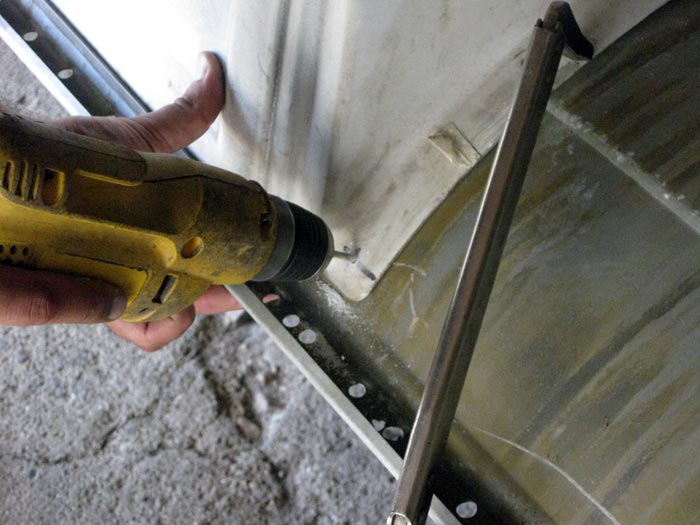
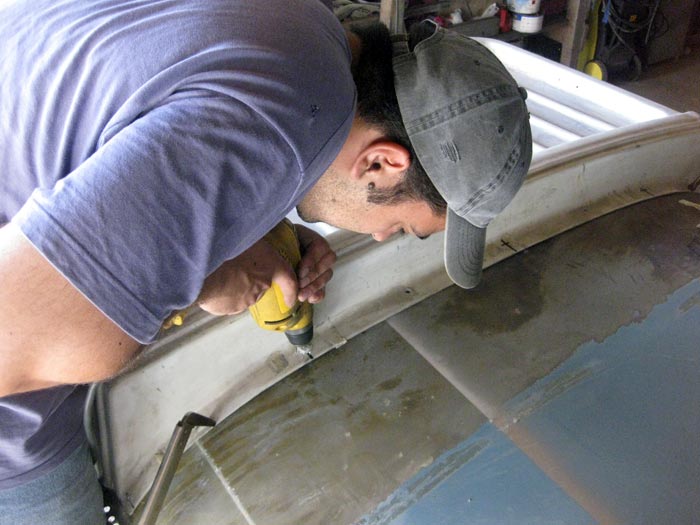
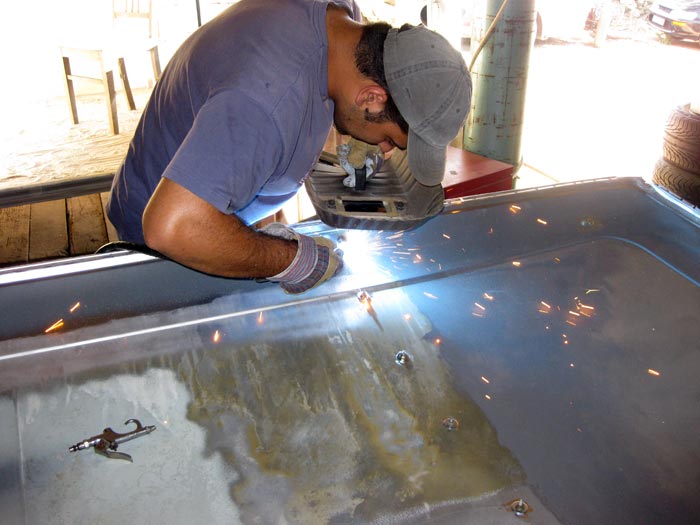
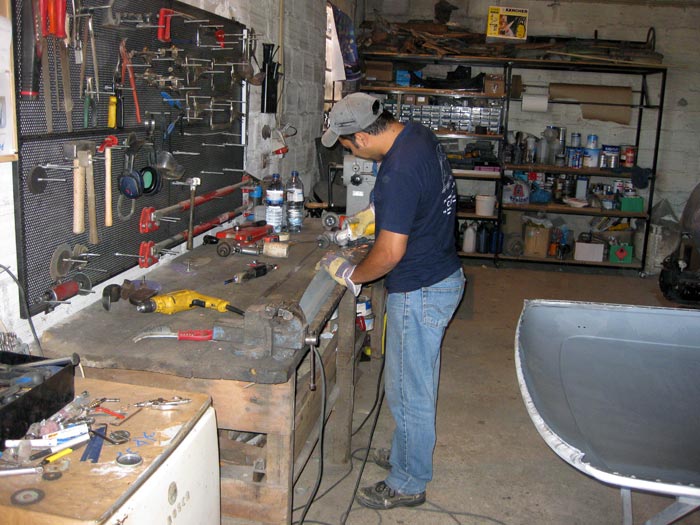
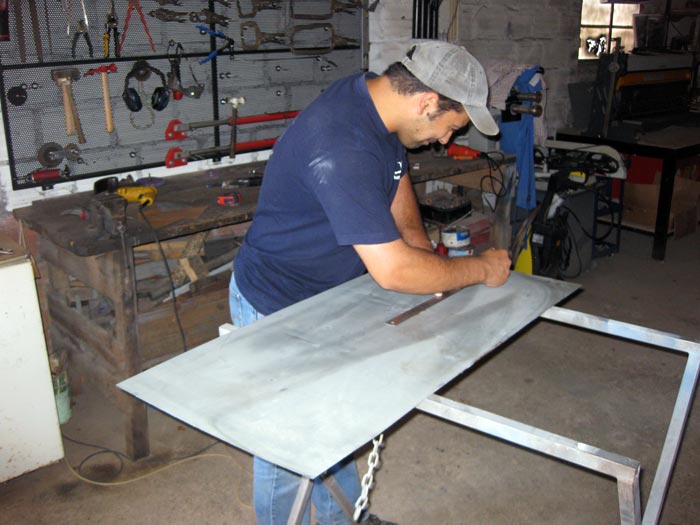
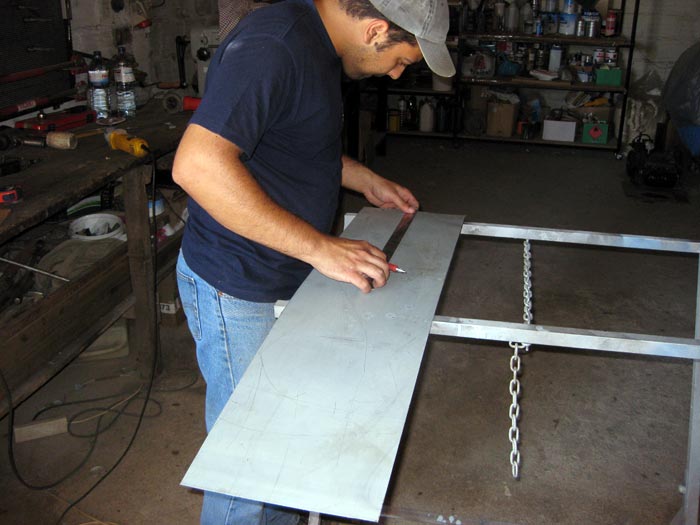
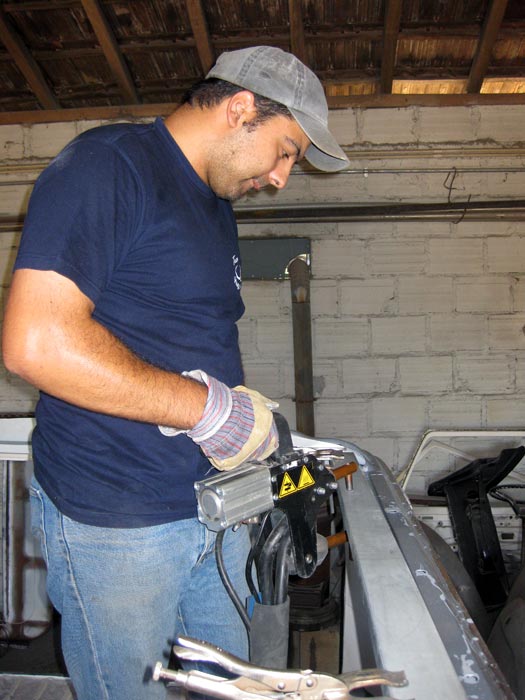
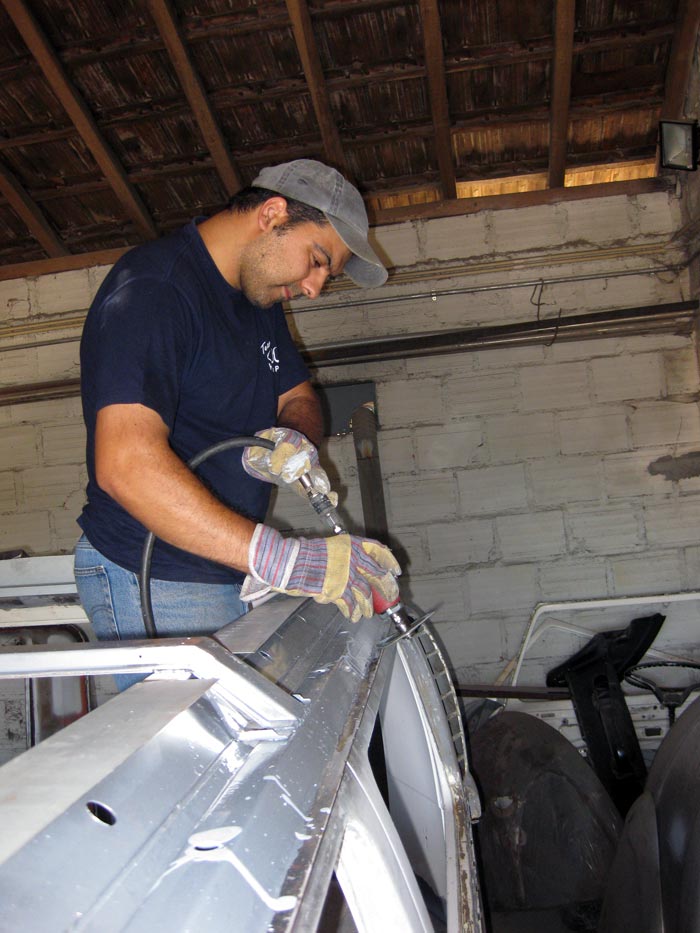
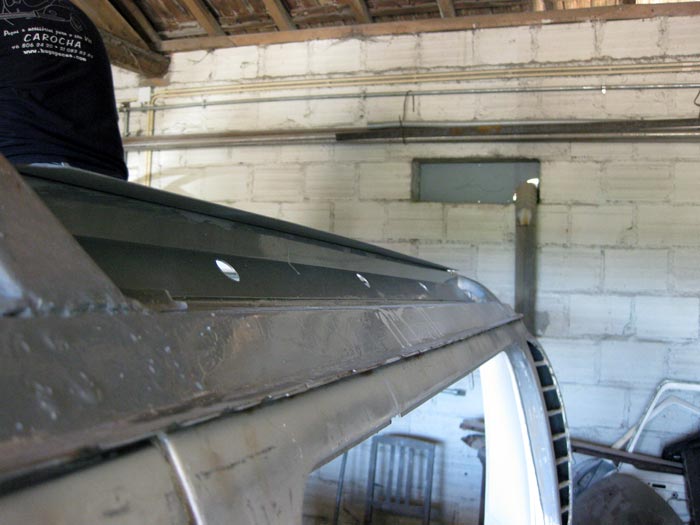
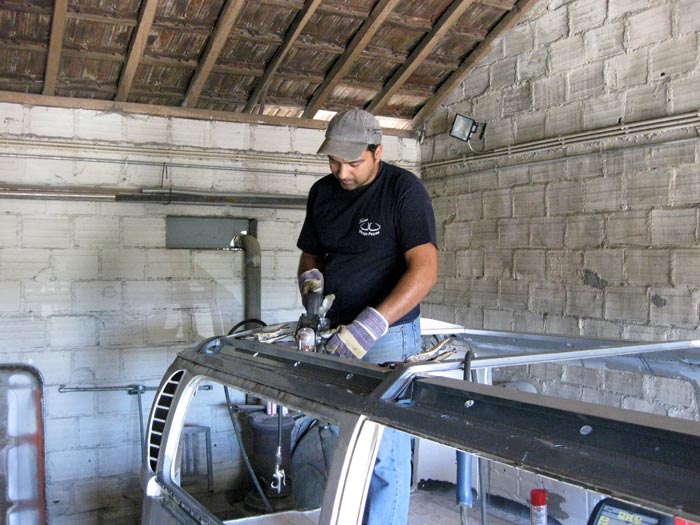
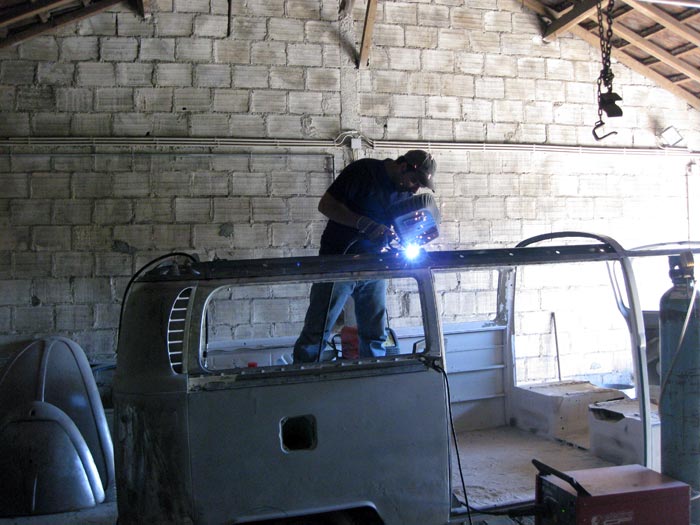
While I was around the roof, Hugo was making fast progresses:

IMG_2148.jpg


IMG_2149.jpg


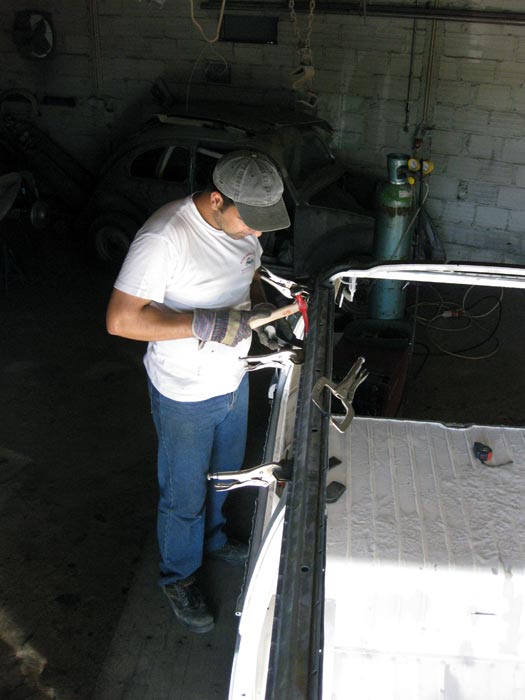
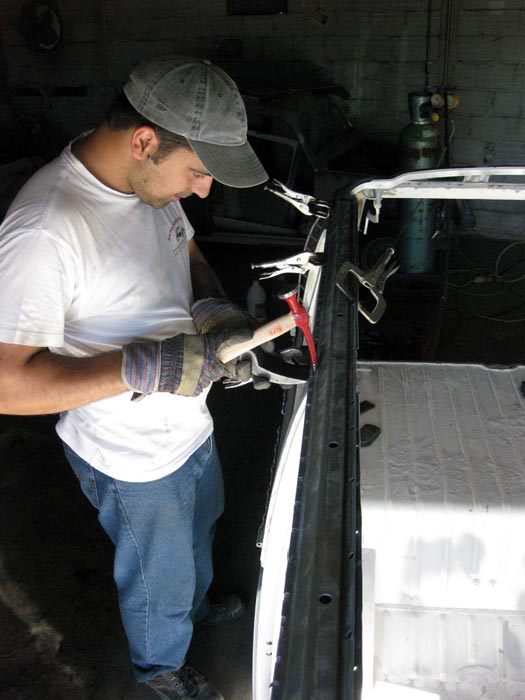
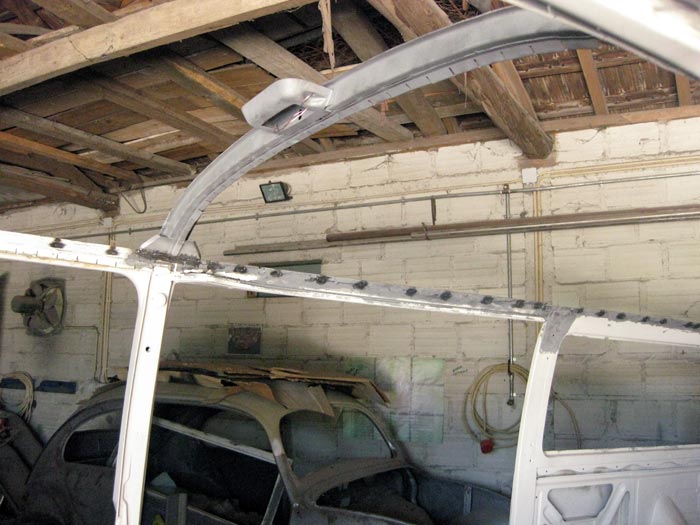
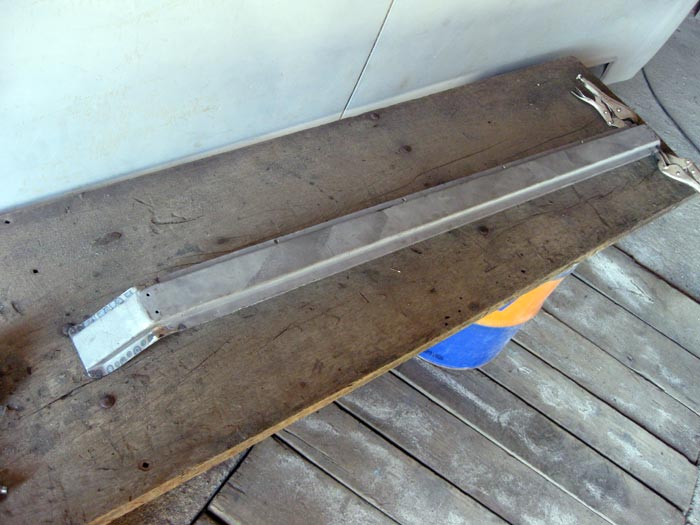
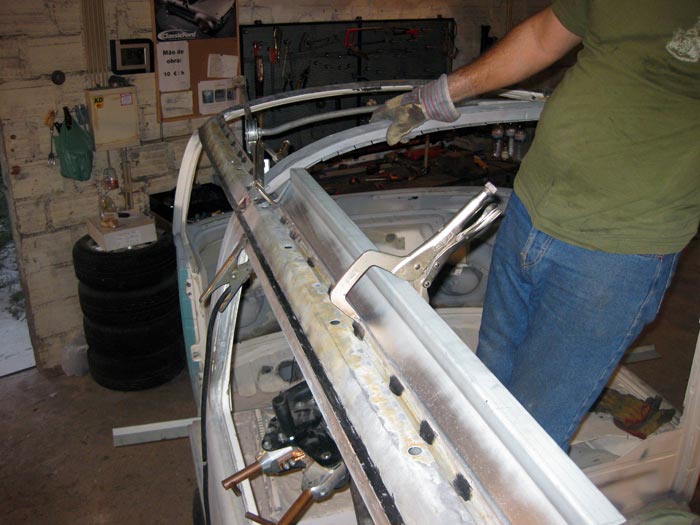
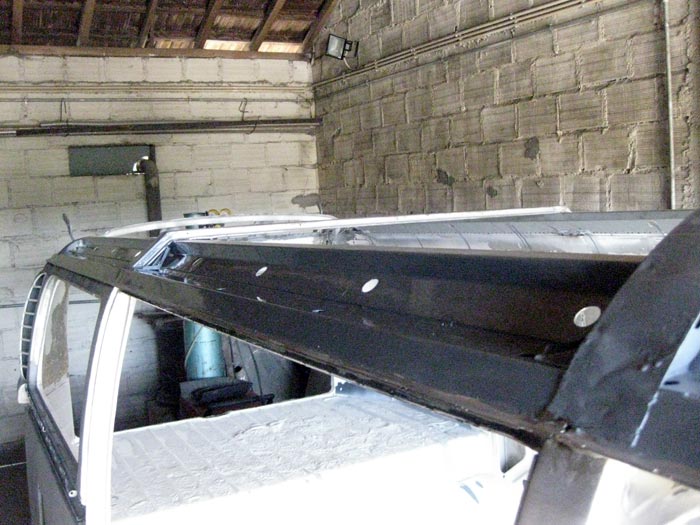
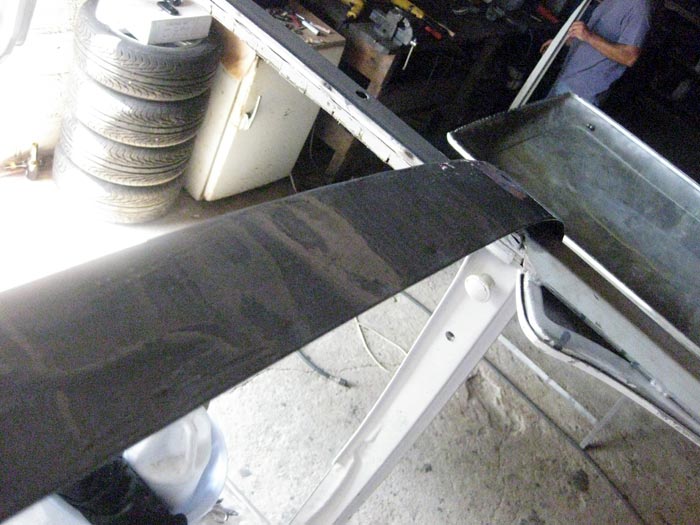
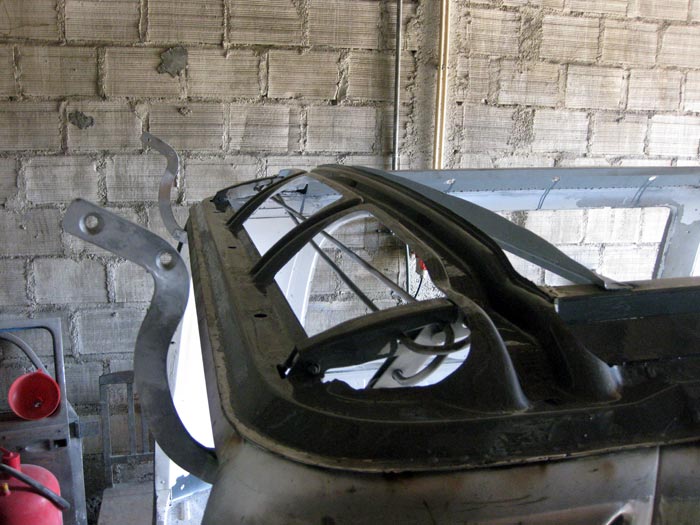
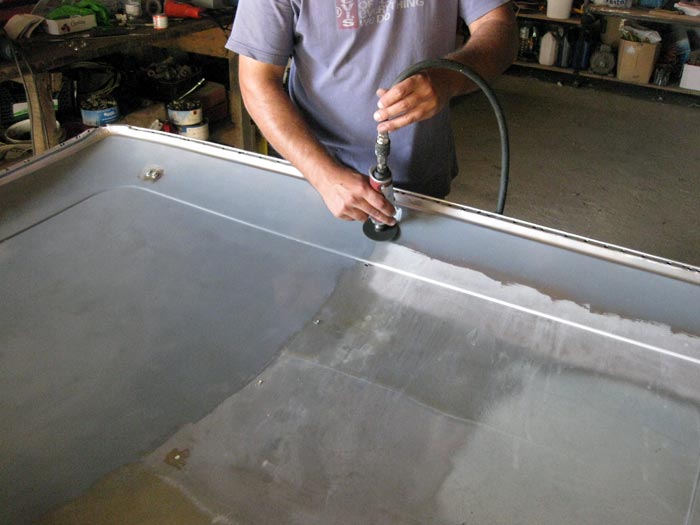
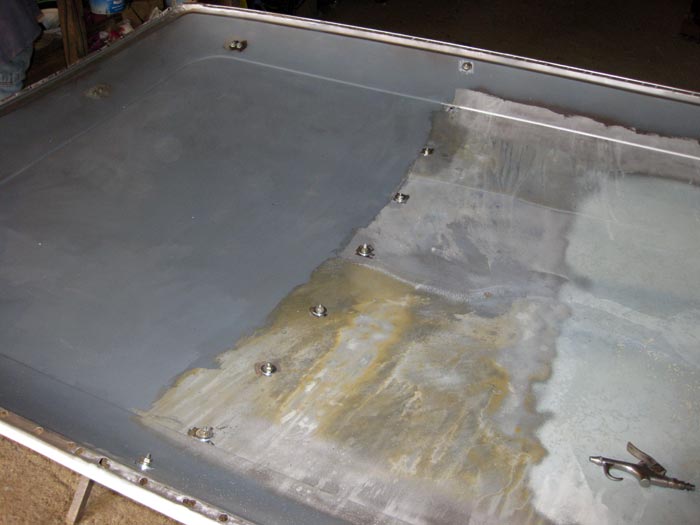
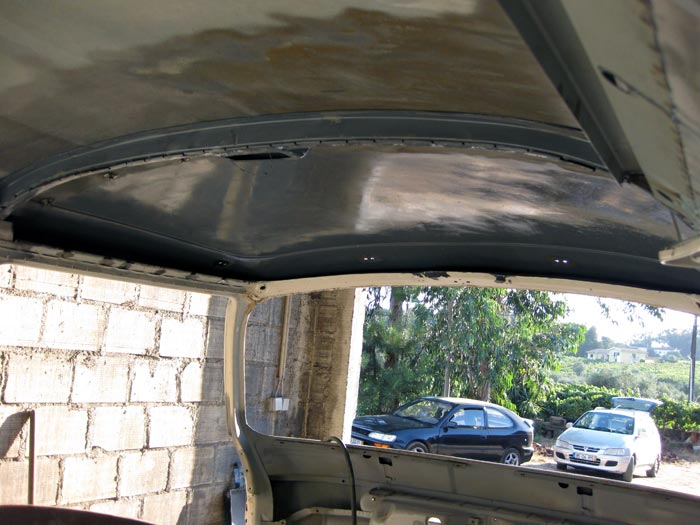
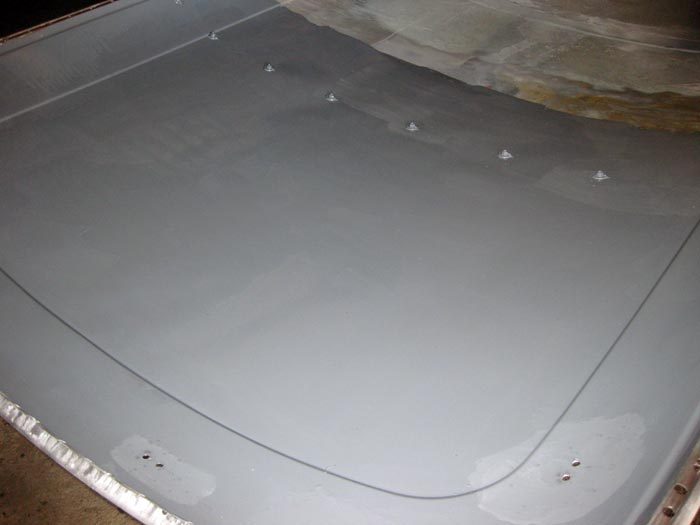
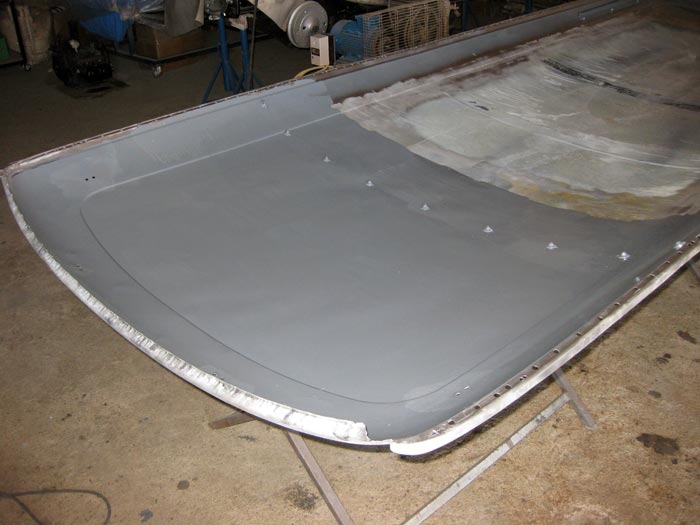
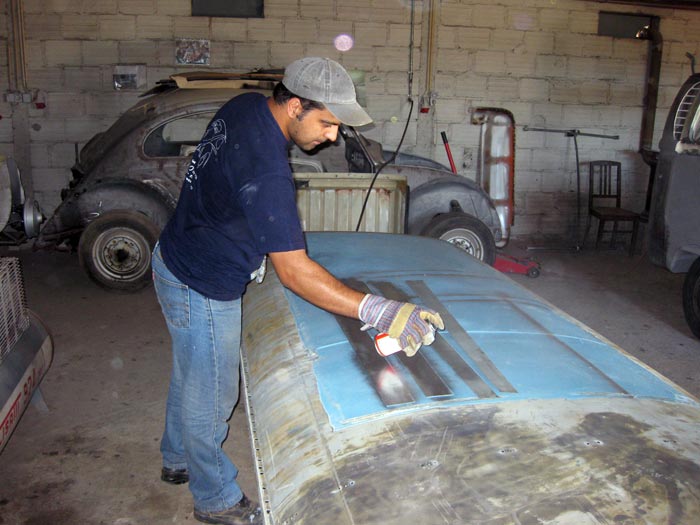
I then decided to flip the roof so I could treat the other side the same way:

IMG_2155.jpg


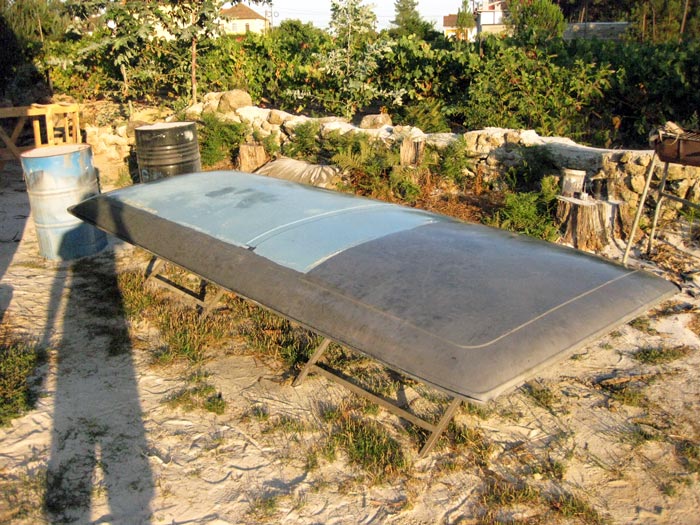
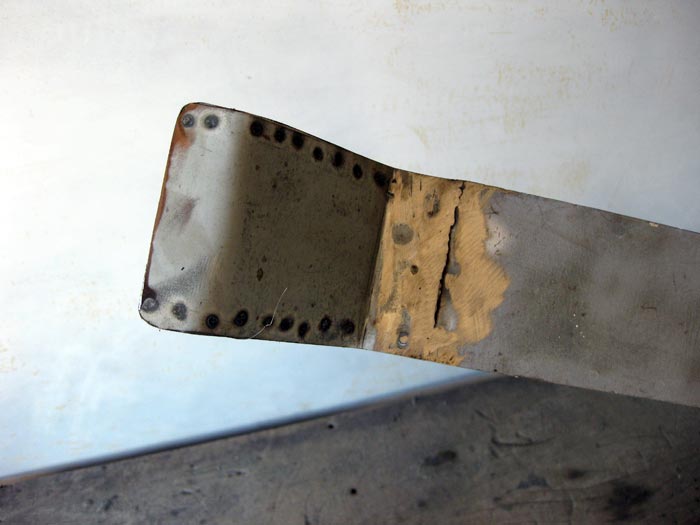
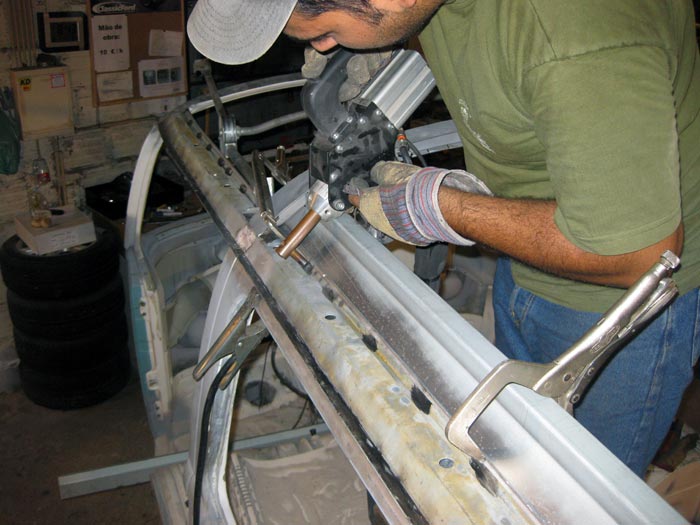
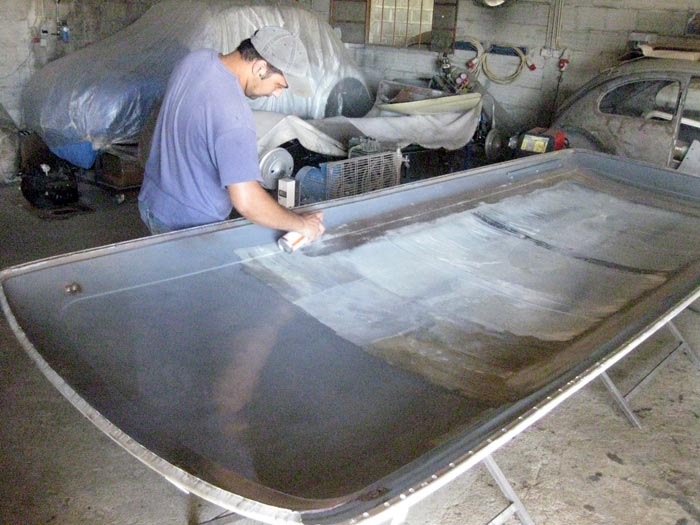
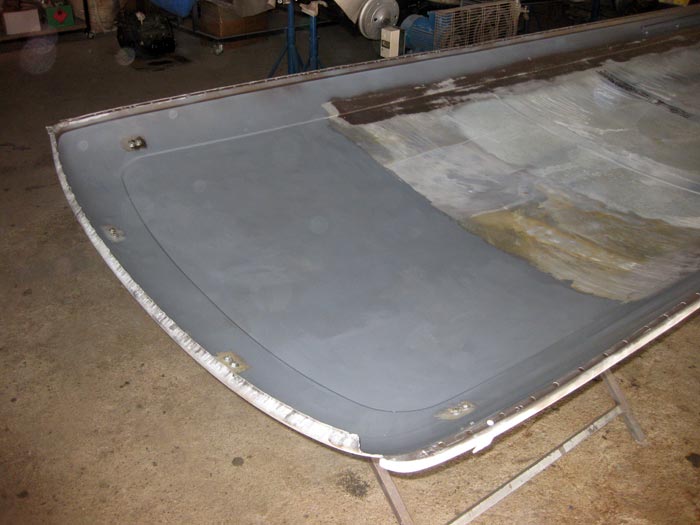
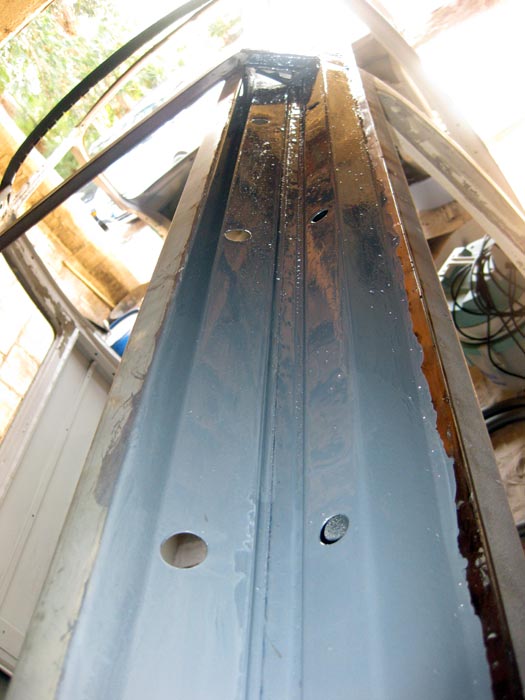
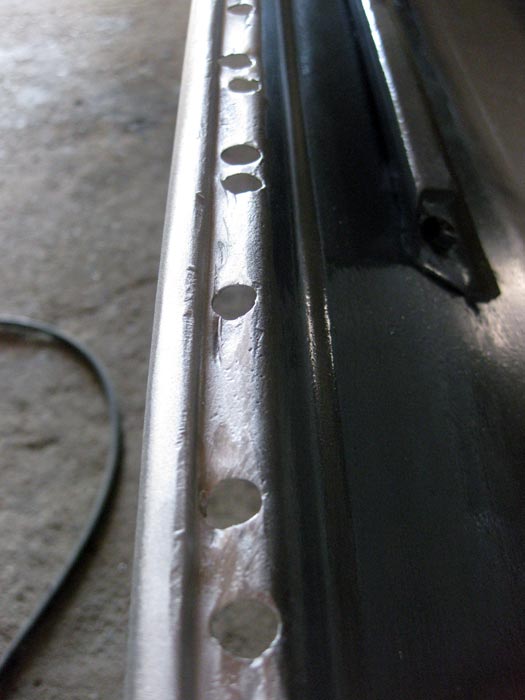
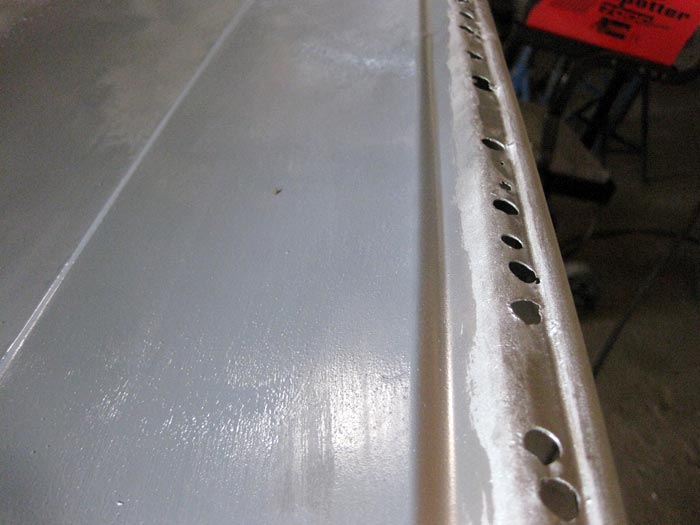
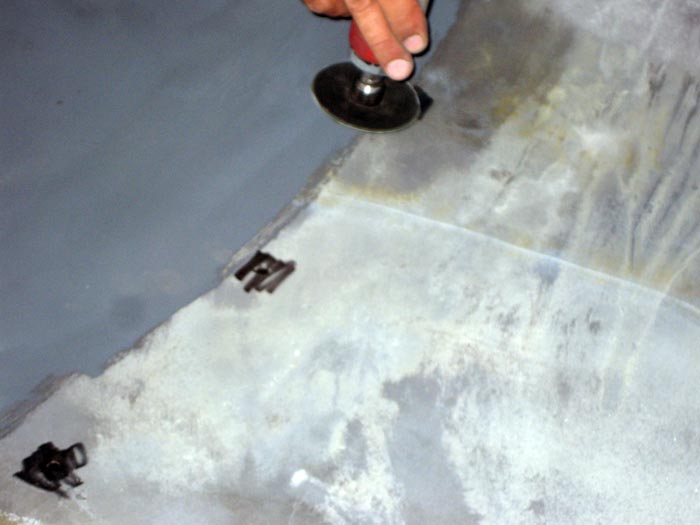
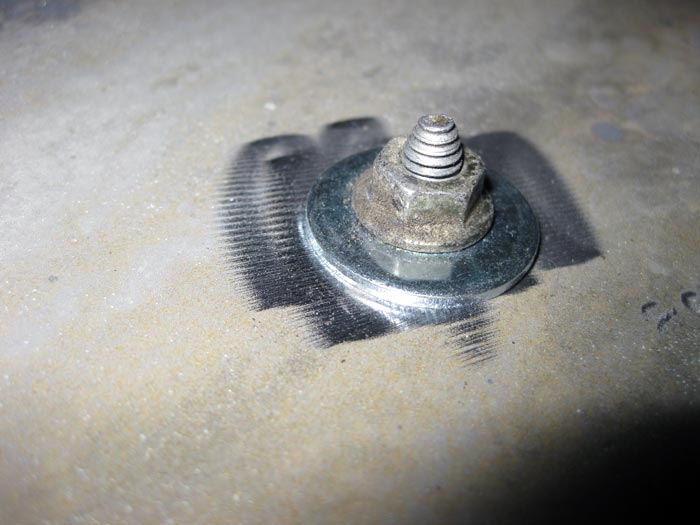
Mine Metal Ready isn't in the most perfect condition, however it worked the same way:

[youtube]http://www.youtube.com/watch?v=ig1iyHuEcy8[/youtube]

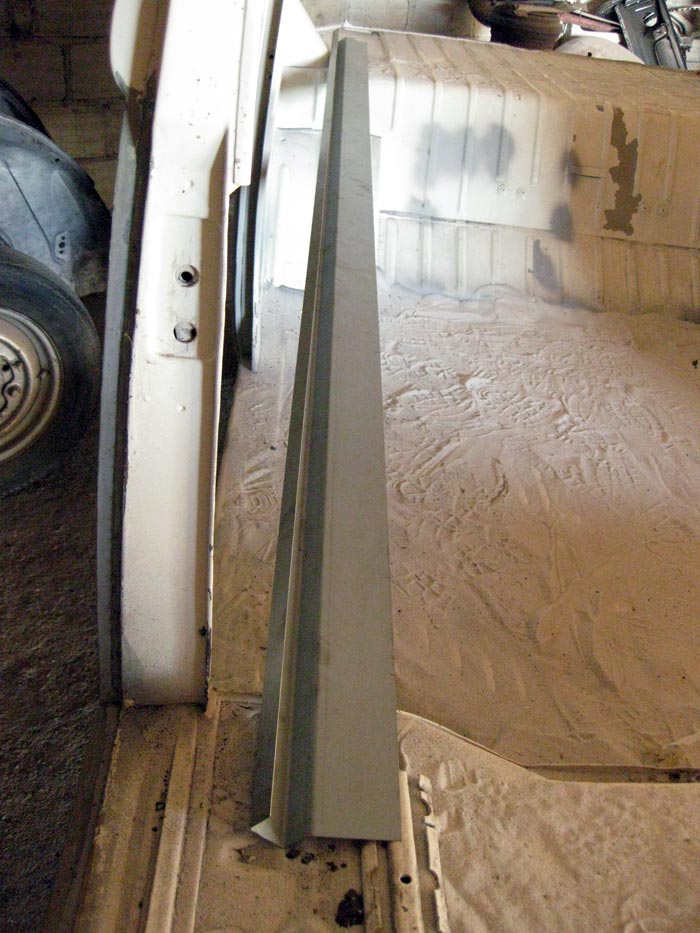
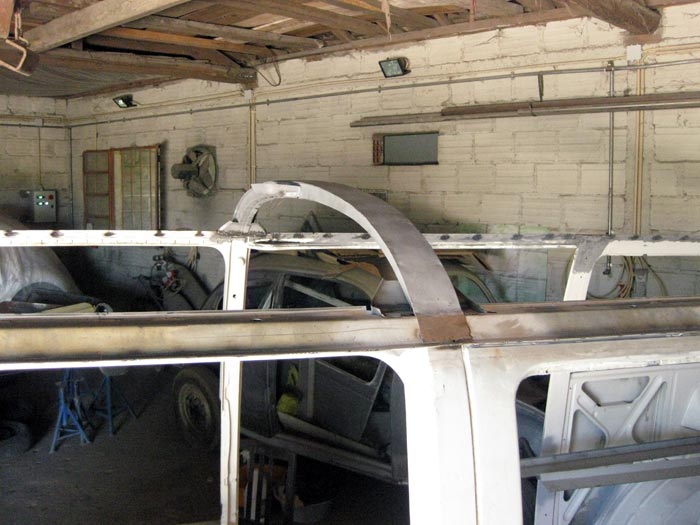
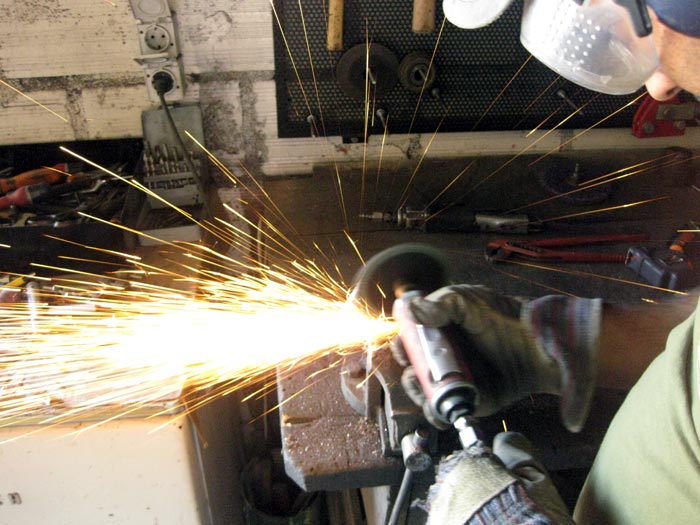
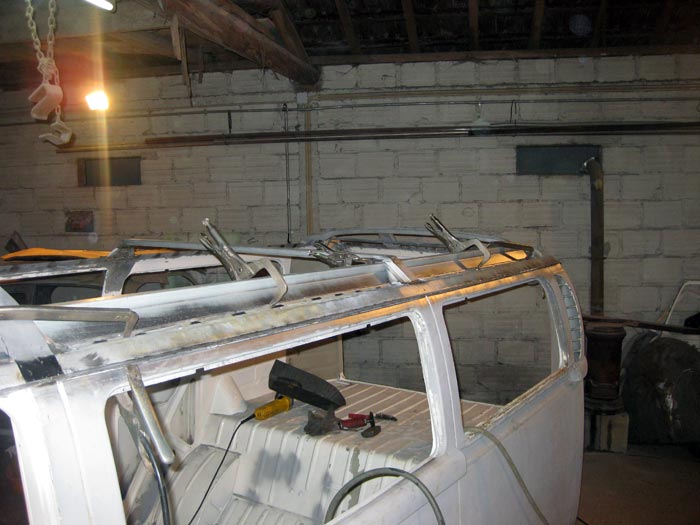
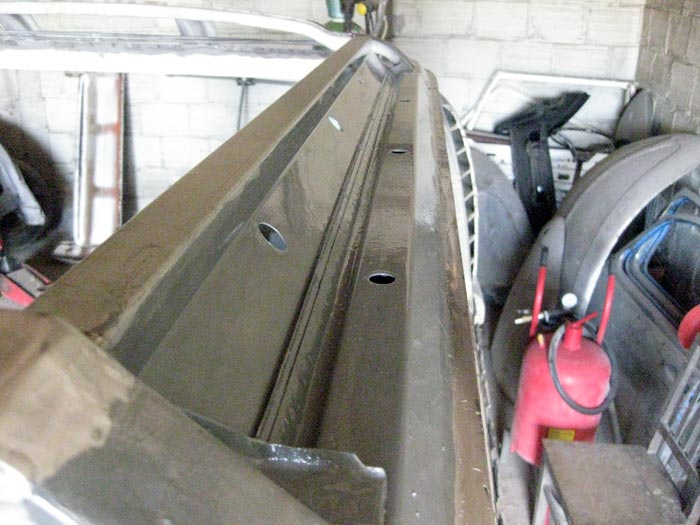
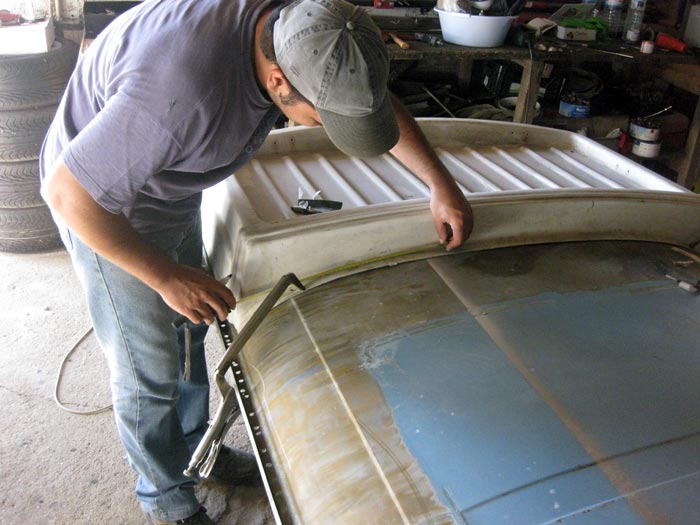
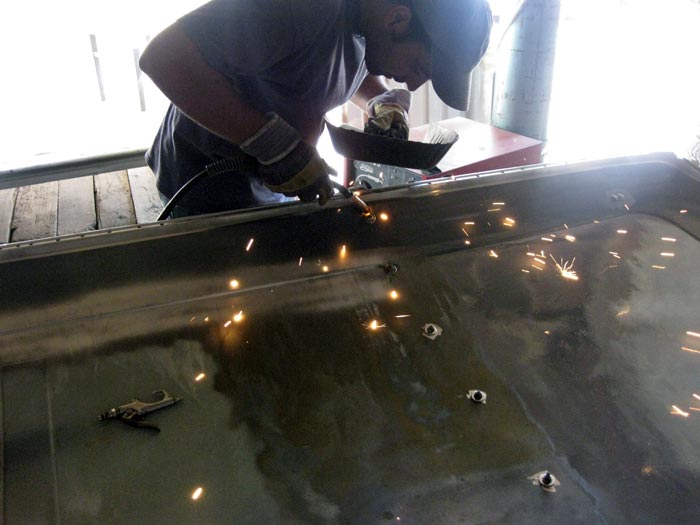
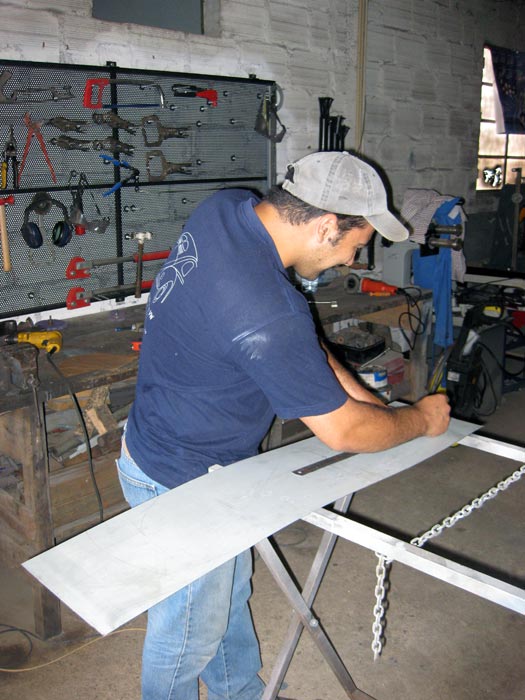
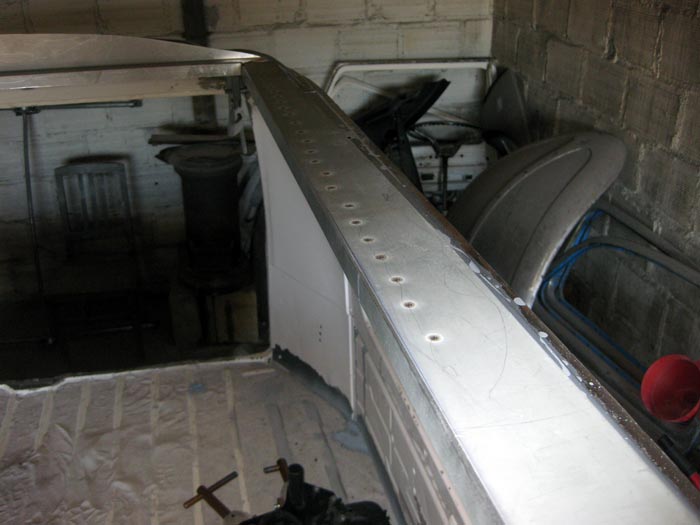
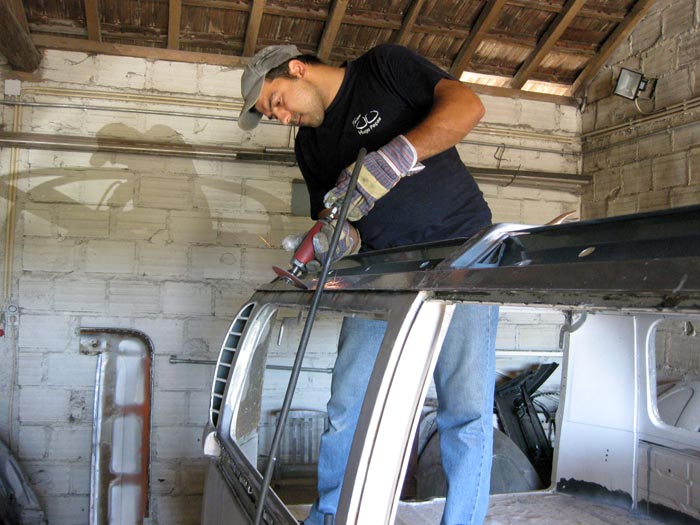
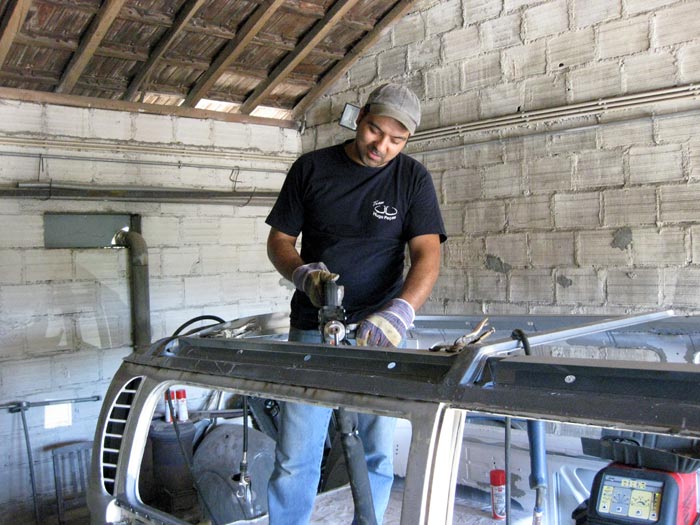
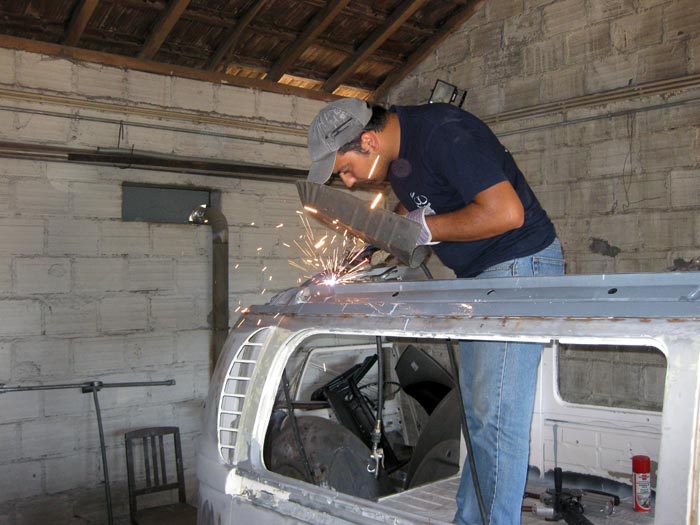
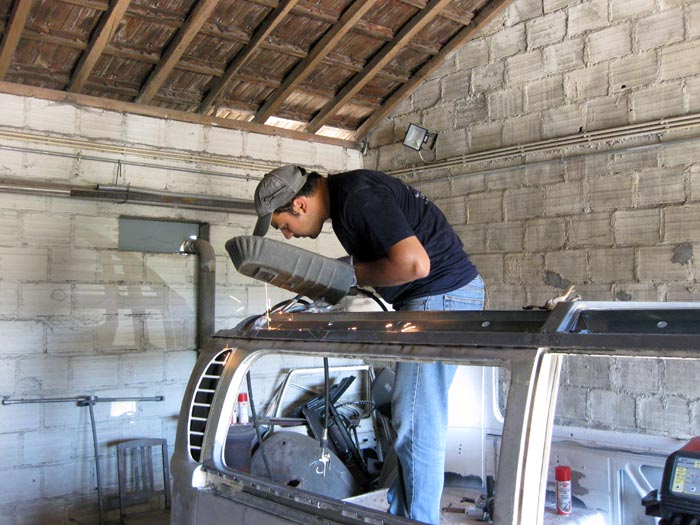
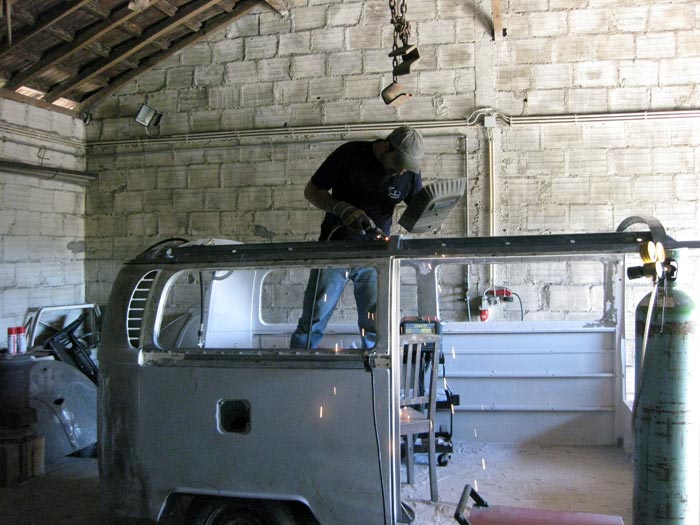
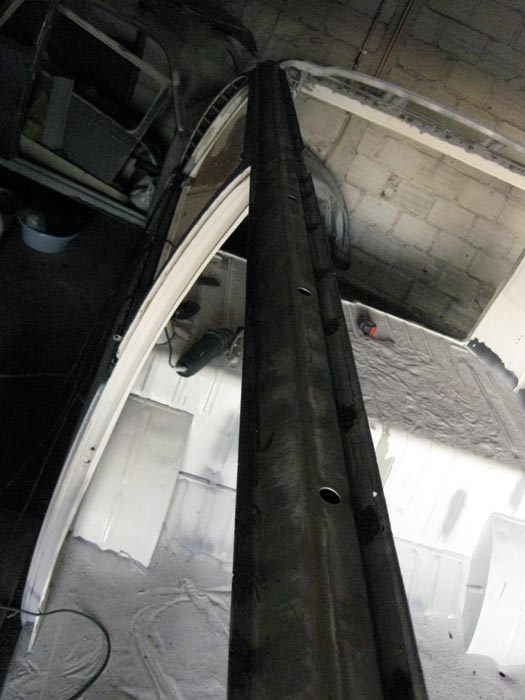
In the meantime, Hugo was almost done:

IMG_2153.jpg


IMG_2154.jpg


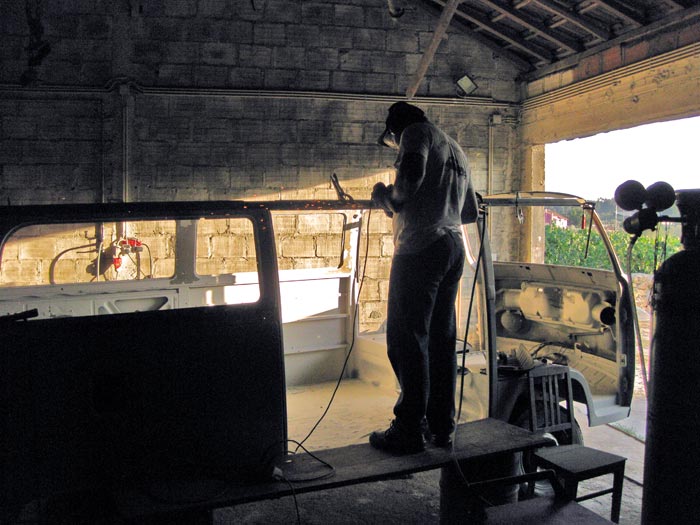
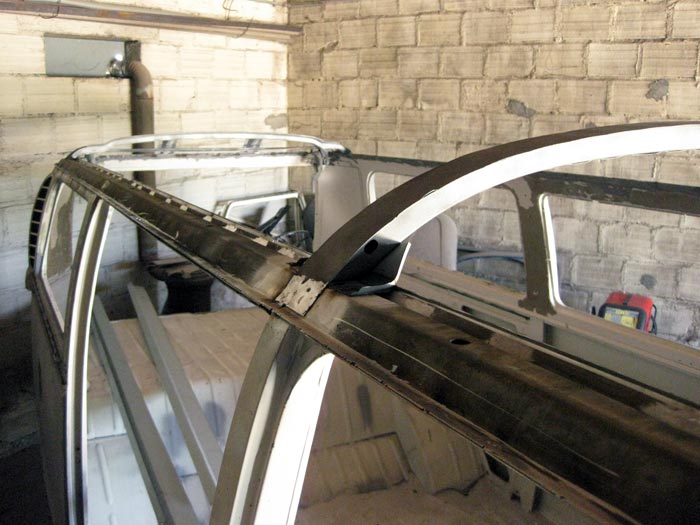
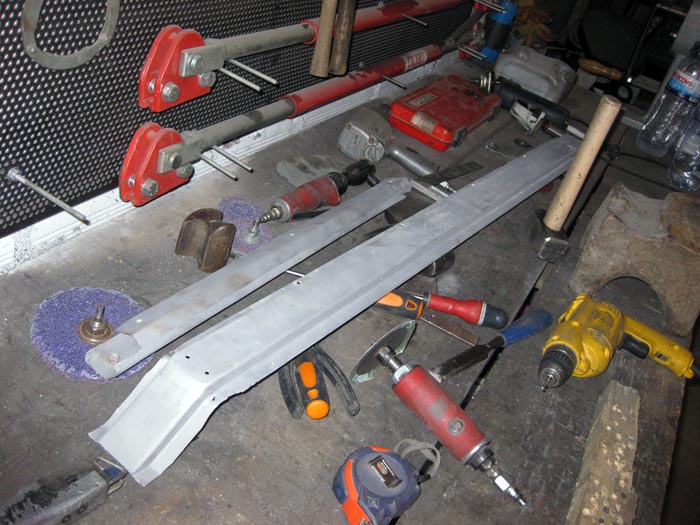
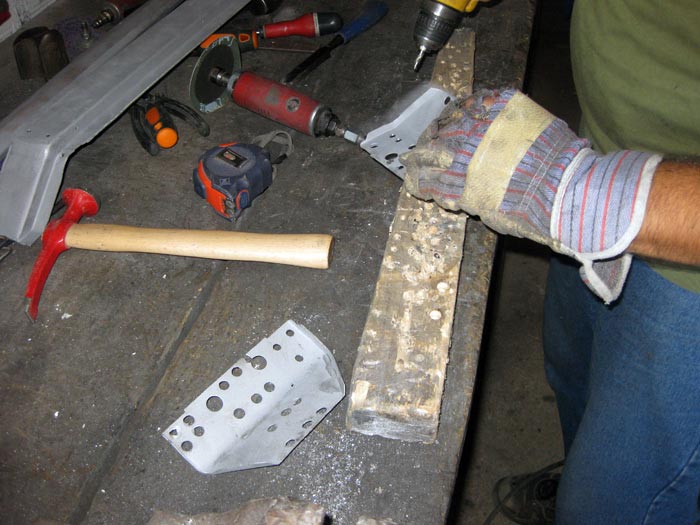
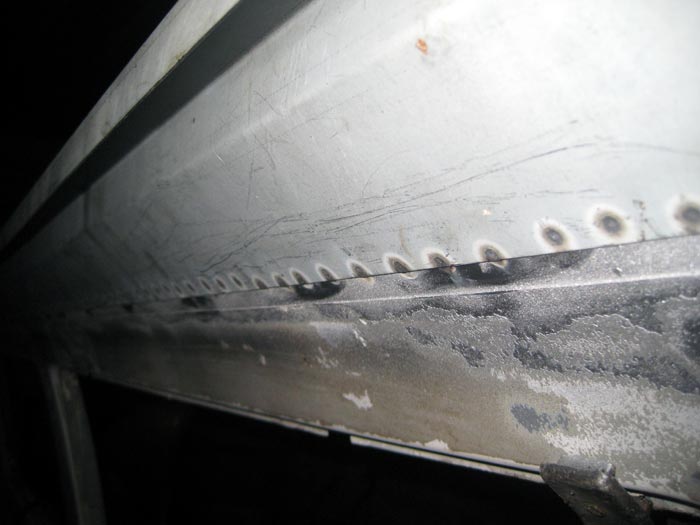
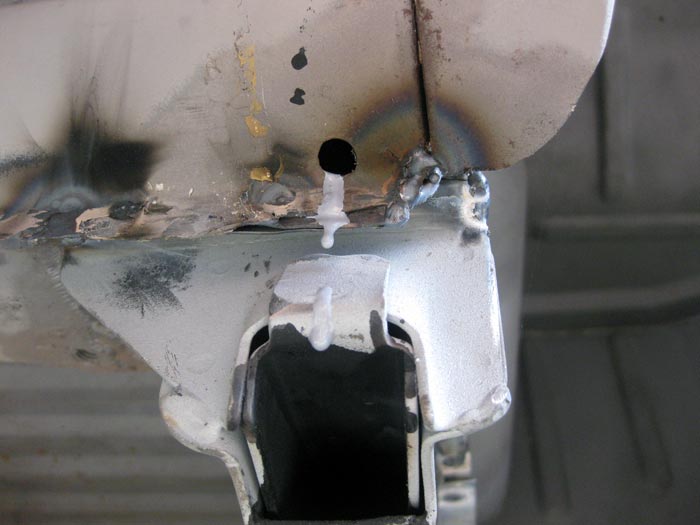
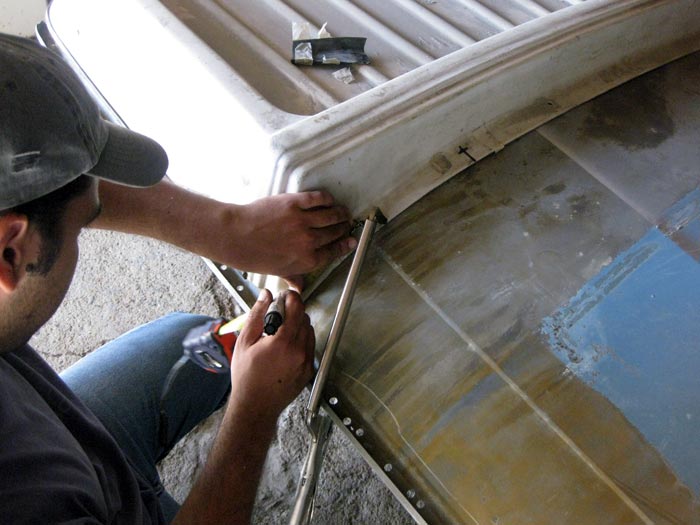
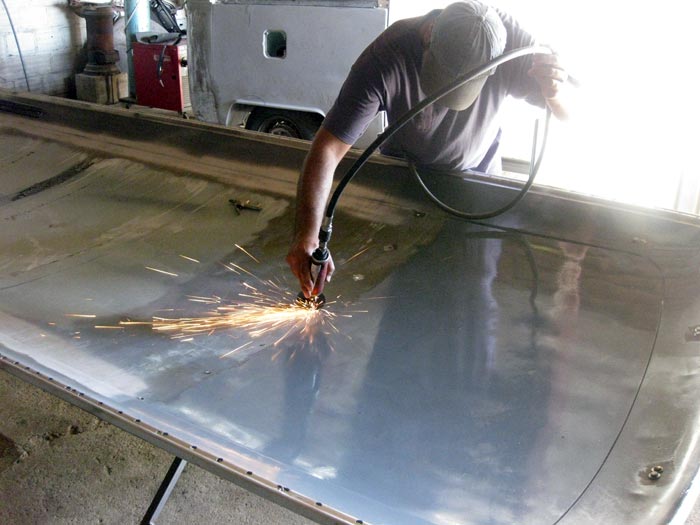
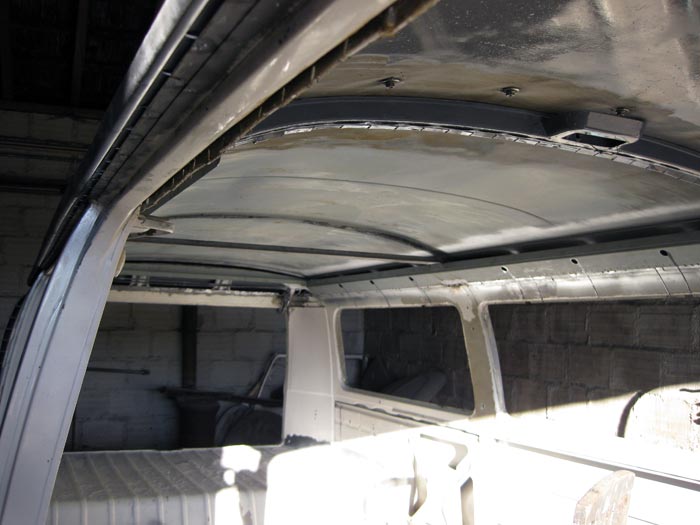
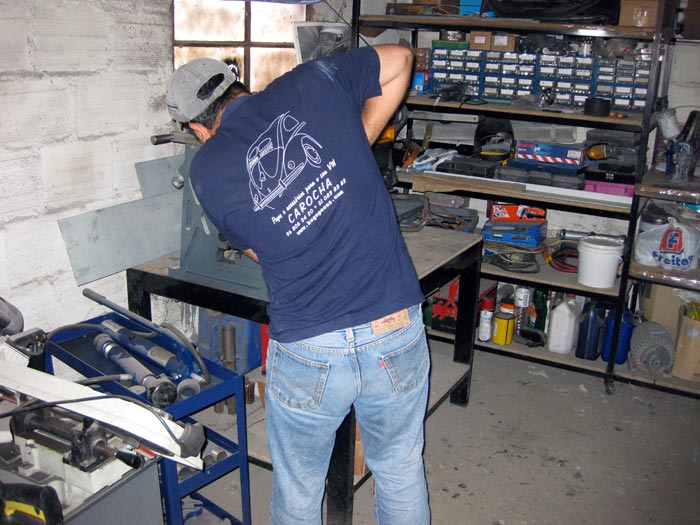
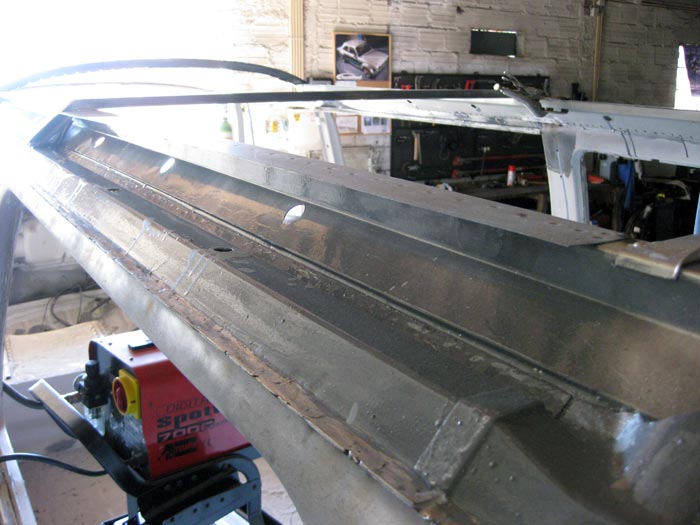
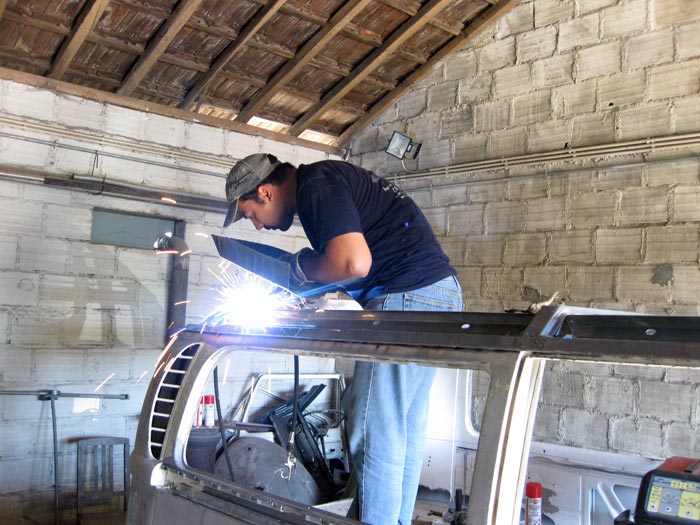
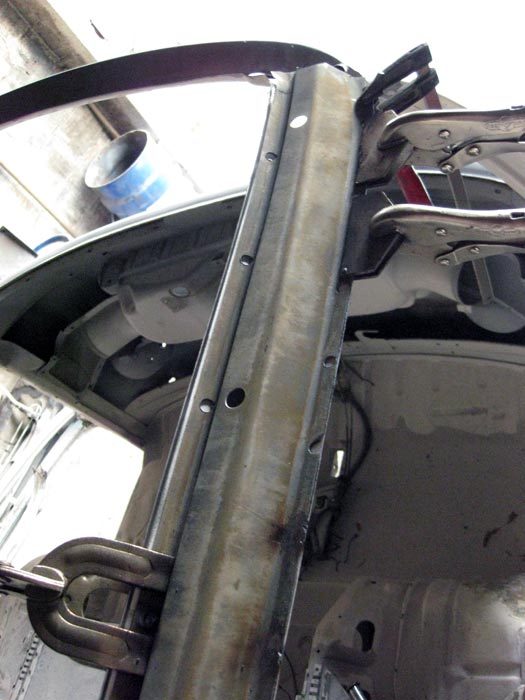
at the end of the day, only a small part remained to be welded:

IMG_2162.jpg


IMG_2163.jpg
 
next day, before going into Hugo's bodyshop I went to a shio where they sell, cut and bend sheets of metal. I went there because I needed to get new parts that were going to replace the original ones from Westfalia:

IMG_2184.jpg


IMG_2168.jpg


IMG_2169.jpg


Hugo's was fixing this part that came from the westy:

IMG_2164.jpg


IMG_2170.jpg


IMG_2171.jpg
 
While he was working on that part I realized that the "new" frame was completely welded:

IMG_2165.jpg


IMG_2166.jpg


But since the day was almost over, there wasn't more time to do anything else.
I ended leaving Hugo's bodyshop to go to a Celtic/Folh summer festival, some 50 km's away.
On the way, it was possible to see a huge smoke cloud from another forest fire.

IMG_2172.jpg


.... and half way there, the cloud was getting bigger:

IMG_2173.jpg


On the festival, ashes were falling as if we were near an volcanic eruption :shock:

IMG_2174.jpg


IMG_2175.jpg


When we were leaving the festival, flames were coming down the hill and getting closer to the village. I supose that it was a terrific night for all the villagers.
Some 15 km's away from the village I stoped my car in the road, turned back and took a picture of the flames. Although the picture as a really poor quality, you can see the flames. They should have dozen of meters high.
What a caos!

IMG_2181.jpg


It must have been a night of terror for firefighters and residents :roll:
 
on the following day, when I got back to Hugo's bodyshop I saw that the front roof support was already in place. That part had been already sandblsated the day before:

IMG_2185.jpg


IMG_2186.jpg


IMG_2187.jpg


meanwhile Hugo was already taking out some parts for the central bed support:

IMG_2188.jpg


IMG_2189.jpg
 
during lunch hour, I sandblasted the remaining parts:

IMG_2191.jpg


IMG_2190.jpg


- the central bed support
- the inner reinforcements for the late bay westfalia pop top

But before welding the bed support in place, Hugo decided to make some changes in it:

IMG_2192.jpg


IMG_2193.jpg


Meanwhile the fire from the last night was still burning and getting bigger.
Heavy fire-fighting helicopters, flew over us constantly.

IMG_2194.jpg


The smoke cloud was so big that we could feel it although we were 50 km's away from the fire....
:roll:
 
Inside hugo's bodyshop, progresses were being made.
With the central support already welded in place, we started positioning the longitudinal roof reinforcements in place:

IMG_2195.jpg


IMG_2196.jpg


IMG_2197.jpg


IMG_2198.jpg


Then he started welding it... and a couple of years later, let's make this a second time :mrgreen:

IMG_2199.jpg
 
IMG_2200.jpg


IMG_2201.jpg


and some 1.000.000 welding spots later, this part was almost welded in place:

IMG_2202.jpg


IMG_2203.jpg


But it was getting late and both Hugo and the welding machine needed a break to cool off... but that's not suprising since it was so hot:

IMG_2204.jpg
 
Great progress Joâo, really really good work going on in Hugo's shop.
How dreadful these forest fires are, it's unimaginable the fires were mostly started on purpose.
All those trees & wildlife gone up in flames :(
 
thanks nate... there are some more pictures to share :mrgreen:
... and yes! These forest fires have been a nightmare. This one last for almost a week :cry: and now, there are few more burning large areas of forest. Almost all are man made :evil:.

Well, some more developments :mrgreen: :
To proceed with the task I had to take the Westfalia poptop to Hugo's bodyshop.
There are still a lot to do in it.

Imagem(684).jpg


I had to unbolt all the supports for the luggage area:

Imagem(682).jpg


Imagem(683).jpg


Imagem(692).jpg


... and a bit more of the original roof to recycle:

Imagem(693).jpg
 
meanwhile Hugo had already welded both reinforcements:

Imagem(685).jpg


Imagem(686).jpg


Imagem(687).jpg


and he had already made the holes for the rear inner reinforcements and rear "hinges":

Imagem(688).jpg


Imagem(689).jpg


Imagem(690).jpg
 
time to weld them in place:

Imagem(691).jpg


Imagem(695).jpg


and after this task, we started working on the front area:

Imagem(696).jpg


Imagem(697).jpg


... and the necessary holes:

Imagem(698).jpg


Imagem(699).jpg


... and bolting the supports:

Imagem(700).jpg


.. just to check if everything is in place:

Imagem(701).jpg
 
Since I have some small cans of POR-15 paint, I then decided to use them to paint all the areas treated with Metal Ready and others where I didn't use it:

IMG_2212.jpg


IMG_2213.jpg


IMG_2214.jpg


IMG_2215.jpg


... but always being aware of the welding areas.
 
Hugo then decided to paint all the interior of the roof frame with a primer and using the holes he had made previously:

IMG_2225.jpg


IMG_2226.jpg


While he was doing this, we kept earing the same helicopters flying over us.

IMG_2227.jpg


... and once inside, we realized that the primer Hugo was spraying spreading inside the hole bus:

IMG_2229.jpg


a few minutes later, the helicopters were flying over us again, this time already filled with water and heading to the huge forest fire:

IMG_2230.jpg


IMG_2231.jpg
 
meanwhile, while the primer was drying, we went back to the luggage area.. and this time, to the rear bolts (again) that will make the task of removing it, a lot easier:

IMG_2234.jpg


IMG_2235.jpg


IMG_2236.jpg


IMG_2237.jpg


IMG_2238.jpg


After we made all the holes, we fliped the roof so hugo could start welding the nuts:

IMG_2239.jpg


IMG_2240.jpg


IMG_2241.jpg
 
but before, we bolted the screws and nuts in place:

IMG_2242.jpg


IMG_2243.jpg


.... and then he started welding them in place .....

IMG_2245.jpg


IMG_2246.jpg


meanwhile, we started earing a huge sound aproaching... far more loud than the usual. We went outside and realized that the sound was a Kamov helicopter flying a lot lower than he should:

3x optical zoom :shock: :
IMG_2247.jpg
 
Then it was time to put the roof in place, to draw the curvature on the rear bed support:

IMG_2249.jpg


IMG_2250.jpg


IMG_2252.jpg


... and while Hugo was working on that bed support, I used POR-15 paint on the roof:

IMG_2253.jpg


IMG_2254.jpg


IMG_2256.jpg
 
While por-15 paint was drying we then decided to make another change.
This will help us to keep the roof curvature while bending it over the reinforcements.

IMG_2257.jpg


IMG_2258.jpg


IMG_2259.jpg


.... and the cut:

IMG_2260.jpg


IMG_2261.jpg


.... ad rust treatment:

IMG_2262.jpg


....and after we tried them out, with the roof again in the right place, Hugo started welding them:

IMG_2263.jpg


IMG_2264.jpg
 
After welding it in place, Hugo started cleaning the area where the roof will be welded because some POR-15 paint dripped into that area. That was not an easy task ;) :

IMG_2266.jpg


IMG_2268.jpg


IMG_2269.jpg


... and with these parts in place, we hope we keep the roof curvature. But there was still 3 more pieces of metal to weld:

IMG_2270.jpg


IMG_2271.jpg


IMG_2272.jpg


IMG_2273.jpg


IMG_2274.jpg
 

Latest posts

Top