You are using an out of date browser. It may not display this or other websites correctly.
You should upgrade or use an alternative browser.
You should upgrade or use an alternative browser.
1968 Campervan conversion
- Thread starter joaonar
- Start date


Help Support Early Bay Forum:
This site may earn a commission from merchant affiliate
links, including eBay, Amazon, and others.


Trikky2
Well-known member
Hi João,
What a splendid thread. I have only today come upon it and have spent several hours reading it right through from the start. (The many pictures take time to see properly).
I really feel for you, your thread tells the story so well. You start with "doing it up" and gradually raise your standards as it progresses. I admire you for sticking with it and re-doing those parts you later decided were not good enough.
Its a great pity that there was not somebody with whom you could have discussed this and could have given you advice right at the start - it would have saved you a great deal of time, money and work.
Full marks for posting up everything as it happened - it will be a very useful guide for others starting a restoration. I bet you wish there had been a thread like this for you to have looked at when you were starting.
Hugo looks to be doing some fine work for you and I look forward to seeing the further progress you and he make on your camper. It will be a beauty when its done.
(Just dont make the same mistake I made with my E Type some years ago, where I over restored to concourse standard and ended up with a museum piece - ended selling it since I could not enjoy driving it :lol: )
ps. your English is excellent - I just wish my portugese was 5% as good")
What a splendid thread. I have only today come upon it and have spent several hours reading it right through from the start. (The many pictures take time to see properly).
I really feel for you, your thread tells the story so well. You start with "doing it up" and gradually raise your standards as it progresses. I admire you for sticking with it and re-doing those parts you later decided were not good enough.
Its a great pity that there was not somebody with whom you could have discussed this and could have given you advice right at the start - it would have saved you a great deal of time, money and work.
Full marks for posting up everything as it happened - it will be a very useful guide for others starting a restoration. I bet you wish there had been a thread like this for you to have looked at when you were starting.
Hugo looks to be doing some fine work for you and I look forward to seeing the further progress you and he make on your camper. It will be a beauty when its done.
(Just dont make the same mistake I made with my E Type some years ago, where I over restored to concourse standard and ended up with a museum piece - ended selling it since I could not enjoy driving it :lol: )
ps. your English is excellent - I just wish my portugese was 5% as good
Trikky2, thanks for your words....
"Its a great pity that there was not somebody with whom you could have discussed this and could have given you advice right at the start - it would have saved you a great deal of time, money and work."
I did in fact had someone giving me some advices...however, they were not the right ones :mrgreen: ... and yes, I tried to find some informations over the internet but I didn't find any (in 2004/2005 before I began this saga).
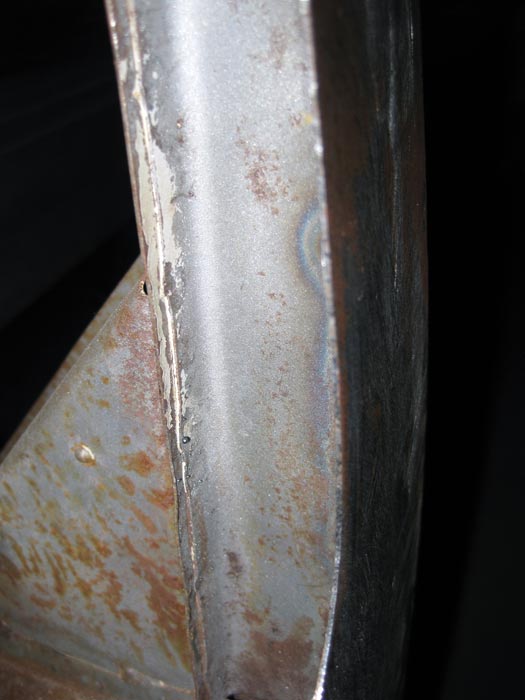
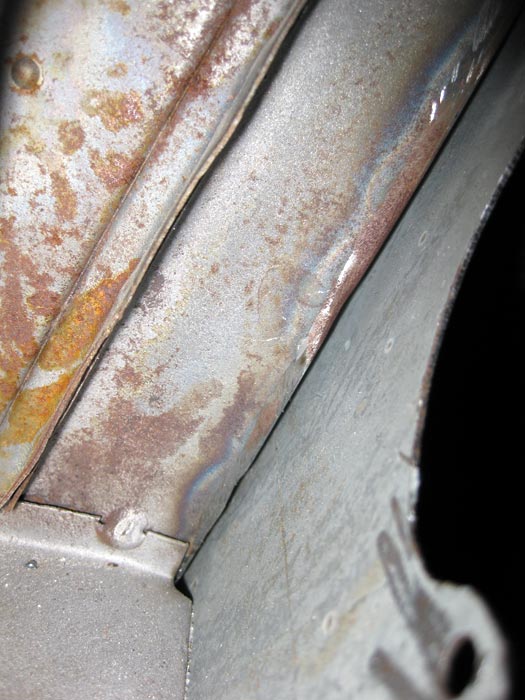
well, now I just want this to end.. but we keep finding rust to repair and I'm not sure when will this be finished.
"Its a great pity that there was not somebody with whom you could have discussed this and could have given you advice right at the start - it would have saved you a great deal of time, money and work."
I did in fact had someone giving me some advices...however, they were not the right ones :mrgreen: ... and yes, I tried to find some informations over the internet but I didn't find any (in 2004/2005 before I began this saga).
well, now I just want this to end.. but we keep finding rust to repair and I'm not sure when will this be finished.
dont dispair,you will get there,its that "why did I ever start"period that gets us all on big jobs(and small ones :shock: )when its painted it will refuel your enthusiasim and you wont be abale to wait to be out on the road,cracking job,done all the bits your doing,but not on the same bus :roll: so know what its like.


$9.37
Empi 4429 Ivory Sun Visor Clips for Vw Bug 1965-1967/ Vw Bus 1968-1979, Pair
MOORE PARTS SOURCE

$10.00
Volkswagen Genuine VW Driver Gear VW Logo Specifications T-Shirt Tee - X-Large - Black
wolframitersqga


$7.94
$15.10
Door Panel Clips, for VW Aircooled Door Panels, 50 Pieces, Compatible with Dune Buggy
Appletree Automotive

$31.80
Airfix Quickbuild Volkswagen Light Blue Camper Van Brick Building Model Kit, Multicolor
Amazon Global Store UK


T2-Nate
Well-known member
:shock:
Must be because of sleeping in the bus then during family trips that it became so rusty?
Hugo is really talented, not many people would take on a job like that and still be taking pictures :roll:
How you gonna paint it when it's finished?
-Keep it up man looking forward to the next installments!
Must be because of sleeping in the bus then during family trips that it became so rusty?
Hugo is really talented, not many people would take on a job like that and still be taking pictures :roll:
How you gonna paint it when it's finished?
-Keep it up man looking forward to the next installments!
Thanks 67panel.... I will get it back on the road...eventually :mrgreen:
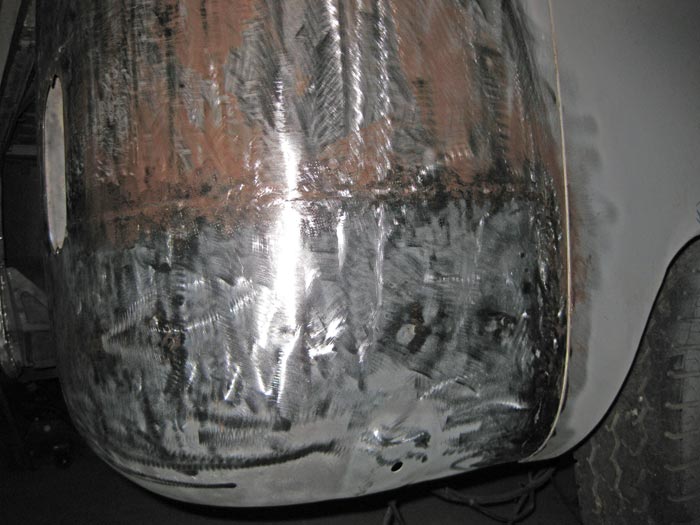
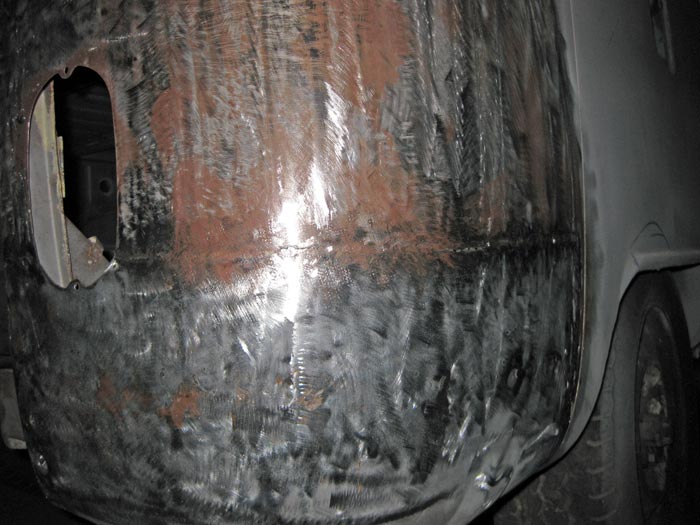
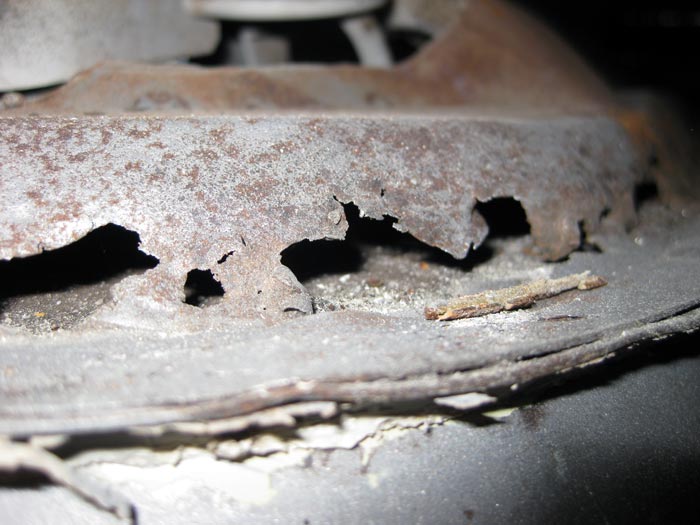
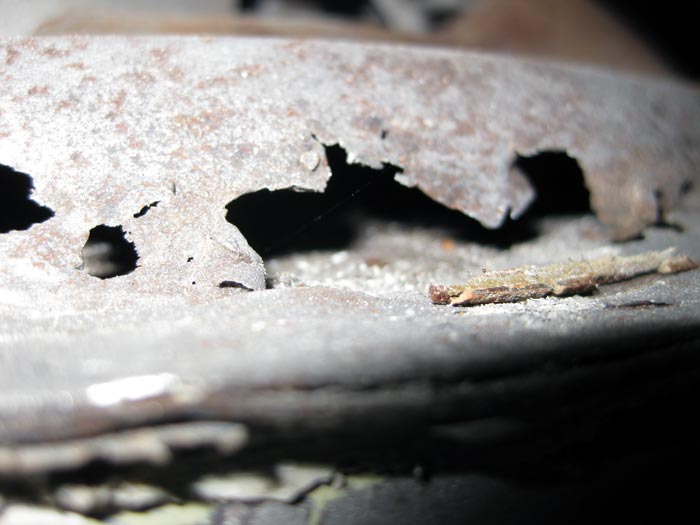
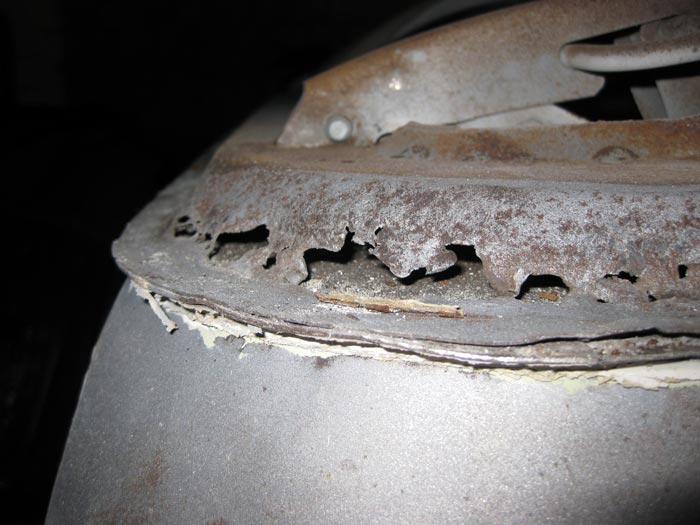
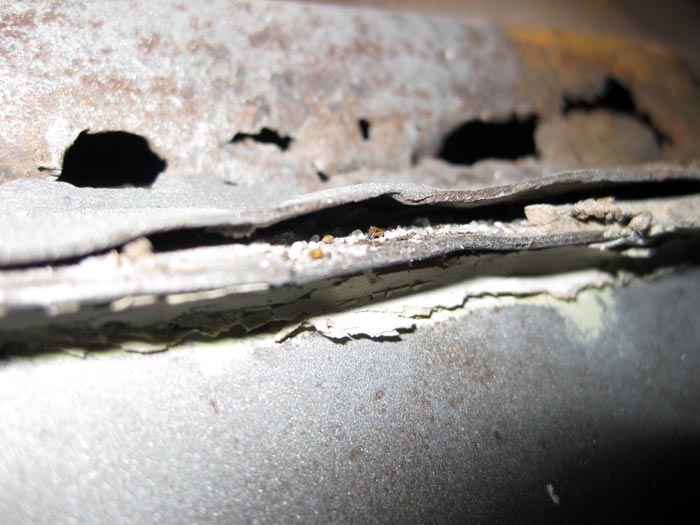
T2-nate: I'm not sure... but that's probably one of the reasons as the rust hole on the back corner is another one...
I'm still not sure about the colors scheme. I like the previous one (white with L380 Pacific Blue) but now I'm not really sure about it. I love the color on davebug bus with the deluxe trim... I still have a lot of time before getting it to a paint shop to decide :mrgreen:
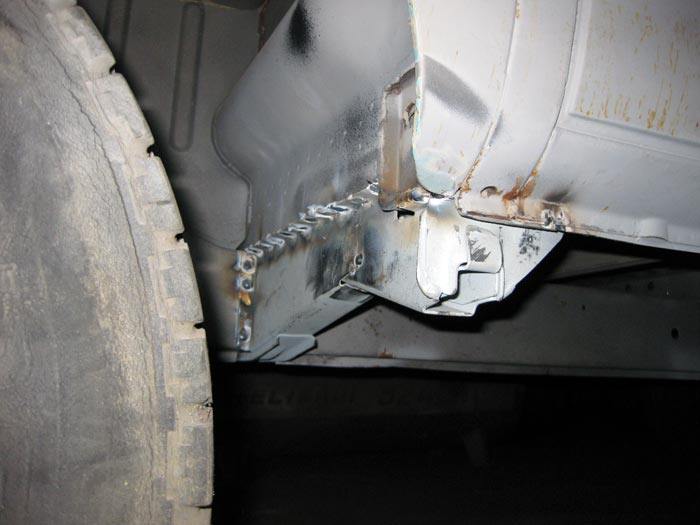
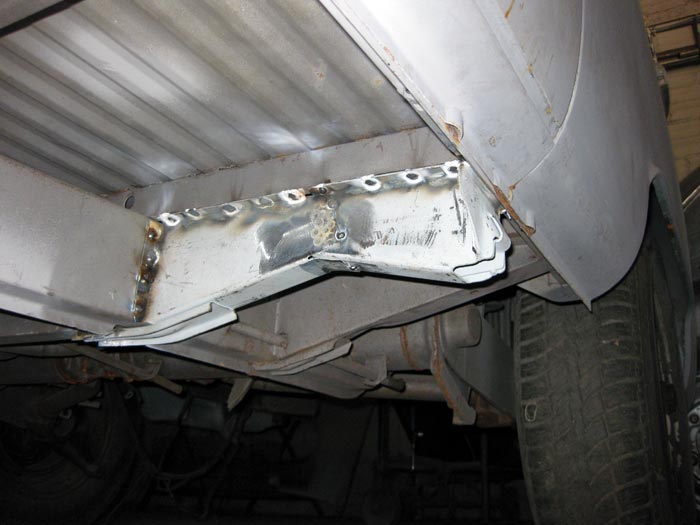
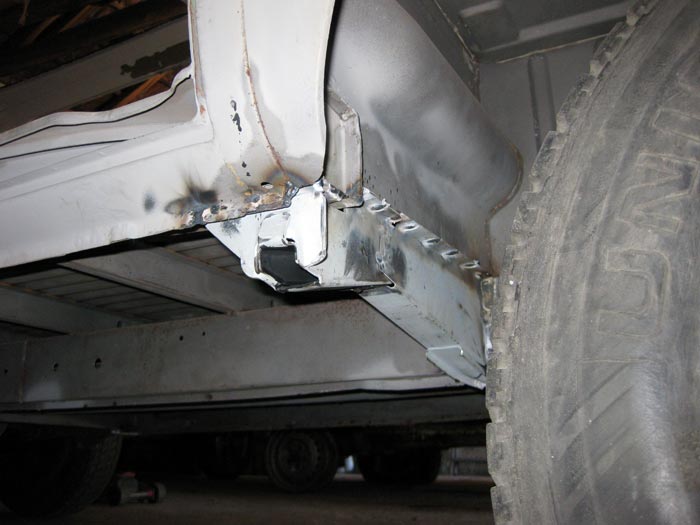
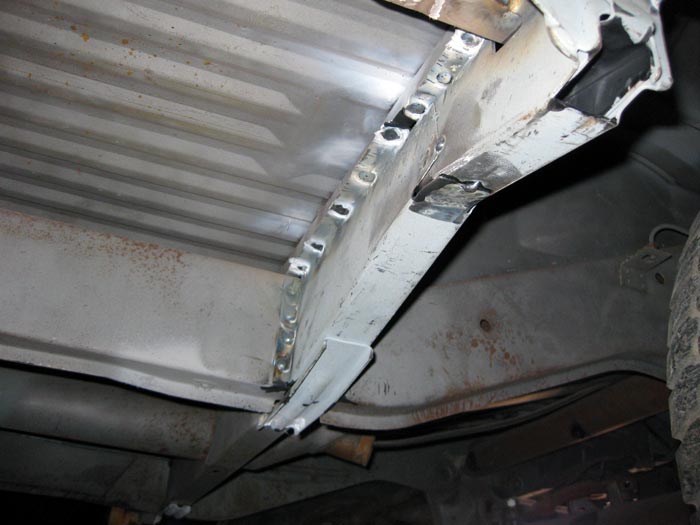
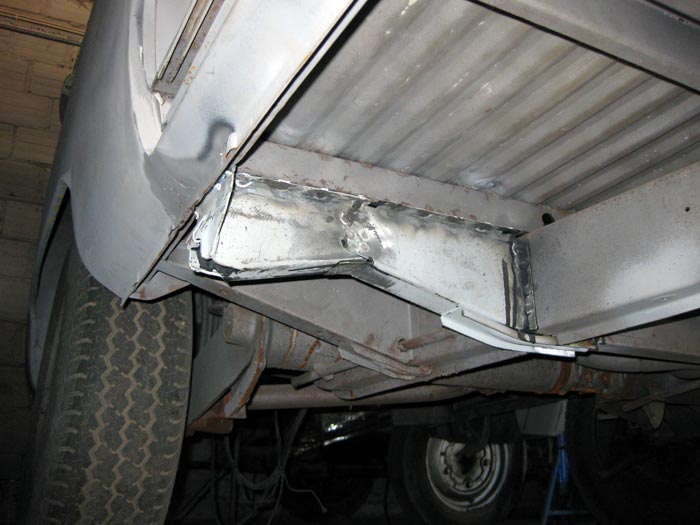
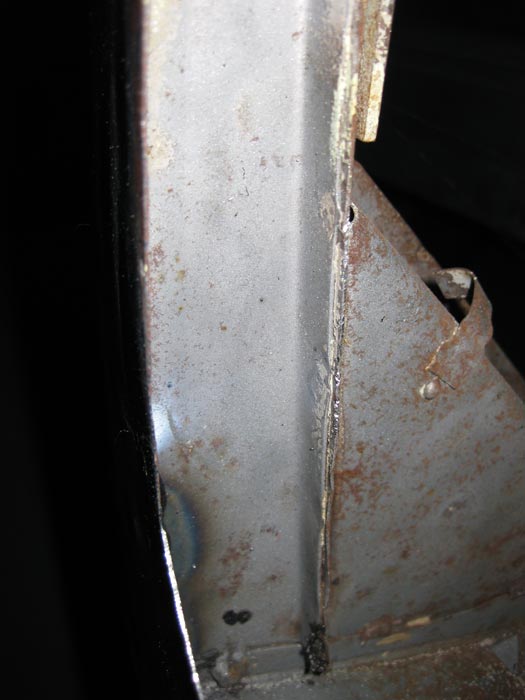
And yes... Hugo is very skilled and talented...and also, very honest. No fiberglass and fillers in his job .
The pictures show it all :mrgreen:
T2-nate: I'm not sure... but that's probably one of the reasons as the rust hole on the back corner is another one...
I'm still not sure about the colors scheme. I like the previous one (white with L380 Pacific Blue) but now I'm not really sure about it. I love the color on davebug bus with the deluxe trim... I still have a lot of time before getting it to a paint shop to decide :mrgreen:
And yes... Hugo is very skilled and talented...and also, very honest. No fiberglass and fillers in his job
.The pictures show it all :mrgreen:
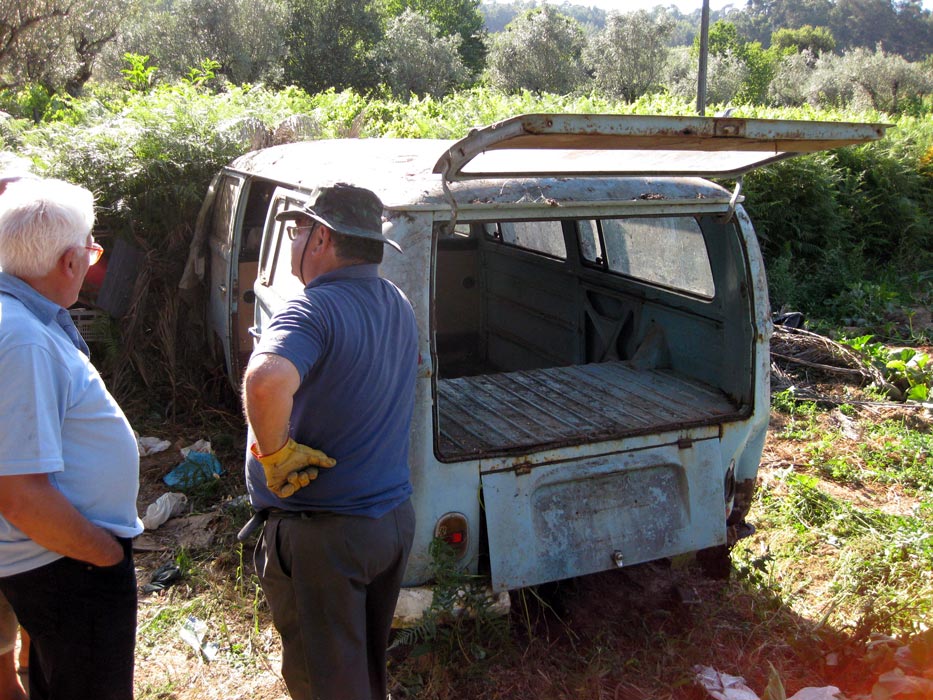
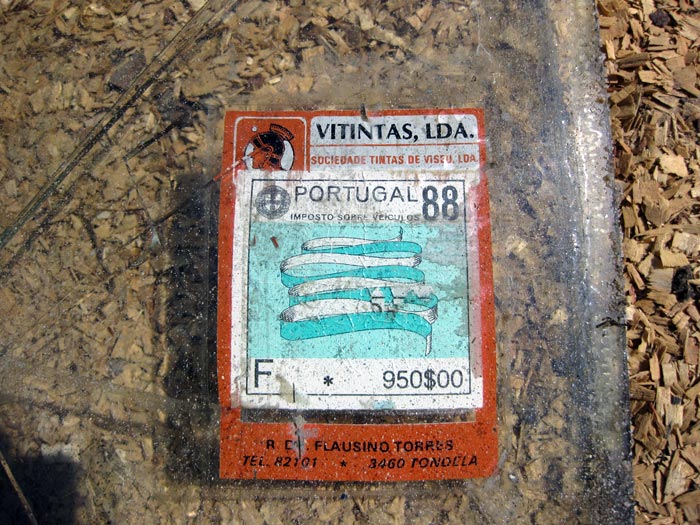
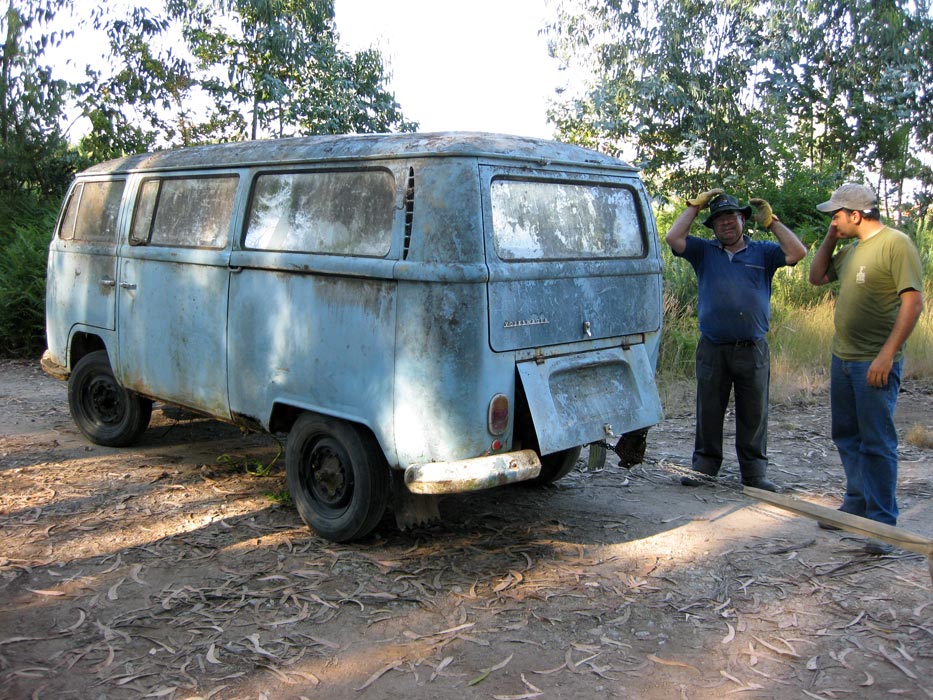
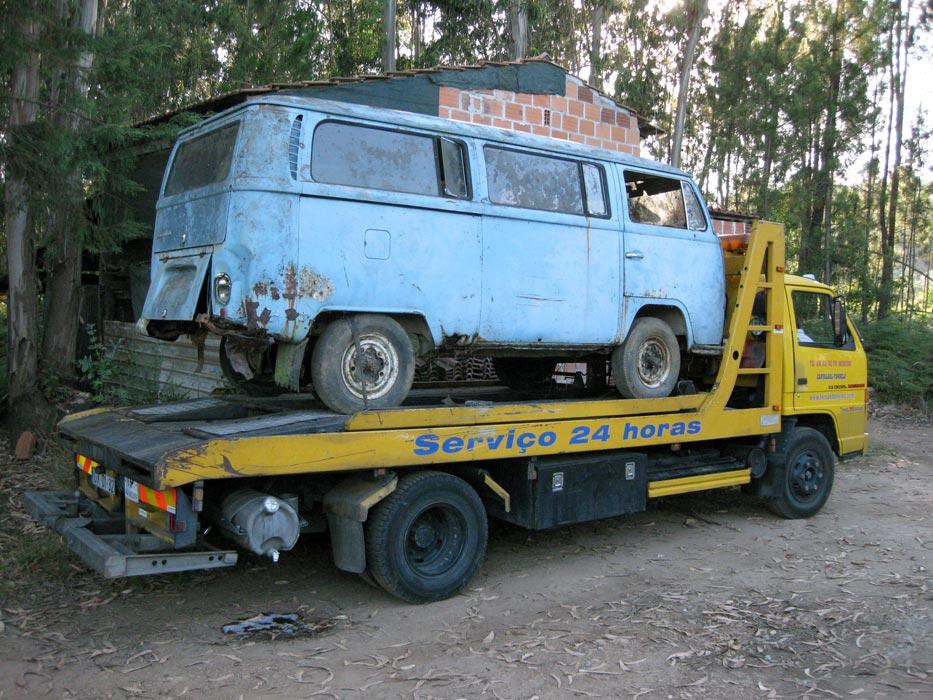
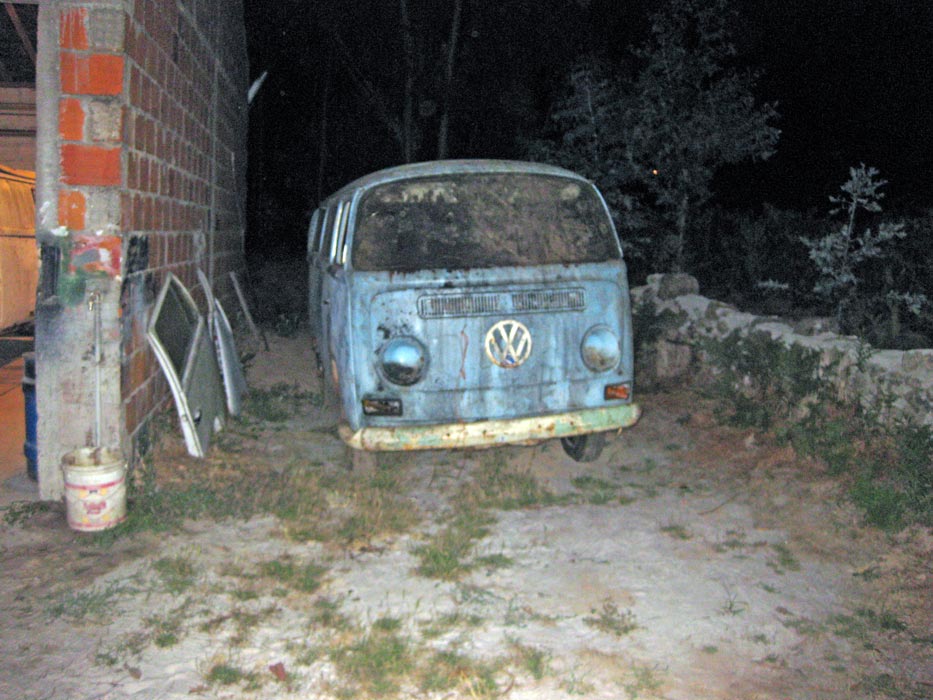
It's an old Mozambique car, left hand drive (I supose it's a '69 bus). No papers and no license plates....
Under a blazing sun (18 pm and almost 35º Celsius :shock: ) we managed to remove it from the place it had been since 1988 (at least, that's the year of the last legal authorization for getting on the road).
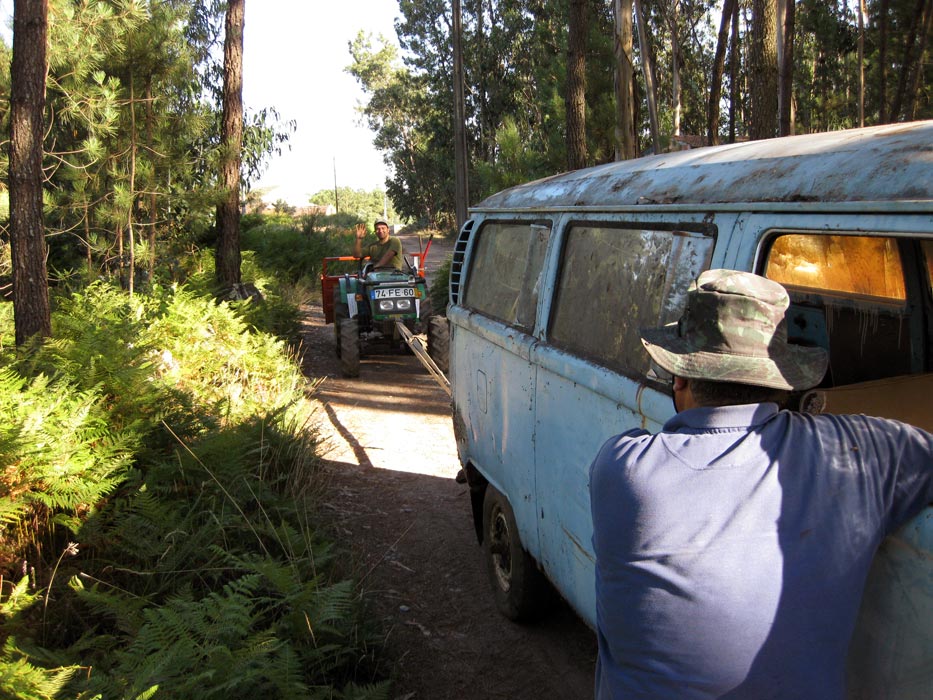
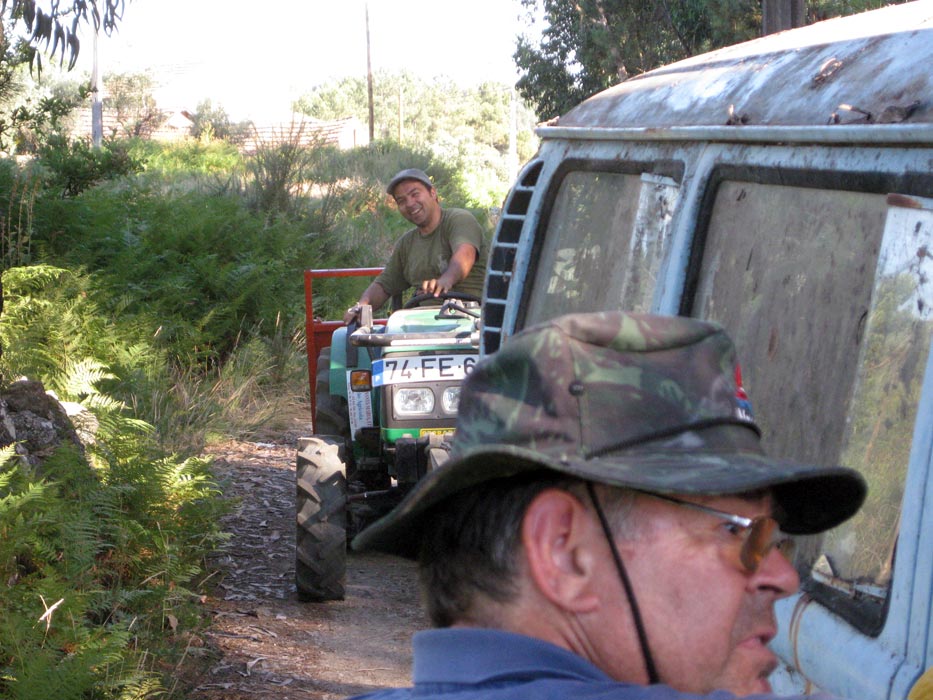
And a couple of hours later, we had it parked in an clearing where the tow truck could pick her with ease:
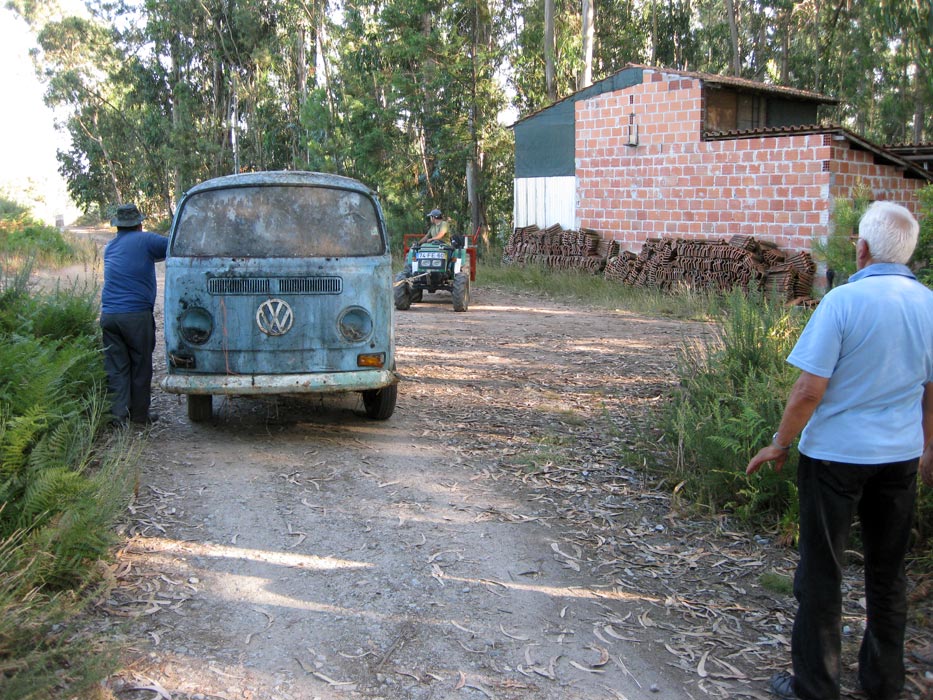
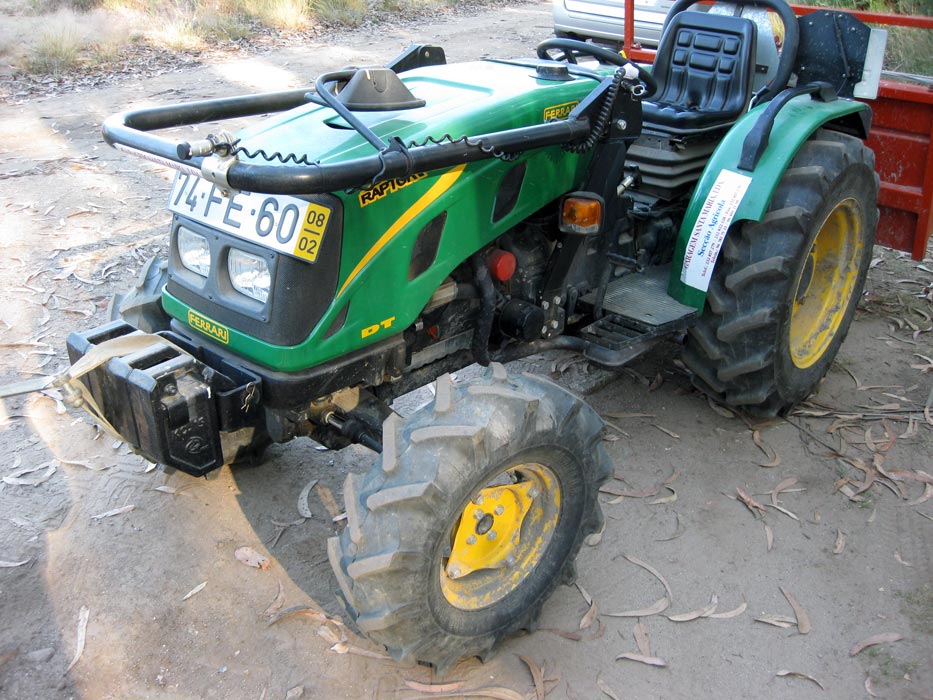
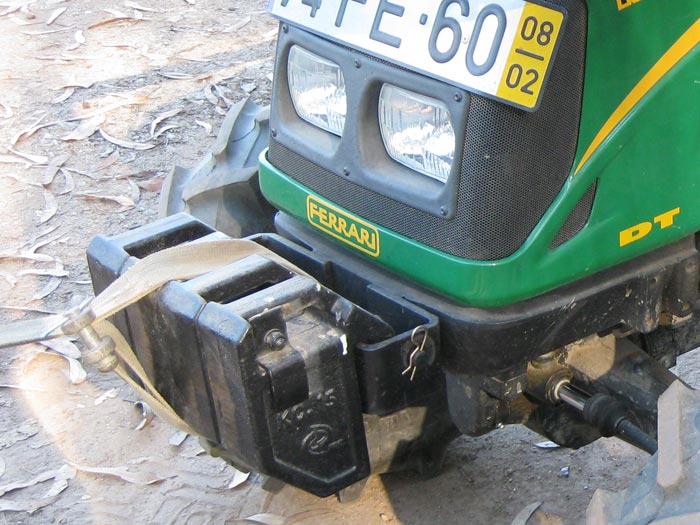
this "ferrari" revealed to be a major help:
Under a blazing sun (18 pm and almost 35º Celsius :shock: ) we managed to remove it from the place it had been since 1988 (at least, that's the year of the last legal authorization for getting on the road).
And a couple of hours later, we had it parked in an clearing where the tow truck could pick her with ease:
this "ferrari" revealed to be a major help:
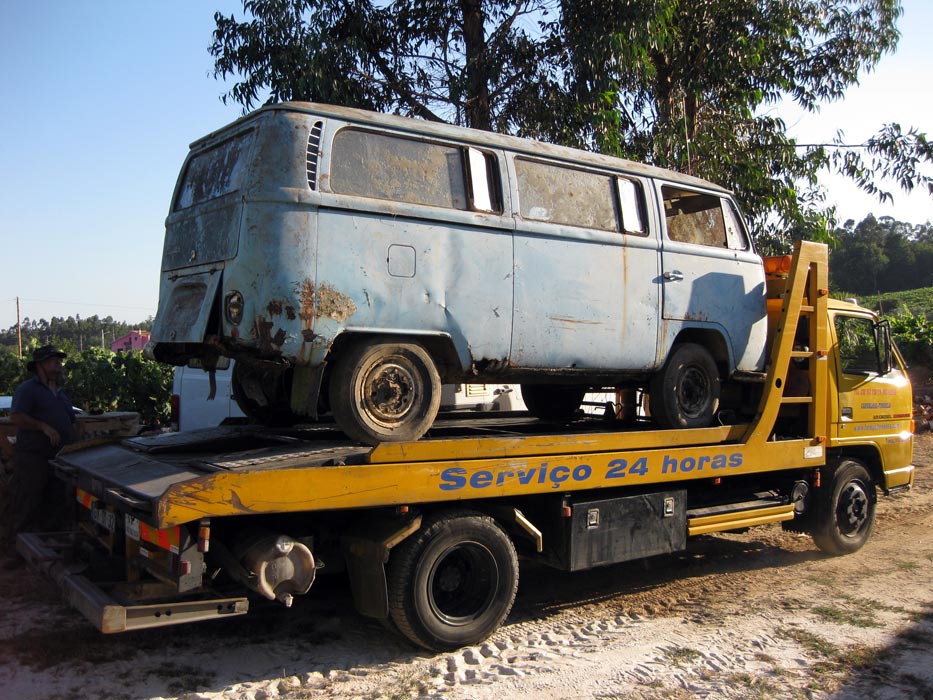
half an hour later, the same tow truck from an year ago, came to get her to Hugo's bodyshop. The driver still remembered the last "piece of crap" he took there :mrgreen:
it was funny to see a lot of mices dropping from the bus into the tow truck. The driver still ran with the intention of hiting them with a wooden stick but they were faster escaping him:
Tow truck driver, 0 - mices, 1
:mrgreen:
a couple of minutes later, the bus was getting dropped into Hugo's bodyshop:
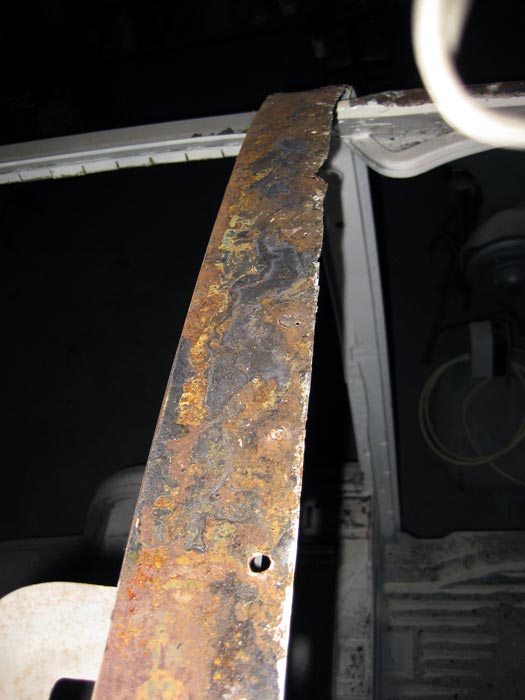
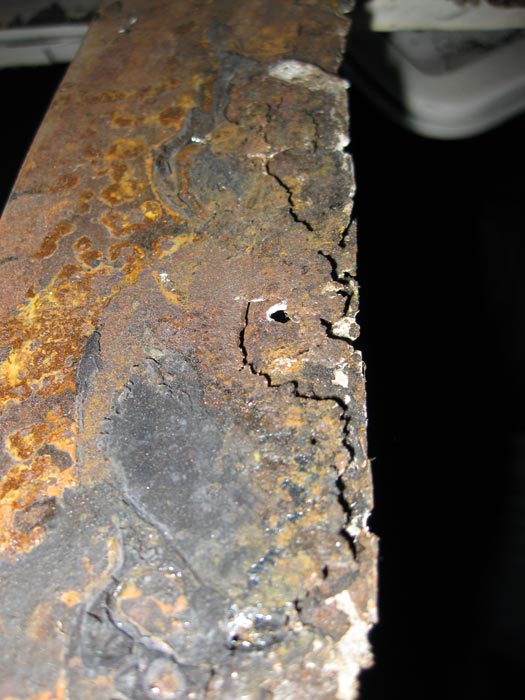
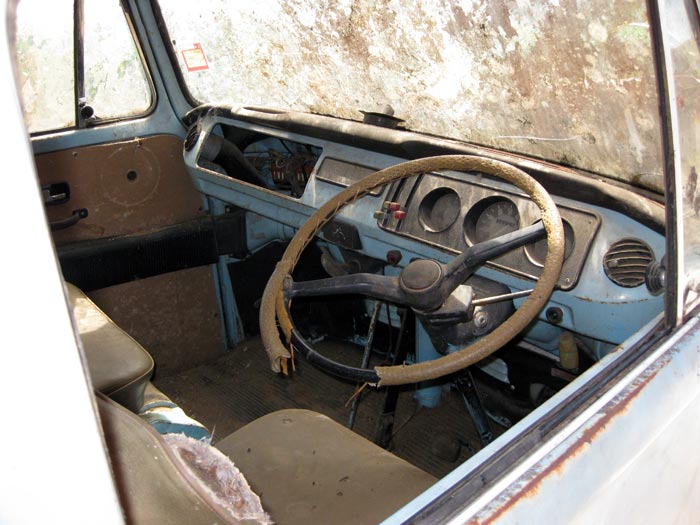
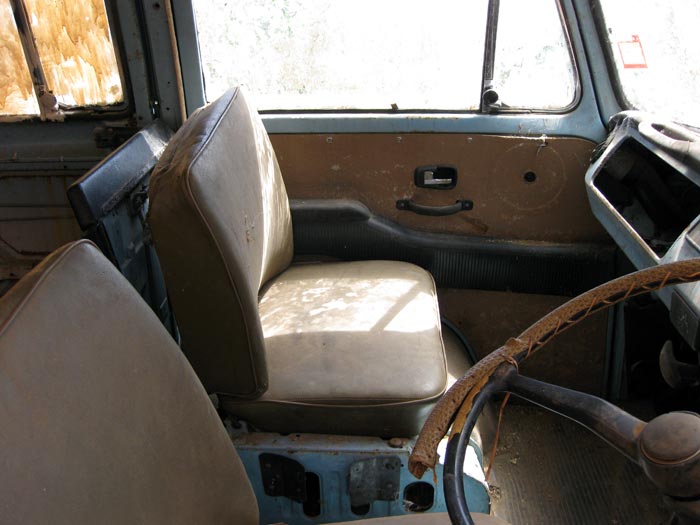
a lot of work to be done in it.. and a lot of cleaning too :mrgreen: :
it was funny to see a lot of mices dropping from the bus into the tow truck. The driver still ran with the intention of hiting them with a wooden stick but they were faster escaping him:
Tow truck driver, 0 - mices, 1
:mrgreen:
a couple of minutes later, the bus was getting dropped into Hugo's bodyshop:
a lot of work to be done in it.. and a lot of cleaning too :mrgreen: :
joaonar said:andy,
that's the major plan, so far
OK - take it that it is passed its prime then :msn4:
Really like the work that Hugo is doing - will be a top van when he's finished :mrgreen:
(did your son like the lego??)
T2-Nate
Well-known member
Where's the progress here :mrgreen: ?
Andy: sorry for this late reply. I've been away for a couple of weeks and although I took my computer to keep working while travelling, my internet access was very limited
About the lego and since it took a few more weeks to get here, I kept it away and I will give it to him next christmas... afterall he ended receiving a lot of other presents to fill his bedroom even more :roll:
Nate: there's a lot more to show you :lol:
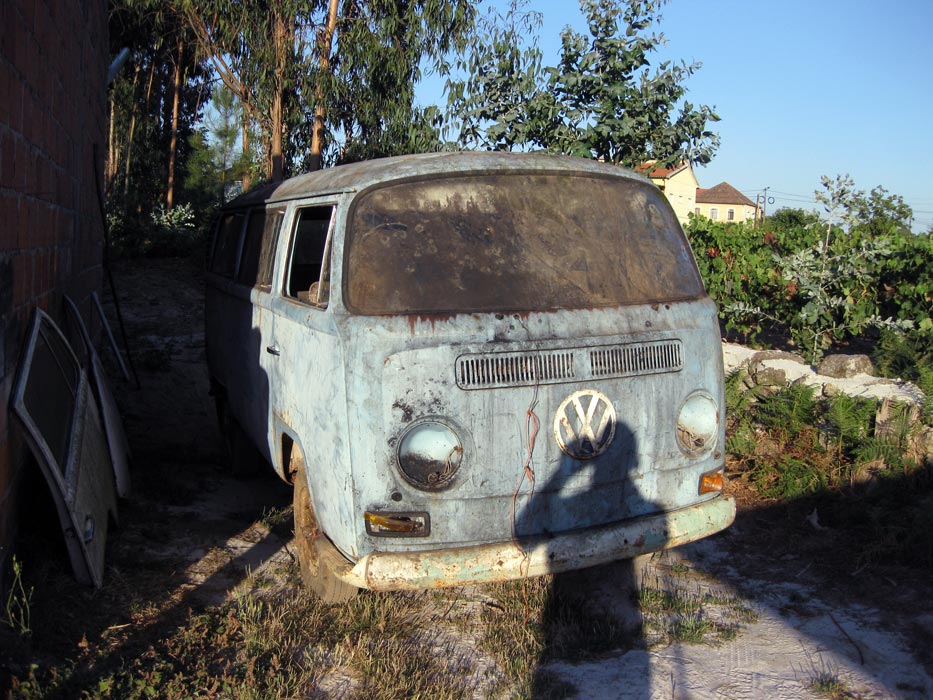
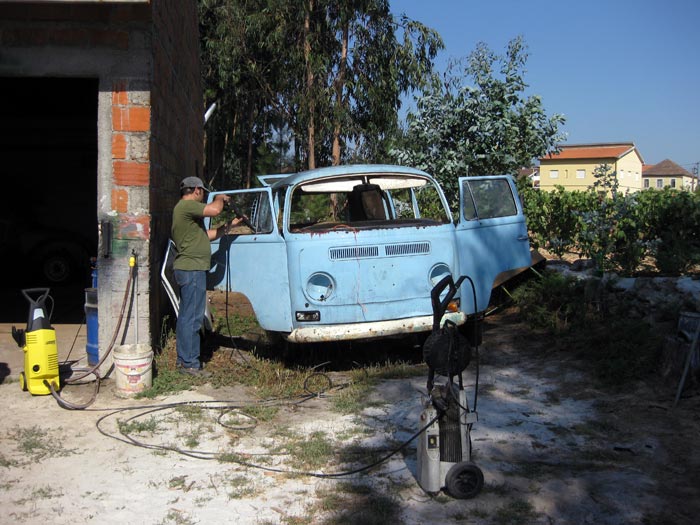
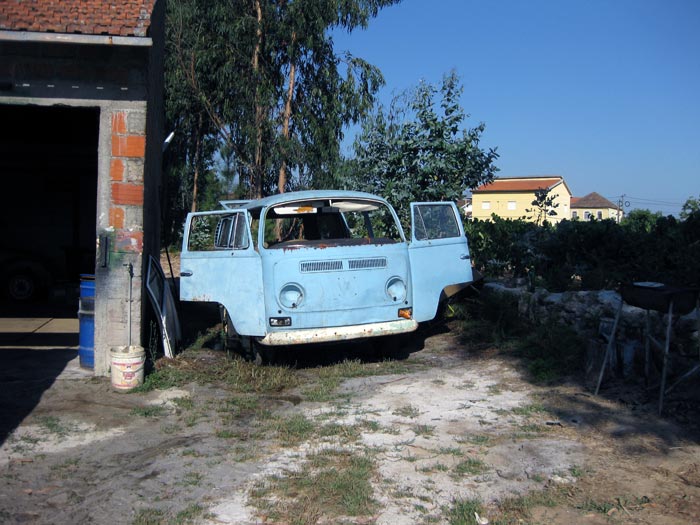
so, next day under a blazing sun, I was able to see the bus properly:
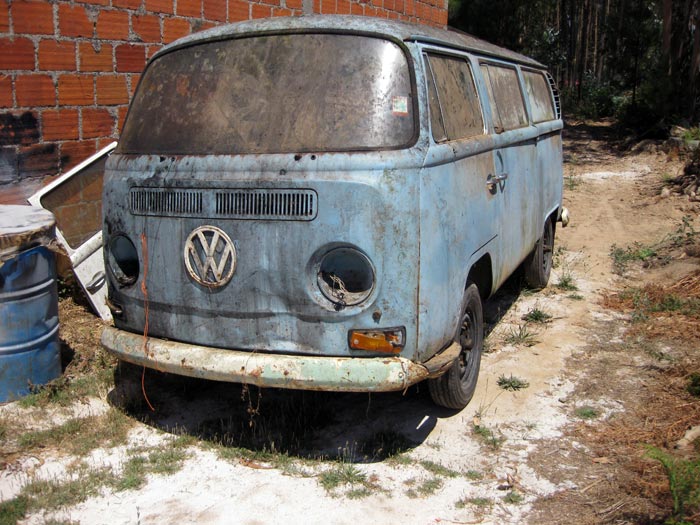
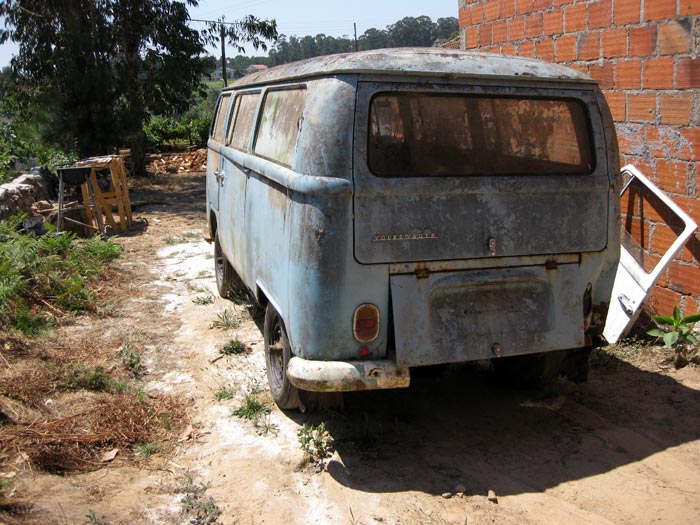
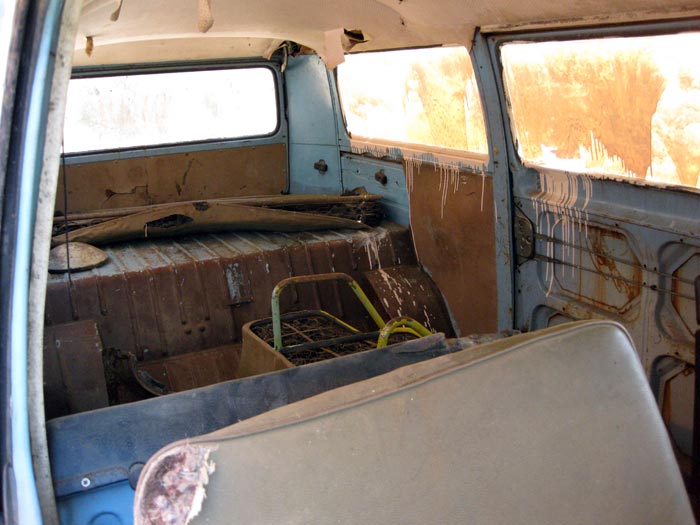
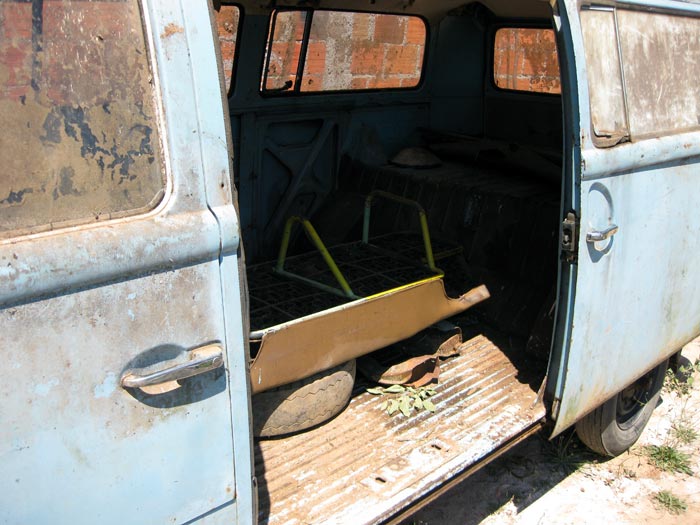
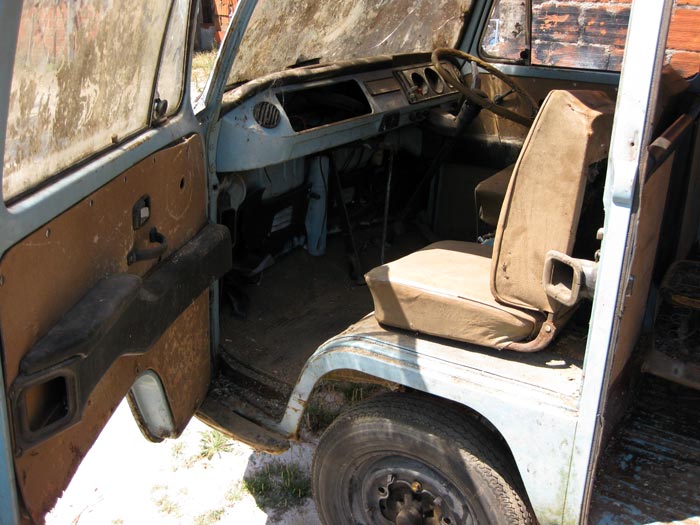
and the last year she was street legal:
About the lego and since it took a few more weeks to get here, I kept it away and I will give it to him next christmas... afterall he ended receiving a lot of other presents to fill his bedroom even more :roll:
Nate: there's a lot more to show you :lol:
so, next day under a blazing sun, I was able to see the bus properly:
and the last year she was street legal:
I borrowed again the high pressure water jet cleaning machine from a neighbor but when I arrived to Hugo's bodyshop I realized he had bought one that same day...although not as powerfull it works great as well:
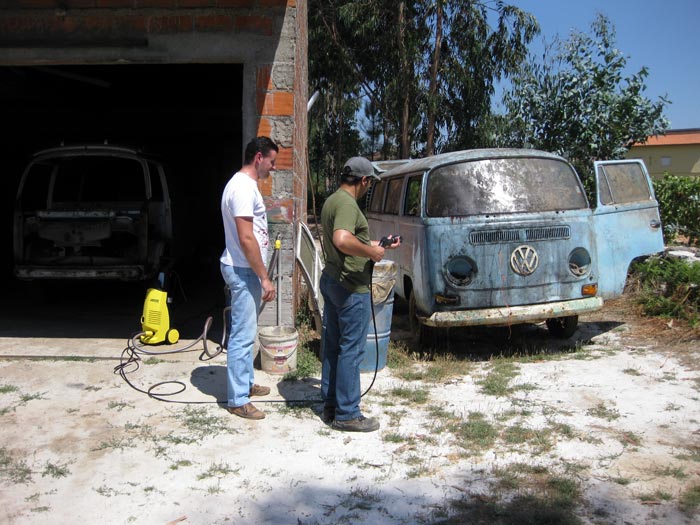
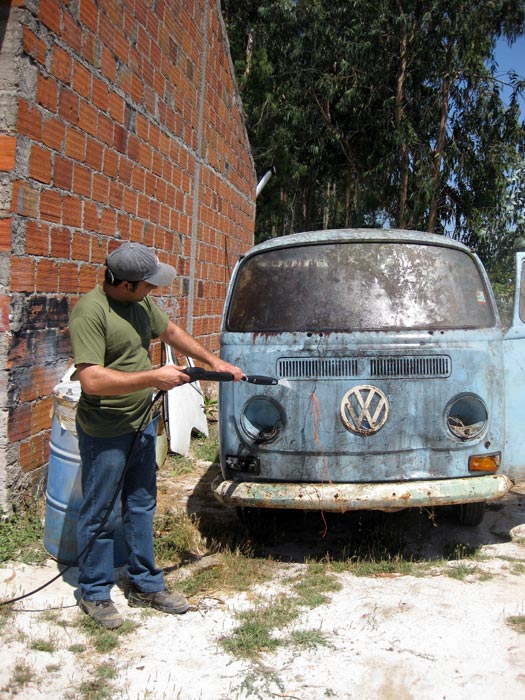
The plan was to seize the hellish heat that was that day for a quick evaporation of all water used.
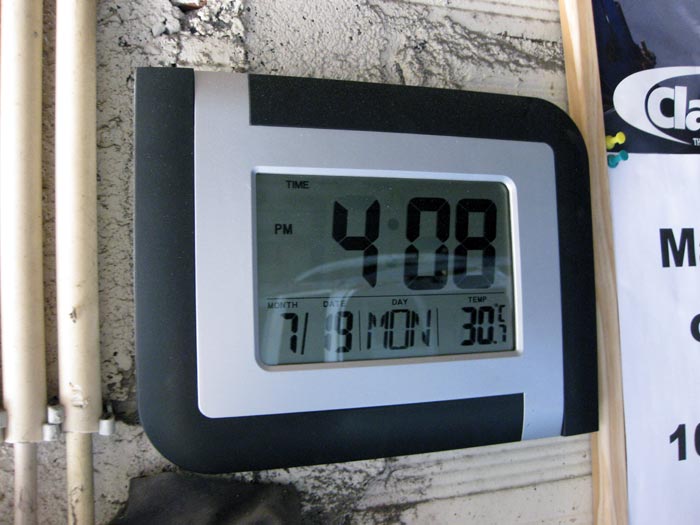
Inside hugo's workshop and with the front gate/door completely open, this clock/thermometer that is positioned next to that gate and in the shade, was showing us the modest temperature of 30.7 at 4 pm.
8)
.... and using both machines and some manual labor, the bus was being cleaned
The plan was to seize the hellish heat that was that day for a quick evaporation of all water used.
Inside hugo's workshop and with the front gate/door completely open, this clock/thermometer that is positioned next to that gate and in the shade, was showing us the modest temperature of 30.7 at 4 pm.
8)
.... and using both machines and some manual labor, the bus was being cleaned
Similar threads
- Replies
- 10
- Views
- 730
- Locked
Parts For Sale
now sold: 1600 engine for sale (august 2023)
- Replies
- 8
- Views
- 1K
- Replies
- 29
- Views
- 2K
Vehicle For Sale
1971 T2a Double Cab Pick Up
- Replies
- 0
- Views
- 1K