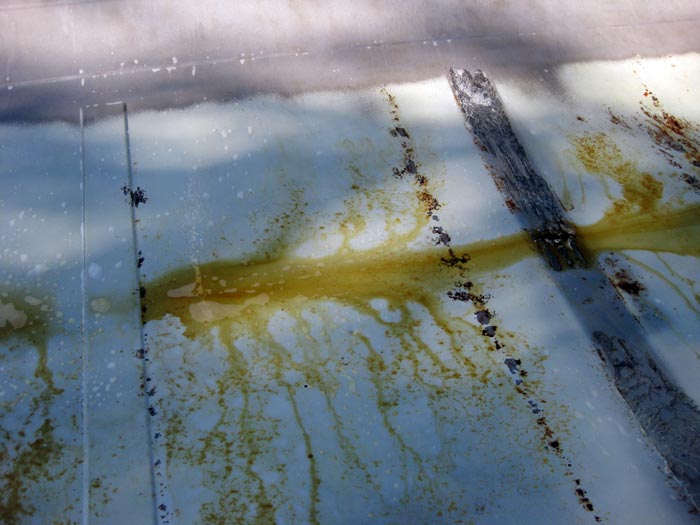
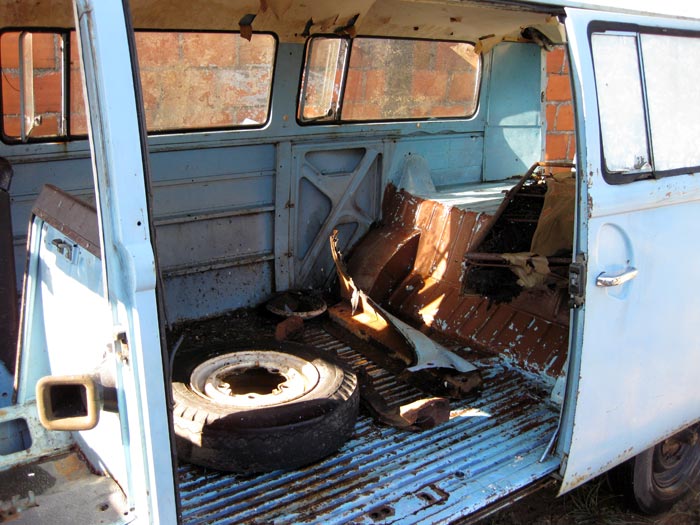
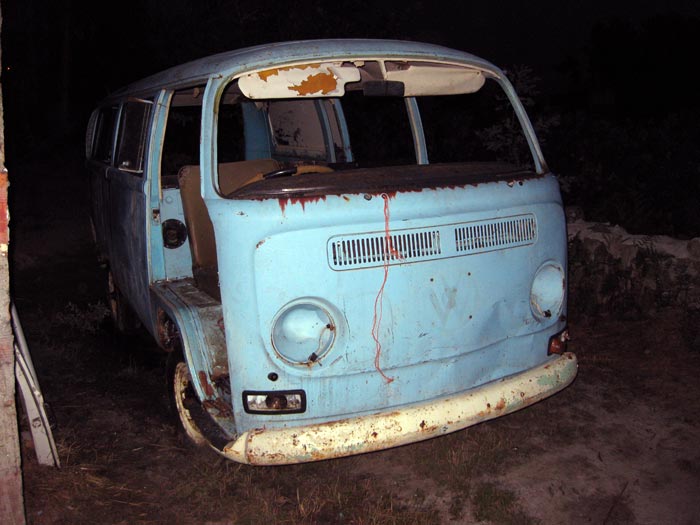
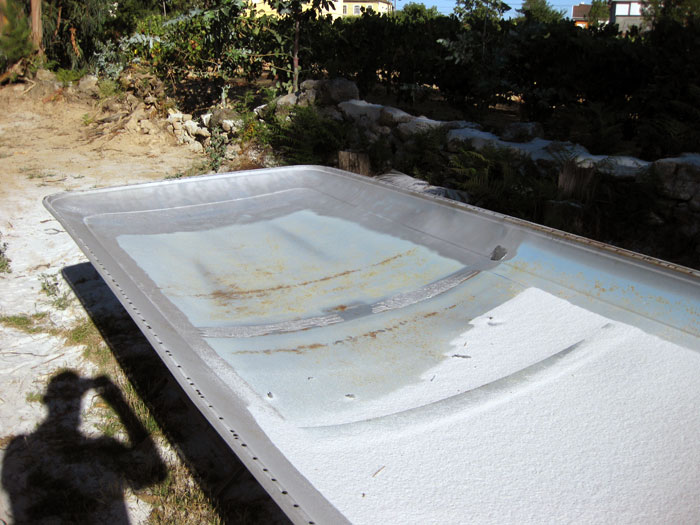
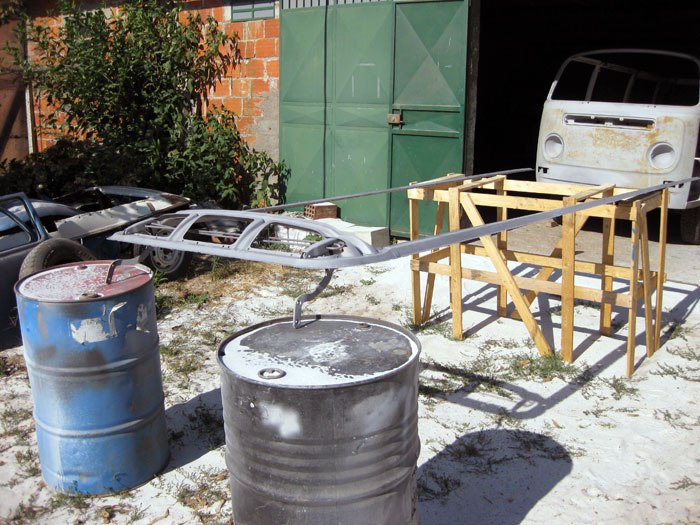
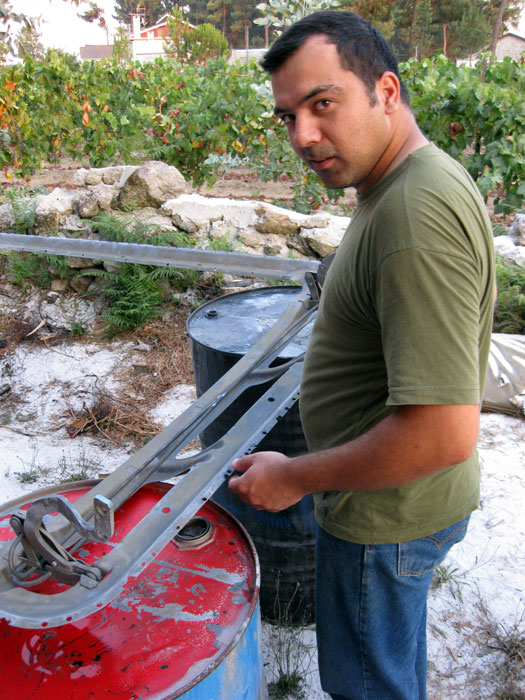
after a lot of work and water, it became more presentable and also a lot more desinfected :mrgreen:
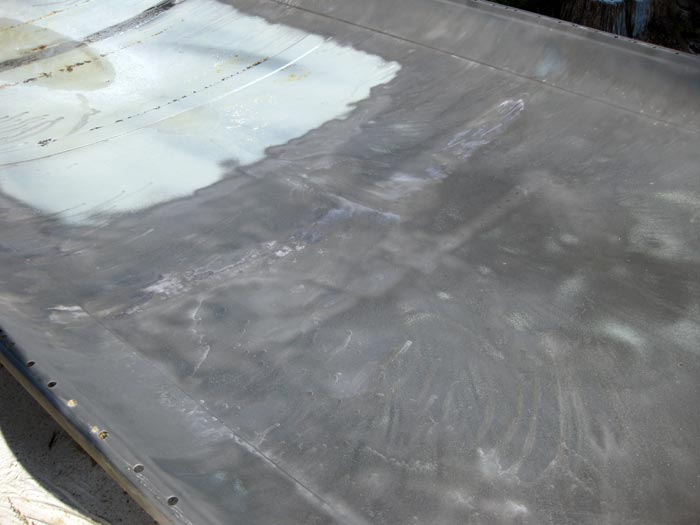
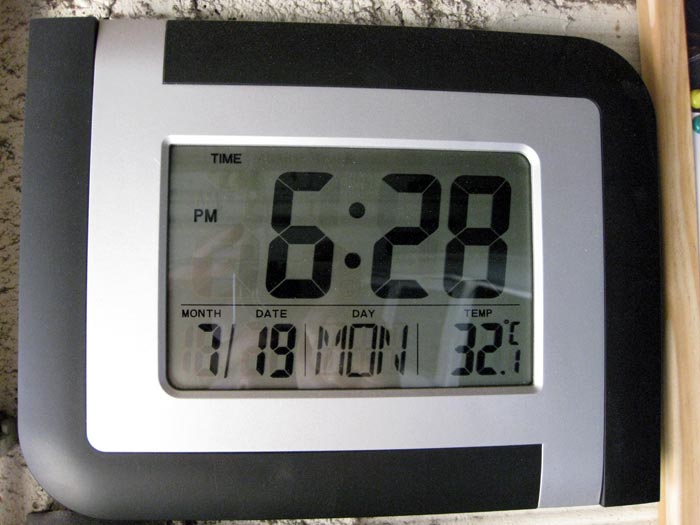
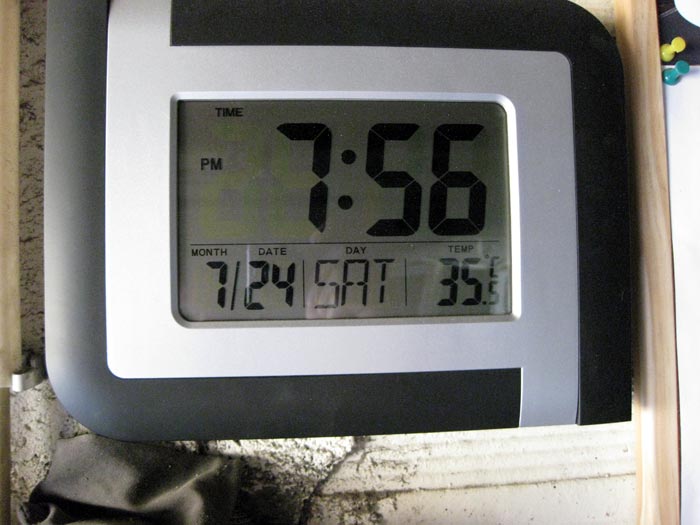
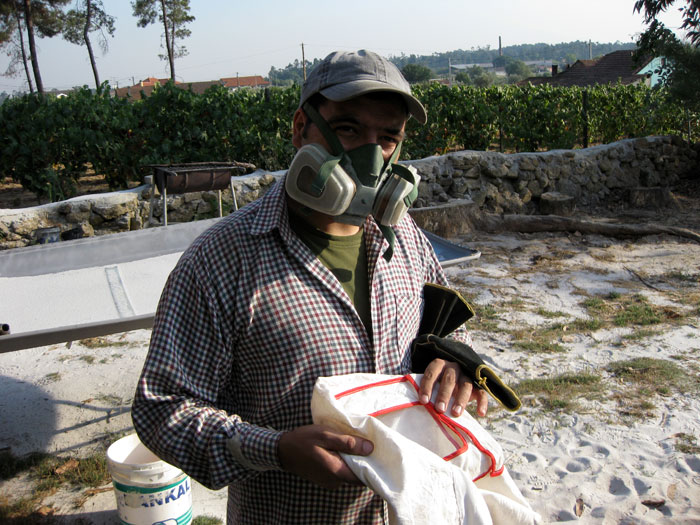
I ended this task about 6 pm.
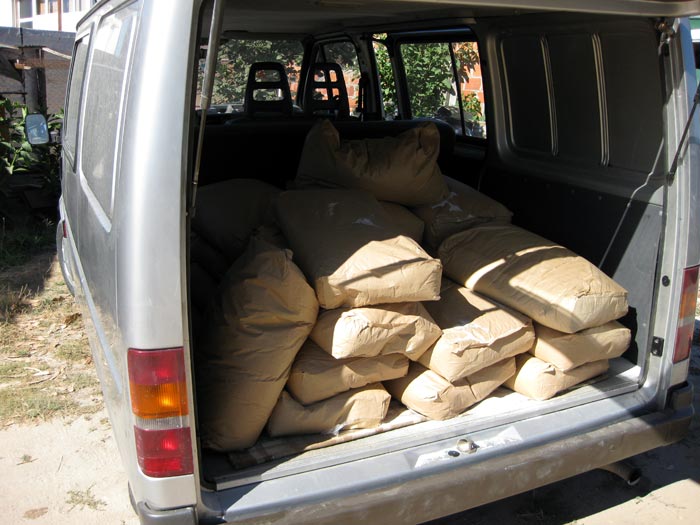
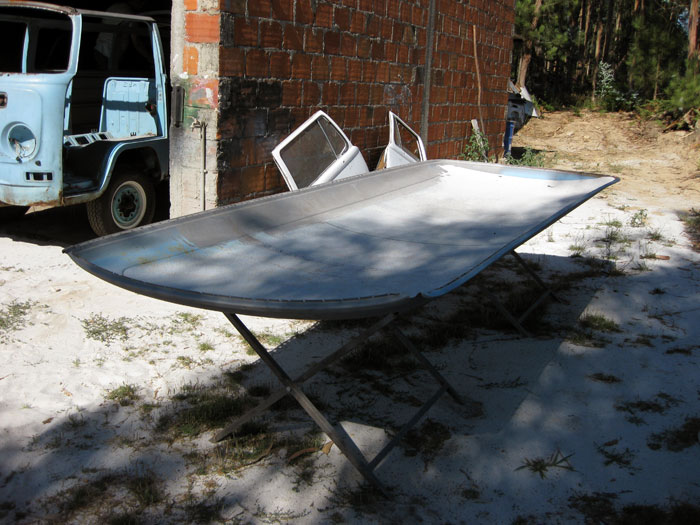
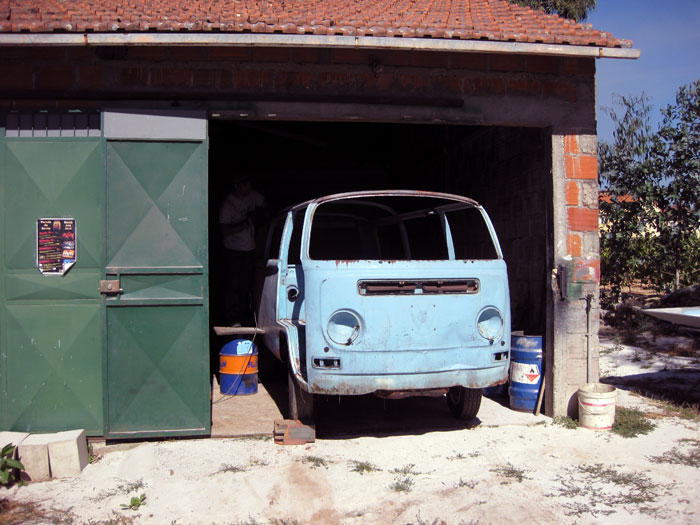
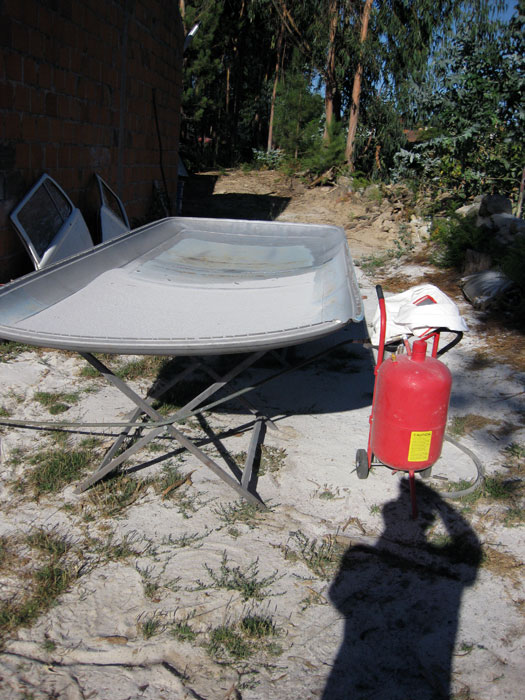
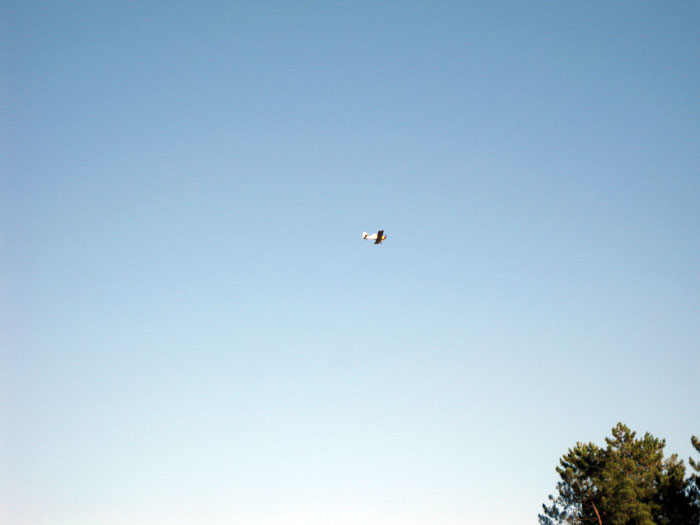
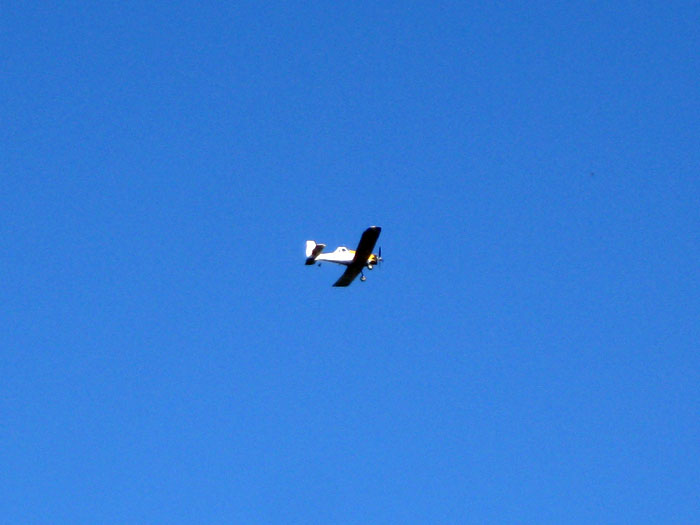
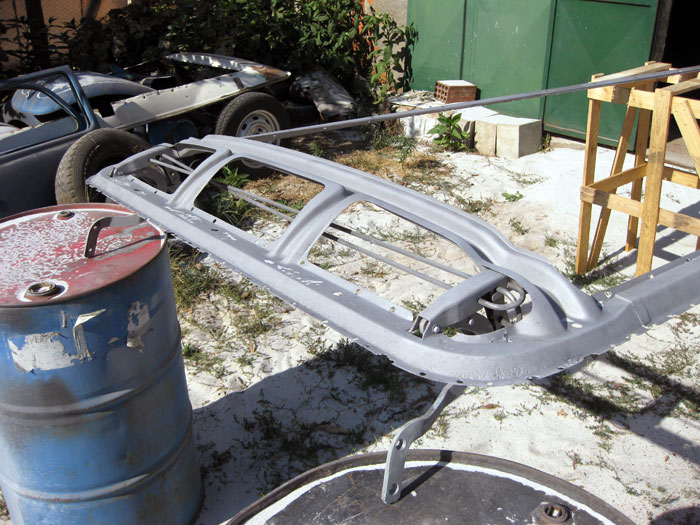
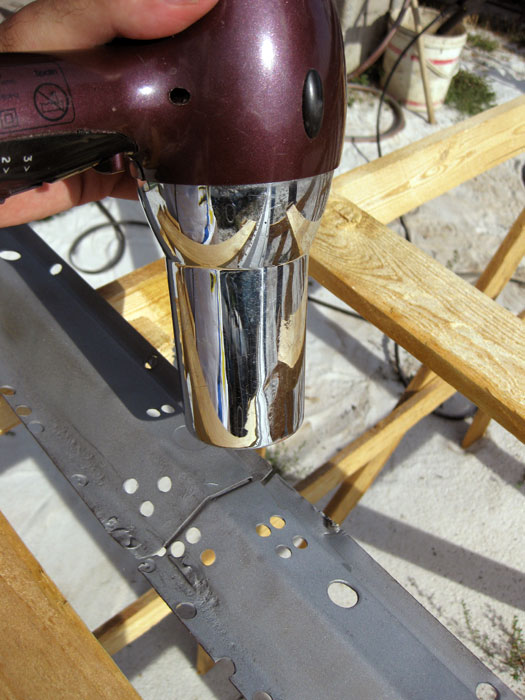
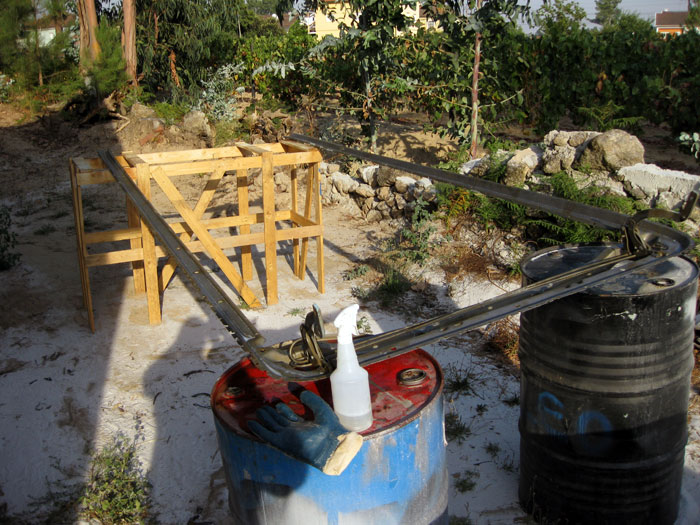
the "drying machine" was working at 100% :mrgreen:
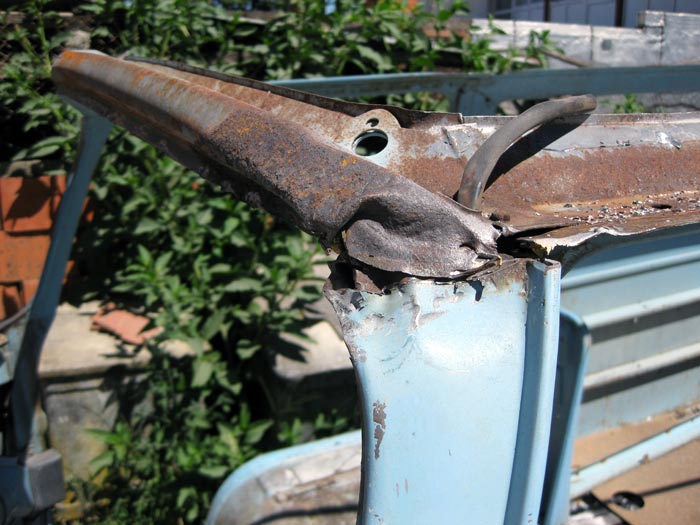
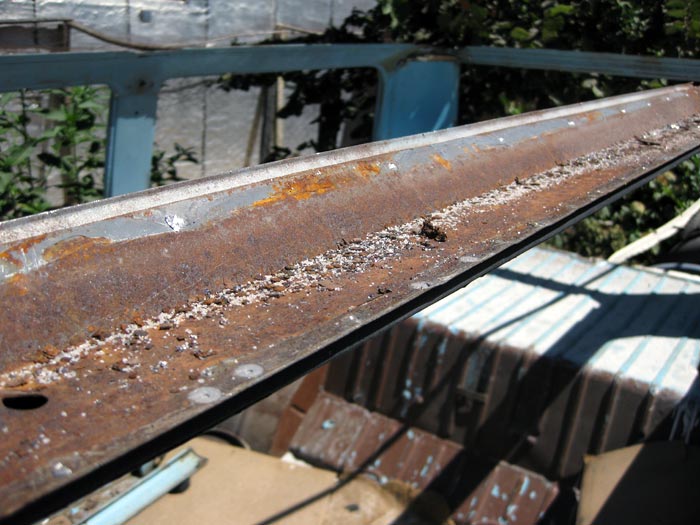
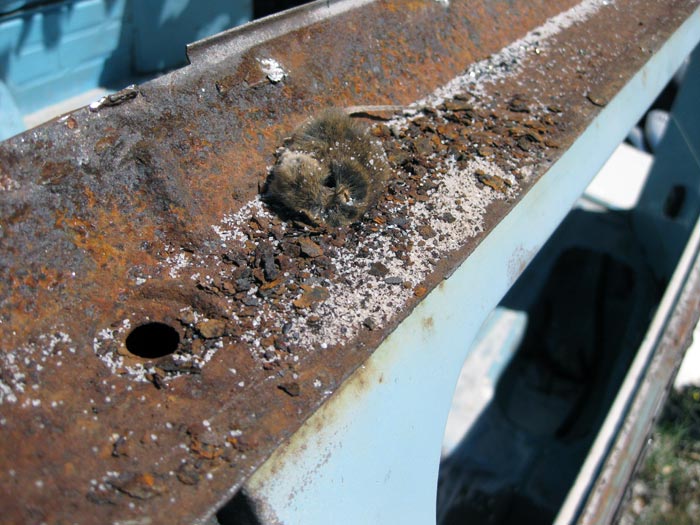
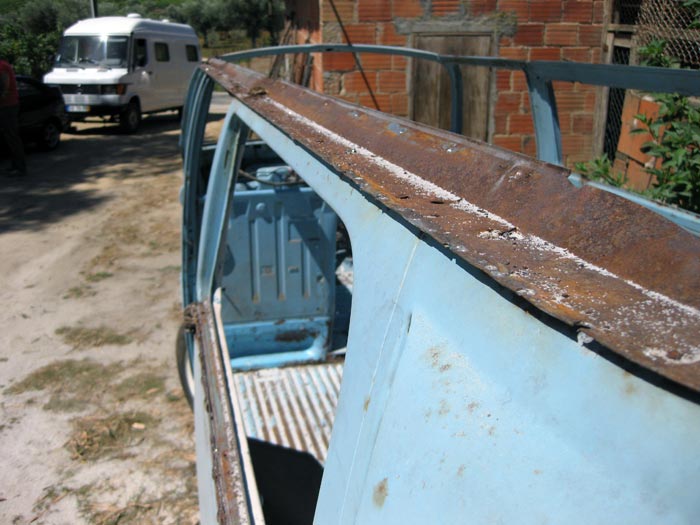
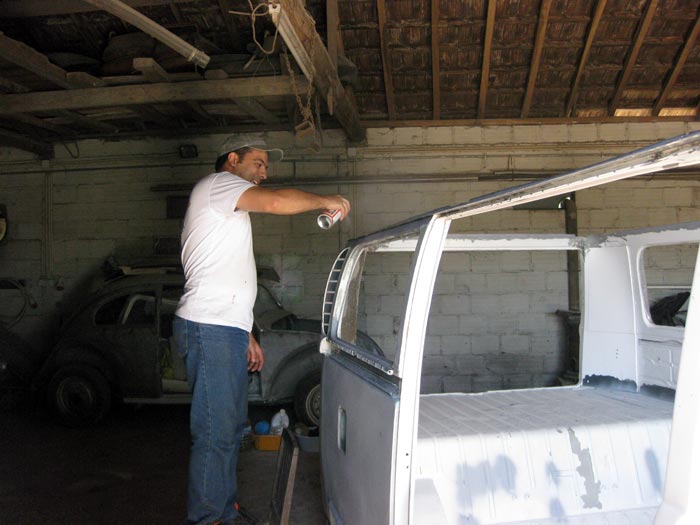
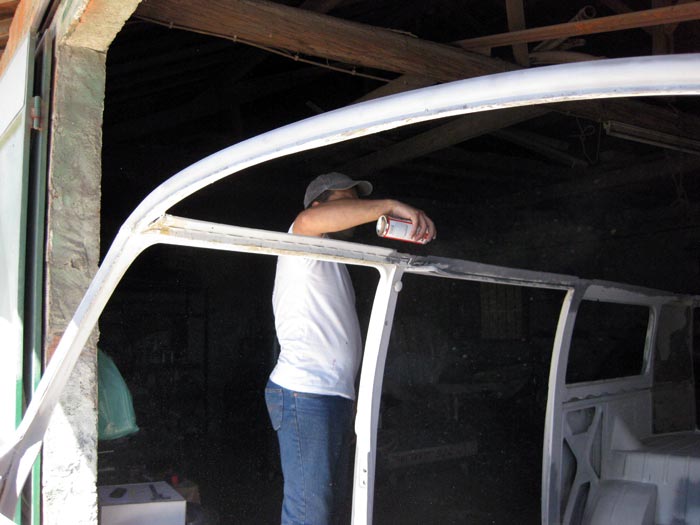
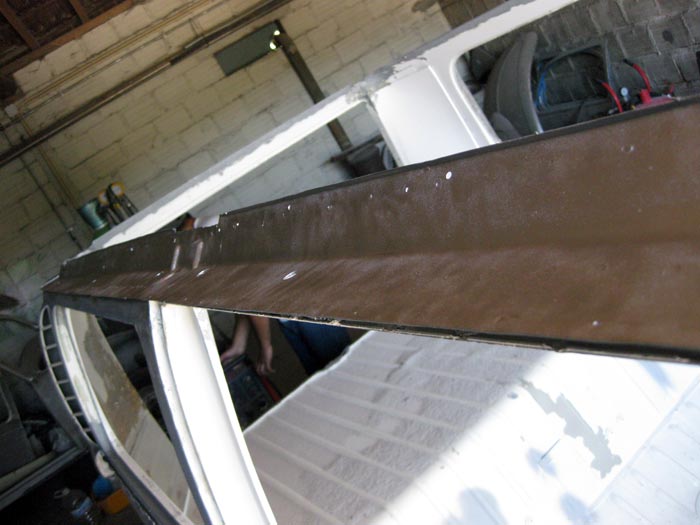
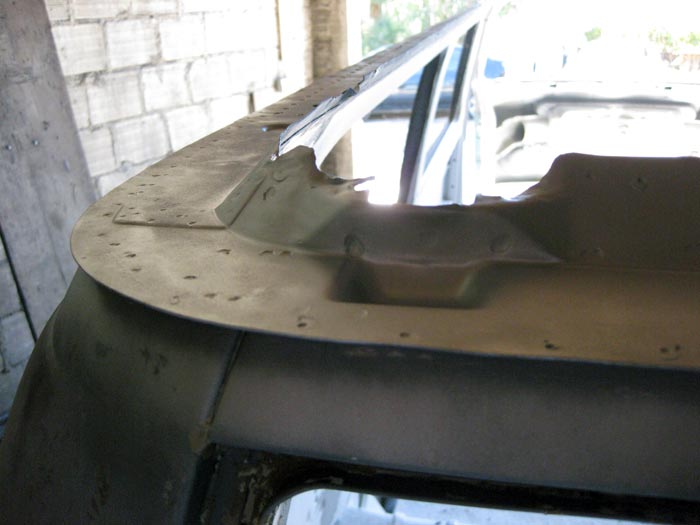
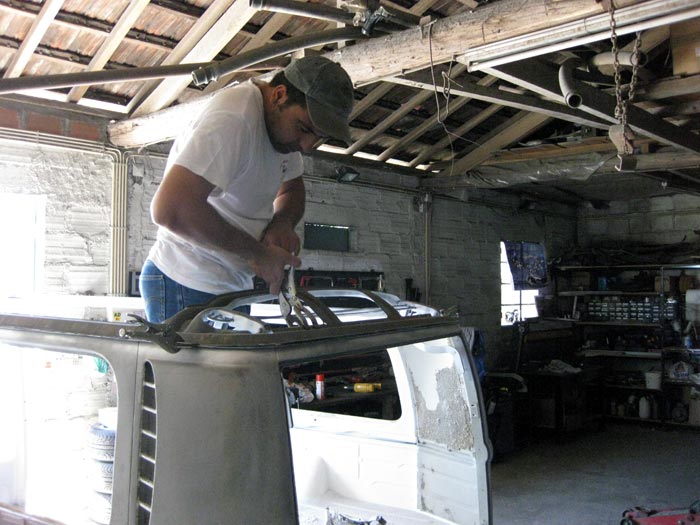
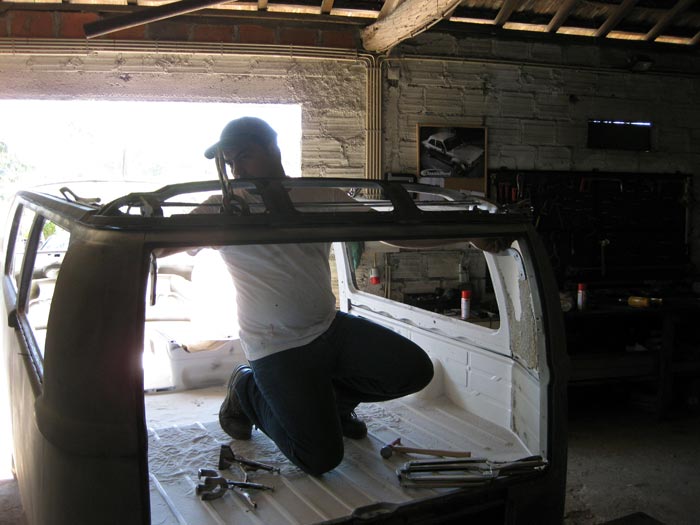
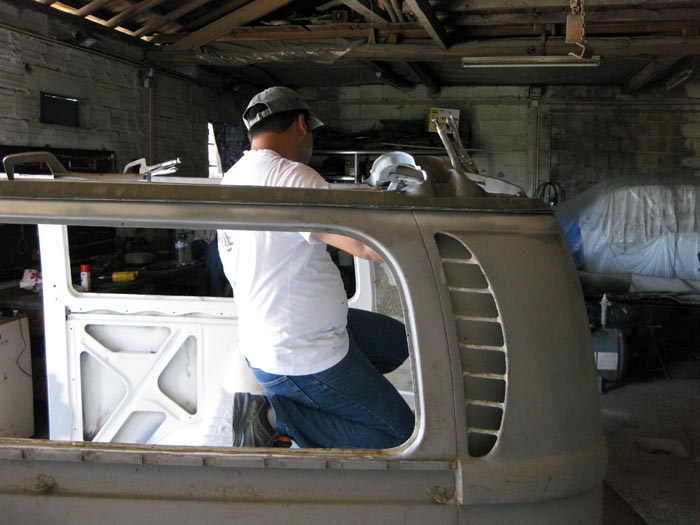
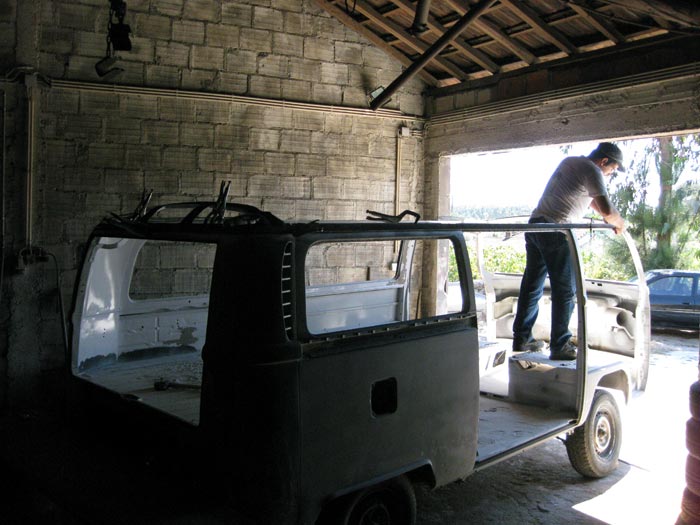
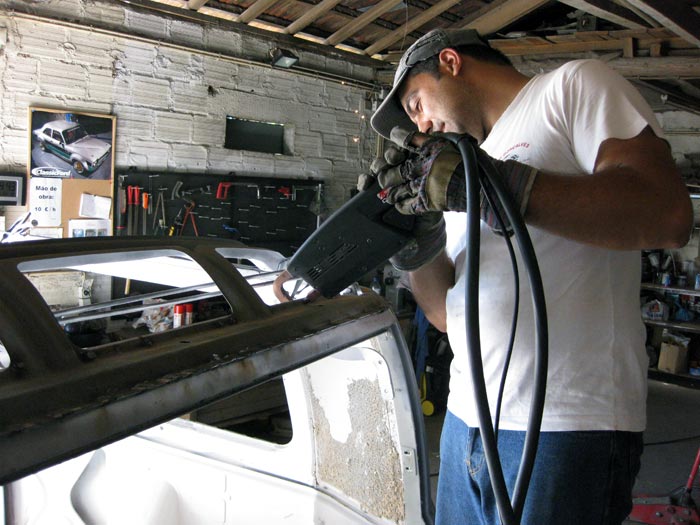
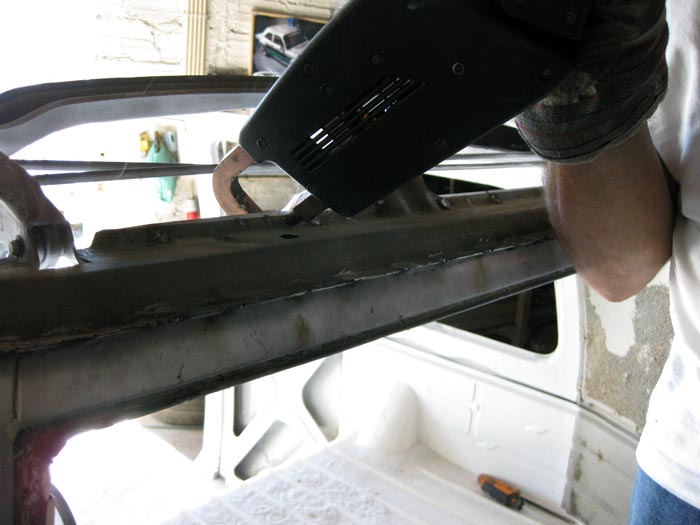
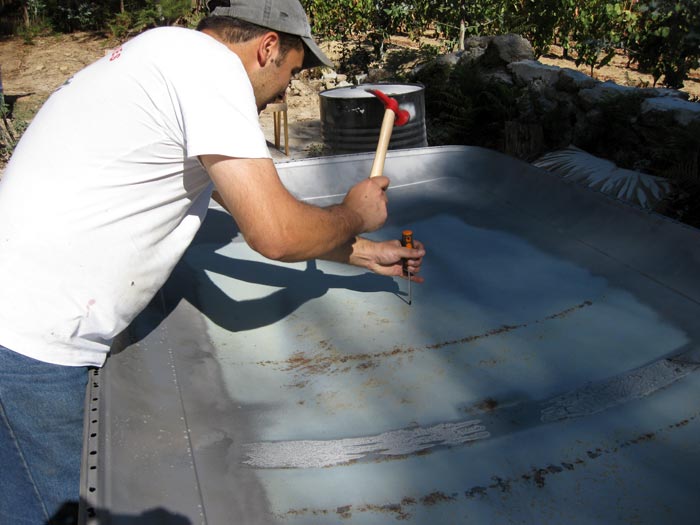
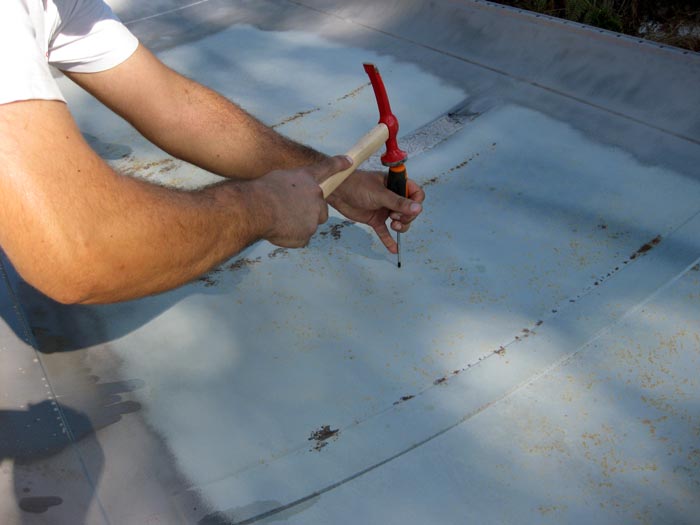
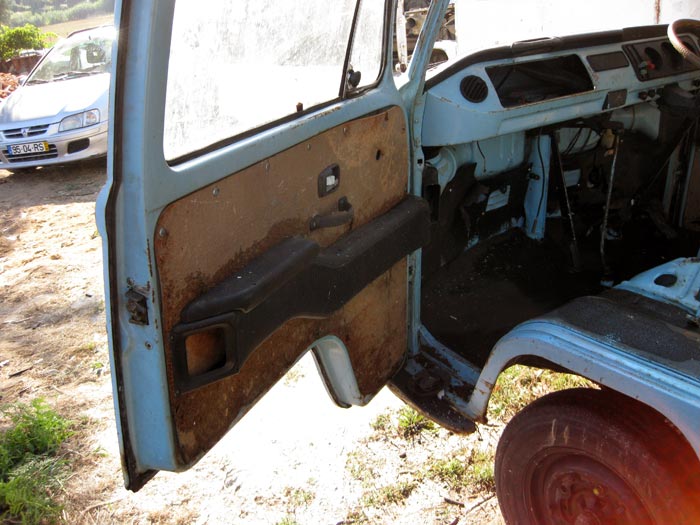
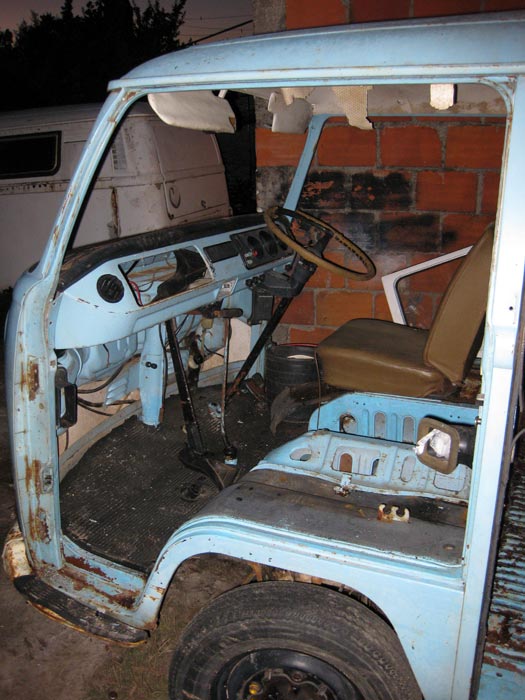
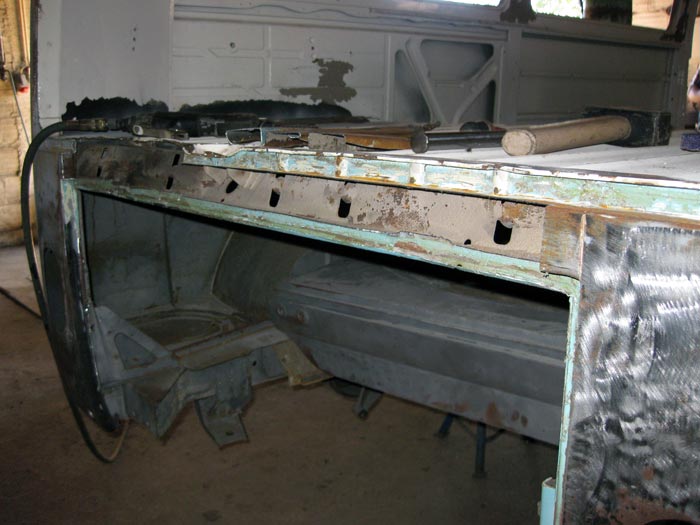
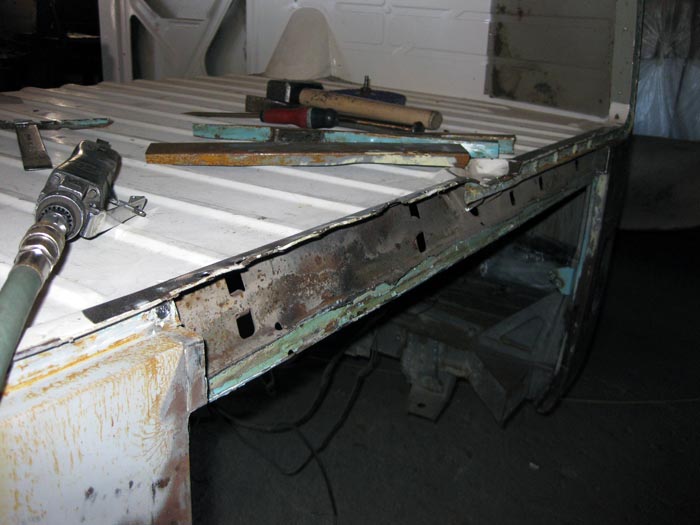
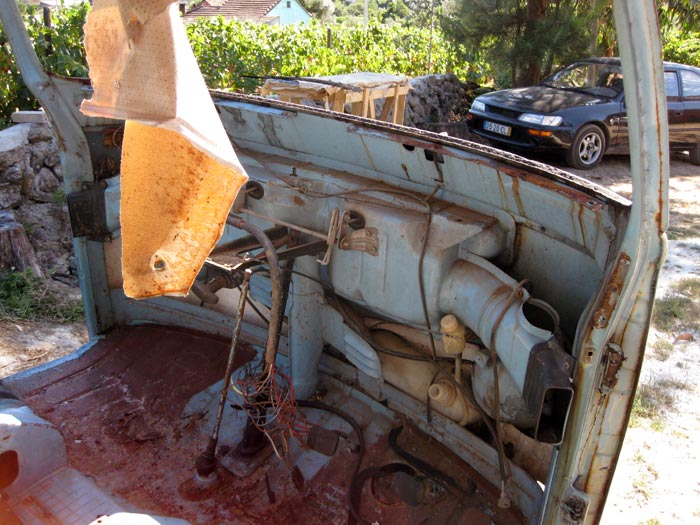
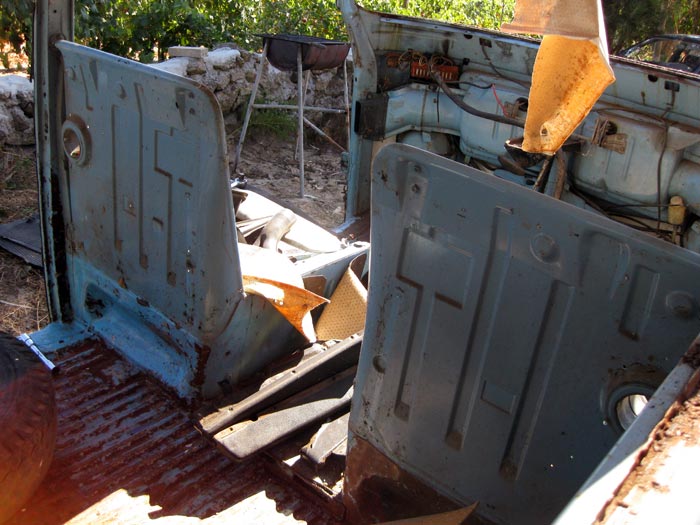
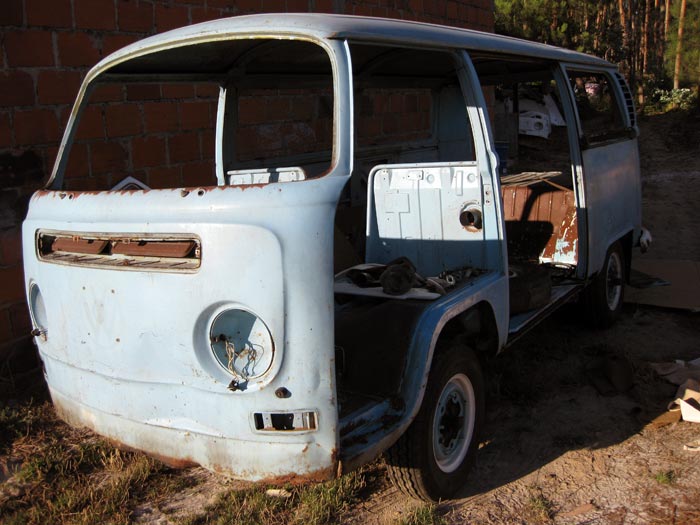
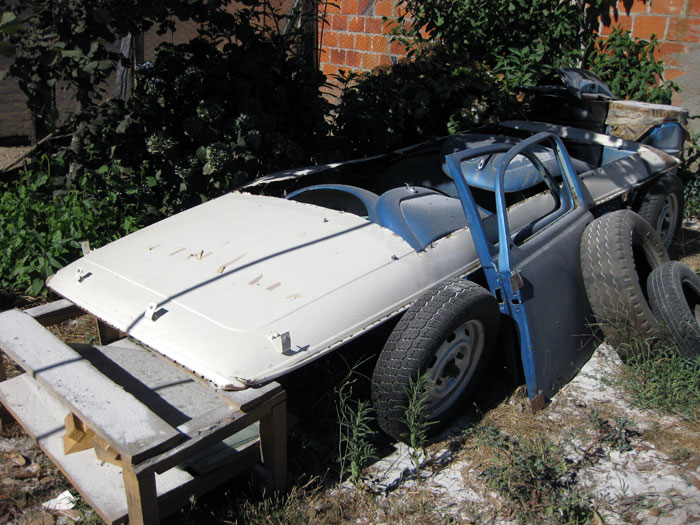
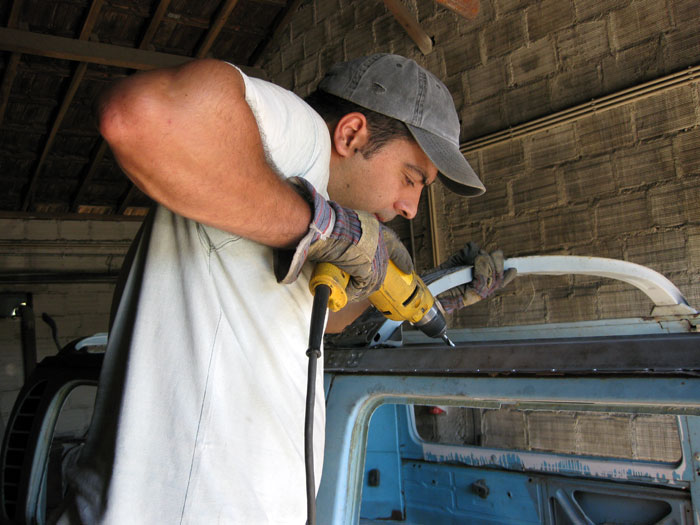
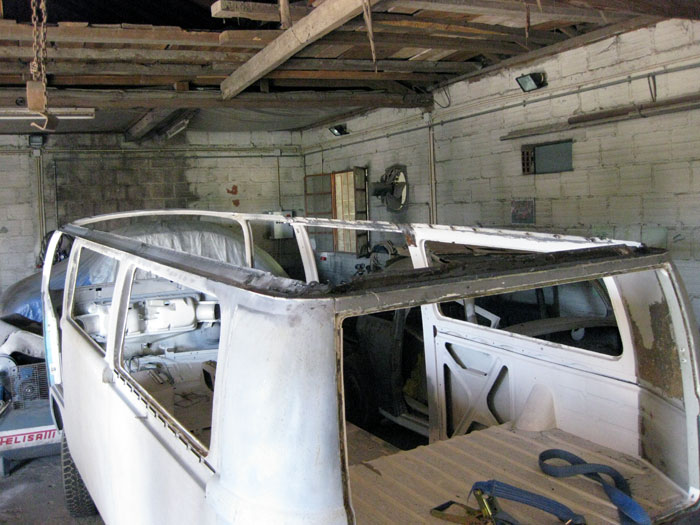
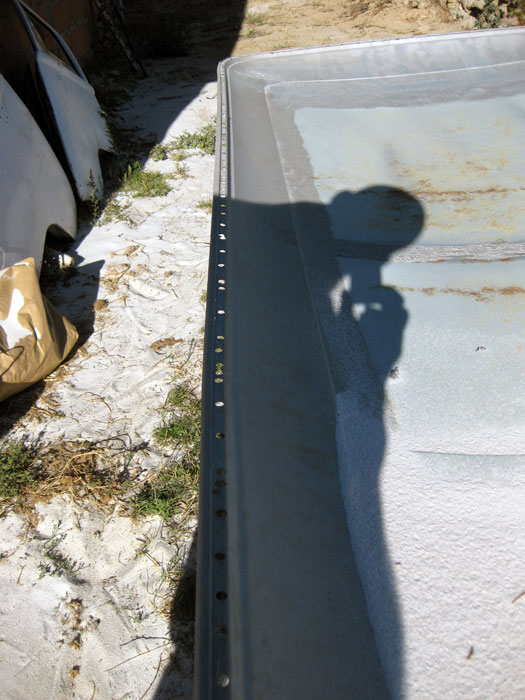
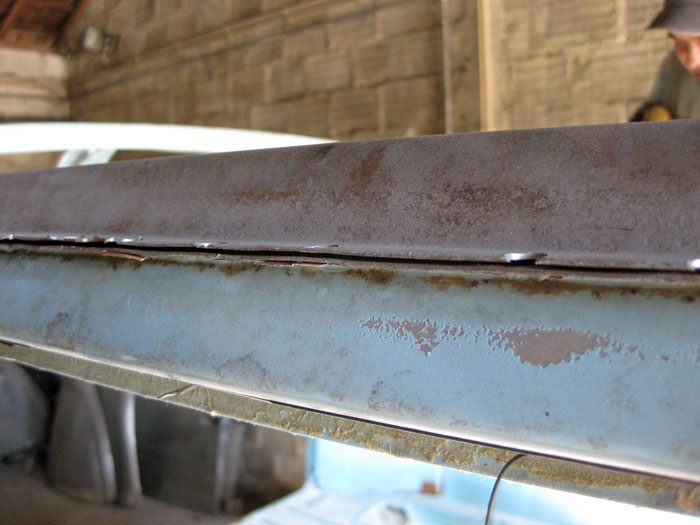
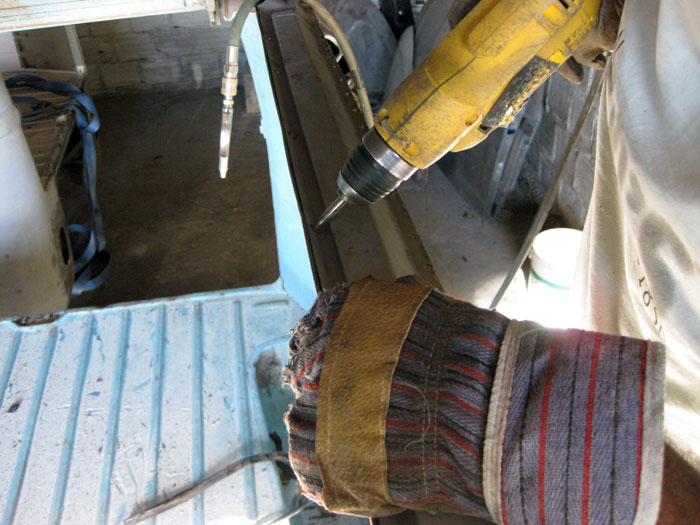
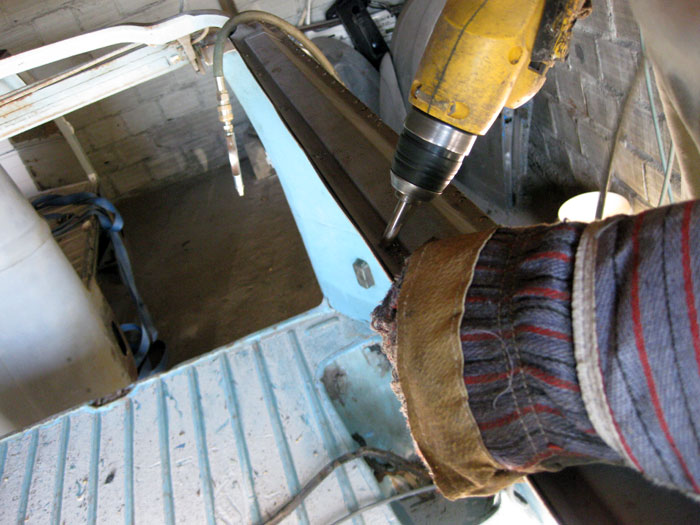
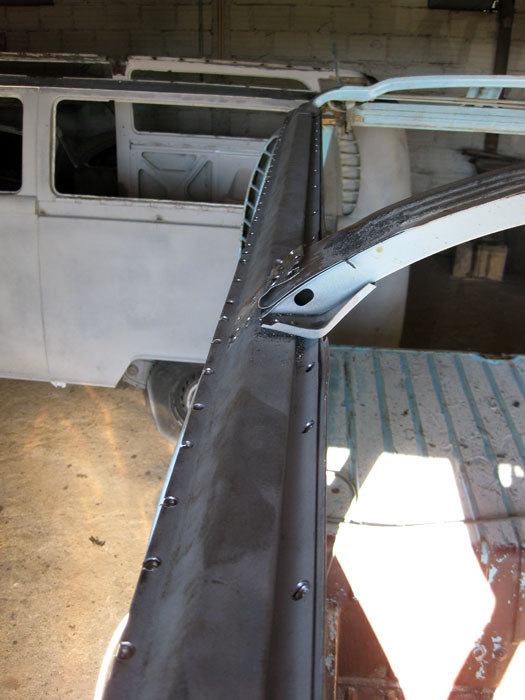
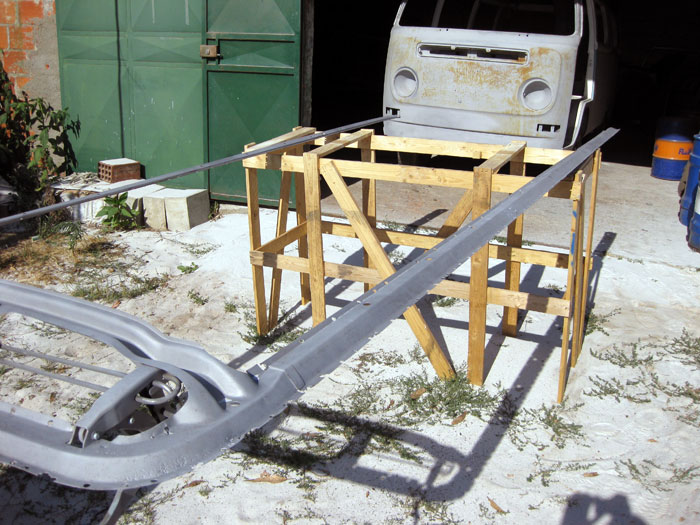
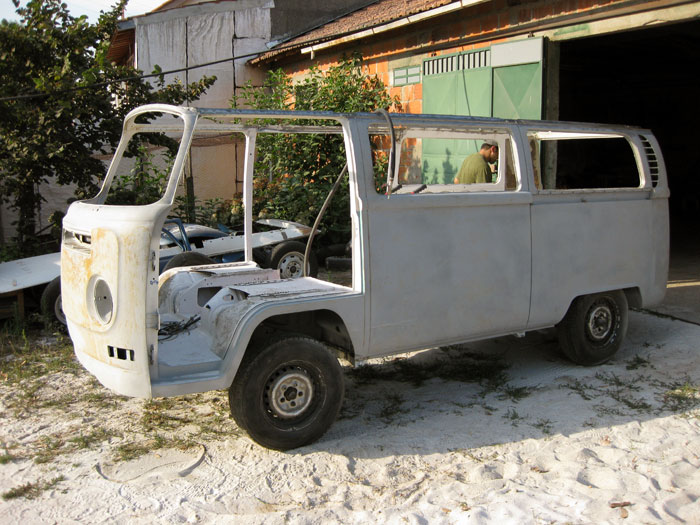
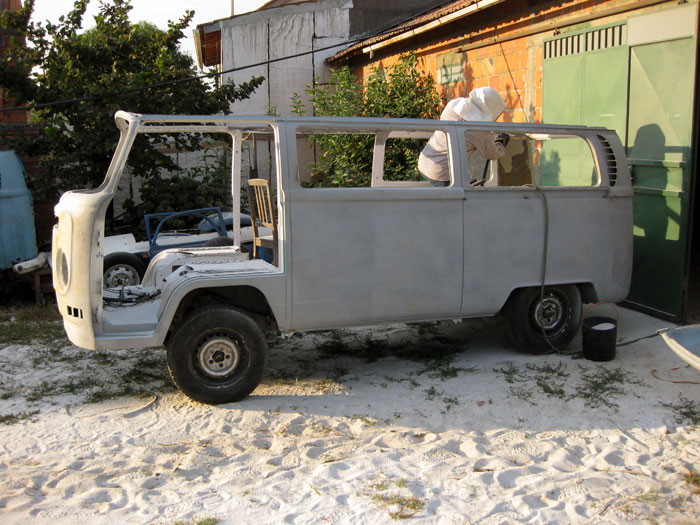
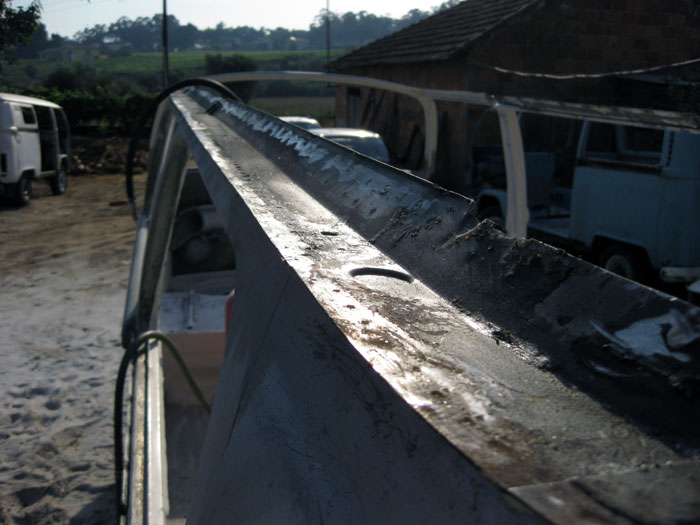
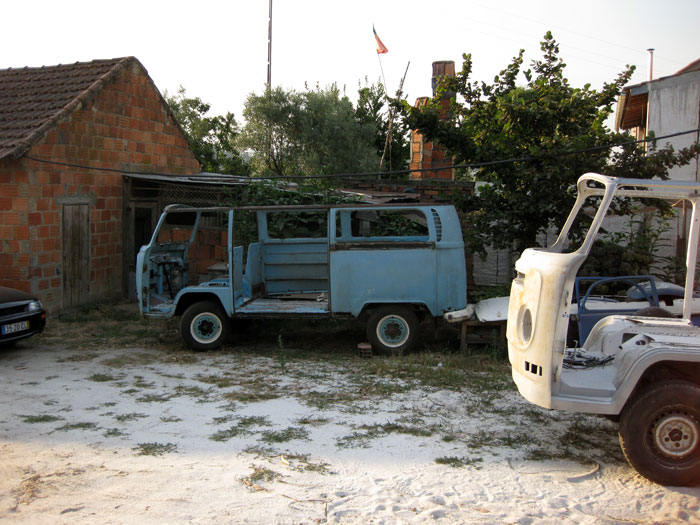
and a couple of minutes later, I started taking the bus apart:
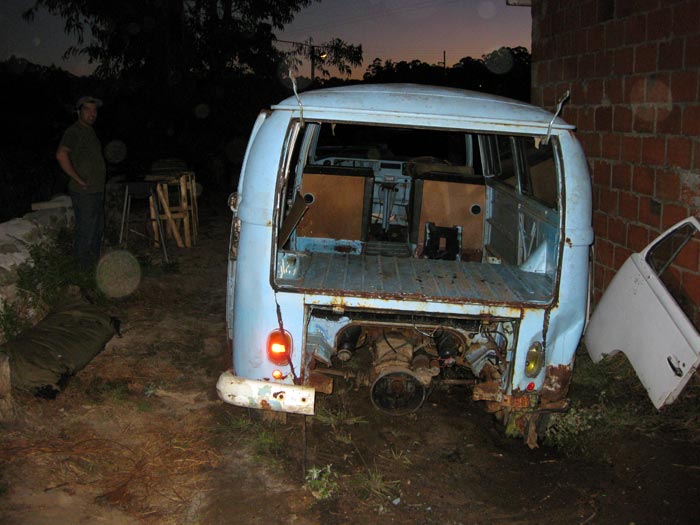
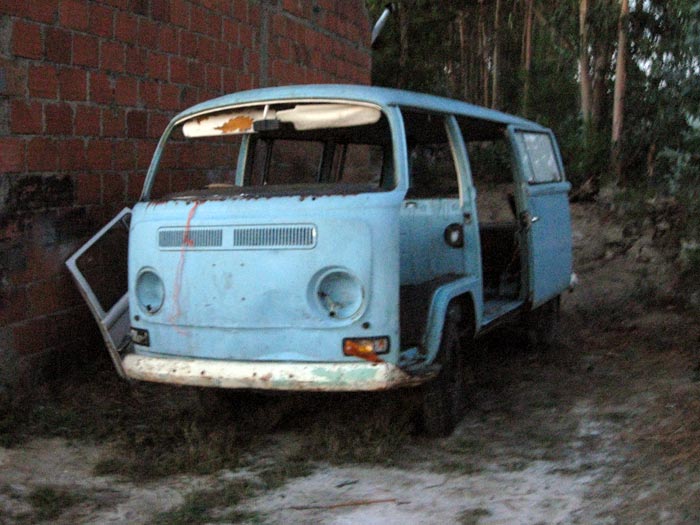
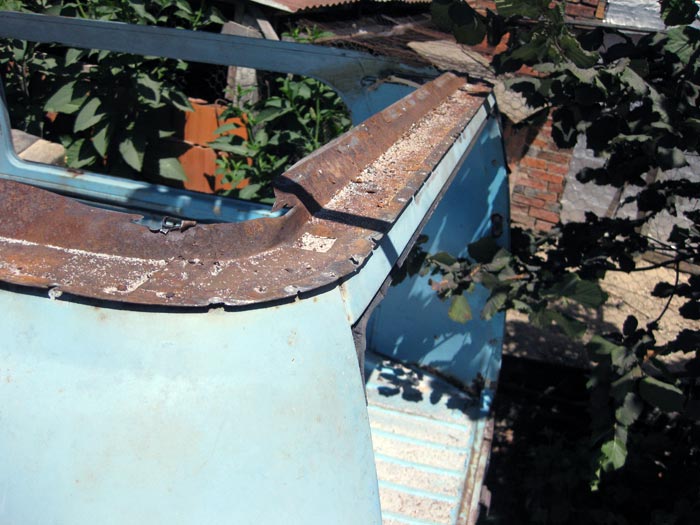
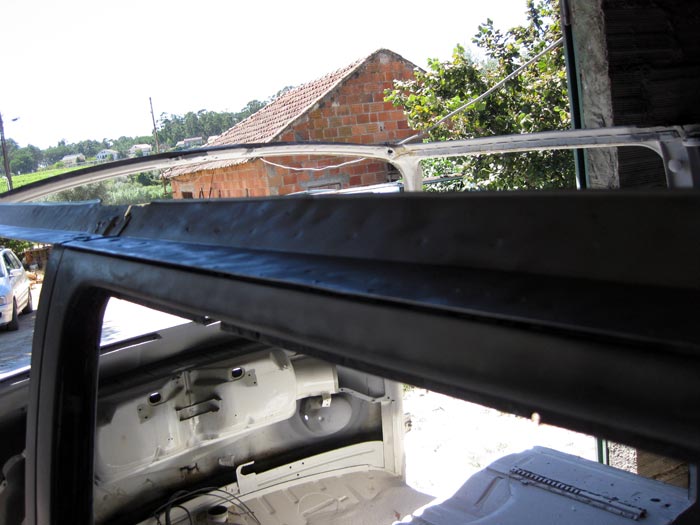
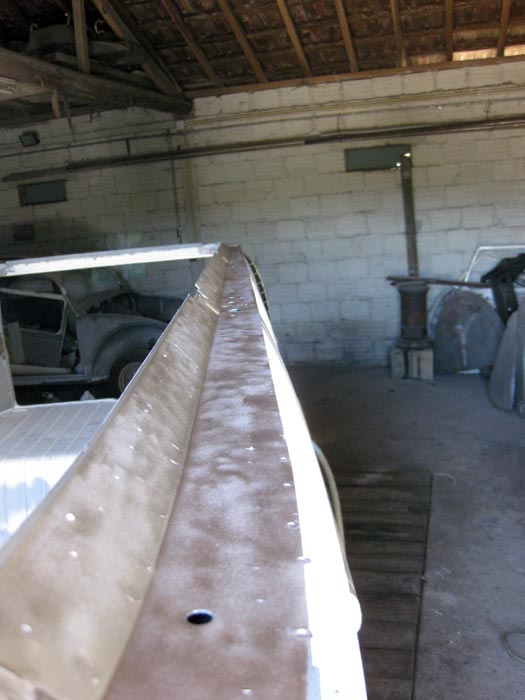
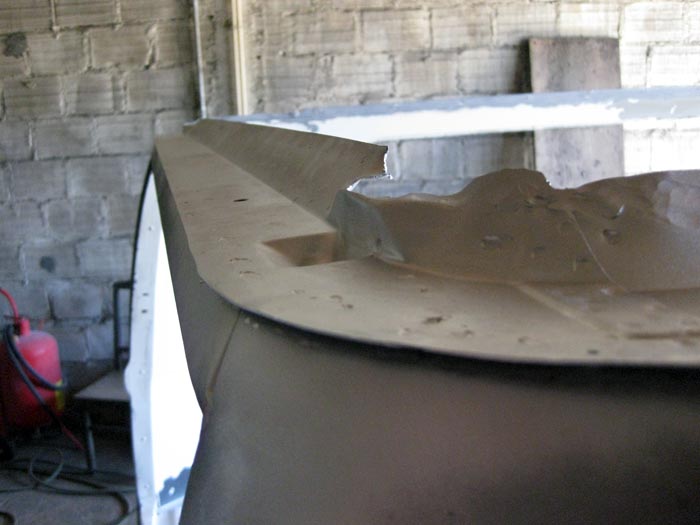
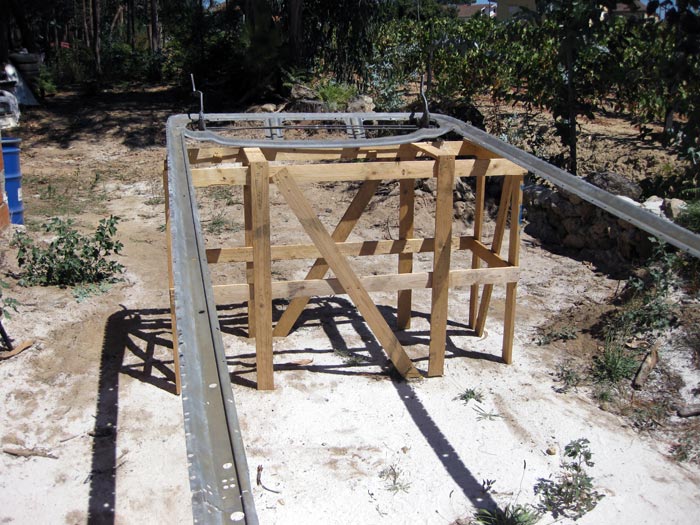
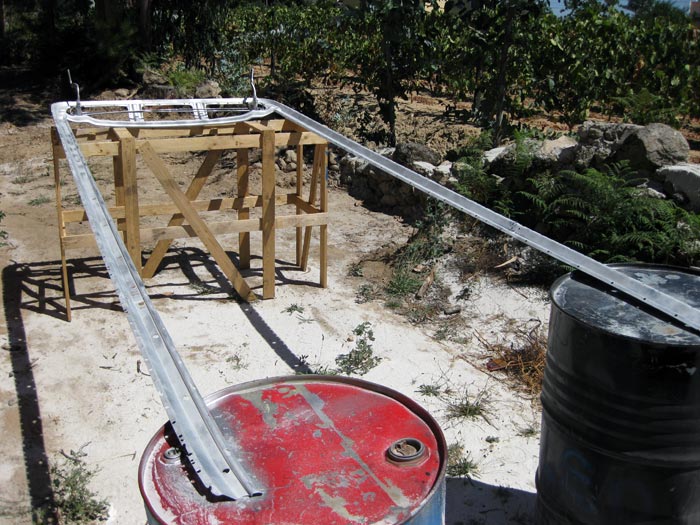
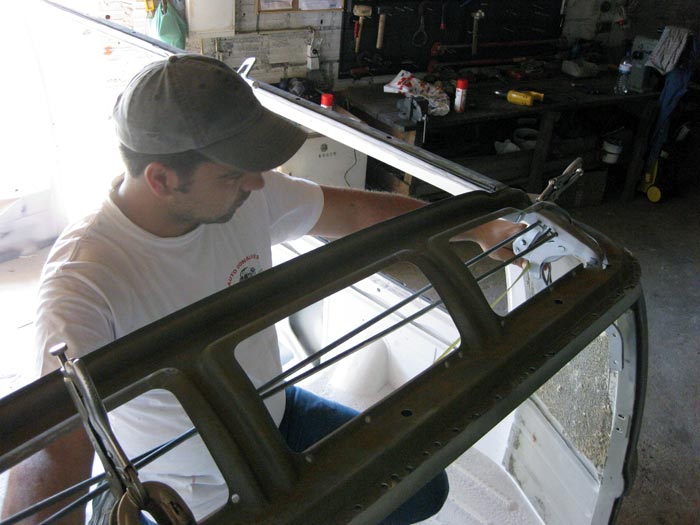
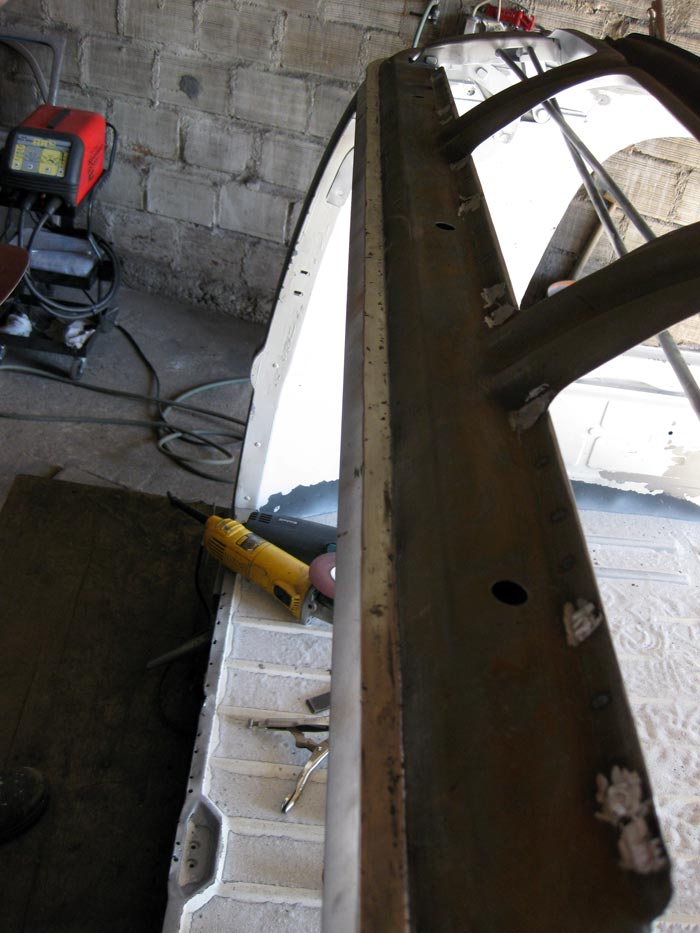
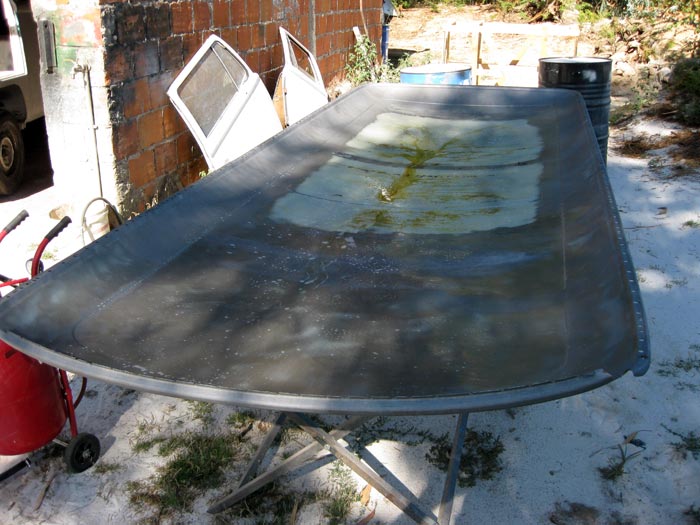
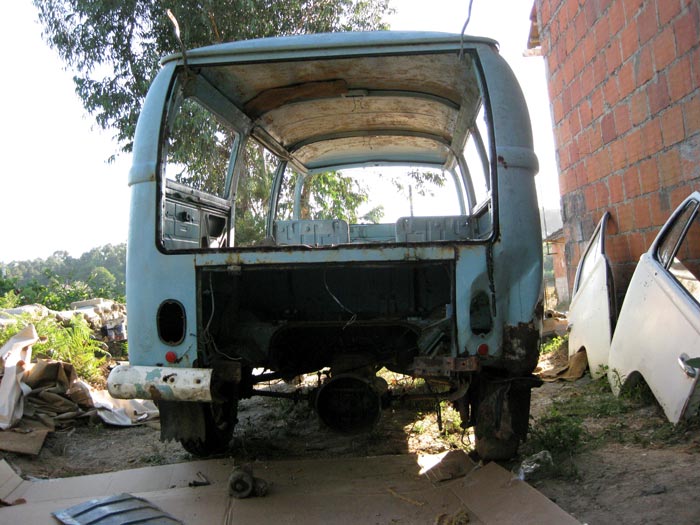
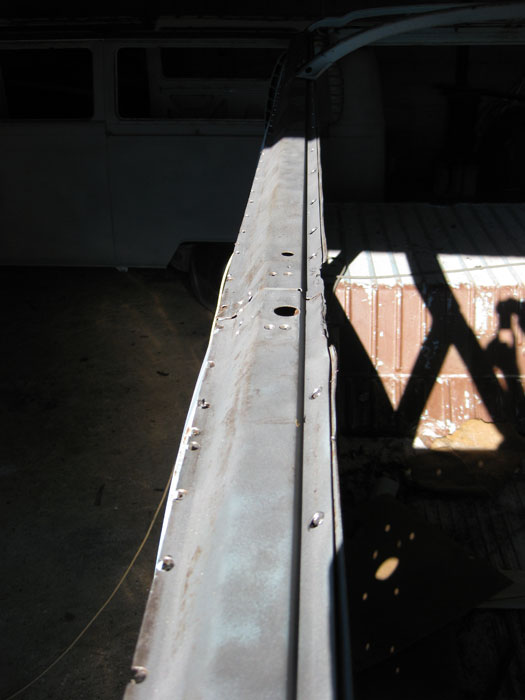
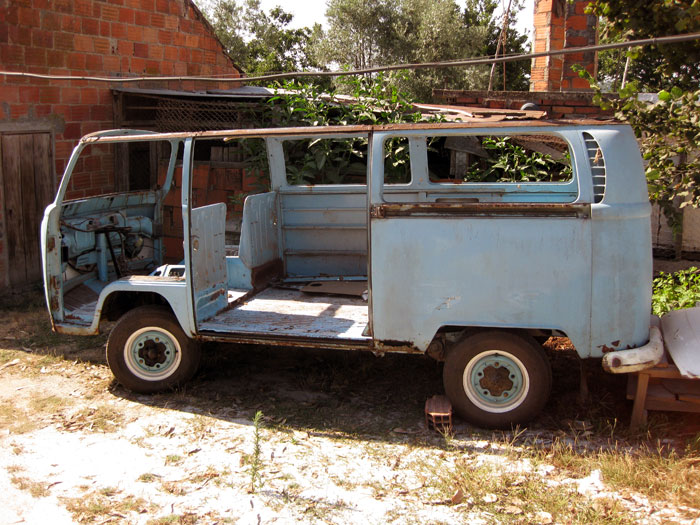
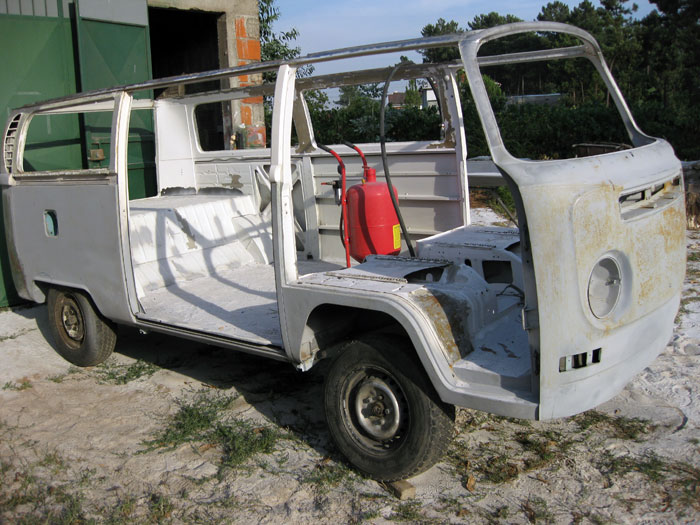
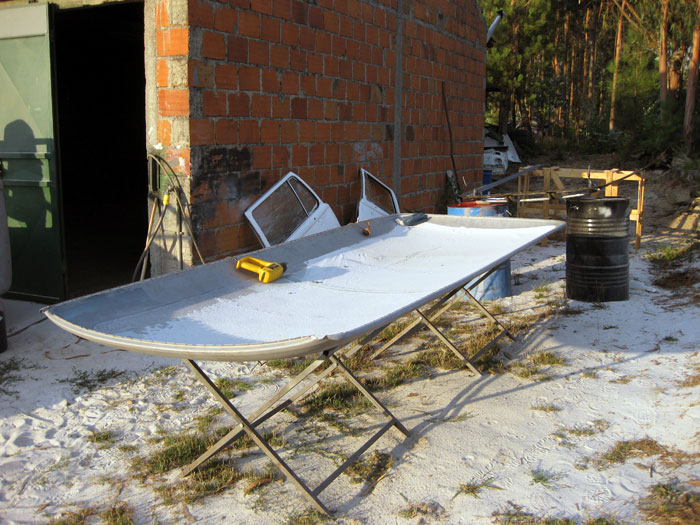
... and so it stayed, waiting for the next day.
I ended this task about 6 pm.
the "drying machine" was working at 100% :mrgreen:
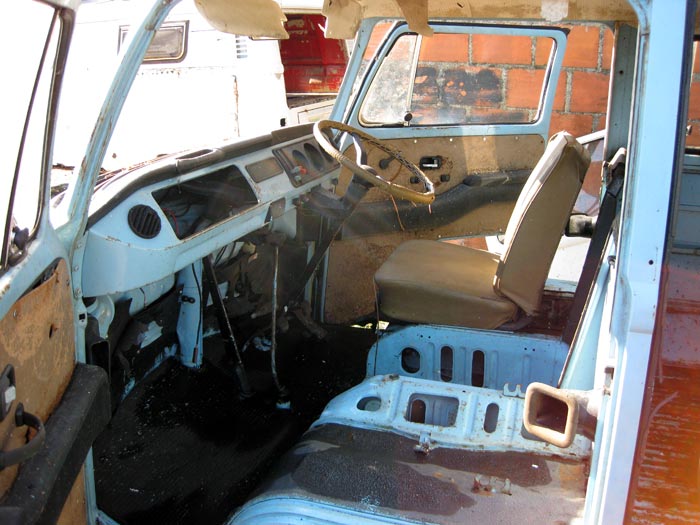
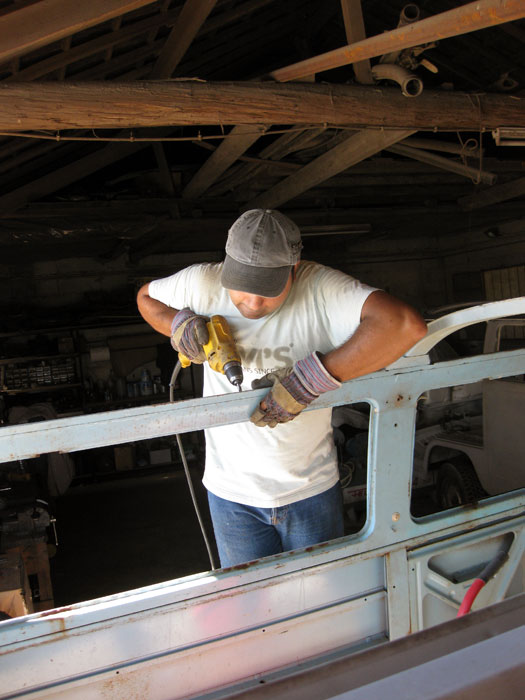
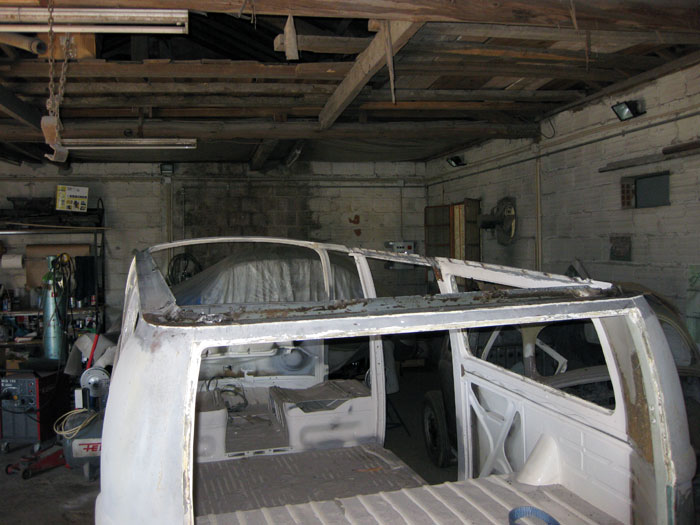
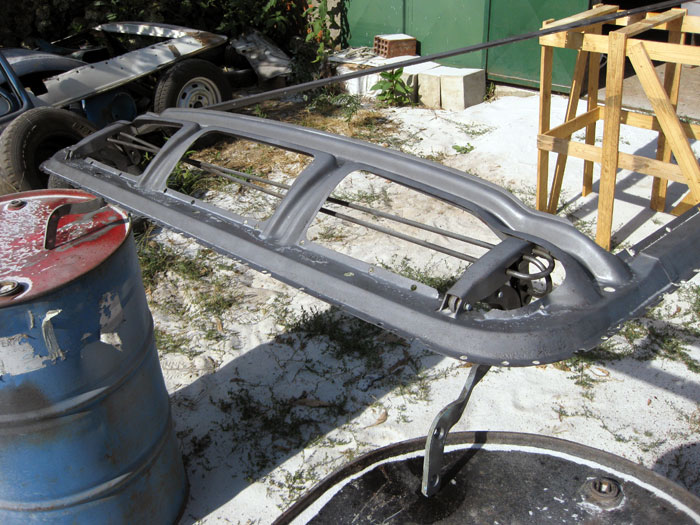
and a couple of minutes later, I started taking the bus apart:
... and so it stayed, waiting for the next day.


")