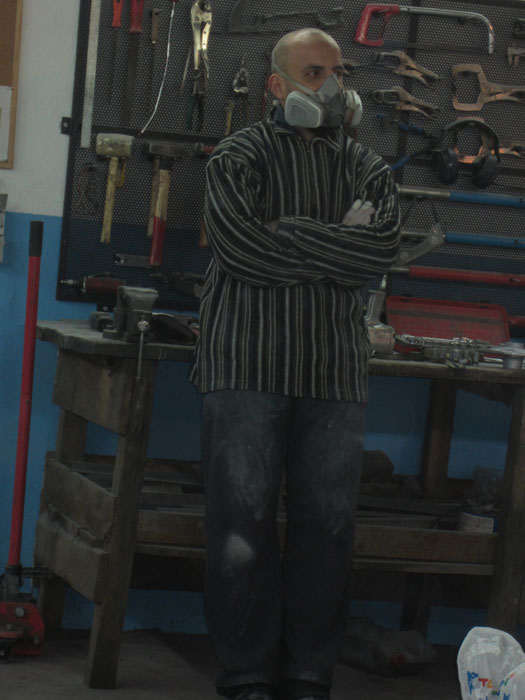
... and Hugo was enjoying writing signs and taking pictures of them:
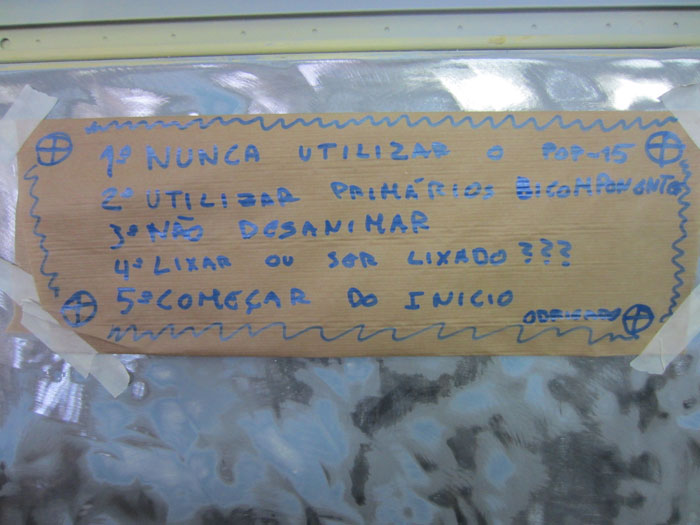
(1º Never use Por-15
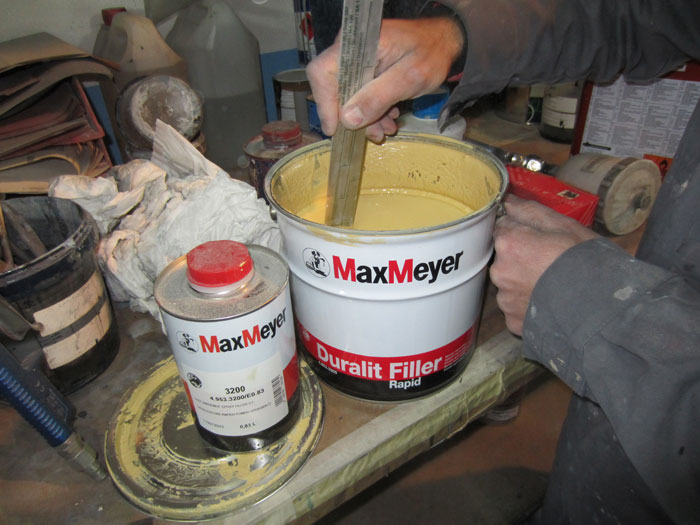
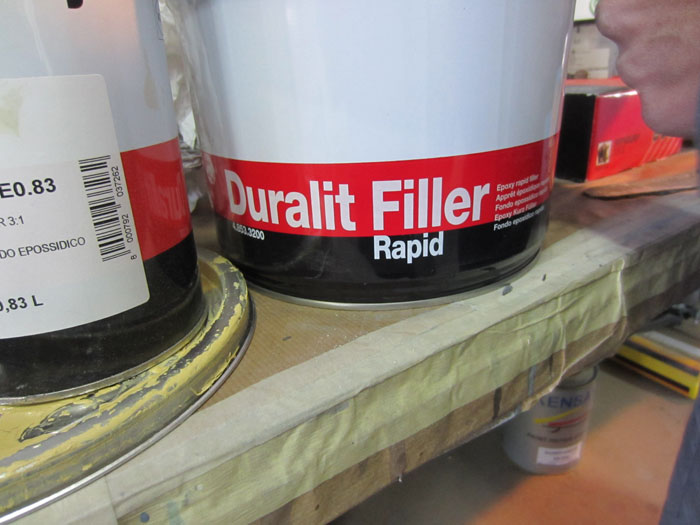
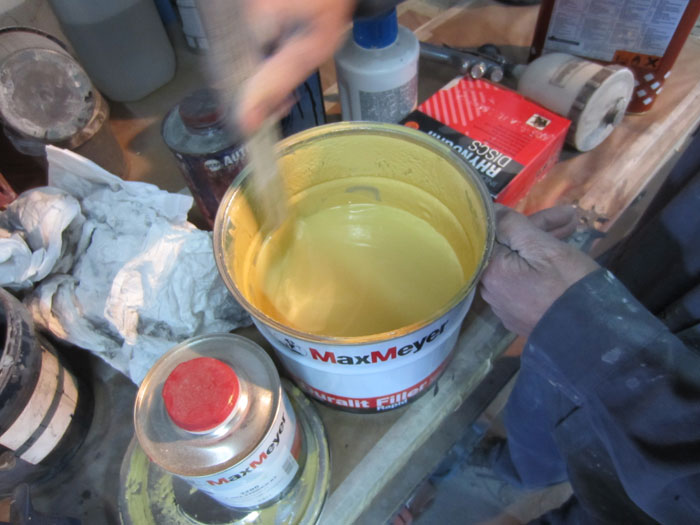
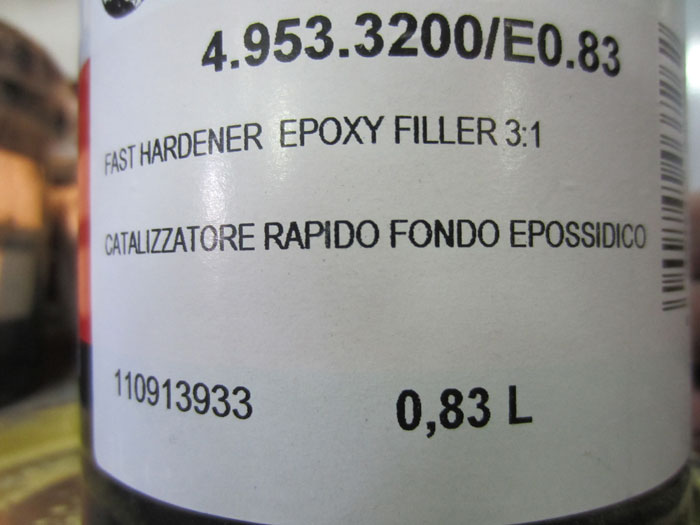
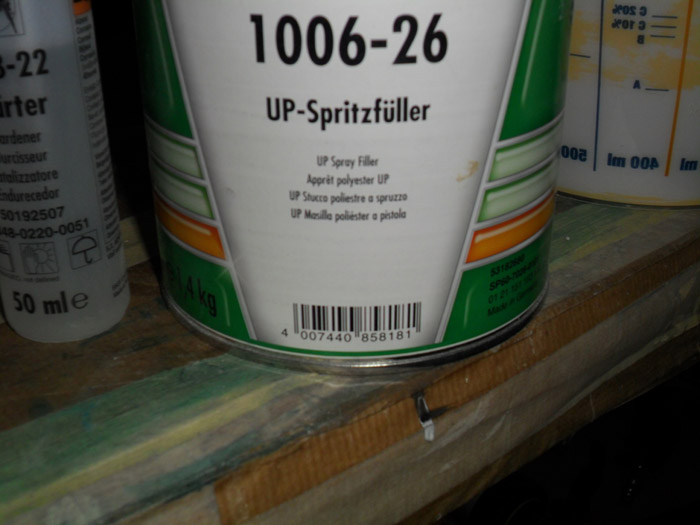
2º Use Epoxy primer
3º Don't despair
4º Sand it or be sanded (screwed)
5º Start all over again)
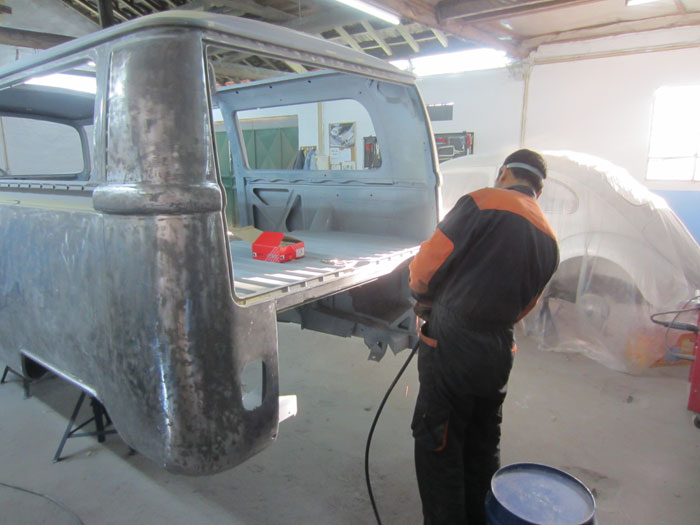
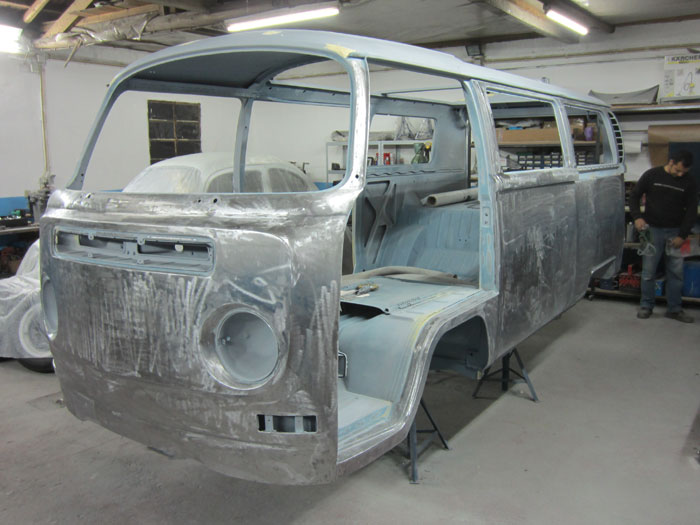
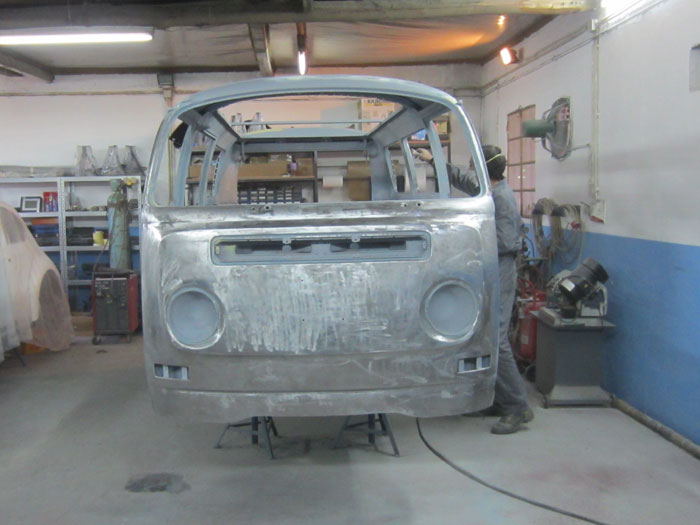
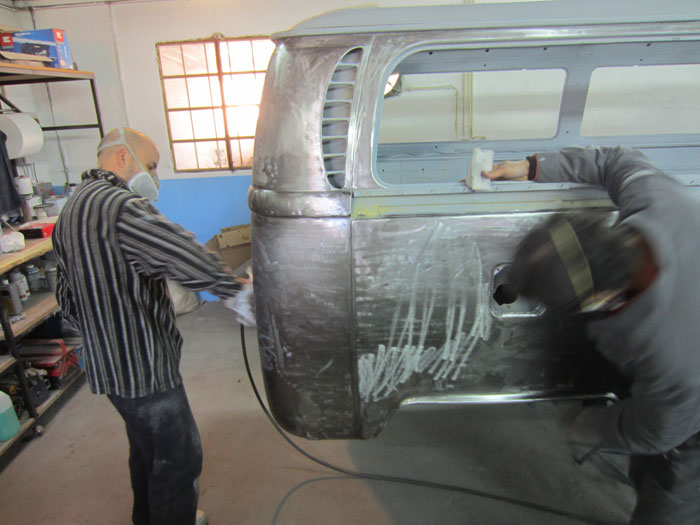
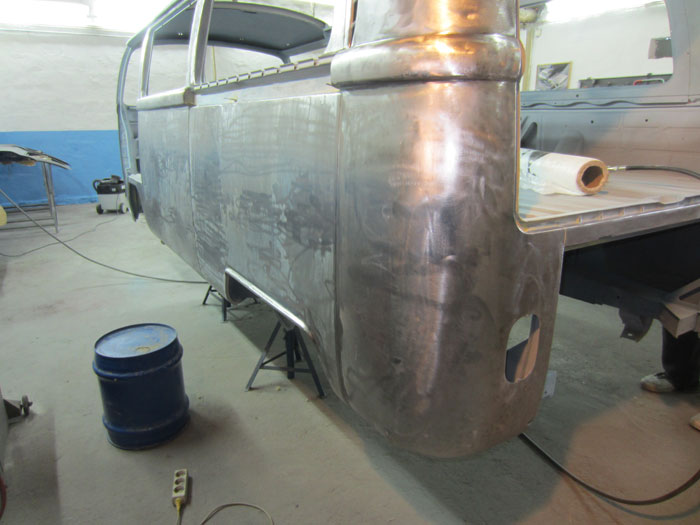
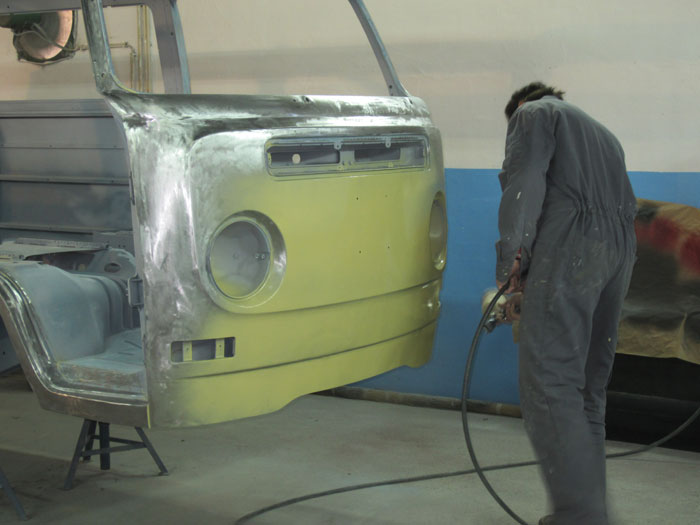
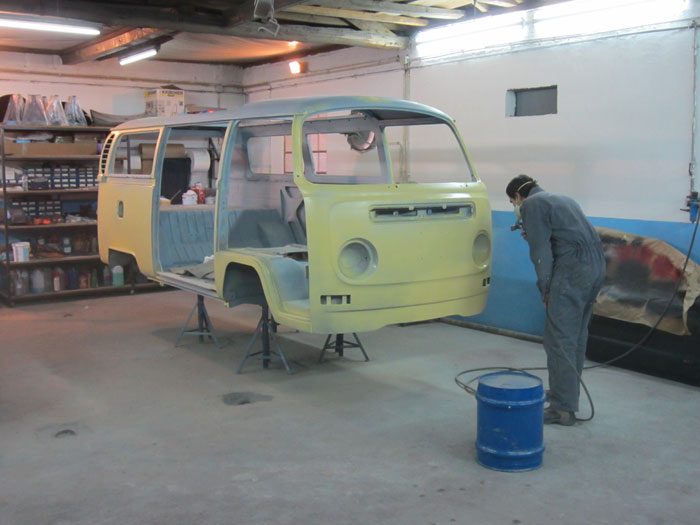
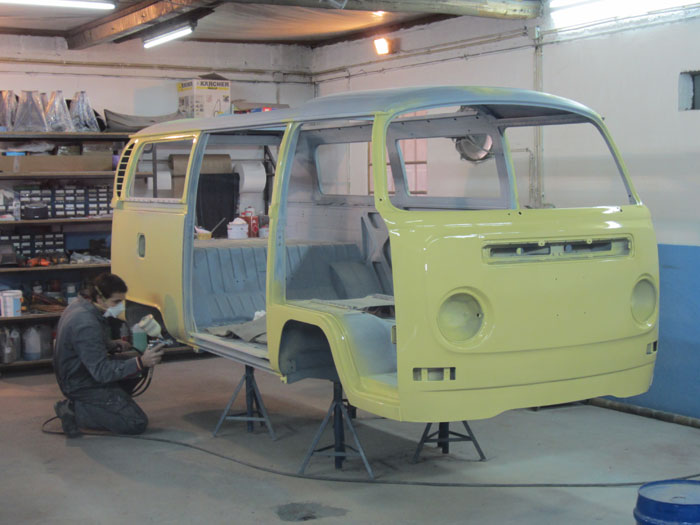
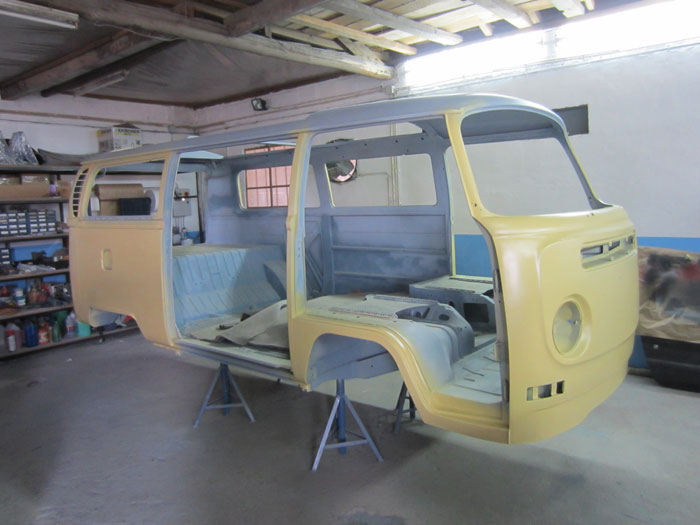
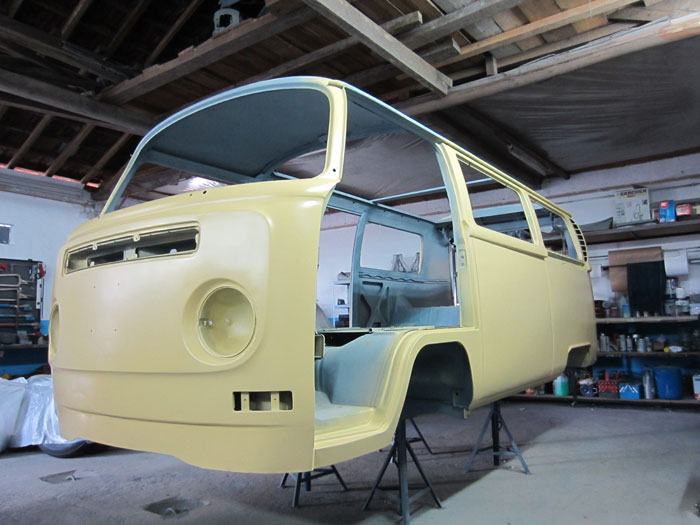
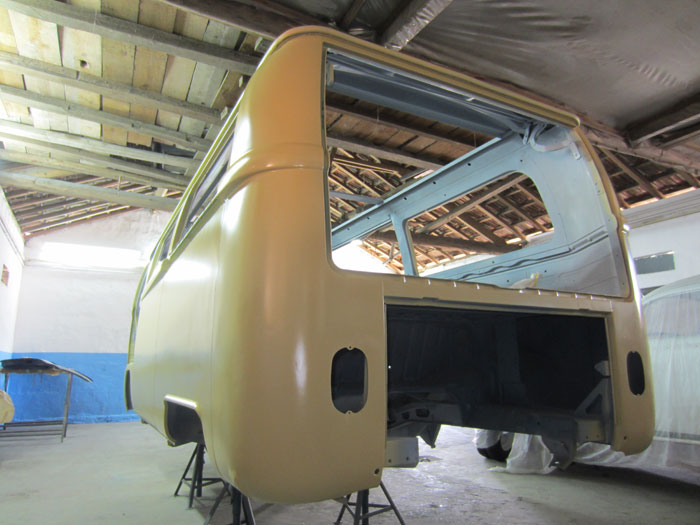
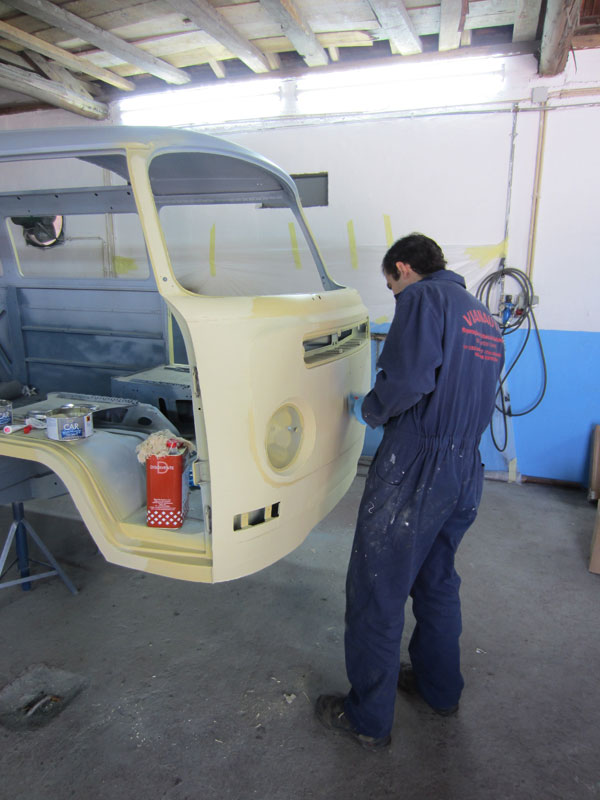
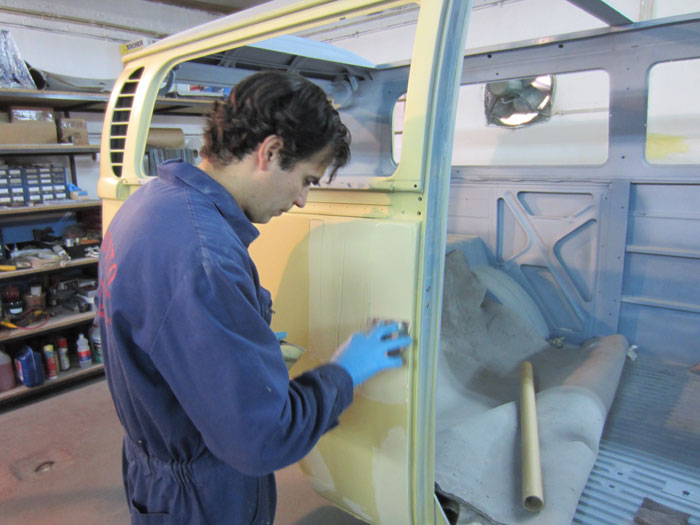
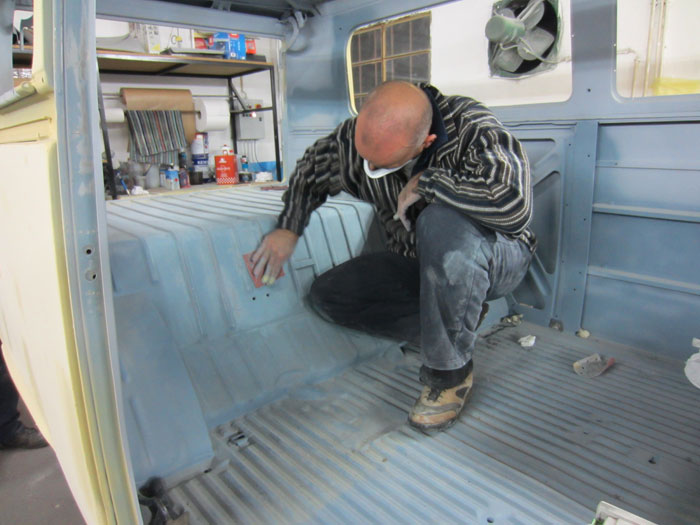
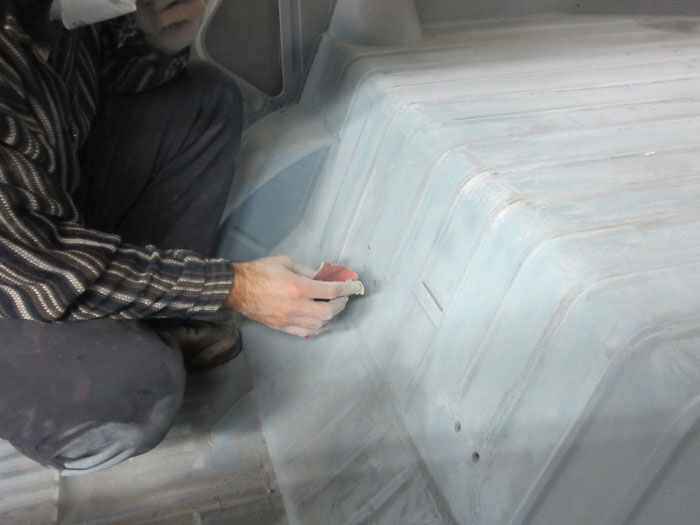
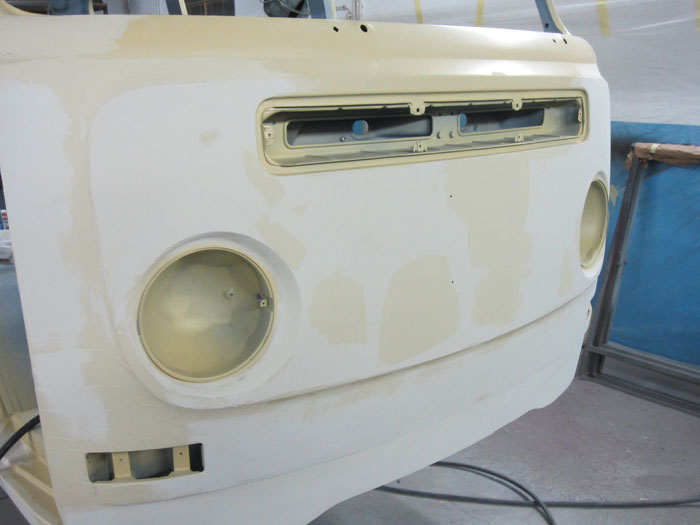
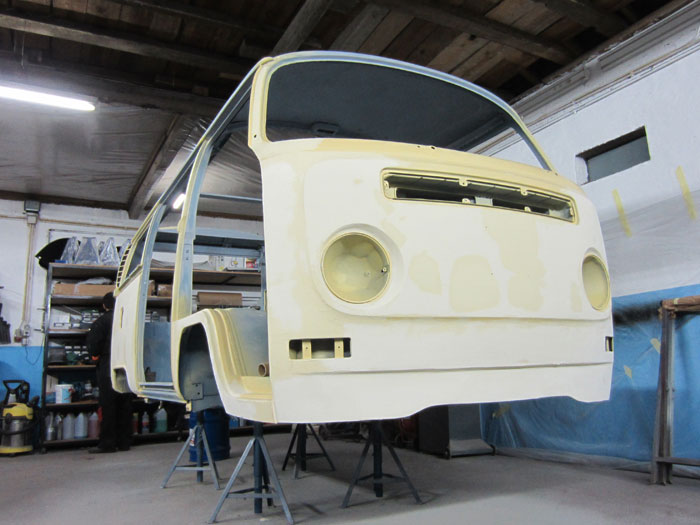
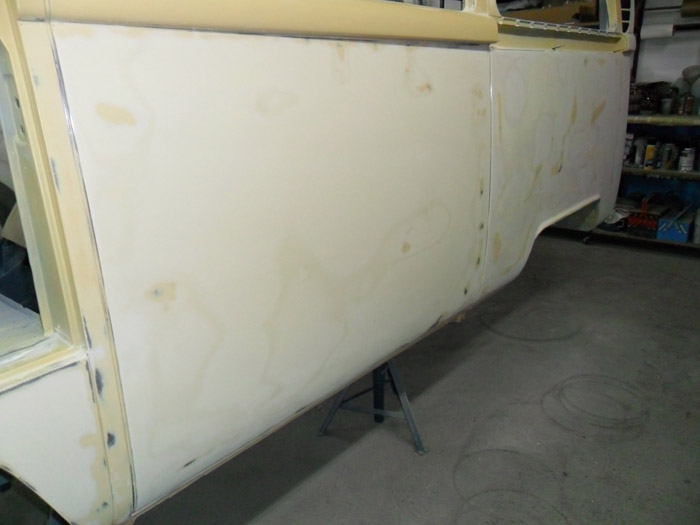
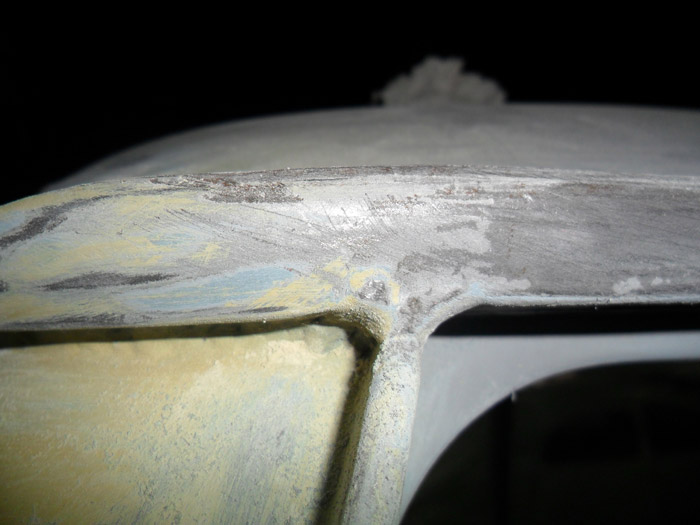
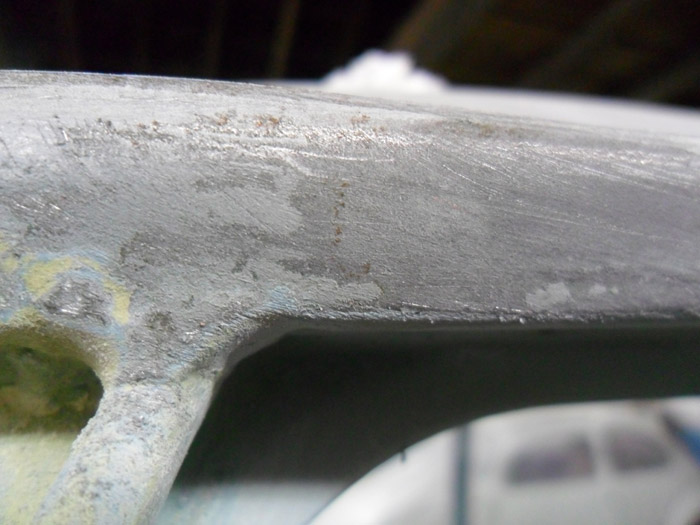
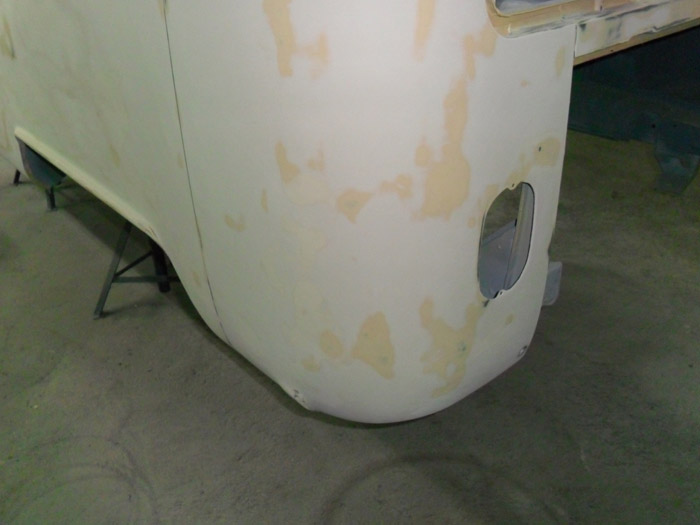
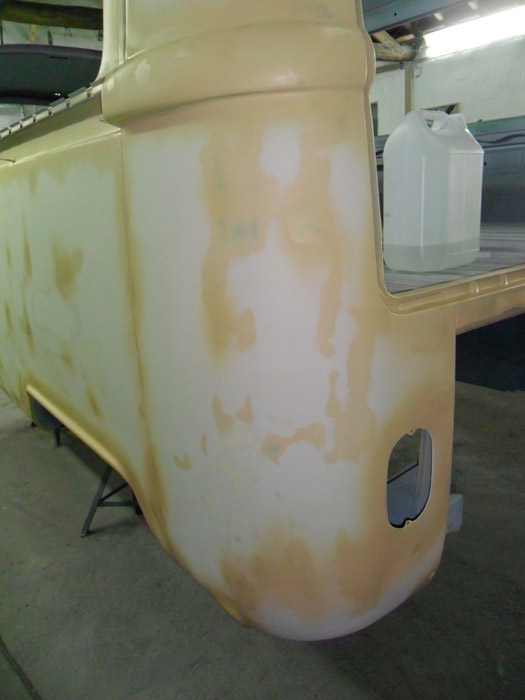
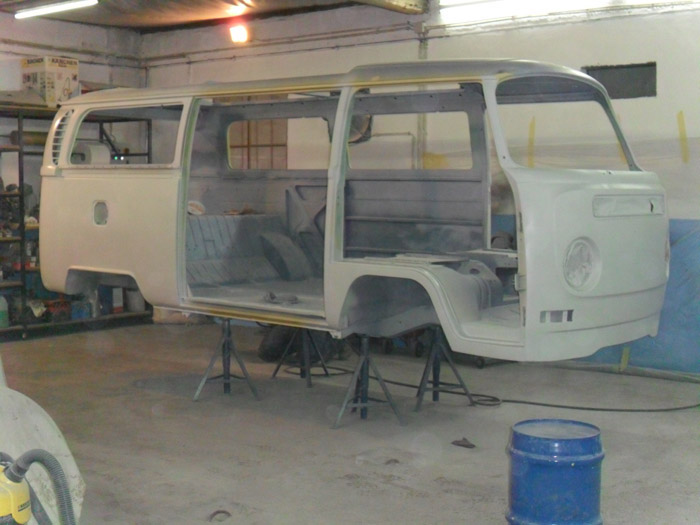
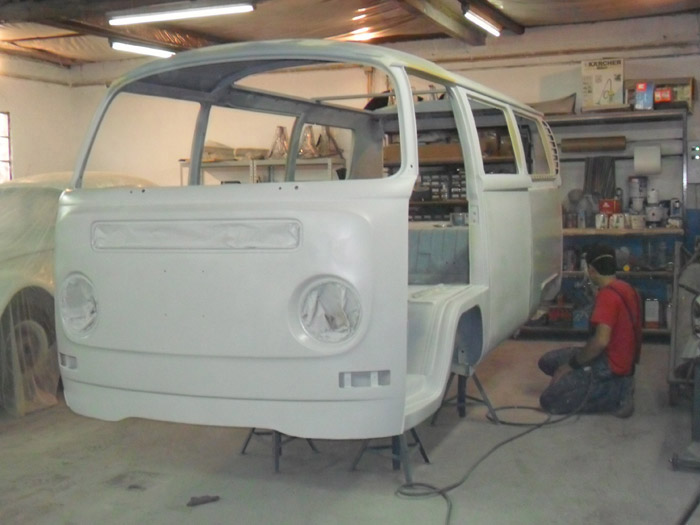
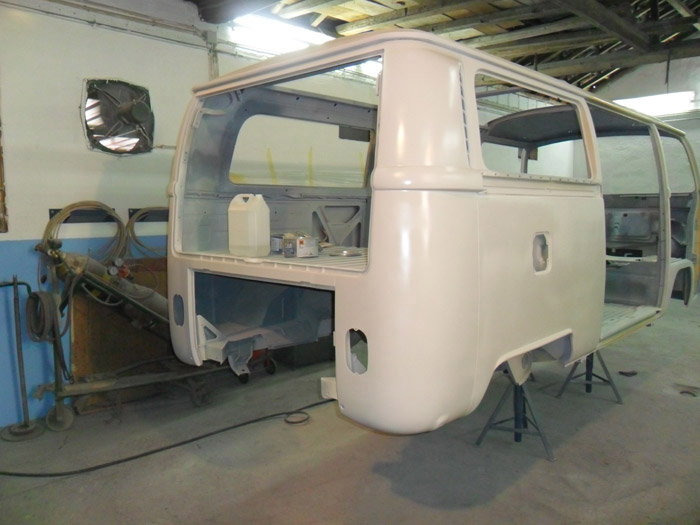
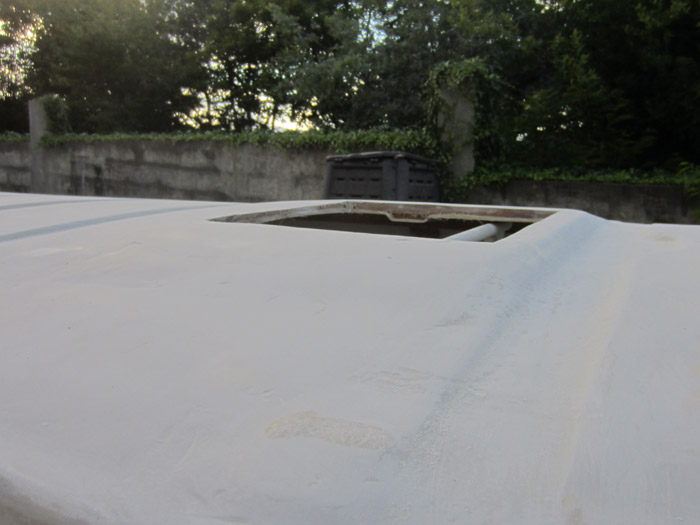
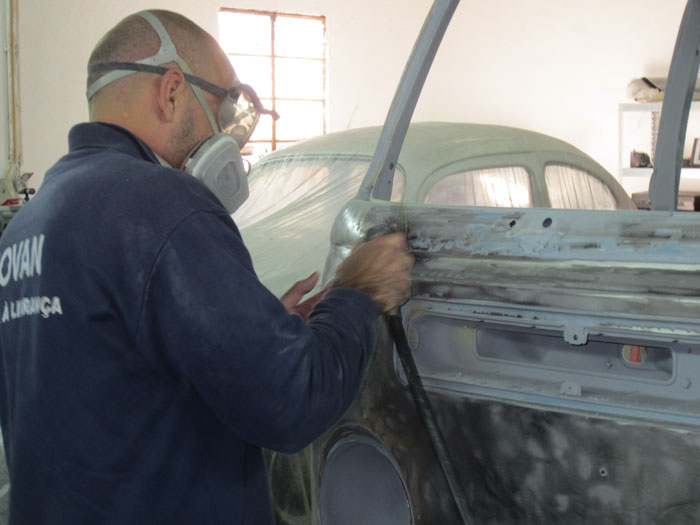
... while we were still sanding the bus.
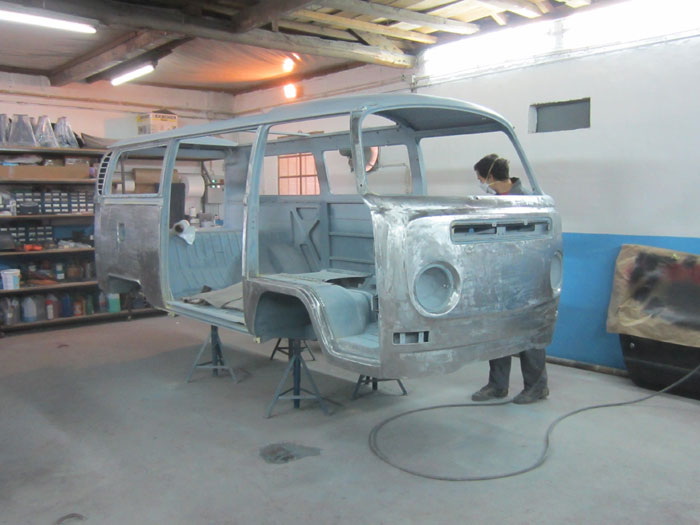
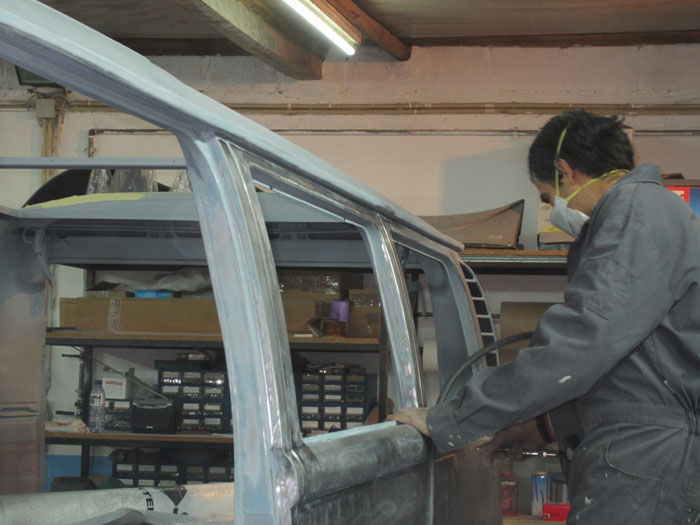
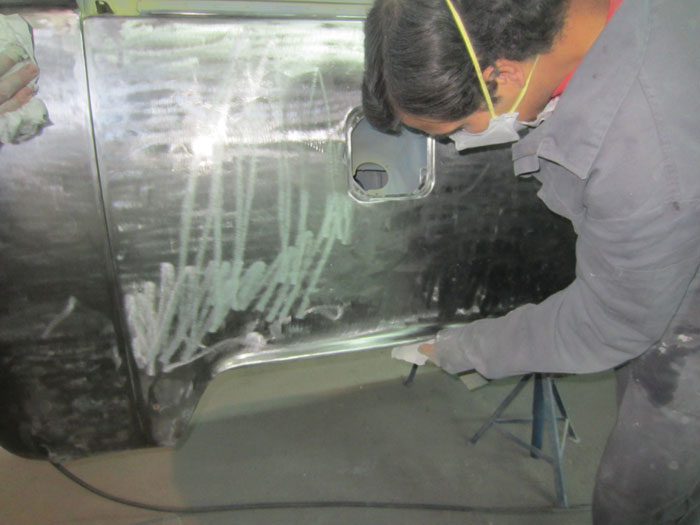
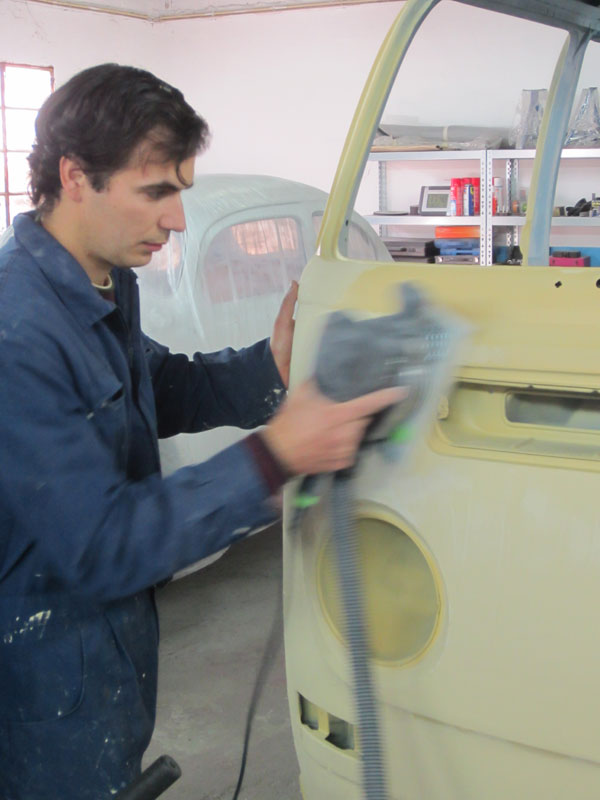
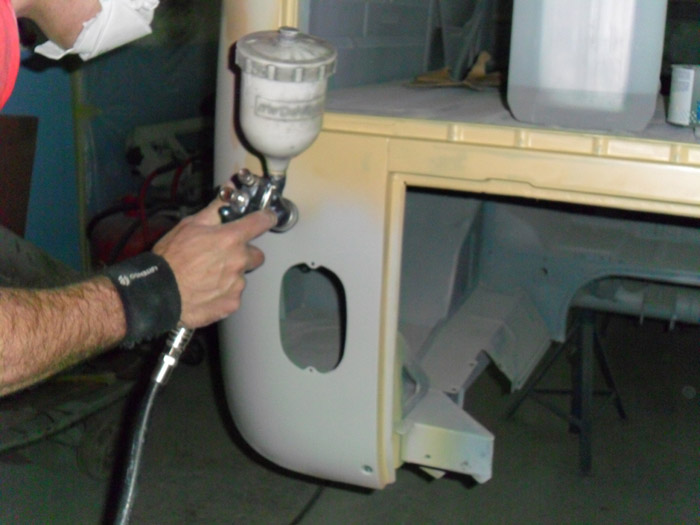
I was trying to work faster with a pneumatic sanding machine but I'm not as skilled as Hugo
(1º Never use Por-15
2º Use Epoxy primer
3º Don't despair
4º Sand it or be sanded (screwed)
5º Start all over again)
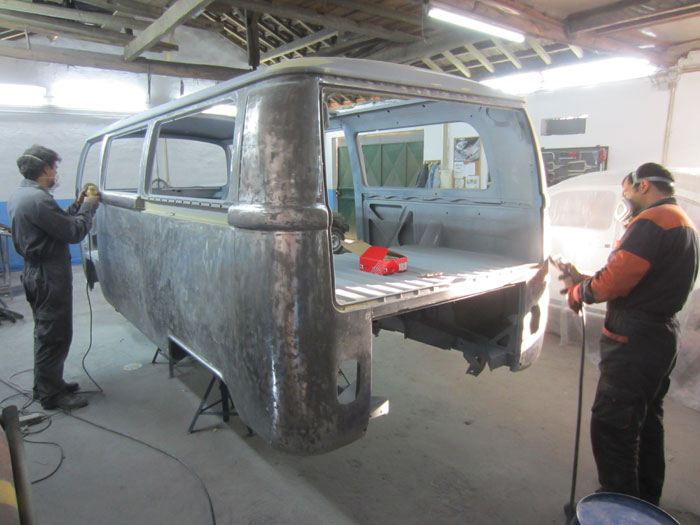
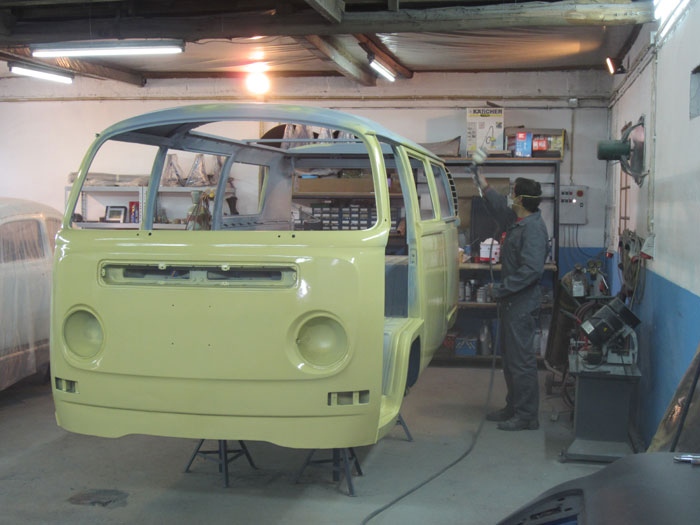
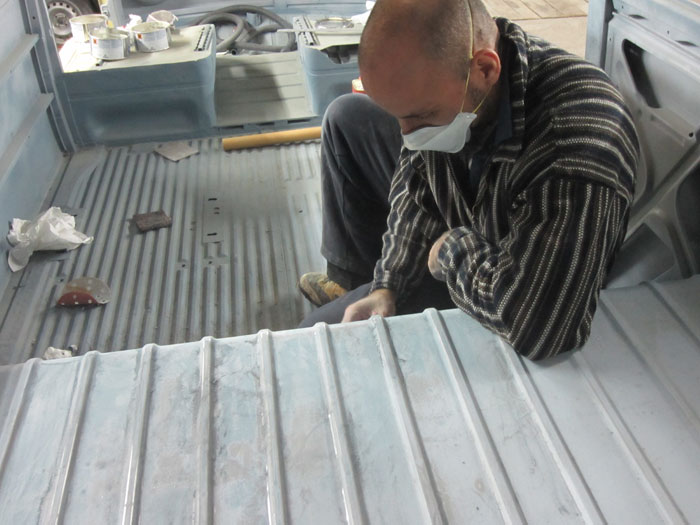
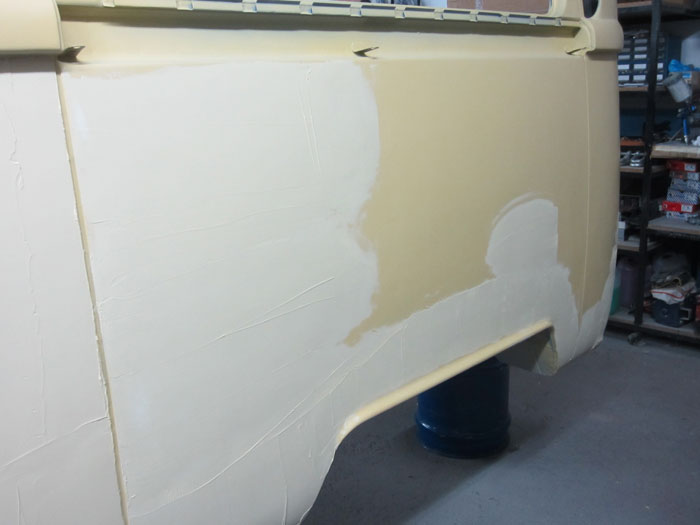
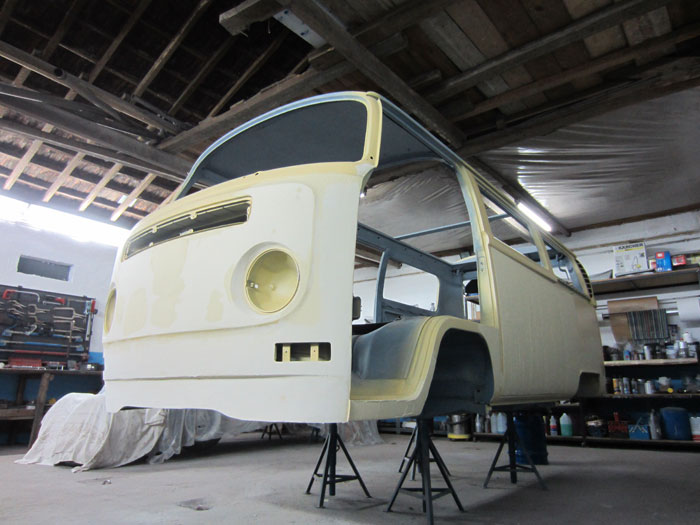
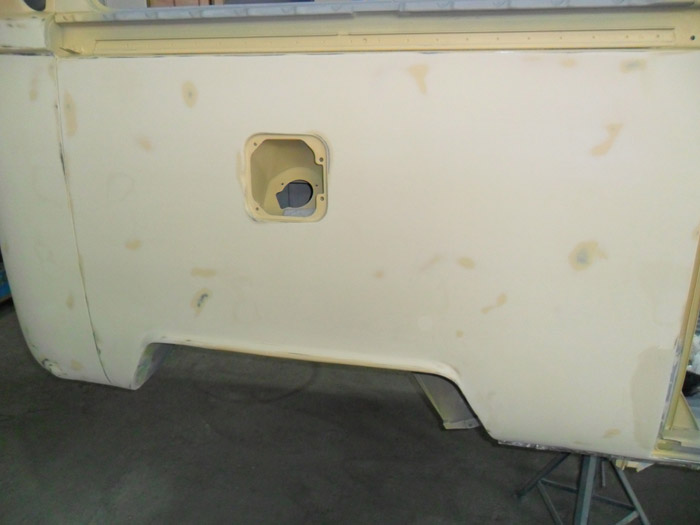
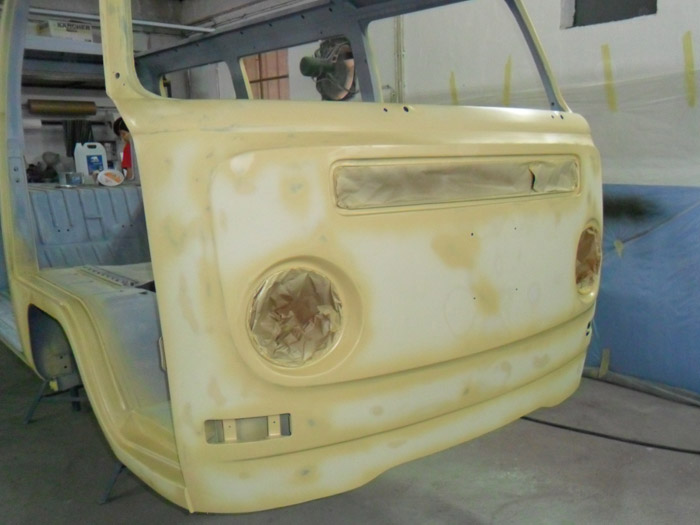
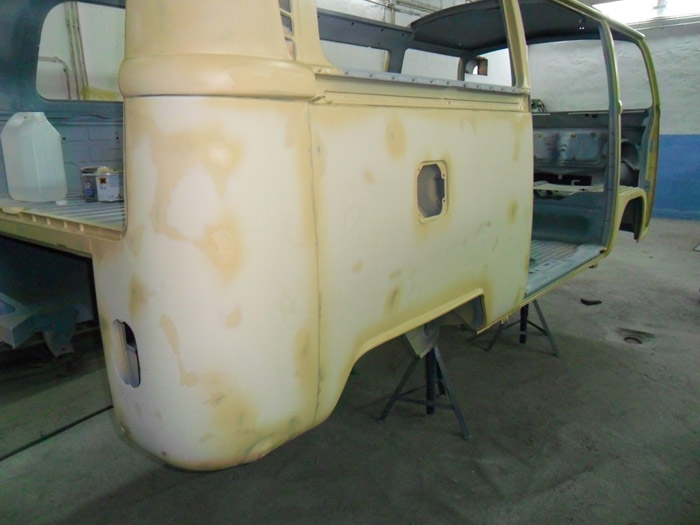
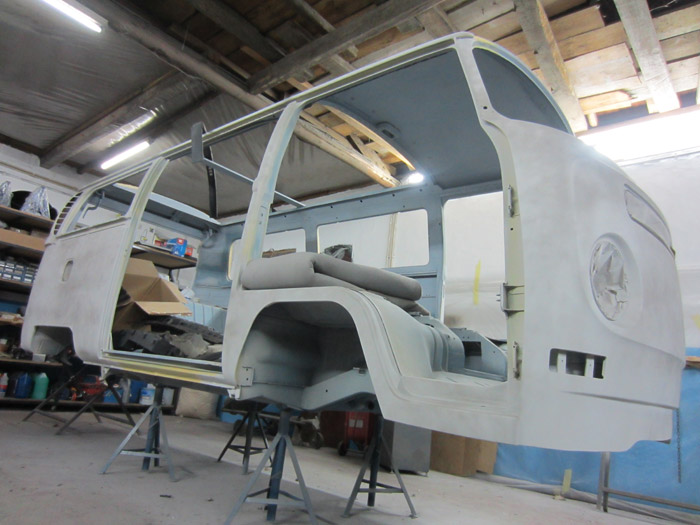
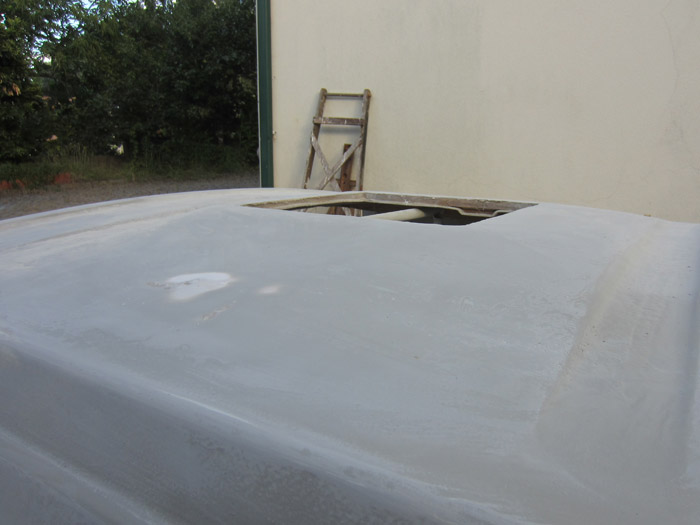
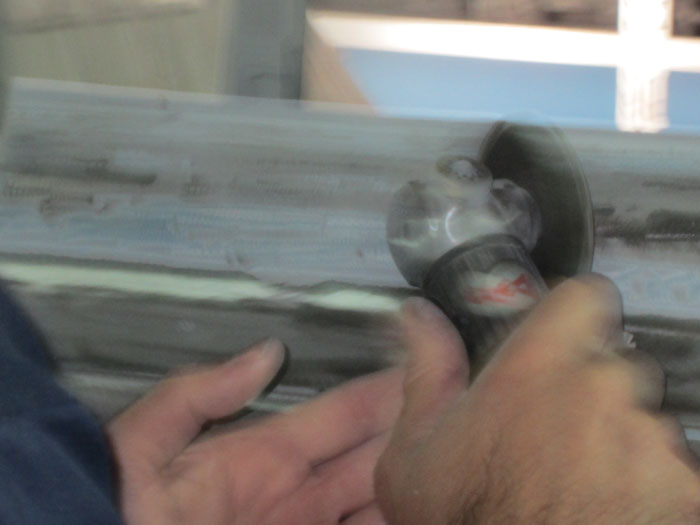
... while we were still sanding the bus.
I was trying to work faster with a pneumatic sanding machine but I'm not as skilled as Hugo