1968 Campervan conversion

Early Bay Forum

Help Support Early Bay Forum:

This site may earn a commission from merchant affiliate links, including eBay, Amazon, and others.
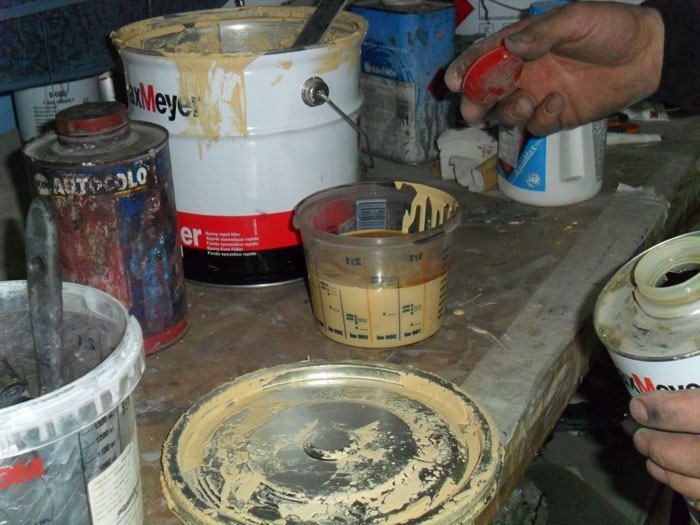
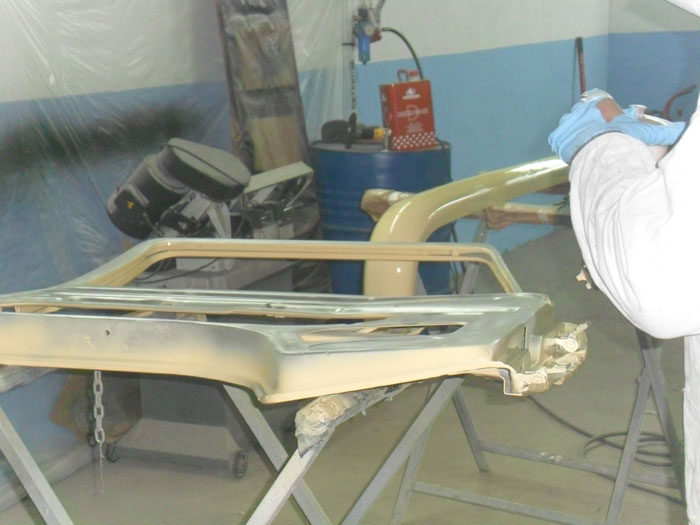
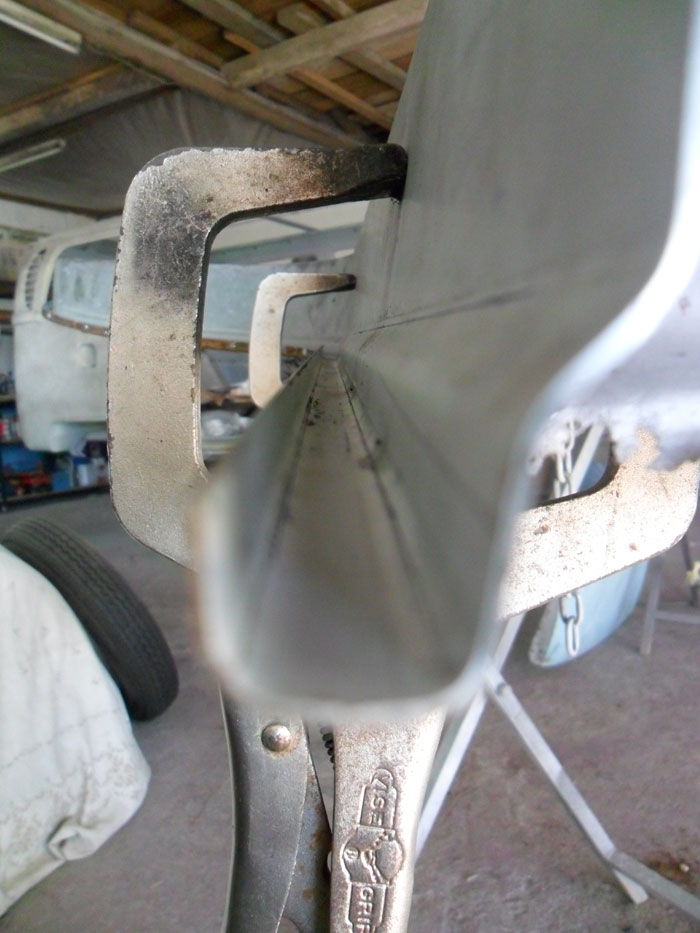
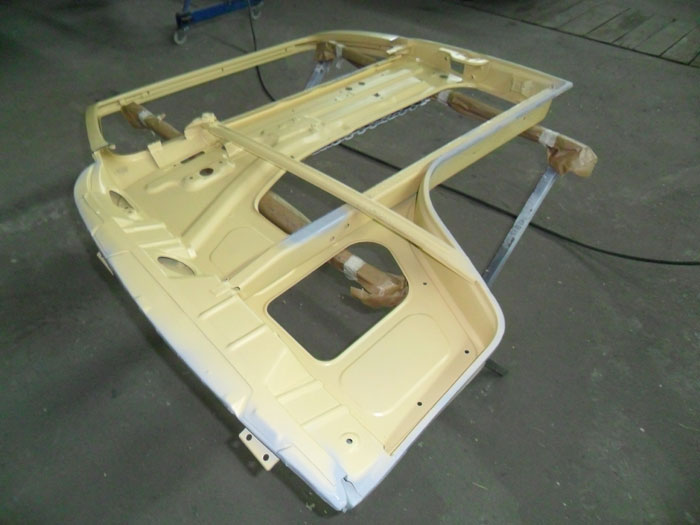
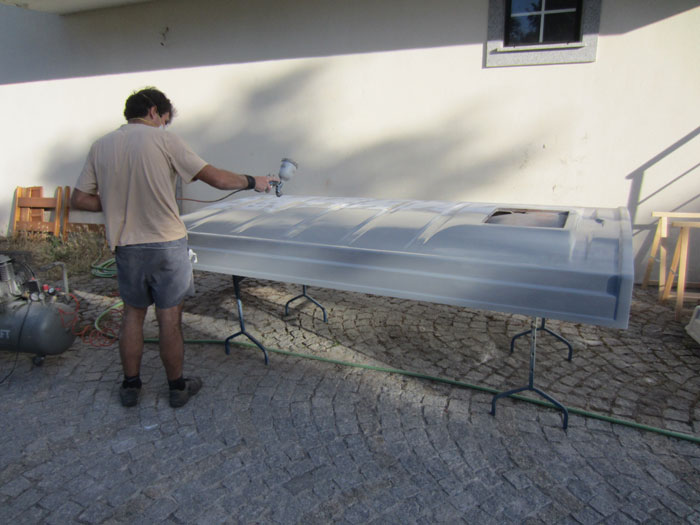
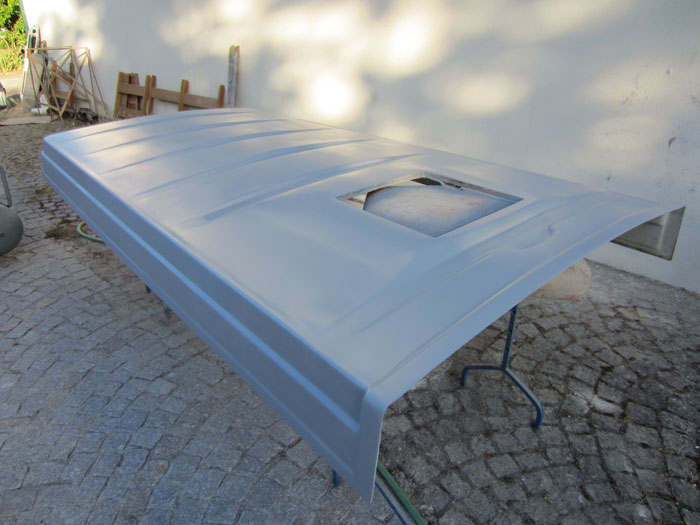
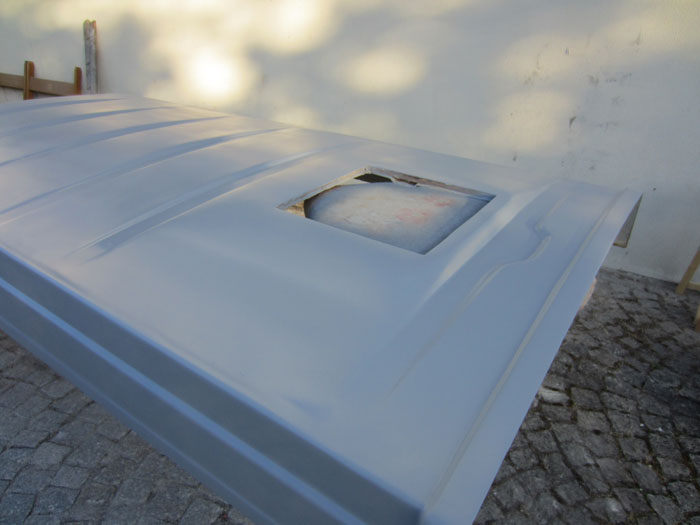
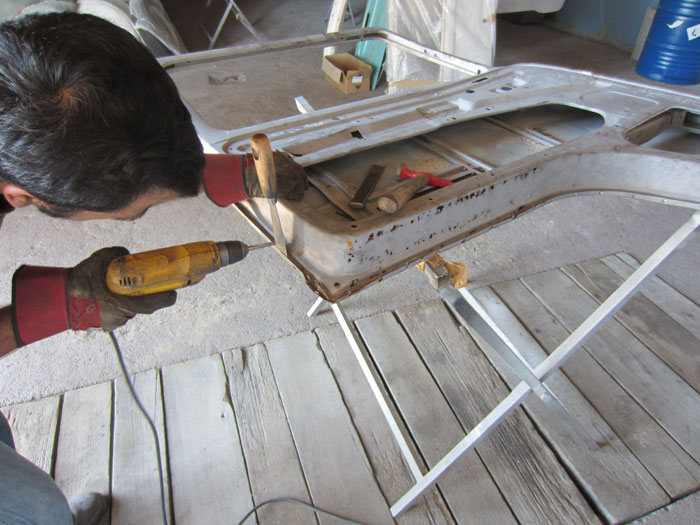
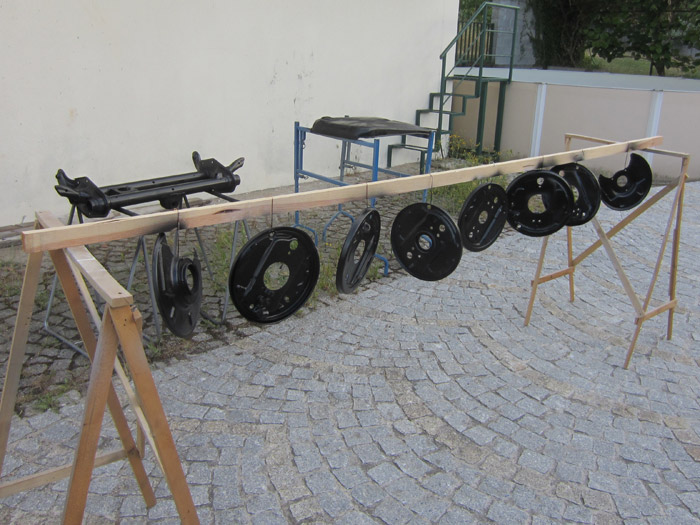
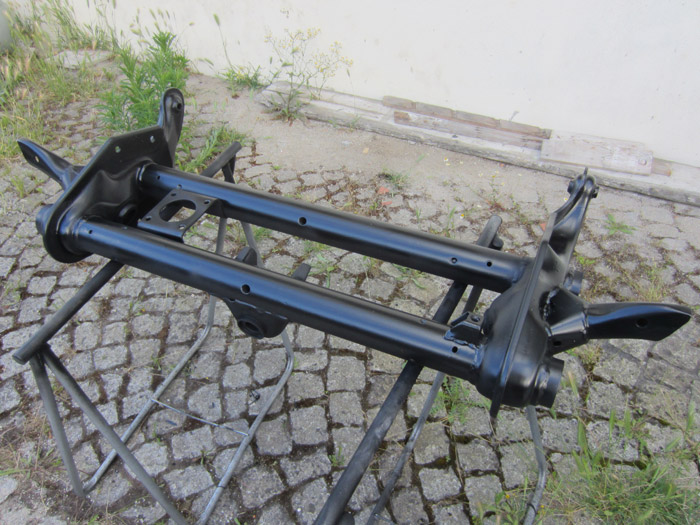
Other task that I needed to do: paint some parts of the suspension that I'm going to use... and some spares I've in stock

IMG_1285.jpg


IMG_1286.jpg


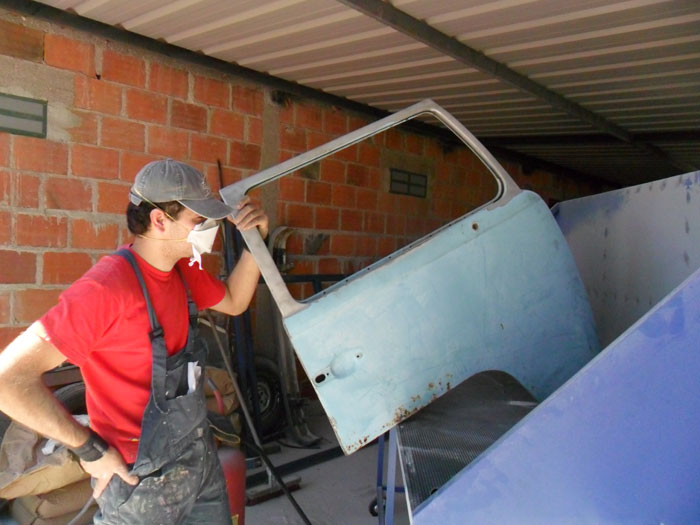
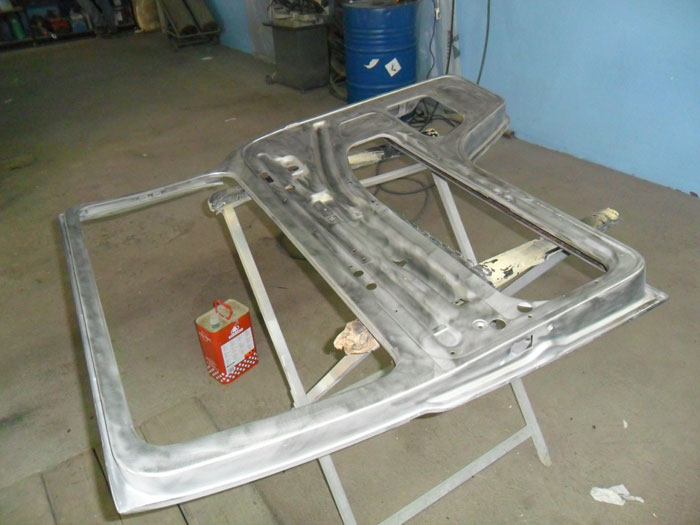
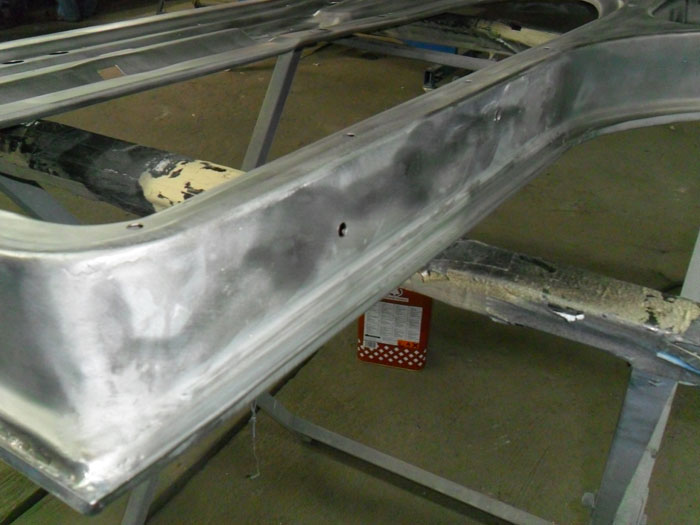
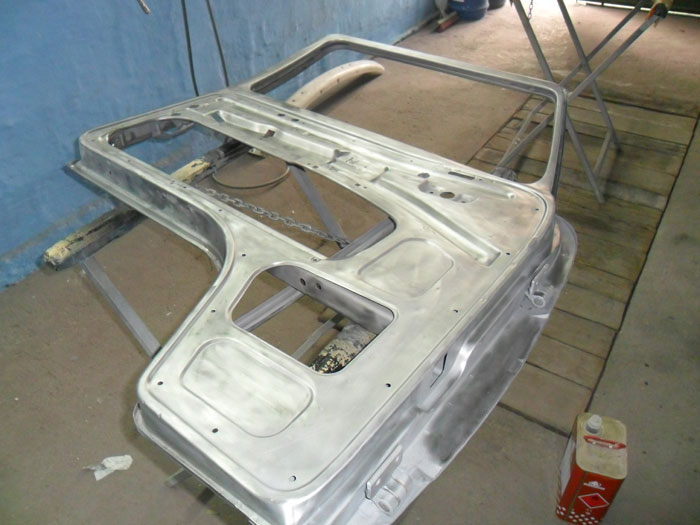
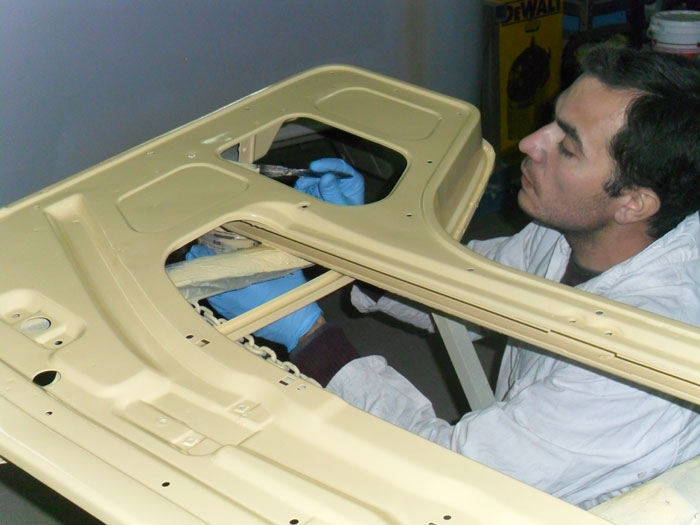
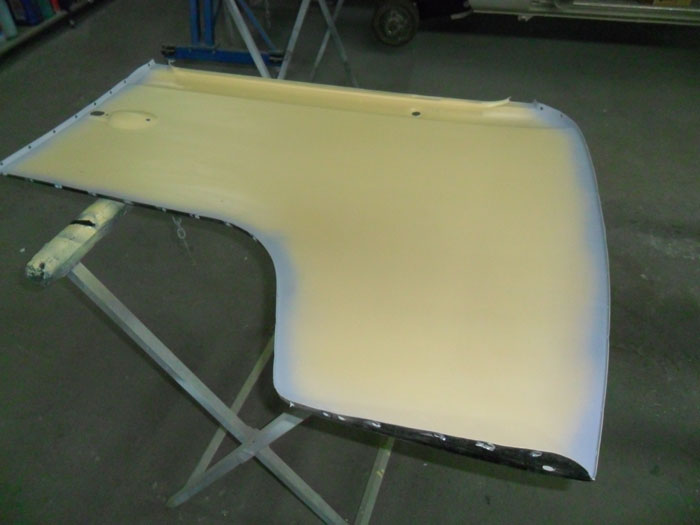
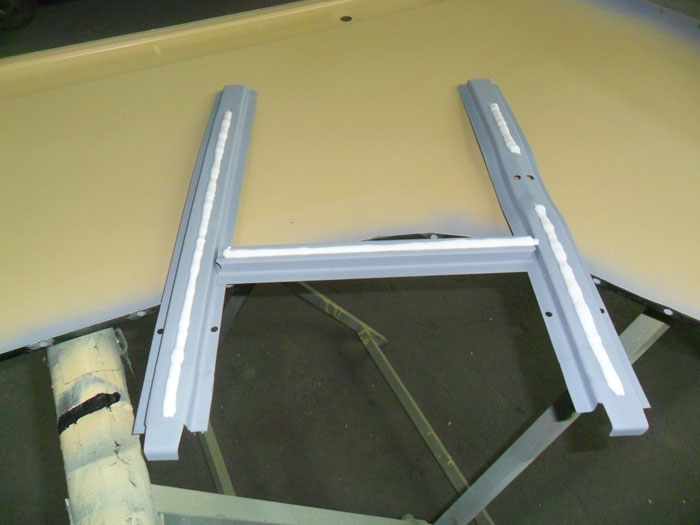
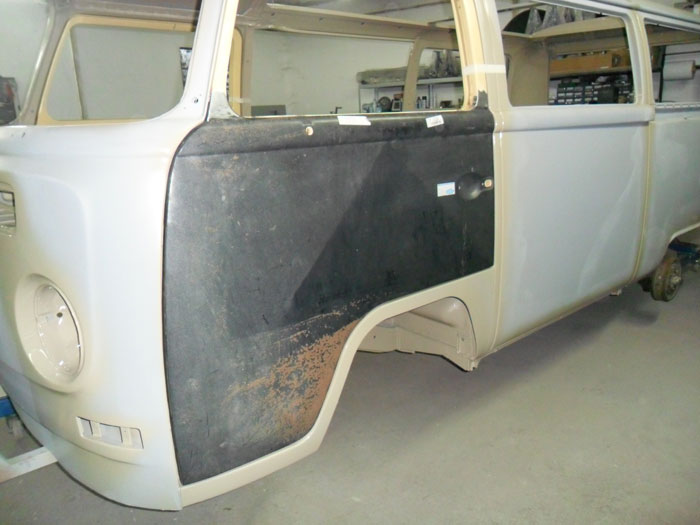
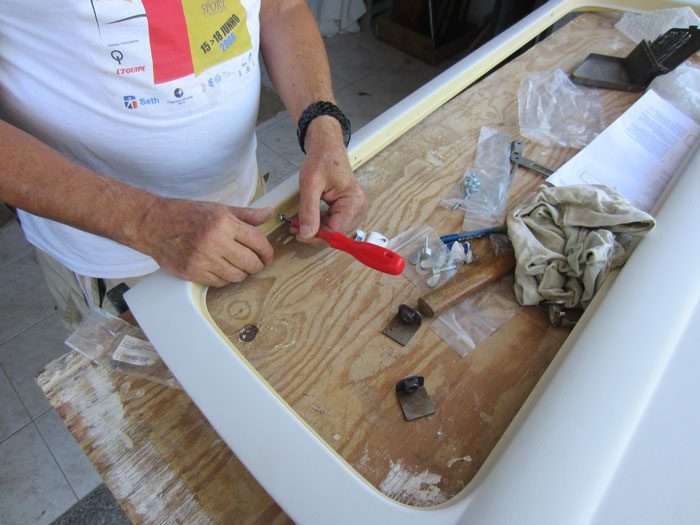
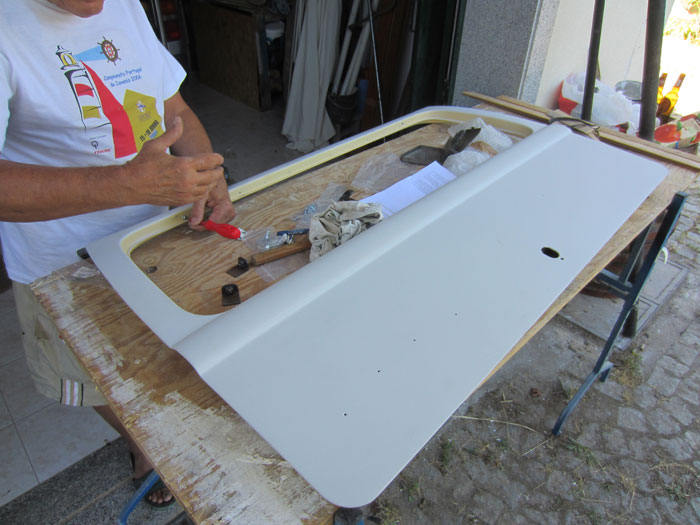
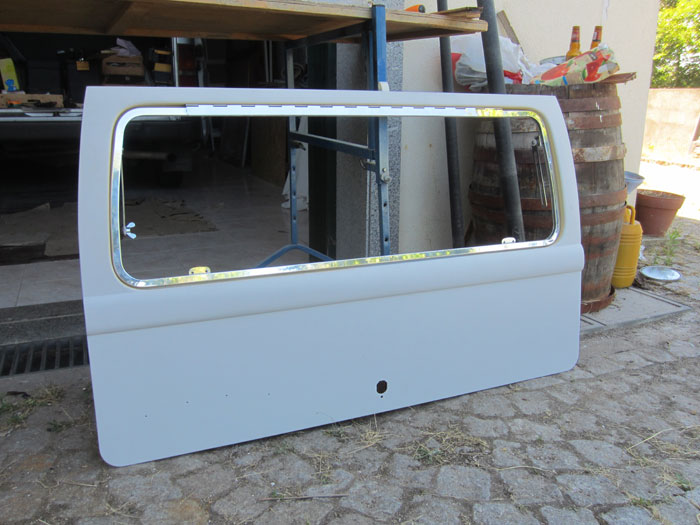
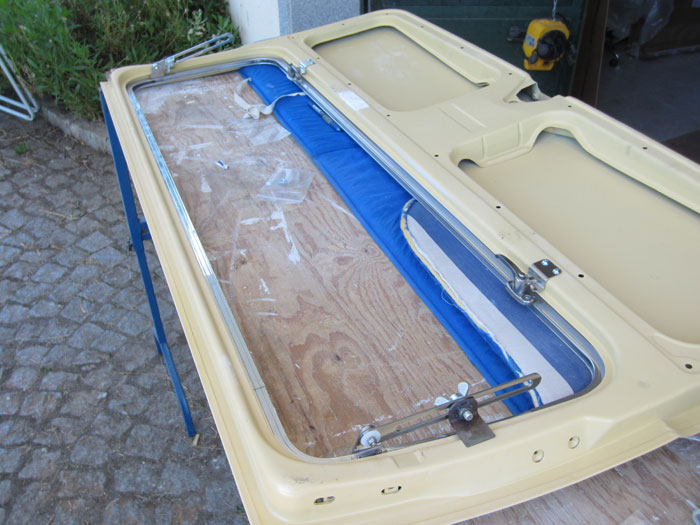
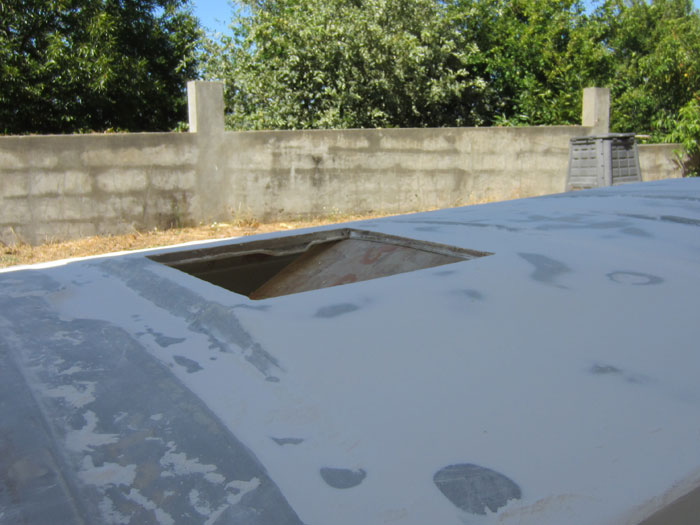
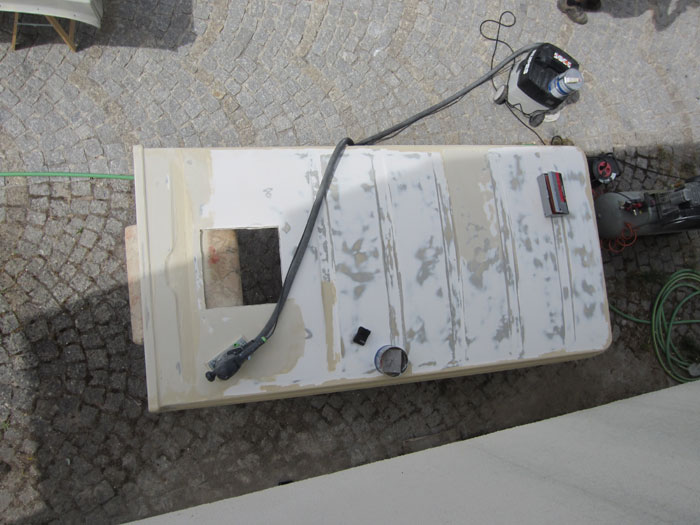
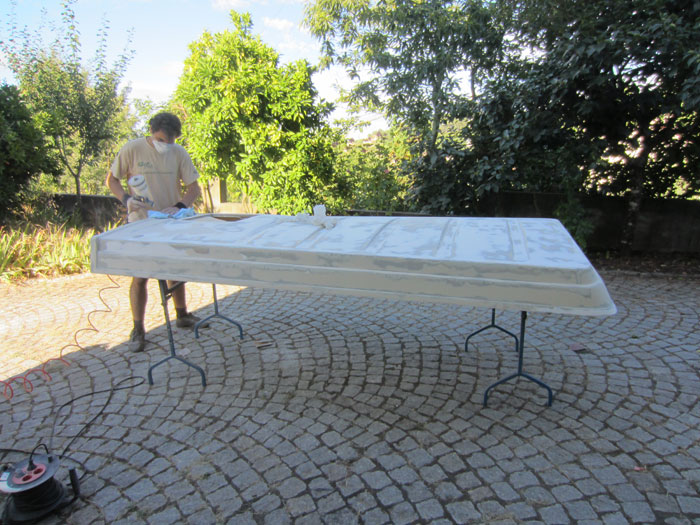
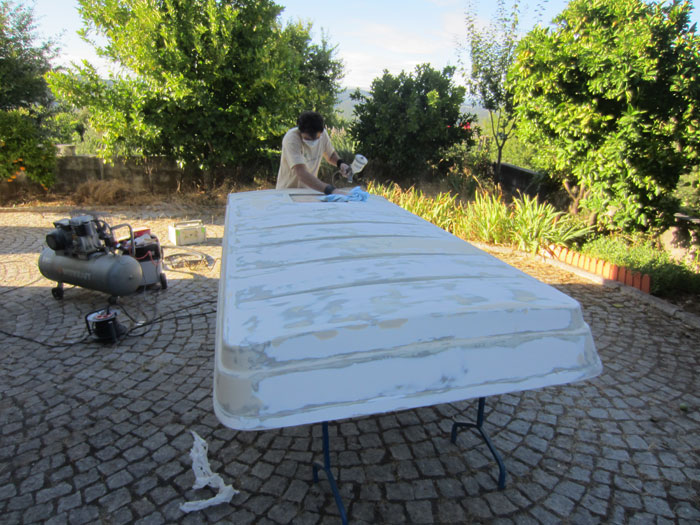
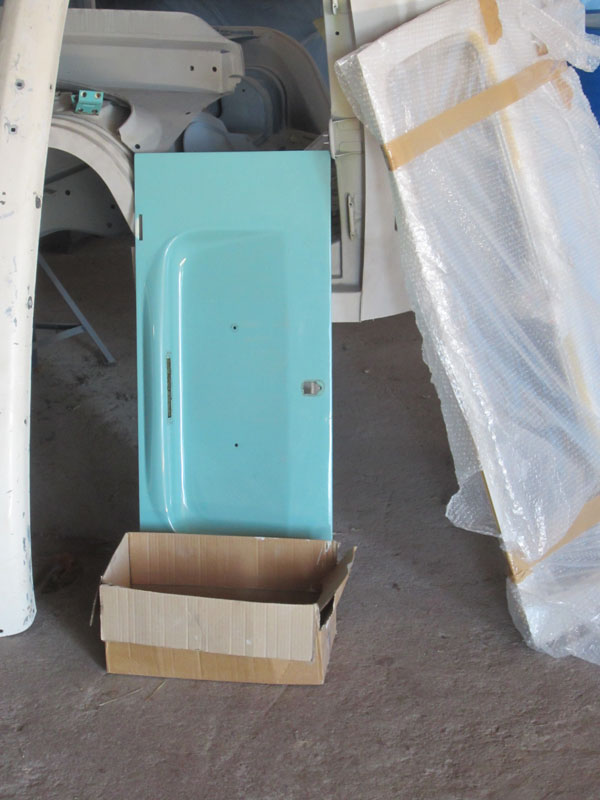
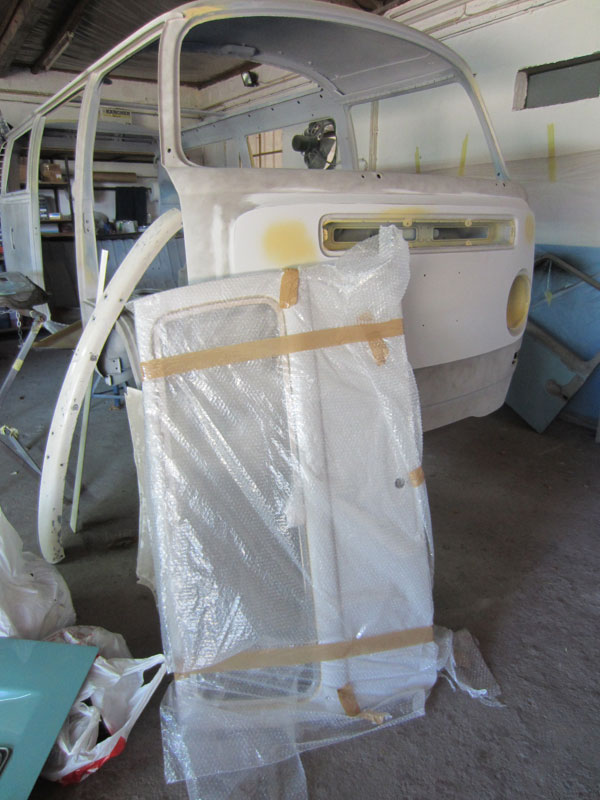
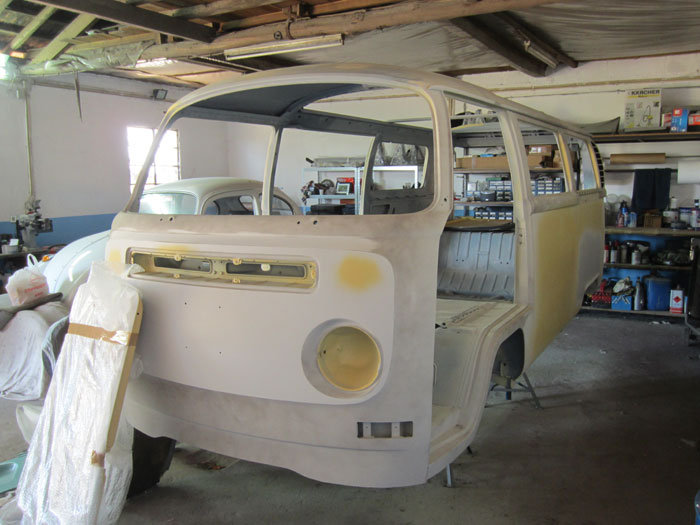
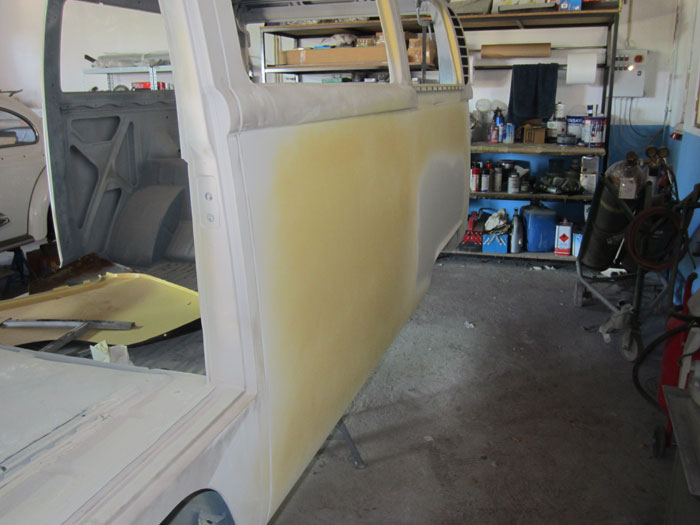
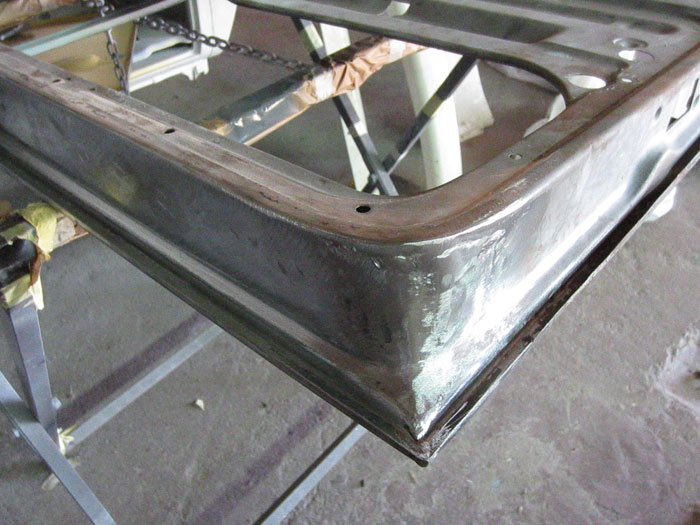
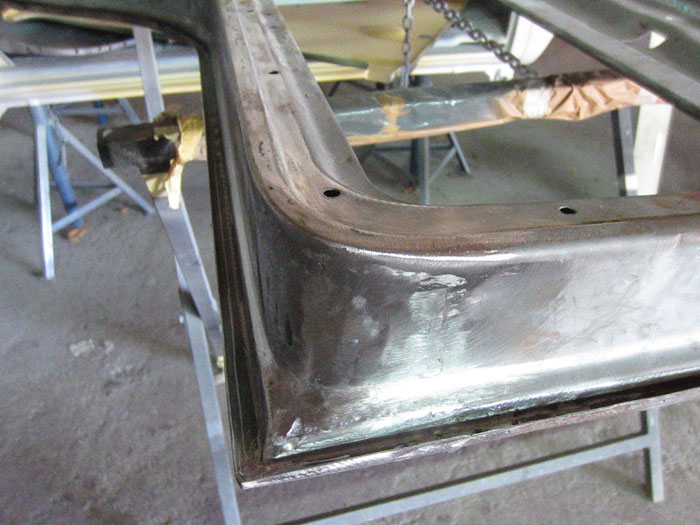
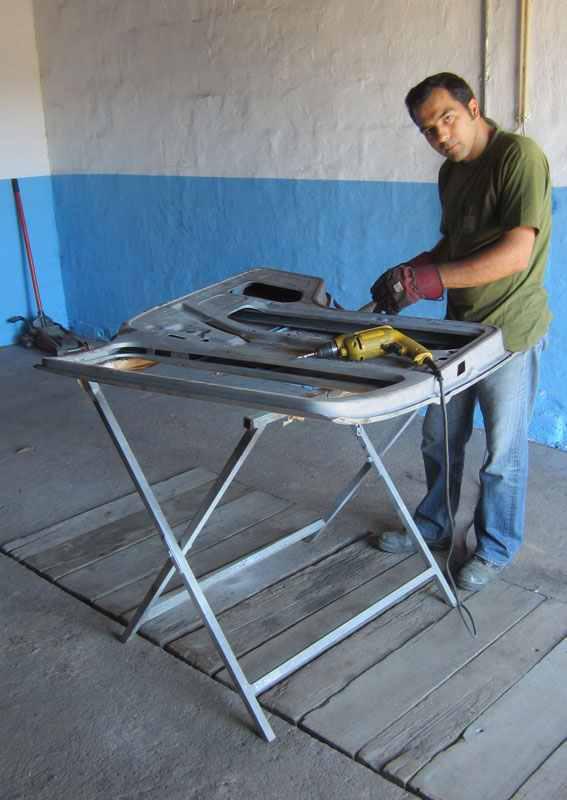
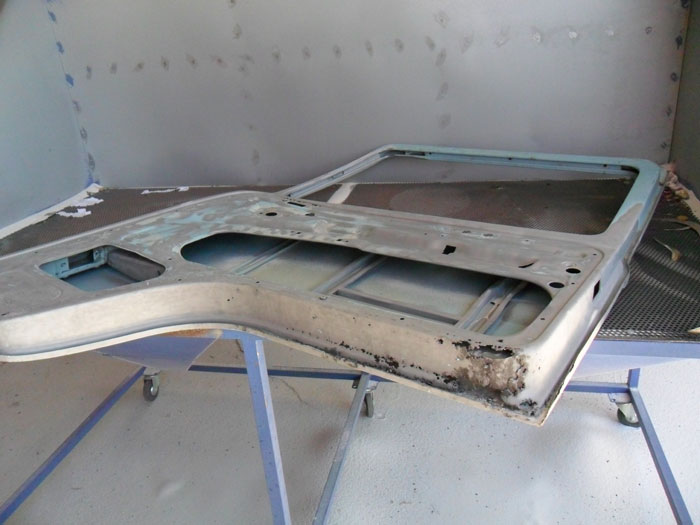
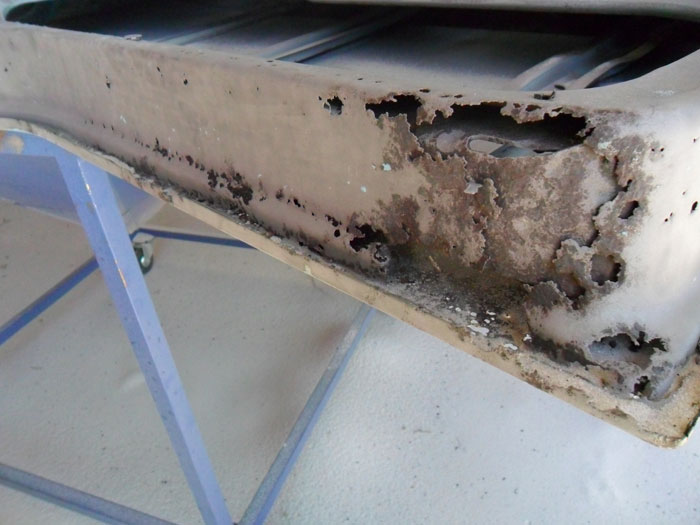
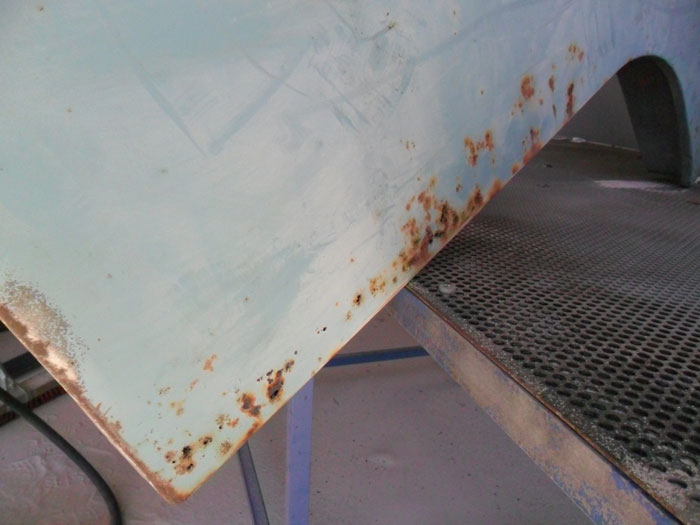
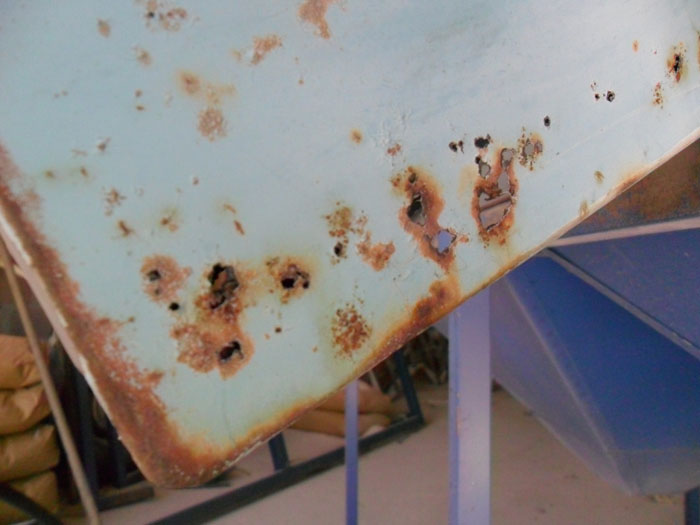
A week later, Hugo started working on my cabin doors. After some sandblasting, they were both looking like this:

009.jpg
 
These are some pictures of what Hugo and André did to one of my cabin doors. Because the originals ones where completely rotten, Hugo decided to use the ones from the blue bus (the same from where we took the entire roof section). They get the chance of living a second life in a different bus :mrgreen: .
After some sandblasting, one of them was like this:

010.jpg


011.jpg


012.jpg


013.jpg


014.jpg


015.jpg
 
André had is first experience in this exciting task that's sandblasting :mrgreen:
Of course that, after some minutes doing this much exciting task, he regreted the day he accepted to work on my bus :mrgreen:

016.jpg


... and finaly, it was time to remove the outer skin:

017.jpg


... and to be replaced with these ones, that I bought a couple of years ago:

018.jpg
 
After a couple of years, it was time to finaly use the front doors outer skins:

018.jpg


... and Hugo taking some measurements :mrgreen: :

019.jpg


020.jpg
 
The front door without the outer panel:

021.jpg


... and a lot of rust beneath it:

022.jpg


How it was, once removed:

023.jpg


024.jpg
 
but Hugo wasn't afraid with what had to be done. This is what he did to put them like new.
First, he made a small mold:

026.jpg


... and after, he made a larger replacement part:

027.jpg


028.jpg


029.jpg
 
and so, to remove all rust from these areas, André went to Hugo's private desert to play with sand a bit more :mrgreen:

033.jpg


After, André started preparing the new outer skins:

035.jpg


036.jpg


... and while Hugo was working on one front door, André started working on the rear hatch:

037.jpg
 
a couple of weeks later, I went back there, to do some other tasks I wanted.
One of them, was to drill all necessary holes and weld the brackets for the rear safari window, since André was already preparing the rear hatch for the paint job and I didn't want to mess all his hard work.

After taking some measurements and making all the needed markings, we began drilling the first holes and trying them just to be sure all was correct:

IMG_1371.jpg


IMG_1372.jpg


IMG_1373.jpg
 
and since I was in here, near the poptop, I decided to get back to it.

IMG_1377.jpg


IMG_1378.jpg


Next day, I asked for André's help. With him, we almost finished it (at least, from the outside) :mrgreen: :

IMG_1425.jpg


IMG_1426.jpg


IMG_1427.jpg
 
After a lot of sanding, André applied some primer over it:

IMG_1428.jpg


IMG_1429.jpg


IMG_1430.jpg


In the end, it looks good although it's not finished. There is still some sanding to do and the surface has some small pores that we need to treat.
The skylight is a most necessary acessorie if you plan cooking inside the bus like I do. My mom always did our meals (specially dinners since our lunch was always some sandwichs :mrgreen: ) for all five of us :mrgreen:

IMG_1433.jpg


IMG_1434.jpg


IMG_1435.jpg
 
The engine lid, finaly saw the light again. After 5 years, it will be sanded and receive the new paint. But first I had to disassemble all locks and other small parts...

IMG_1384.jpg


... and with some other parts, I took them all to Hugo's bodyshop:

IMG_1396.jpg


IMG_1385.jpg


Meanwhile the bus is almost ready on the outside:

IMG_1386.jpg


IMG_1387.jpg
 
Since this bus is at Hugo's bodyshop, it has been visited by several animals... for instance a couple of birds that made their nest and now a flies killing machine :mrgreen: :

IMG_1389.jpg


Regarding the bus, the cabin door is almost done. If it was looking like this....

027.jpg


... it's now like this:

IMG_1390.jpg


IMG_1391.jpg


awsome!
;)
 
meanwhile, the interior of my new doors outer skin where already primed:

IMG_1393.jpg


IMG_1394.jpg


...and since I was already there, Hugo decided to remove the skin from the other door so I could clean it:

IMG_1395.jpg


... and you need to have a lot of patience to cut all the welding spots:

IMG_1397.jpg


IMG_1398.jpg


IMG_1399.jpg


IMG_1400.jpg
 

Latest posts

Top