1969 - GGL 468G

Early Bay Forum

Help Support Early Bay Forum:

This site may earn a commission from merchant affiliate links, including eBay, Amazon, and others.
That's a good call, it will look very nice, just make sure the additional red you have mixed up is a good match, and check it first. I got the paint codes from the PO of mine and the body shop have obviously given him something completely different, luckily I tested beforehand or I would have ended up a paint job that looked like army camouflage!
 
I thought it best I start stripping the interior of it's rather bleak greyness. It's nice and low maintenance as is but I'm going for something a lot brighter and cheery.

Grey
2016_04_24_20_02_35.jpg


More Grey
2016_04_24_20_02_58.jpg


Fair play to whoever fitted the interior stuff, it's all very secure. After two hours this is as far as I got.

2016_04_24_20_02_51.jpg


And to make sure it wasn't all destructive I thought I'd get started on a sticker collection. One of soon to be many, I'm sure. ^_^

2016_04_24_20_15_36.jpg
 
Small change today. Old and new.

2016_04_30_19_57_24.jpg


I'm assuming those spare bolts were from an oblong plate that was on there at some point. Not sure of a nicer way to hide them yet.

Now back to pulling the interior out.
 
20160501_160925.jpg


Up comes the laminate. It'll be having vinyl tiles instead.

I was hoping to reuse the wood lining but it looks like that isnt happening.
 
I know these aren't the most interesting pictures yet but I want to keep a record of these so in a few years time when I've, hopefully, got this thing all done I can look back at how much of a mess I had to make of it first.

Todays handy work.

2016_05_02_19_43_44.jpg


When I get the floor in and respray the silver it should start looking half decent.
 
And lo, after hours and hours of work, the floor reveals itself.

2016_05_03_20_37_12.jpg


Honestly I was expecting far worse. I was braced for holes and all sorts. I've given those surface rust areas a good poking with a screwdriver and it seems sturdy enough underneath so hopefully a bit of wire brush action this weekend will do well.


OH! And driving this around with no interior is amazing. I caught myself out a couple of times with the reduced weight affecting handling and speed. I might leave it empty and just cart around an inflatable mattress.
 
So the only rusty bits of the floor are the bits you can clearly see in the photo in the last post. After wire brushing them down it looks like all those spots have been previously welded with small plates like this.

2016_05_07_19_38_14.jpg


They were all coated in rubber (is that something people do?) and the rust has just gone to town around them. I'm guessing the rubber was meant to keep water out, but it just seems to have trapped a load in.

The rest of it's fine.
 
20160508_155429.jpg


So this chunk just fell off. Any ideas what im best filling it with?

The doors not closed there, by the way, its not that badly aligned.
 
Is it a chunk of filler?

I may have a floor cut if you want to cut that bit out and replace it with the right metal!
 
The rubber stuff is probably seal sealer? You meant to use it if you weld panels together where they are not a seamless joint, eg overlap, one panel over the other. To stop water getting trapped.

Don't need it where your grinding to a seamless finish
 
georgeyv said:
Is it a chunk of filler?

I may have a floor cut if you want to cut that bit out and replace it with the right metal!

Probably filler, yeah. Id assumed that whole cover was quite thin metal but theres a fair bit of depth to that new hole. At least it fell of now rather than after id repainted it.

The floor cut might be handy. How much would you be looking for?

Webbaldo said:
The rubber stuff is probably seal sealer? You meant to use it if you weld panels together where they are not a seamless joint, eg overlap, one panel over the other. To stop water getting trapped.

Don't need it where your grinding to a seamless finish

Ah that makes sense. Im still a complete newbie when it comes to this stuff.

Looks like it didnt work though.
 
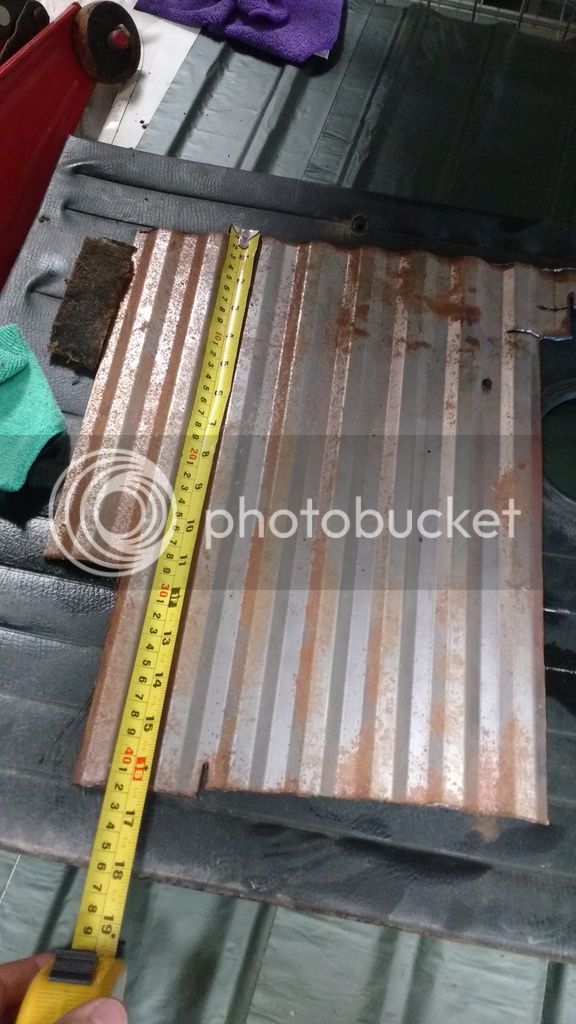
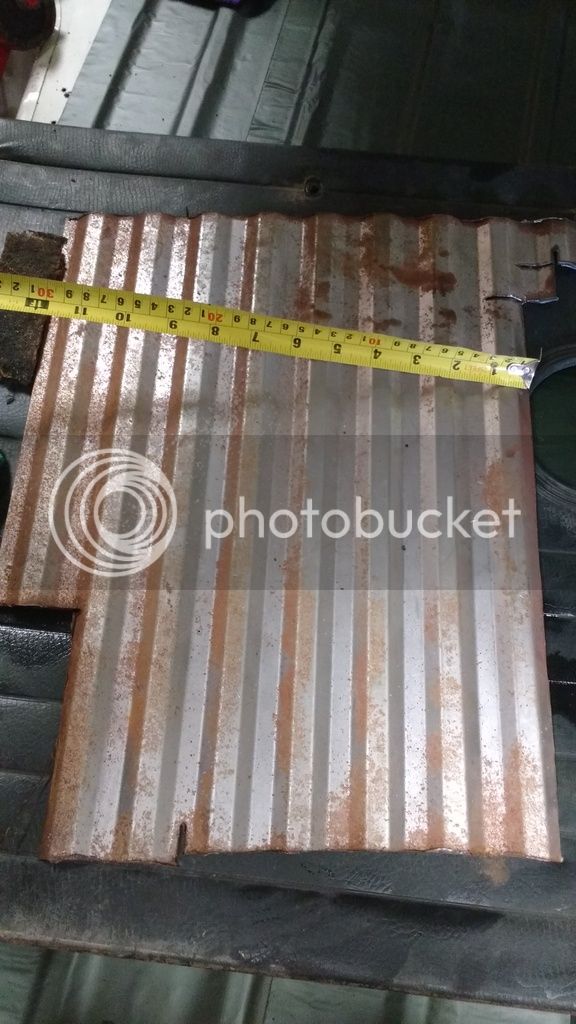
Don't want anything for it mate, came from another member on here as he had it left over and I used a small section and have a fair sized piece left. I'll stick a pic on and if it's any good we can arrange to get it to you - I'm only up at Leeds and pass Sheffield quite often.
 
Also, seam sealer often peels off when it gets damp or isn't applied onto a totally dry clean panel - I've got a load peeling up on my cab floor, going to clean up the welds and paint - won't replace the seam sealer.

I'm not sure where you'd want to go with that chunk of filler - realistically get the rest of it off and do a proper repair to whatever is underneath! Or just stick a bit of filler in there to get you by.
 
Awesome, thanks. :D

Looking at it closer it looks like the bit of rail cover that fell off (while driving, so its long gone) was actually metal. The little clip bit with the screw is quite rusted so the metal seems to have cracked from opening the sliding door and been jolted off by a bump in the road.

I'll see about repairing it properly but I might look for an original replacement.
 
I'll let you know next time I'm heading down the M1 and see if we can sort something out - unless you find a reason to be in Leeds anytime soon and you can come fetch it!
 
Awesome, you're a gent.

I'm not really sure what to get on with at this point, project wise. It's probably a good idea to get the cab floor checked out, so I'll be breaking out the angle grinder again.
 
Today I thought I'd poke at the patch on the rear left wheel arch that was suspiciously darker in colour than the rest of it. I've been putting this off because I kinda knew what was going to happen.

One poke and this chunk crashed to the cargo floor in a cloud of brown dust. I'm not happy with how fat my thumb looks in this photo, by the way.

2016_05_20_16_36_56.jpg


Again my lack of any sort of experience with this is showing, but what material is that brown stuff? It's very hard but it hasn't really helped with the hole it was patching over.

2016_05_20_16_23_28.jpg


All the metal from the hole downwards has pretty much had it, (and that's obviously behind the even bigger hole you can see the small hole through) so it's looking like a fairly big wheel well repair is on the cards.
 
That doesn't look too bad - not sure what the material is - maybe old filler? Get the grinder on it and clean it up and see how much needs replacing - looks like you could just let in a pretty simple patch/ have someone do it for you?

I did the same with my first bus - just remember every bodge you fix is another bit of the bus you know is solid and sorted. It'll take time but at least you know it's right in the long run.
 

Latest posts

Top