1970 DORMOBILE - COMPLETE RESTO - IT PASSED :)

Early Bay Forum

Help Support Early Bay Forum:

This site may earn a commission from merchant affiliate links, including eBay, Amazon, and others.
ok after the rear hatch panel looked so good i decided to rip off the old comics on the sliding door and interior panel and redo them with pages from later comics which had a bit more colour and cover them with clear vinyl and im glad i did, there looing awesome so far and really make the interior look 1000times better well happy, just got to get some more annuals as ive ran out

with the new pages on
72.jpg


in situ
73.jpg


and the rear panel redone, but not covered in clear vinyl yet
74.jpg


also repainted and fitted the sliding door hinge cover and the rear hinge covers
75.jpg
 
well today sorted out the wiper jets by using a electric motor to get the water through as the valve in the switch is a little worn and as i had the washer motor i thought might aswell :)

also i figured out why the engine couldnt make oil pressure hehe, i rebuilt the engine but for the first time i never checked the oil pressure and relief valves to see if they were jammed/blocked, and im glad i looked today as the relief valve near the gearbox was ok, had spring and valve but the valve near the oil pump was a shock, undid the screw and out popped, NOTHING, no spring no valve nowt, so nicked one from an old engine i had lying around and wallah i have oil pressure :D so no nasty red light on tickover
 
I really like your bus, it looks like a lot of cool elements pulled together in a great bay box!
 
dubdubz said:
pinheaduk said:
i then moved onto the aposts and sanded back until i got the shape right on the n/s [havent finished the o/s yet] but its getting there

n/s lower
621.jpg


n/s upper
622.jpg


i then sat the screen in loosely to see the lines and im very happy with the fit, i also took a photo of the o/s to see how it looks before i start sanding it back

n/s
623.jpg


o/s still needs a bit of sanding but the shape is there
624.jpg

interested in 2 things....how did you build up the shape of the bottom screen/a post curve ....mine is the same a gap.

also is the paint 2k or cellulose?

thx good work

do you have [or could get recent pics of these areas ] now screen is in interested to see results.....my screen is out I made a paper template ...it looks like about 5mm at the biggest spot...tempted to weld a piece in but the shaping on the curved lip will be tricky??
edit:

with the glass only [dangerously balanced and spaced evenly around the rubber retaining lip looks ok...what I can't tell is if the 'shelf' also needs adjusting....

what I need is an old windscreen rubber section to see.........

Pinhead my thread is here
http://www.justkampers.com/forum/th..._welder_body_expert_bay_bottom_window_corners
 
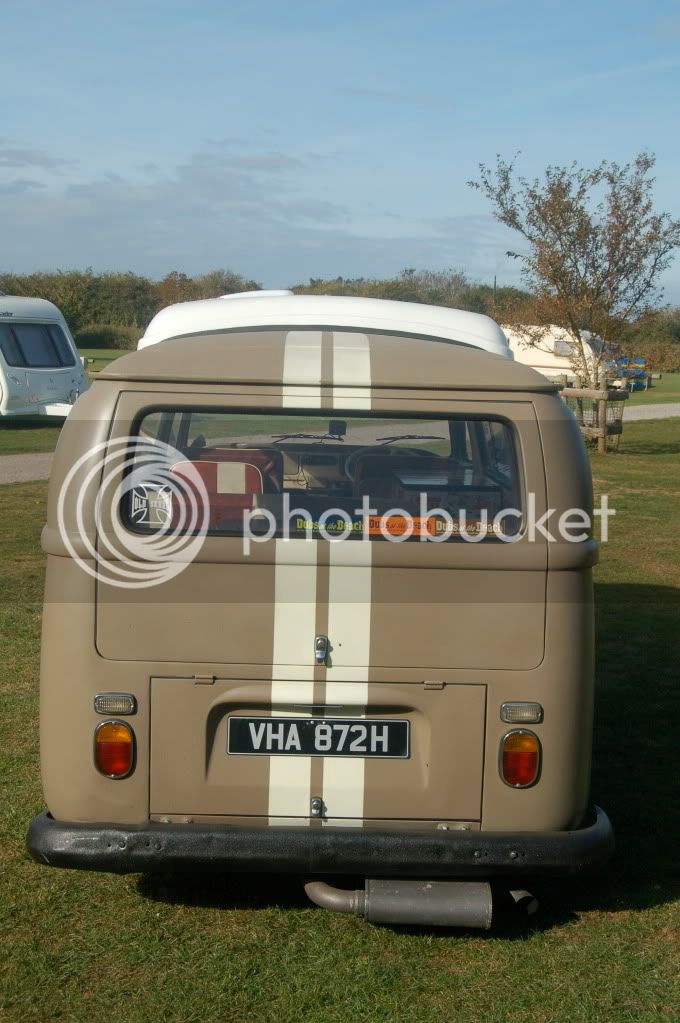
well on sunday i had a nice trip to north devon to pick up a glasspack exhaust for the bus and damn its nice and loud :)
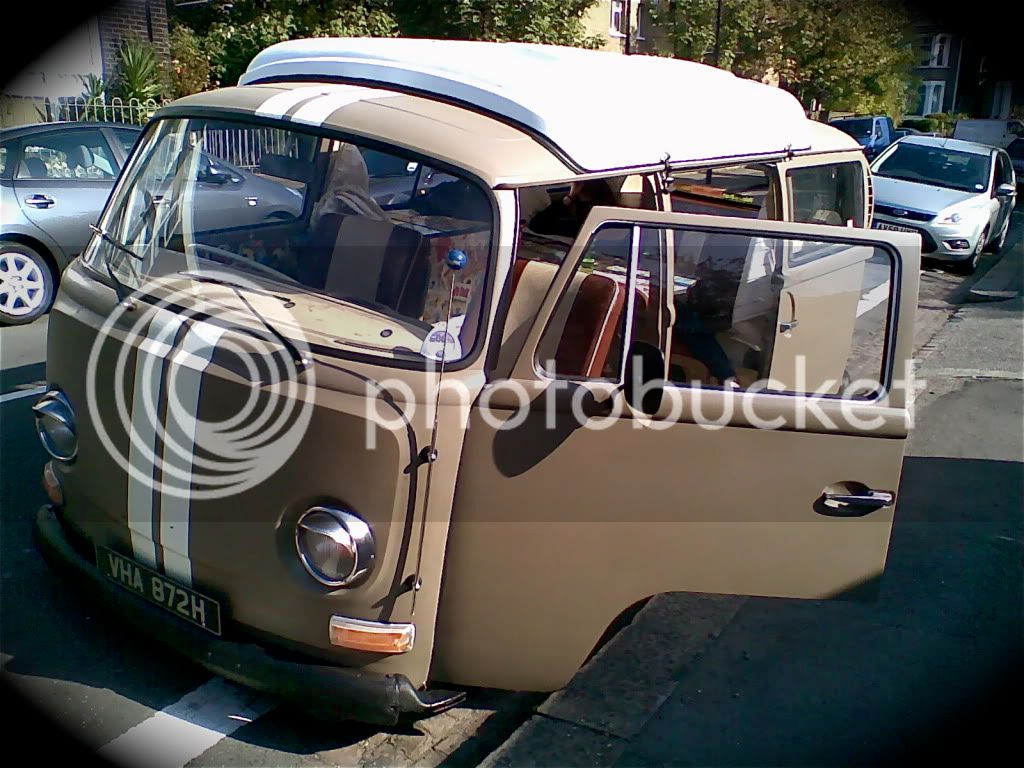
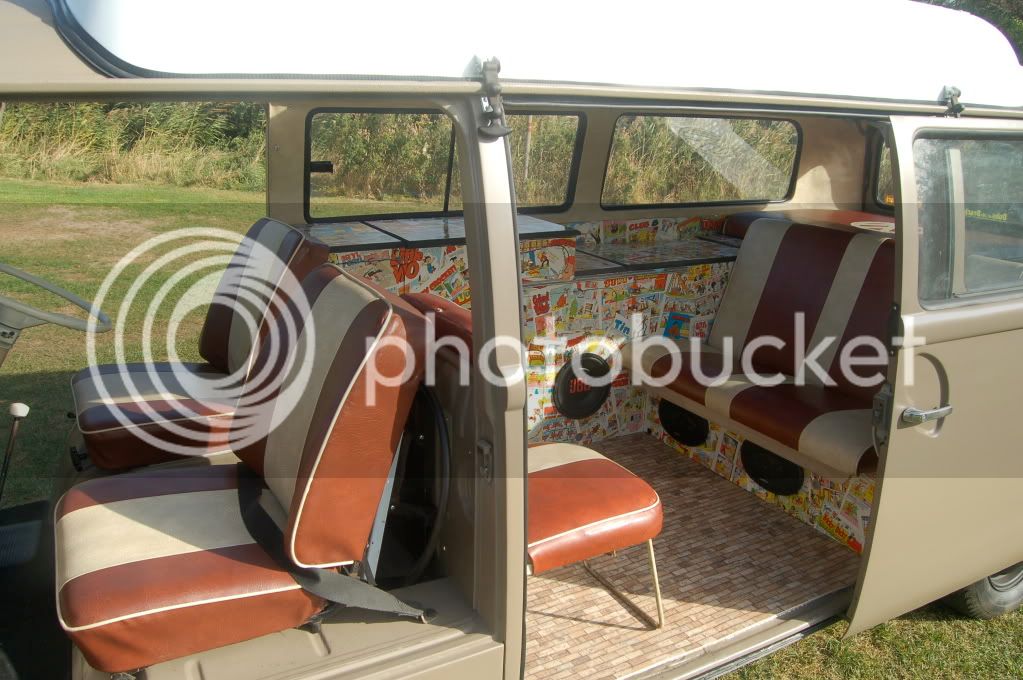
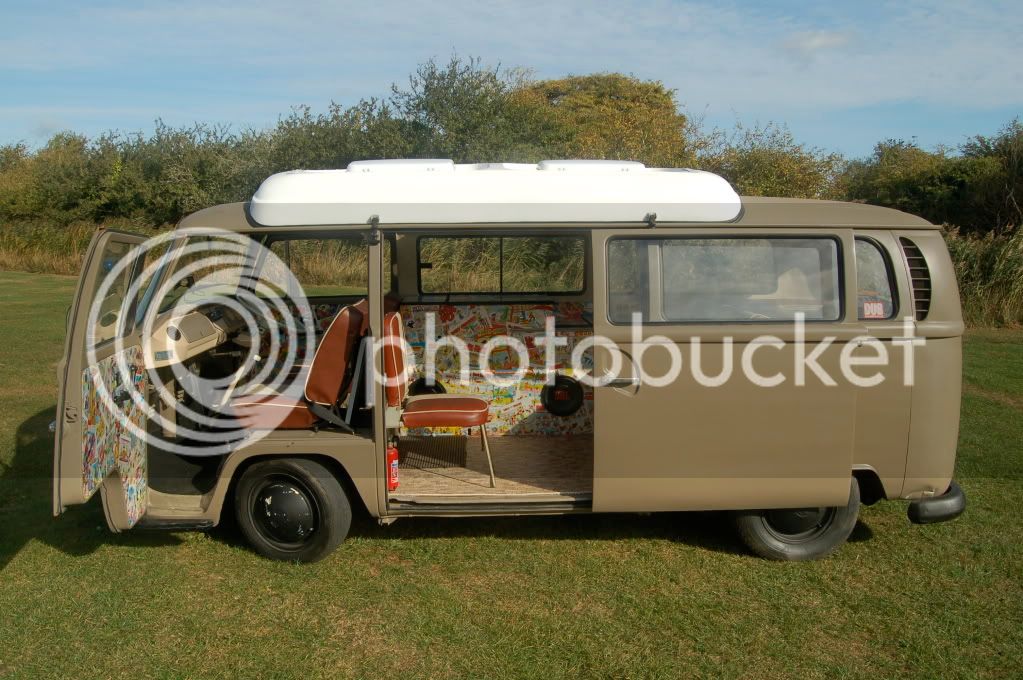
then on monday i did a few things to the bus and also started the cab door cards
76.jpg


and on tuesday i thought sod it, lets take it for an mot. so started her up down the drive and away and i kept thinking to myself what have i forgot as all i kept thinking was, will the handbrake hold, have i dont all the welding, are the tyres ok etc.

when i got there it went up on the ramps, making sure he didnt go to high
mot1.jpg


and back down
mot2.jpg


all is good, one advisory was the front steering had very slight play in so made a mental note :)

then onto the rolling road and the handbrake held the rear brakes were solid and onto the fronts

held perfectly but when exerting light pressure as if you were stopping slowly it was pulling to the left, so it failed on uneven brake balance on the front., which was ok as its was nothing to harsh.

so went home and went to work on the brakes, but couldnt suss it out as everytime i adjusted them it was the same story, so left it over night and had a think and wallah it came to me.

either a seized cylinder was cause the brakes to grab or some brake fluid had soaked into the pads and make them like superglue. so went back down to garage, this being 10:30pm and stripped the drums and 2 cylinders had partially seized and the pads looked a bit manky.

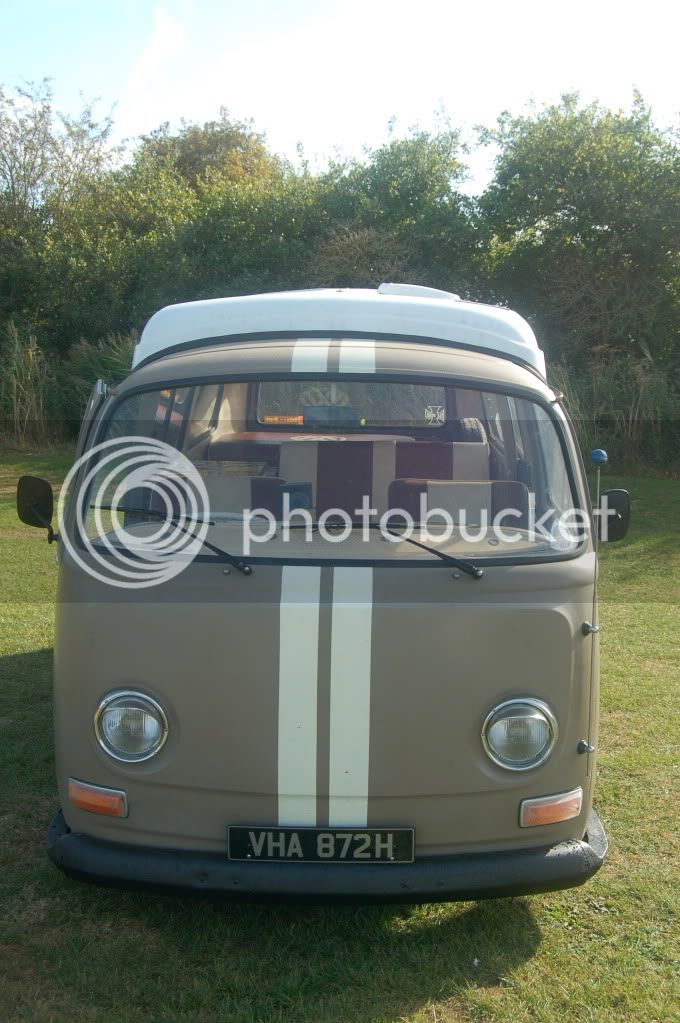
today i rang gsf first thing got 4 new cylinders and pads and gave the drums a major clean and low and behold it works, so rang mot station and got in back in before it could go wrong and i got a GREEN CERTIFICATE

WOOOOOOOOHOOOOOOOOOOOOOOOOOOOOOOOO :D
 
Well done! That's spurred me to getting my Dormie on the road again now (must get the wife to get back to work after maternity leave sooner...)
 
ok, since passing mot only had the van out the garage once, weather being crap and not really wanting to use it :oops:

anyway on the mot it had one advisory, slight play in steering, which i tracked down to the steering linkage pin so i thought id do that, done it before about an hours job, but not on this van.

I had to take the whole beam out due to the old bushes being seiezed into the top and bottom of the tube which means removing gearshift arm, handbrake cables, drag link etc

854.jpg


and the new pin kit ready to go in
853.jpg


and the kit installed
857.jpg


and the beam back in
858.jpg


i also decided to put new shoes on the rear brakes
859.jpg


the bus is still pulling to the right so i think im going to put new shoes on the front, but im not 100% sure yet if im going down the porsche route, or selling/swapping the bus
 
right, i decided to sort out the interior and get it looking a bit more fun as i was getting sick of wiping down the chalk paint :lol:

so i decided on more comics and im well impressed with how it looks

the lower seat panel covered in comics and then clear vinyl
77.jpg


main panel
78.jpg


the tops of the unit
79.jpg


80.jpg


and the front covered in vinyl and the speakers back in
81.jpg


and these are the cards finally put on the front doors which i made a while back, i might do the drivers door again as the sticky vinyl got seriously creased when applying as i let go of it whilst smoothing it on, other than that they look great
82.jpg


83.jpg


i have also finished the two panels at teh rear of the bus, ie spare wheel well and opposite side.

just got to cover the table ive made and then i might start on the new engine build and narrow beam. still slightly undecided on a porsche disc conversion
 
71dormy said:
what happend to this?anybody know? :roll:

I wonder if it sold, I am sure I have seen someone else showing it off...? If not one very very similar...
 
Benyon said:
71dormy said:
what happend to this?anybody know? :roll:

I wonder if it sold, I am sure I have seen someone else showing it off...? If not one very very similar...

I can tell you what happened.
I bought it and I love it!.

First VW van & very very happy. Just hanging out for the warmer weather.
 
have you got any recent pics of the bus?it is super nice and would like to see more pics of it now ;)
 
71dormy said:
have you got any recent pics of the bus?it is super nice and would like to see more pics of it now ;)

Cheers :D

I've been a bit slack with photos. Most of these were for the insurance.

Image052.jpg

DSC_0088.jpg

DSC_0047.jpg

DSC_0077.jpg

DSC_0078.jpg

DSC_0084.jpg


Haven't done much to it since the purchase, just shorter kyb front shocks and the new fusion ipod eating head unit. (great having all my music with me)

Few things on the list to do.
New pop top canvas from Concept Poptops - going for a red theme
paint the rims (red) and add the new chrome hubs.

Nothing else really needs doing to be honest but I'm sure there will be small additions here and there.

When things are done I'll post some new pics
 

Latest posts

Top