1970 Michigan Missile.

Early Bay Forum

Help Support Early Bay Forum:

This site may earn a commission from merchant affiliate links, including eBay, Amazon, and others.
*Sam* said:
ty2y3y4y.jpg

.
uqe5epyd.jpg

Really like the tan, this is the look i want to go for in mine too. Very nice. You trimmed the cards yourself, do you get the viynl already made up?

Cheers,

Alistair
 
Cheers mate we like it, I use http://www.cubeupholstery.co.uk" onclick="window.open(this.href);return false;
They are really well priced and nice people to deal with.
 
Nice interior, very smart!

I may have missed something on your thread, :? but when you replaced the fuel sender does your guage now work properly? Wasn't it before? Your painting looks good, tanks looks like new :)
 
Hi Mike, you haven't missed anything I was just ashamed to post the picture of my dash as it's so grotty :-~
The gauge wasn't working and I also needed to change the fire wall because the original had a hole cut in it for a heater.
I checked all the wiring and the gauge it's self and narrowed it down to the sender.
It now works a treat, all terminals were built up with Vaseline and new gaskets used.
I also replaced all fuel lines with R9 grade pipe.

The tank was just painted with rattle cans.
I'm a night mare for missing stuff out of my thread normally because I leave it so long before updating.
Cheers
Sam
 
*Sam* said:
Hi Mike, you haven't missed anything I was just ashamed to post the picture of my dash as it's so grotty :-~
The gauge wasn't working and I also needed to change the fire wall because the original had a hole cut in it for a heater.
I checked all the wiring and the gauge it's self and narrowed it down to the sender.
It now works a treat, all terminals were built up with Vaseline and new gaskets used.
I also replaced all fuel lines with R9 grade pipe.

The tank was just painted with rattle cans.
I'm a night mate for missing stuff out of my thread normally because I leave it so long before updating.
Cheers
Sam

I just wondered cause I've had a couple of vinos! Glad you've solved the problem, I asked because my gauge works but doesn't show the tank full; it's just above half when I fill it, and then shows empty when its half full! I'll get there eventually. I've also used the R9 grade fuel pipe. :)
 
I took my old unit apart when I took it out and it's just a plastic float that slides up and down some fine wire, perhaps your can't move freely or the float has something in it so it weighs to much to read full and due to its weight it reads empty early.

I did have the same problem you describe with my old 62 bug, after changing the sender it turned out to be the gauge on that occasion.
 
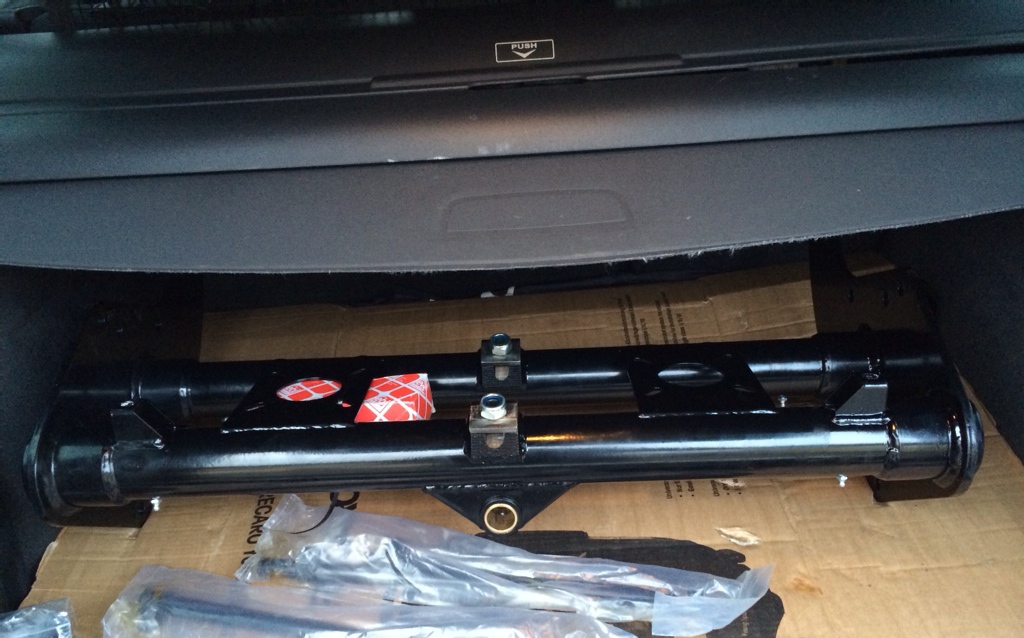
I popped to T2D yesterday and collected some parts, I also left my lower arms with Paul to have a small modification made to them to improve the lift given by the Air shocks that I will also be fitting.

I have had the air ride kit for a few months now but have been waiting until I have my beam fitted.

upa2adep.jpg


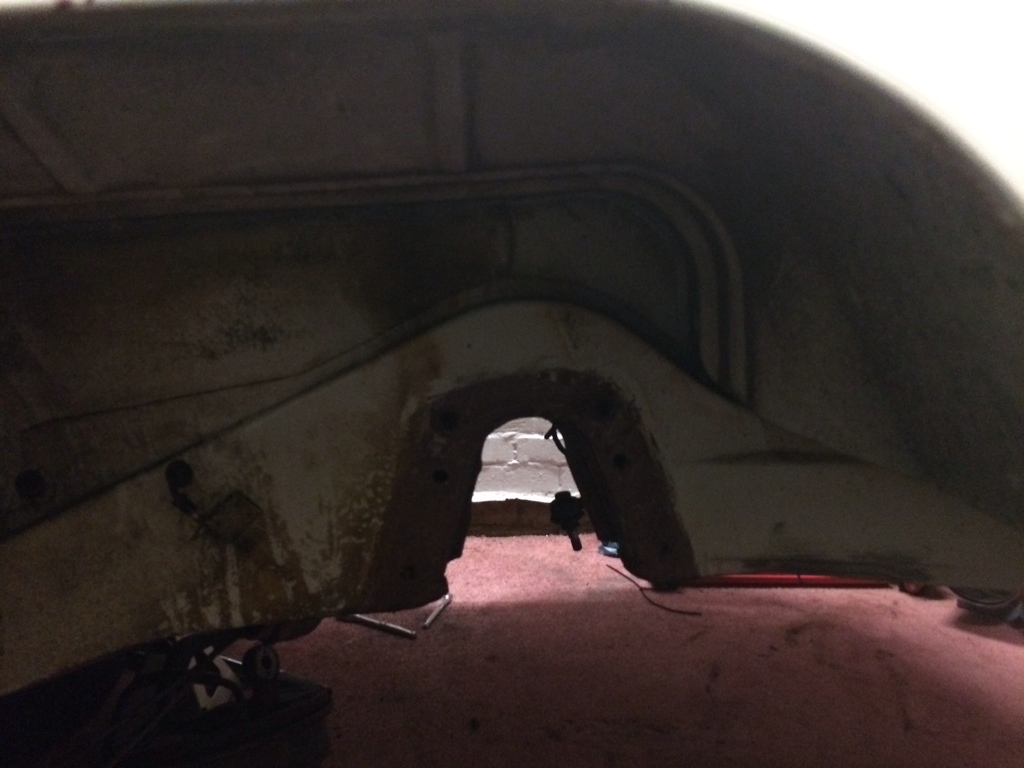
I also cleaned down the inner arch (although you wouldn't think I had) and applied copper slip to the face of the chassis where the beam will sit.

aqe6utud.jpg


Just got to wait for a helper to lift the beam and bolt it in.
 
Completing a few jobs whilst I wait for the helper

A dash of primer
8ehyqu3a.jpg


And then some colour
yqypyba6.jpg


Just some clear coat to go !
 
Cheers Ben that's very kind of you.
I take Inspiration from builds like yours and Mychas'.
 
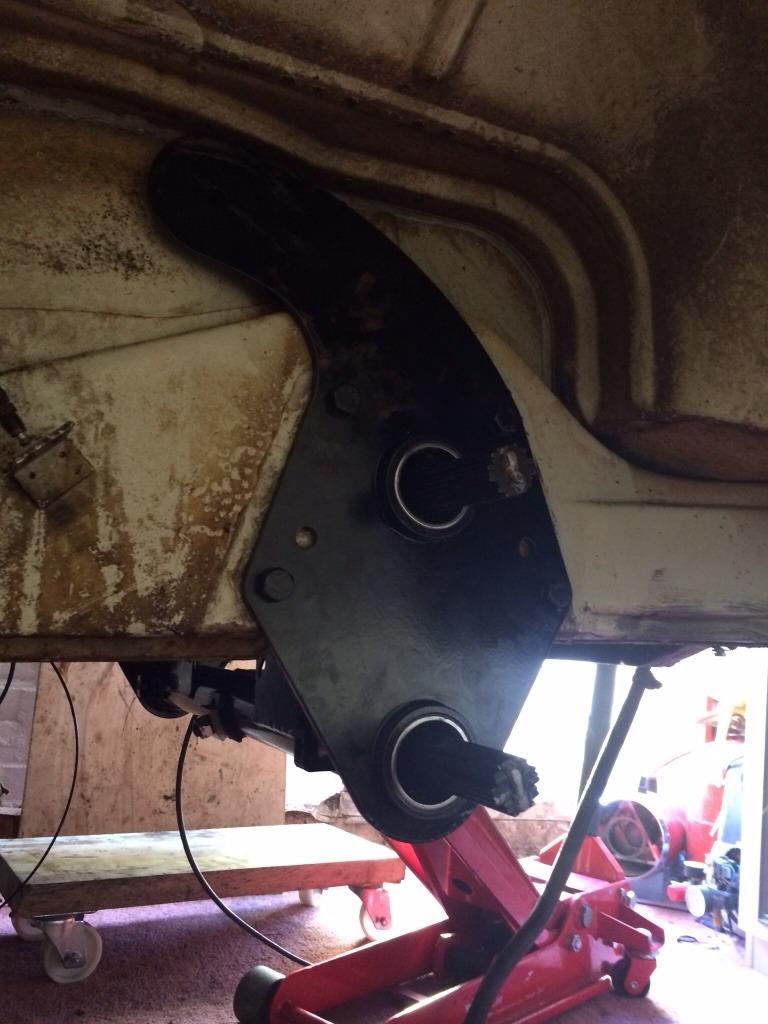
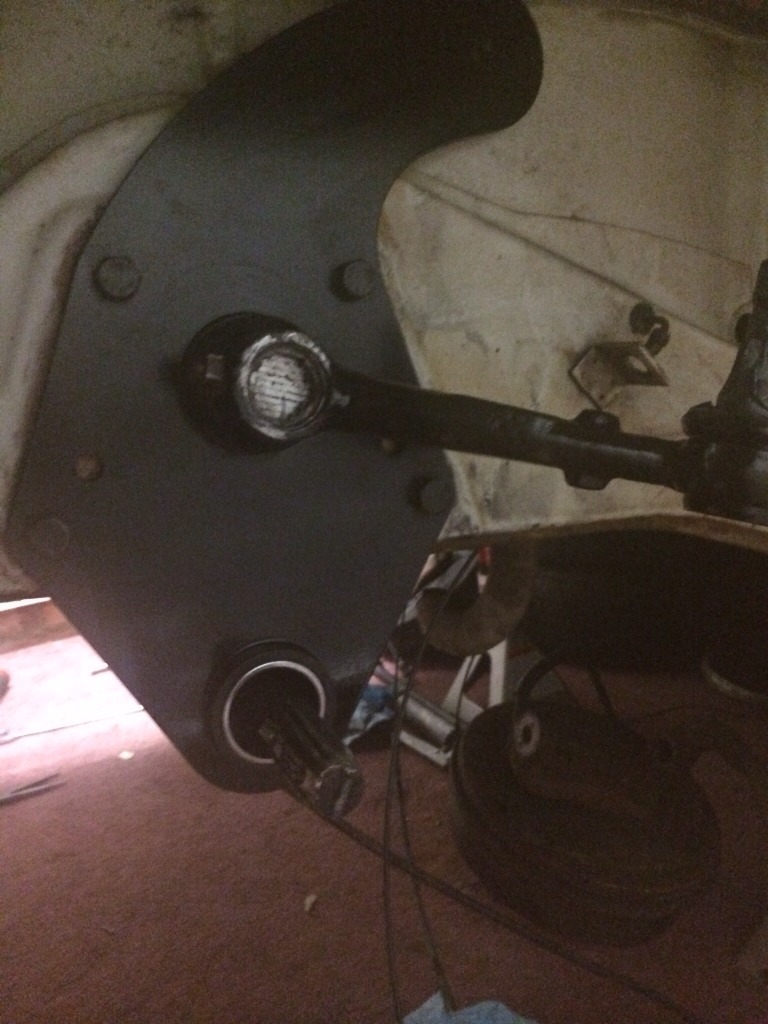
Started to build the beam up today and then bolted on to the van with the help of my dad.
y2atu8av.jpg


e4yry8a4.jpg


hy2ynaru.jpg


I only had a few hours and ran out of time at this point.
 
I'm only down the road from you mate feel free to pop in and have a nose at it, the kettle is always on
 
Well in between working night shifts and fatherly duties I have fitted in some bus time.

My dad helped fit the beam as it was never going in on my own due to the weight and manipulation needed
a4uqy5y9.jpg


I wish I had cleaned the arches better but it was really stubborn stuff.

Top leaves cut to size
haju6usu.jpg


I have touching up to do now but will do this when I refit the end caps.

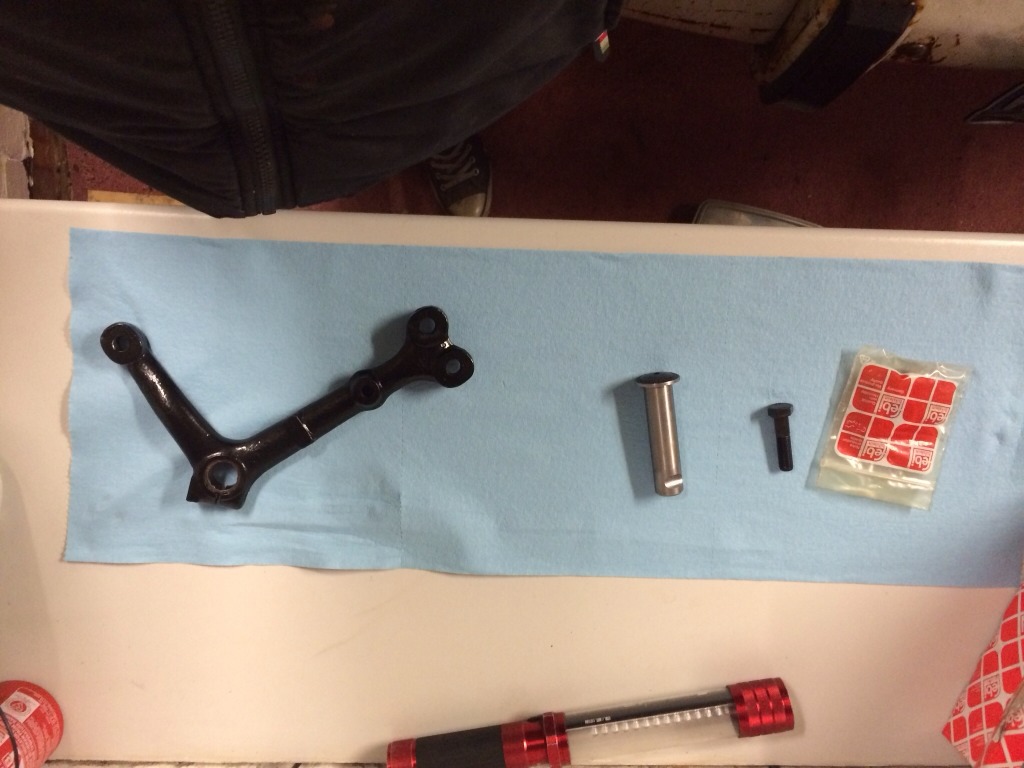
Next up was the new idler pin and the refurbished relay arm
u7aqyvah.jpg


I had already fitted a new drag link so that ties up that side of steering.

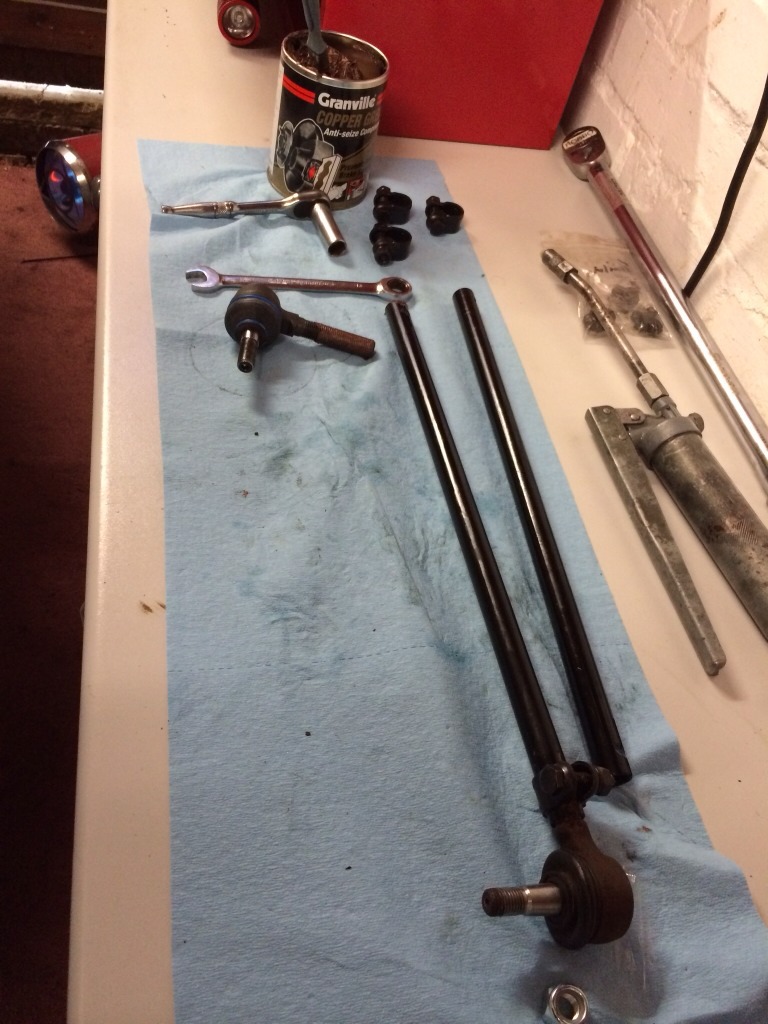
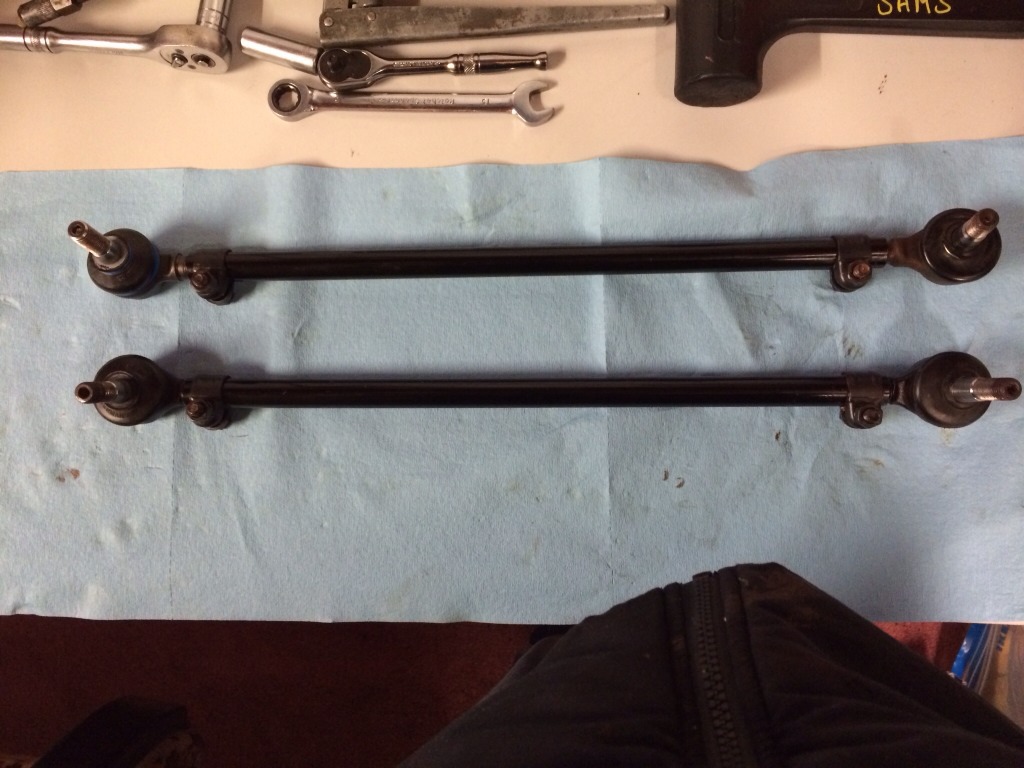
Next I built up the new shorter track rods
4yby7ebu.jpg


yhajy7am.jpg
 
The shifter plate was a bit grotty so cleaned it and gave it a lick of paint. I know it won't be seen but I will know it done ;)

eberave5.jpg
 

Latest posts

Top