1970 Michigan Missile.

Early Bay Forum

Help Support Early Bay Forum:

This site may earn a commission from merchant affiliate links, including eBay, Amazon, and others.
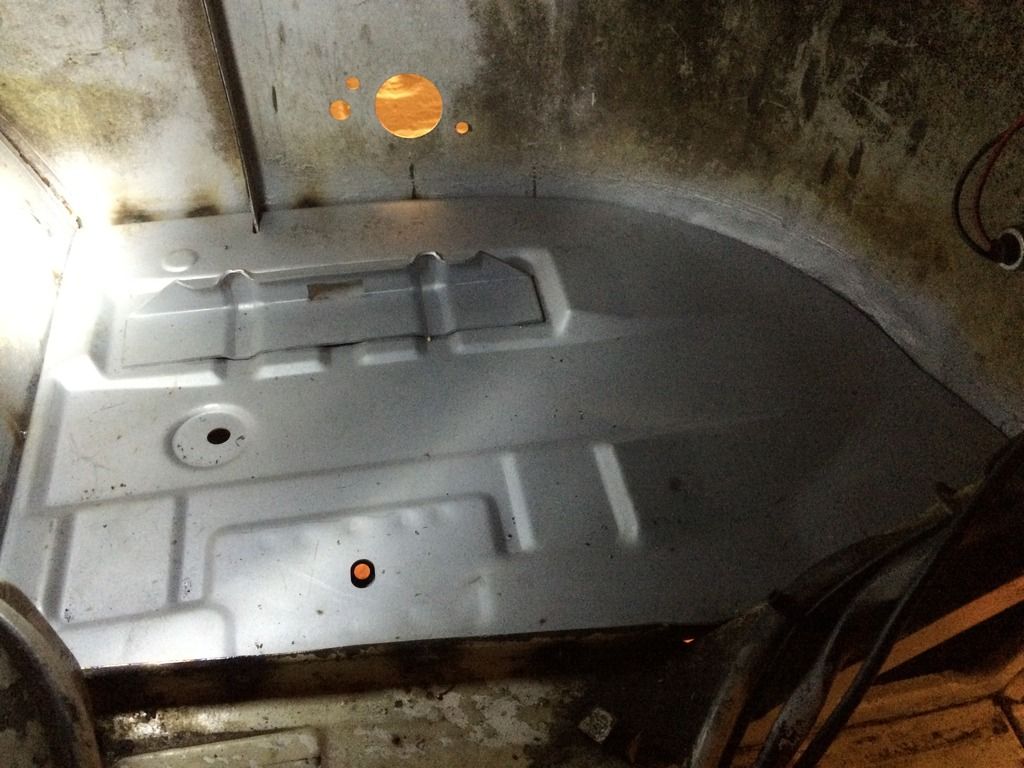
Decided to buy a Mig welder and give replacing the battery tray a go, prior to this I had only made a few brackets and that was over 10 years ago so the learning curve was steep but some great advice from Stu at Midland Paint Werks and watching lots of tutorials on line.


And then after some paint


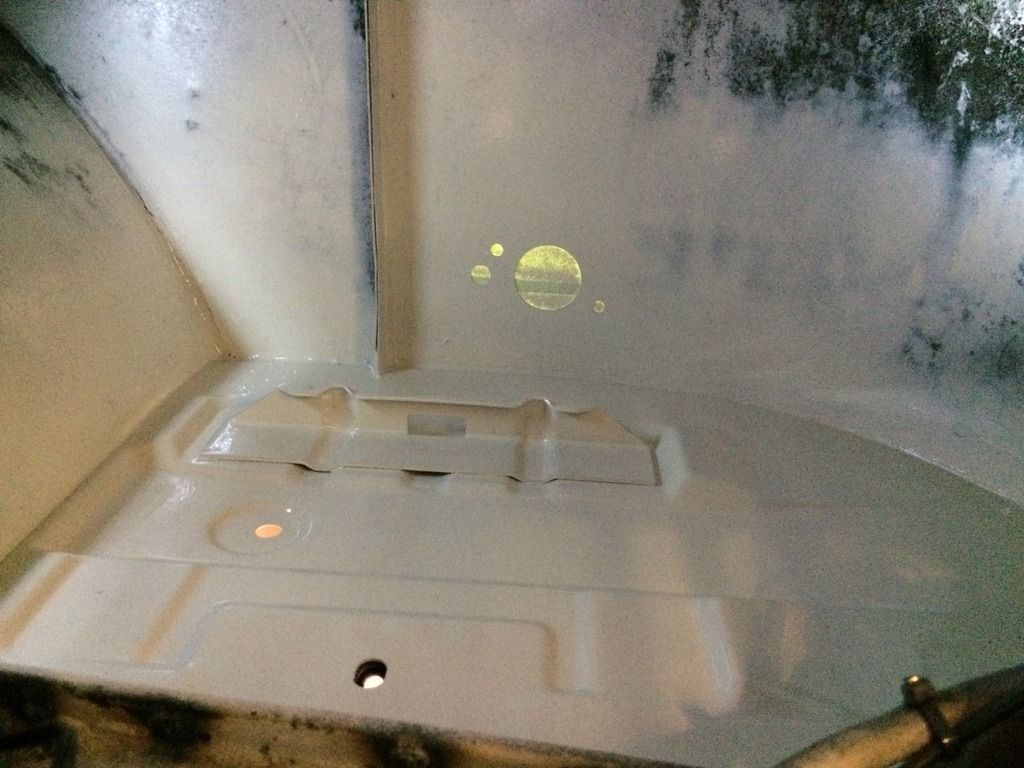
In the future I want to get the bus into Midland paintwerks which is why I have only painted the tray rather than the whole corner and engine bay.
 
Some more progress.
With the help of people from this forum I have gathered up a full set of OG tin, I then had it planted and powder coated.
Note the dog house shroud and cooler. My engine block is a Mexican AS case which someone in state had already upgraded to aground on.
This is some of tin.

Over a few weeks I dry built it all up and checked it fitted nice.


I decided to loose the button head tin screws for M6 CSK with anodised black cup washers.
Up grade to an M8 cap head on the alternator clamp


I also upgraded my beetle heat exchangers so that they could be used by removing the sleeve and operating arm and swapping them left to right, I didn't take any pictures of Thai but essentially you just in pick the case of the heat exchanger and drill the spot weld out of the control units where they join the van and pull them out.

Engine back on the floor ready for re-fit.
 
Onwards with the build.
I had the gearbox rebuilt but managed to buy a box with wrong bell housing on so a quick change of that ment we were ready to fit it, I didn't need to change the input shaft as someone had already done this.


And then all back in hooray !!!!
And a moody shot with light my 3 year old helped me wire up,. It amazes me what he can do.
 
Hi George I have ran it up and down my close but that's it.
I need to rebuild the carb tho so probably won't put any great deal of miles on it for another month.
 
Onwards up wards .... Literally, I have removed the wooden roof lining and ran the Power cables to fit a nice 80s CB.
The CB was my wife's when she was a child, she recalls great memory of chatting with her friends.


While I had the relevant trim panels off I ran some cables to add some speakers in the overhead locker.
 
I finished the CB install this evening.
My dad came over last Wednesday and we cracked on with it.
I had to do some research about my aerial because we couldn't get the SWR readings below 3 on Chanel 20.
So whilst hunting for no more than 1.5 on Chanel 1 and 2.5 on Chanel 40 we set about cutting the whip down. We took 35mm off in total and it got us in the range we wanted.
We then spent the next hour listening to some strange conversations and drinking tea!!! Thoroughly enjoy working with my dad on these projects.
If anyone should want to know the set up is as follows.
Uniden 100 CB
Sirio Omega 27 aerial
I have mounted the aerial in the rear portion of the roof in the centre as it had already been drilled in America and a CB aerial fitted.
 
Yesterday I started the installation of the new compressors and air tank.
I'm still a bit unsure of mounting the tank under the bed but my options are limited as I want access to the connection/drain tap, without air in my shocks I can't get under the bus to the middle.
 
Cheers Mycha, I really wish I wasn't using up the storage space under the bed but I can't bring myself to cut the floor above the belly pan etc.
 
*Sam* said:
Cheers Mycha, I really wish I wasn't using up the storage space under the bed but I can't bring myself to cut the floor above the belly pan etc.

I’m thinking of using this tank! It’s 10cm high so will fit next to the central heating pipe under the bus 8)
Now i’ve a 9Liter tank in the bellypan but with the bags and the ridetech airshocks i need more air back-up :lol:

37" L x 4" W x 4” D

http://www.onlychargeddubs.co.uk/products/avs-skinny-anodized-aluminum-2-gallon-tank.html
 
That's a long old tank ! But looks good, how will you get to the drain tap though ?
 
Spent a few hours on the bus this evening.
Firstly I fitted some gaskets for the heat riser closing tins, thanks to Darius for picking them up and posting them to me.


Then I turned my attention to the paddle switches This isn't the finished article, but well on its way, I would like to spring hinge the ash tray face so that it looks stock but need to find a sprung hinge first.
 
Looking good! Wonder if you could use the mech from a "soft eject" tape player, or some modern vws have smooth return grab handles, maybe parts could be modified?

You can get push to click, push to open magnetic catches for cupboard doors, maybe B + Q would have a little thing you could mod?

Cheers,

Alistair
 
A few more bit done.
Mounted the twins needle gauges


I now needed to mount the manifold block.
I don't like to drill holes in my bus if I can help it so I decided to use a hole that was already there, I opened this up to except a M6 Riv nut


M6 CSK and cup washer used to secure it


Next u was the pipe runs to the switches.


Latest posts

Top