1970 San Francisco westfalia resto

Early Bay Forum

Help Support Early Bay Forum:

This site may earn a commission from merchant affiliate links, including eBay, Amazon, and others.


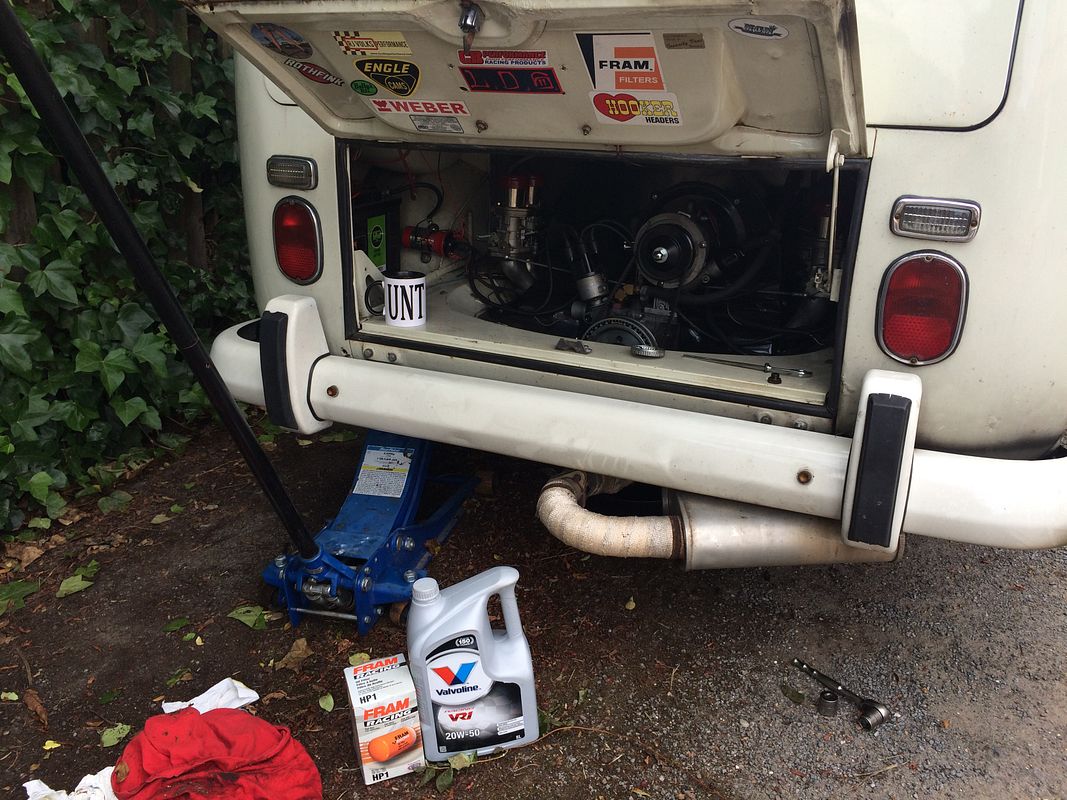
Bus got a service today, new Valvoline 20/50 VR1 and a Fram HP1 filter. Also checked the valve lash and went through the carbs. Took it out for a rip too, coming off roundabouts sideways never gets boring :mrgreen:
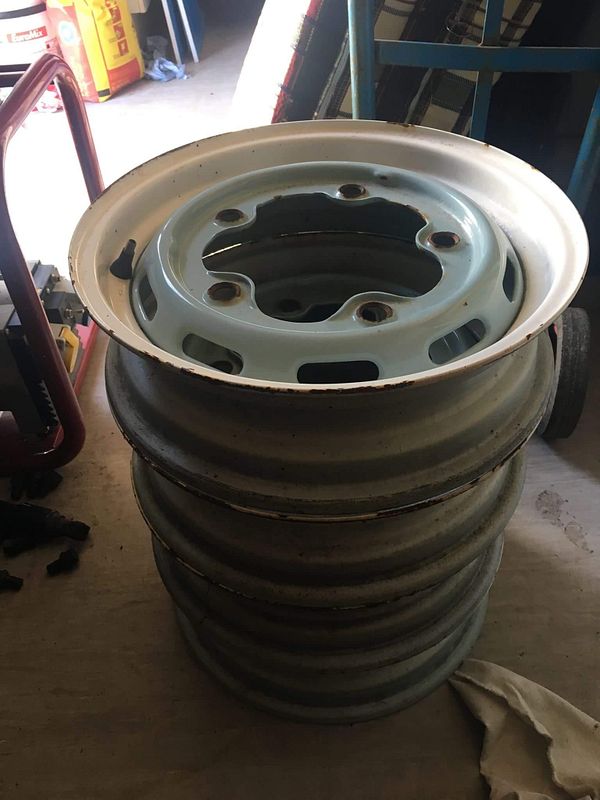


Also attained some new rims from Mr Sparkywig, these will be powder coated gloss black and be banded to 6" for the rears
 
CornishSilver said:
Nice bus K@rlos and love the mug, lol. What are the rims?

Thanks mate, poor old thing needs a bit of tlc over the winter though :( Yeah I put that there to see how many people noticed :lol:

Wheels are 1966 beetle 15" steels
 
Great thread. :popcorn:

Bloody hate having to fix other peoples fuckups! Our bus has been riddled with them. Looking good though!
 
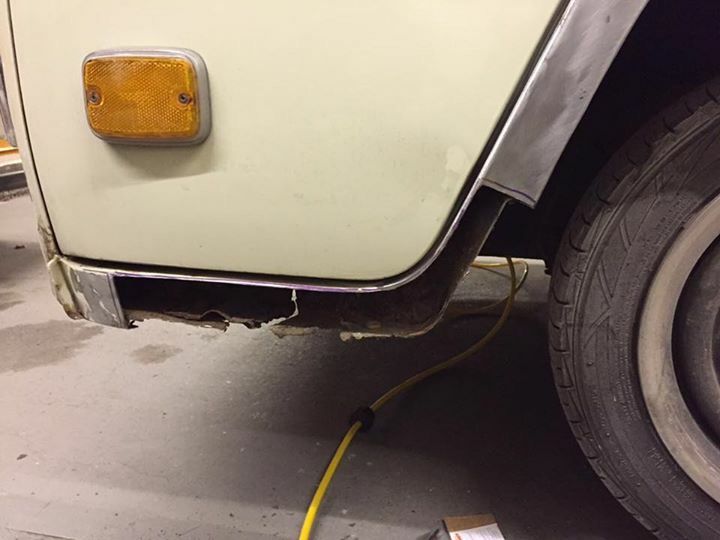
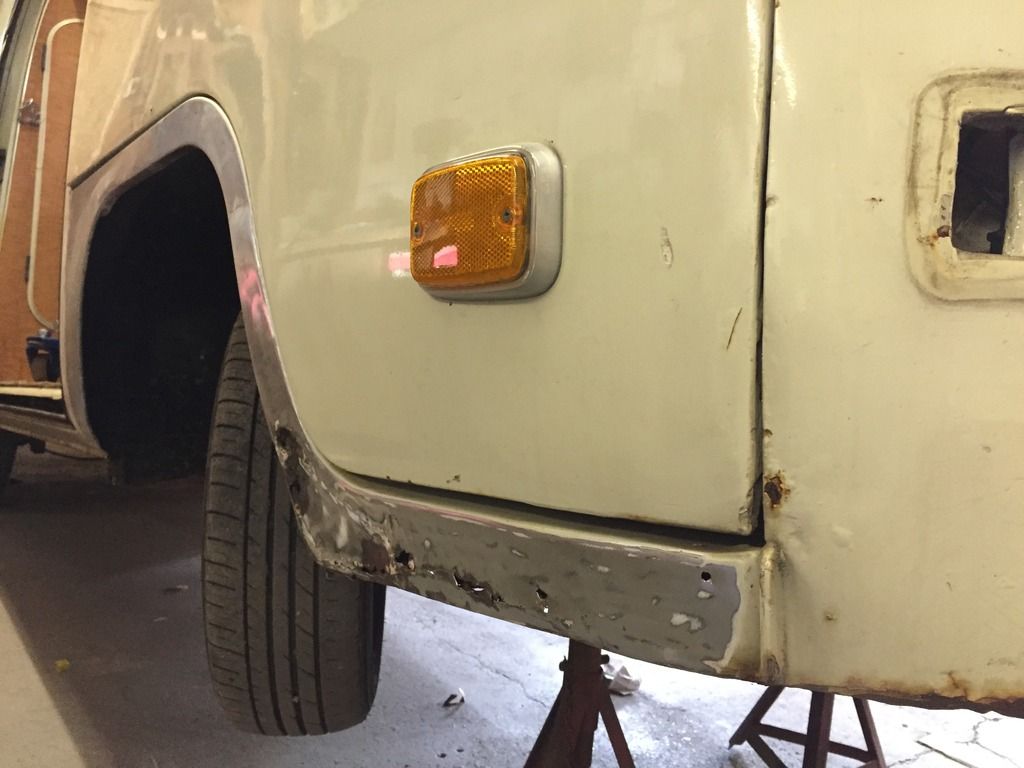
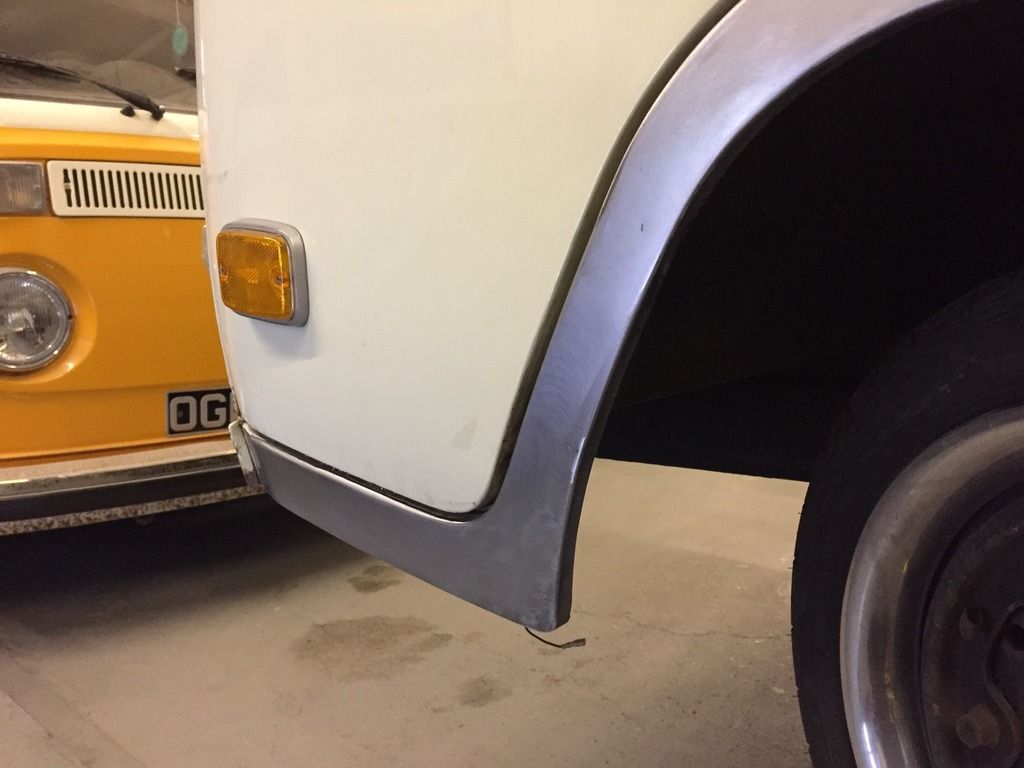
So busy week coming up for the bus... mot on Wednesday then into the body shop Saturday morning. It's gonna get bottom 8" at the front, new cab floor, new front aches, both doors repaired and the tail repaired also. Mainly though Richard (who recently left Deluxe metal works to go on his own) has suggested we paint the bus from roof gutters down so it's not all patchy with repairs that have been blown in which sounds good to me. While that's all happening the 2110 stroker is coming out and going over to my mate Hector who built it for a check up, although it's bullet proof and still goes like shit of a stick it's done 30,000 odd miles many of them hard miles lol so it worth just having a look inside to prevent any major failures later on. Once back from there it's getting fully stonechiped and reassembled in my new workshop near home :mrgreen:
Once all back together maybe it will be time to move it along and get something else? :idea:


Brought another set of wheels and moved the bug steels on. Chrome 15" 356 steels, 4.5 & 5.5 8)

Parts starting to pile up much to my ladies despleasure...
Cv boot kits
Steering idle pin rebuild kit
New hard brake lines
New Gas-adjust front shocks
Bugpack rear coilovers
New rear wheel bearings
Door scrapers and seals
Westy window seals
New quarter light latches
Replacement og engine lid
New engine lid hinges
3.5 litre deep sump
And a shit load of tetrosyl stone chip

Also converting the rear lights to led elements as well as stripping all the running gear down to get it all powder coated :D
 
Any info on the rear light upgrade would be very welcome as that's on my to do list. Was thinking about swapping bulbs to led ones myself
 
Well it's in the body shop now


While it's in there the motor is getting a full tear down and inspection

 
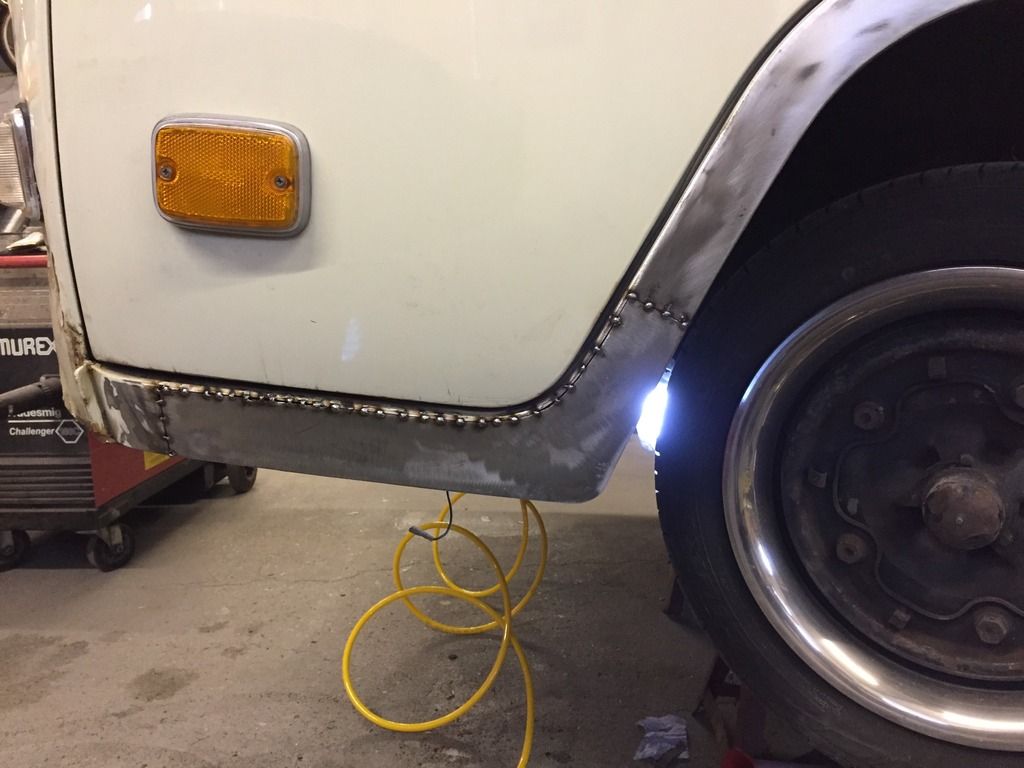
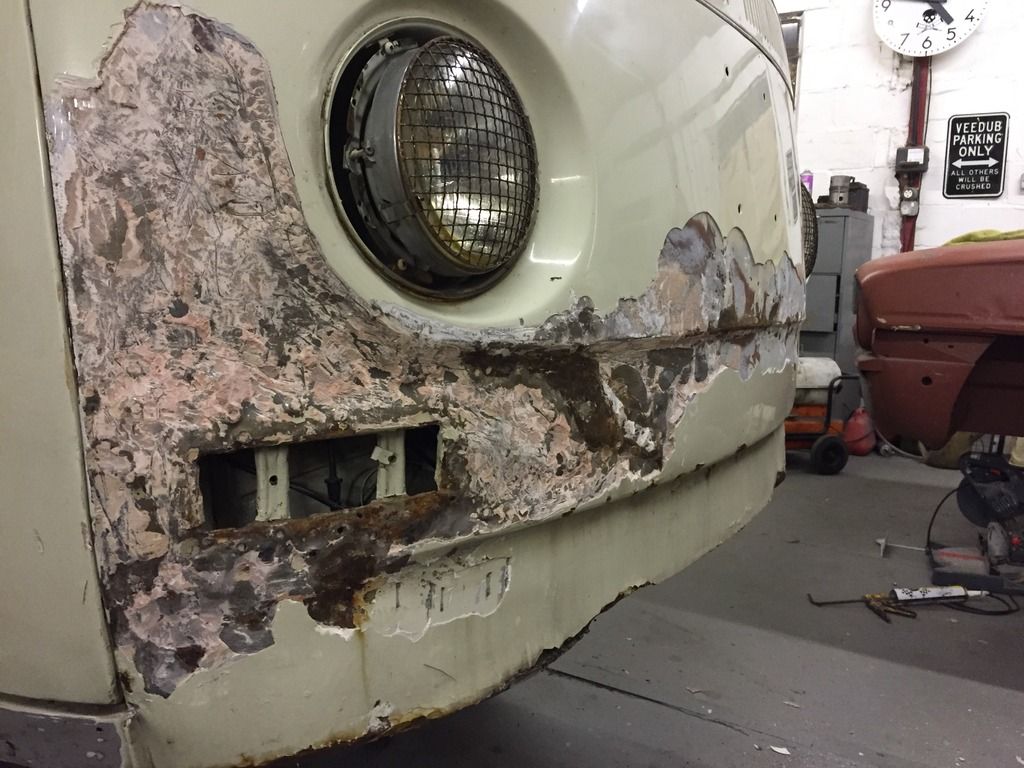
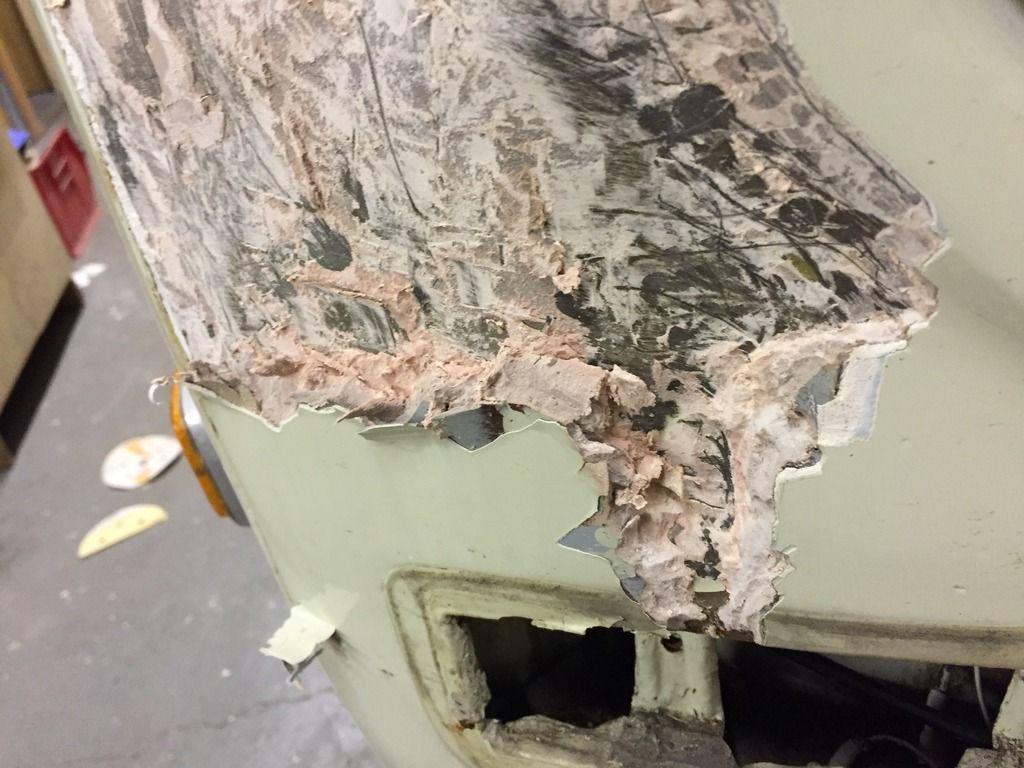
Richard has been busy...


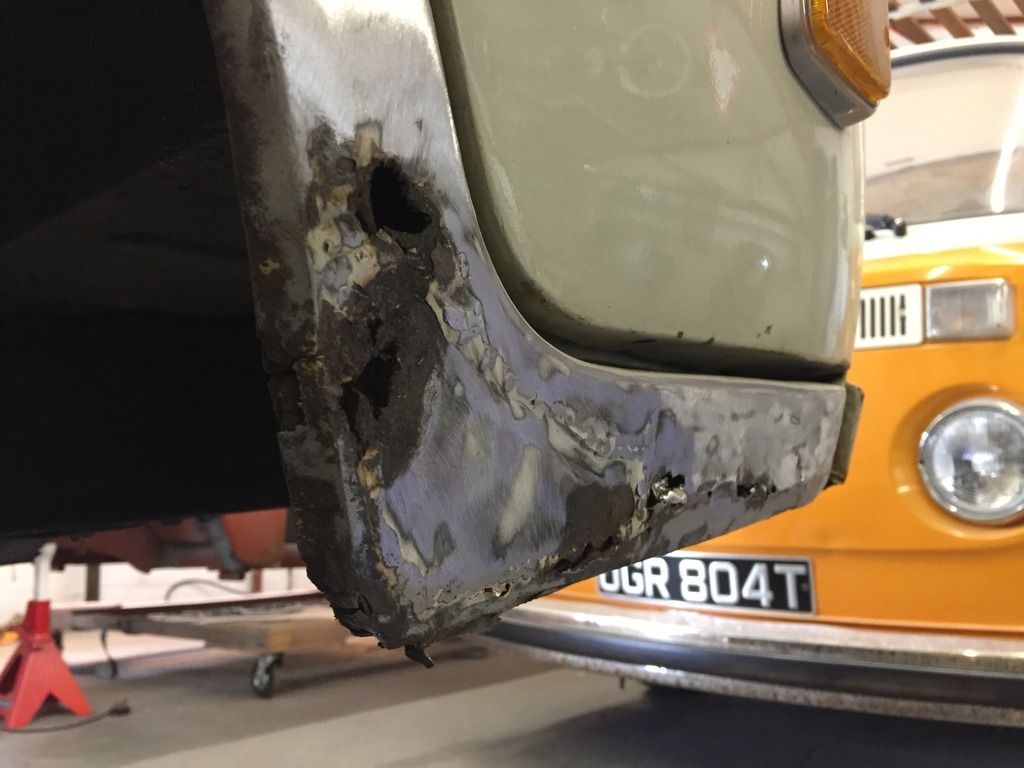
But has found more bodges :evil:


But at least it's being done properly and getting a full respray :mrgreen:
 
Just a heads up: Due to various reasons this will be for sale once the restoration is complete. As you can see all the metal work is being done to the highest standard, price will vary depending on deal, will be cheaper without the stroker motor and even cheaper without the pro street box & race shafts. Can source a 1600 & stock box too.... so if interested with a stock set up message me before i refit it all.
 
Amount of filler reminds me when I started to dismantle mine :(

For sale also eh :shock:
 
I finished work yesterday till the 3rd so literally every spare hour I have will be spent working on the bus :roll:

The most rusty bits are now fixed but the next big job is straighning out the front panel :shock:
 
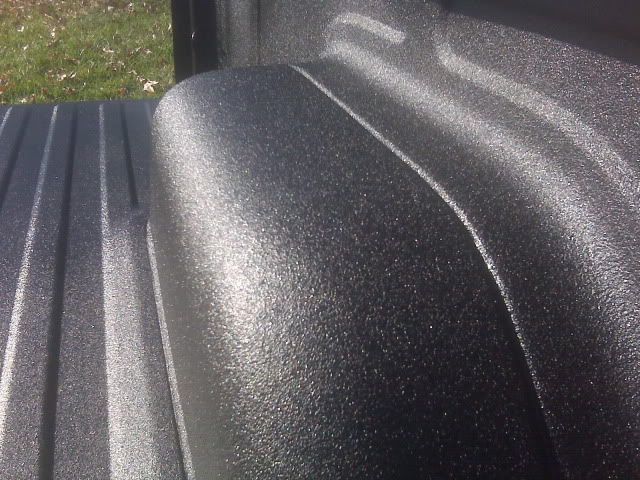
Richard has suggested to me we do the under neath with U-pol Raptor truck bed liner. I've done a bit of reasearch and that is some tough shit! As the name suggests it's a rust preventing coating used for the beds of pick up trucks, seems you can hit it with a pick axe and it barely marks it. So I think it will be a wise choice. Also it's over paintable :mrgreen:


Looks lovely once it's set too

 
Having seen this applied to the underside of a floor in a whole building, I can confirm that its an amazing product. My only worry would be longer term. I wonder what it would be like if you had to cut out a section of metal and repair it etc. I would be concerned about a whole load of other unforeseen issues, once its on, its on but at some point you may want to remove an area of it and that would be the problem, anything its applied to is permanent. Could be wrong but I can see the sense in being amazed by its properties. If I had a flat bed I would definitely use it!
 
Robcod said:
Having seen this applied to the underside of a floor in a whole building, I can confirm that its an amazing product. My only worry would be longer term. I wonder what it would be like if you had to cut out a section of metal and repair it etc. I would be concerned about a whole load of other unforeseen issues, once its on, its on but at some point you may want to remove an area of it and that would be the problem, anything its applied to is permanent. Could be wrong but I can see the sense in being amazed by its properties. If I had a flat bed I would definitely use it!


Cheers for the feedback. I can see your concern but with the amount of work that's going into this I shouldn't have to do any more metal work. But I'm sure there is a way to remove it, someone must have done it
 

Latest posts

Top