1970's pop top resto (oooodles of pics)

Early Bay Forum

Help Support Early Bay Forum:

This site may earn a commission from merchant affiliate links, including eBay, Amazon, and others.

Blacksack

Active member
Joined
Nov 28, 2010
Messages
29
Reaction score
0
Location
Manchester innit arr kid etc etc
well hello everyone
incase you hadn't guessed i'm a new member so i figured the best way of getting aquainted with everyone would be to put up a massive post about my latest project and see if i couldnt crash out a few computers as they tried to process all the pics ;)

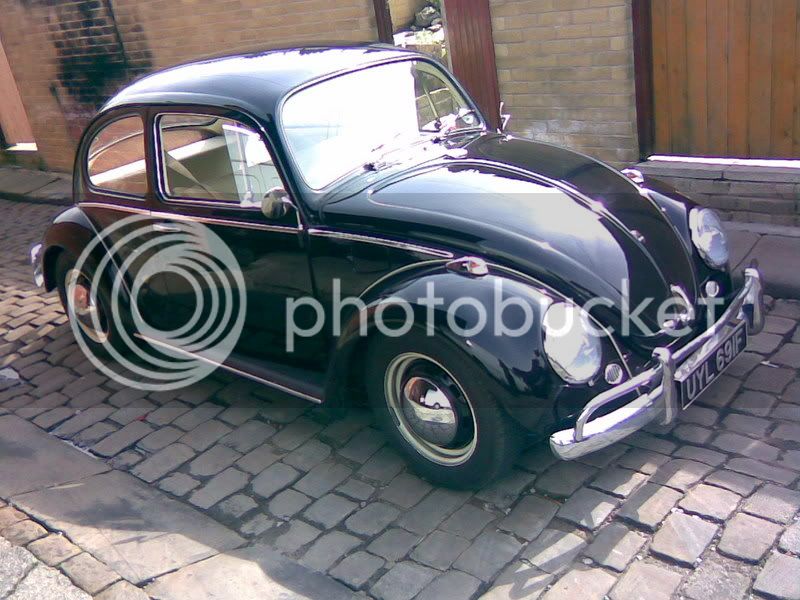
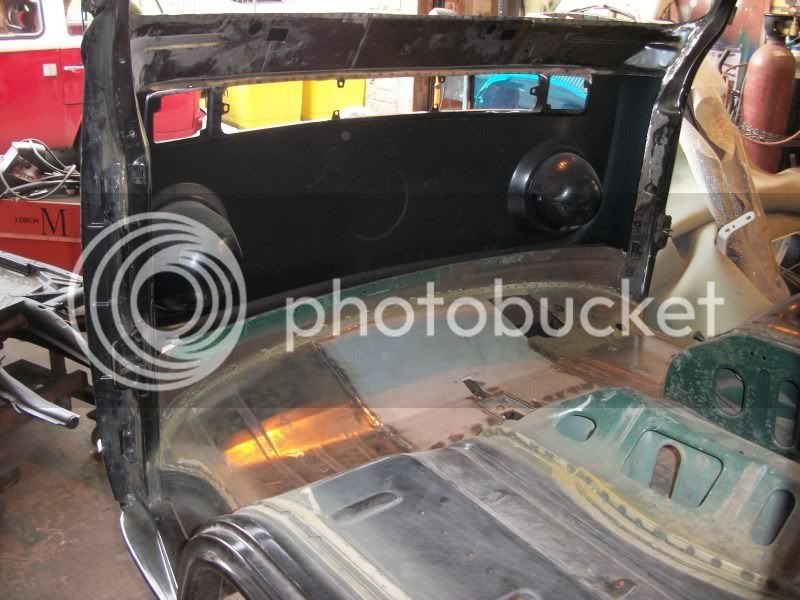
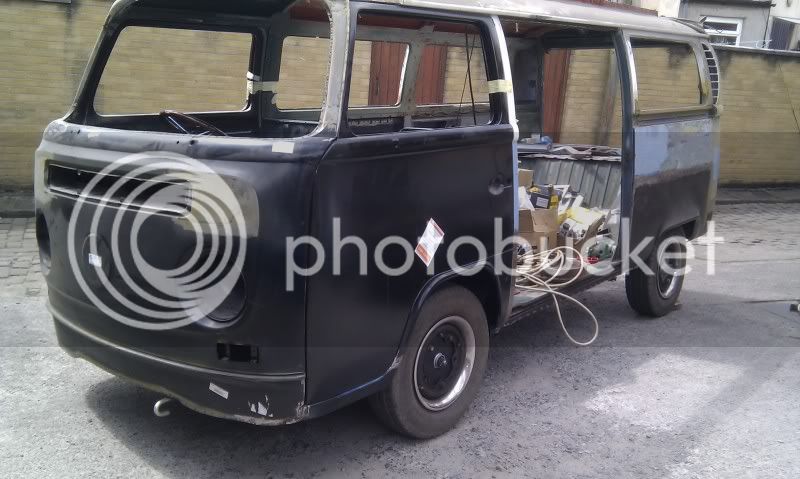
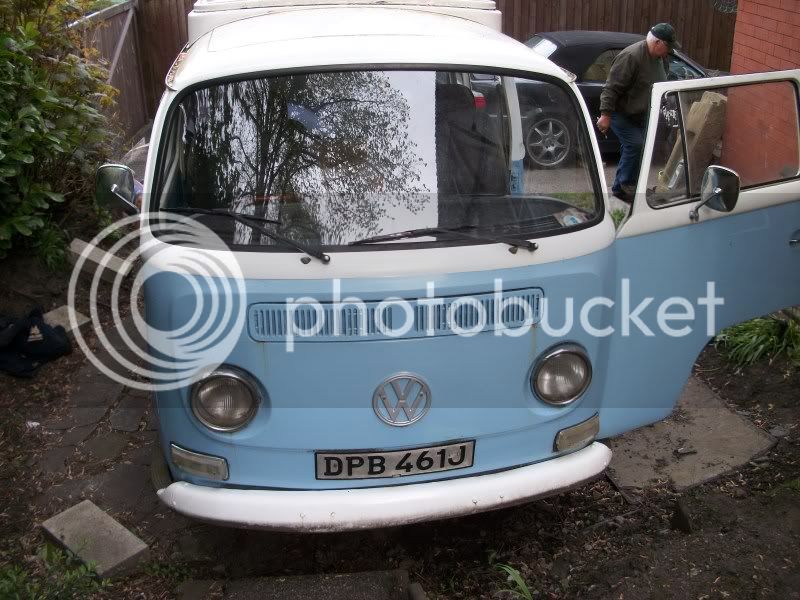
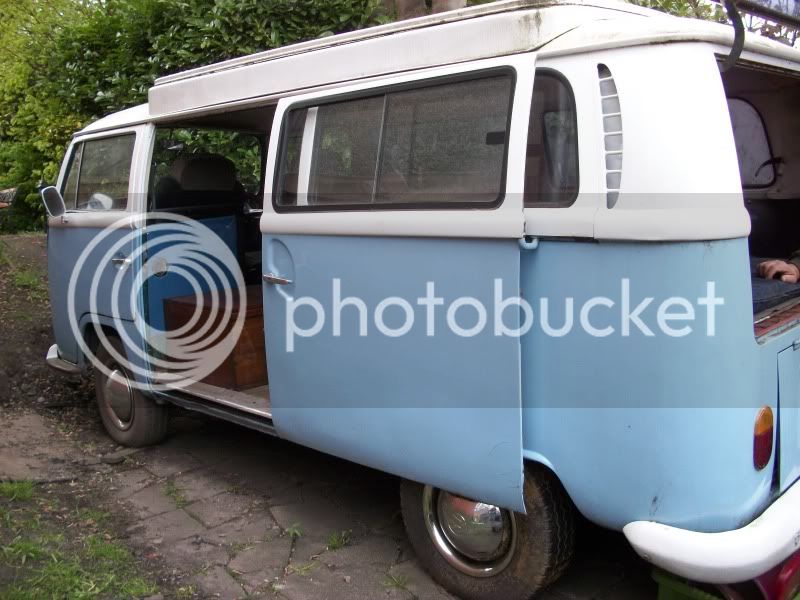
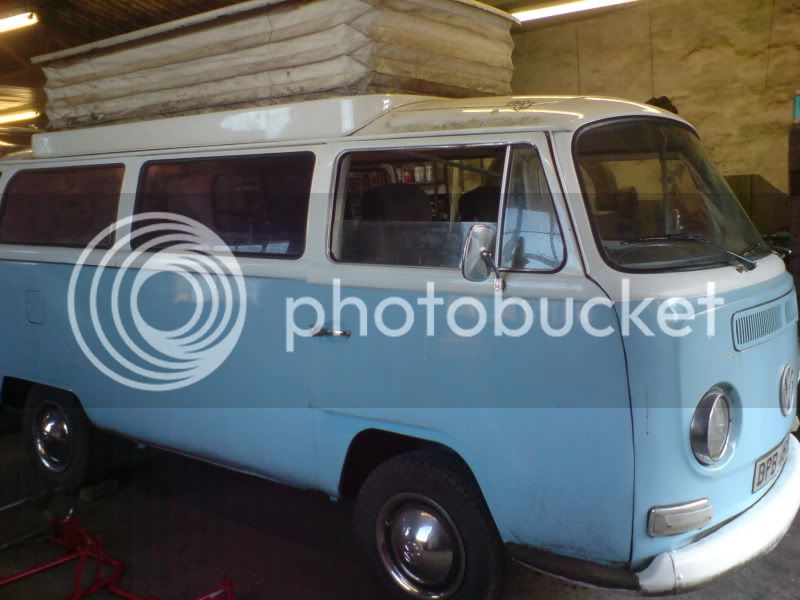
this is my early bay and the resto so far

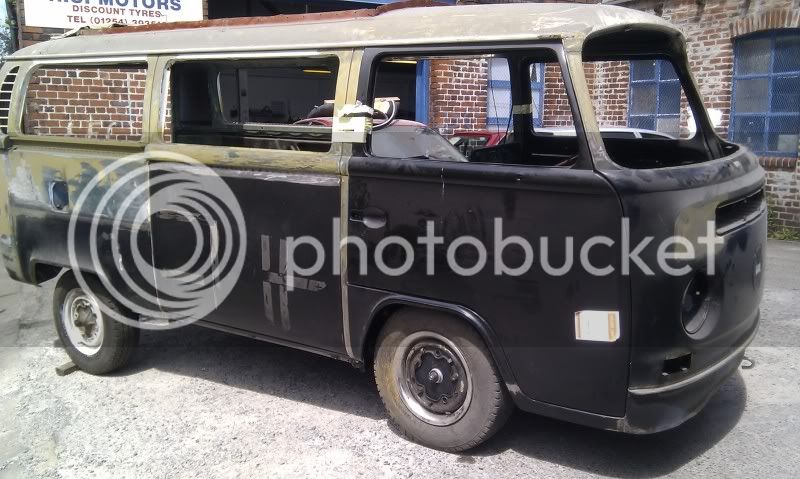
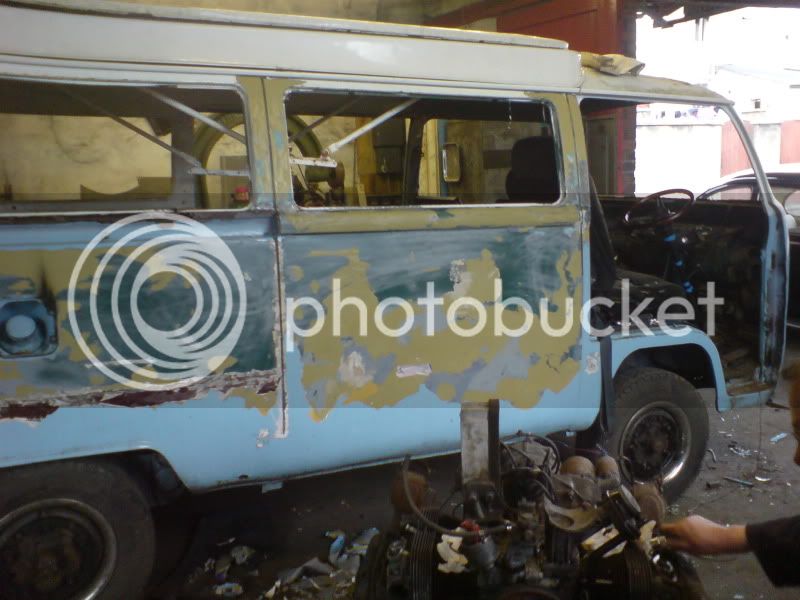
it actually drove in to the garage!

000_0005.jpg

000_0004-1.jpg

000_0003-1.jpg

000_0002-1.jpg

000_0001-1.jpg

DSC02731.jpg

DSC02730.jpg


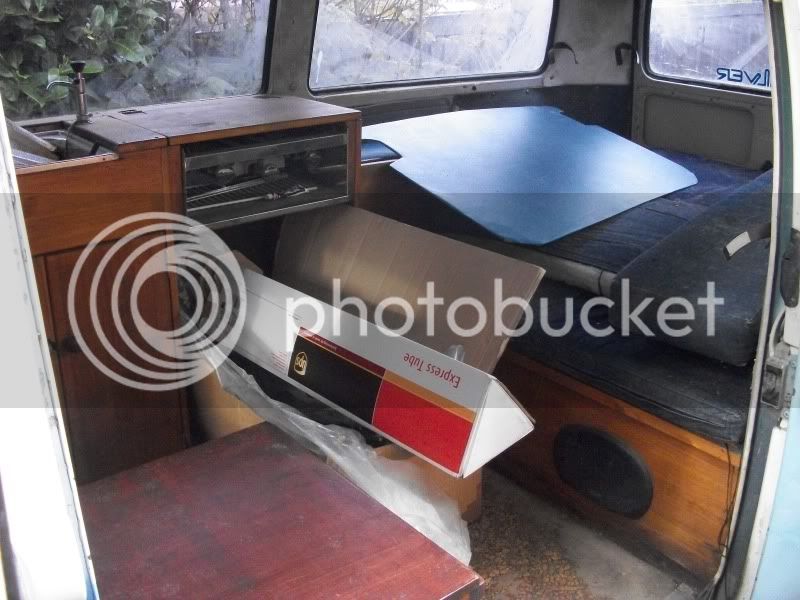
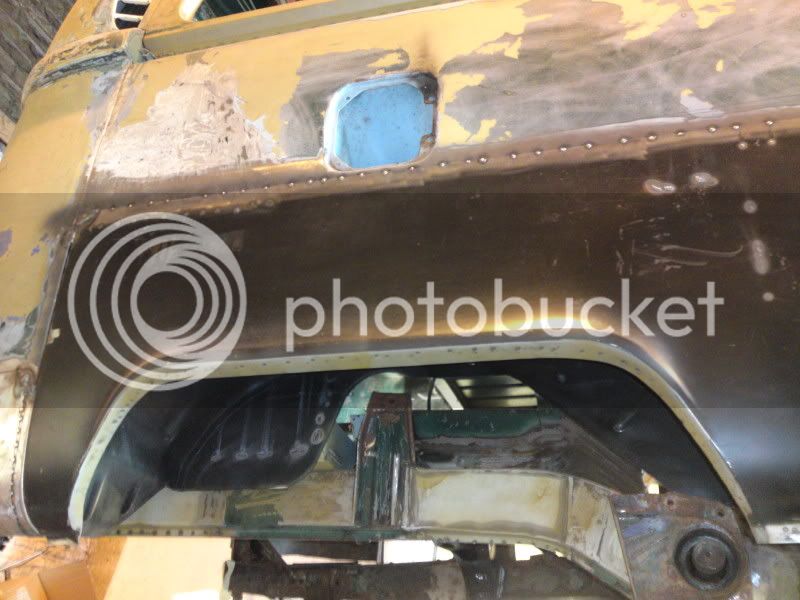
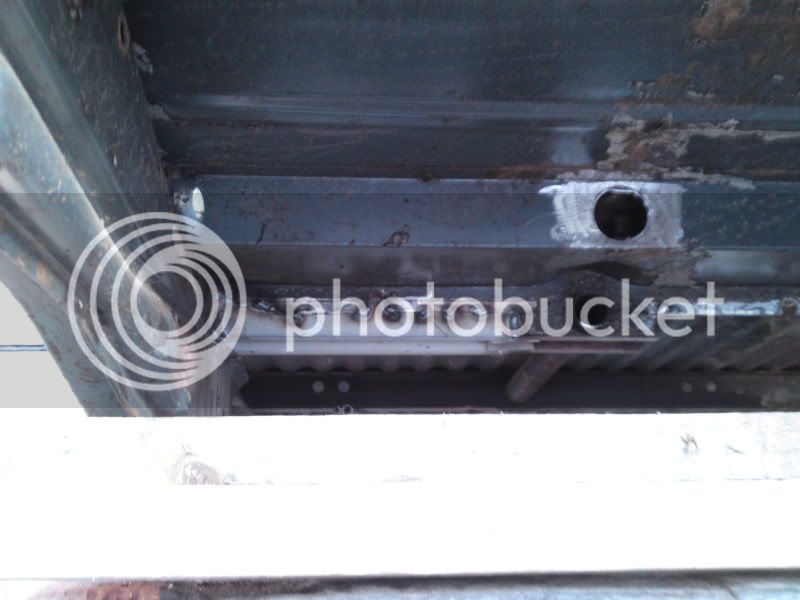
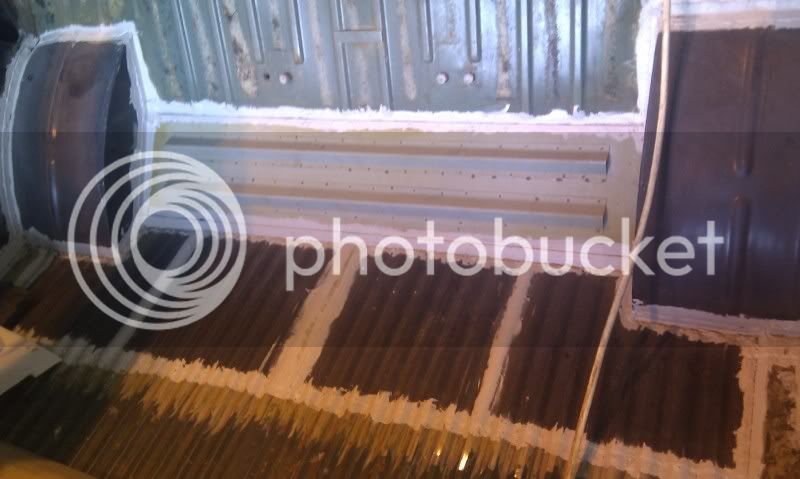
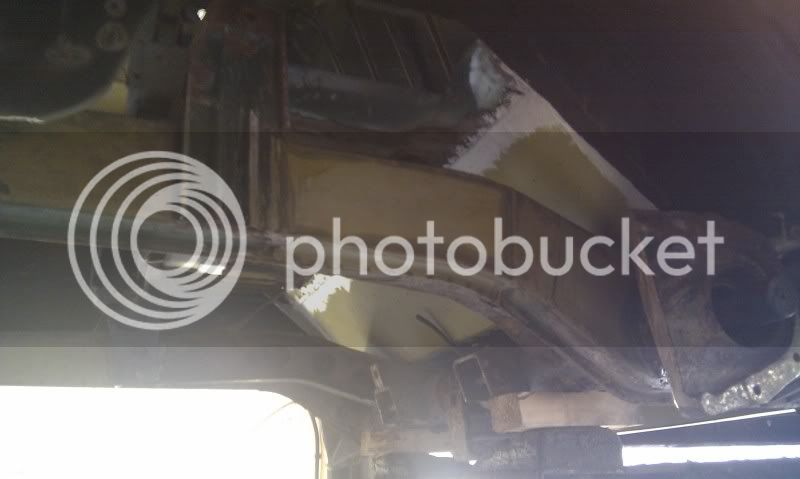
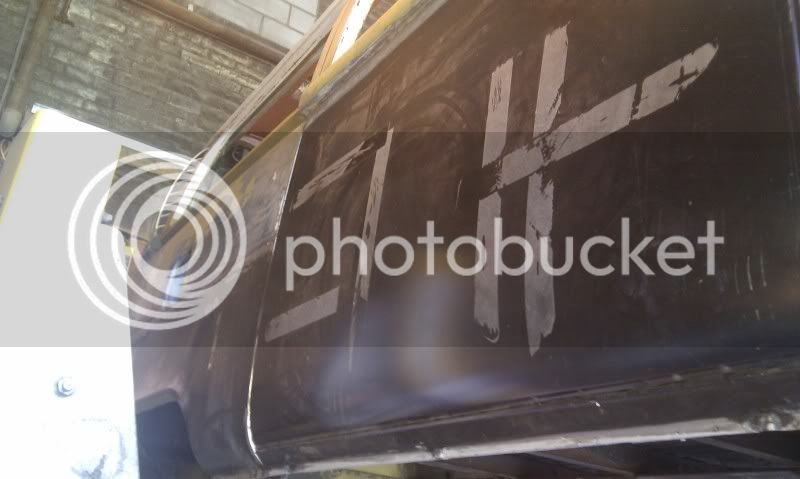
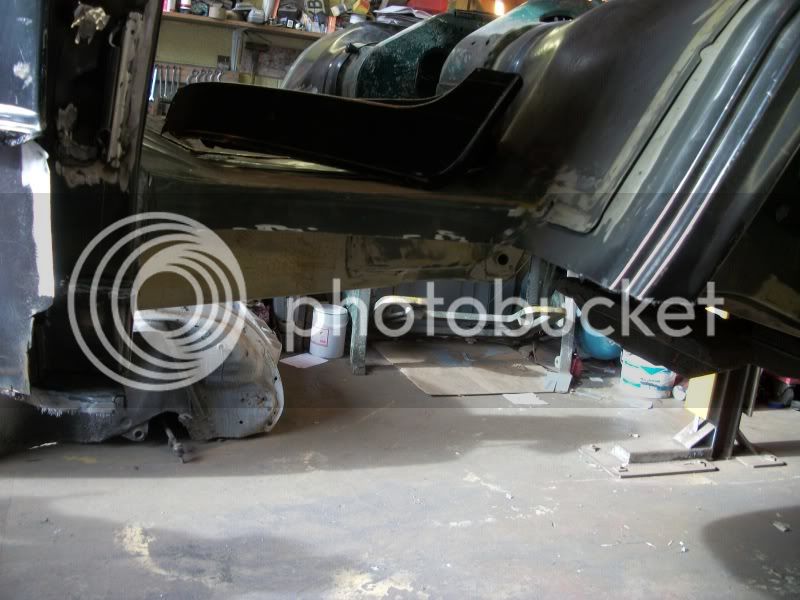
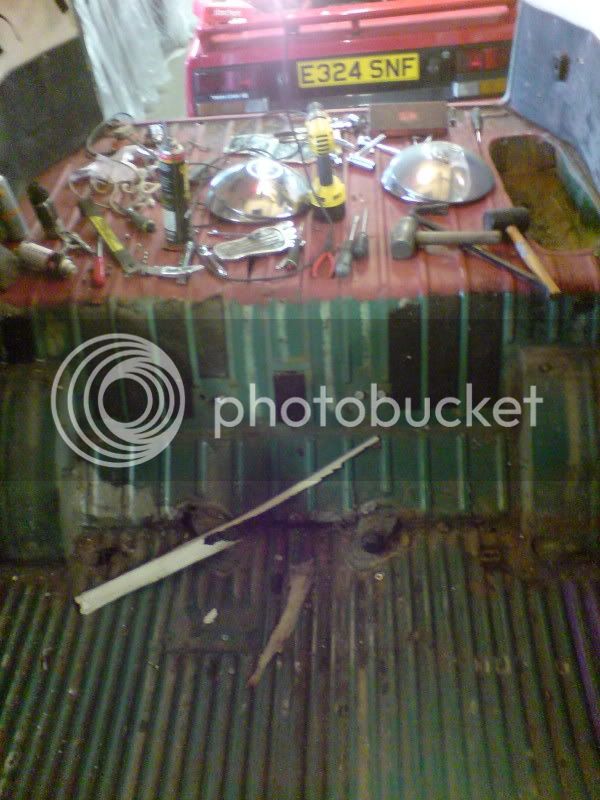
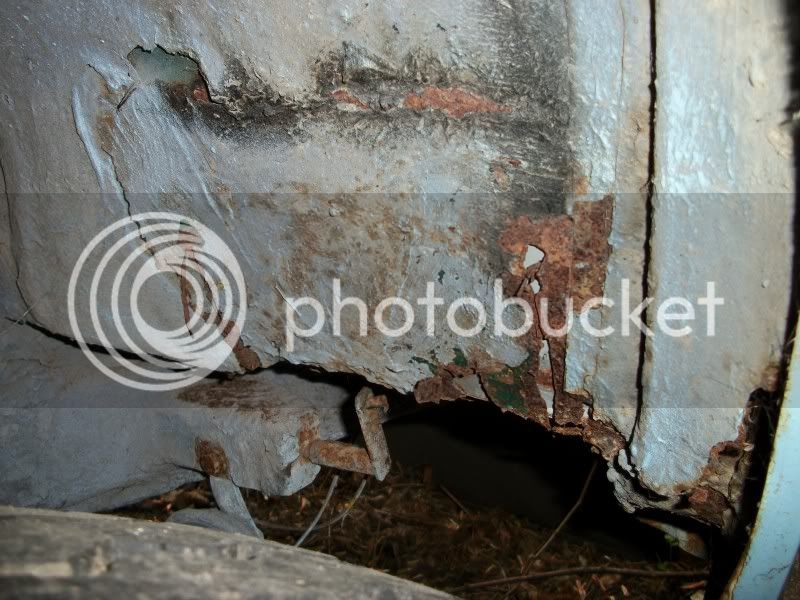
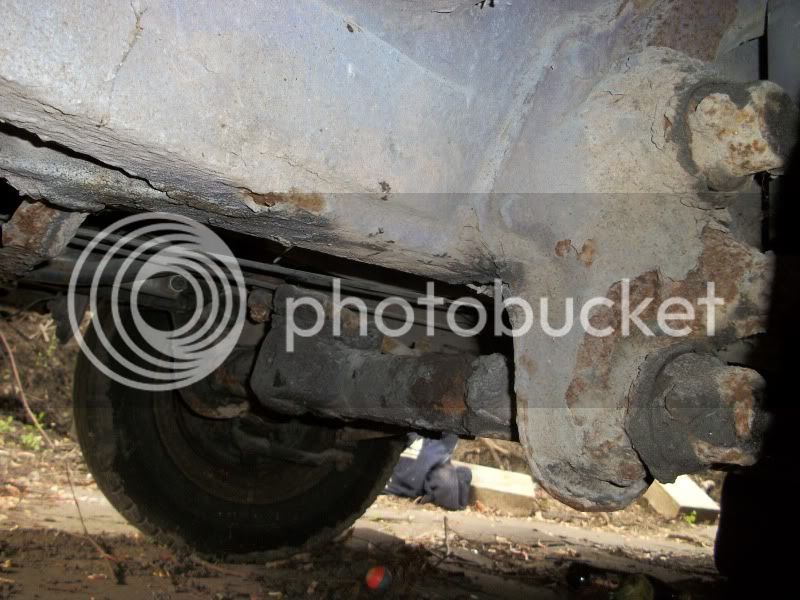
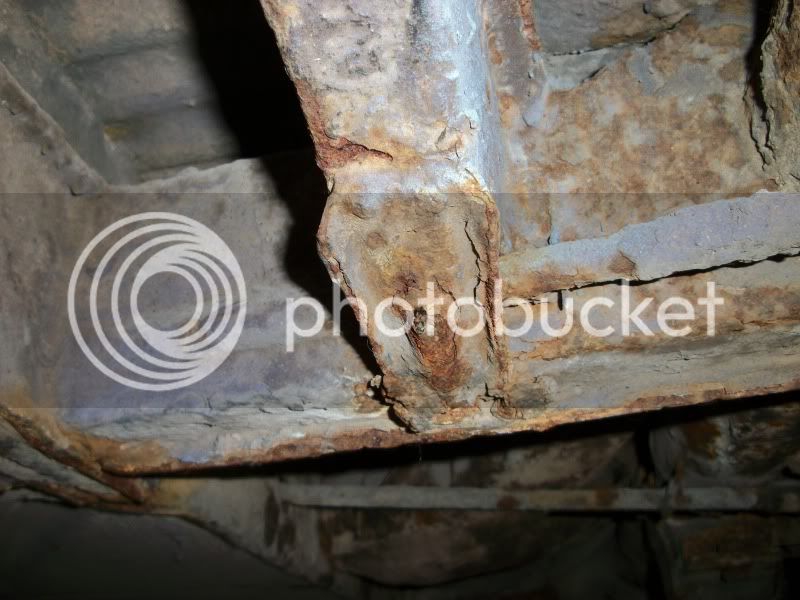
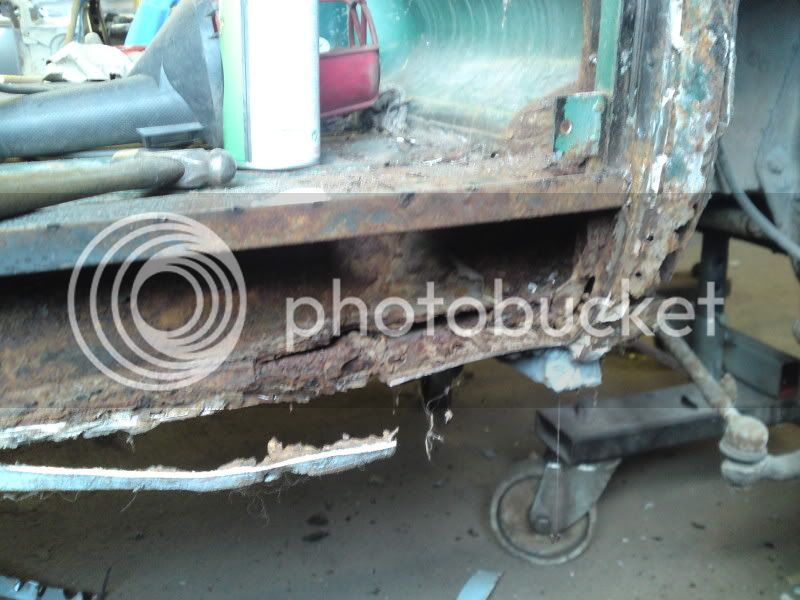
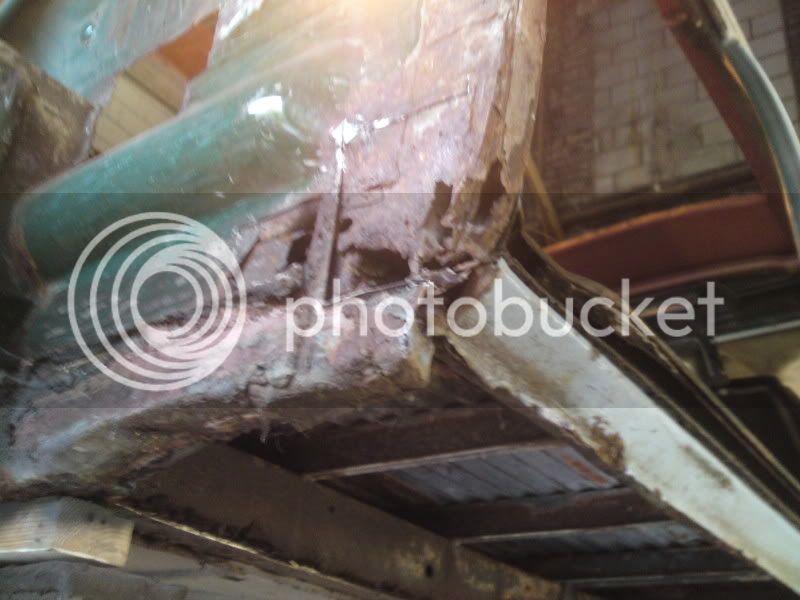
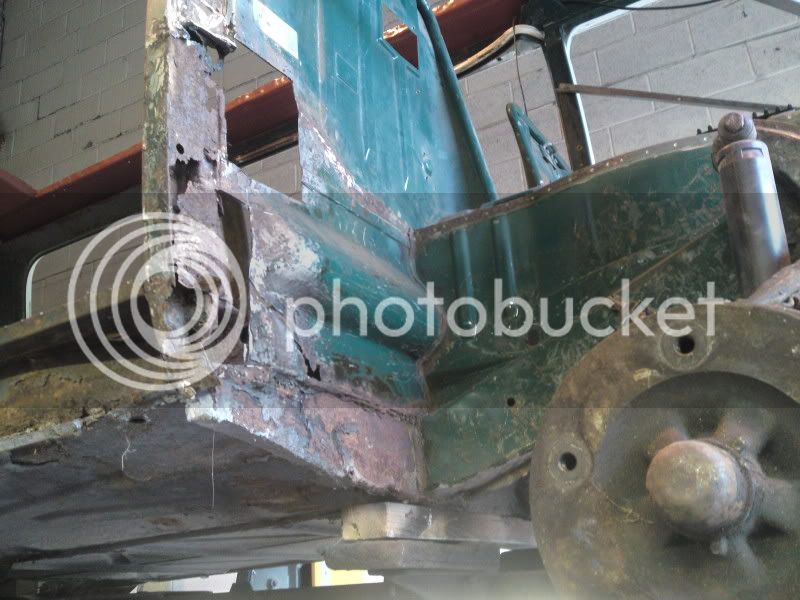
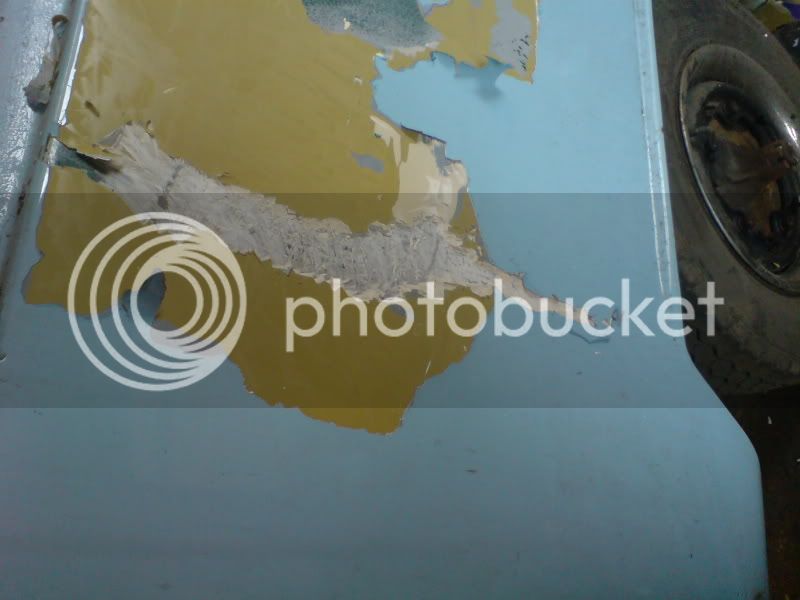
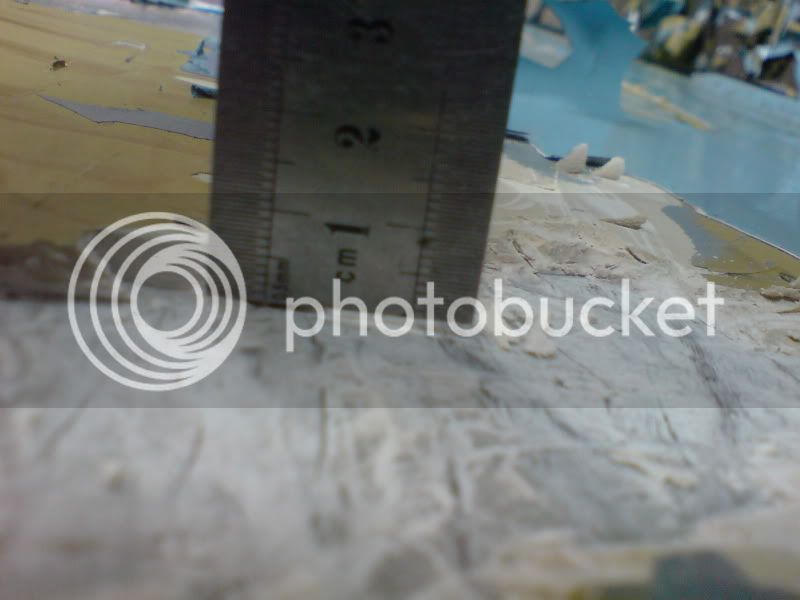
then we peeled away the layers to reveal some pretty bad resto work done about 10 years ago in spain on the plus side i found about 10 pesetas and half a spanish newspaper covered in filler moonlighting as a front panel the good news was the camper floor was in fairly good shape... the rest of it was f****d

DSC02747.jpg

DSC02746.jpg

DSC02735.jpg

000_0008.jpg

DSC02742.jpg

DSC02741.jpg

DSC02739-1.jpg

000_0011.jpg

000_0010.jpg


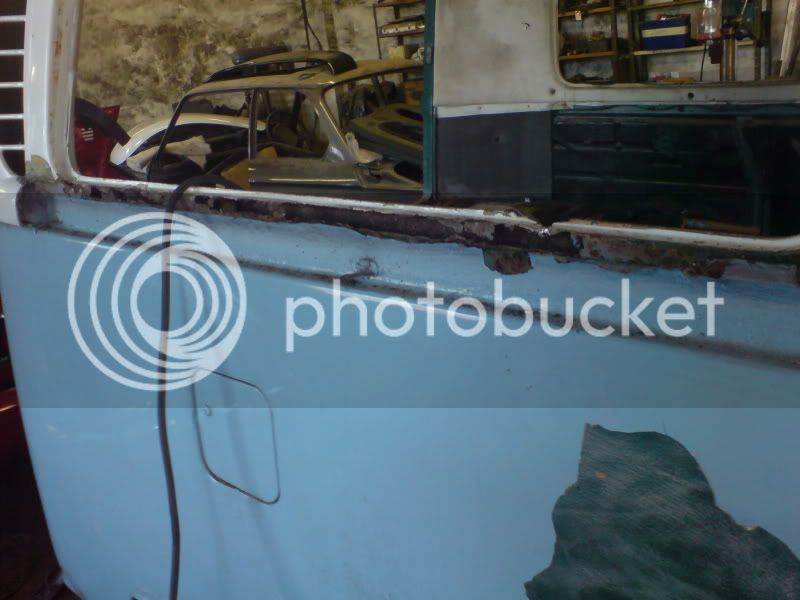
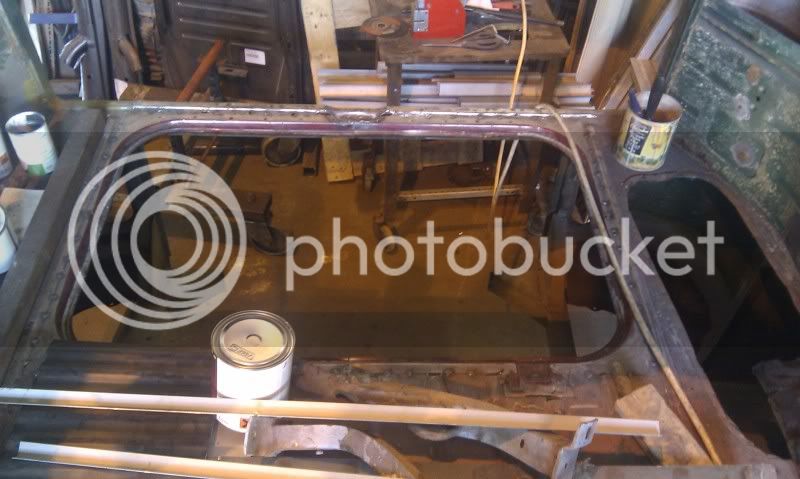
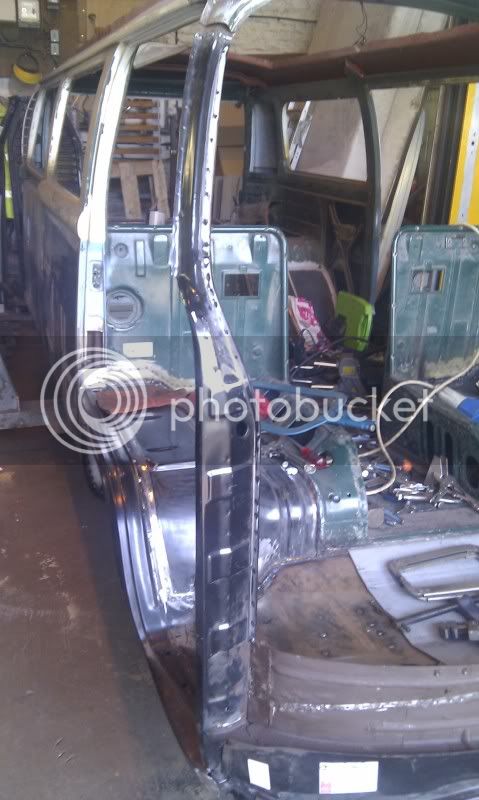
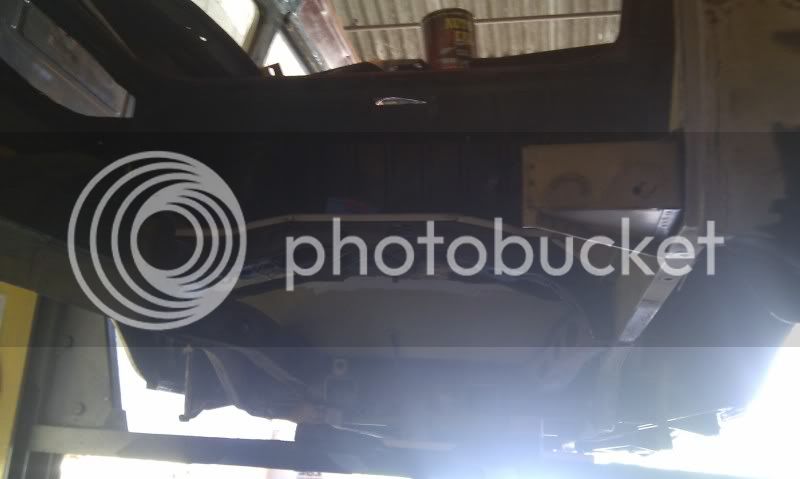
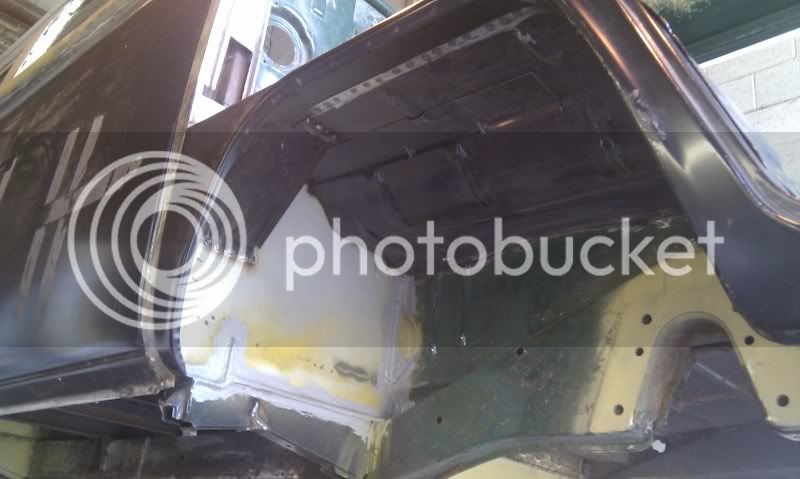
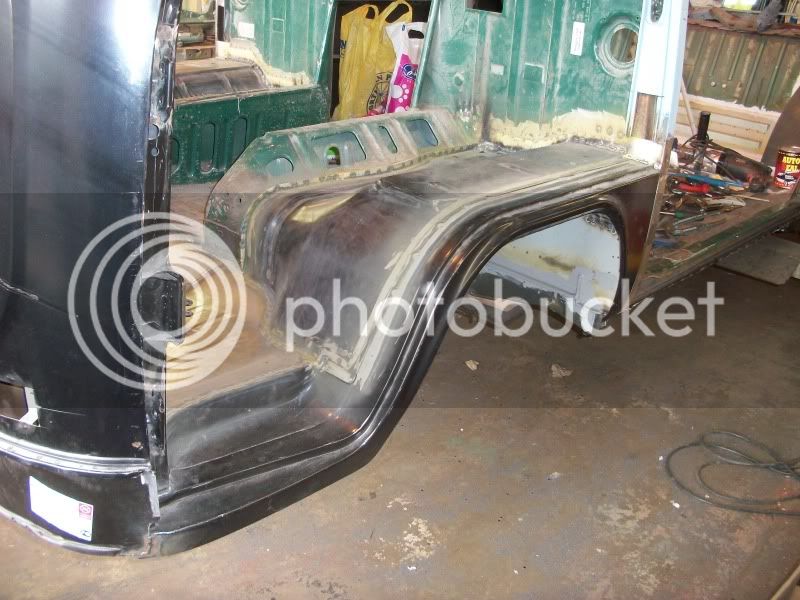
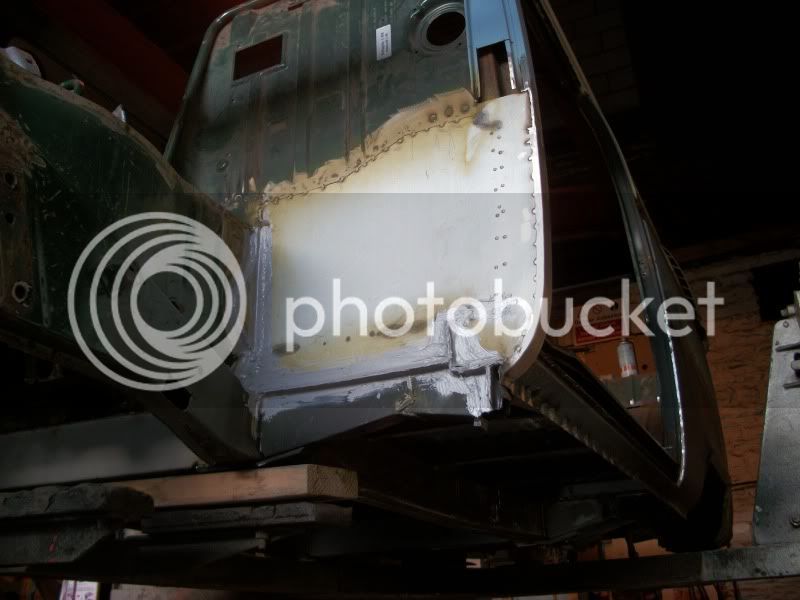
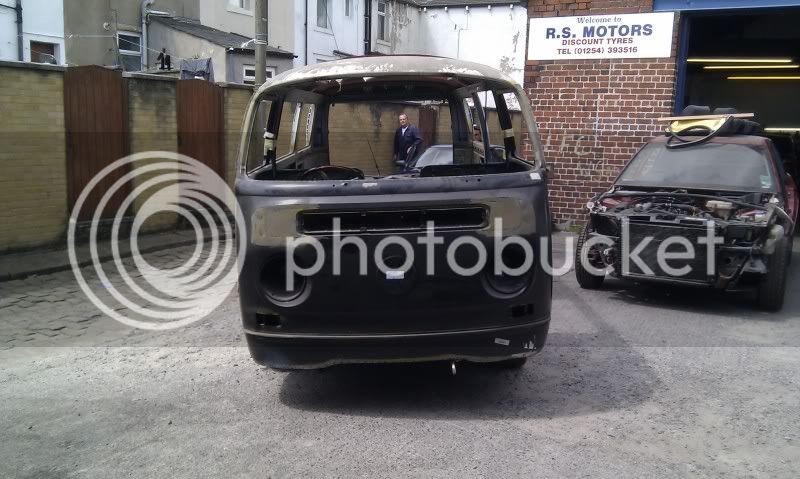
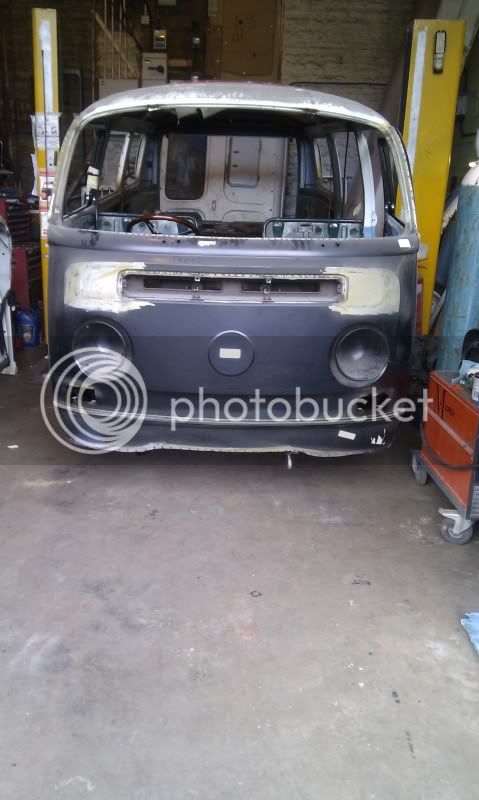
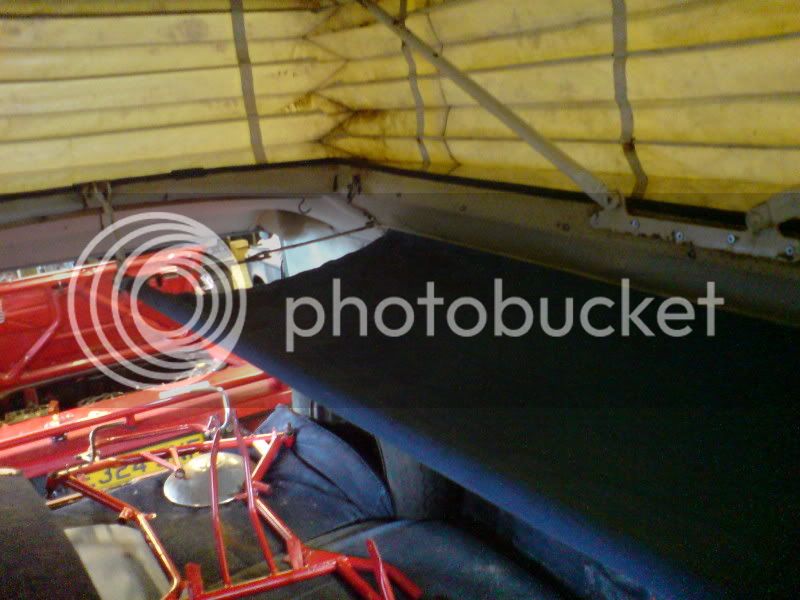
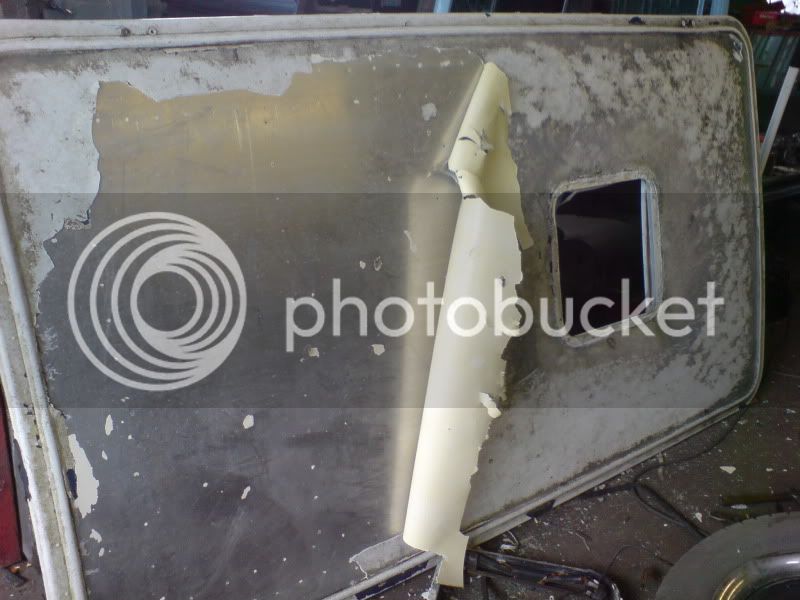
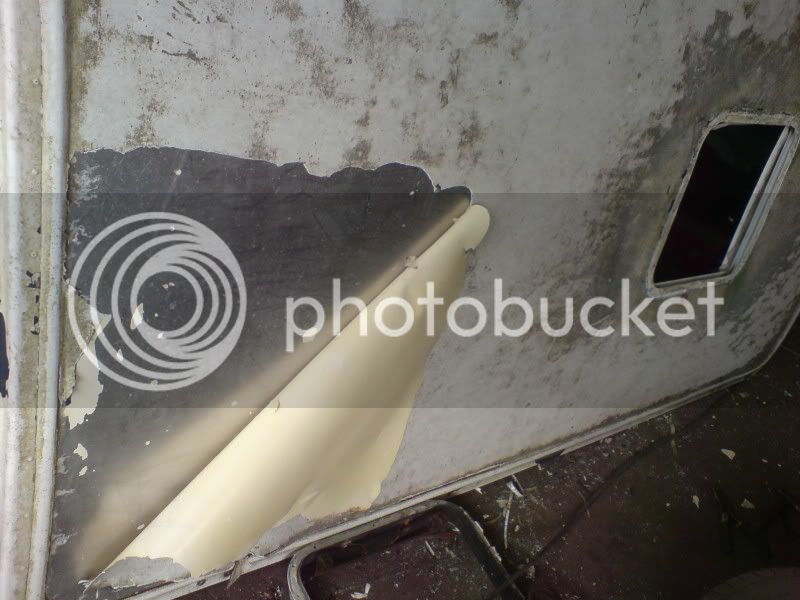
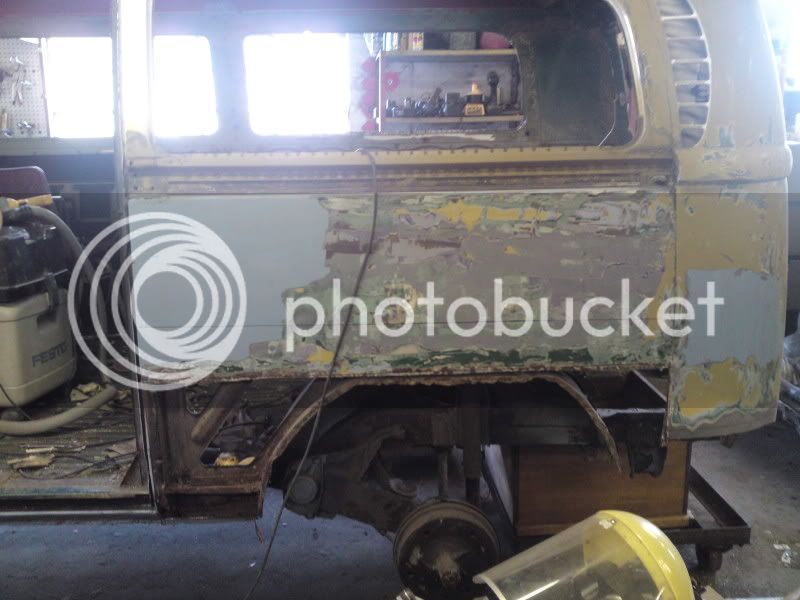
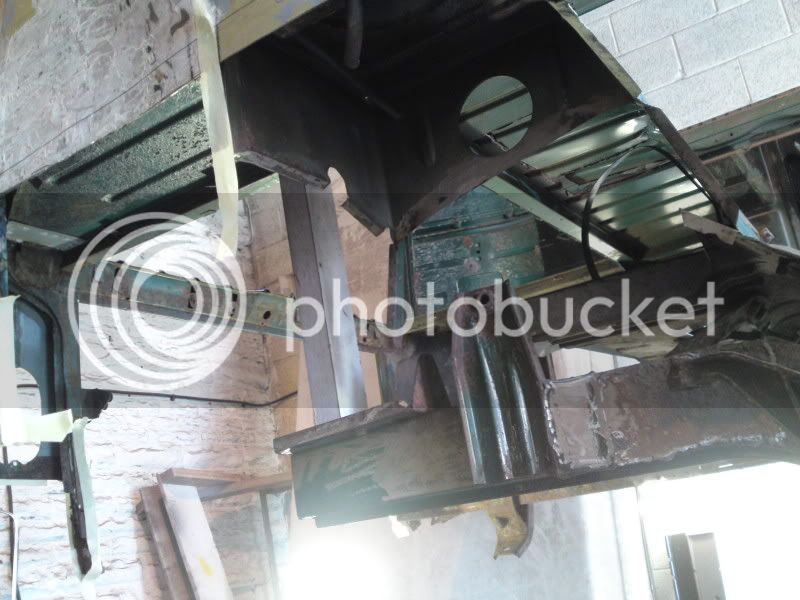
and so the process of removing the roof, the rust and the bad repairs began (the roof was amazing all it took was a bit of heat and no joke the paint came off in one layer like a blanket :lol: )

DSC02766.jpg

DSC02765.jpg

P30-06-10_133501.jpg

P30-06-10_1334.jpg

P23-06-10_174502.jpg

P23-06-10_174501.jpg

P11-08-10_103402.jpg

P11-08-10_103401.jpg

P11-08-10_1034.jpg

P07-07-10_1709.jpg

P07-07-10_1708.jpg

DSC02748-1.jpg

DSC02747-1.jpg

DSC02746-1.jpg

DSC02743-1.jpg


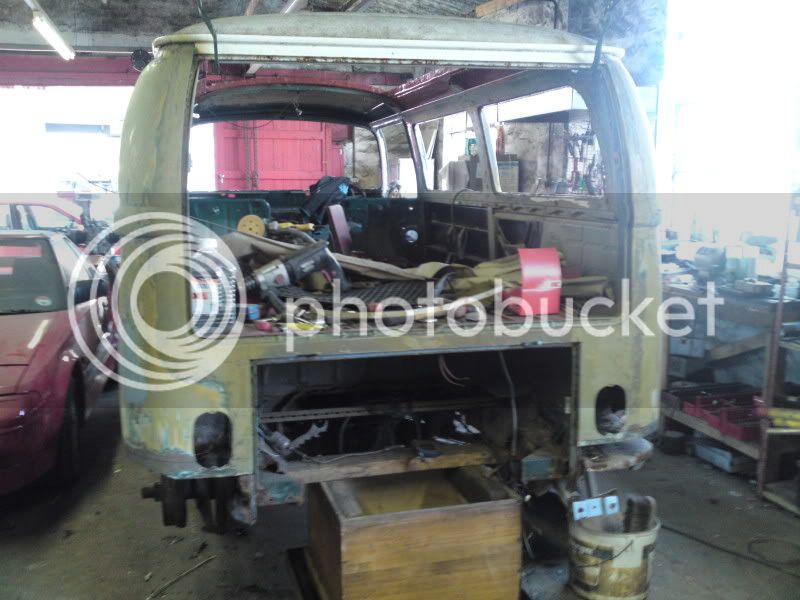
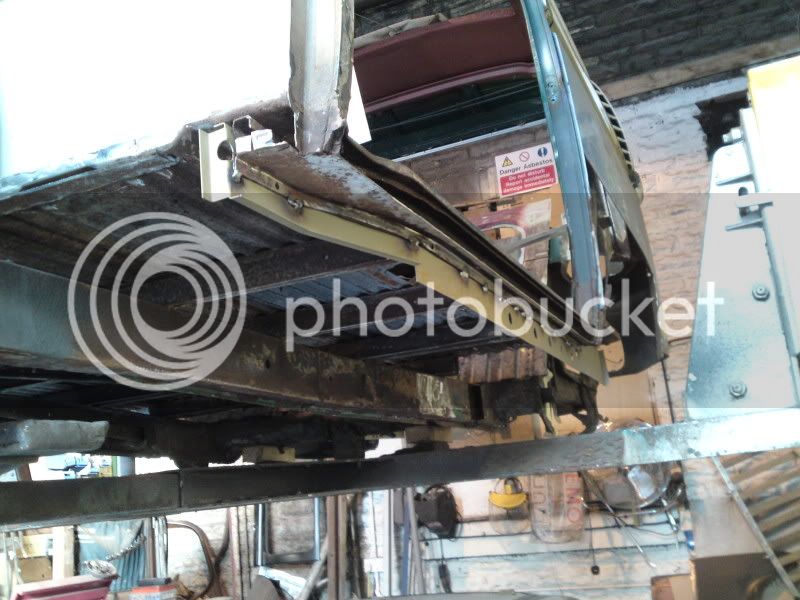
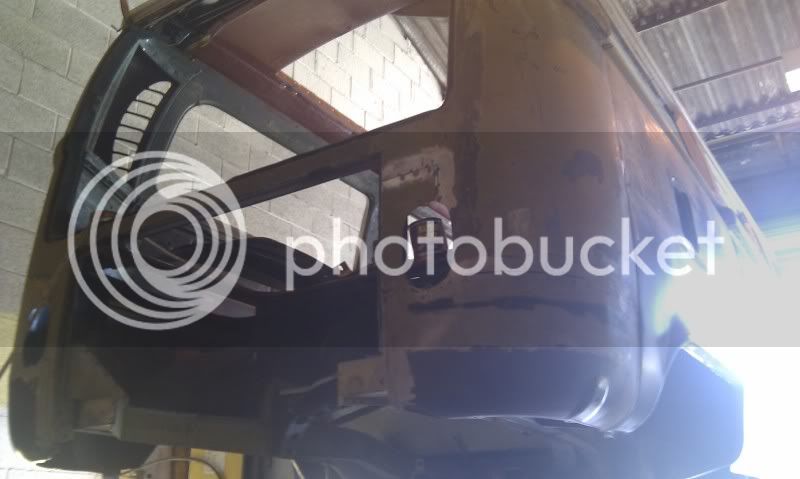
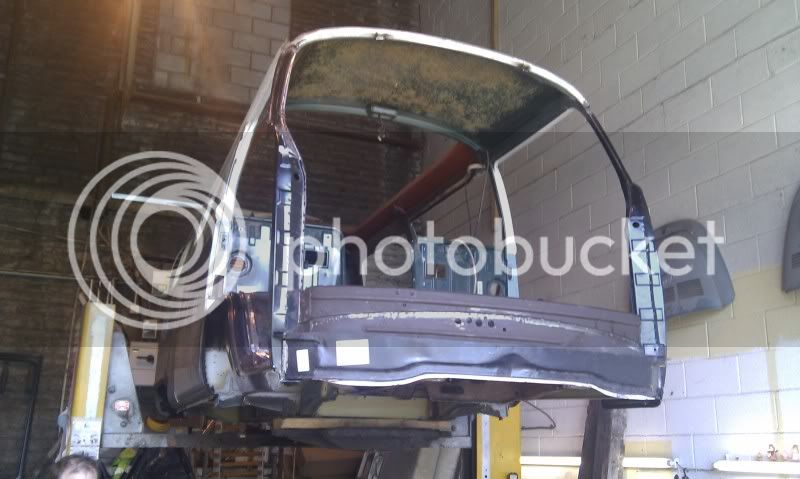
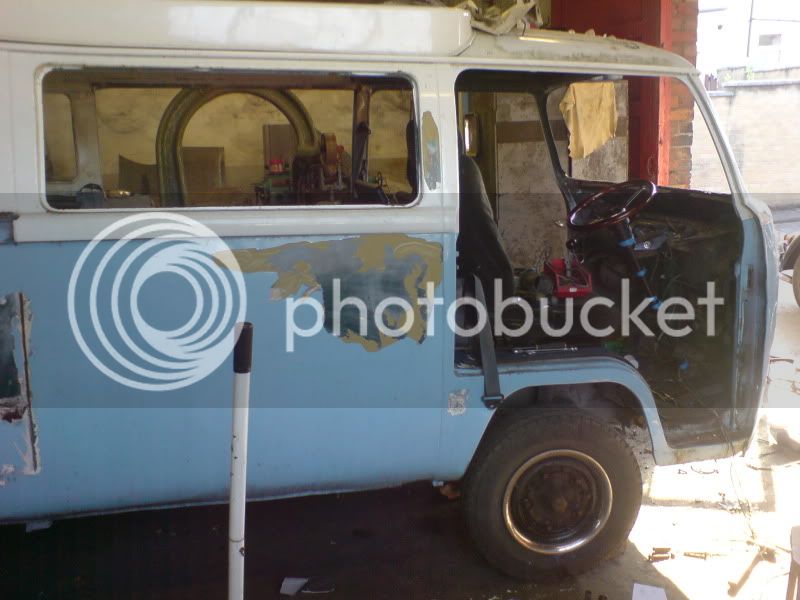
finally we ended up with this i call it my lightweight speed bus mod

P08-09-10_1325.jpg


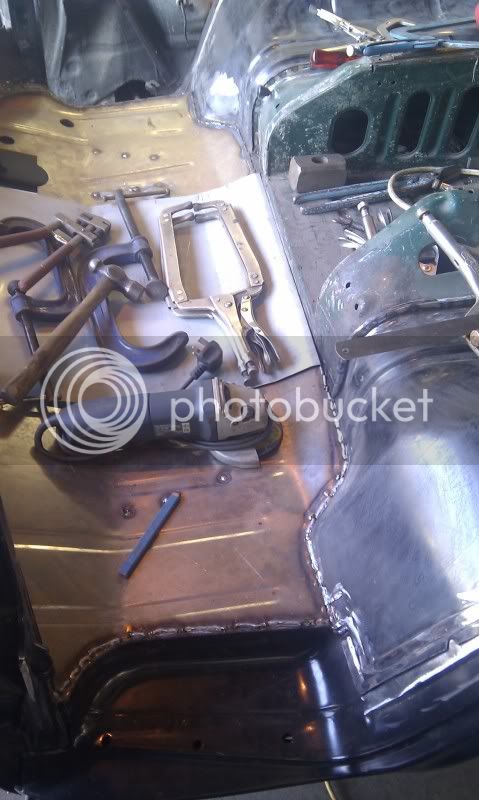
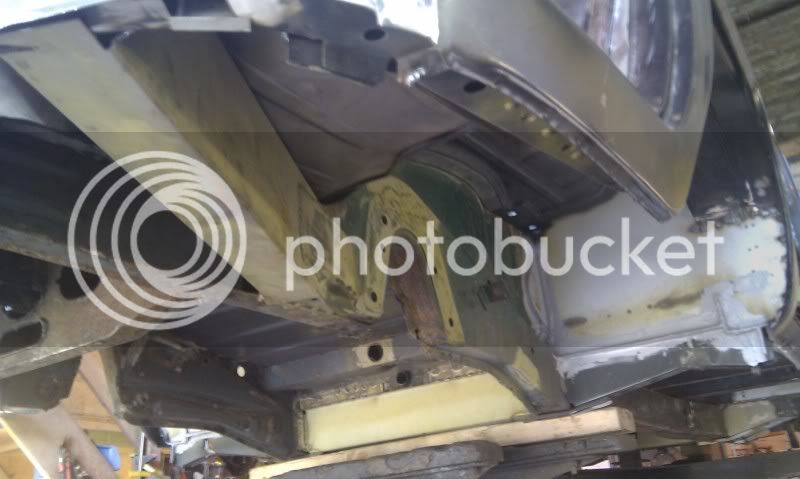
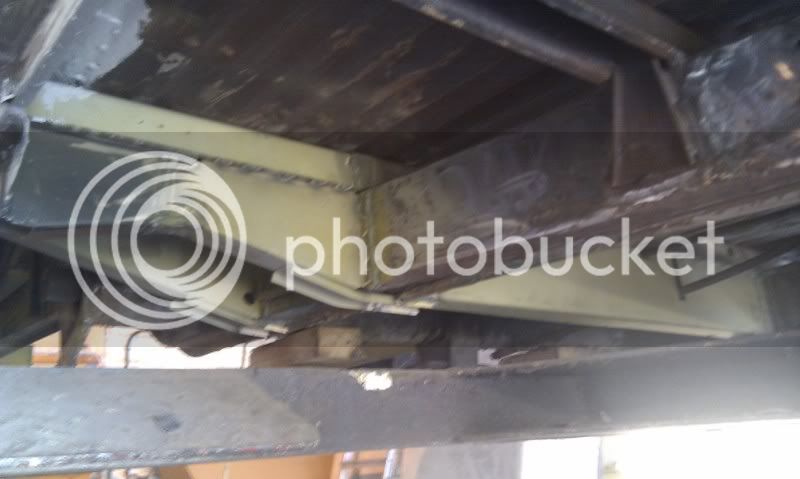
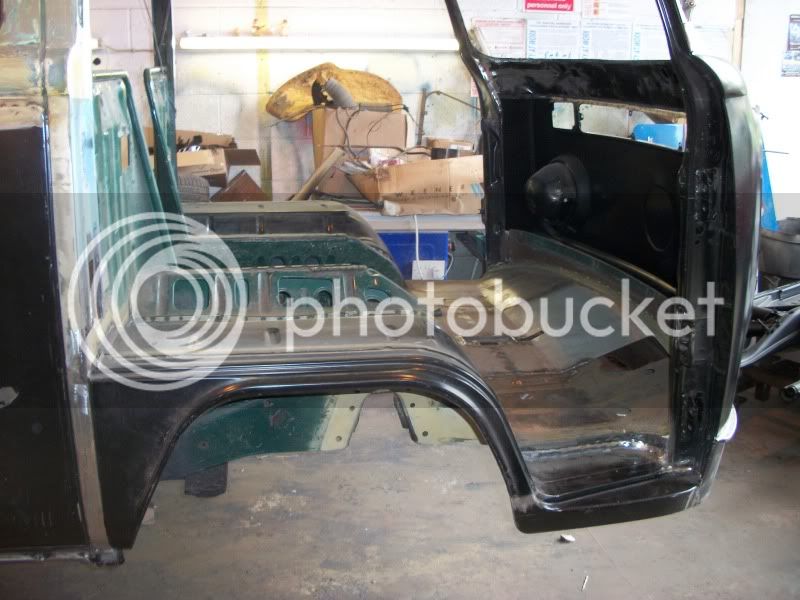
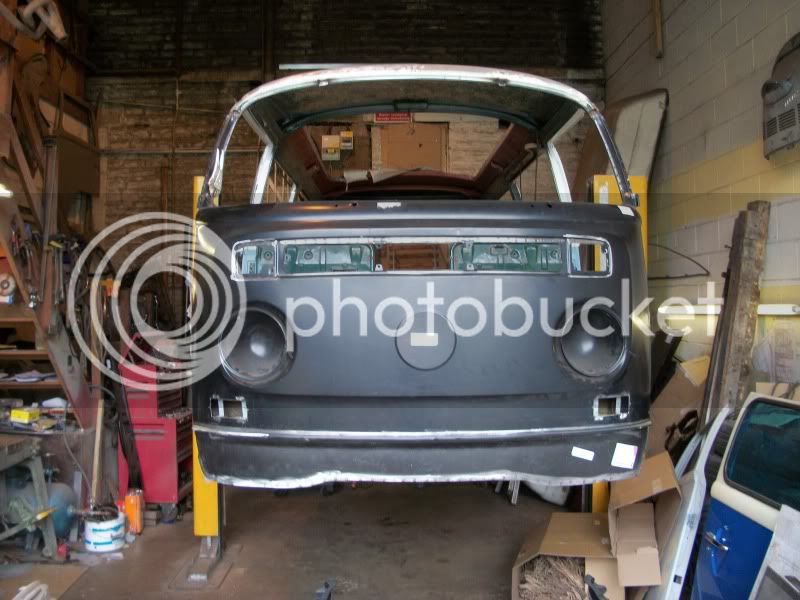
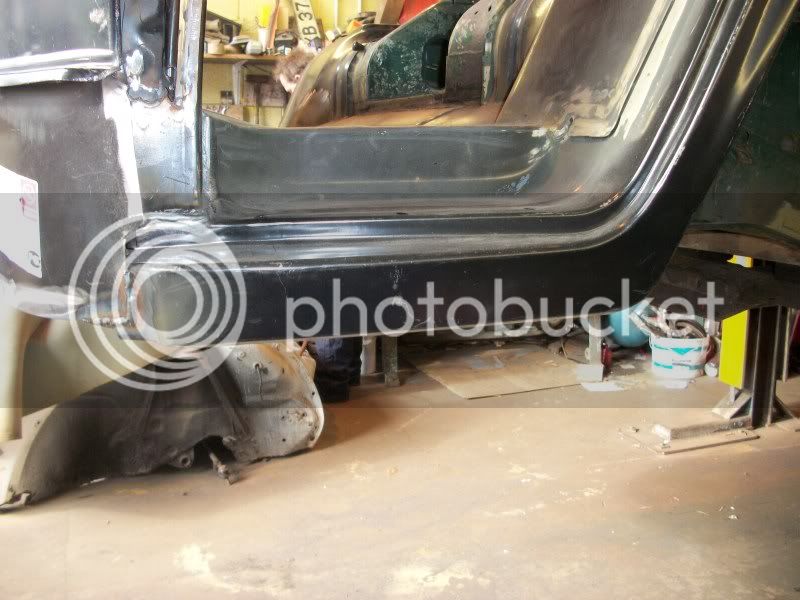
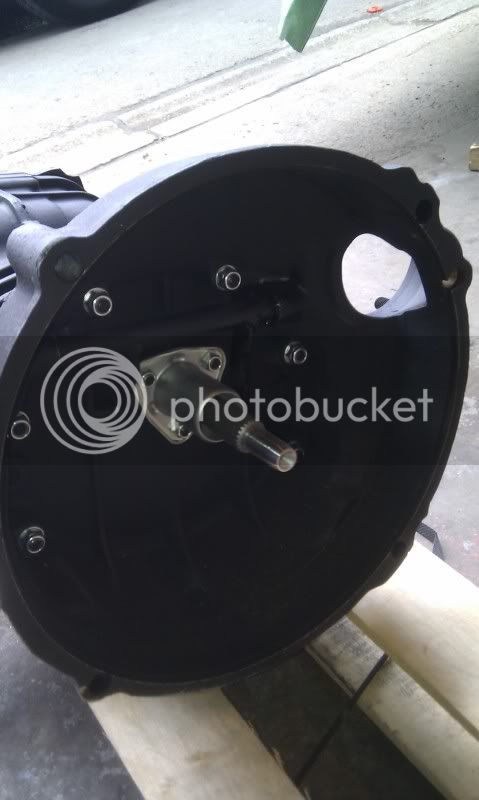
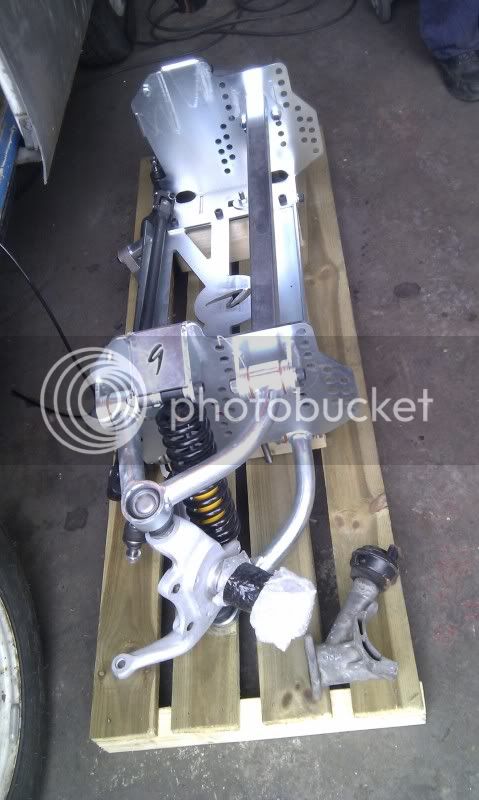
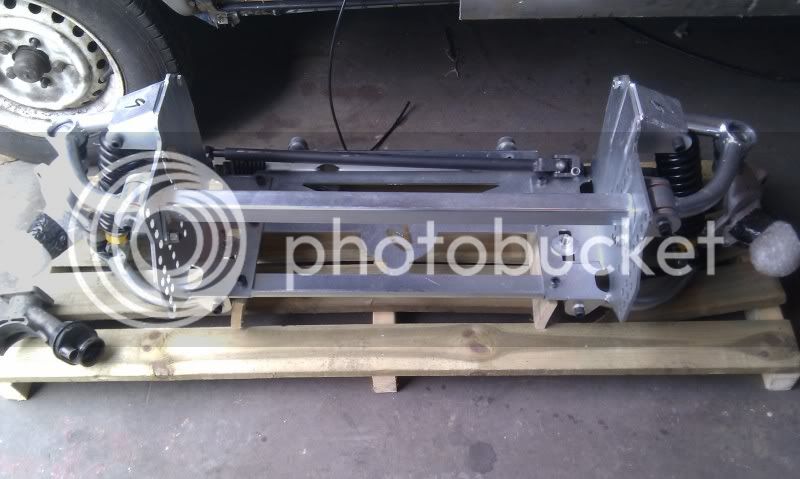
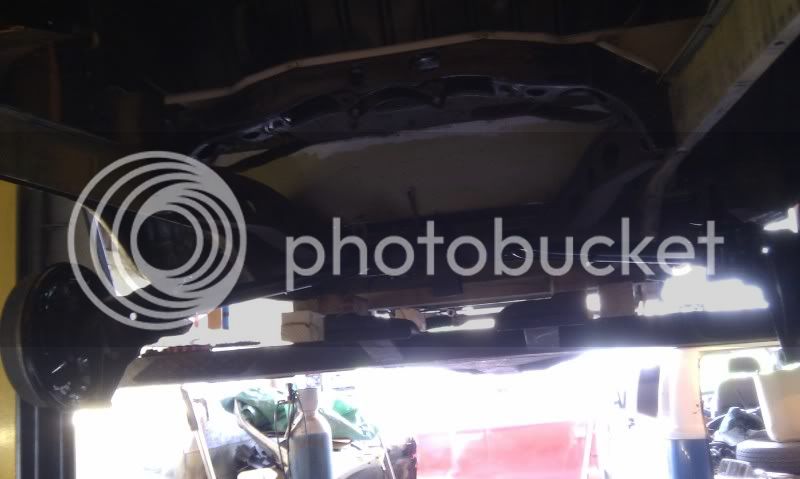
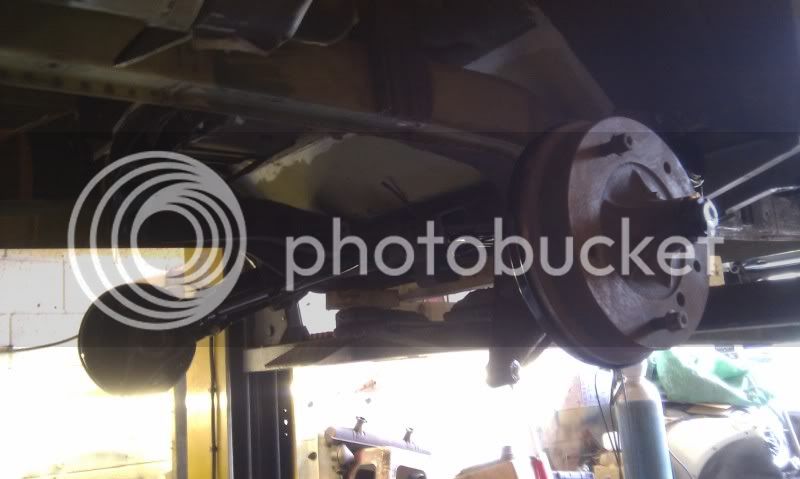
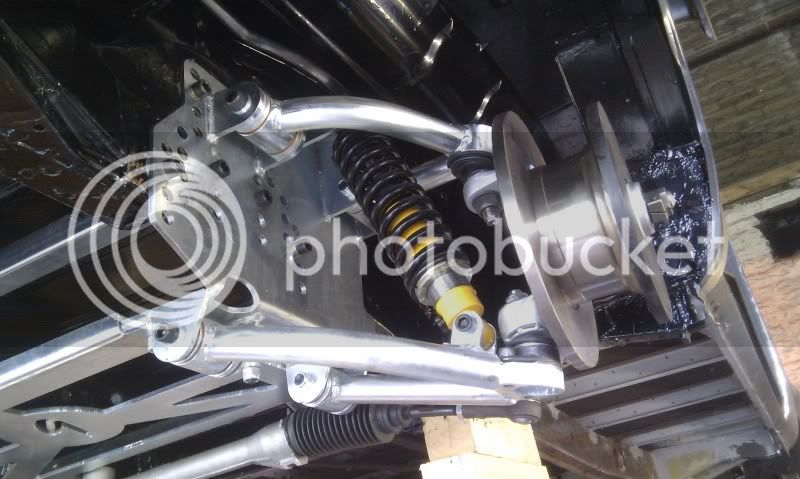
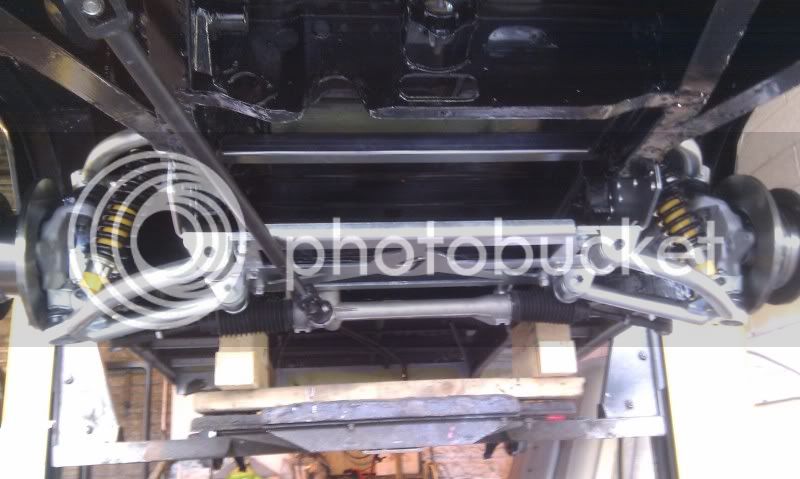
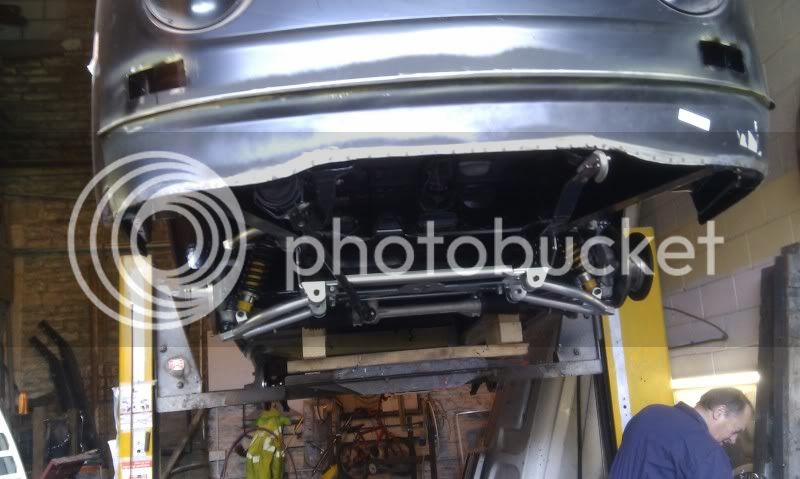
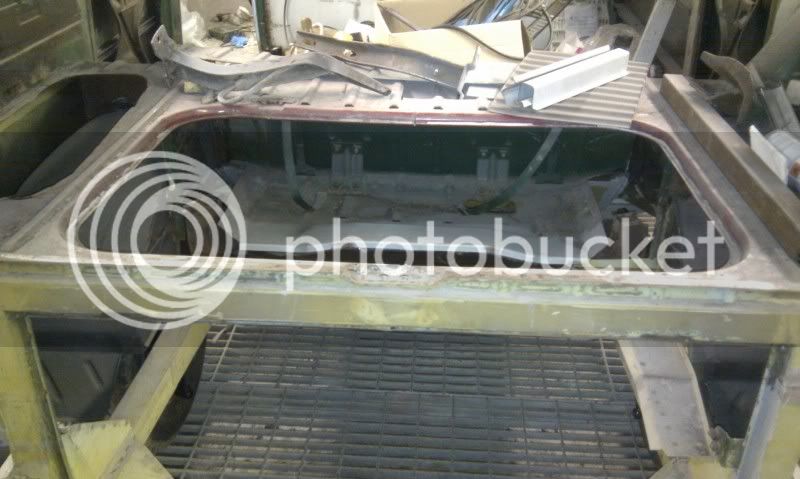
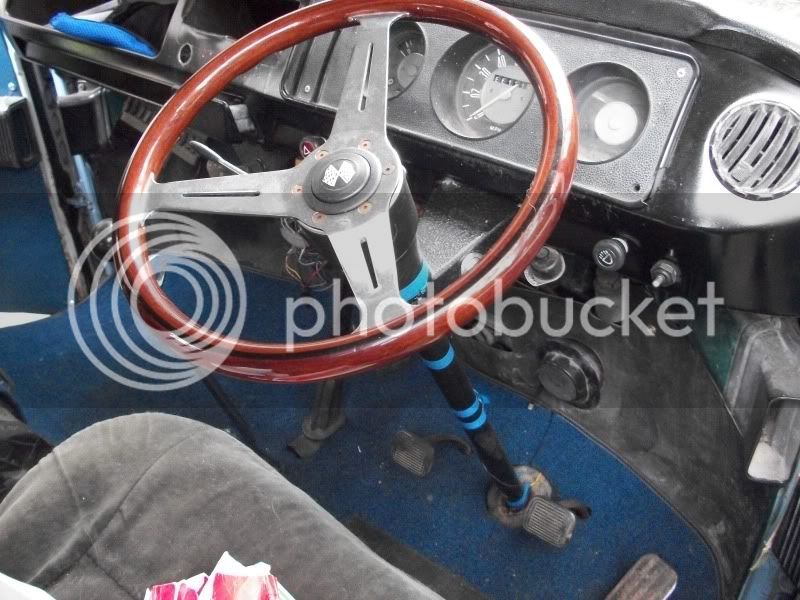
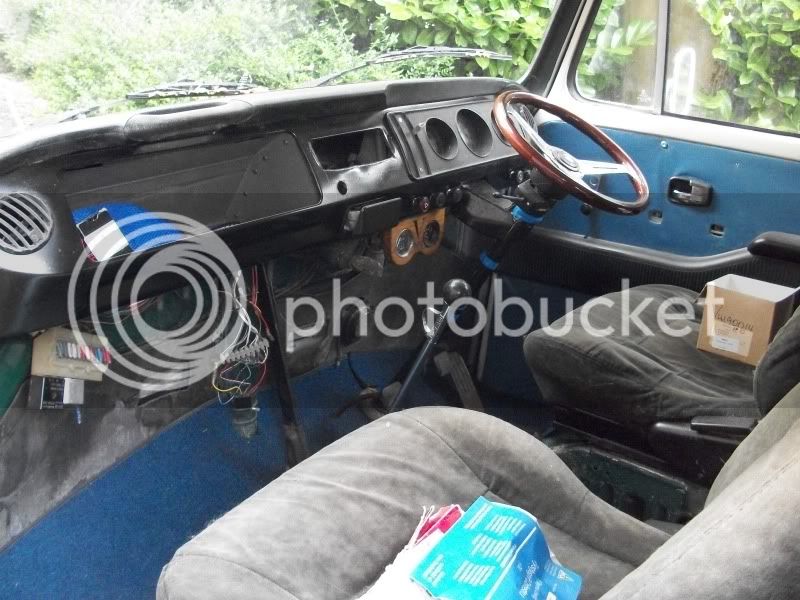
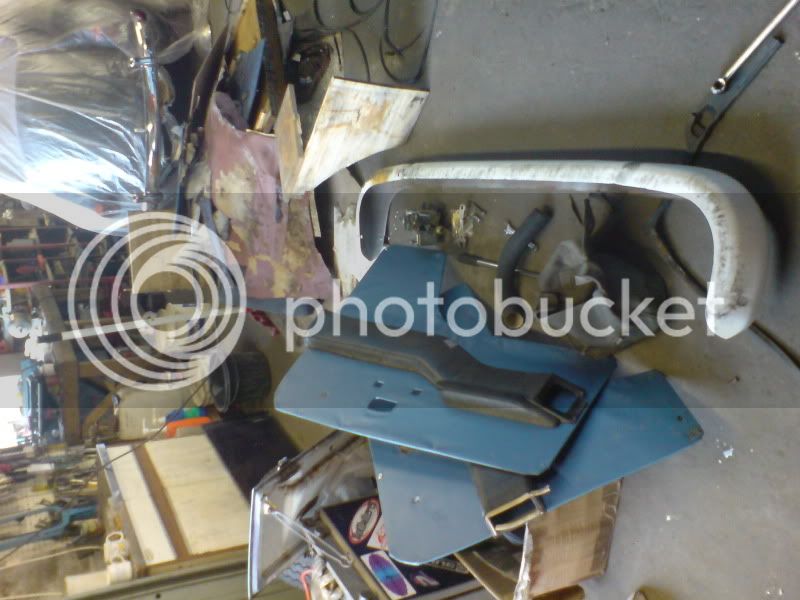
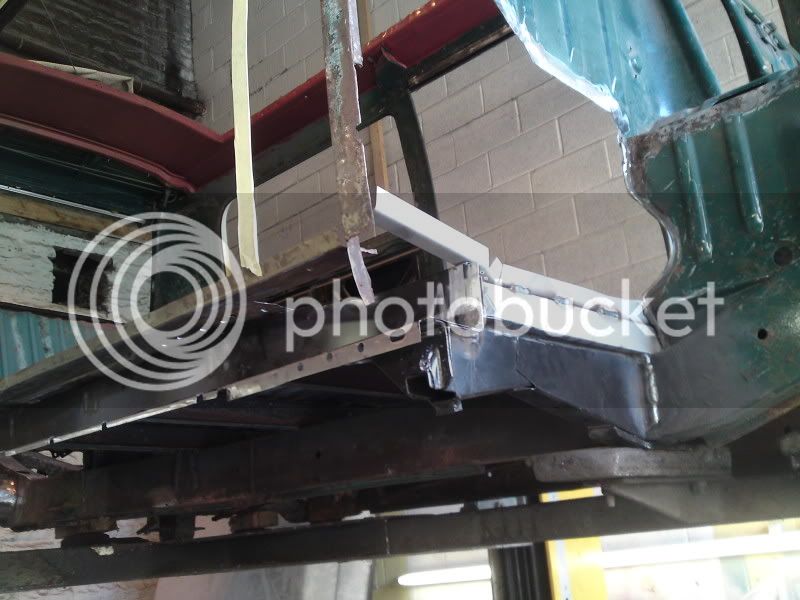
and now were slowly putting new stuff on

P22-09-10_130301.jpg

P22-09-10_1303.jpg

P13-10-10_124801.jpg

P13-10-10_1248.jpg

P13-10-10_1247.jpg


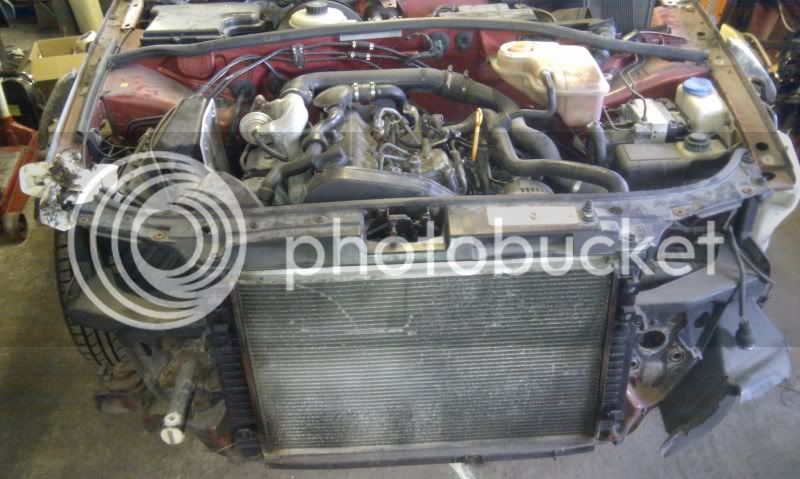
aaaand thats where were up to so far still waiting for funds for a rack and pinion kit plus disks for the front and i'm keeping my eye out for a golf engine too but for now its panel time :roll:
 
Bloody hell! That's a brave restoration!

You'll have replaced 99% of the bus at that rate! And I thought mine was bad....

Seems like body filler was the favoured method of repair for VW's in the past.

Great work, and keep posting the pics as it is extremely useful to see how various panel joins should be constructed.

Looking forward to seeing this one as it progresses.
 
^^WHS^^

Always impressed when peeps remove nearly every panel of the bus to do a repair!! :shock:

Good luck and will keep a close eye on this thread ;)
 
thanks guys i cant take all the credit my dad is helping me out and he's spent his lifetime restoring classic and vintage cars to show standard so i have kinda an unfair advantage although he does scare me sometimes
i took a weekend off a month ago on friday the van had a nose and side panels when i came back on monday it was a skeleton it scared the crap out of me, his excuse? "we might as well do it properly"
my reaction? "gee nice van dad.... where's the rest of it!"

he did help me build this though so i have faith

bug7.jpg

bug5.jpg

bug.jpg


anyways i'll just finish me brew n head up to do some more on it if i get some decent lumps done i'll post em tonight take it easy guys 8)
 
Nice bug 8)

Wish I had you dad - can he adopt me please :msn4:
 
Great work mate.
As they say "If a jobs worth doing, may aswell do it right"
At least you`ll know the vans solid when its finished.
Cheers Paul.
 
sorry for the abscence recently funds have been tight and ive been opening my own business so i've had no time for the bus but after a short hiatus and after removing everything apart from the floor and roof the resto is back on and my van now actually has some van on it :mrgreen:


IMAG0241.jpg

IMAG0239.jpg

IMAG0237.jpg

IMAG0236.jpg

IMAG0235.jpg

IMAG0234.jpg

IMAG0232.jpg

IMAG0231.jpg

IMAG0230.jpg

IMAG0229.jpg

IMAG0228.jpg

IMAG0227.jpg

3827.jpg

3465.jpg

2345.jpg

1234.jpg

546.jpg

449.jpg

000_0001-4.jpg
 
Glad you are back on it and hope your new business is working out :D

Have you tubbed it??
 
Hope your doing the right thing and removing the front bulge and fitting the correct badge ;)

Seriuosly though, hats off to you mate, no half measures with this one
 
WOW - how have I missed this thread, this is amazing work!! loads of pics please 'show me your welds' :lol:

well done mate - nice to see a proper restoration!! looking forward to seeing it roll out!
 
Blacksack said:
gninnam said:
Glad you are back on it and hope your new business is working out :D

Have you tubbed it??

tubbed it? what like got it pregnant or something?! :?:

:lol:

Nah, when I looked at one of the pictures of the front arch, where the seat goes, it looked through beer goggles that you had tubbed the area - raised it so that the front can be lowered without the risk of the tyres rubbing on the inside - if that makes sense.

;)
 
[/quote]

:lol:

Nah, when I looked at one of the pictures of the front arch, where the seat goes, it looked through beer goggles that you had tubbed the area - raised it so that the front can be lowered without the risk of the tyres rubbing on the inside - if that makes sense.

;)[/quote]

nah i'm not slamming this van i'll lower it an inch or two so the wheel sits nice inside the arch instead of up in the air but it'll be a long way off a pan scraper

froggy said:
Hope your doing the right thing and removing the front bulge and fitting the correct badge ;)

afraid not this isnt going to be a %100 authentic van it will look old and classy (retro interior and styling original wheels etc)
but i'm not getting too anal with it for starters i'm putting a deisel engine in it (i'll get loads of conversion pics up)

Seriuosly though, hats off to you mate, no half measures with this one
 
ok and here's the latest again sorry its been a while we ordered a few bits that needed custom making (red 9 front axle with all the trimmings and a brand new freeway flyer gearbox which took months to arrive and thus held the whole project up

IMAG0413.jpg

IMAG0412.jpg

IMAG0410.jpg

IMAG0409.jpg


and here it is all assembled plus the rear suspension is part way there


IMAG0426.jpg

IMAG0425.jpg

IMAG0423.jpg

IMAG0421.jpg

IMAG0424.jpg


and once this was done we could FINALLY get it back on 4 wheels and roll it off the ramp :D
*note i need to sort the ride height out the front is too low and the back is too high but i'll sort that out after its all assembled*


IMAG0432.jpg

IMAG0431.jpg

IMAG0430.jpg

IMAG0429.jpg


now the next job is mounting the new engine (1.9 Audi turbo deisel) and gearbox which fingers crossed should be made easier after our mod to the rear engine hatch (we used the larger t25 hatch)
so its all go go go again :roll:


IMAG0435.jpg

IMAG0433.jpg
 
Excellent news on the parts front 8)

Looking and sounding very good with the planned mods you are doing ;)
 
Top