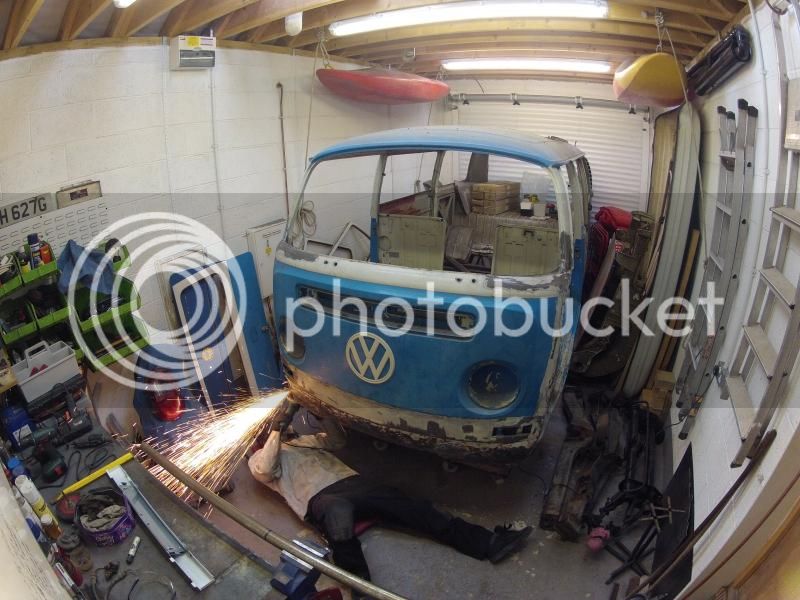
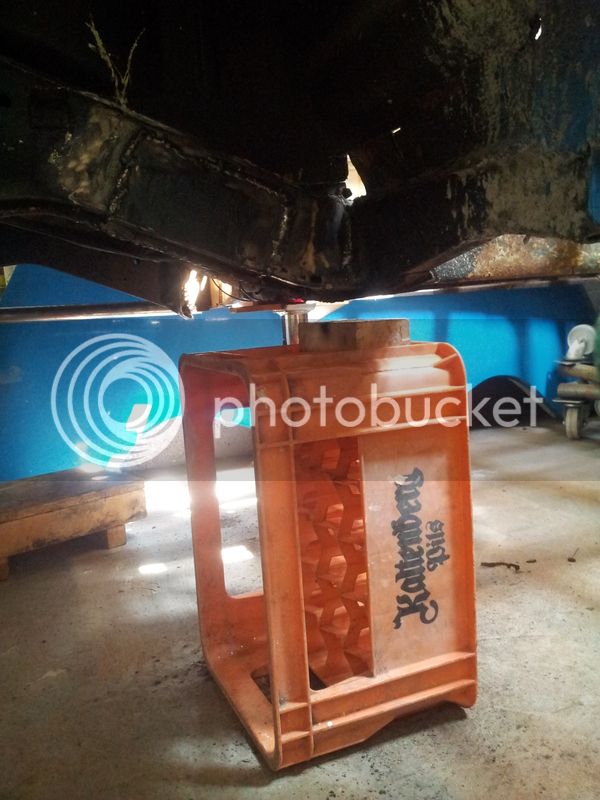
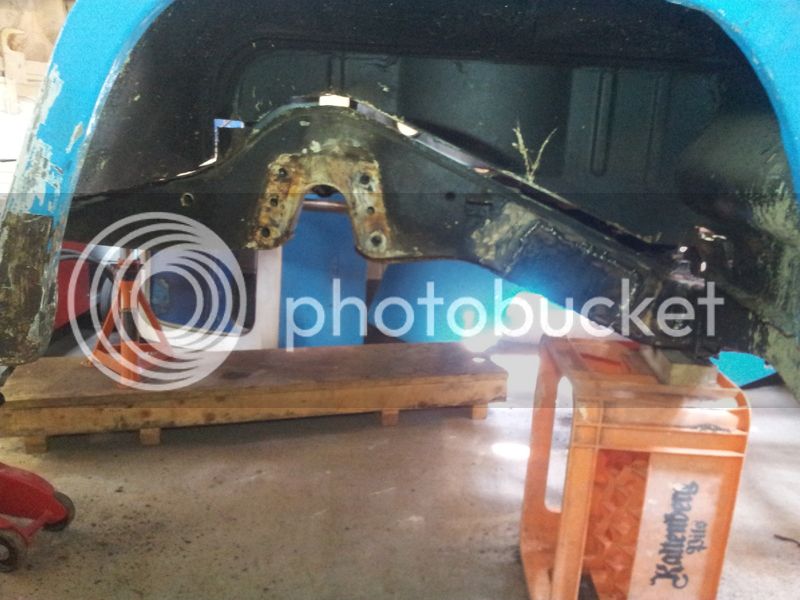
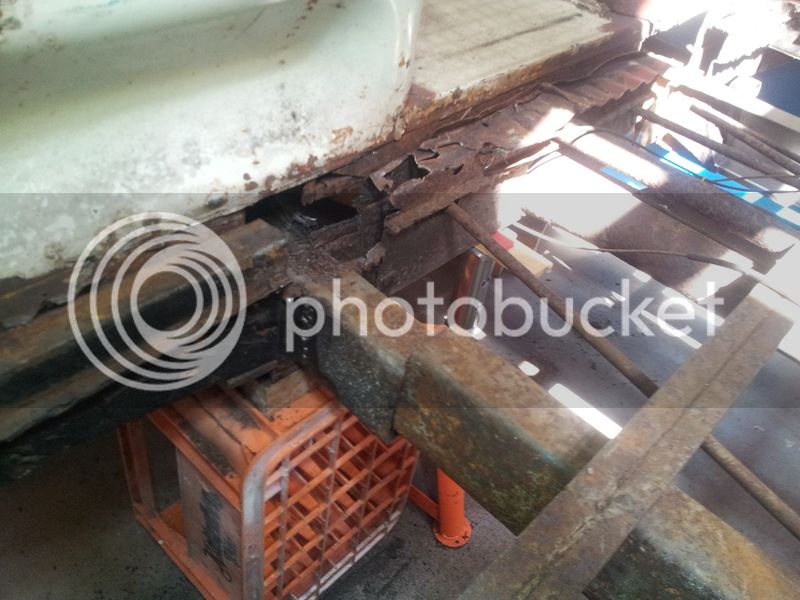
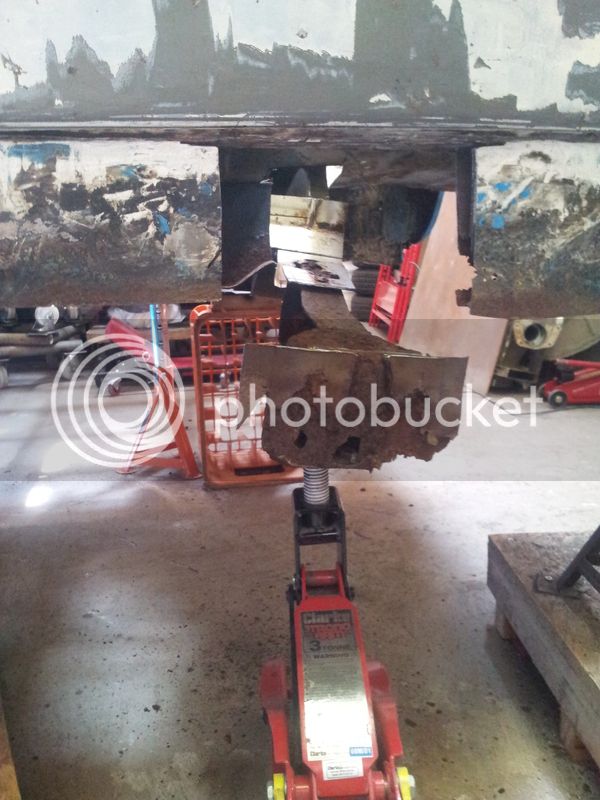
Slow but steady progress again...
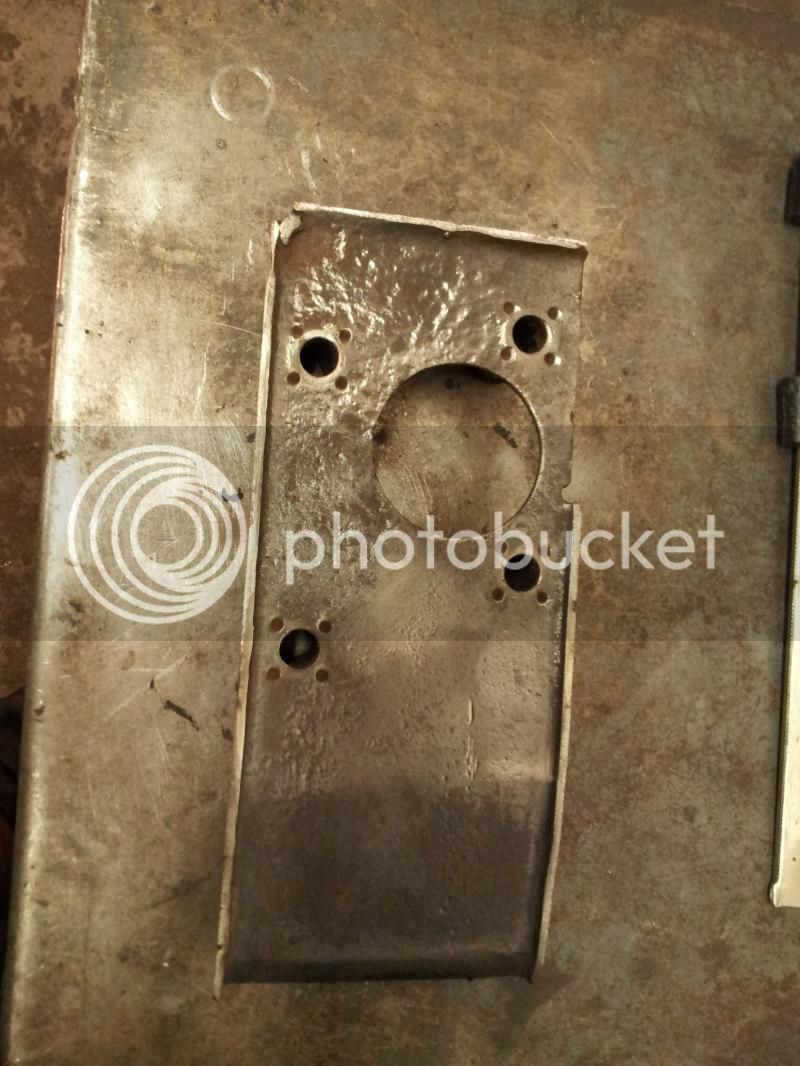
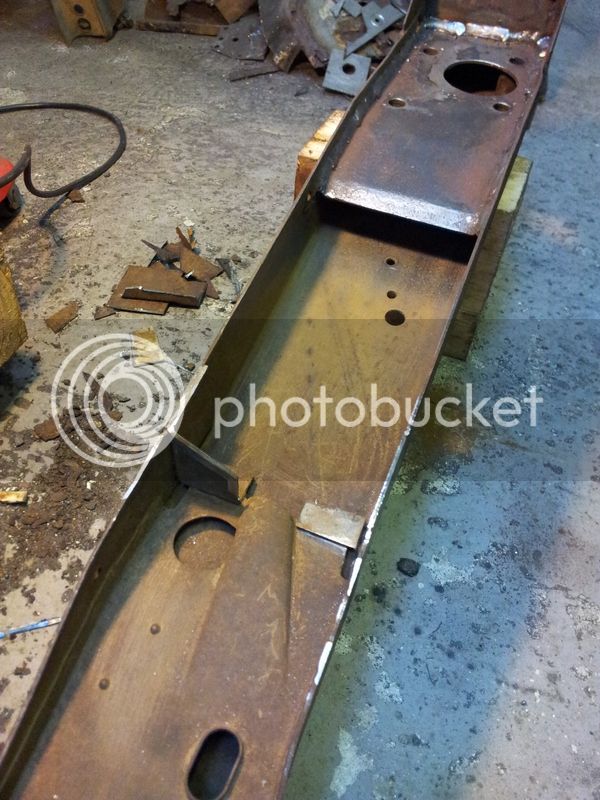
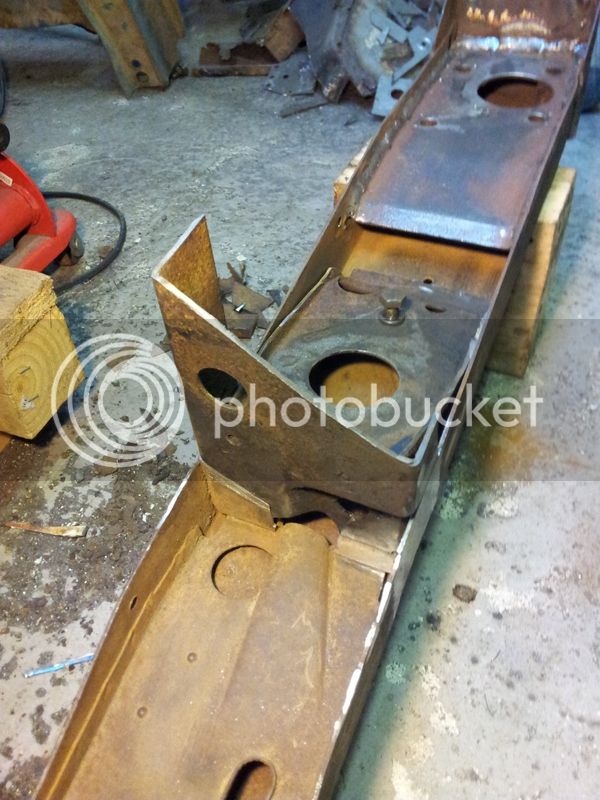
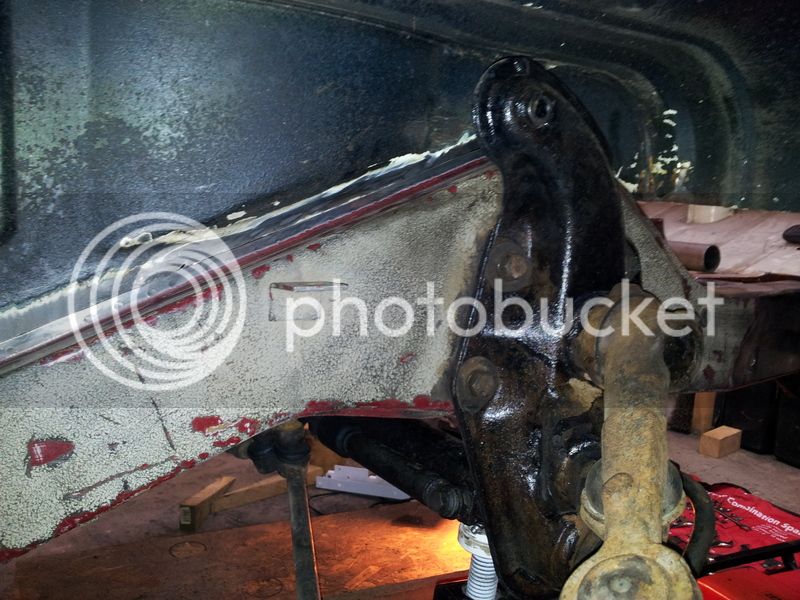
The bulkhead needed some patching up and I decided it would be easier done by removing most of it.
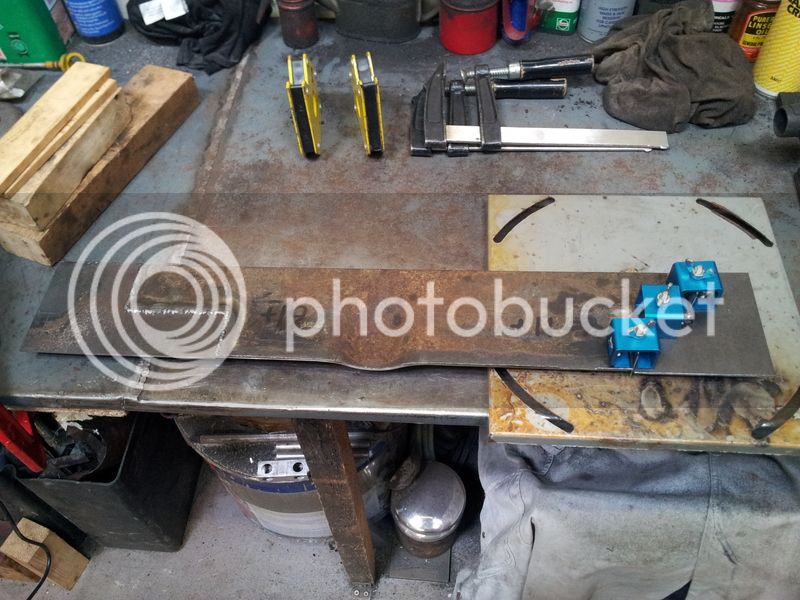
Patience was required to make sure the patches welded up true.
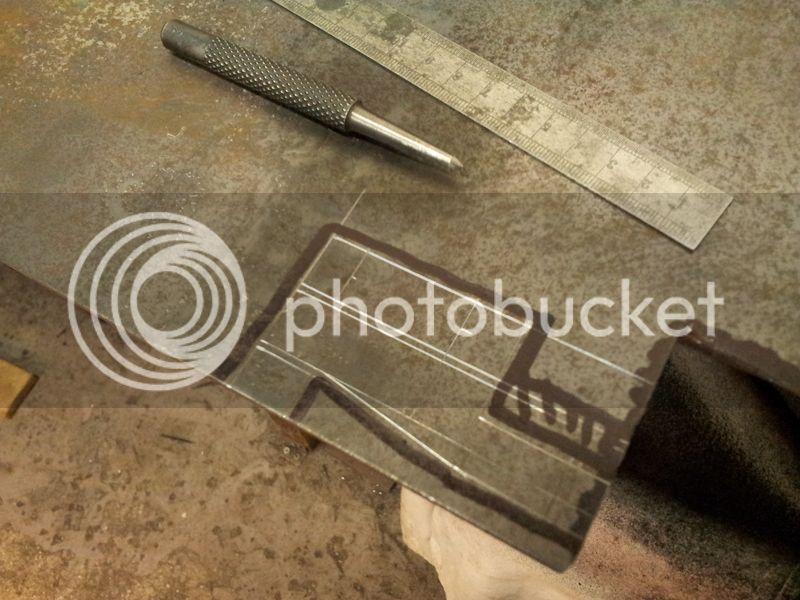
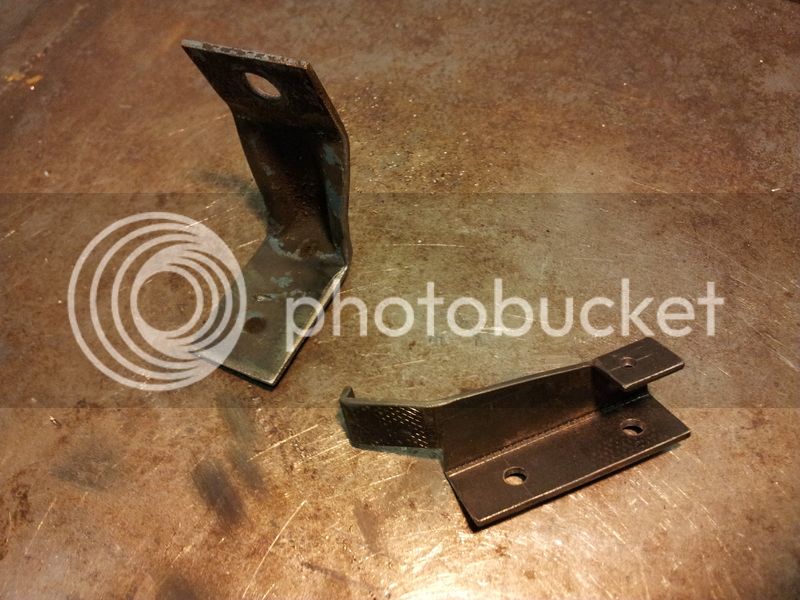
More clean new metal

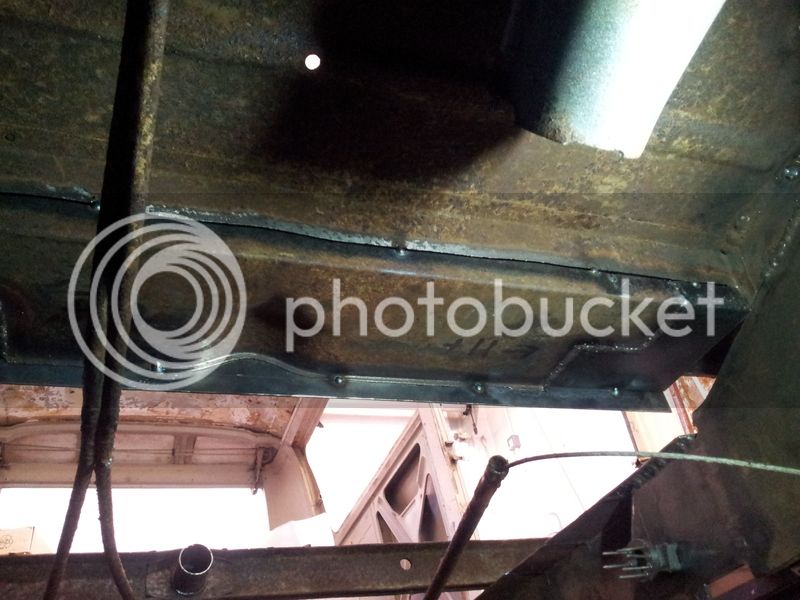
The repaired bulkhead section being refitted. Note the nails for spacing

Tacked in.
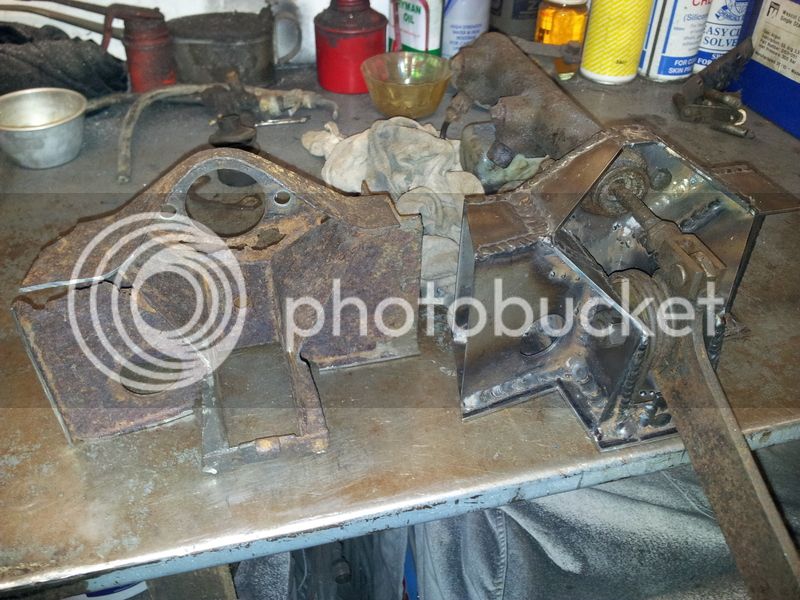
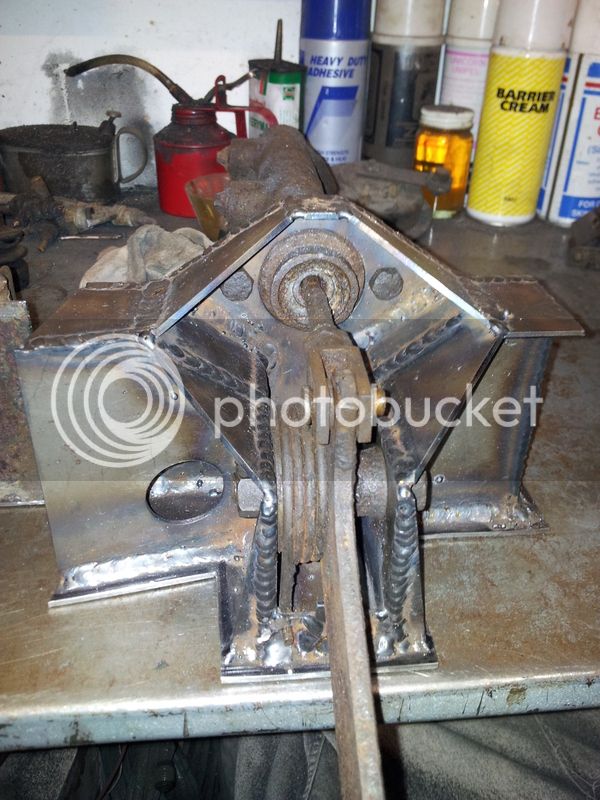
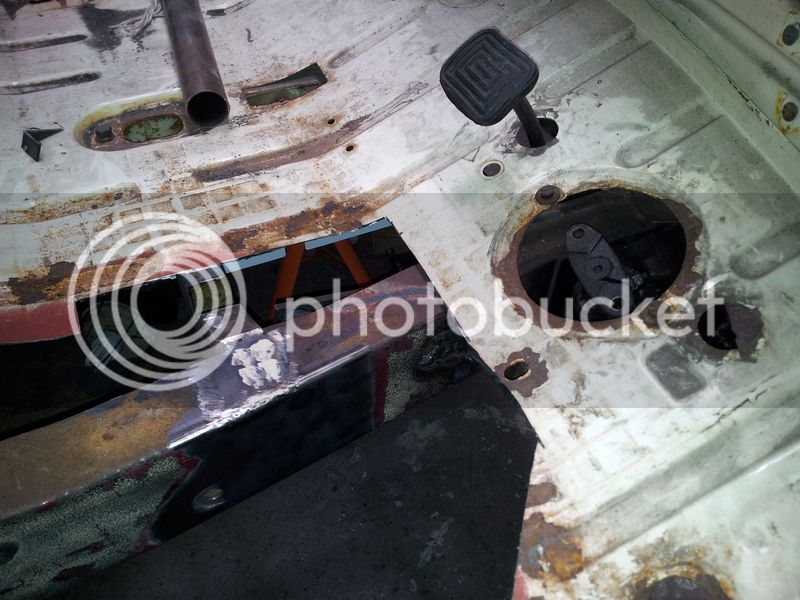
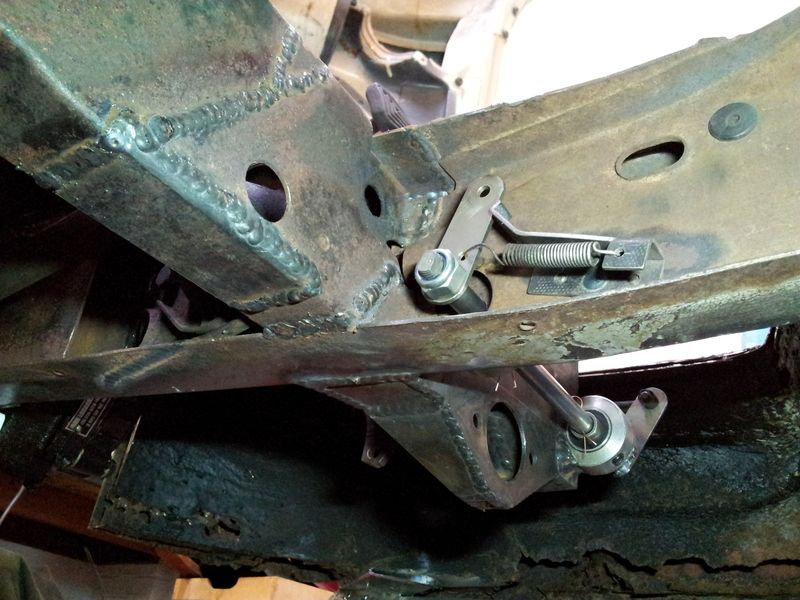
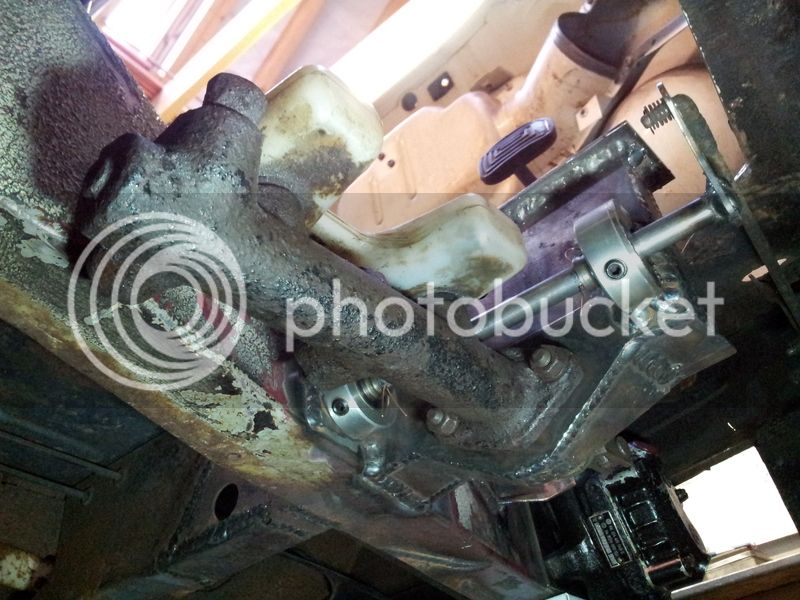
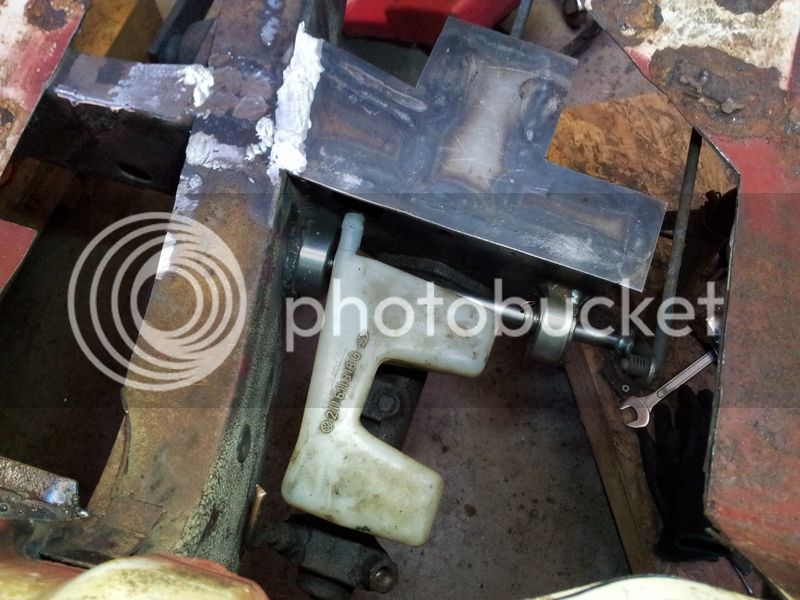
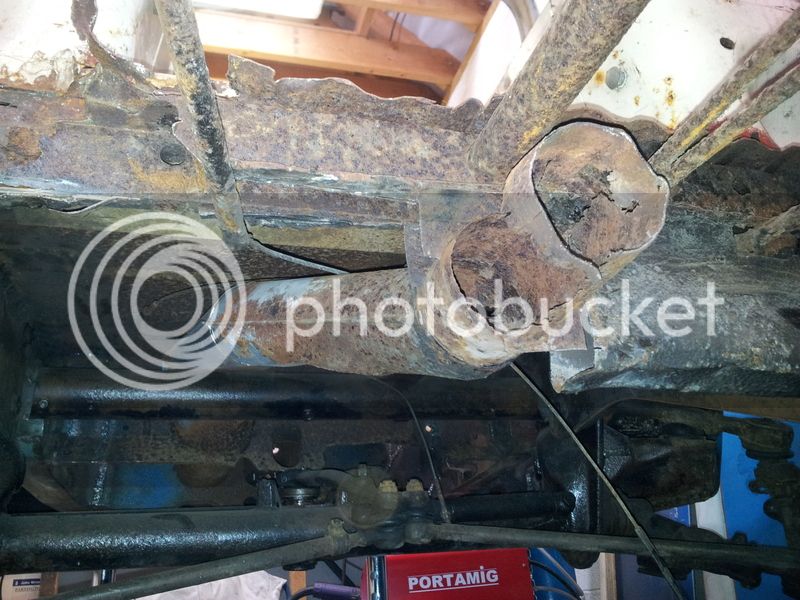
With the bulkhead tacked in place it was time to get the old shift rod guide tube out. I'd wrestled with this for a good few hours before to no avail after grinding off all the tacks that I could see, so this time I decided to chop it up into bitesize chunks.
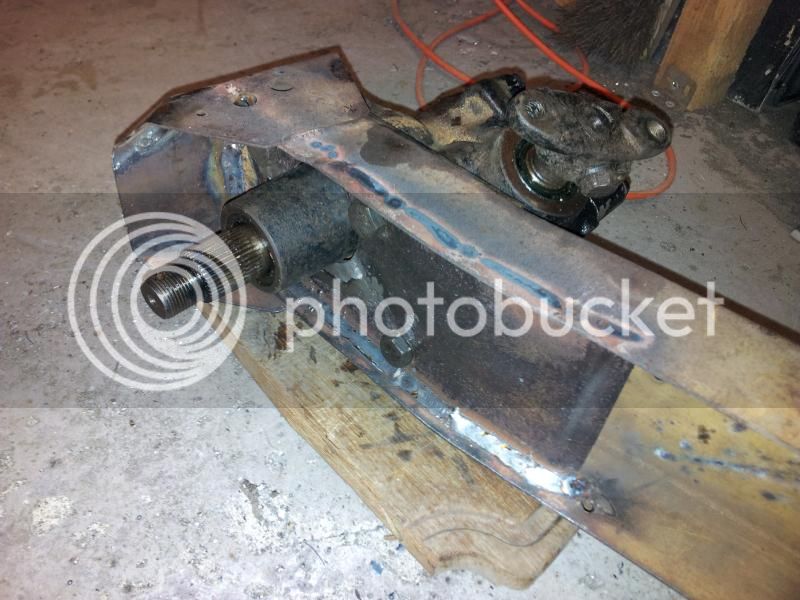
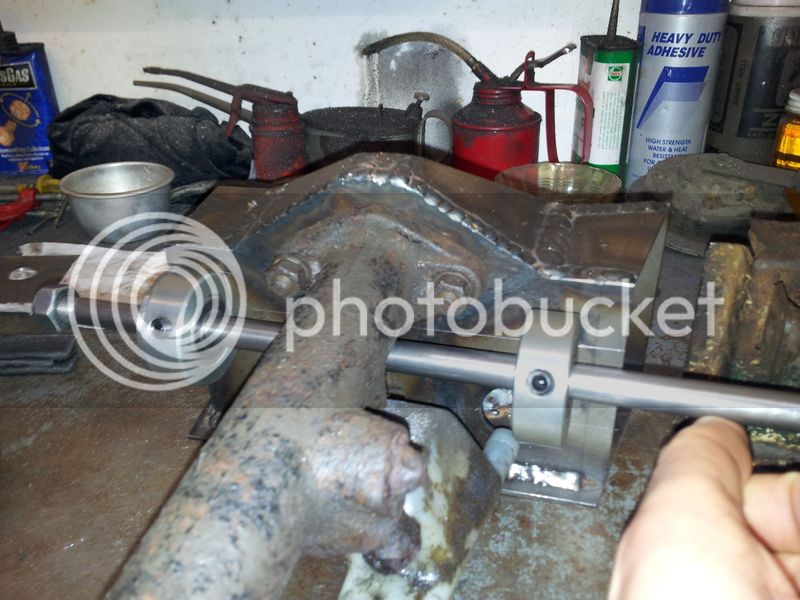
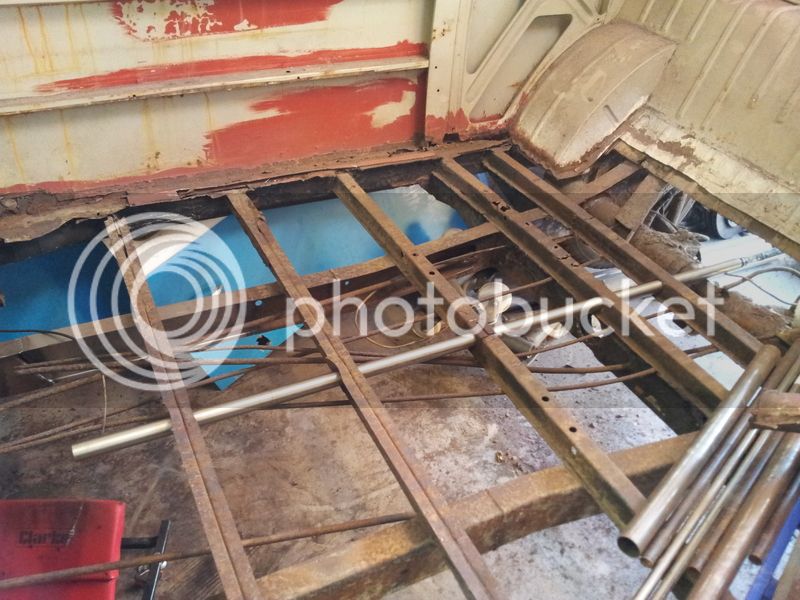
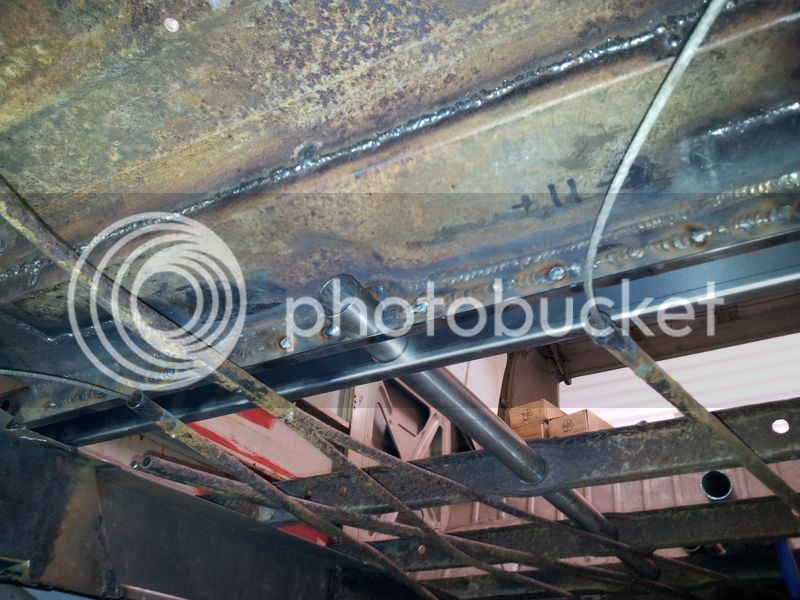
After lots of wrangling about and some cunning chopping/grinding to get around enclosed tacks the old tube was out whilst preserving the housing holes in the floor supports. The new section is seamless stainless tube with near enough the same dimensions as the original, 30mm O.D. but 1.2mm wall opposed to 1mm wall. This made the shift rod a slightly tighter fit inside, but with a bit of grease it doesn't seem to be a problem. I was concerned about potential galvanic corrosion between the dissimilar metals, but researching the topic suggests there will be no problem as there is only a very small amount of the more noble metal.
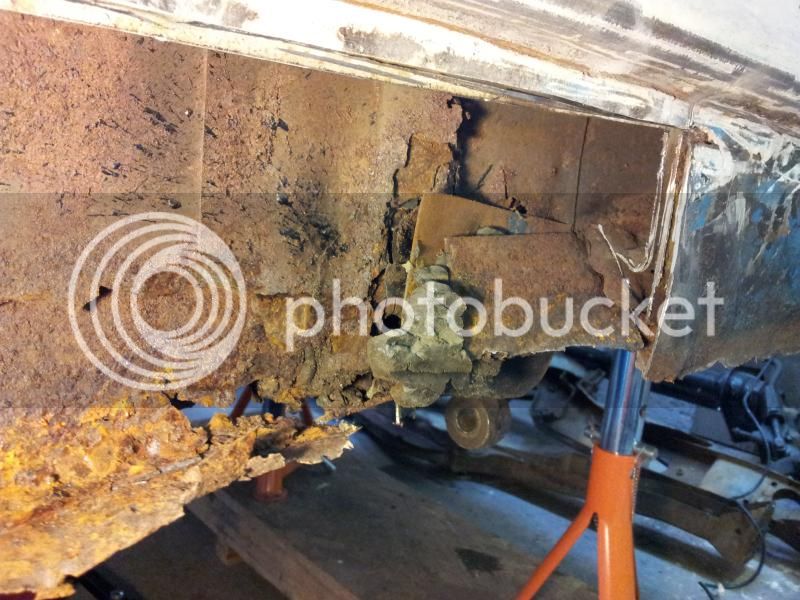
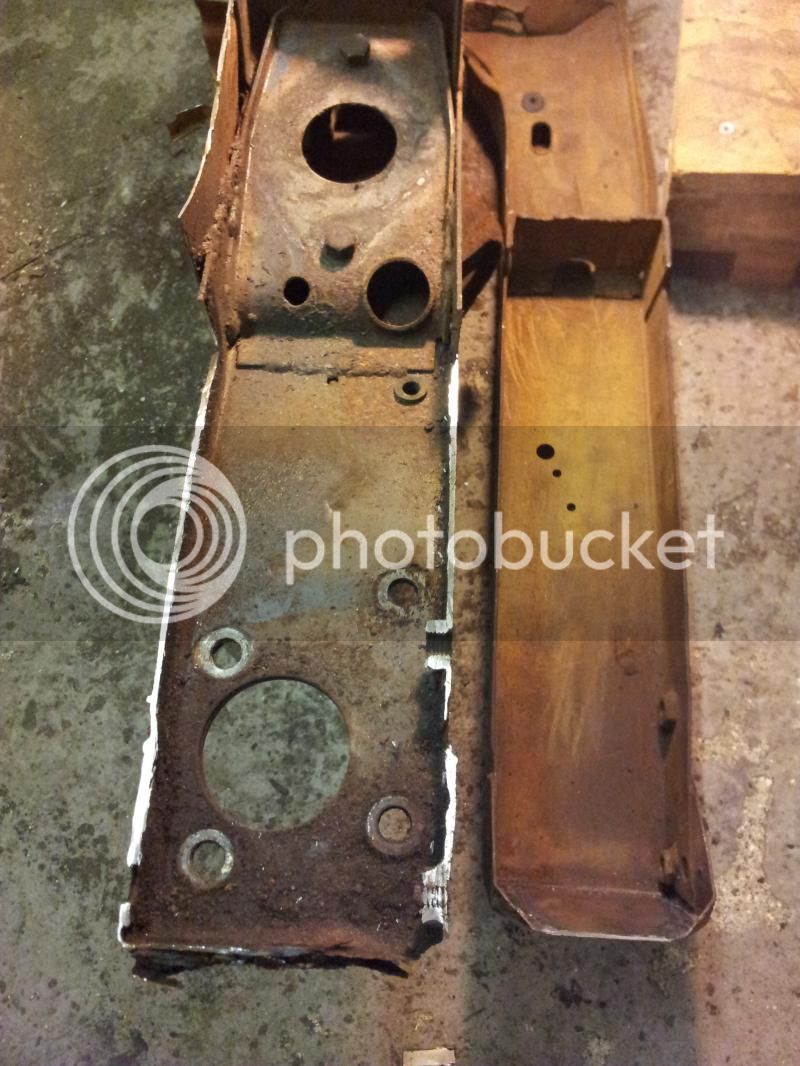
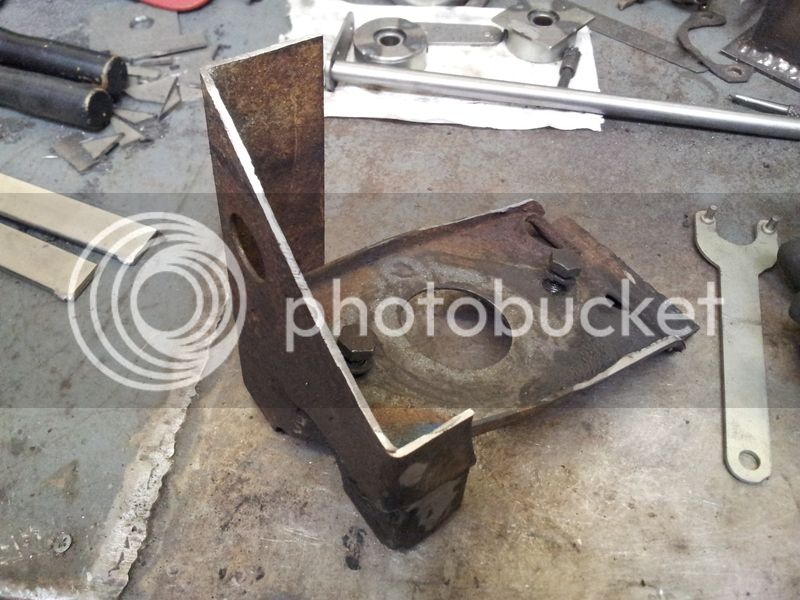
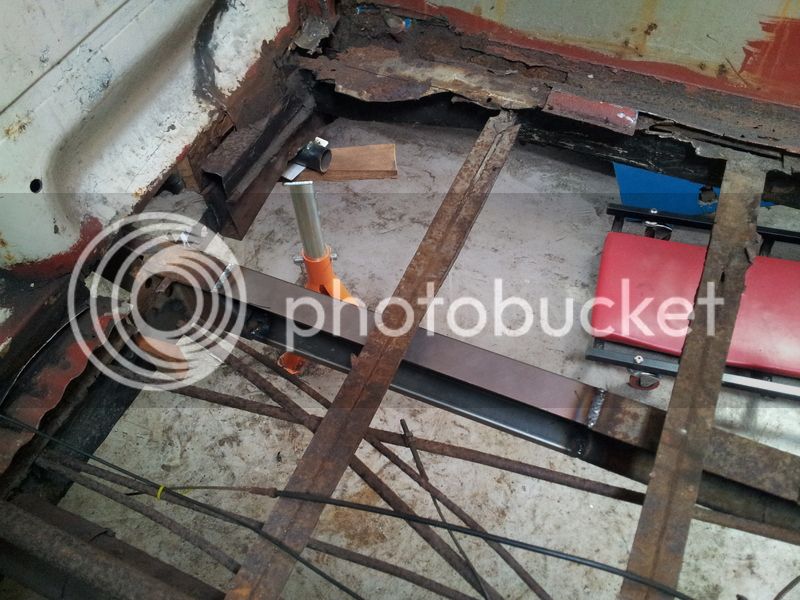
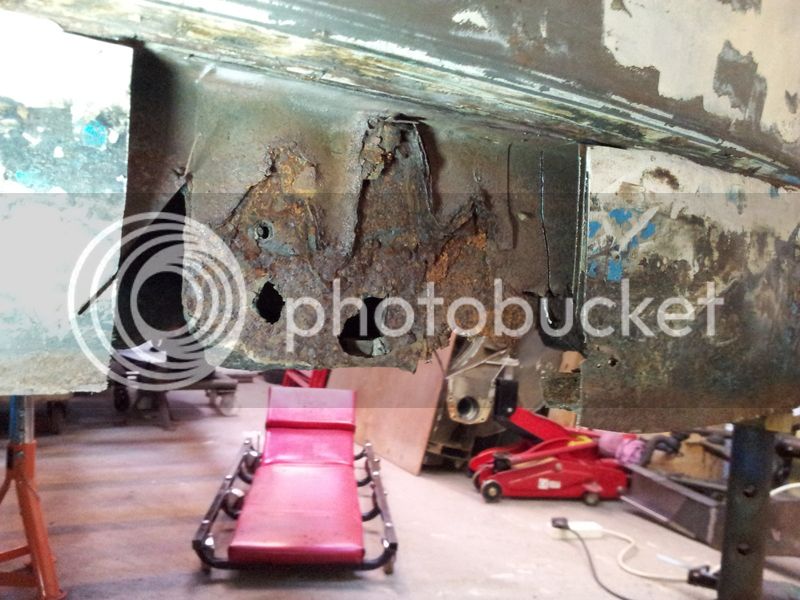
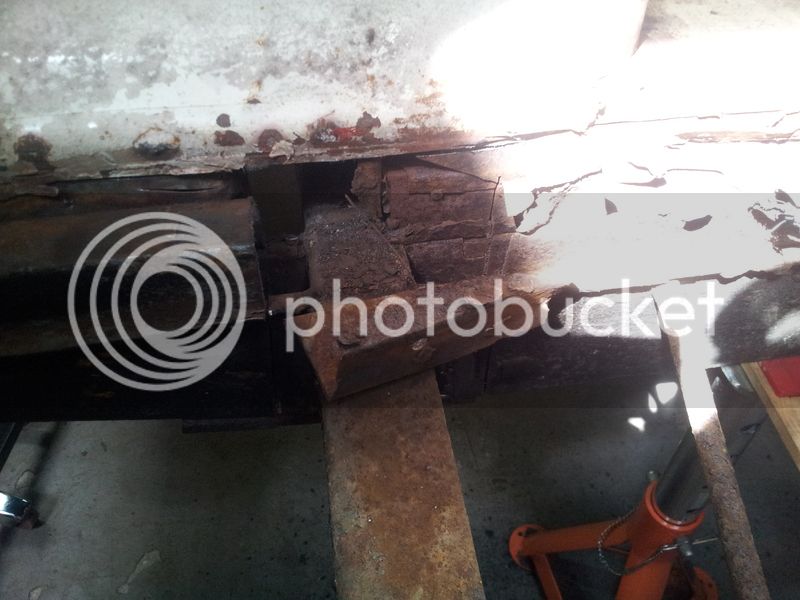
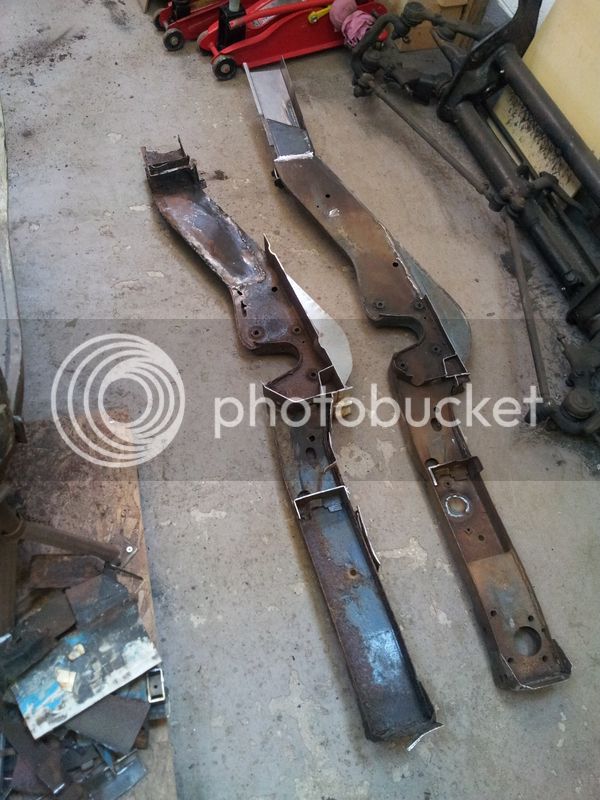
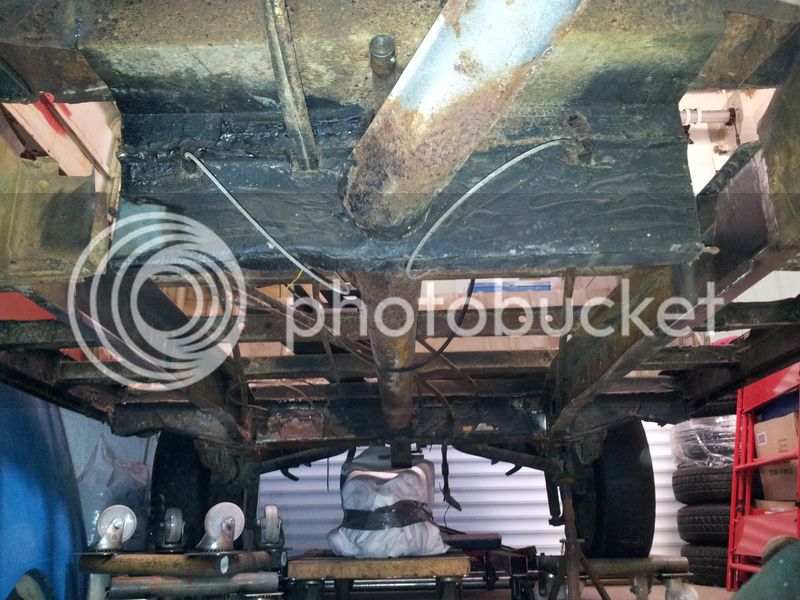
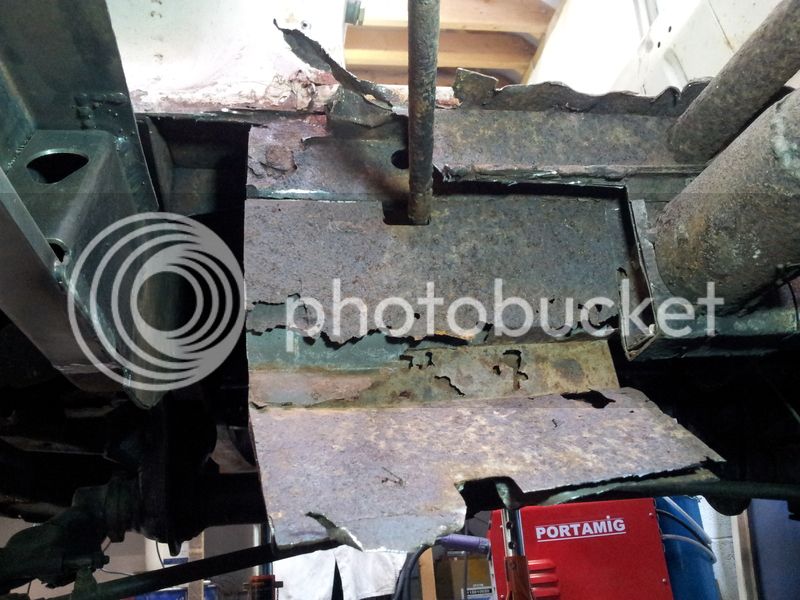
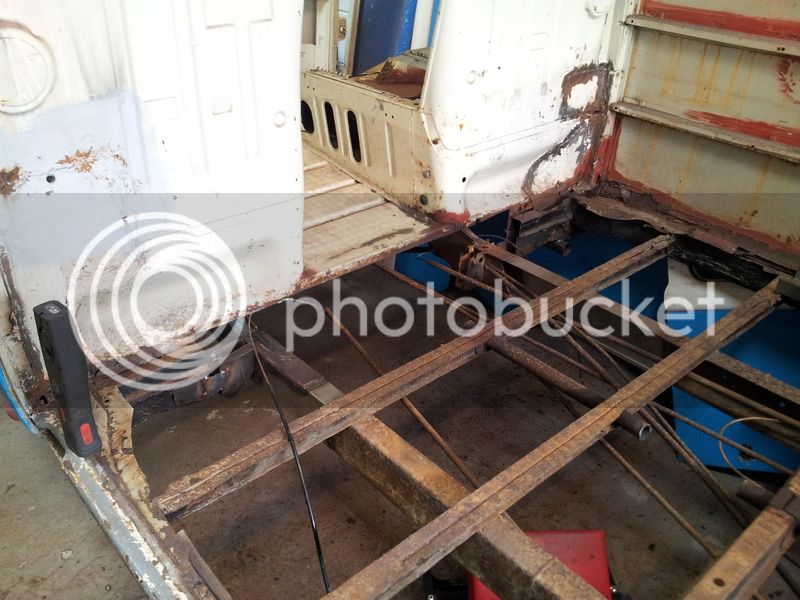
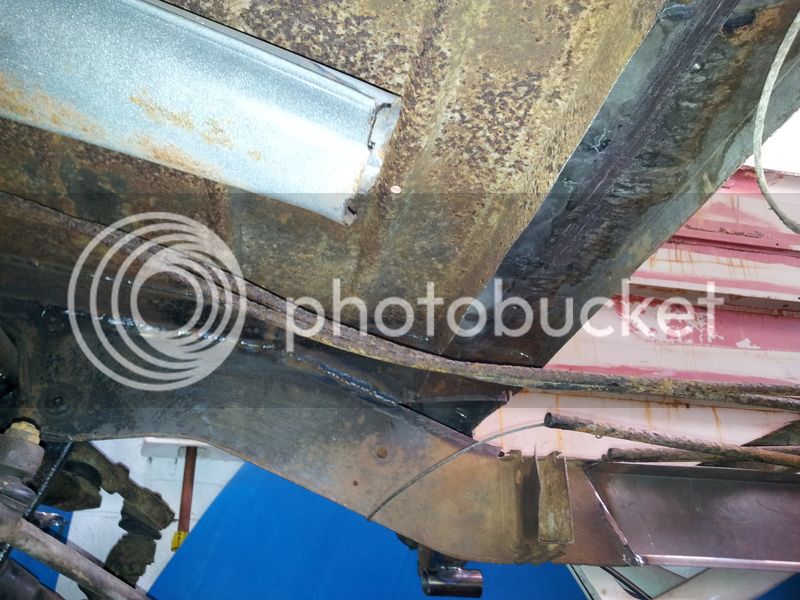
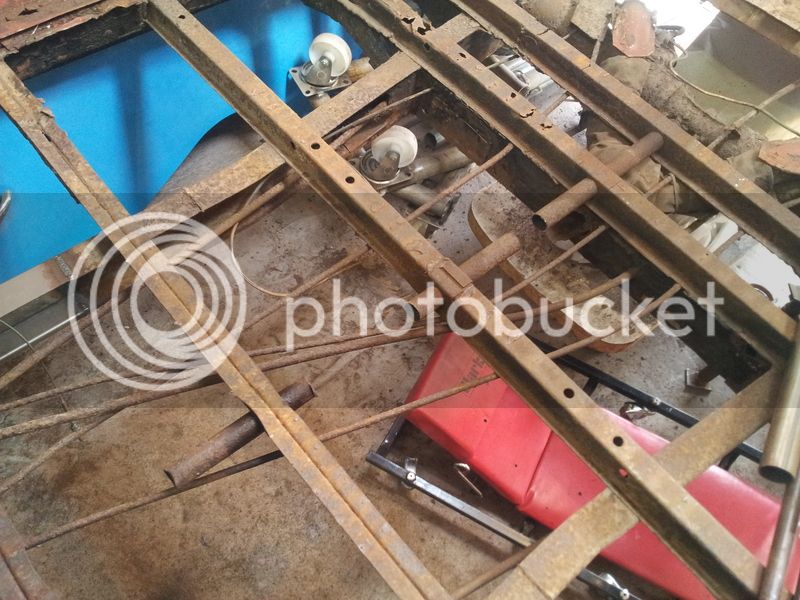
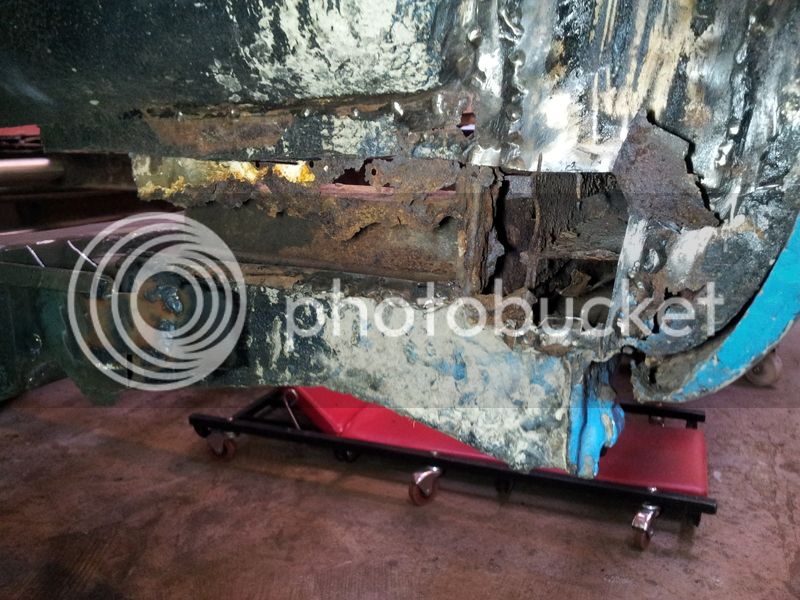
Remainder of the front floor support needed to come out next. This posed a problem - the inner sills had been badly patched over and are on my list to replace later on, so getting an accurate reference was difficult.
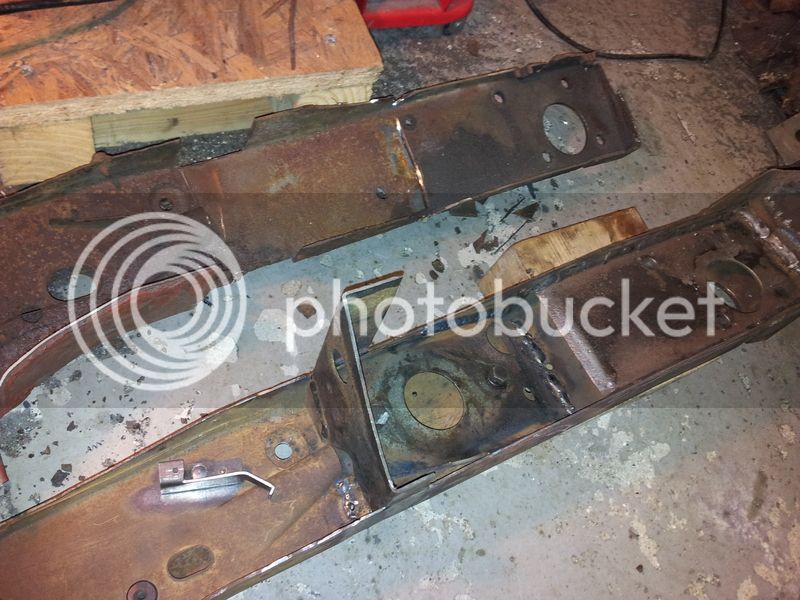
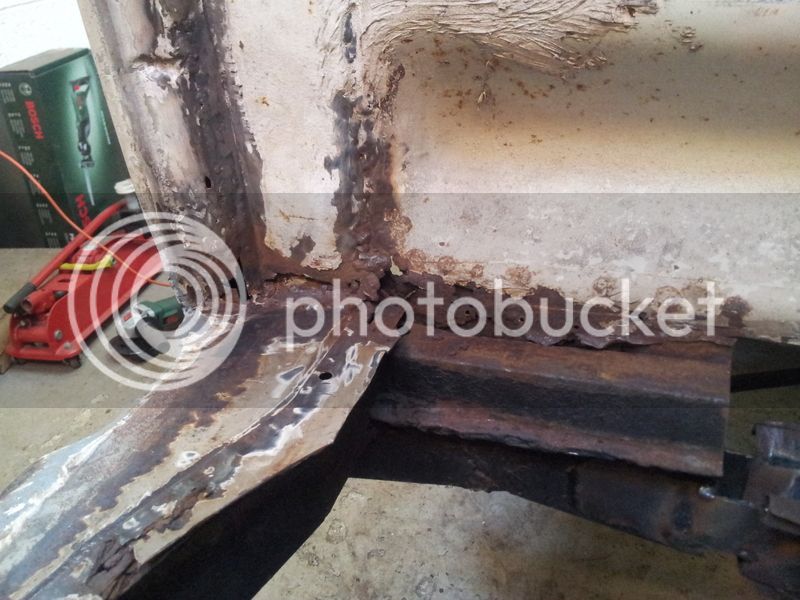
A bit of chopping revealed remnants of the original inner sill. You can also see the middle with the sliding door guide attached.
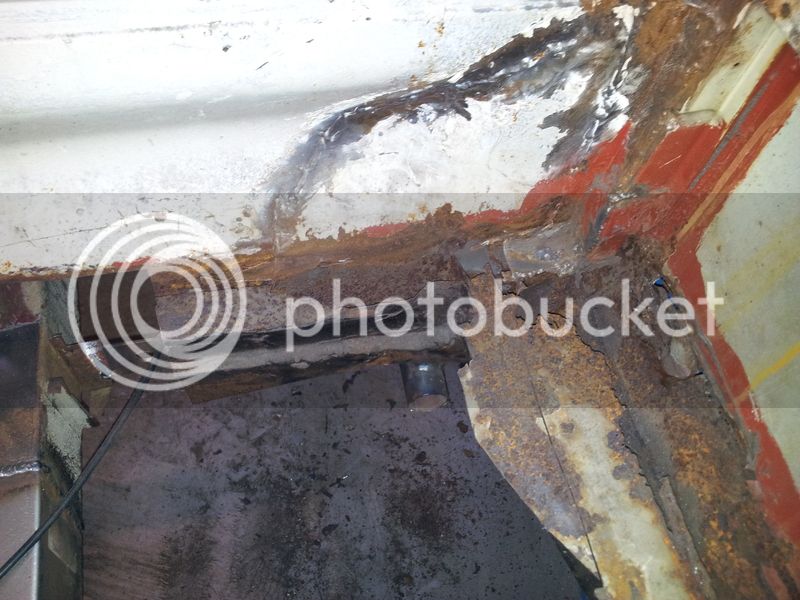
The offside was in even worse condition.
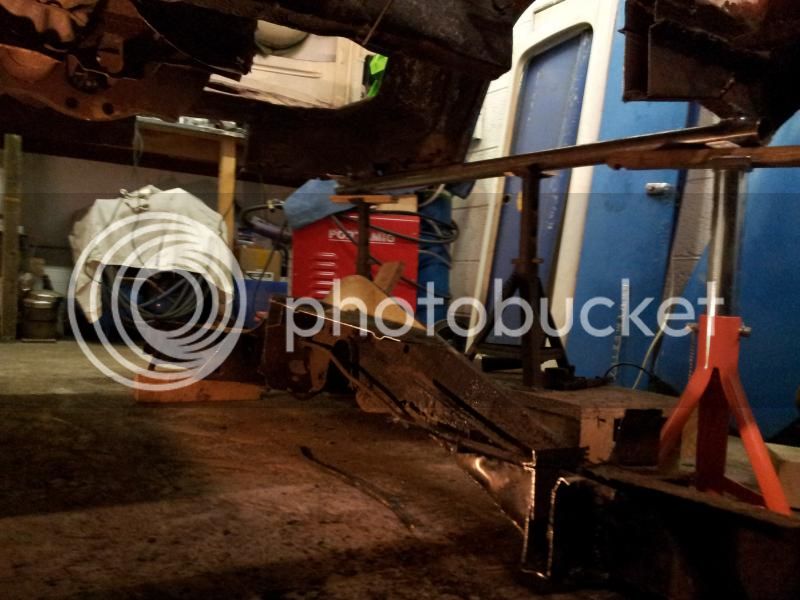
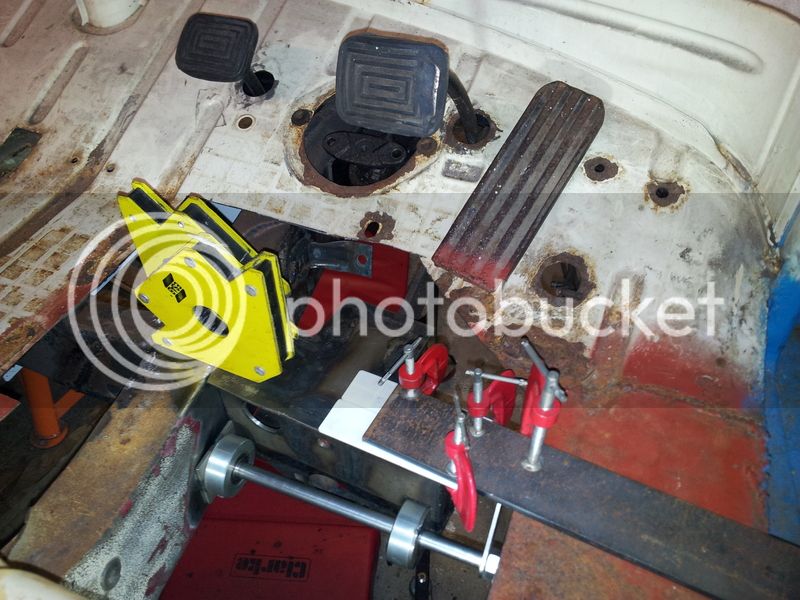
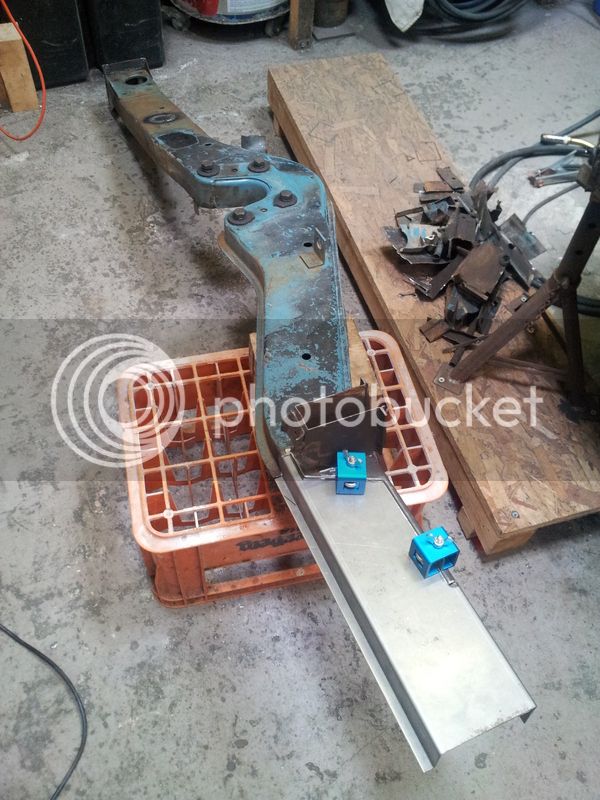
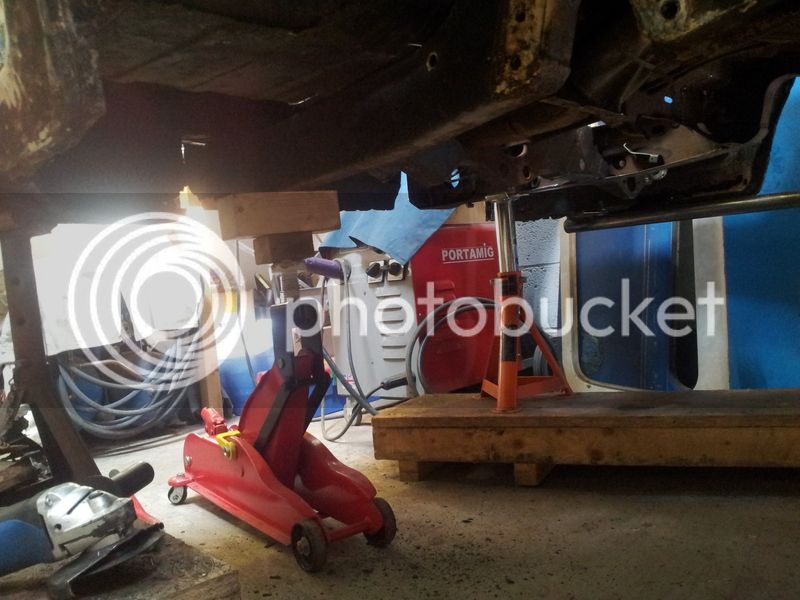
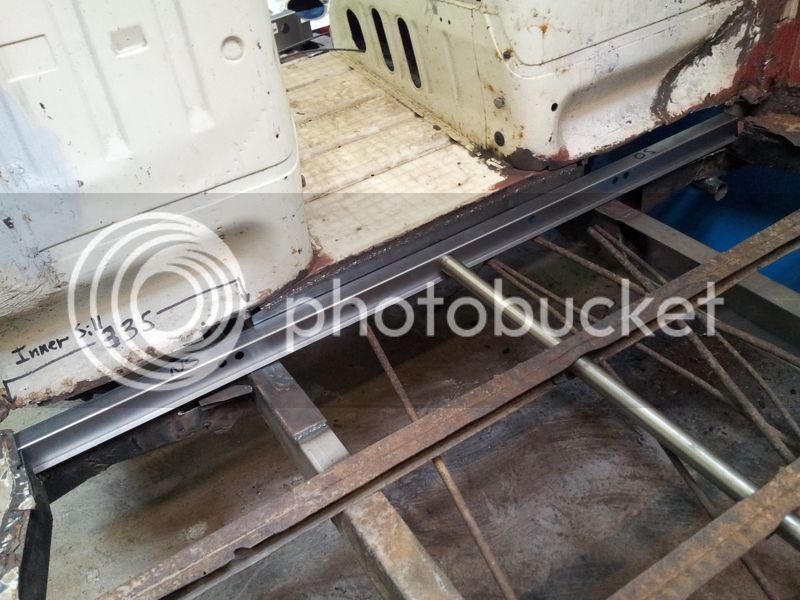
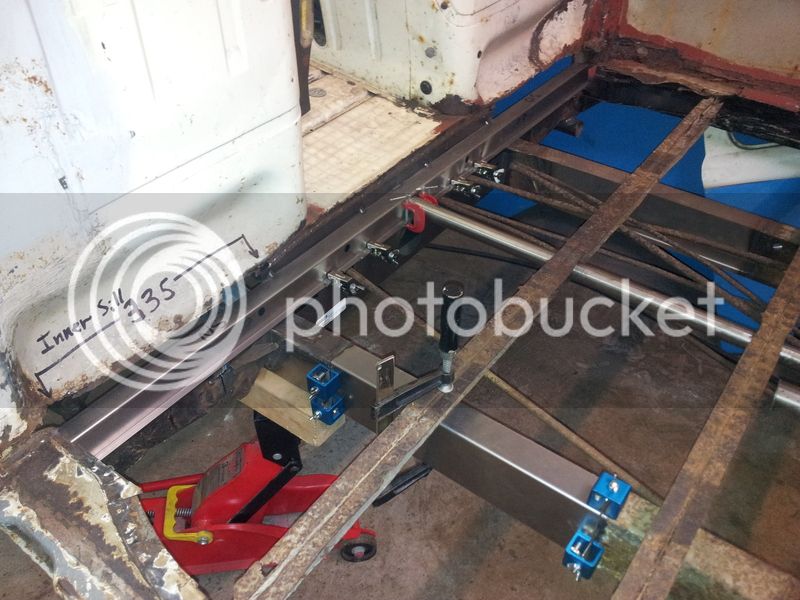
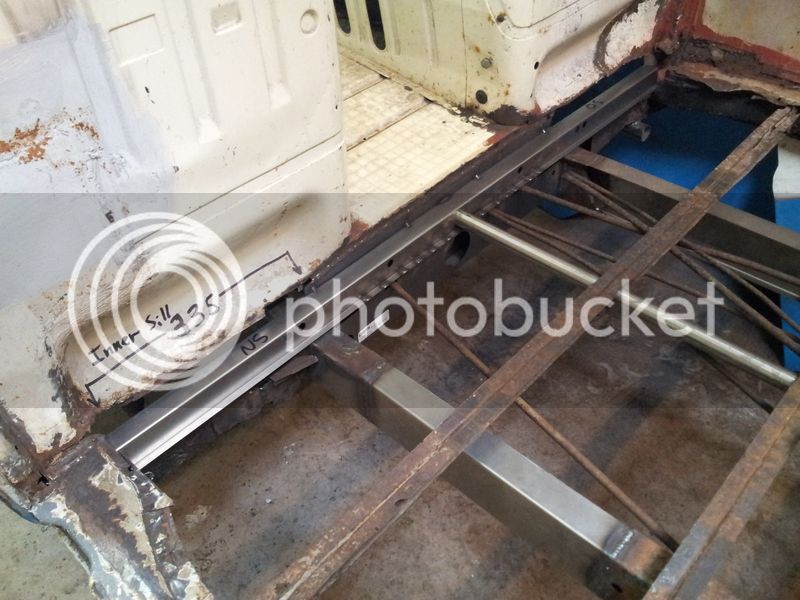
I decided to take a reference from the NS inner sill as best I could, then the inners were chopped out to allow for the floor support to be slotted in to place, with extra length left on for trimming down later when the sills will be replaced. The new shift rod guide tube was used to align it centrally and I took references from the top of the seatposts (seat bulkheads?) to level it as the rest of the floor supports were pretty wonky!
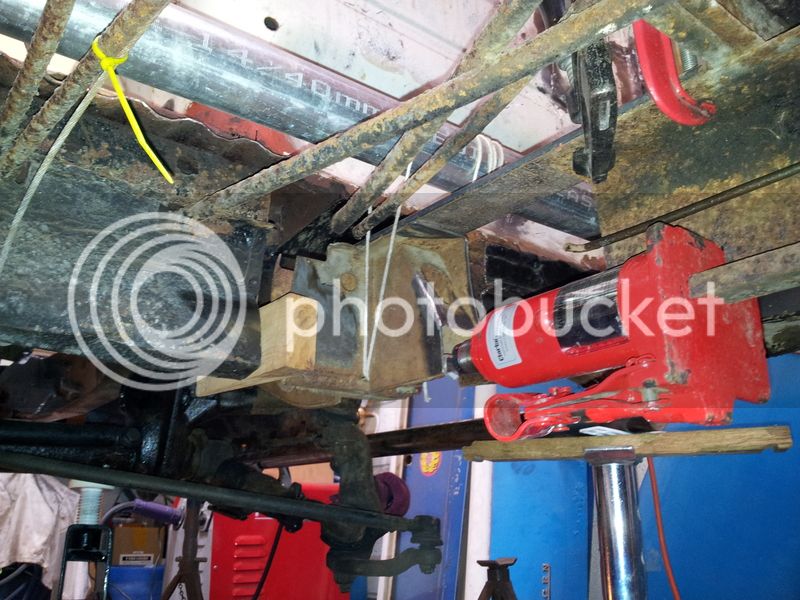
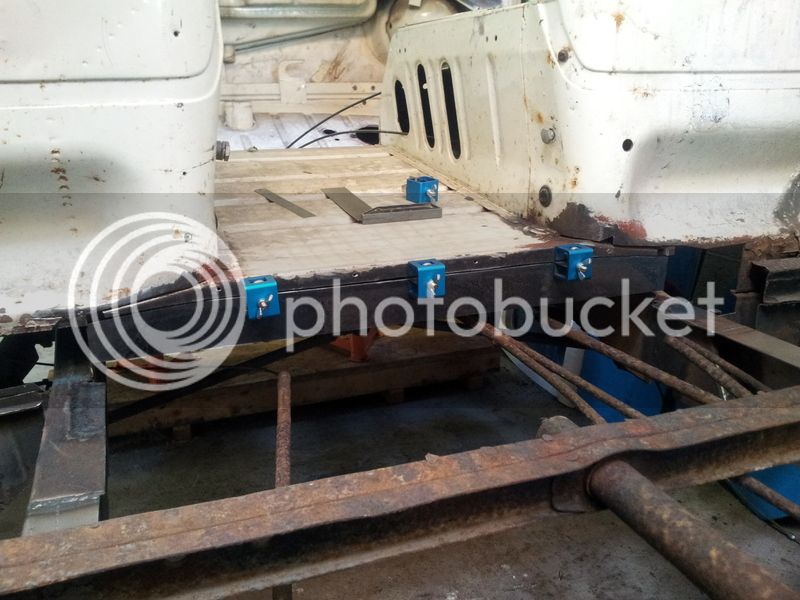
Leveled and clamped up.
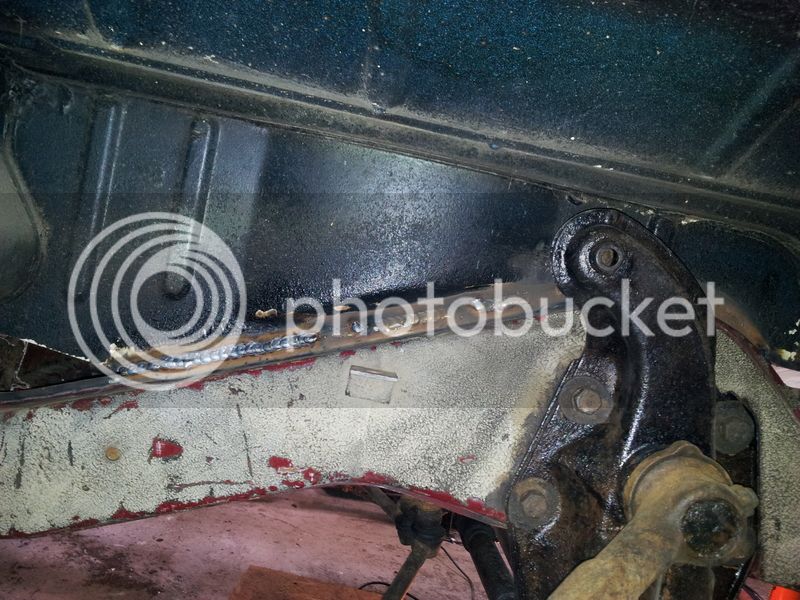
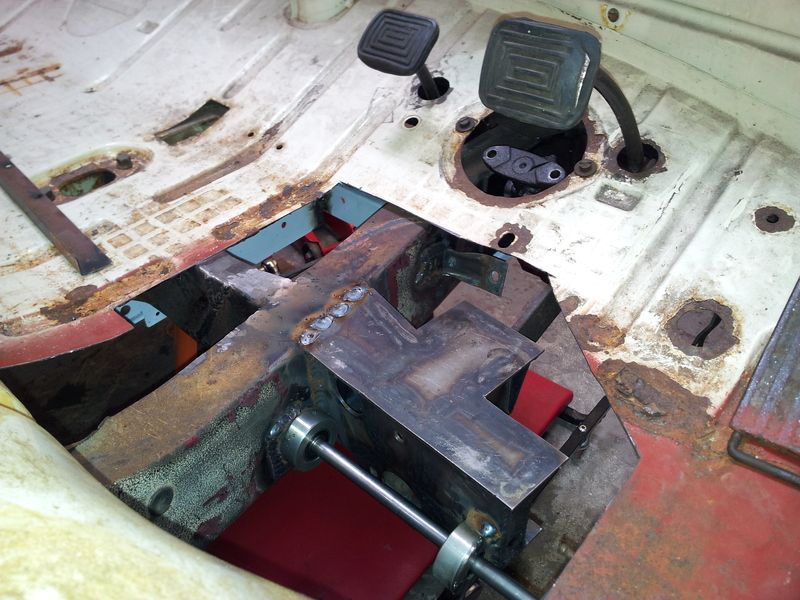
Welded in.
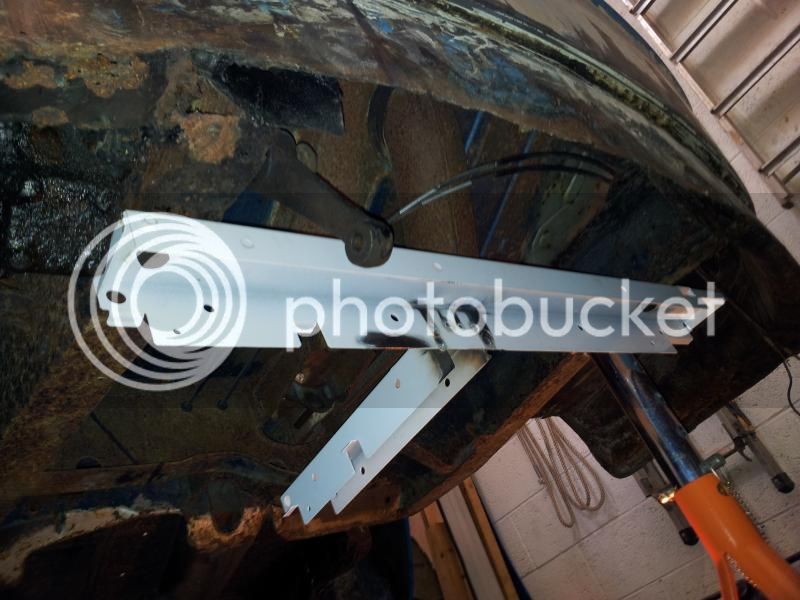
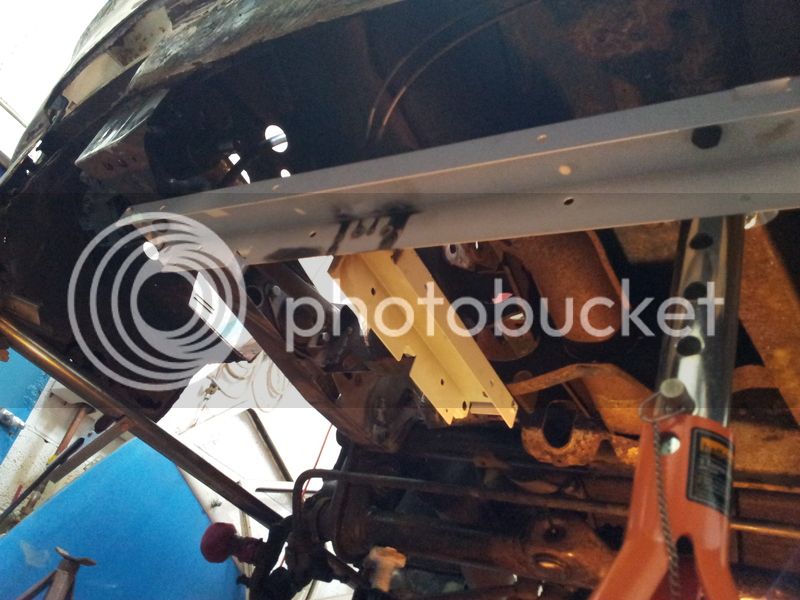
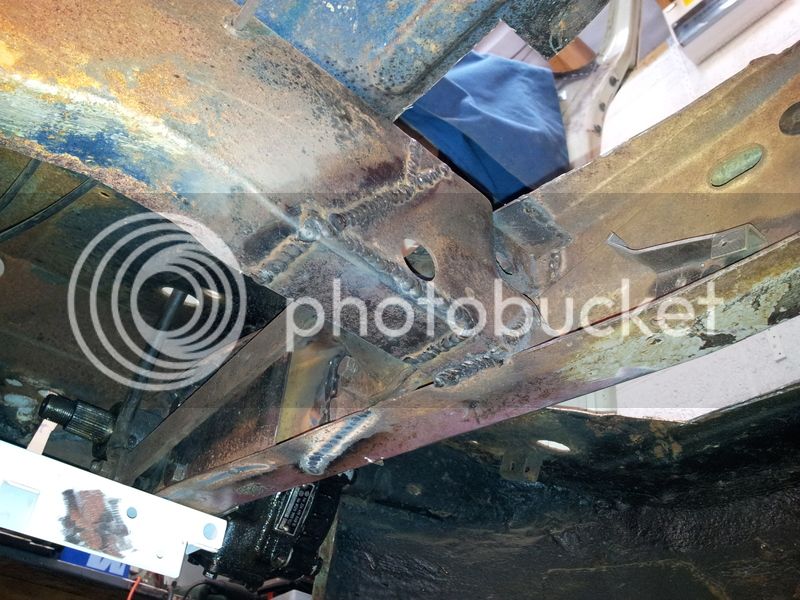
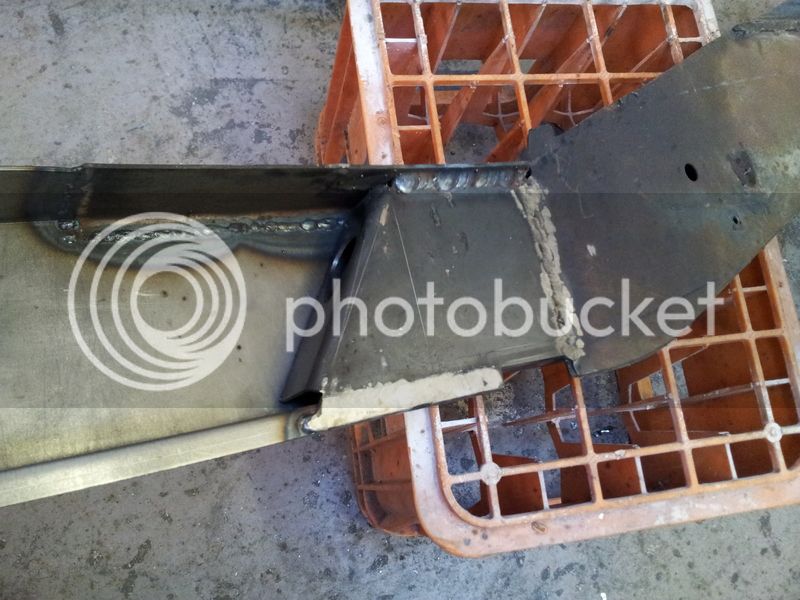
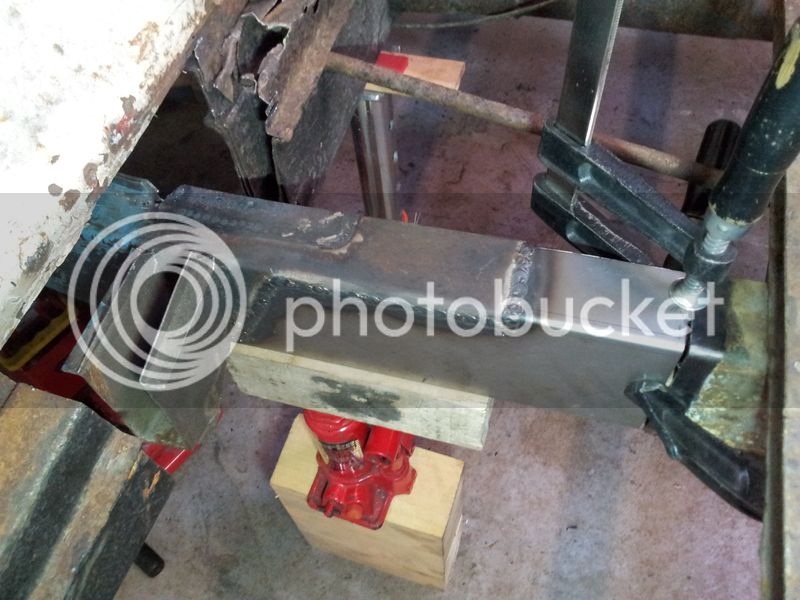
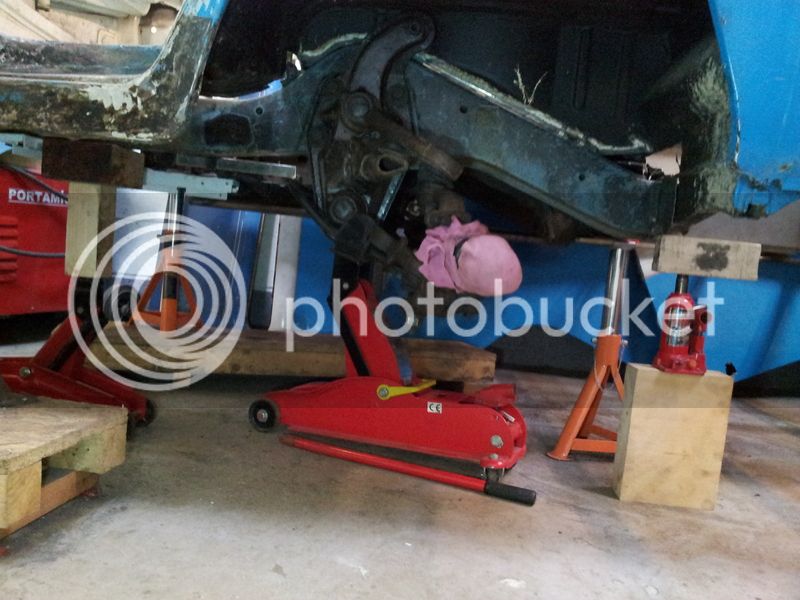
Finally, everything was in place to fit the new front crossmember and a new section of main chassis rail.
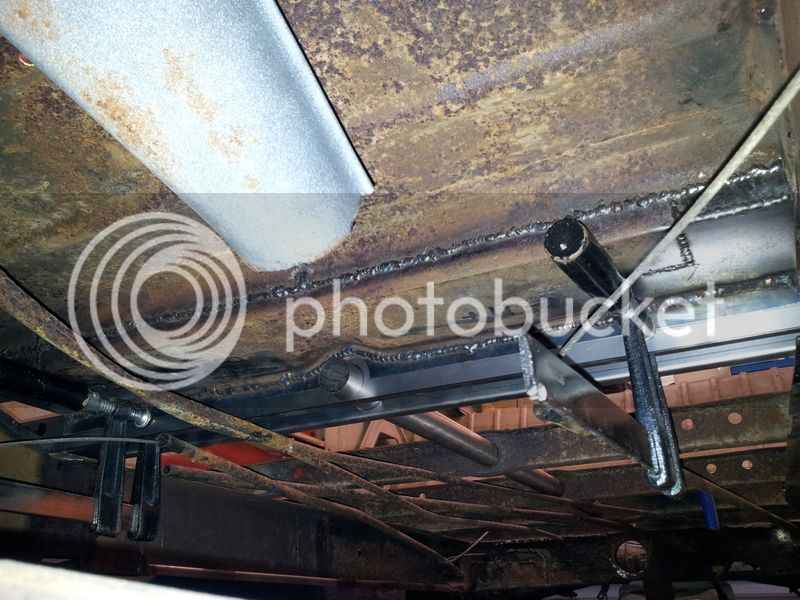
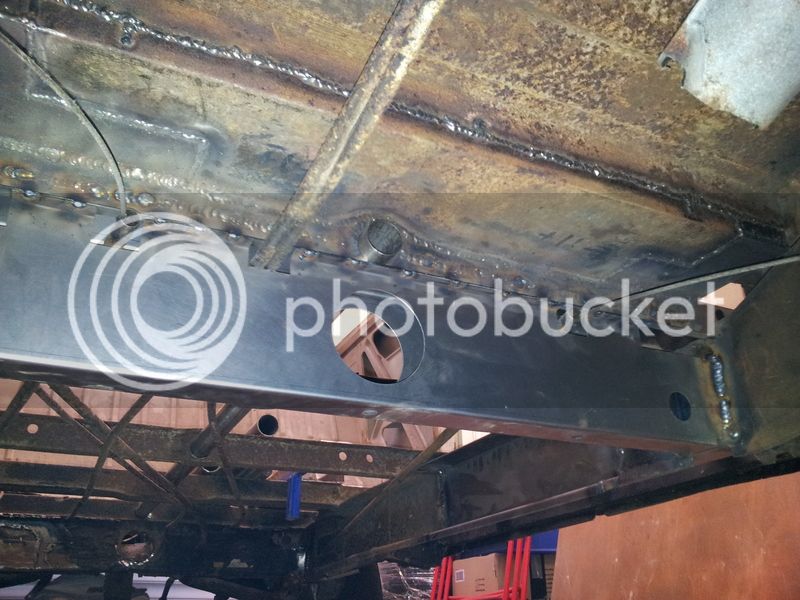
All welded up

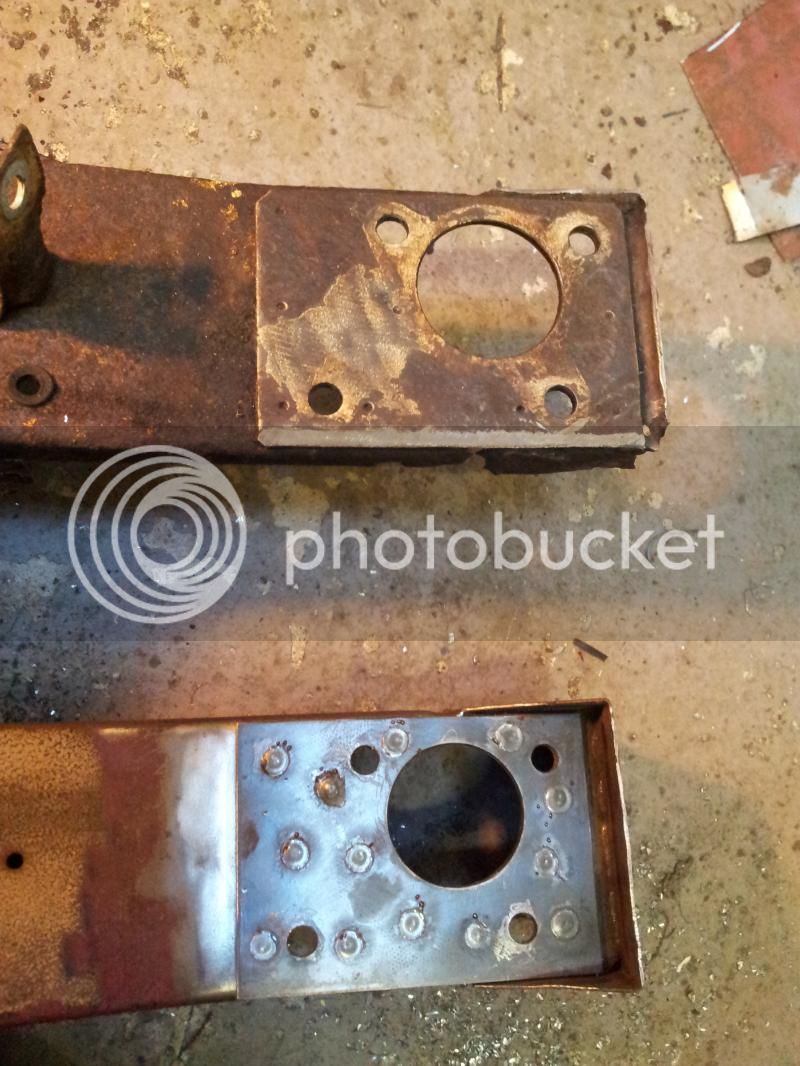
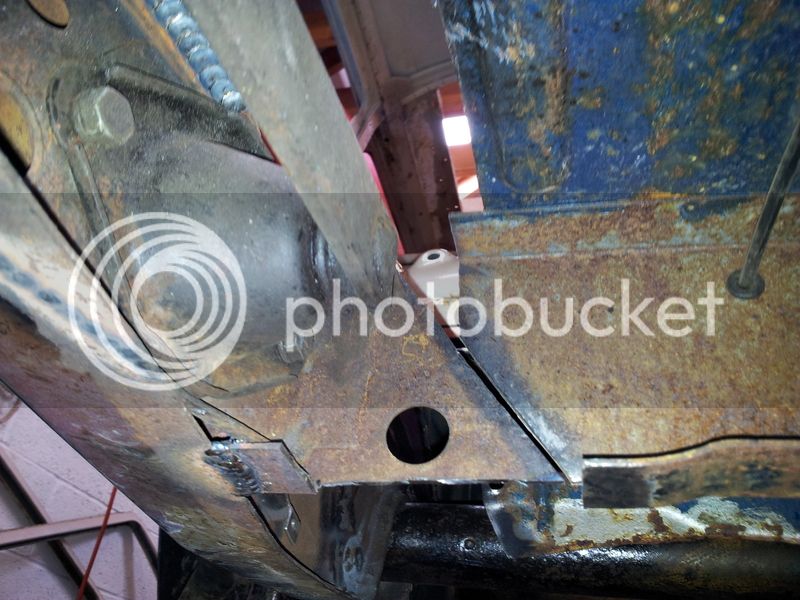
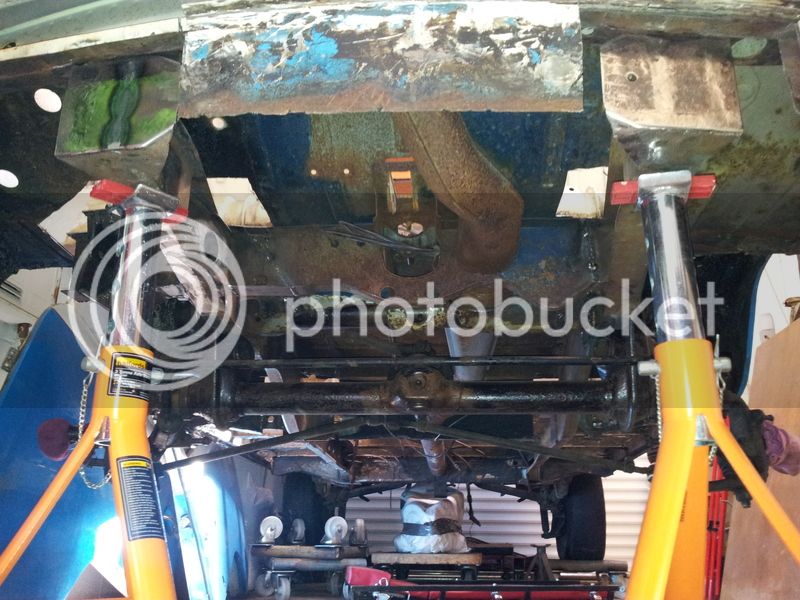
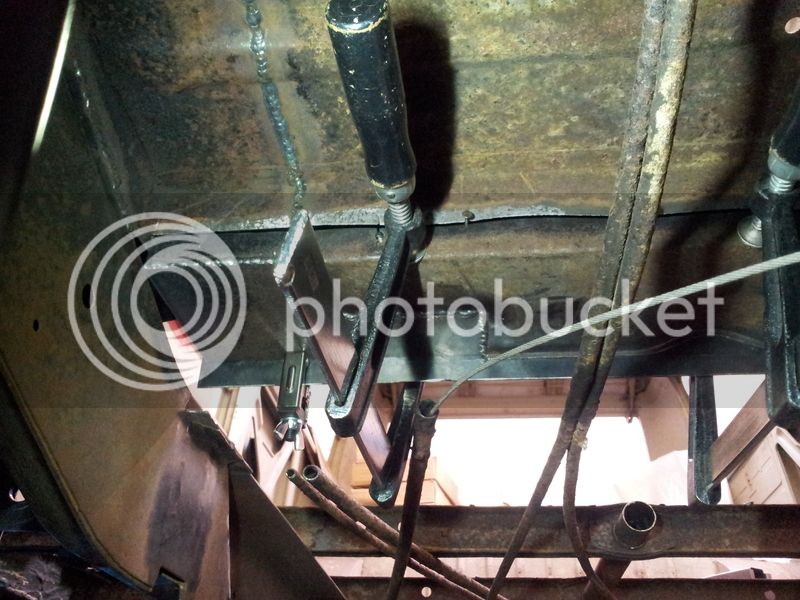
I know the original crossmember was spot welded onto the floor support. I decided to clamp it in place, then cut V slits in the crossmember/floor support to allow decent welds rather than drilling and trying to plug weld upside down. Worked very well.
