You are using an out of date browser. It may not display this or other websites correctly.
You should upgrade or use an alternative browser.
You should upgrade or use an alternative browser.
68 RHD Sunroof Deluxe From up North to Wales
- Thread starter D@VEY
- Start date


Help Support Early Bay Forum:
This site may earn a commission from merchant affiliate
links, including eBay, Amazon, and others.

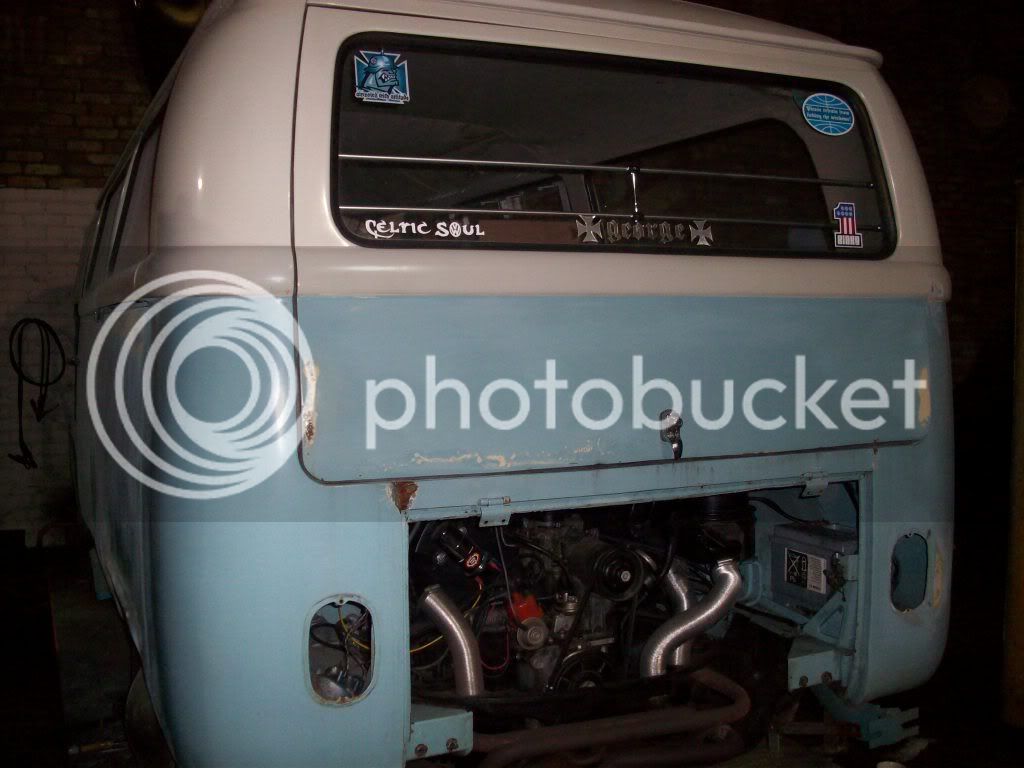


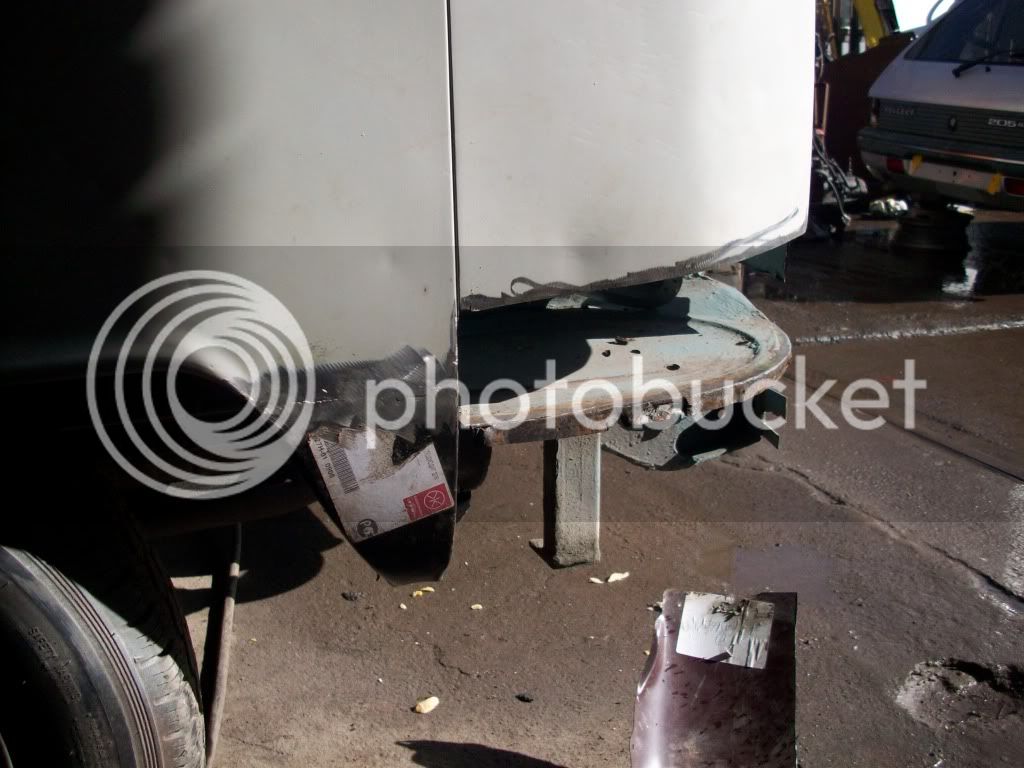
Picked up the new tailgate today.Top bloke.
Got Deluxe trim on the back and Deluxe trim seal thrown in with the deal!
Its my VW script wanted to see what its going to look like ;D
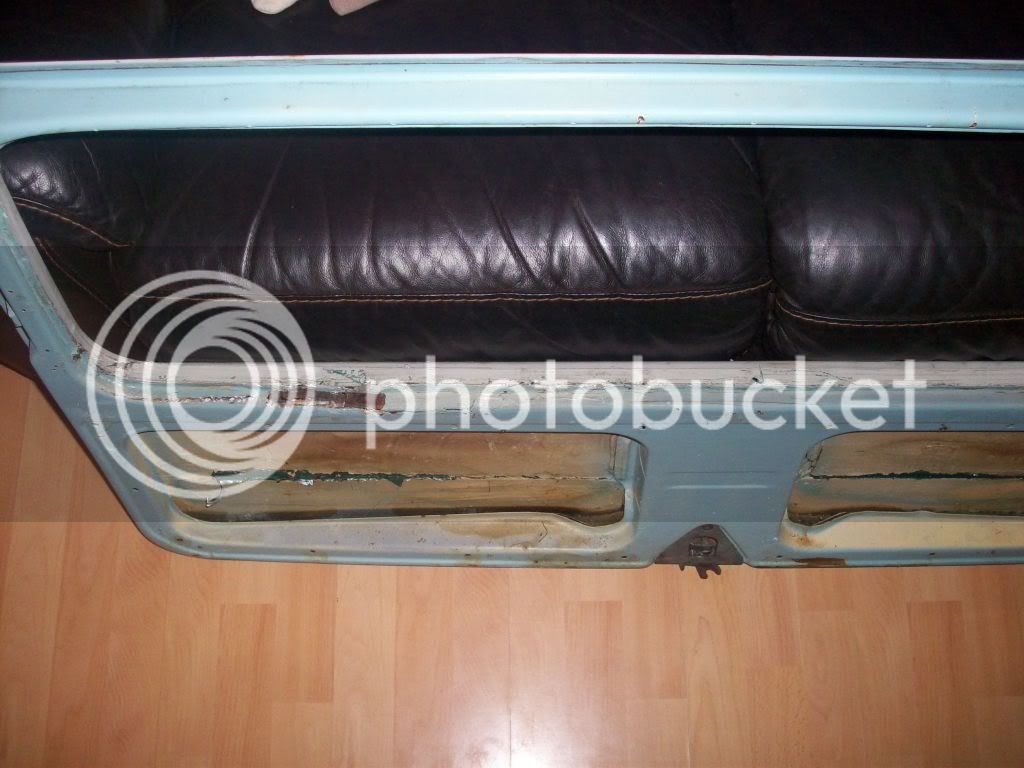
Old rotten gate
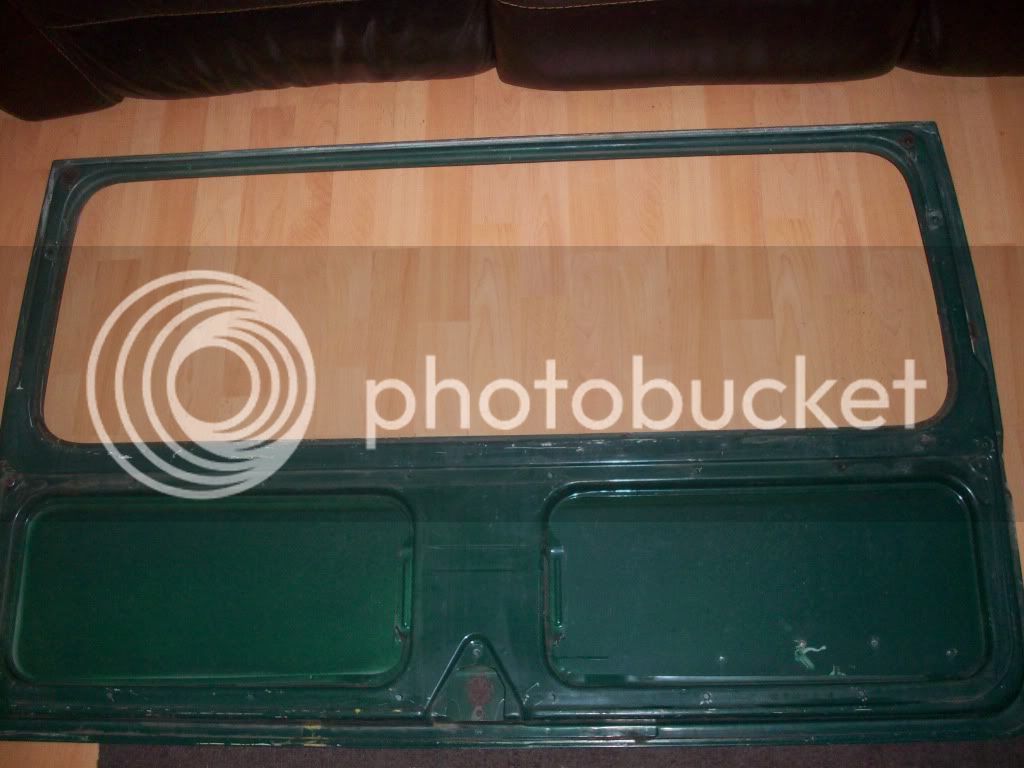
New one
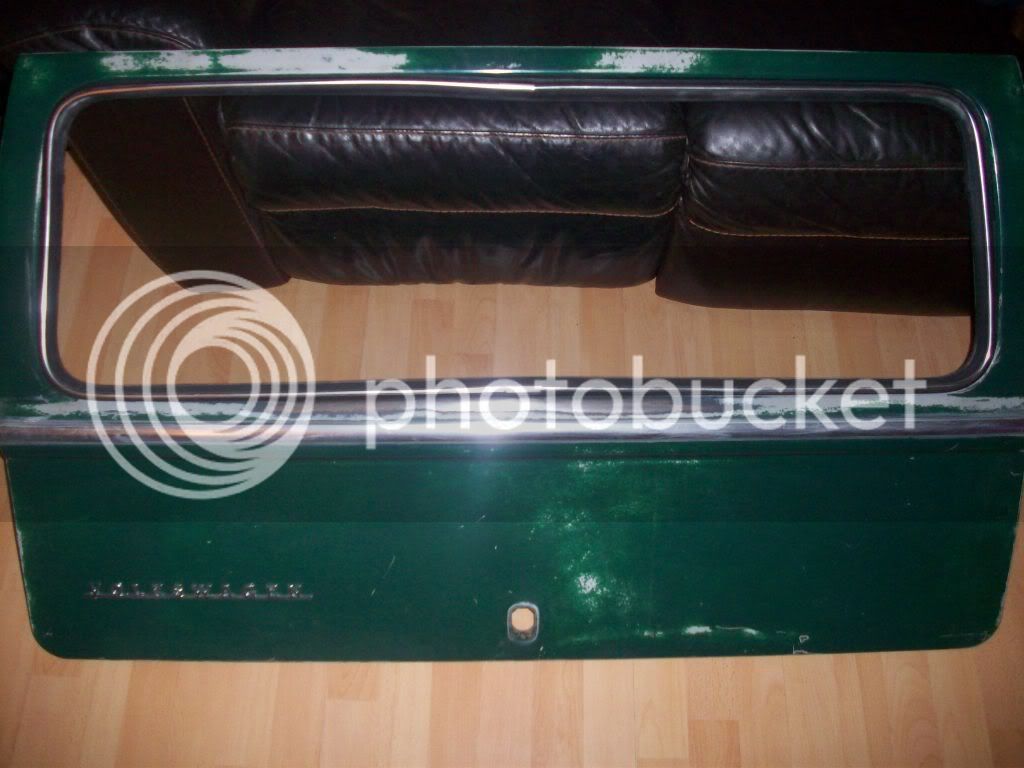
Got Deluxe trim on the back and Deluxe trim seal thrown in with the deal!
Its my VW script wanted to see what its going to look like ;D
Old rotten gate
New one
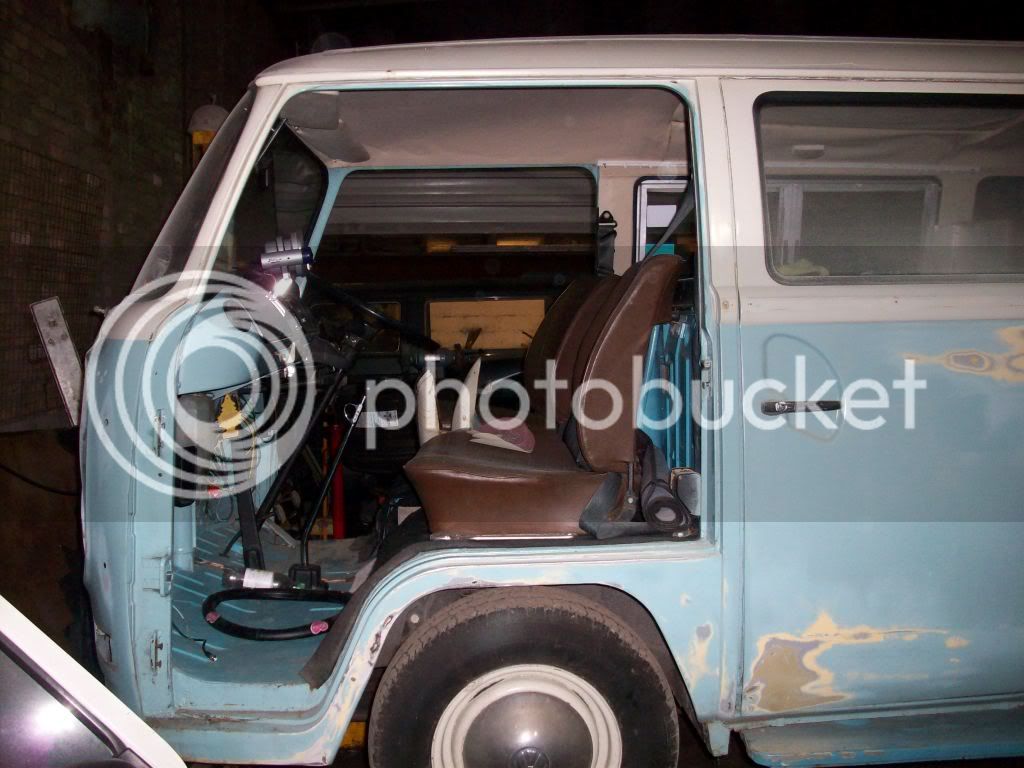
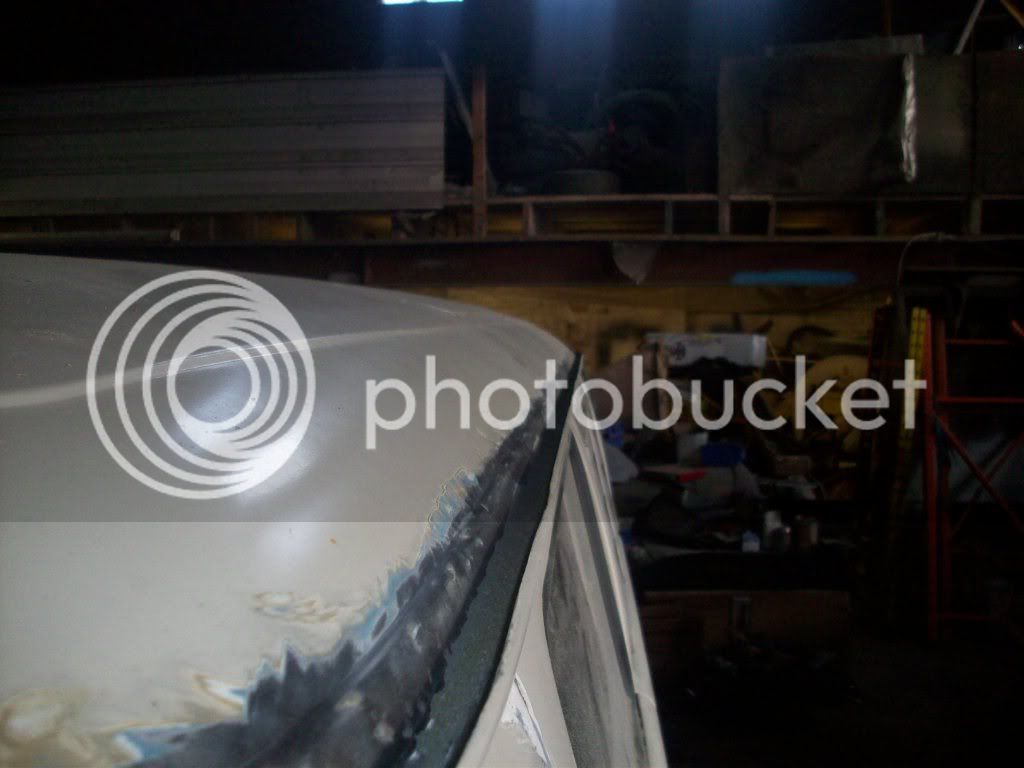
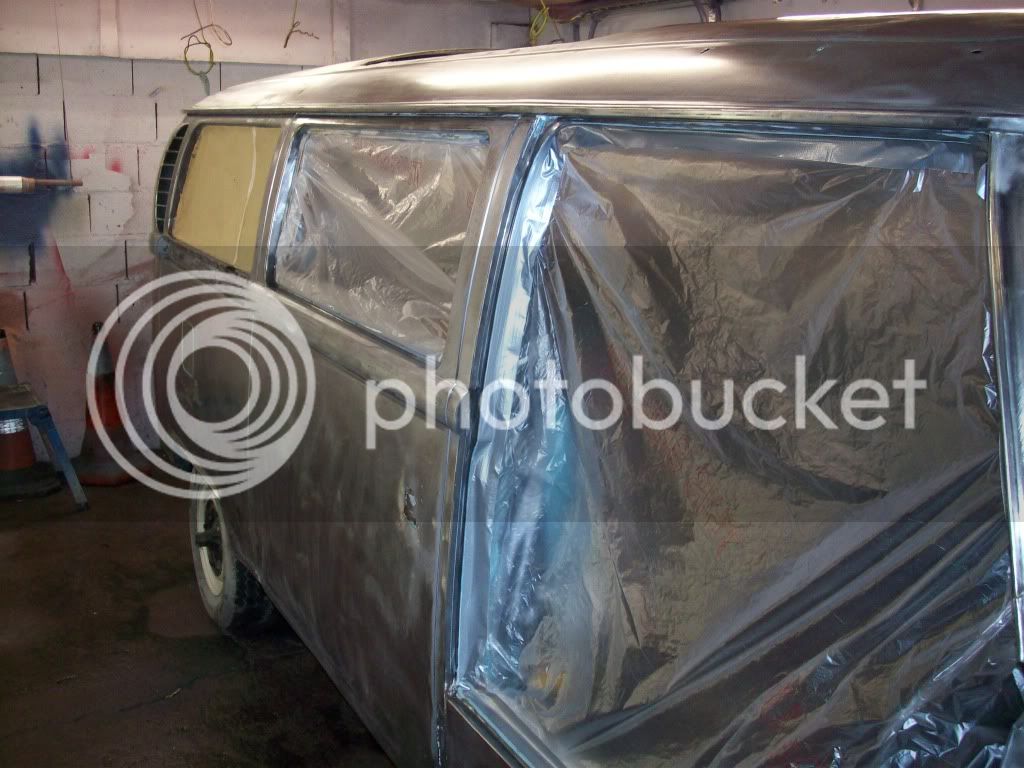
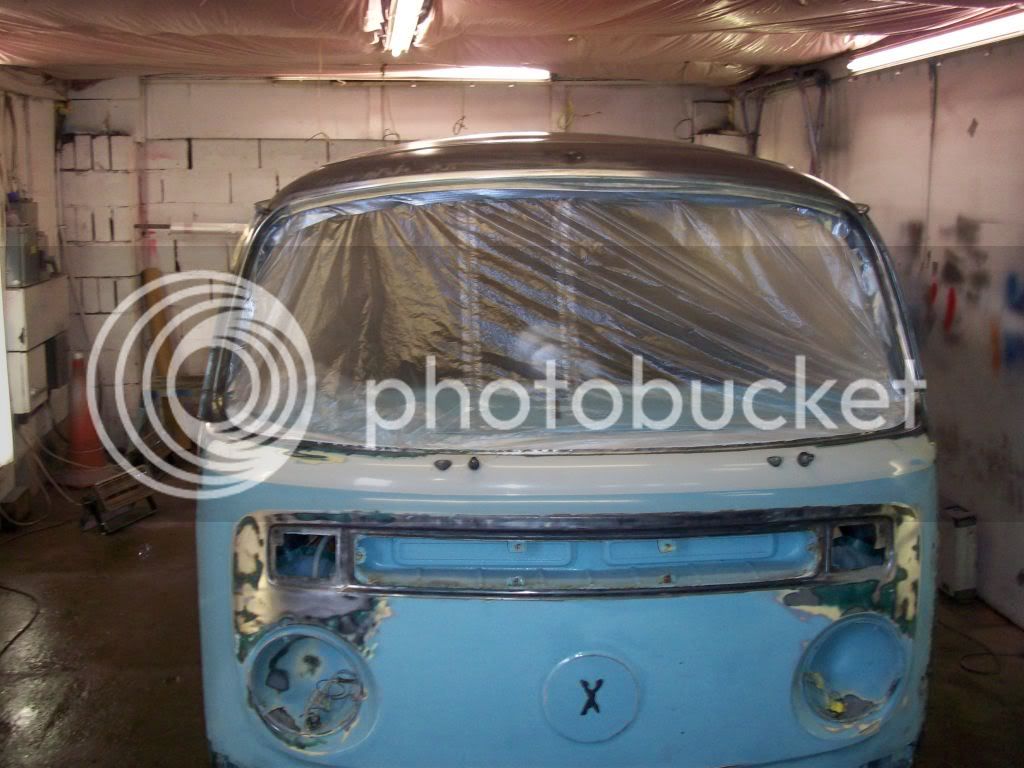
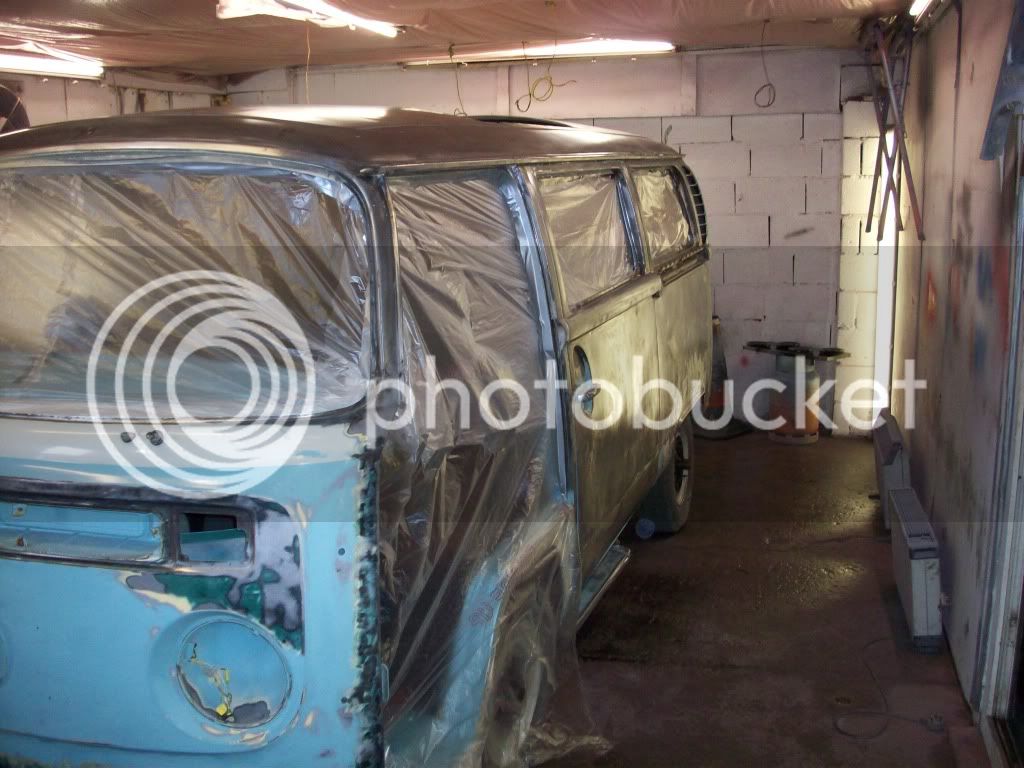
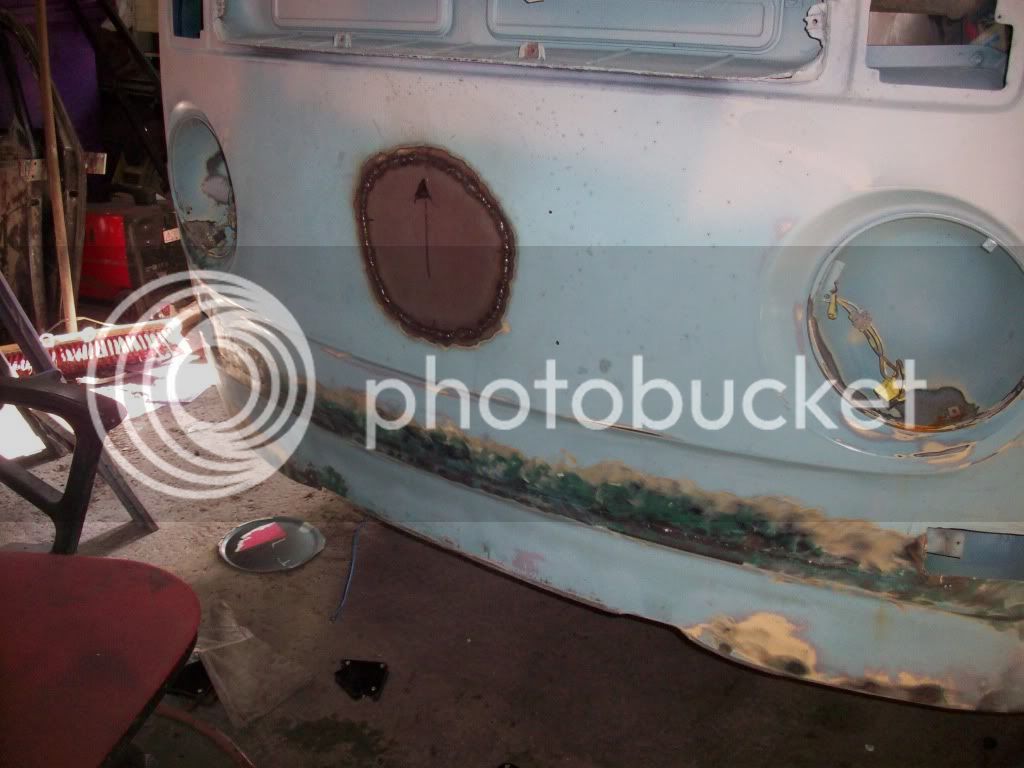
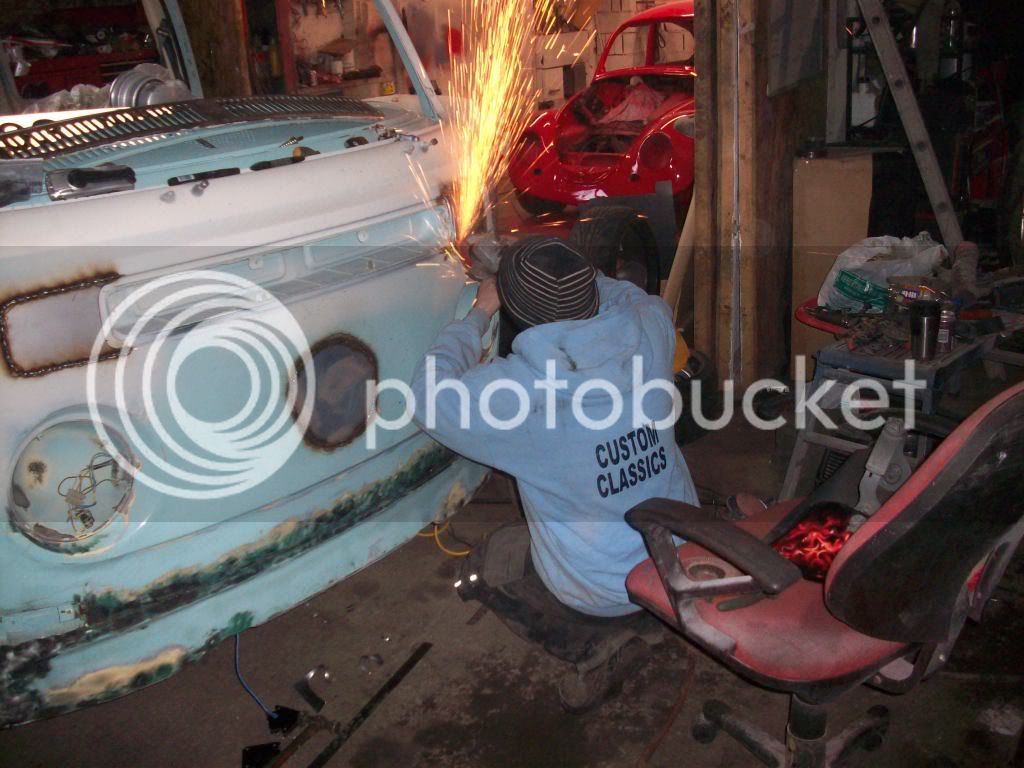
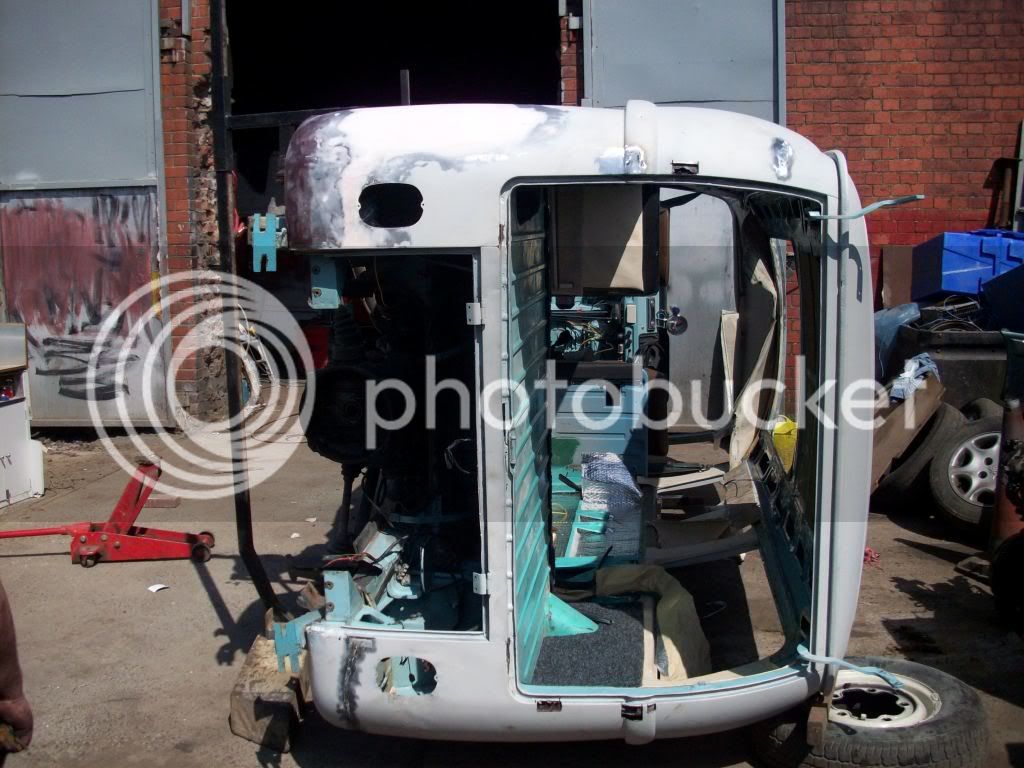
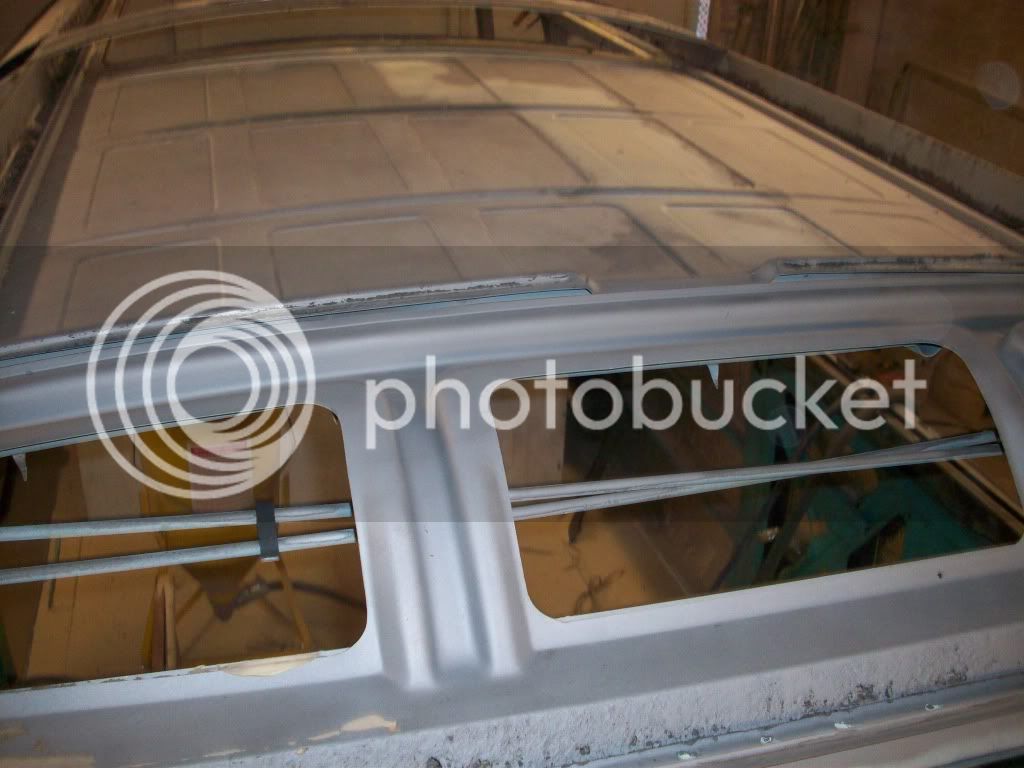
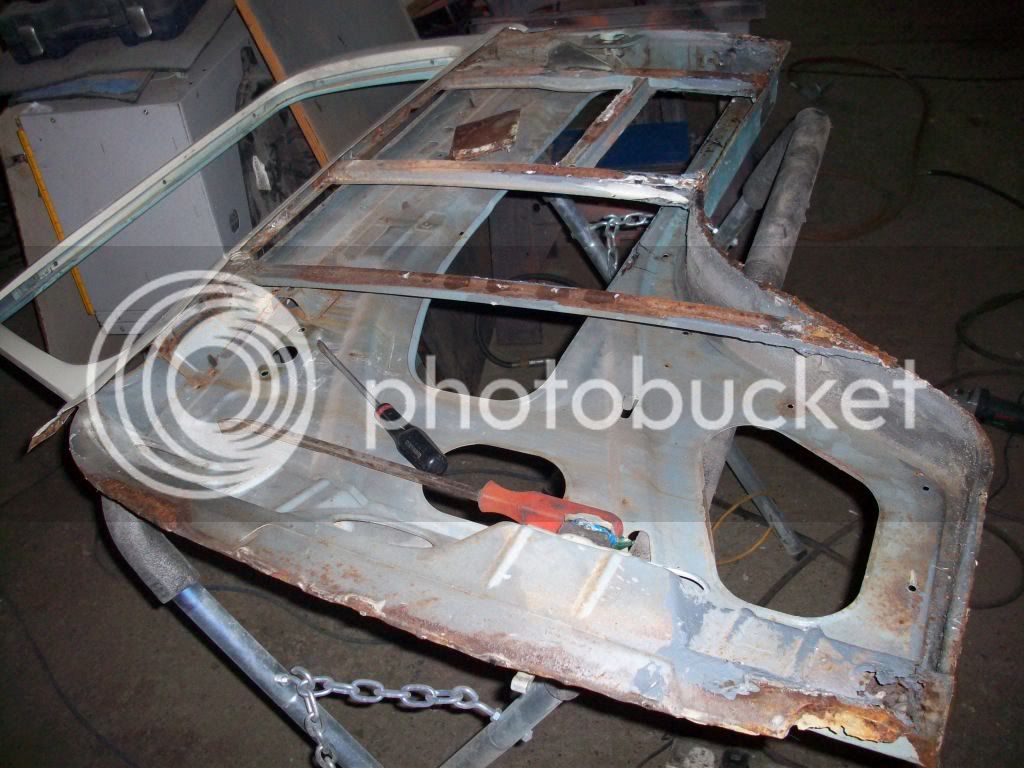
 So decided to take it back to back to bare metal.
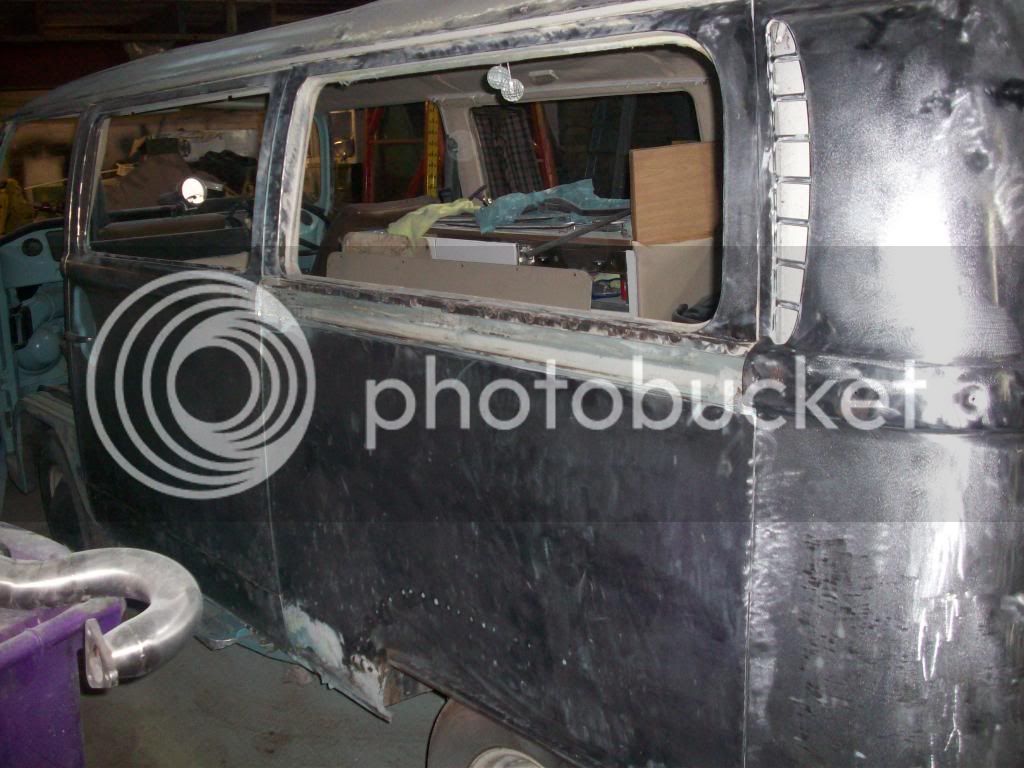
Austin
Well-known member
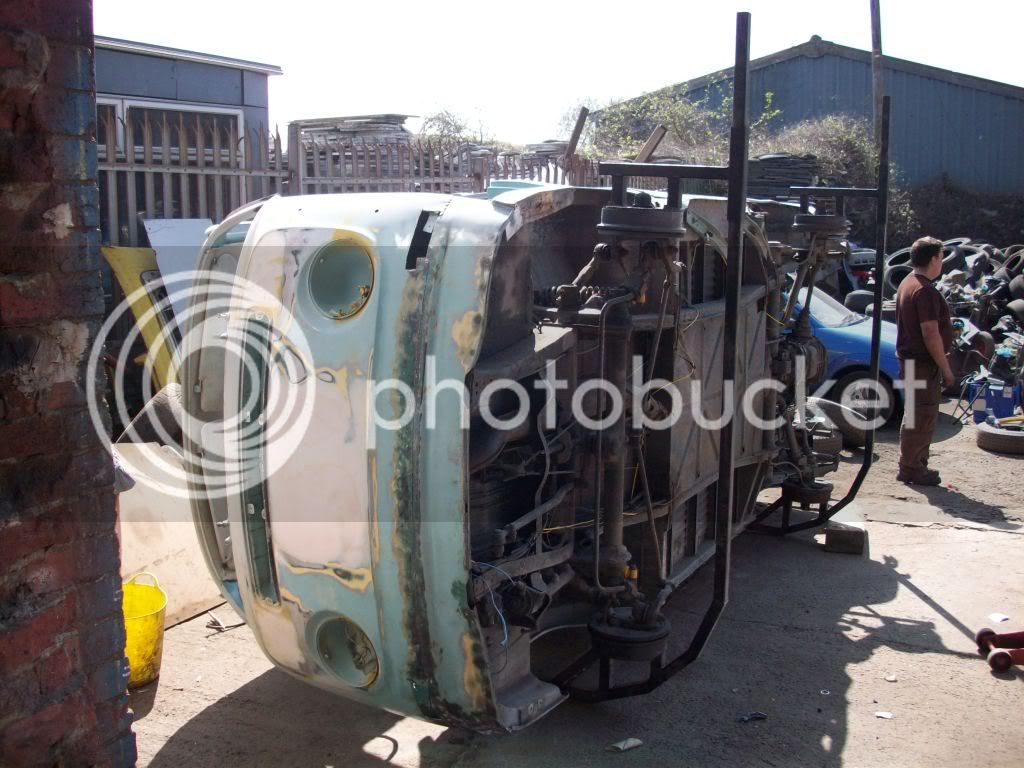
good project mate, looks like you've got a fair bit of work to do with the paint.
just wonderding about your 2-4" EZ rider front suspention kit, i this the one from red9? and was it E Z to fit?
just wonderding about your 2-4" EZ rider front suspention kit, i this the one from red9? and was it E Z to fit?


$27.95 ($13.98 / Count)
Marketplace Auto Parts Window Crank Handle Set of 2 - Chrome with Black Knob - Compatible with 1968-1978 Volkswagen Beetle
Parts Geek LLC
Austin said:good project mate, looks like you've got a fair bit of work to do with the paint.
just wonderding about your 2-4" EZ rider front suspention kit, i this the one from red9? and was it E Z to fit?
Yeah red9 kit it took about 4hrs not too bad to fit the hardest part is getting rusty nuts and bolts off a good dose of wd40 the night before is a must!


bayview
Well-known member
- Joined
- Feb 20, 2007
- Messages
- 132
- Reaction score
- 0
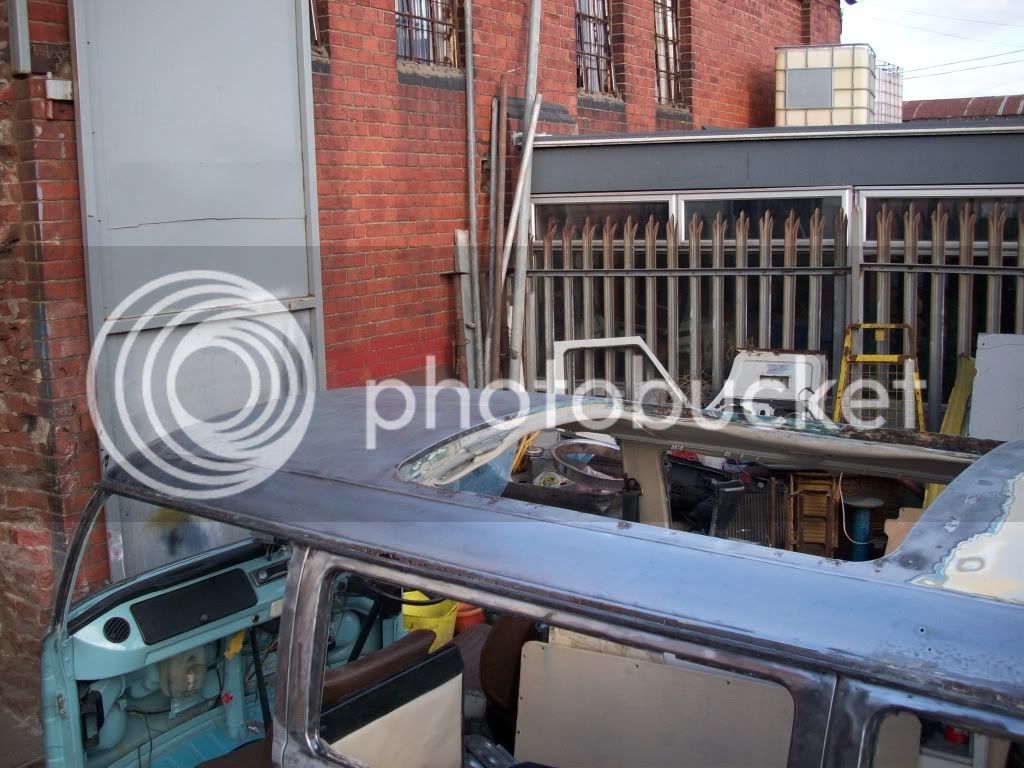
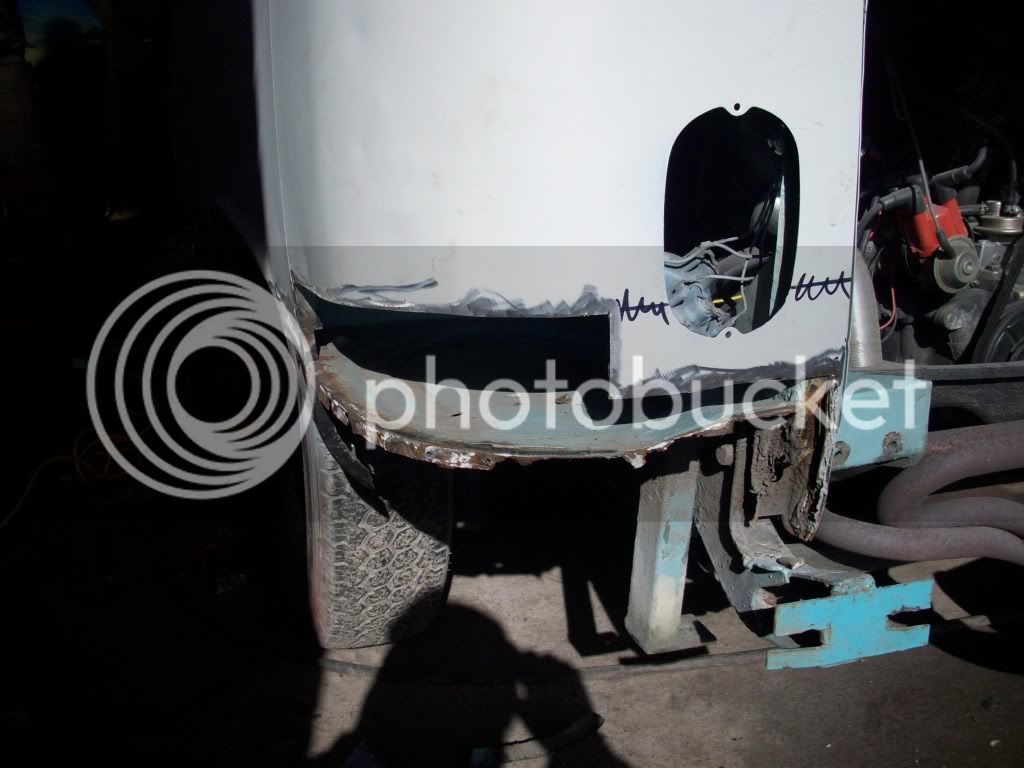
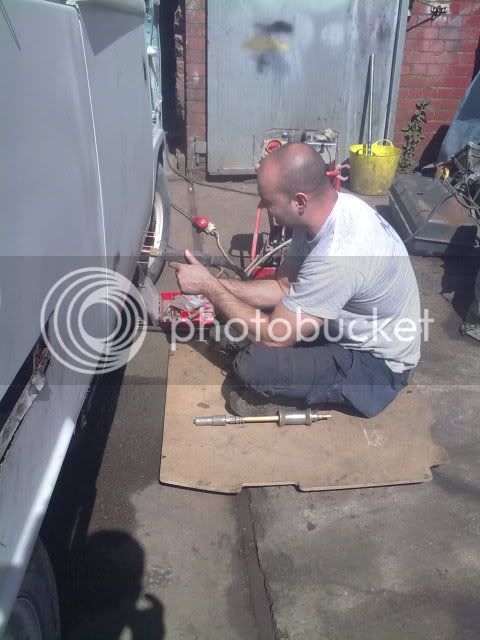
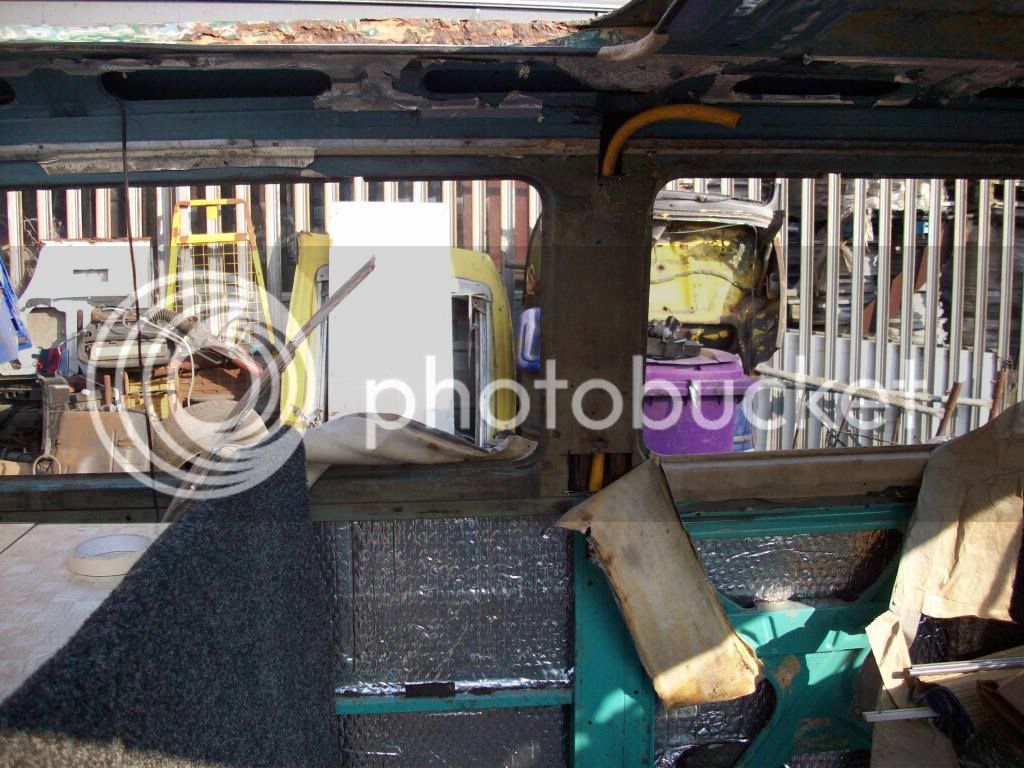
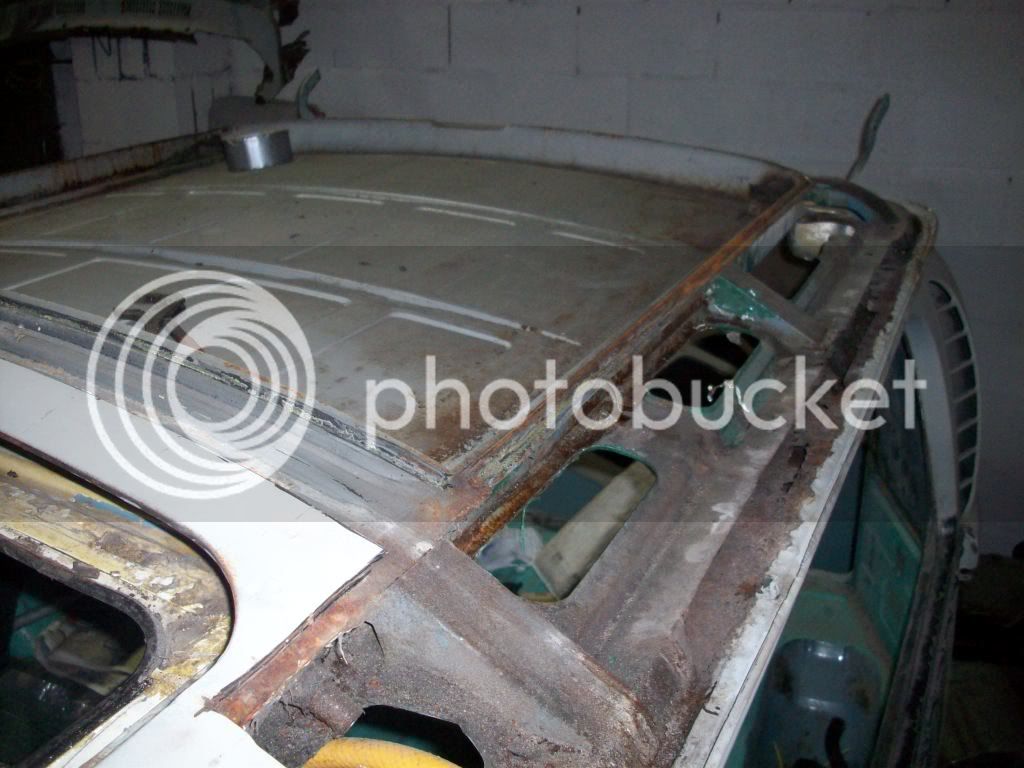
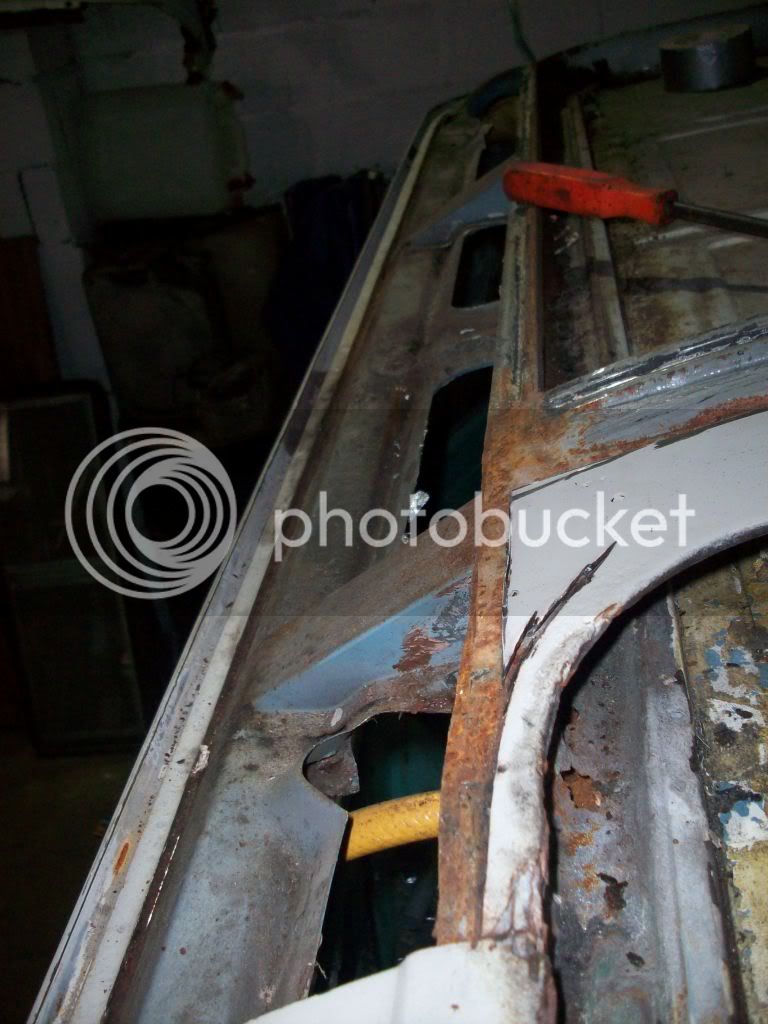
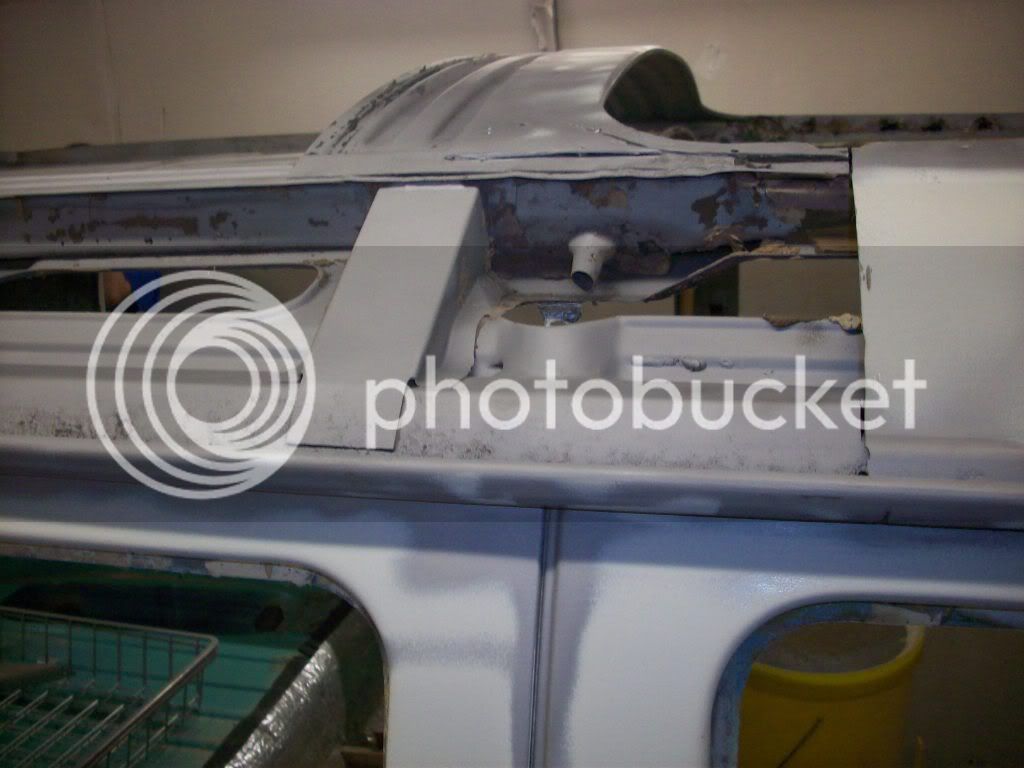
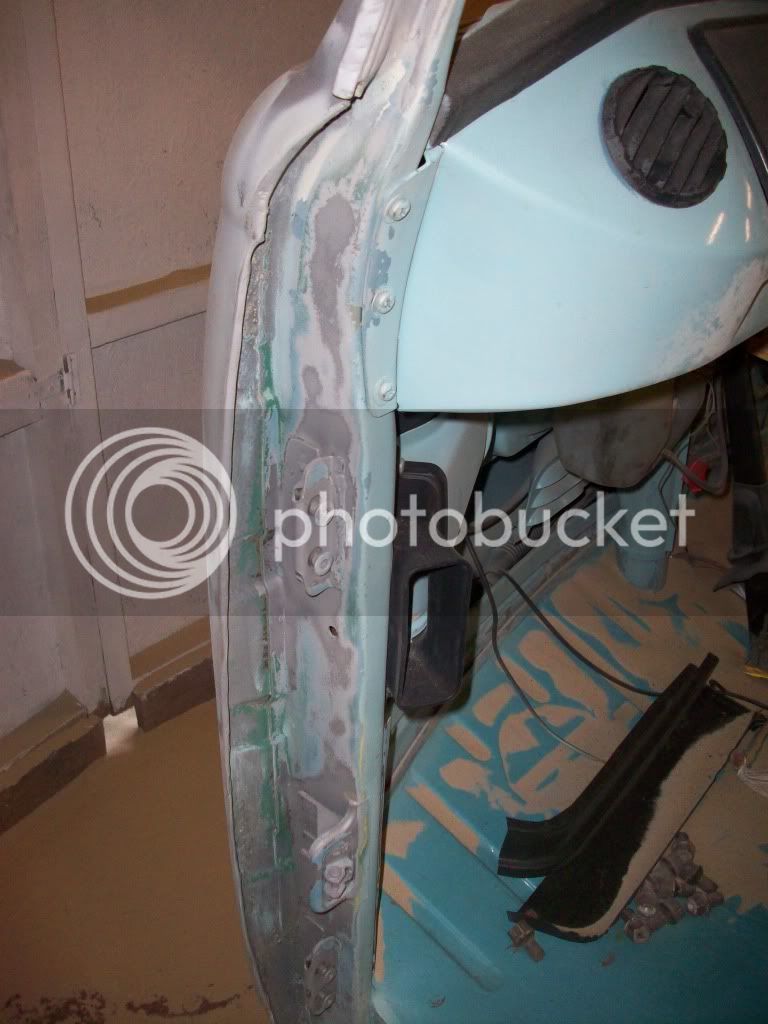
Nice work! Can't wait to see it finished. I've got to do my sunroof drain pipes soon - tried to force new tubing up the pillars but the rusted out originals makes this impossible. Was wondering if the cuts you made in the pillar worked as hoped as I'll follow your lead. Wonder how long the Westy roof had been on as it would have surely protected the original pipes?.
Yep the cuts was the only answer! there is a bend and a narrowing in the waist band.Hope you dont have to cut your roof off either!!!!!!! :mrgreen:bayview said:Nice work! Can't wait to see it finished. I've got to do my sunroof drain pipes soon - tried to force new tubing up the pillars but the rusted out originals makes this impossible. Was wondering if the cuts you made in the pillar worked as hoped as I'll follow your lead. Wonder how long the Westy roof had been on as it would have surely protected the original pipes?.
Any probs give me a shout.
Old59
Well-known member
Truly a beautiful restoration.

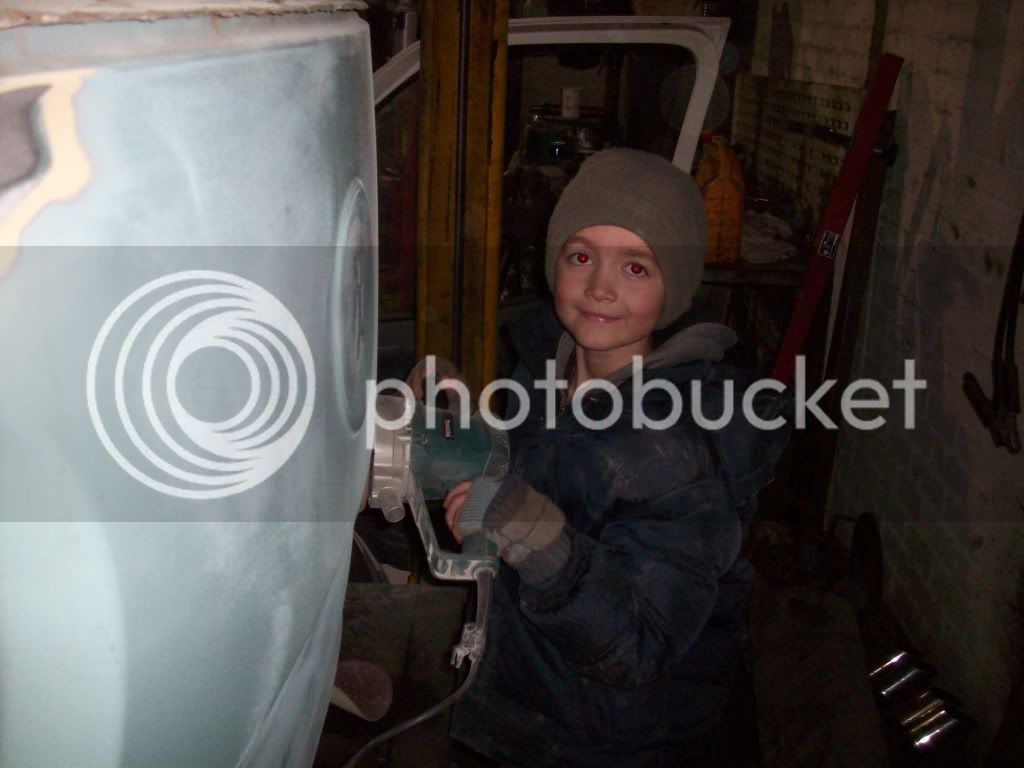
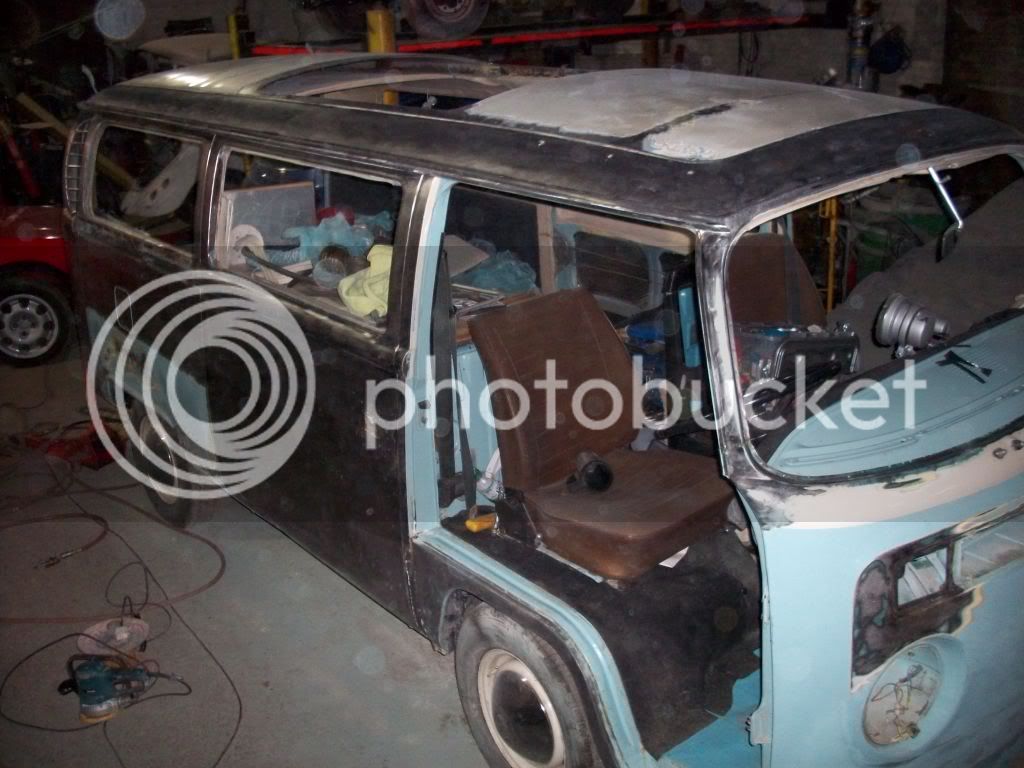
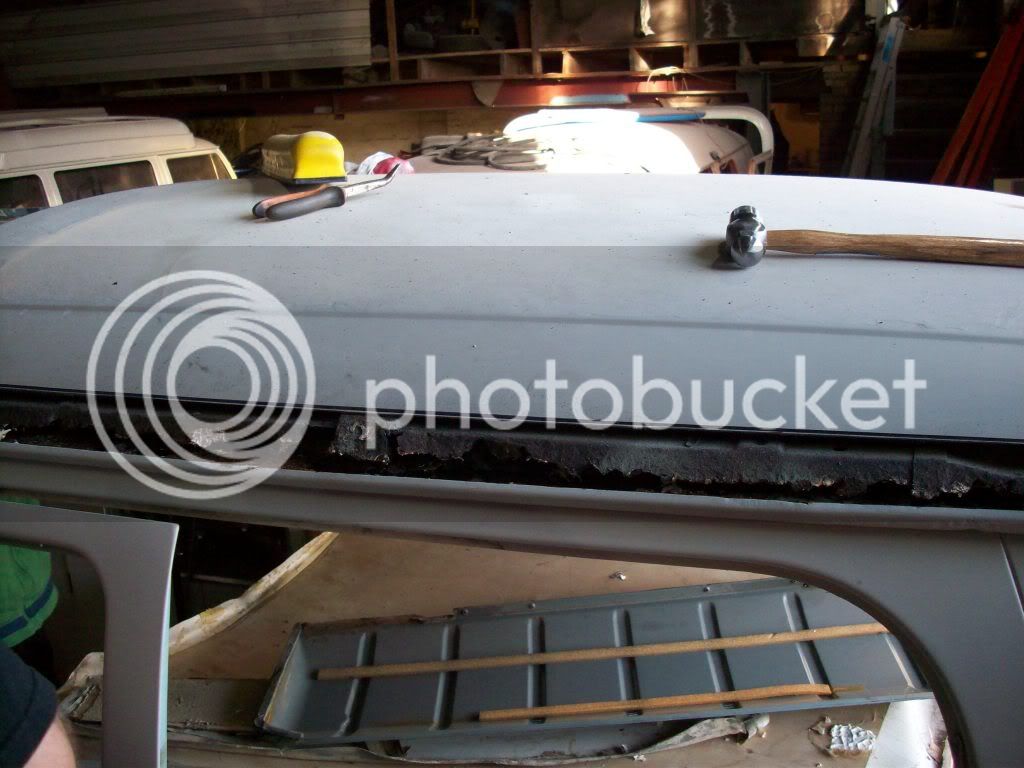
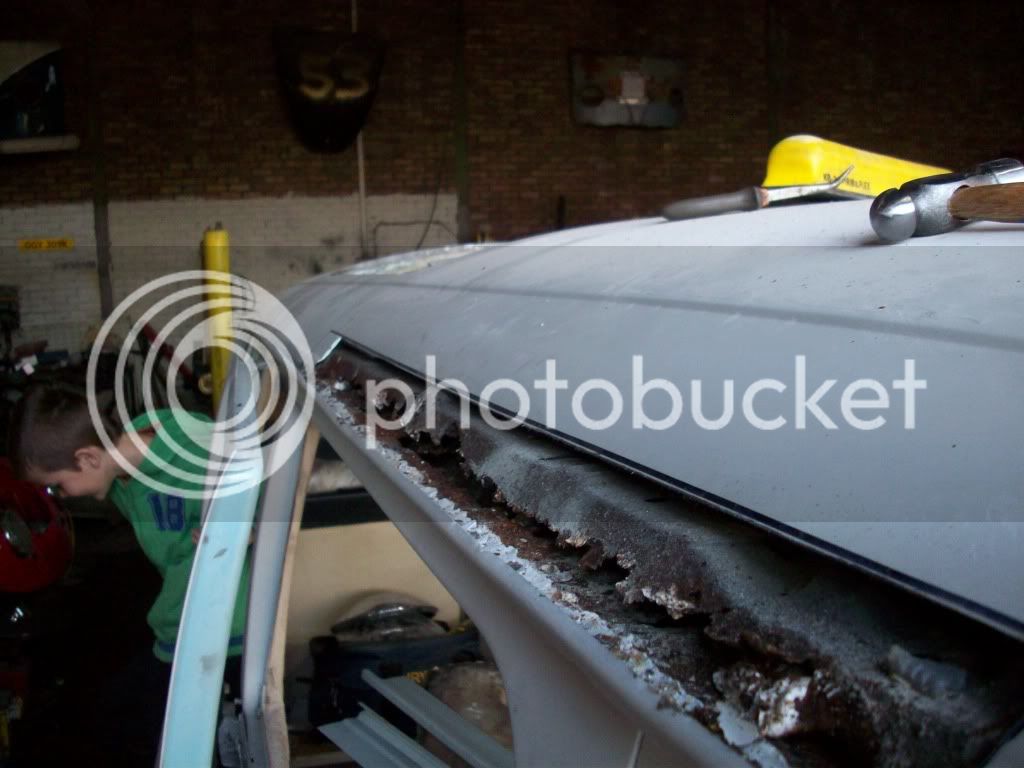
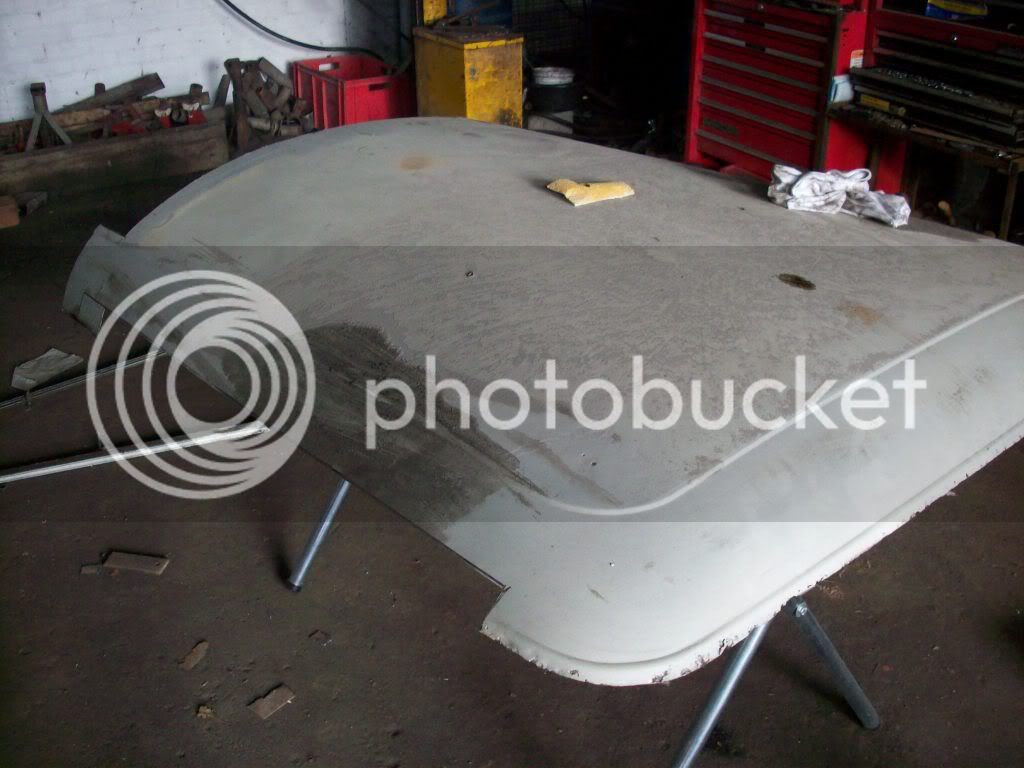
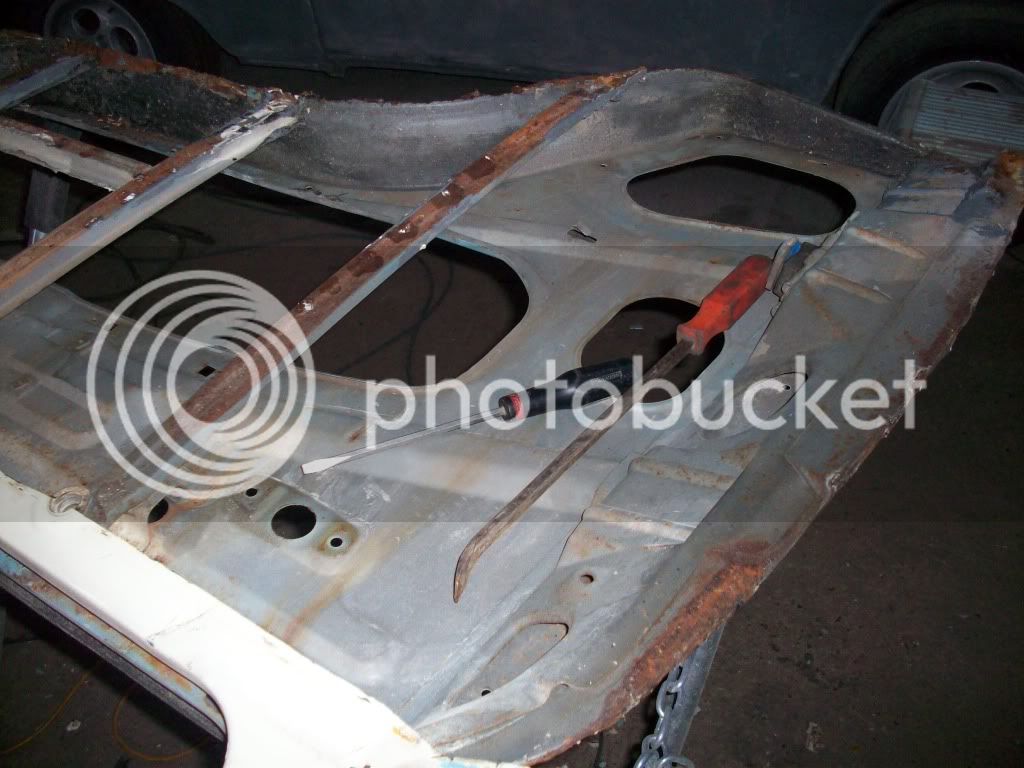
Been busy over the last couple of days with the sandblaster.
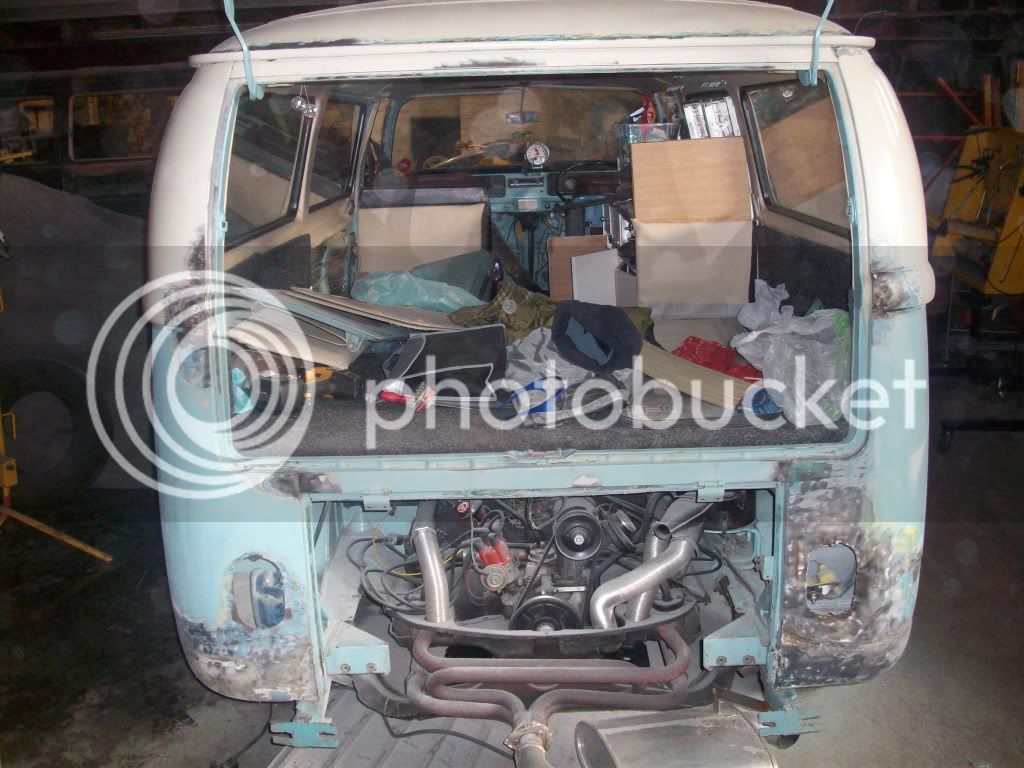
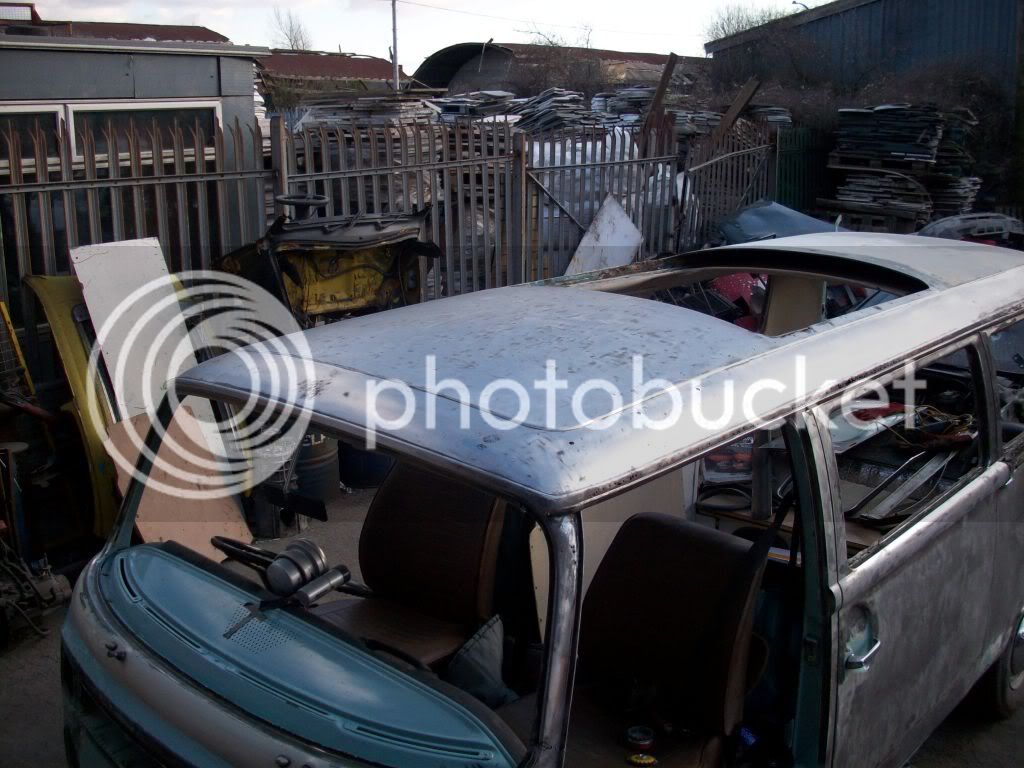
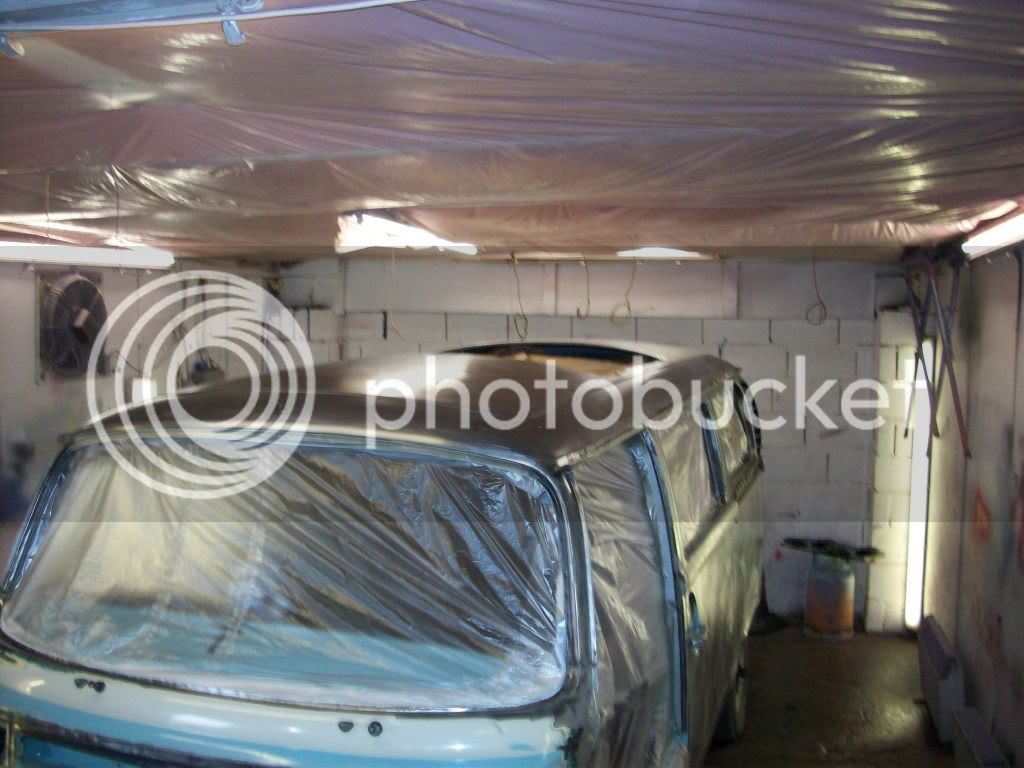
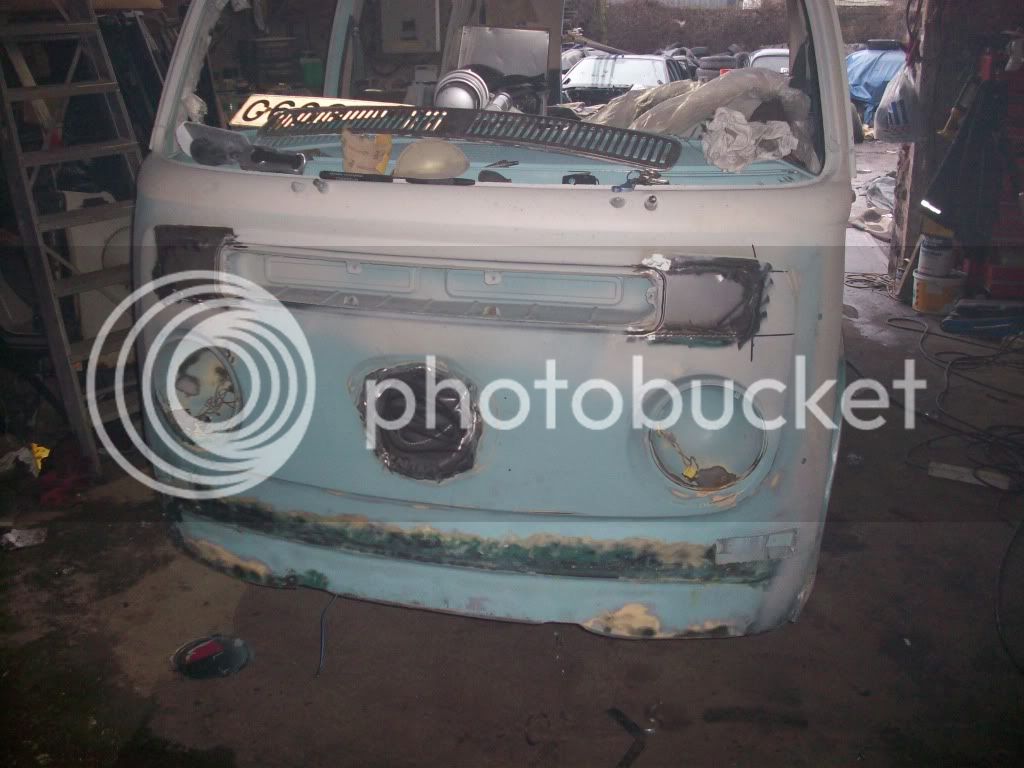
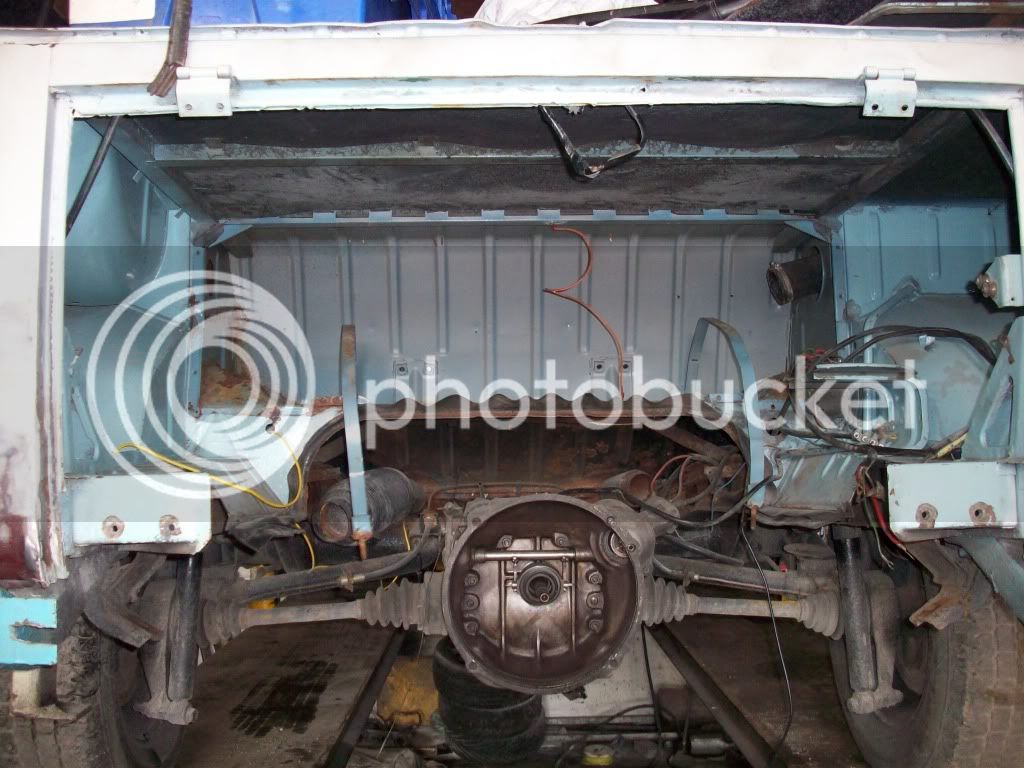
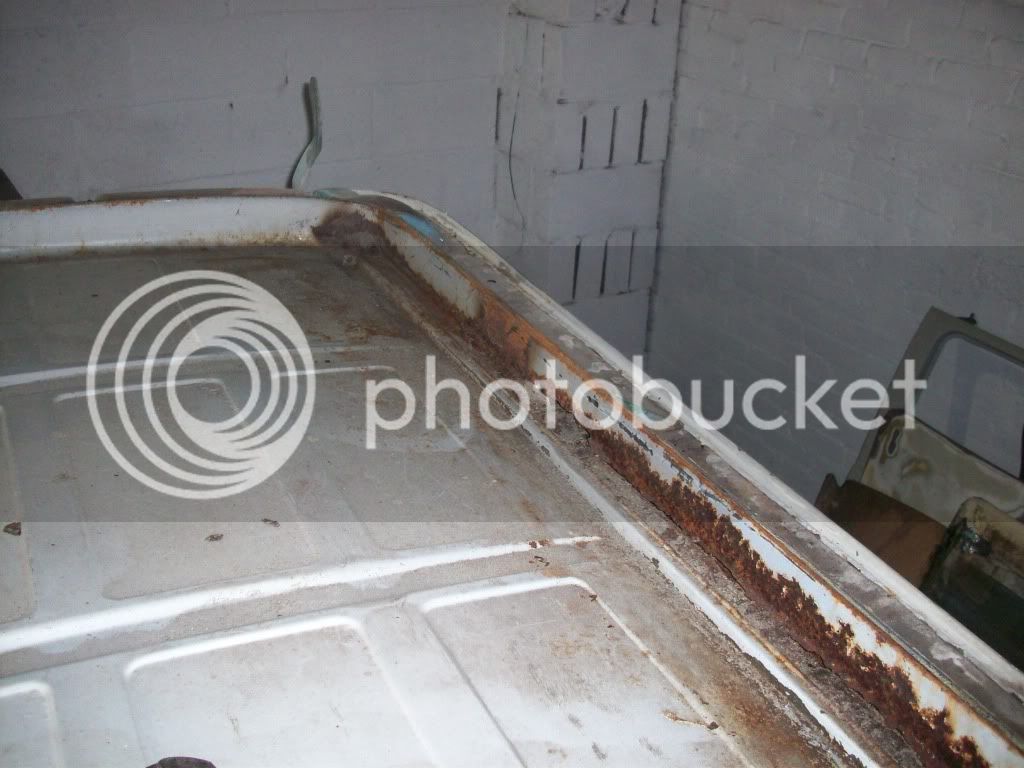
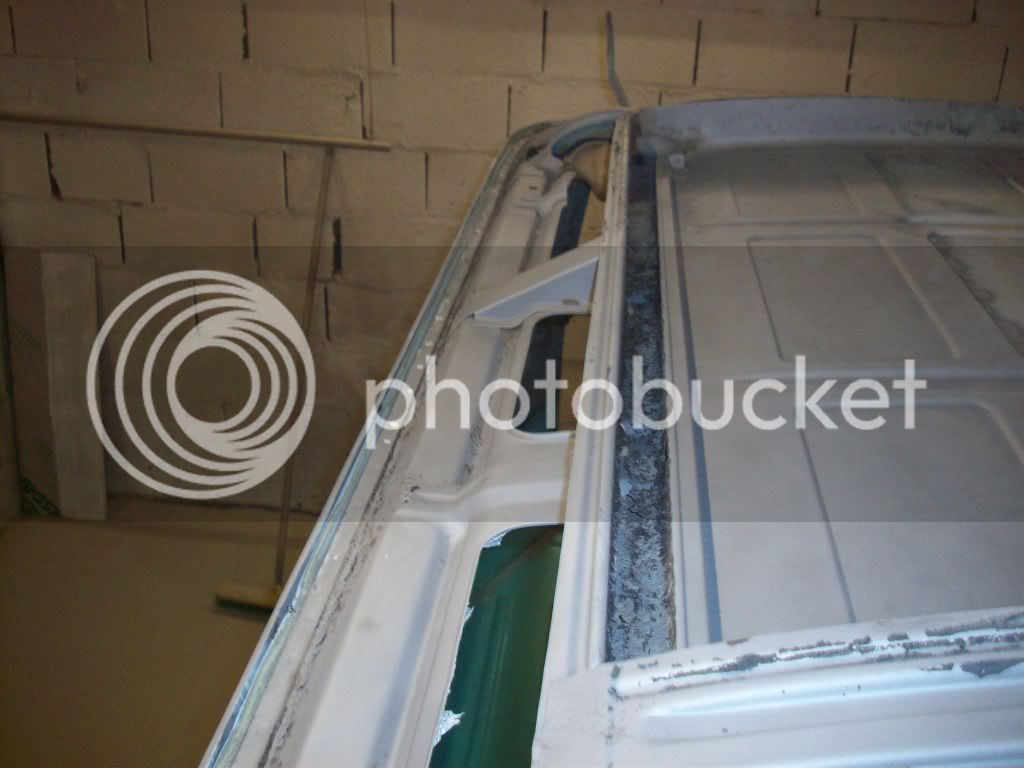
Need to cut the last bits of brown now and replace with new metal.Dont want this roof off again!!!!!! :07:
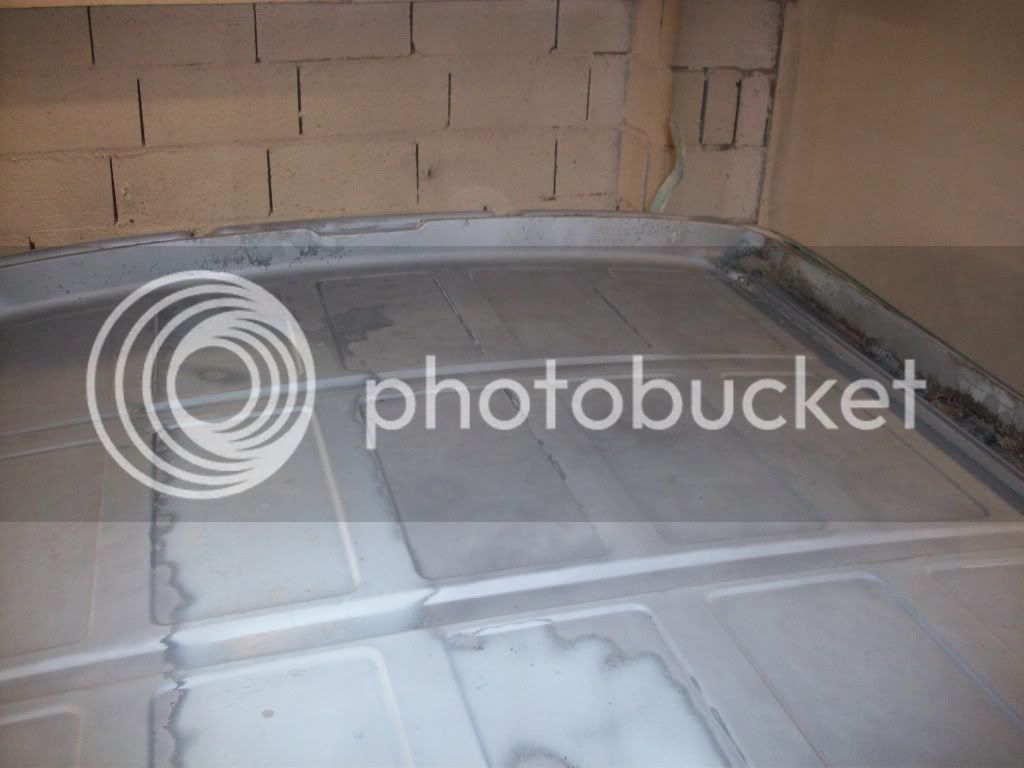
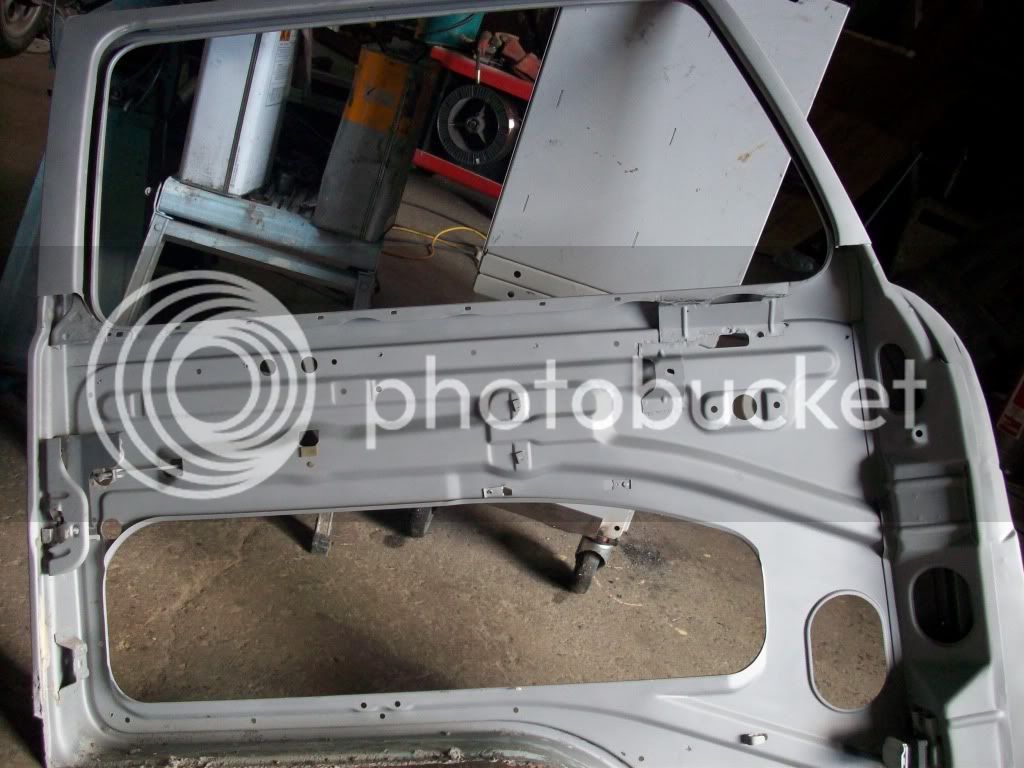
Got the rest of the roof that I cut off to blast next then it can go back on.
Not sure what to coat the inside with first before it goes back on any ideas?????
Need to cut the last bits of brown now and replace with new metal.Dont want this roof off again!!!!!! :07:
Got the rest of the roof that I cut off to blast next then it can go back on.
Not sure what to coat the inside with first before it goes back on any ideas?????
paul
Well-known member
very impressive work.
Did you have to do any work on the front drainage tubes?
If so have you got any pictures as looks if the one by the sliding door needs replacing on mine and I'd be interested in where you did the cuts.
Keep the pictures coming.
regards Paul
Did you have to do any work on the front drainage tubes?
If so have you got any pictures as looks if the one by the sliding door needs replacing on mine and I'd be interested in where you did the cuts.
Keep the pictures coming.
regards Paul
Similar threads
Vehicle For Sale
1968 Bay window T2 Dreamy
- Replies
- 2
- Views
- 38
- Replies
- 29
- Views
- 2K