You are using an out of date browser. It may not display this or other websites correctly.
You should upgrade or use an alternative browser.
You should upgrade or use an alternative browser.
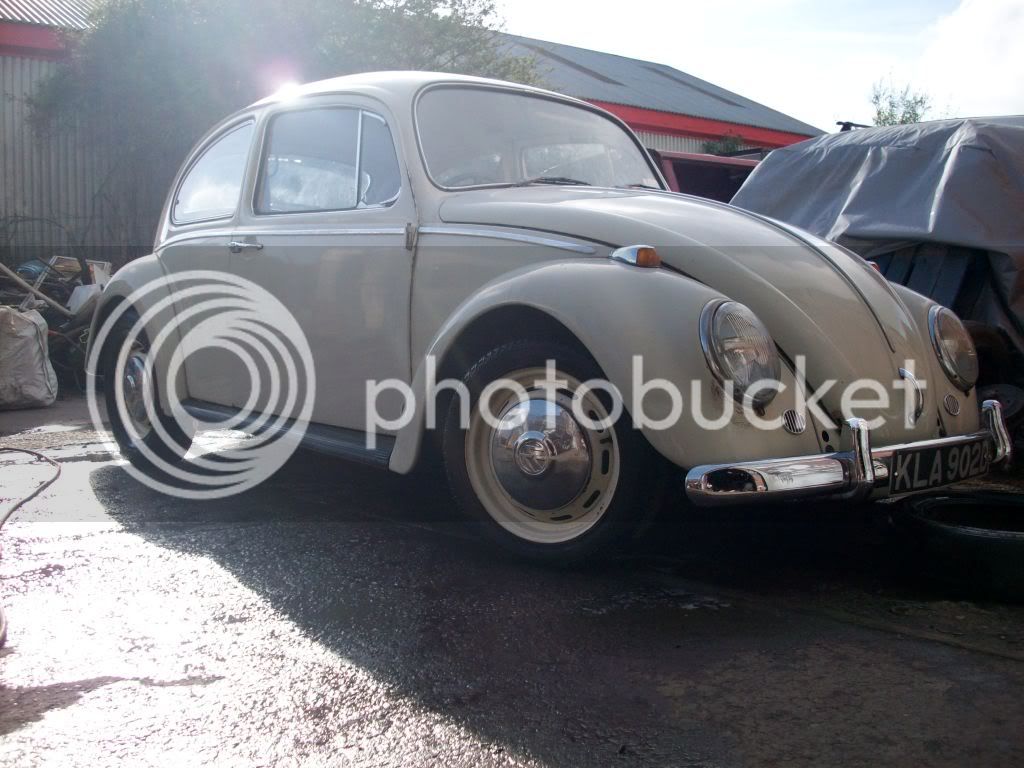
68 RHD Sunroof Deluxe From up North to Wales
- Thread starter D@VEY
- Start date


Help Support Early Bay Forum:
This site may earn a commission from merchant affiliate
links, including eBay, Amazon, and others.
scott wilson
Well-known member
D@vey,
wow.Do you have much history with the bus.Also did it have the usa style rear reverse lights when you bare metalled it.If not did it have weird holes front and back about 6mm wide?
I ask as i believe you are restoring a genuine rhd deluxe sunroof model.I also believe that the paint colour is south african, however the m-codes say otherwise.Maybe an export collect on your holiday model! who knows.Now you have my intrest and as much help as you need
Scott
Hi Scott
No rear light holes. not sure what you mean about the other holes?
Have not got any history just that a guy up north had him before me.
I do beleave its a genuine deluxe sunroof model not that i knew it when i bought it.
Thanks
Davey
No rear light holes. not sure what you mean about the other holes?
Have not got any history just that a guy up north had him before me.
I do beleave its a genuine deluxe sunroof model not that i knew it when i bought it.
Thanks
Davey
scott wilson
Well-known member
well the ambo step is a south african only thing as far as i know in rhd anyway.The internal colour looks very south african.Has it got a wee little plate behind the drivers seat...if so whats the letters/numbers


$27.95 ($13.98 / Count)
Marketplace Auto Parts Window Crank Handle Set of 2 - Chrome with Black Knob - Compatible with 1968-1978 Volkswagen Beetle
Parts Geek LLC


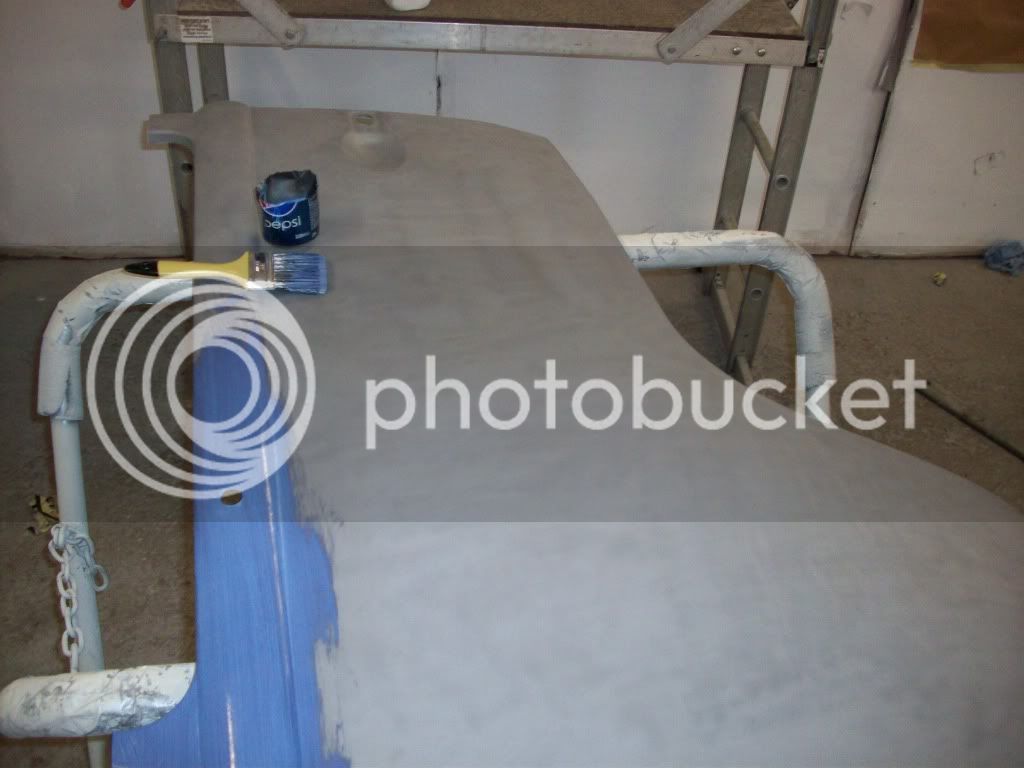
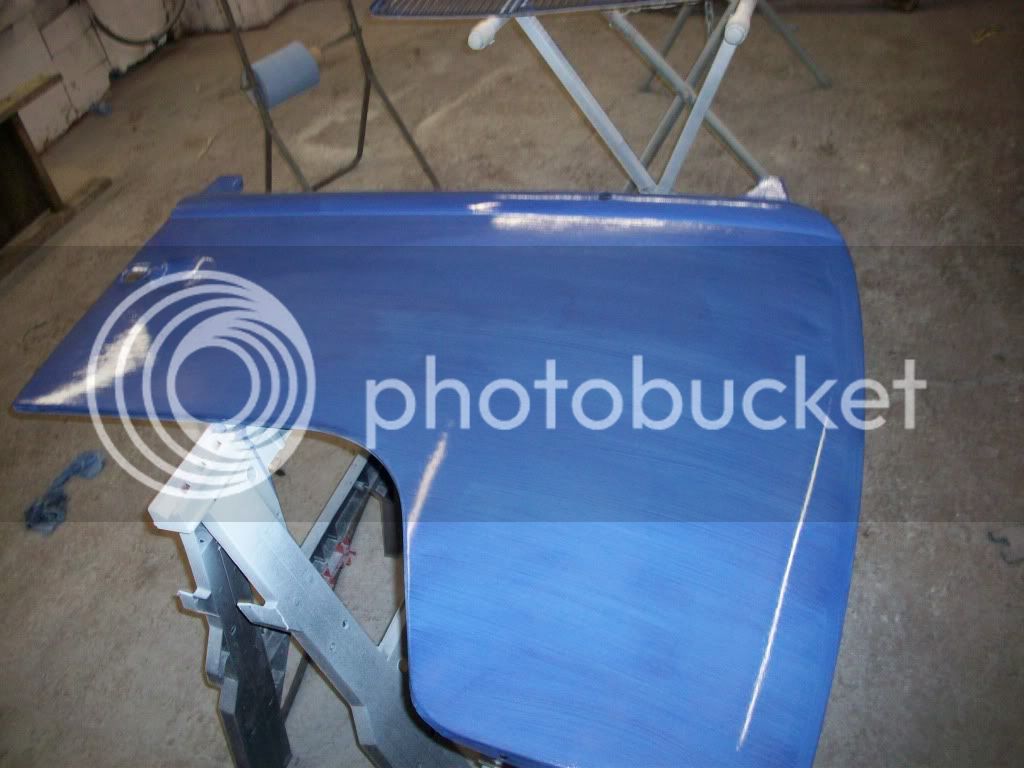
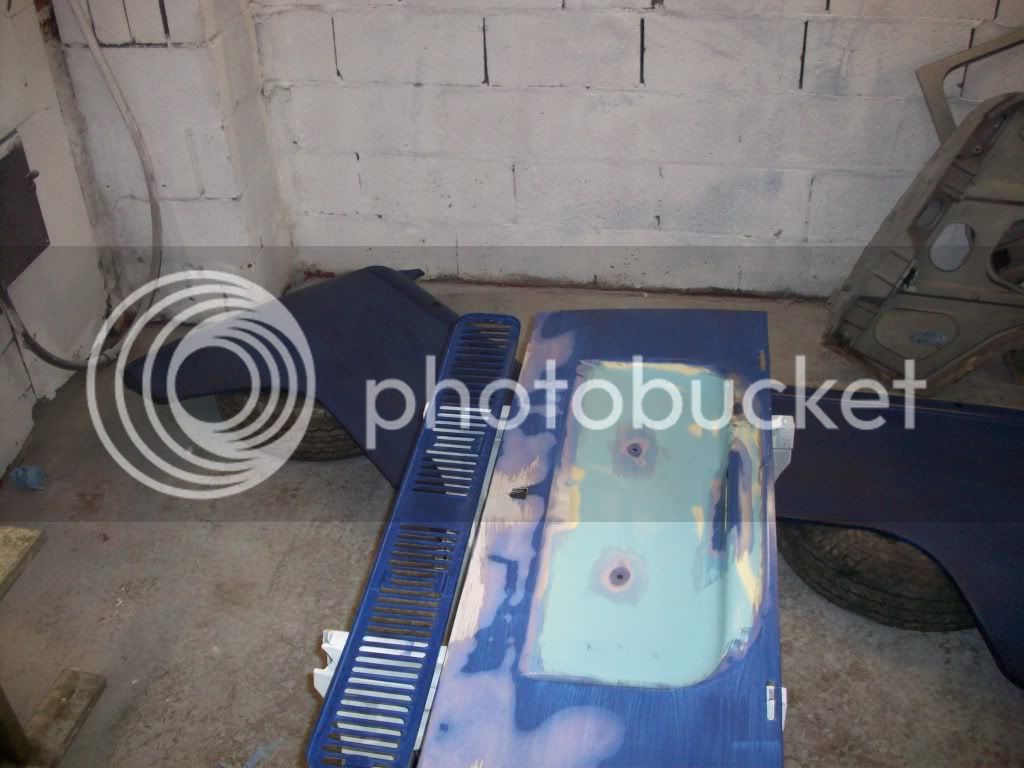
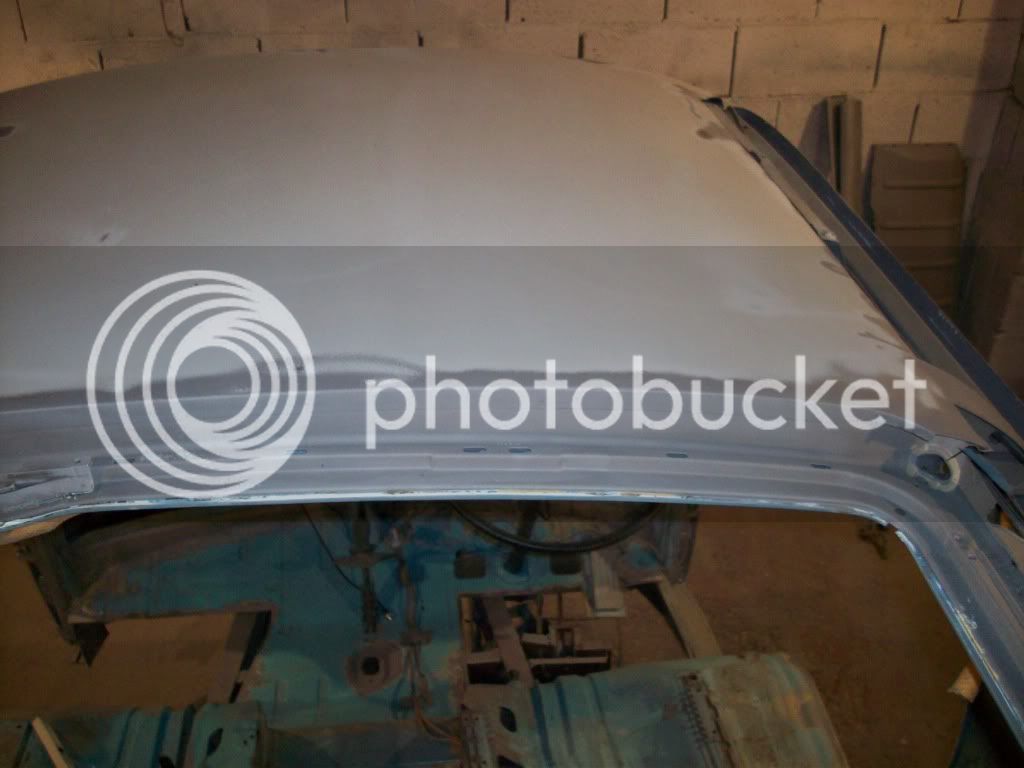
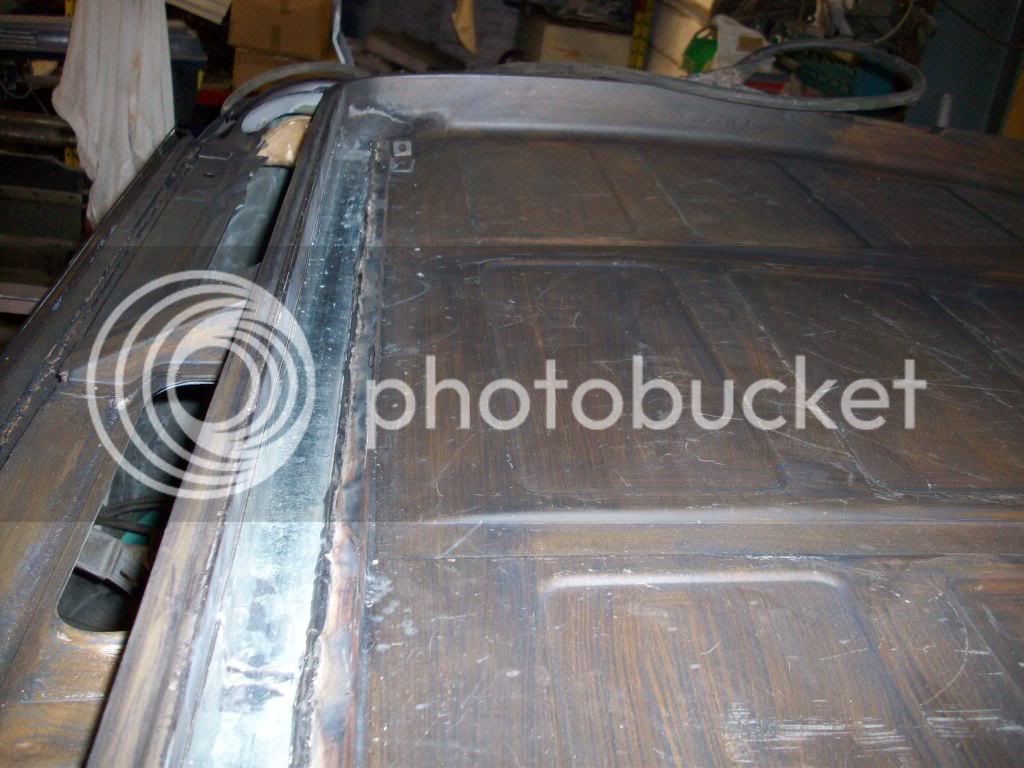
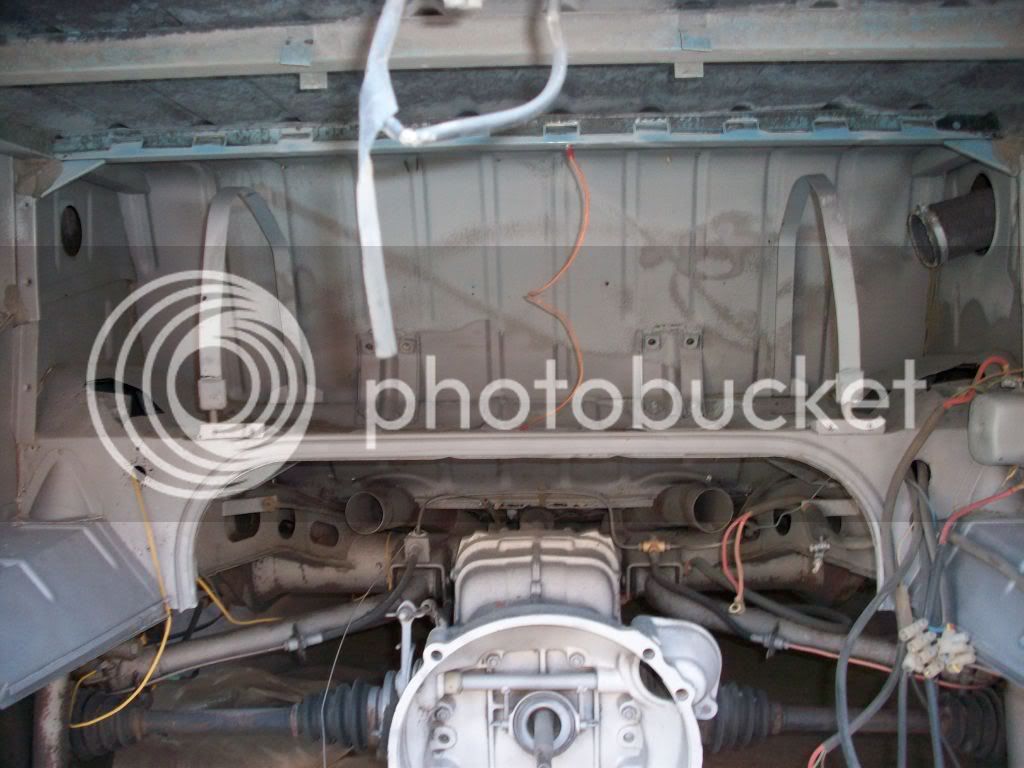
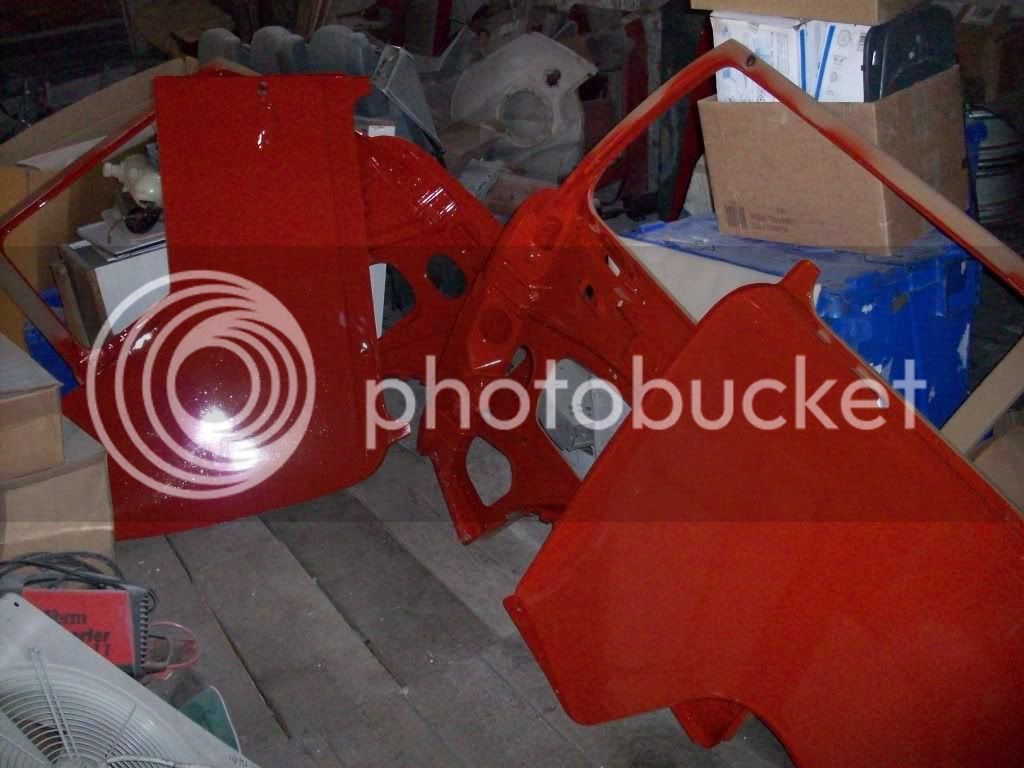
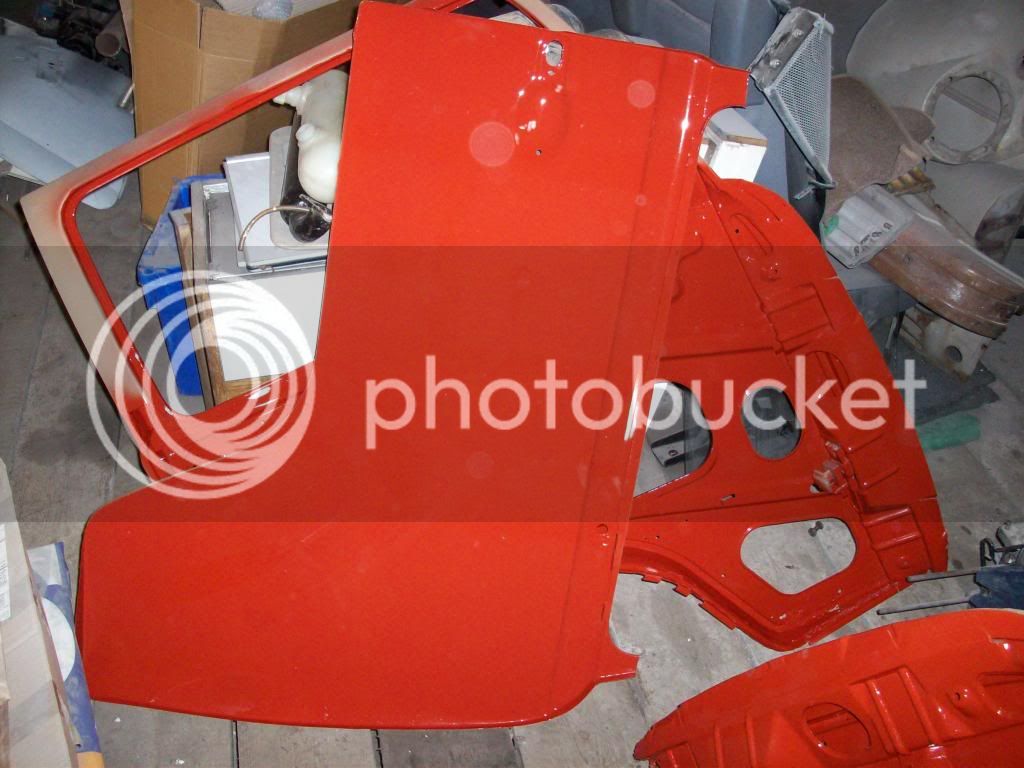
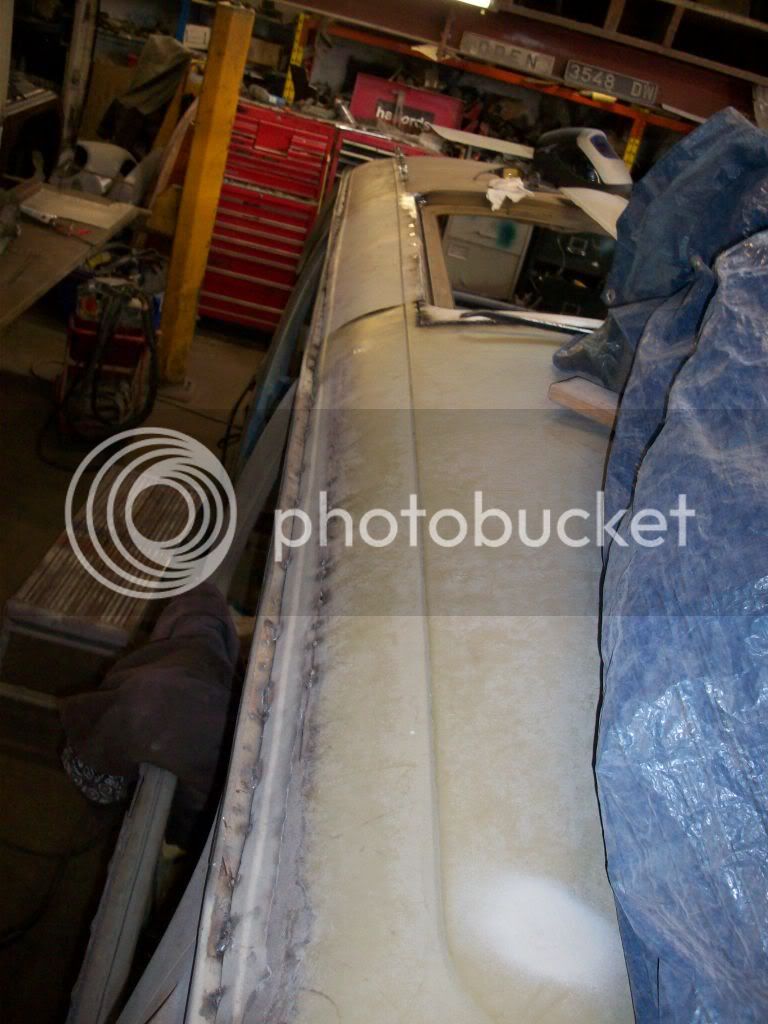
Bit of both really nice to get a coat of something on the panel before they start going back together.Some of it will have have to be taken off for the welding.The weather is not the best at minute for bare panels! 
Hope to start getting it put back together soon.!!
Need to fix the drainage first that was the whole reason I started cutting bits off in the first place.. :rofl: :rofl:
Hope to start getting it put back together soon.!!
Need to fix the drainage first that was the whole reason I started cutting bits off in the first place.. :rofl: :rofl:
D@VEY said:Need to fix the drainage first that was the whole reason I started cutting bits off in the first place.. :rofl: :rofl:
Nuff said


cunning plan
Well-known member
- Joined
- Jul 15, 2008
- Messages
- 2,625
- Reaction score
- 1
- Location
- Northamptonshire
- Year of Your Van(s)
- 1968
- Van Type
- Clipper / Microbus
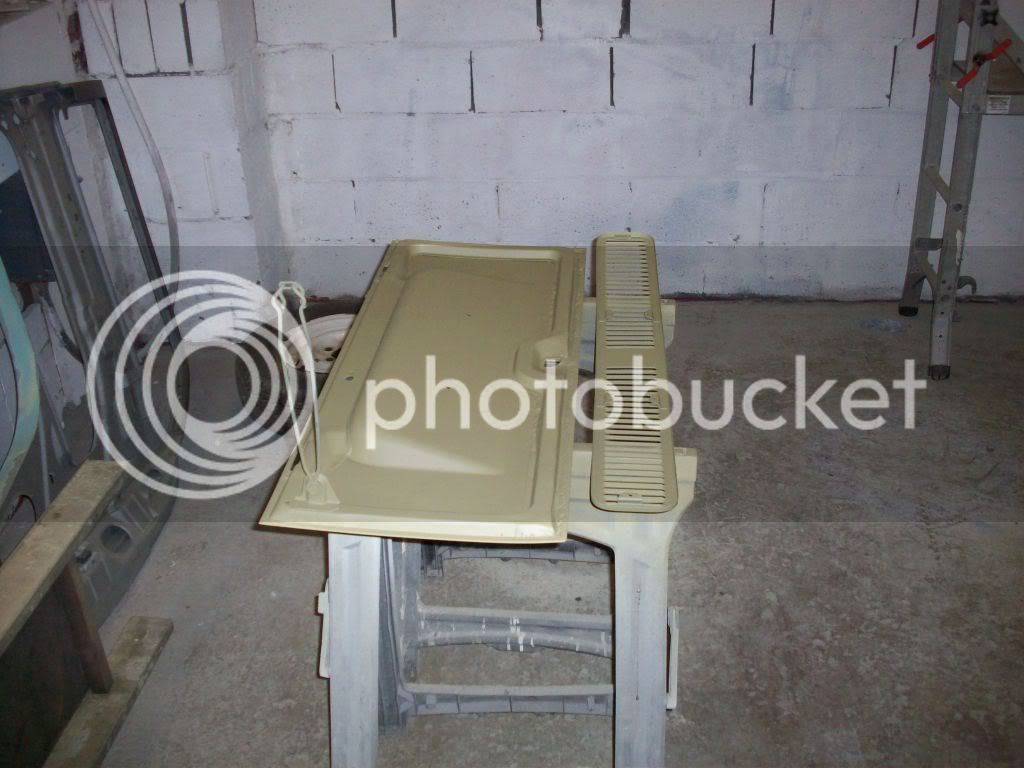
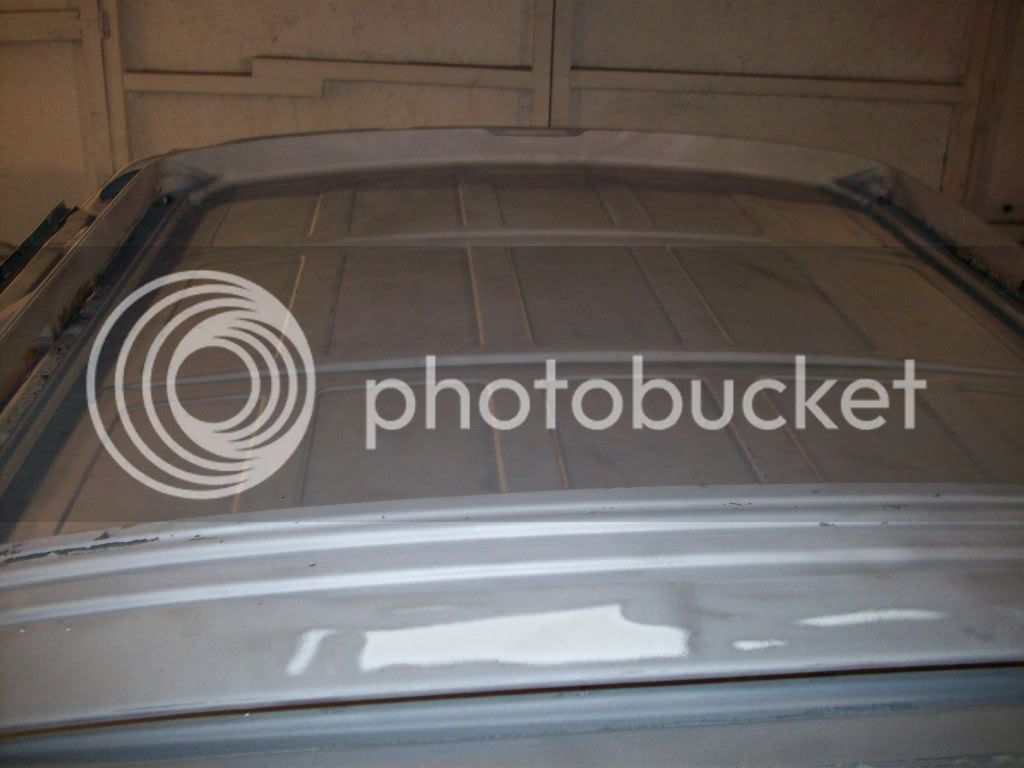
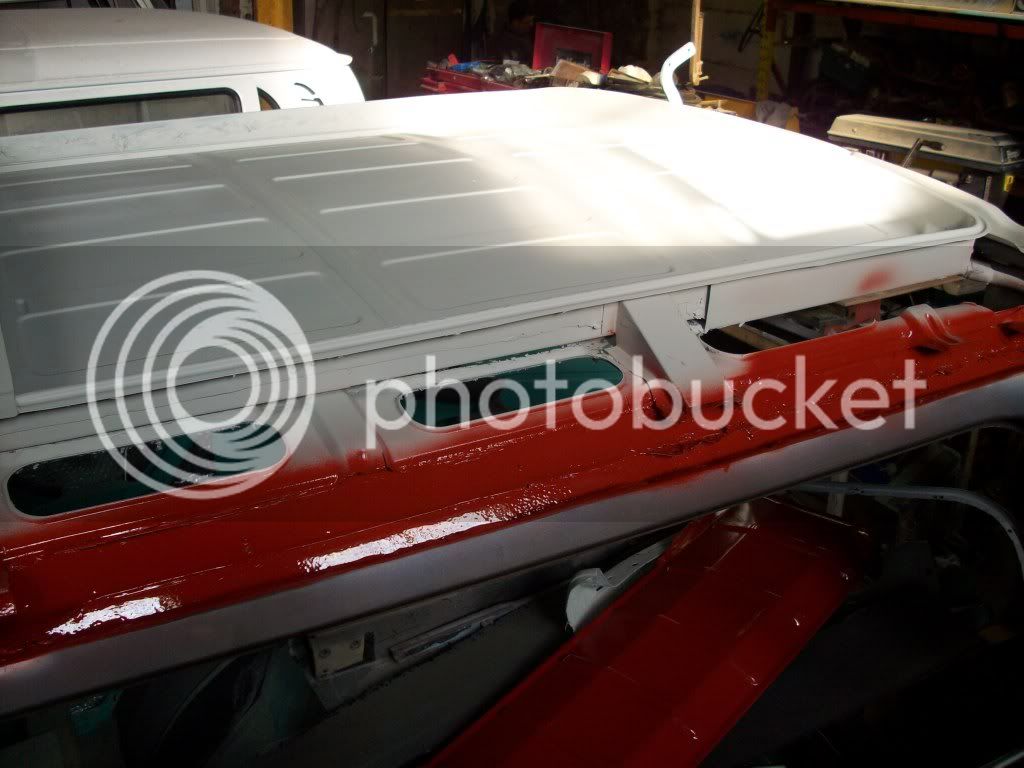
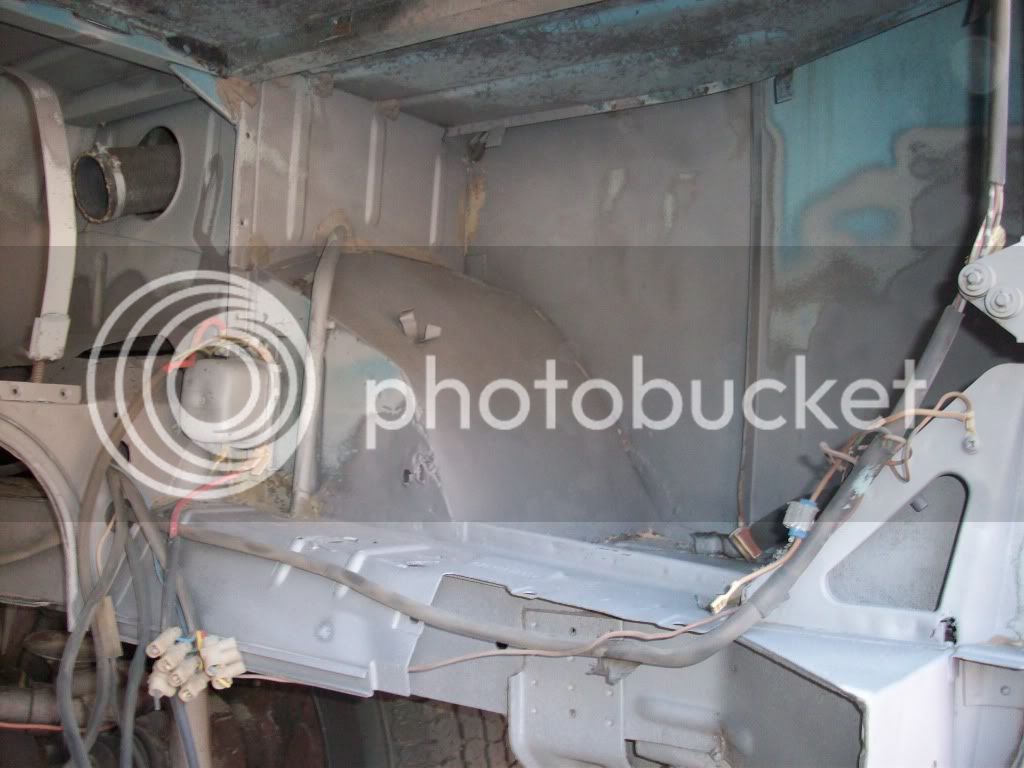
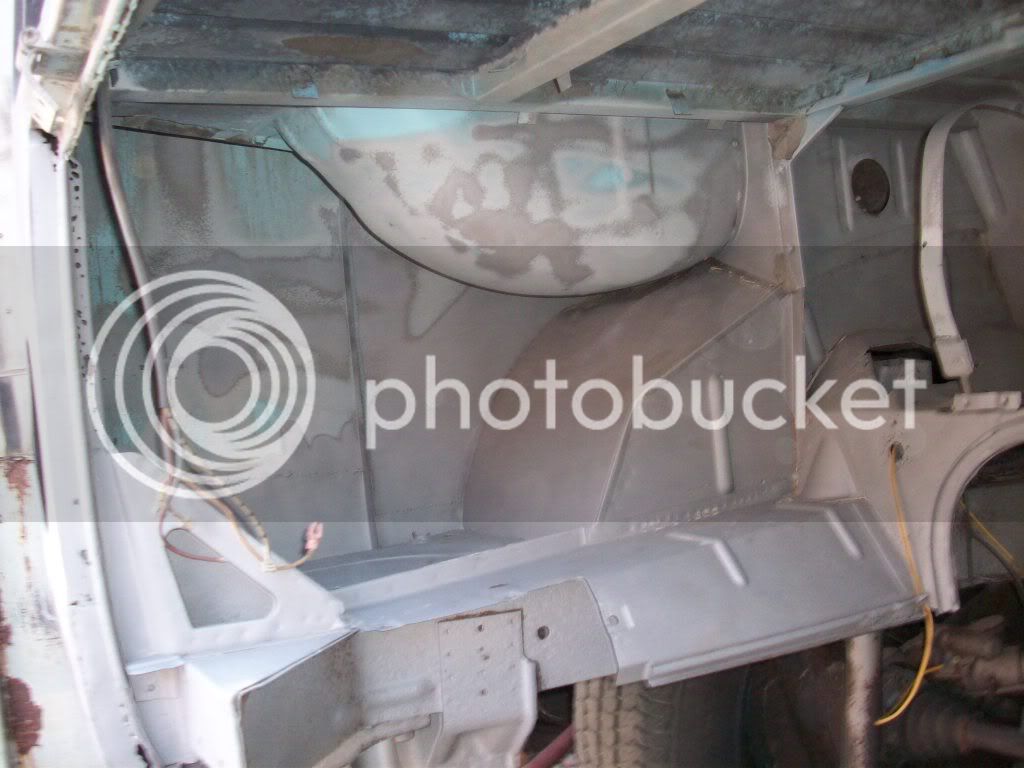
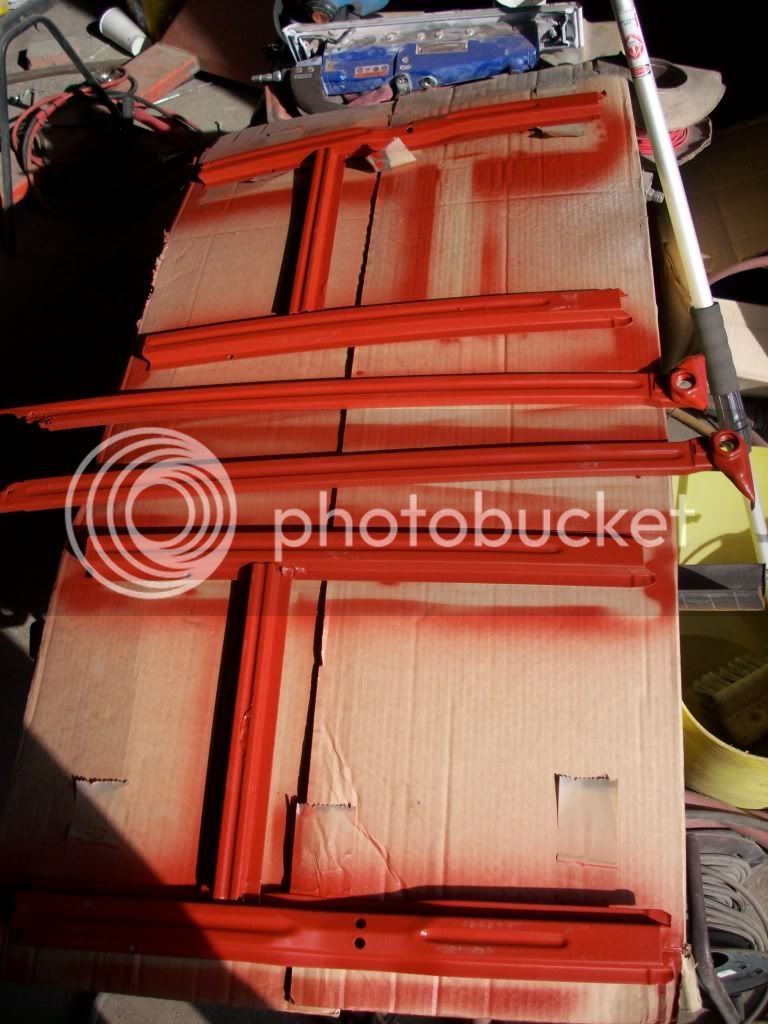
mMMmMmM Nice fresh metal! :mrgreen:
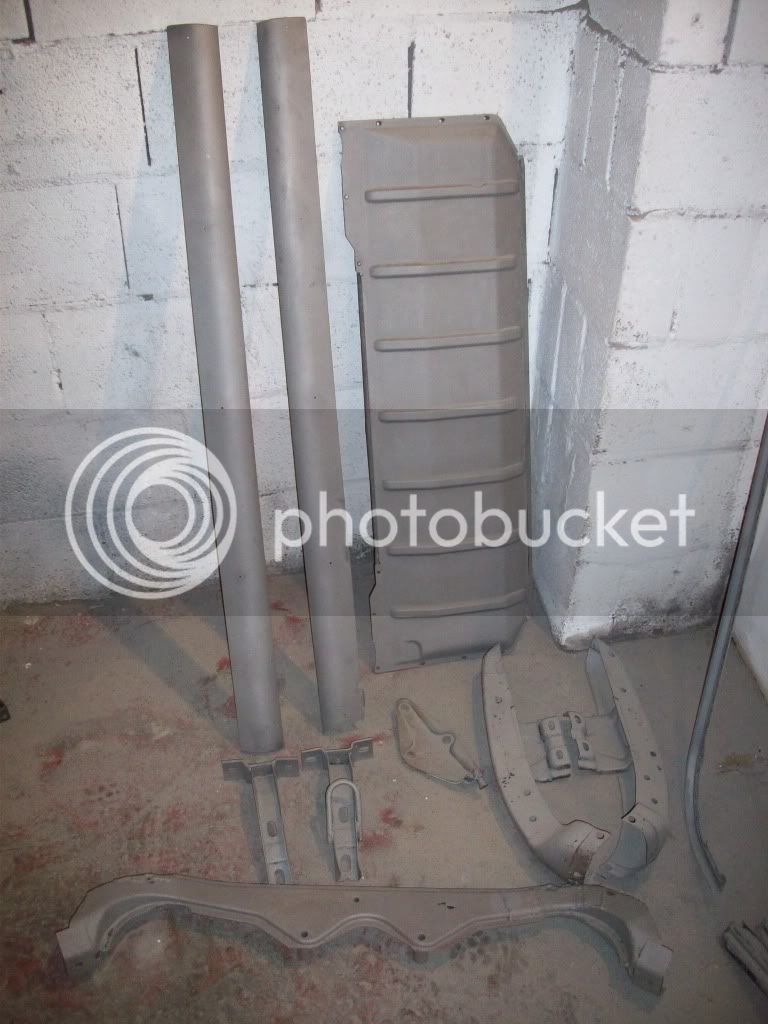

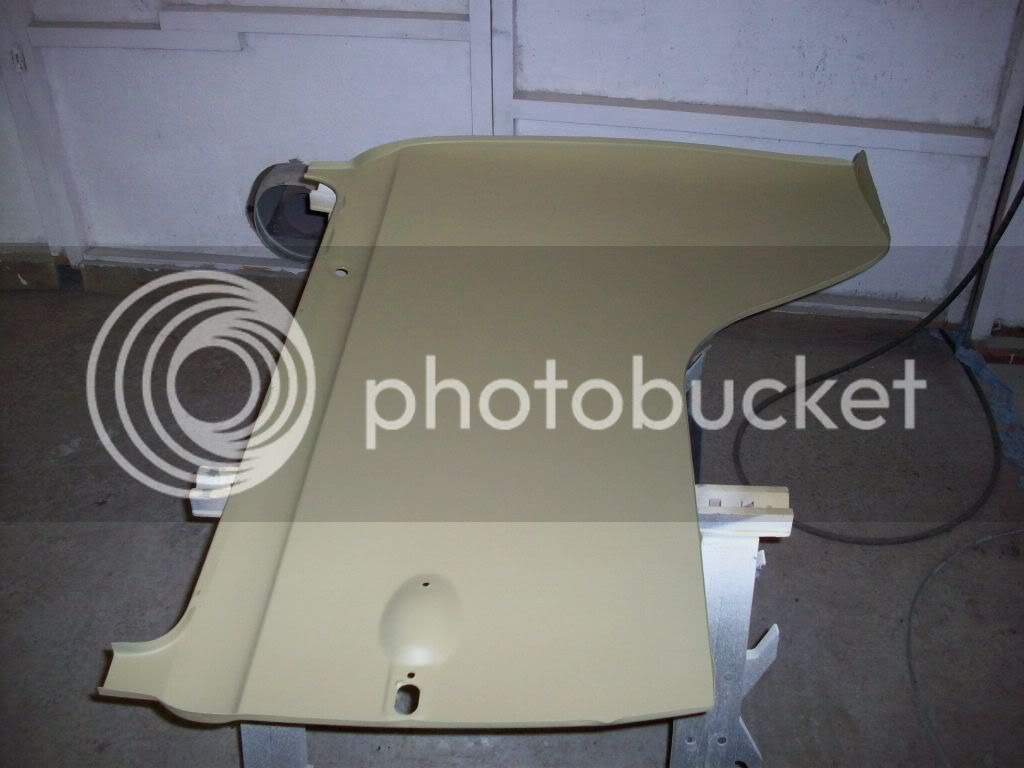
Etch primed and a quick cote of paint to the areas that are going to be covered up for protection. Going to spray some Bilt and Hamber in there!!!
http://www.bilthamber.com/pro-introduction.php?cname=Corrosion%20Prevention&name=dynax%20S50" onclick="window.open(this.href);return false;
http://www.bilthamber.com/pro-introduction.php?cname=Corrosion%20Prevention&name=dynax%20S50" onclick="window.open(this.href);return false;
Chrisradioman
Active member
Wow what a job, nice work, I can see your doing a proper job.
flynster
Well-known member
just read this and must say its nice to see something being done correctly.....keep going fella looking forward to seeing it in some nice paint :mrgreen:
ste
ste
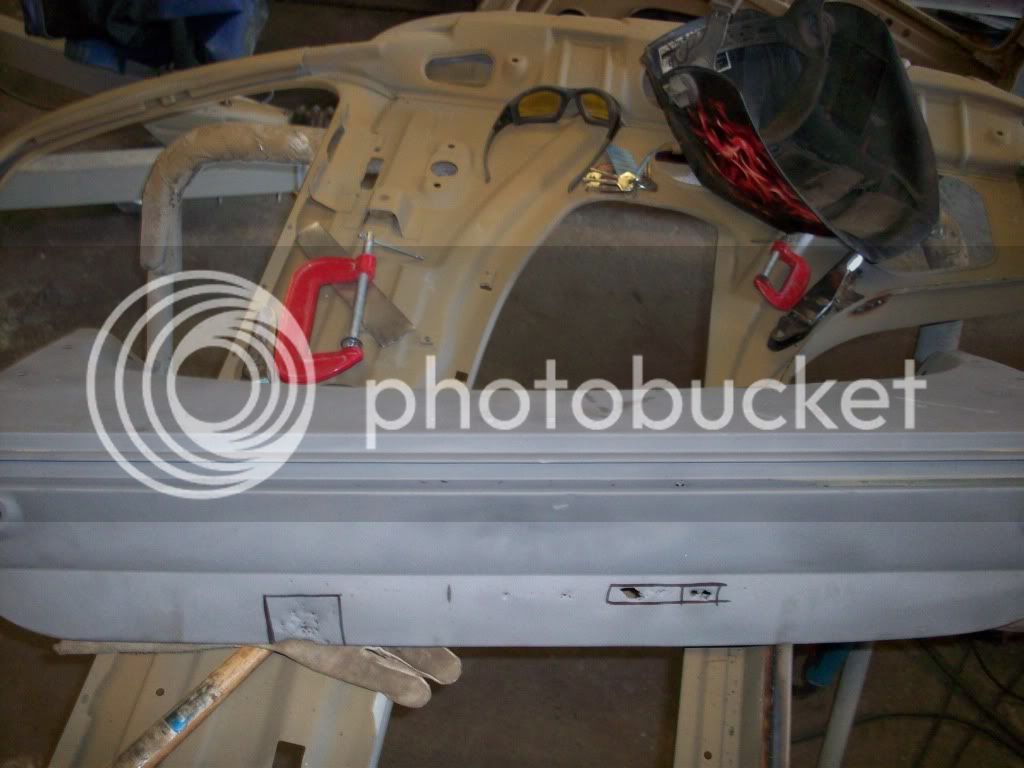
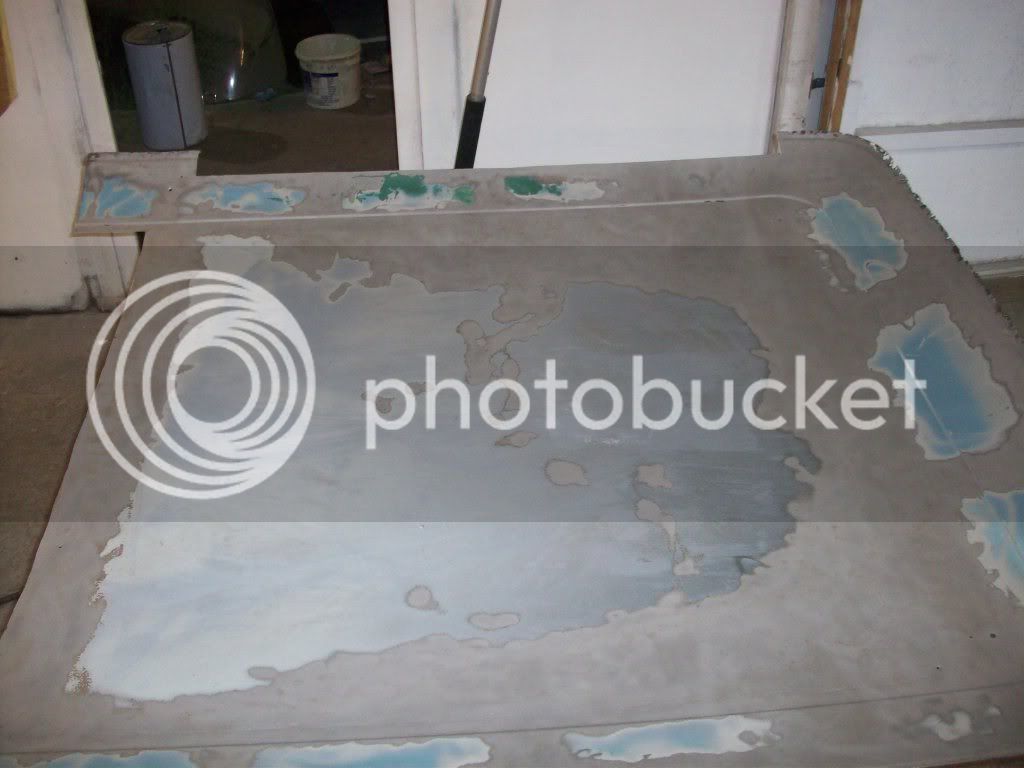
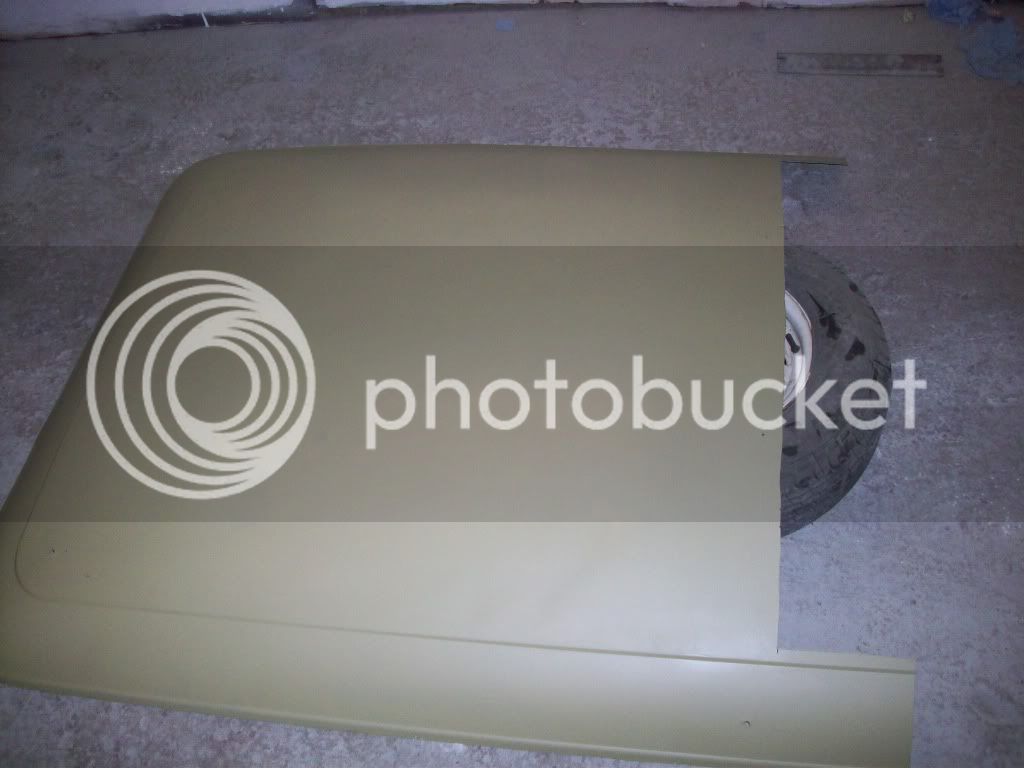
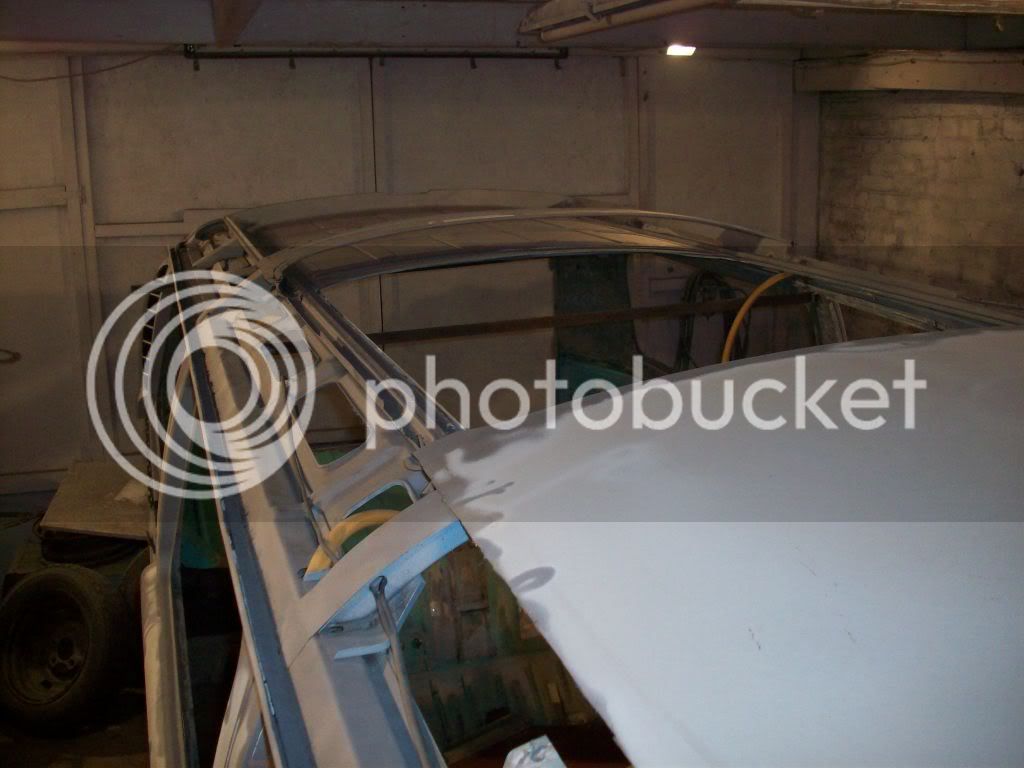
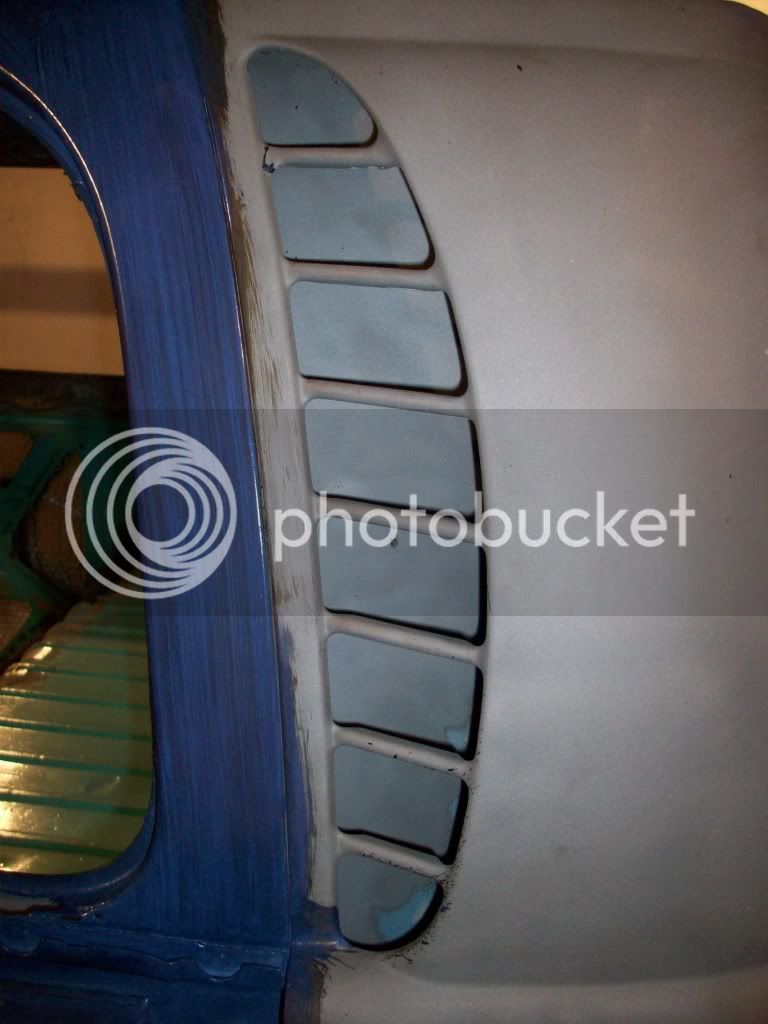
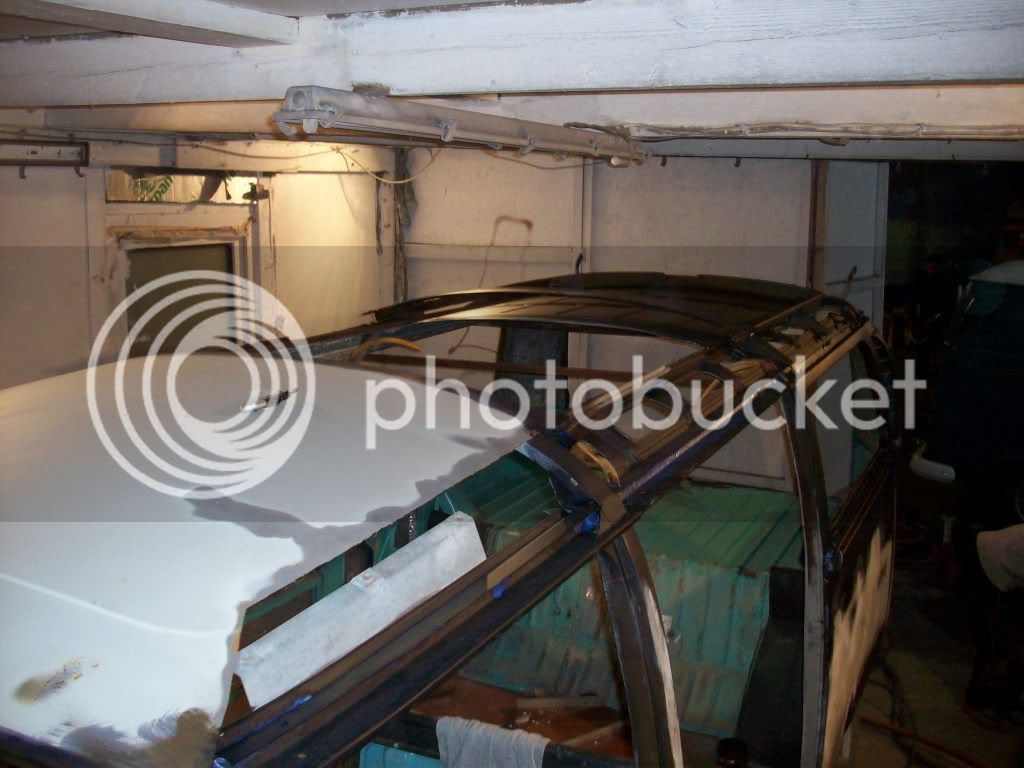
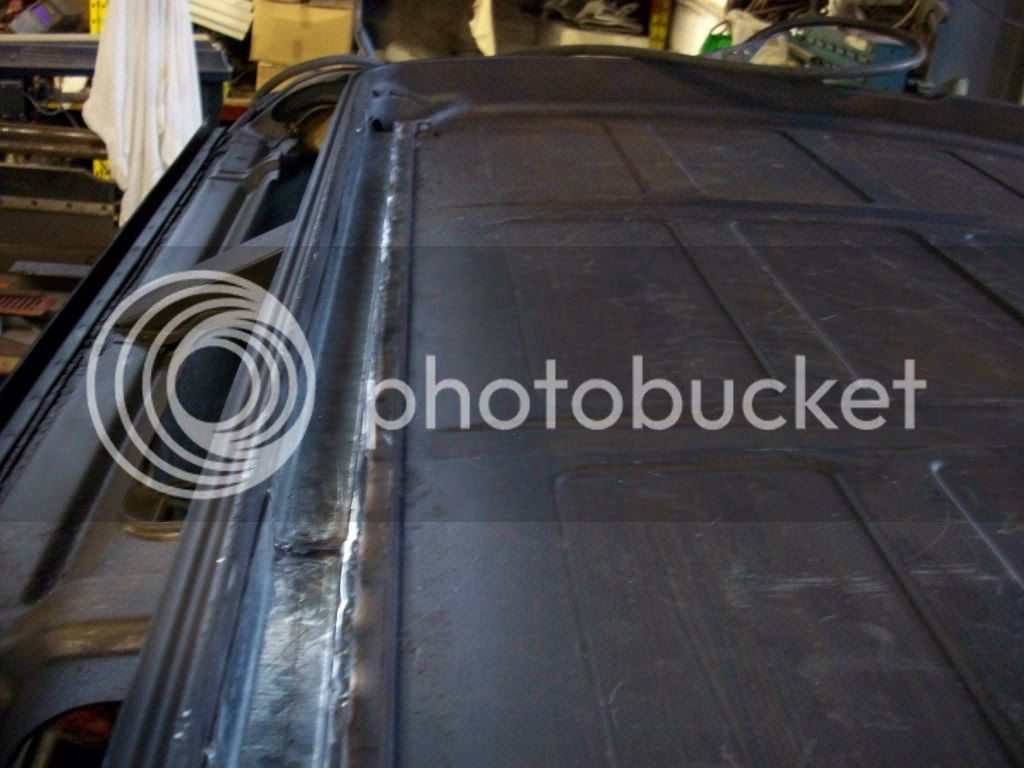
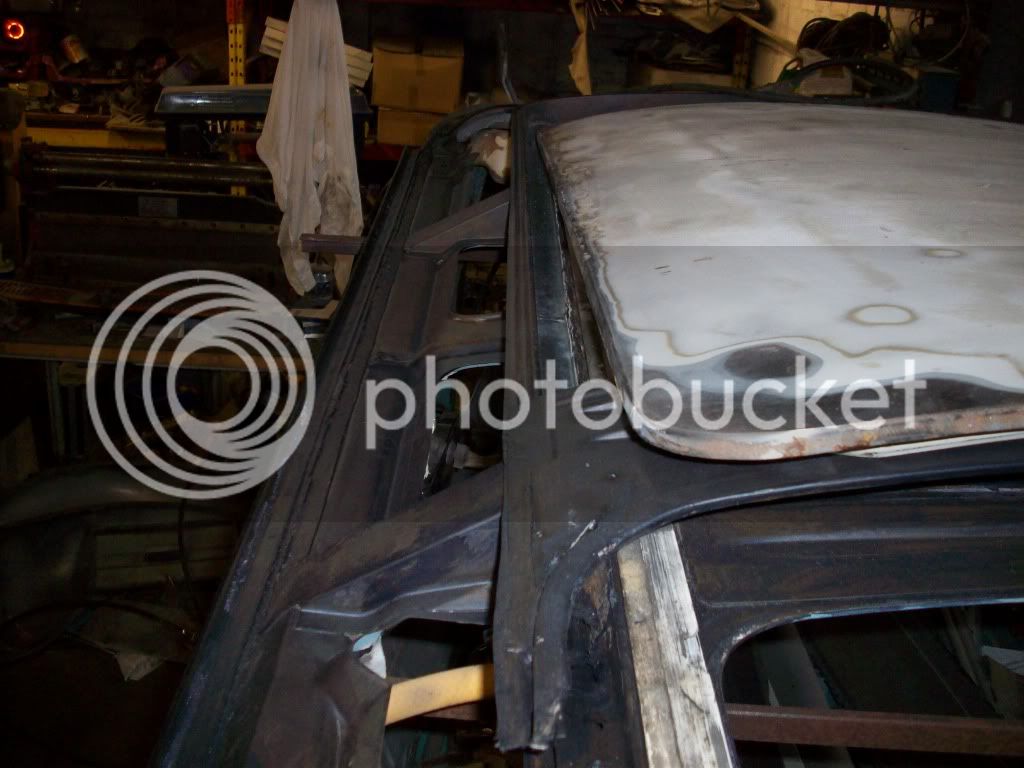
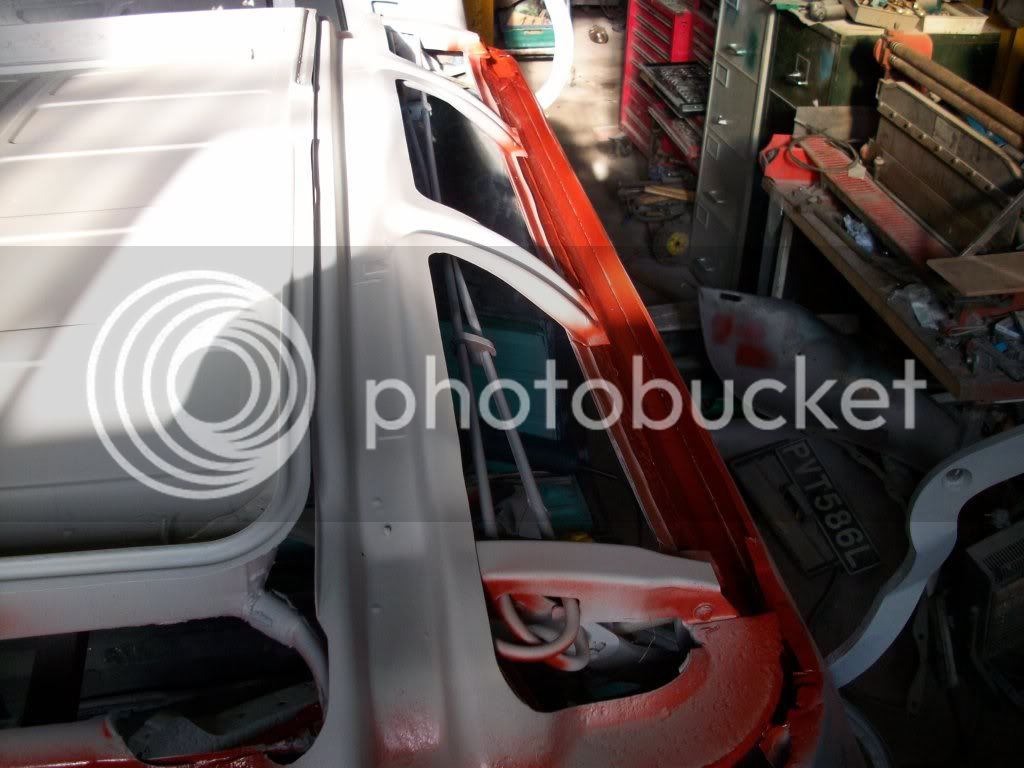
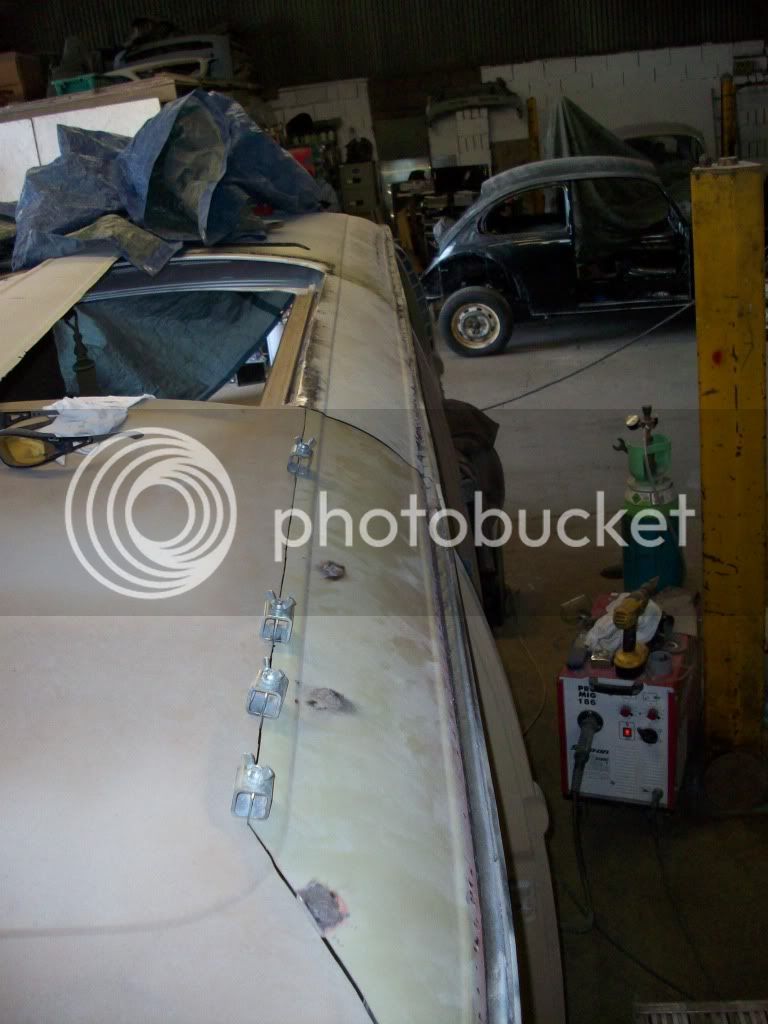
Been busy with all the new metal for the roof! it will be a bit of a Frankinstein but im sure he will be nice enough in the end!!!!!
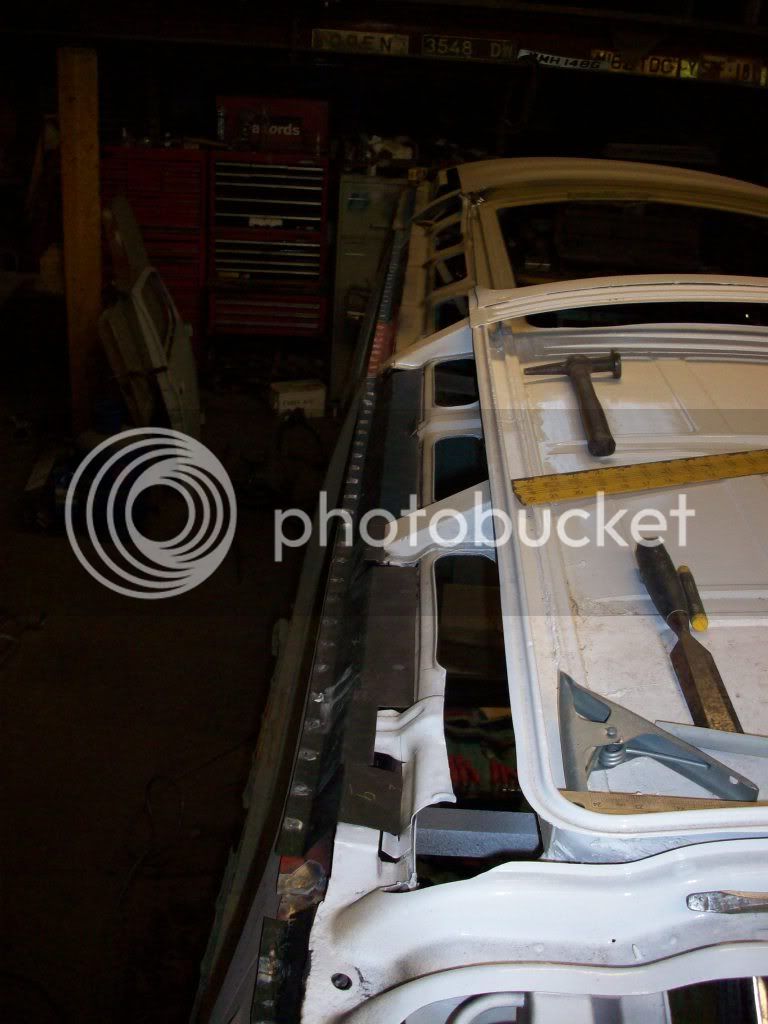
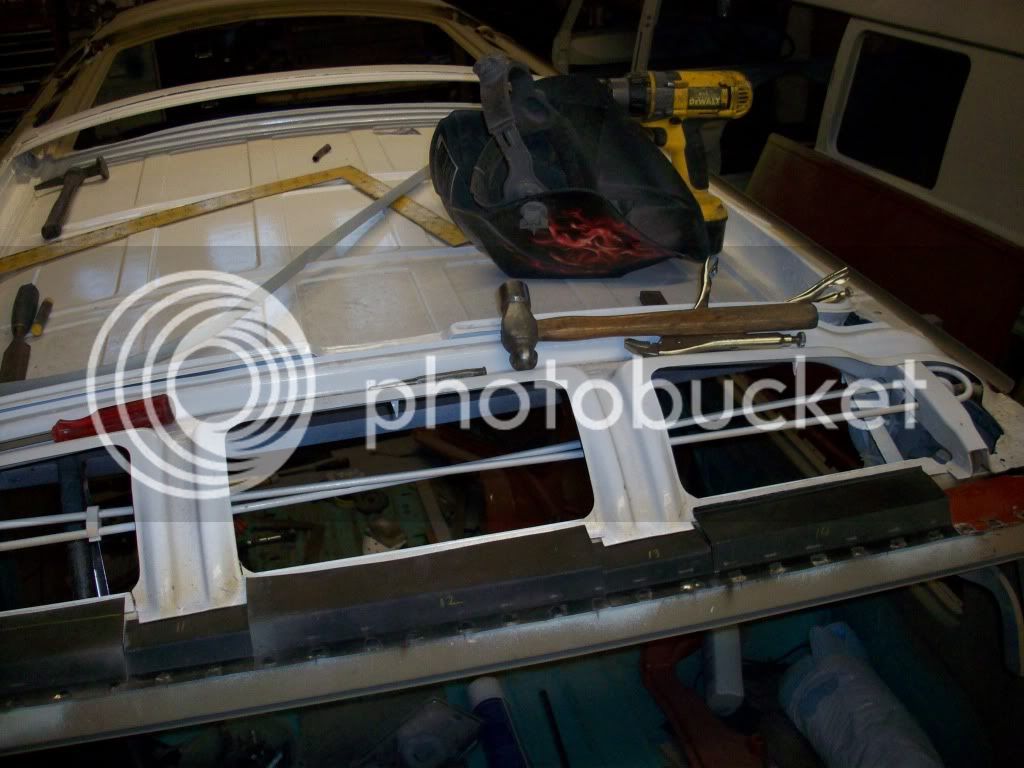
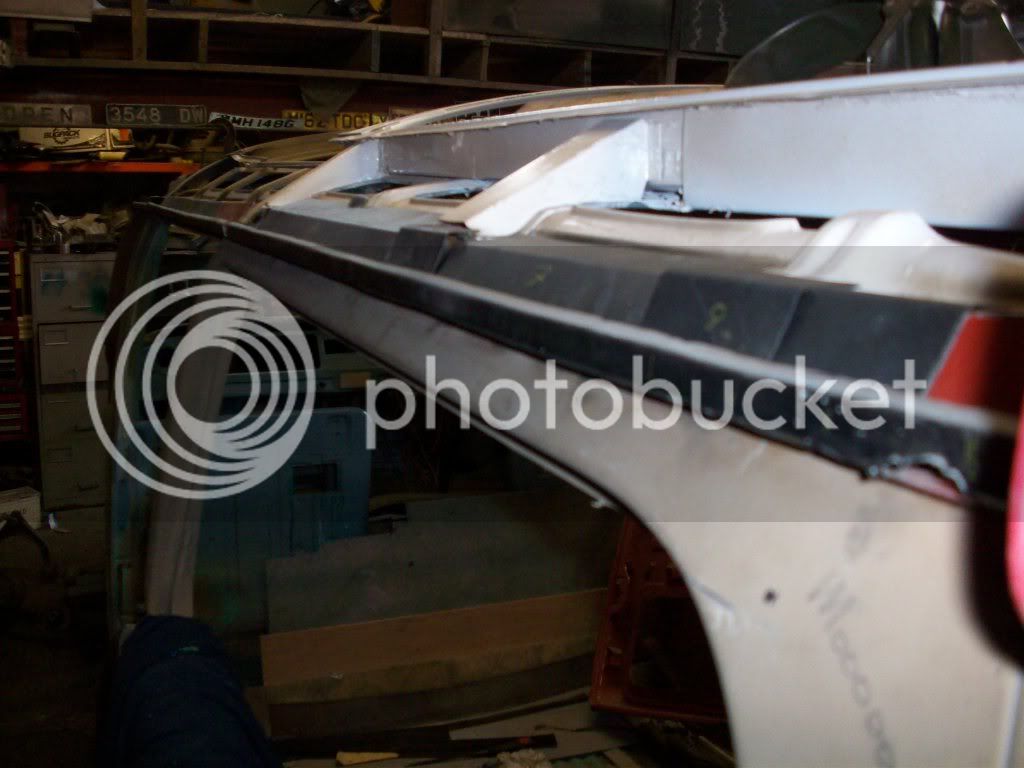
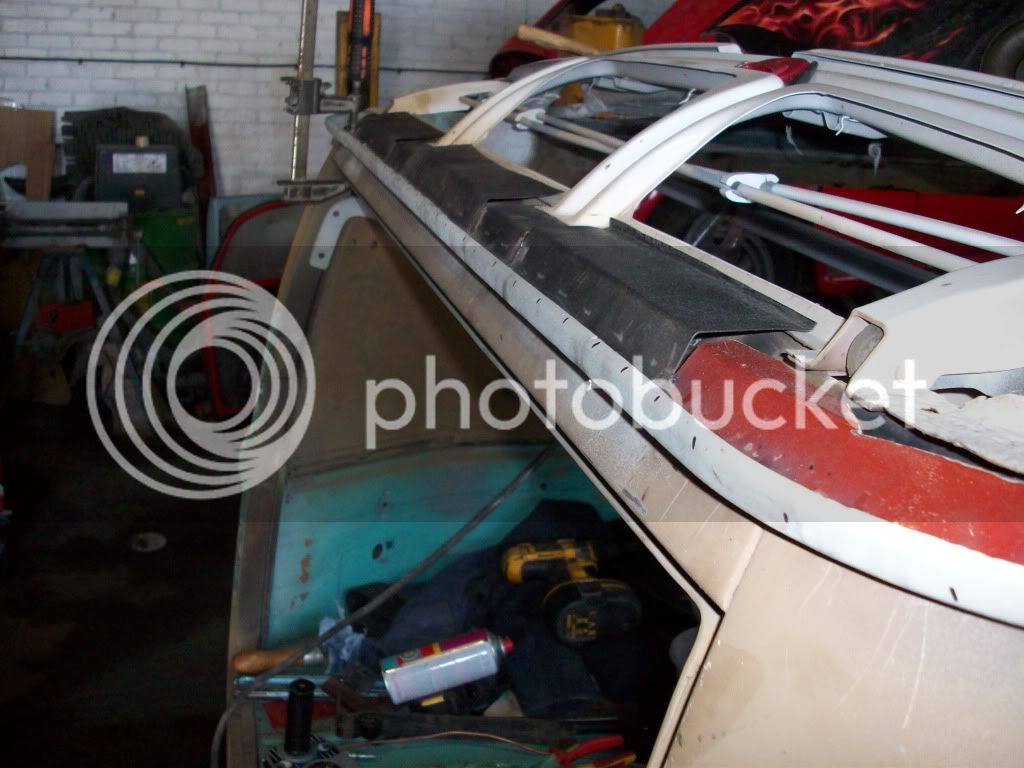
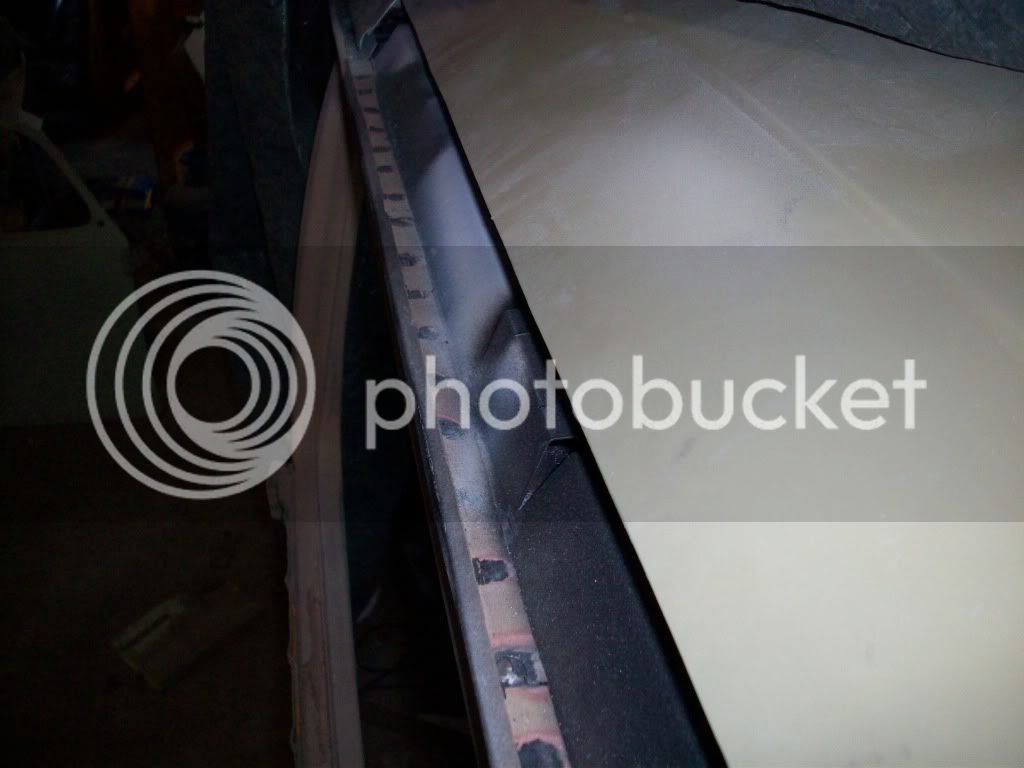
Put the 3 side bits on to see how things are going to be before welding!
It is not as bad as i thought.
Put the 3 side bits on to see how things are going to be before welding!
It is not as bad as i thought.
Similar threads
Vehicle For Sale
1968 Bay window T2 Dreamy
- Replies
- 2
- Views
- 38
- Replies
- 29
- Views
- 2K