'69 Crewcab resto

Early Bay Forum

Help Support Early Bay Forum:

This site may earn a commission from merchant affiliate links, including eBay, Amazon, and others.
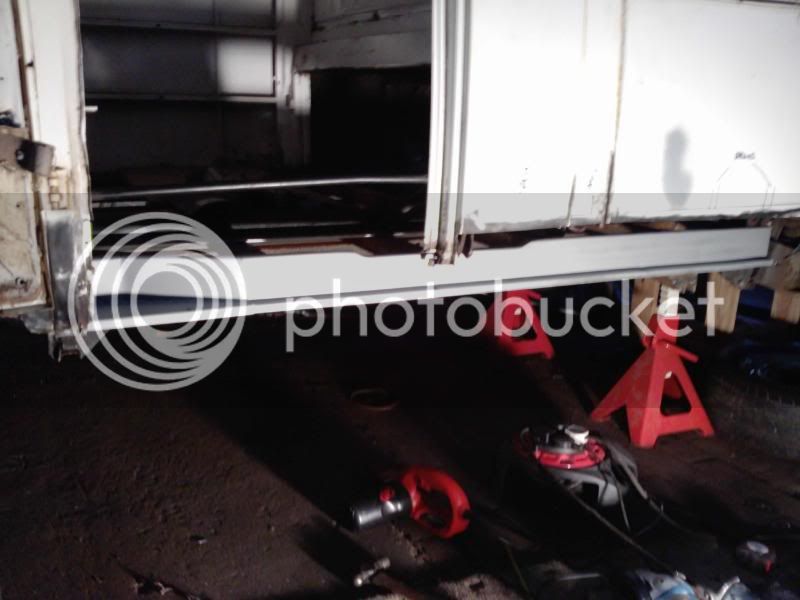
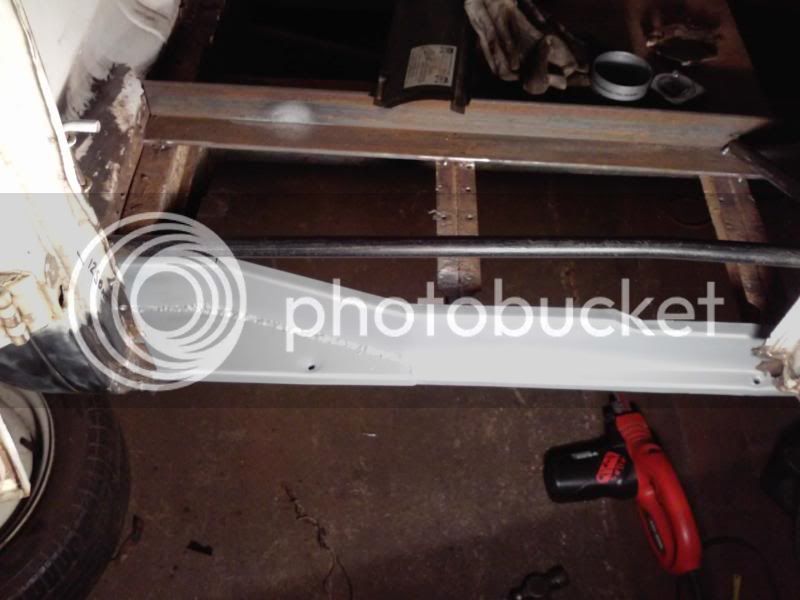
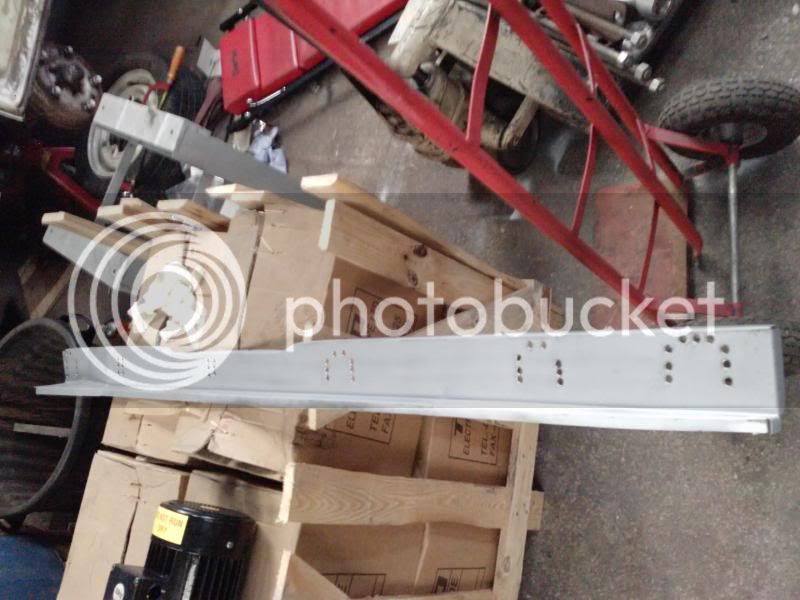
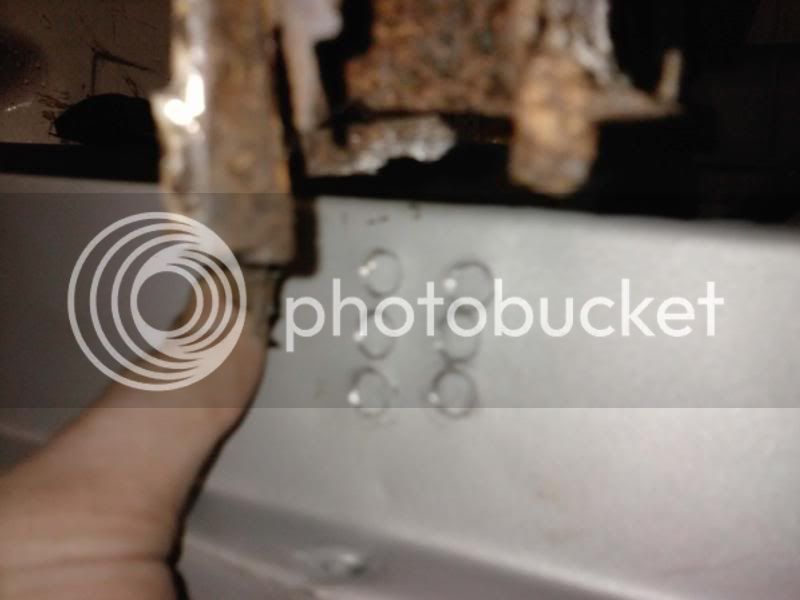
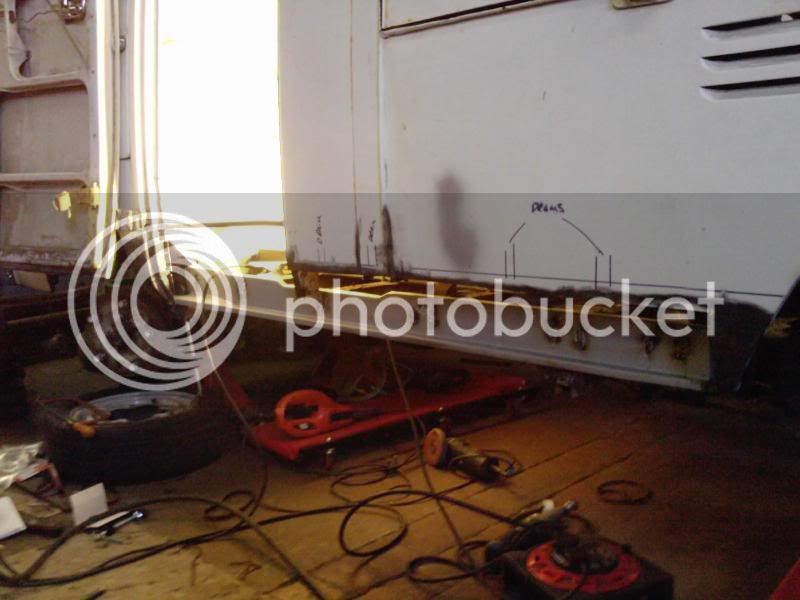
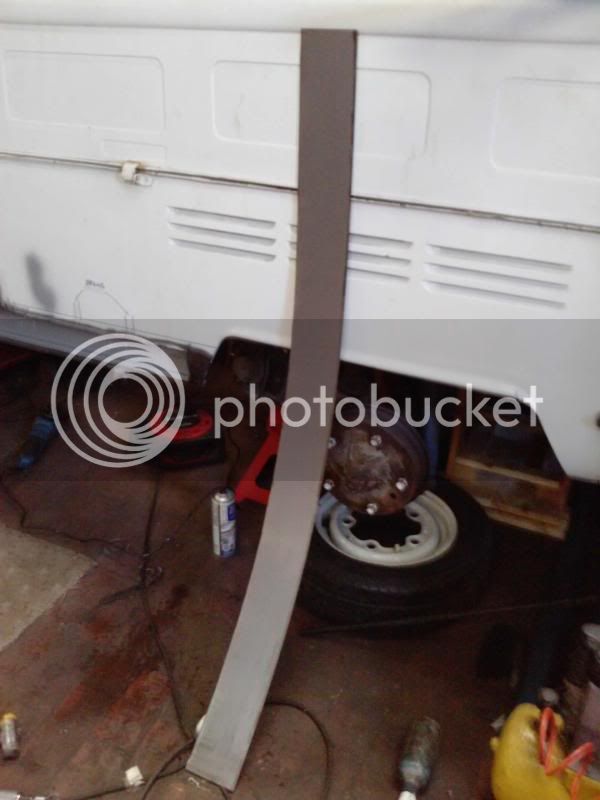
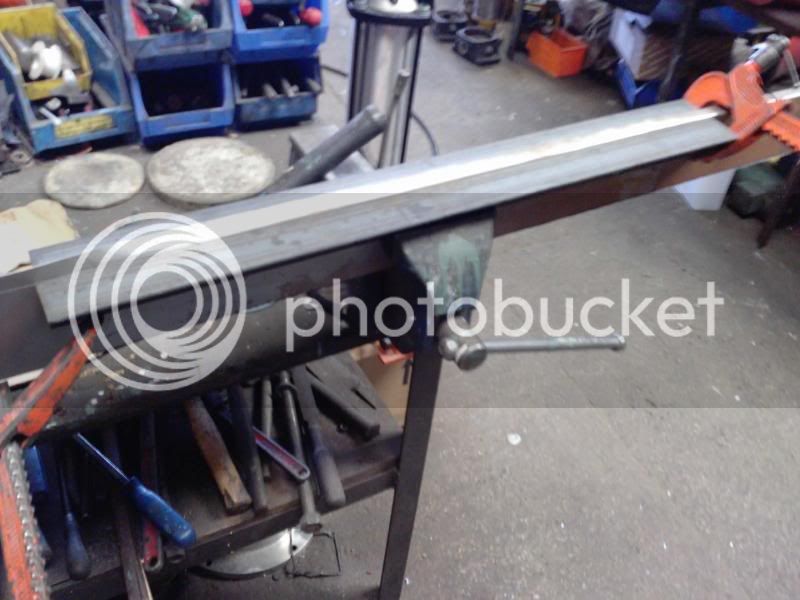
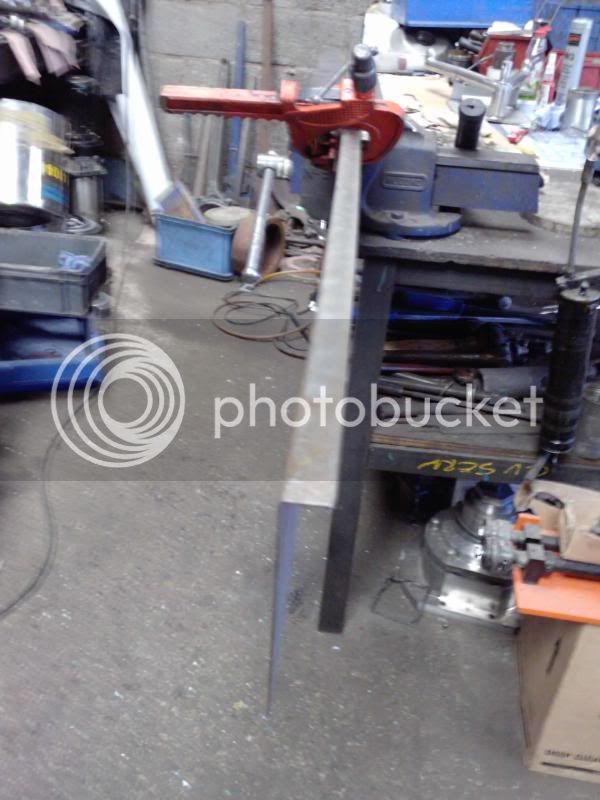
I know man im UBER stoked now ive got my slam bits. Looking forward to getting this FOOKIN sill in then i can pay with the suspension for a while and gain some more inspirado!! Gona be on to you in abit for your uses vital statistics regards to lowering cos you stance is awesome!! :mrgreen: :mrgreen: (probably said that before ;) )
 
Decided to crack back on today and tackle the last bit stopping the sill going in
100302_082847.jpg


Found these and a big dead spider!:eek:
100302_082901.jpg


Sill in :mrgreen: :D
100302_084911.jpg


After some snipping, sawing and filing i clamped it up!!
100302_133421.jpg

100302_133413.jpg

100302_133442.jpg

100302_133433.jpg

100302_135126.jpg


Then had to sweep up so i could get under the van to measure up!
So tommorow final measure up and HOPEFULLY weld it in!

Amazing how much inspiration something as simple as this can give!
 
:D Me too!! Theres no way im gona make deva but still aiming for it. Was hoping to fit this today but the bug decided it give its condensor its retirement! That was my dinner to pot and therefore the sill :(

Always tommorow!! :mrgreen:

Ash.
 
Me too man! This sill then t'other. Then the cab floors, then the cargo floors, then the bumper mounts then the suspension on so i can line my doors up then finish that front clip :mrgreen:


Fookin miles off :lol: :lol: :lol:
 
nah all in a days work for you :lol:
shame your not thinking deva though dude?


...one show this year they will be side by side

:mrgreen:
 
i could have a week of and robaly just finish this sill :lol: :lol: One day man. Itll be done this year. Told myself it will deffinatley be in the EB line up next year at Voo Woo but i want it done well before then. Still aiming for deva dude! Just dont know if Reg and MOT etc will be done by then :roll: :(

A man can dream! :lol:
 
Well got the inner sill all lined up and measured today so started getting it ready to fit! :D

The schofield Inner sill doesnt have the drains in. I did a similar thing with a my project bug with a decent result so i decided id fit tubes instead, the idea being that its harder for water to get up them than the OG type. Ill be keeping the original type on the outer sill so as not to spoill the looks :D

Searched everywhere for the galvo tube i used on my bug and couldnt find it anywhere!! So i took a stainless M12 bolt and made some :lol:

100305_140204.jpg

100305_140539.jpg


Made them a snug in fit to a 9mm hole and tig welded them in
100305_140815.jpg

100305_163146.jpg


Then cropped them at the same level as the sill.
100305_164349.jpg


Im also going to had a 4th hole at the rear of the sill. Once they are in ill sink the metal around them abit to help water/crap get out of them. Hoping to get down there tommorow and get the inner sill tacked in and start making the strengthener sill :D :D
 
Not much visual progress today but got everything cleaned up and a repair panel for the b pillar made ready to fit once the inner sills in. Got a coat of ZG-90 weld through/cold galv primer on the clean sill and all the bits, re-measured and marked out for the spot weld holes :D

100306_164503.jpg

100306_164513.jpg


So if i manage to get down tommorow i can hopefully finish weld the inner sill and make my inner strengthener :mrgreen:
 
Got LOADS done today!!:D Well condsidering i got a couple of spare hours.

Started by drilling the holes to fit the inner sill
100310_135352.jpg

100310_135554.jpg


Then final and more final clamping and measuring before finally welding it in:lol:
100311_082014.jpg

100311_083631.jpg


:D

Then it was time to tackle the inner strengthener

Started with a piece cut from my 8'x4' 18 gauge sheet
100311_092129.jpg


Measured the lip on the inner to be 17mm so i scribed it down the side, then i clamped it between tow pieces of 2" angle held by a vice and carver clamps and started to work the top fold in with a soft mallet.
100311_124226.jpg

100311_124208.jpg
 
To start measuring all the folds and pinces etc i thought id work from the back forward as this was the easiest end to measure. First thing was to box the end.
100311_132352.jpg


Then measured up for the drop in the floor for the seat mounts, folds and bends to follow the inner sill. Chopped bent and welded all the nooks and crannies up.
100311_182159.jpg

100311_182150.jpg


Then i fitted it to the van to sort the last few bits that needed trimming and cropped it where it was needed.
100311_181551.jpg

100311_181535.jpg

100311_181523.jpg

100311_181439.jpg

100311_181513.jpg


Last job was to get the rust off and get a couple of coats of weld through primer on it:D

Hopefully weld it in tommorow and start the strengthening ribs and outer sill:D
 
How low are you taking it mine is about five inches all around and it rides great.
 
Got some paint on the inner and the strengthner today
100311_183744-1.jpg


Then drilled the holes for my "spot" welds and clamped it up.
100312_133649.jpg

100312_133657.jpg


Then welded it in!
100312_135725.jpg

100312_163842.jpg


Then ground them down to make it flat for the outers and stuck some primer on.
100312_163510.jpg

100312_163520.jpg


Finished it off before i left tonight so i can start the pillars tommorow :D
 

Latest posts

Top