'69 Resto

Early Bay Forum

Help Support Early Bay Forum:

This site may earn a commission from merchant affiliate links, including eBay, Amazon, and others.

neil'69

Well-known member
Joined
Dec 9, 2008
Messages
75
Reaction score
0
Location
Chester
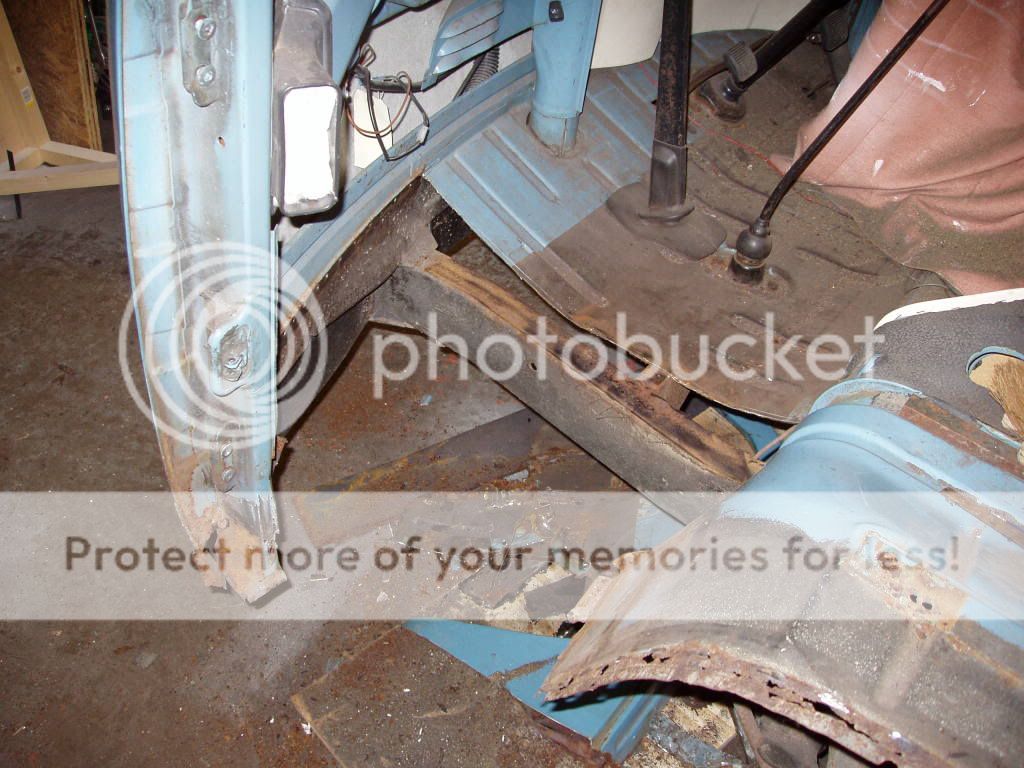
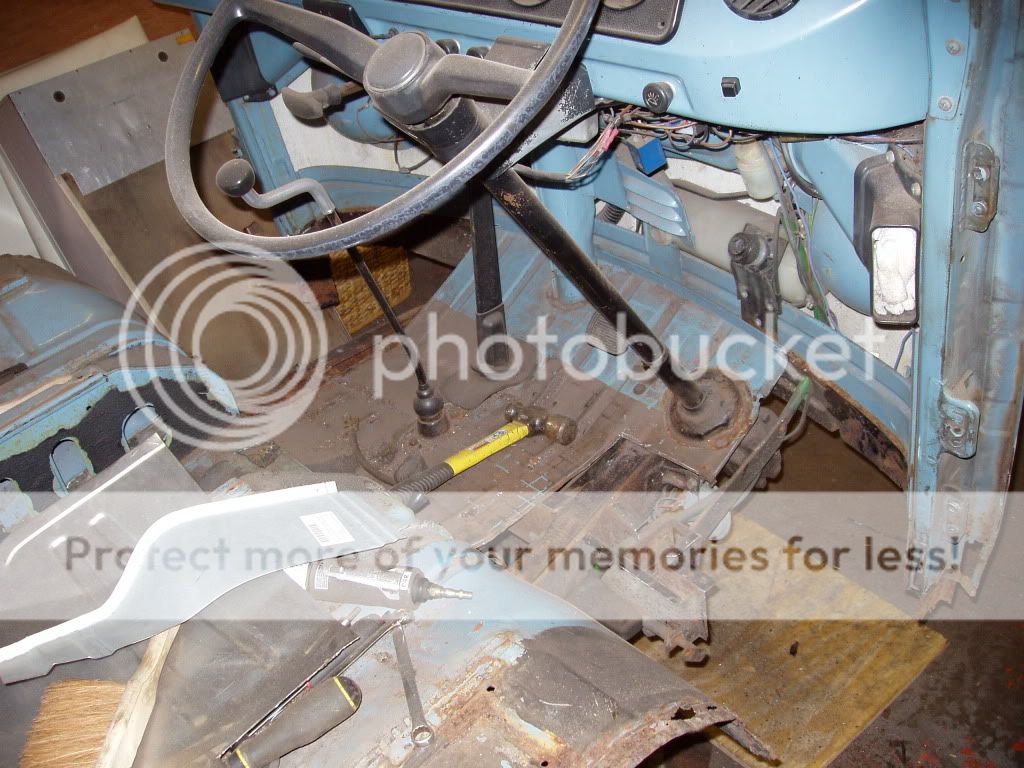
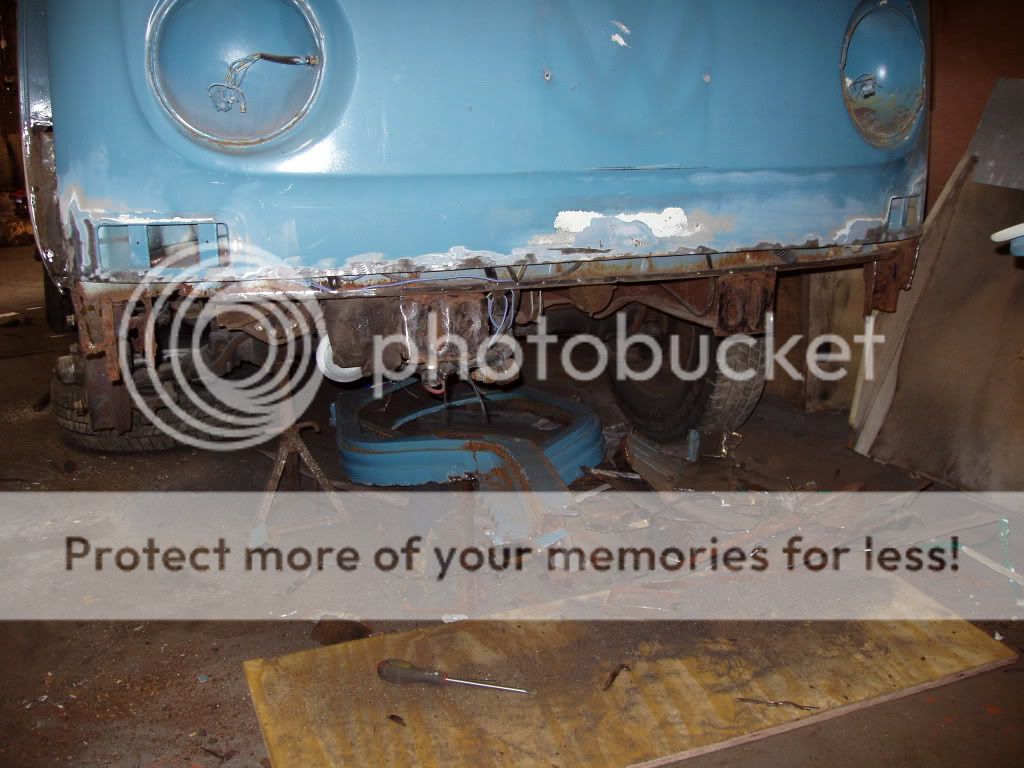
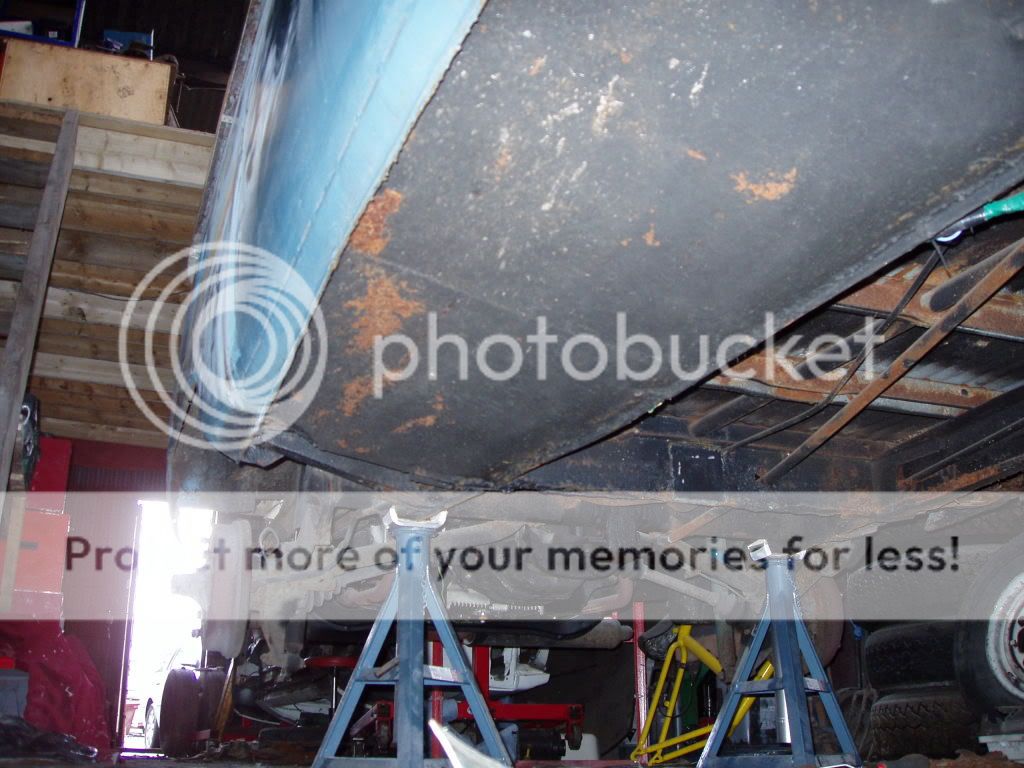
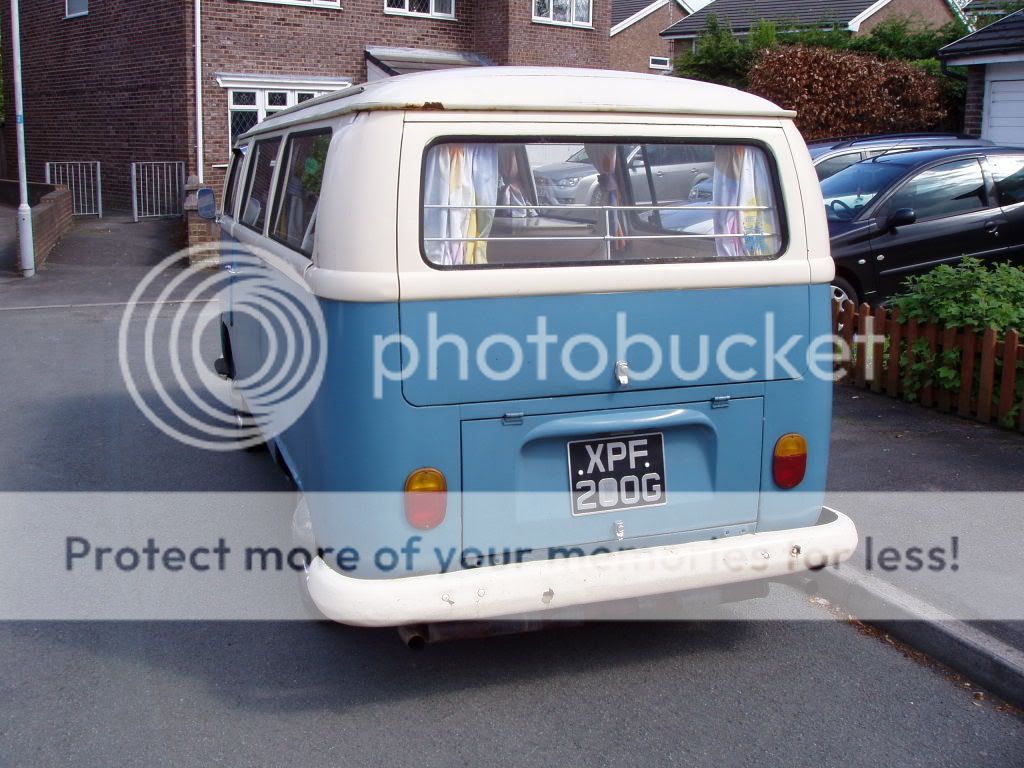
Hi all, some pictures of the start of the restoration of my '69 tin top. There's no pressure to have it complete but the future Mrs want to go to church in her at the end of October.....this year! :shock:

P4250034.jpg

P4250035.jpg

P4250036.jpg

P4250037.jpg

P4250038.jpg


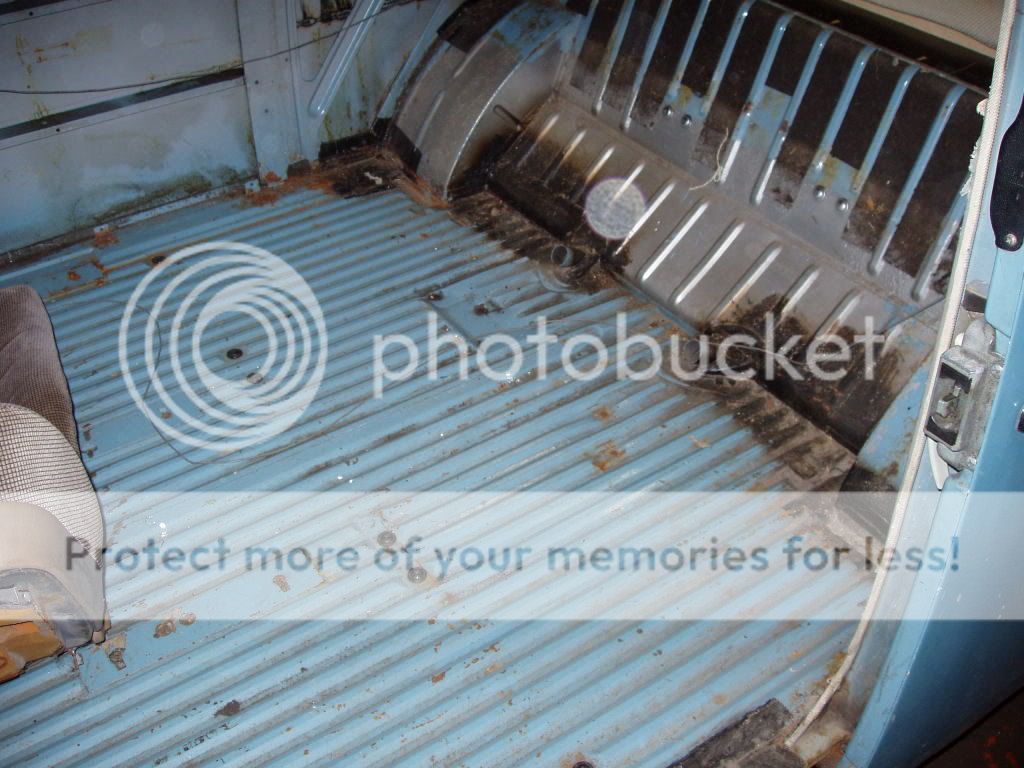
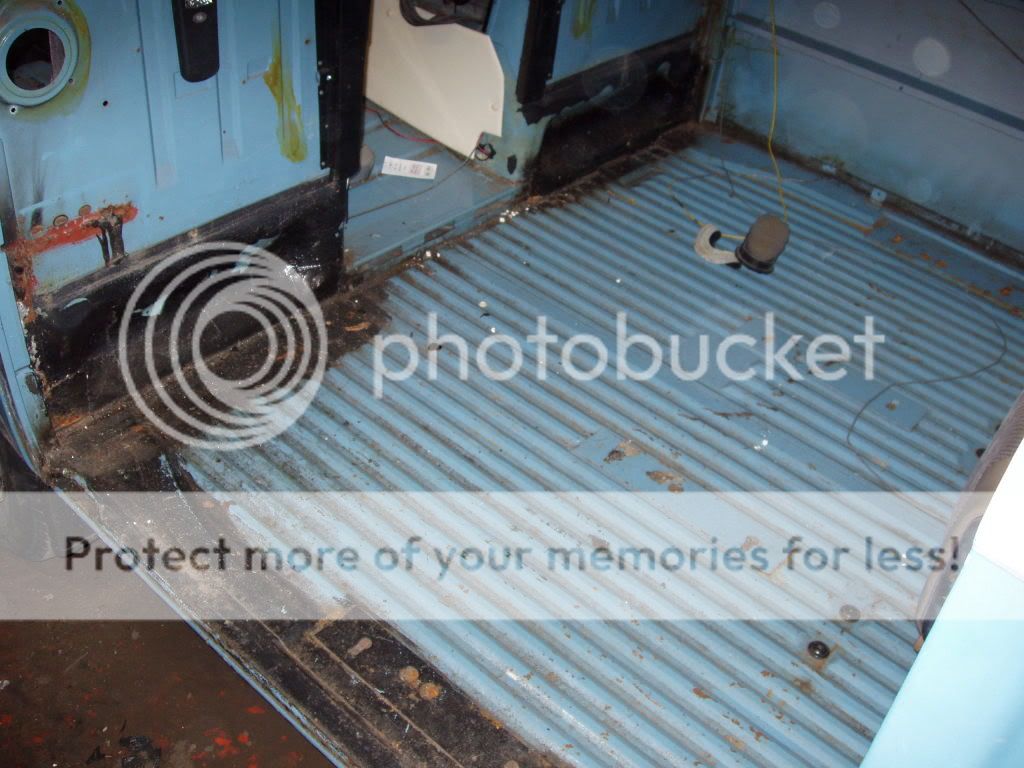
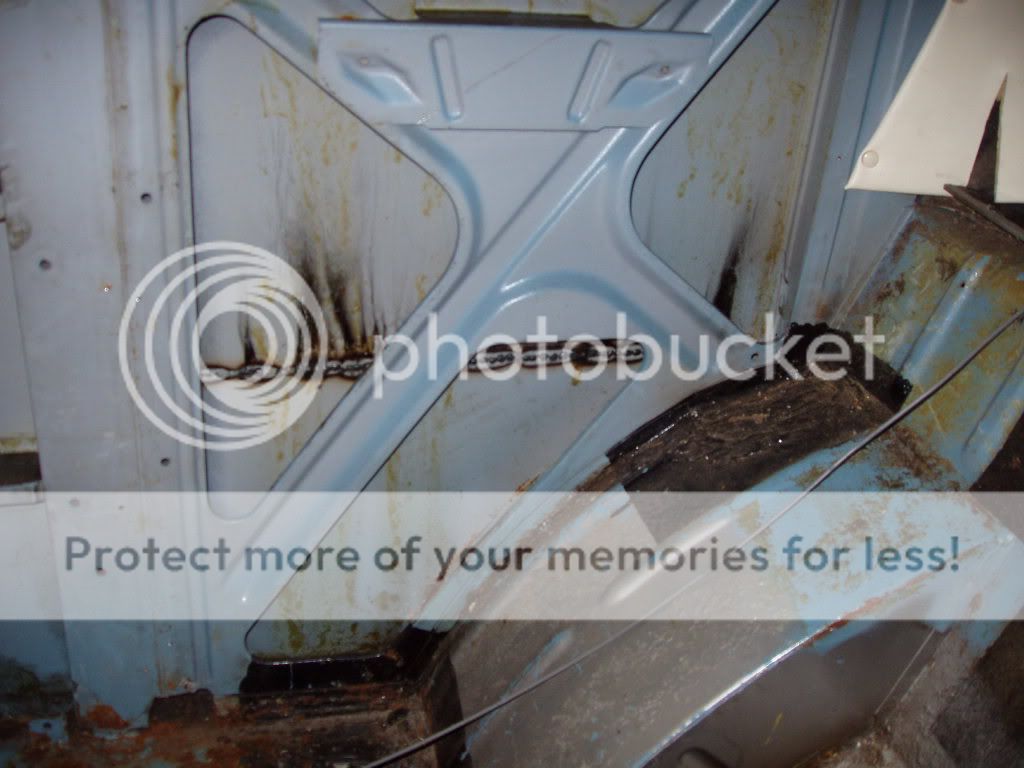
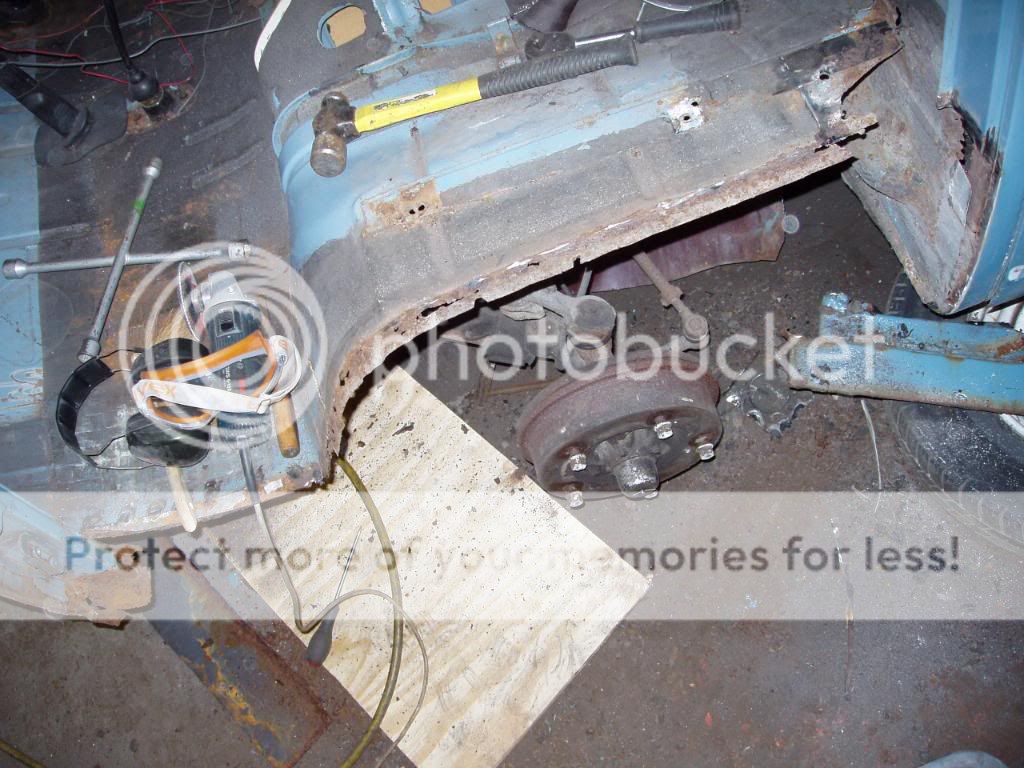
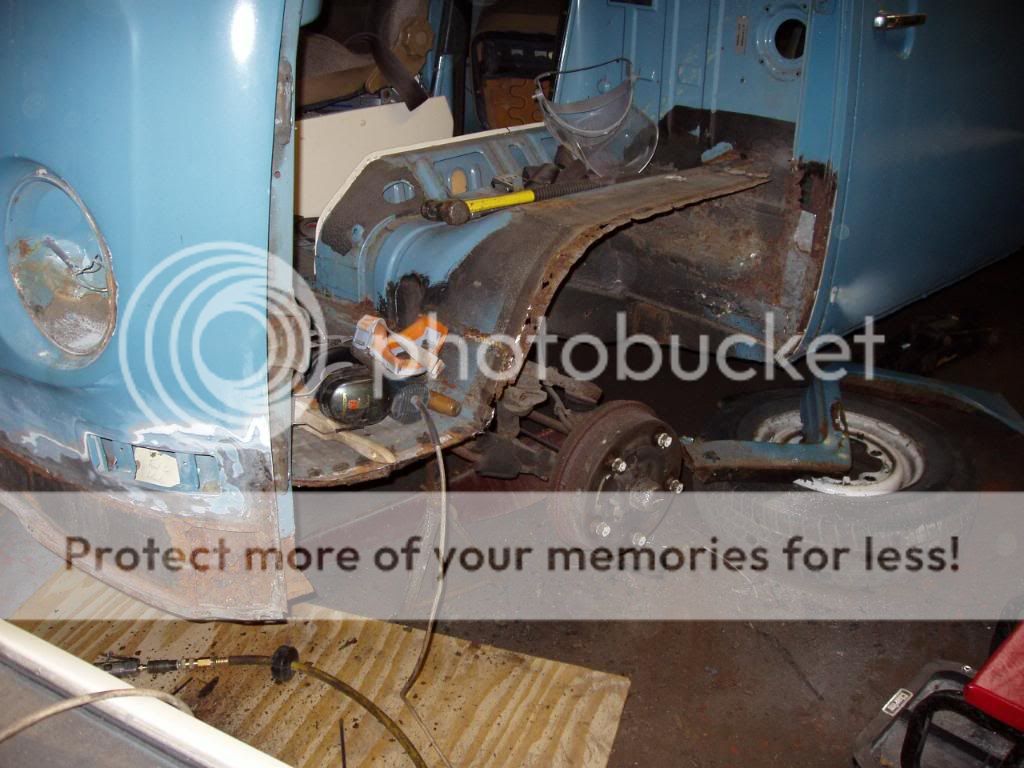
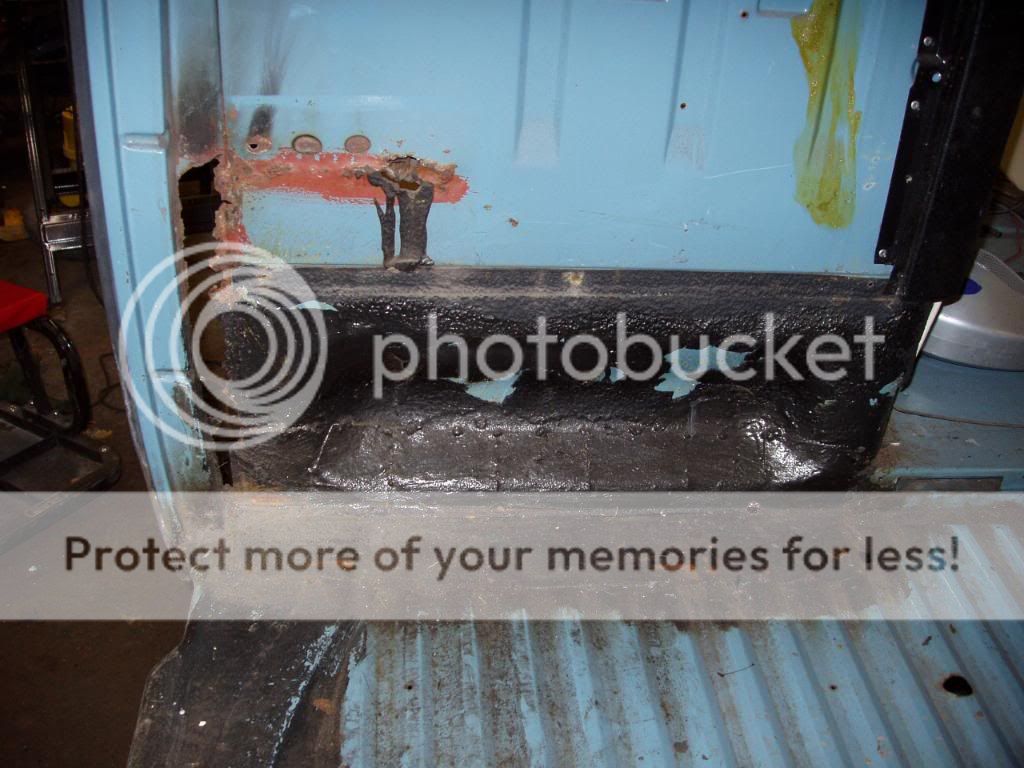
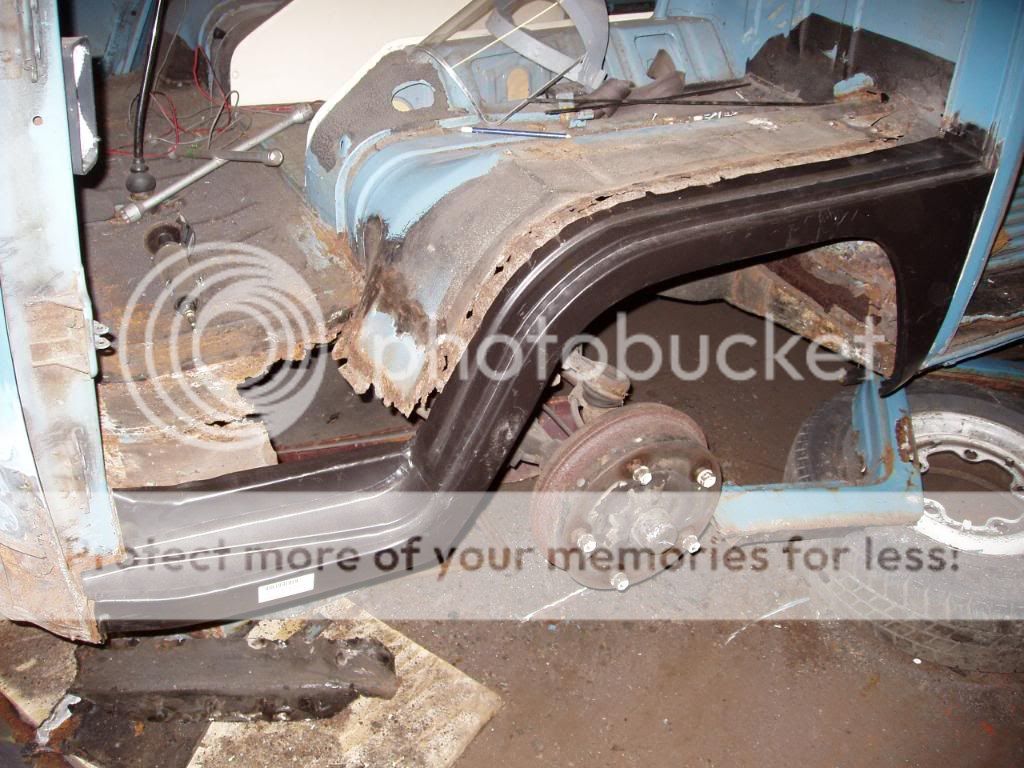
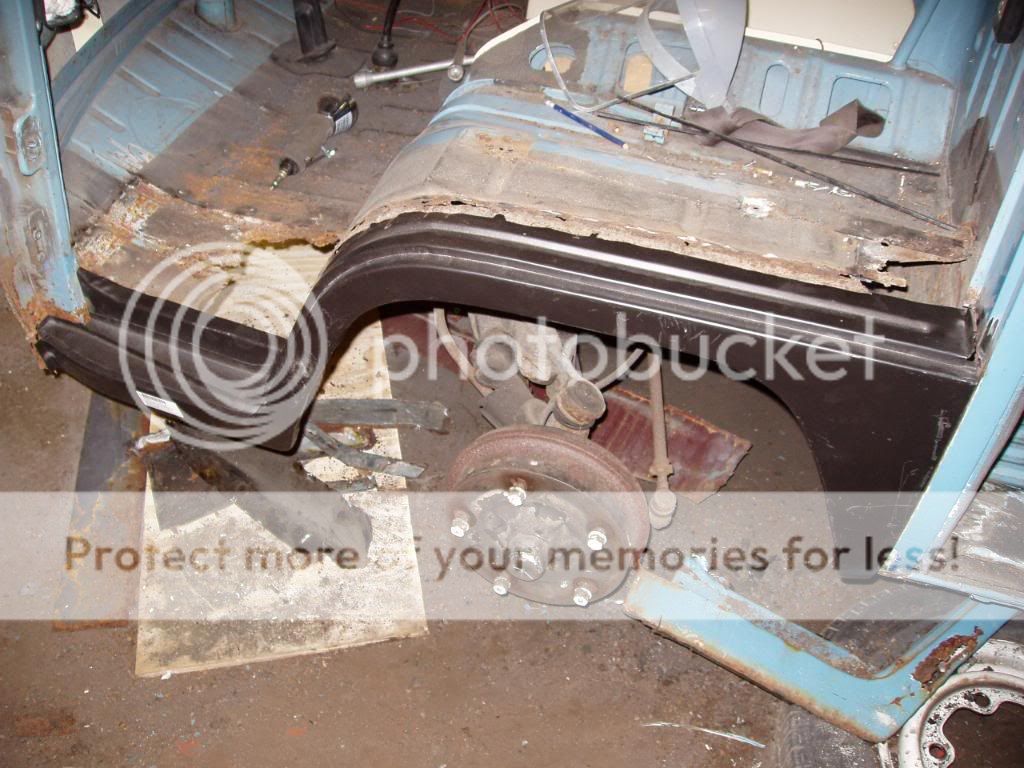
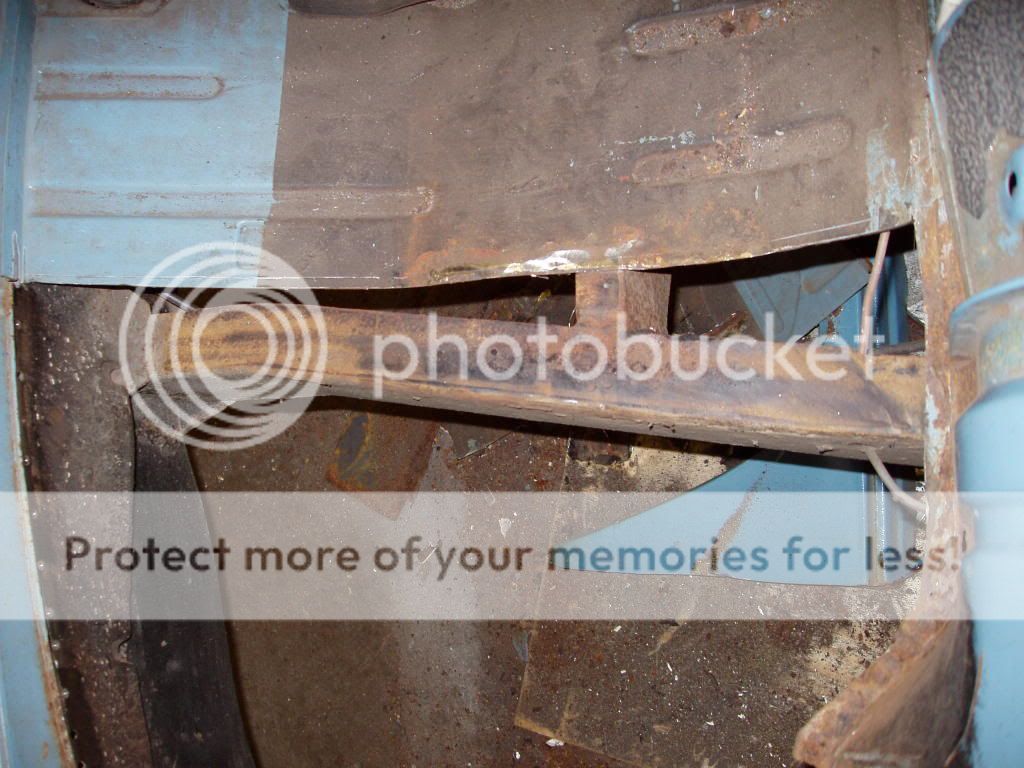
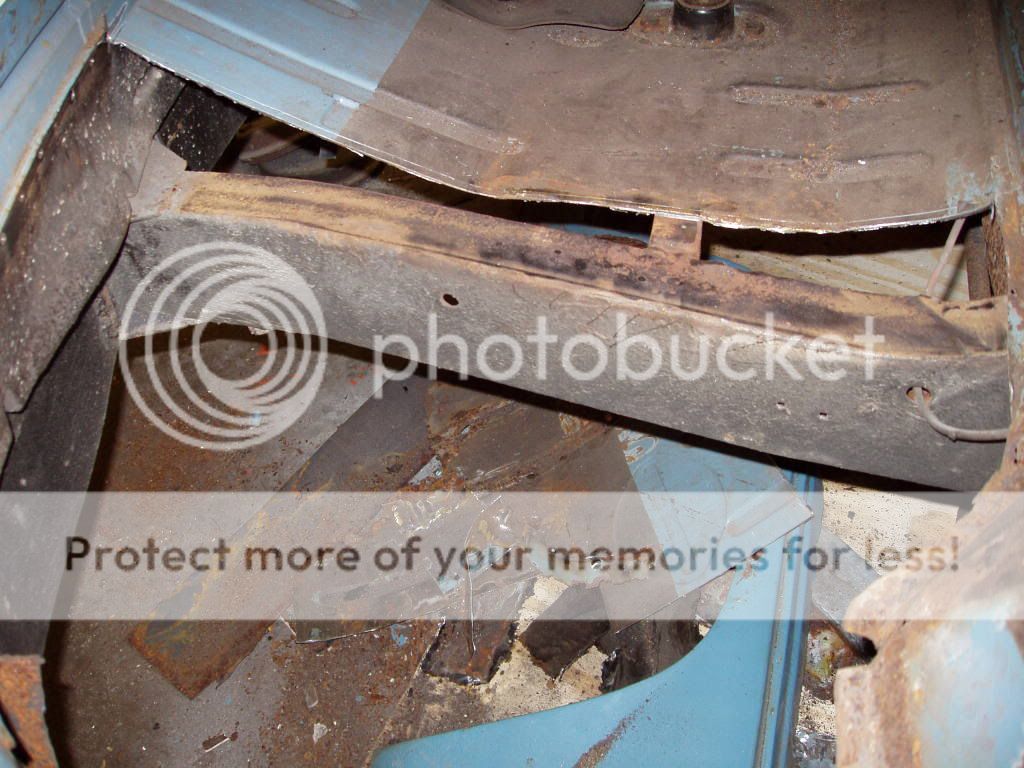
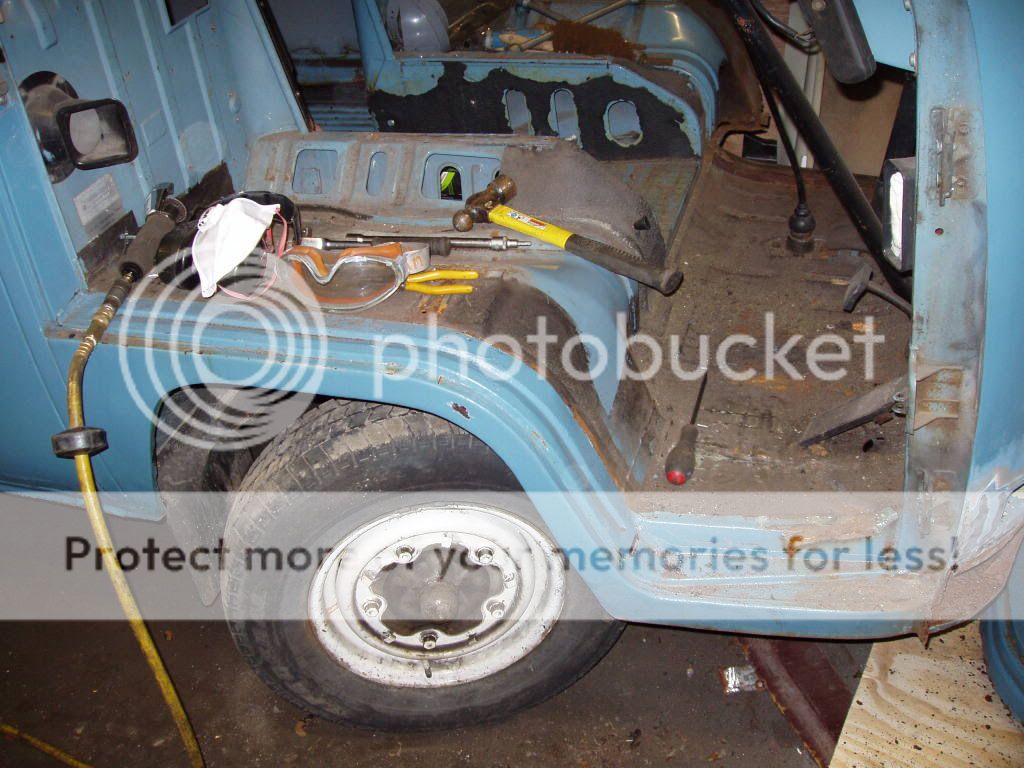
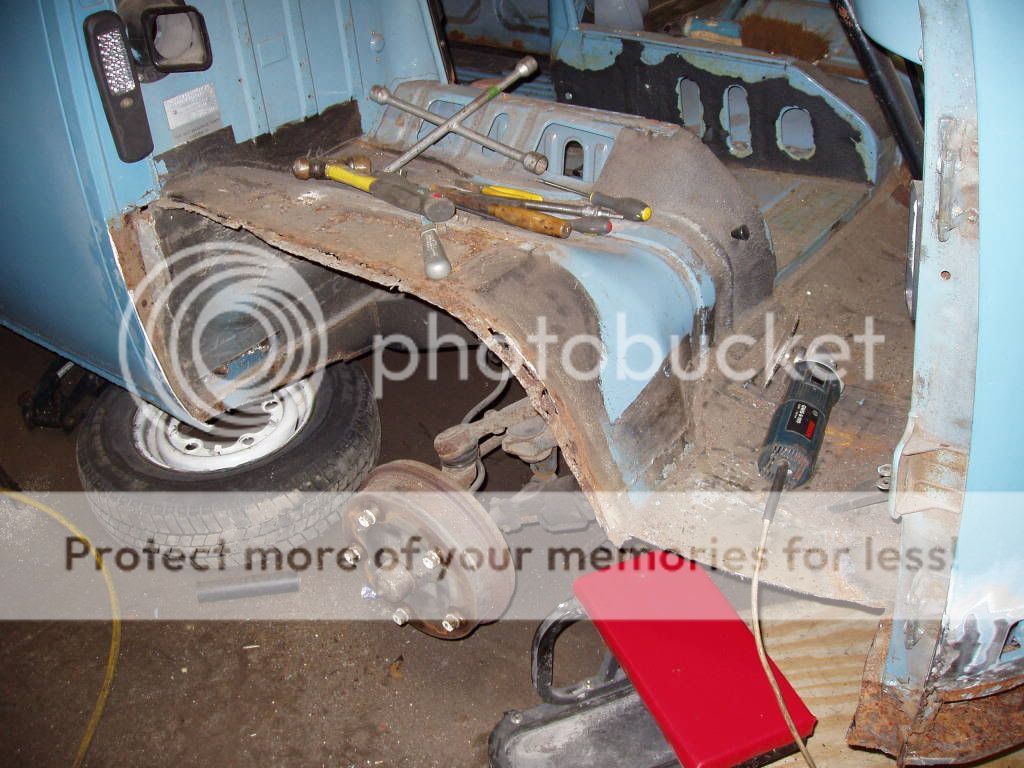
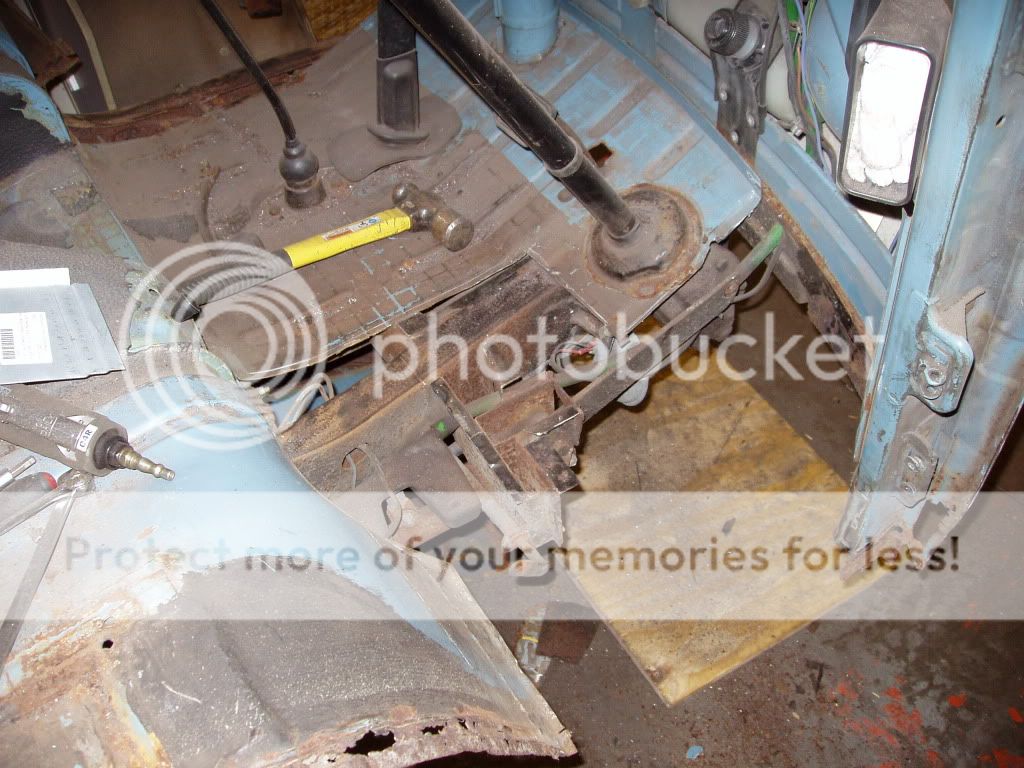
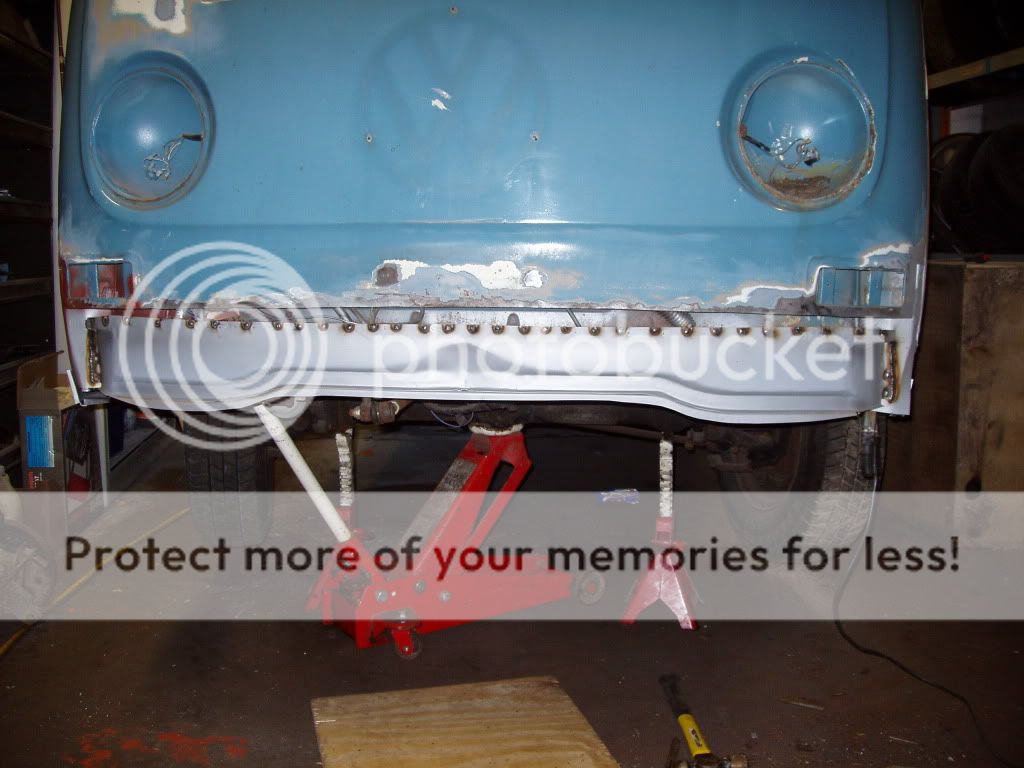
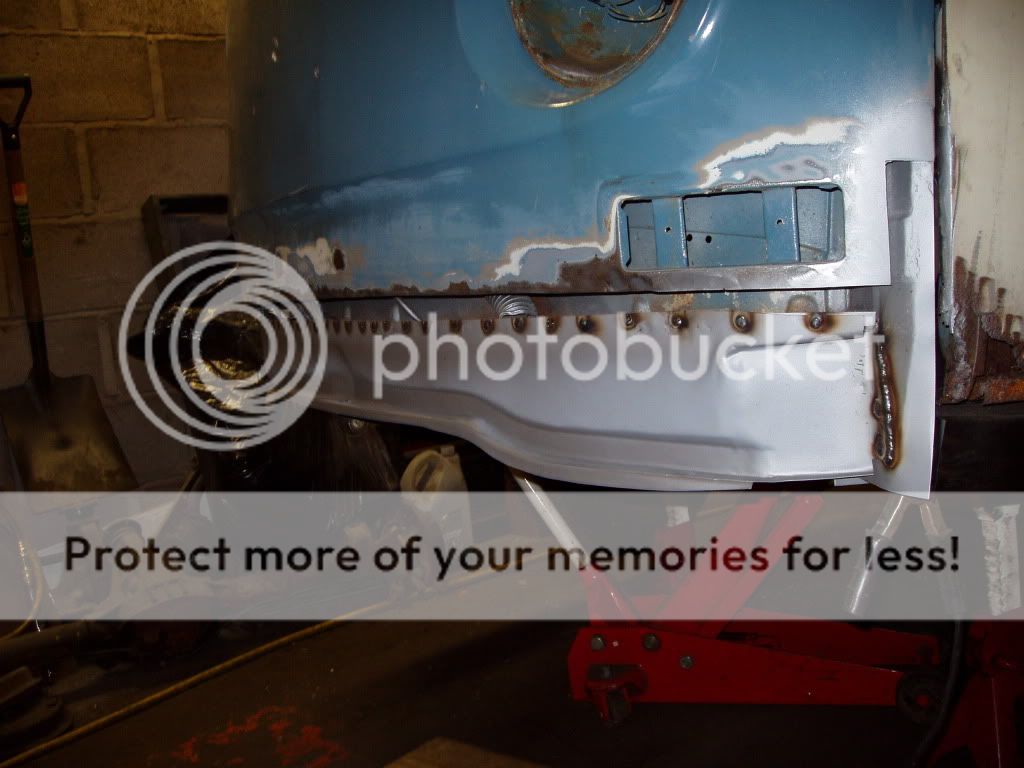
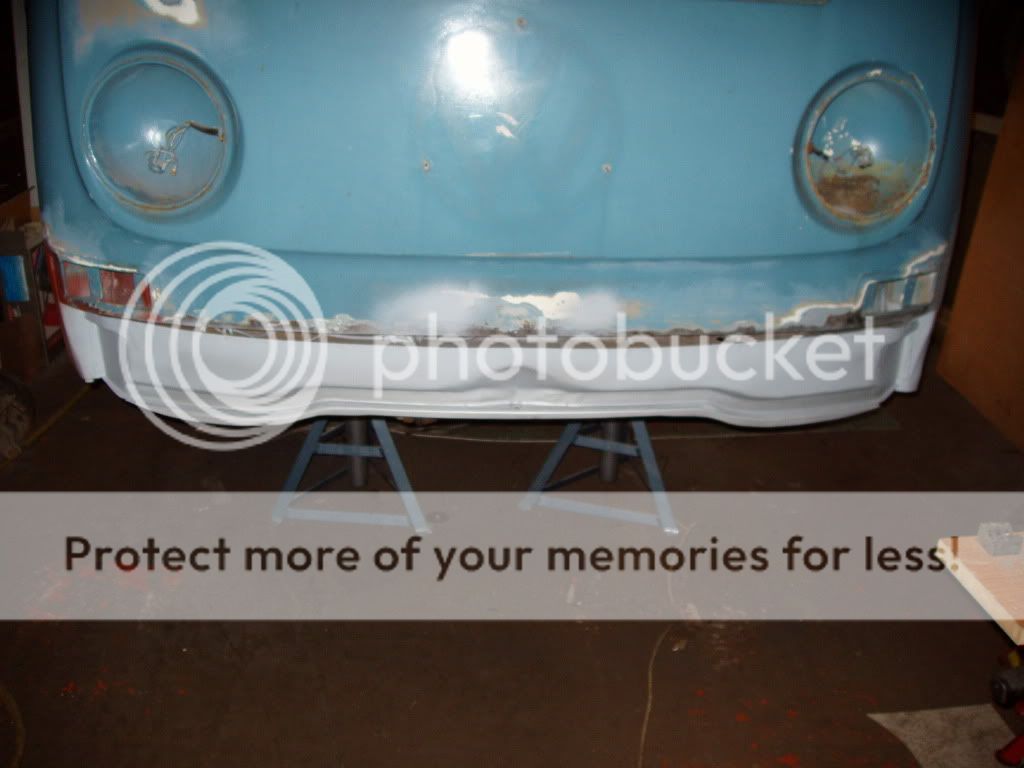
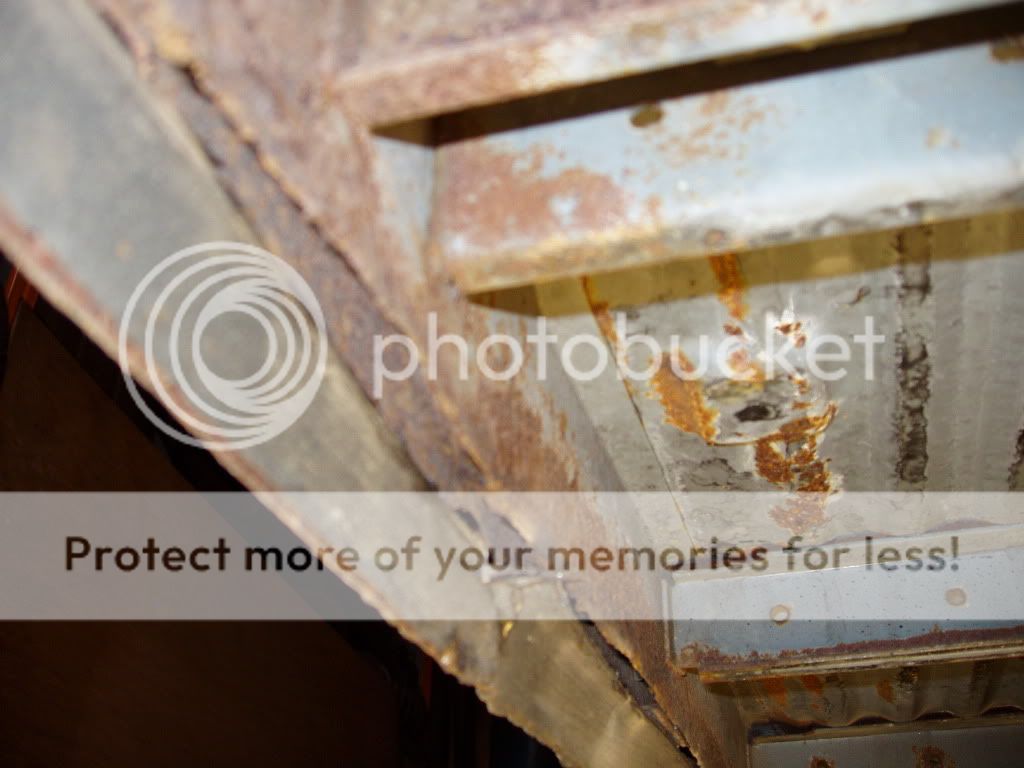
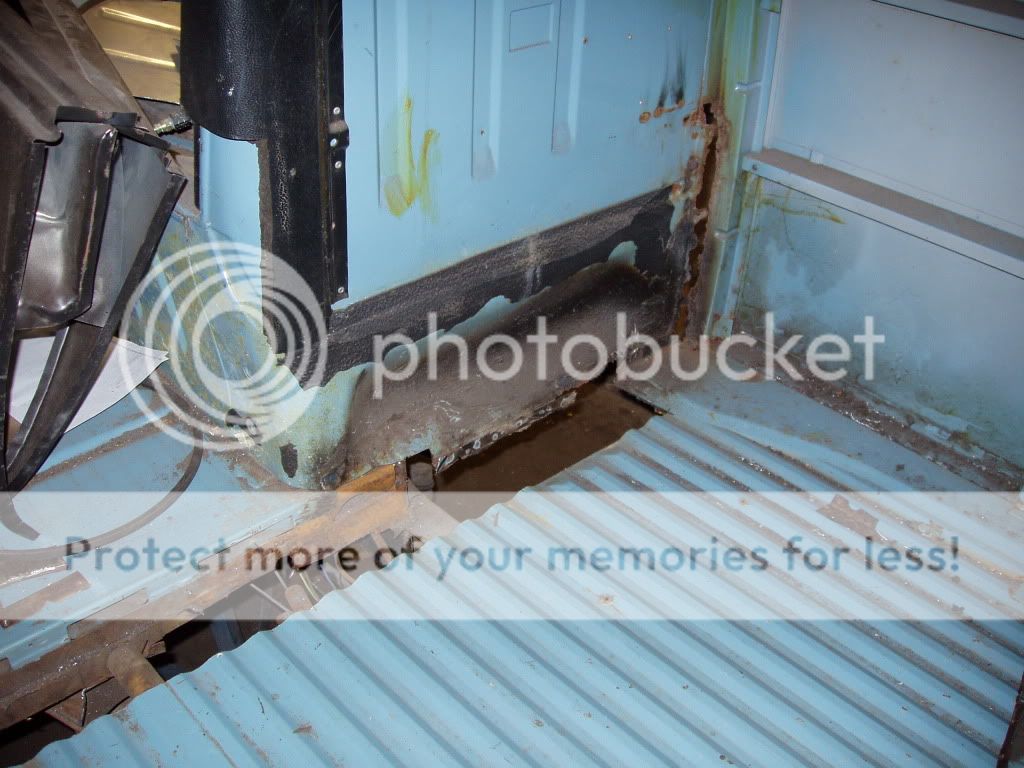
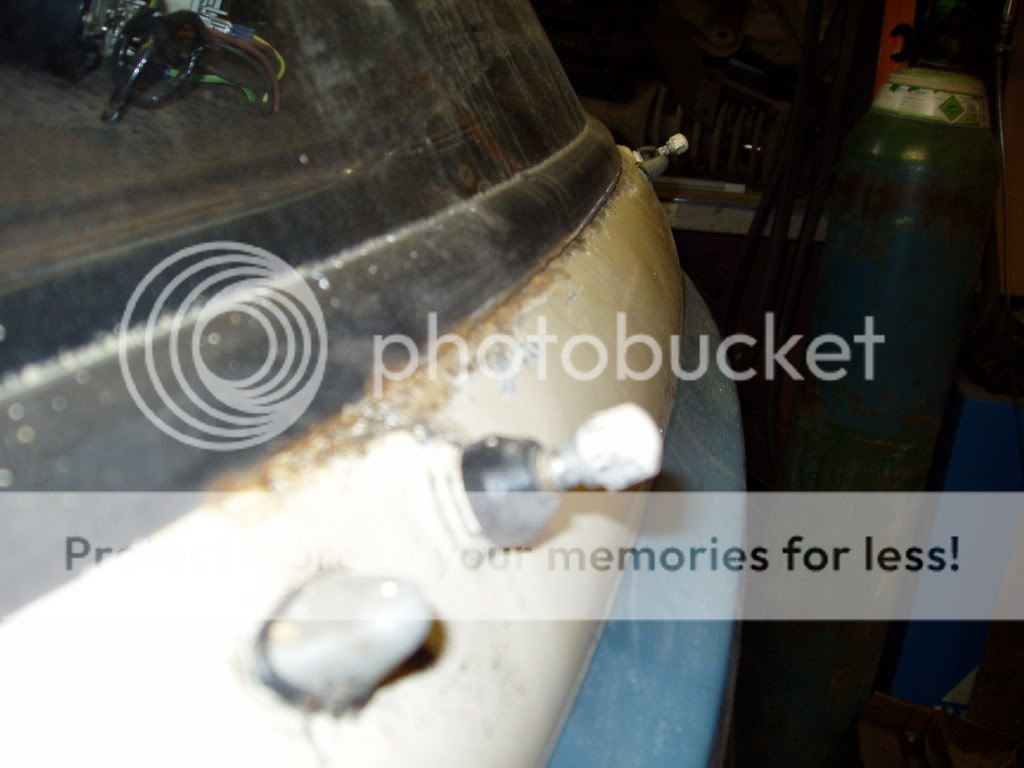
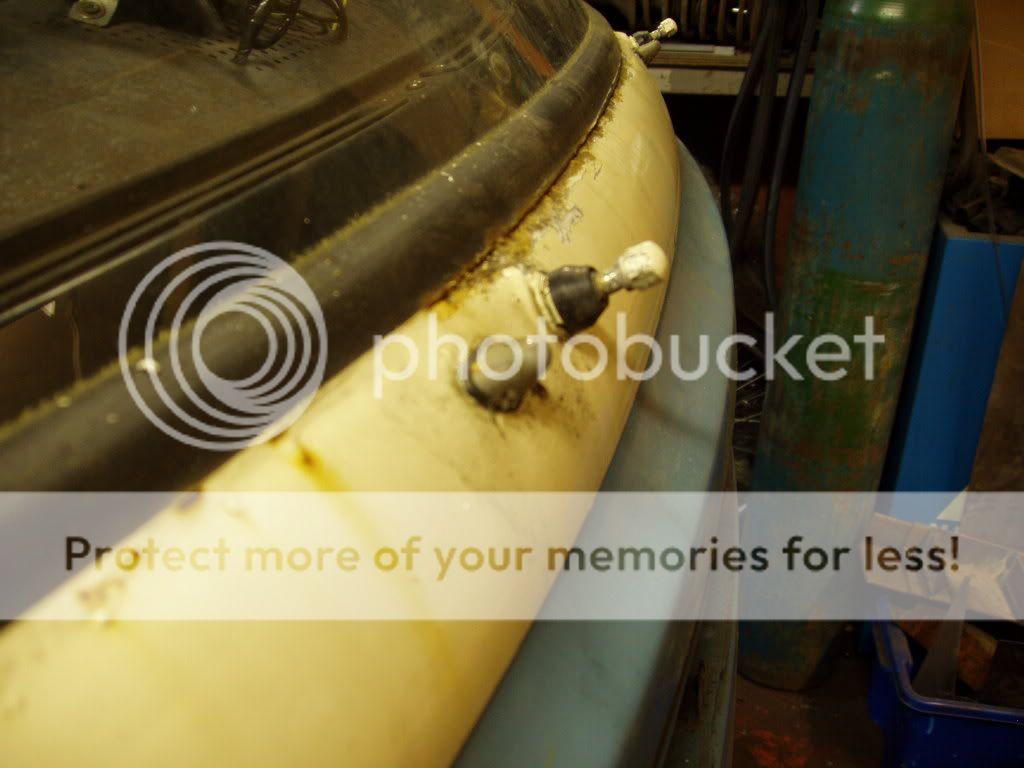
The strip down begins!

P4280048.jpg

P4280049.jpg

P4280051.jpg

P4280052.jpg

P4280054.jpg


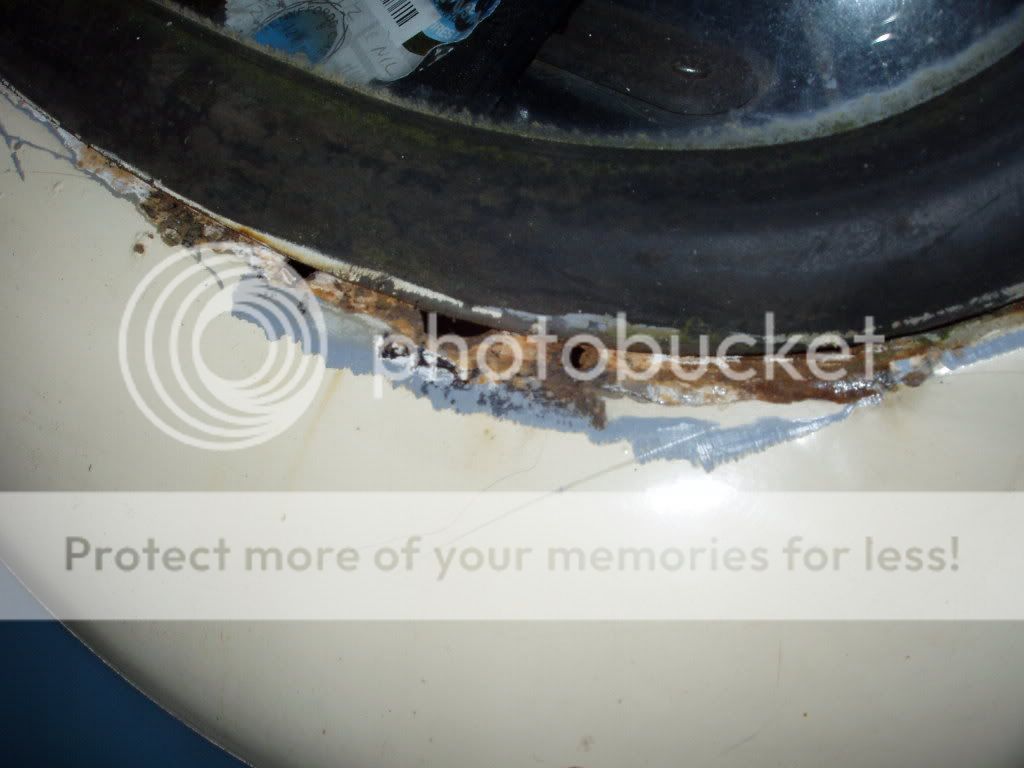
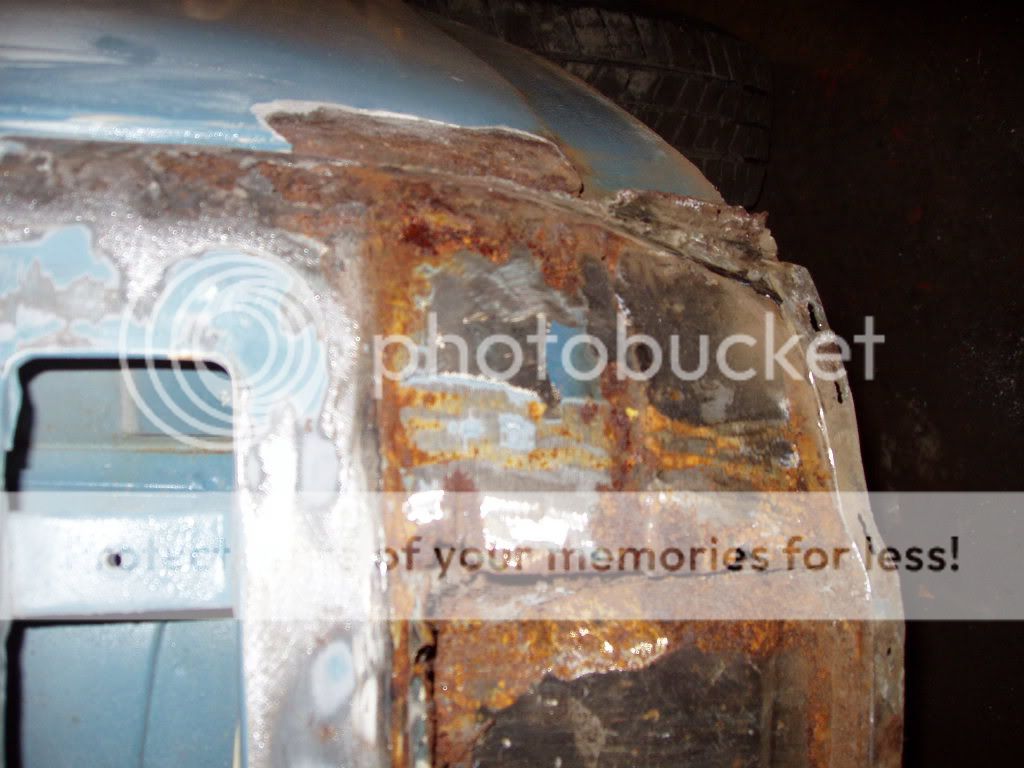
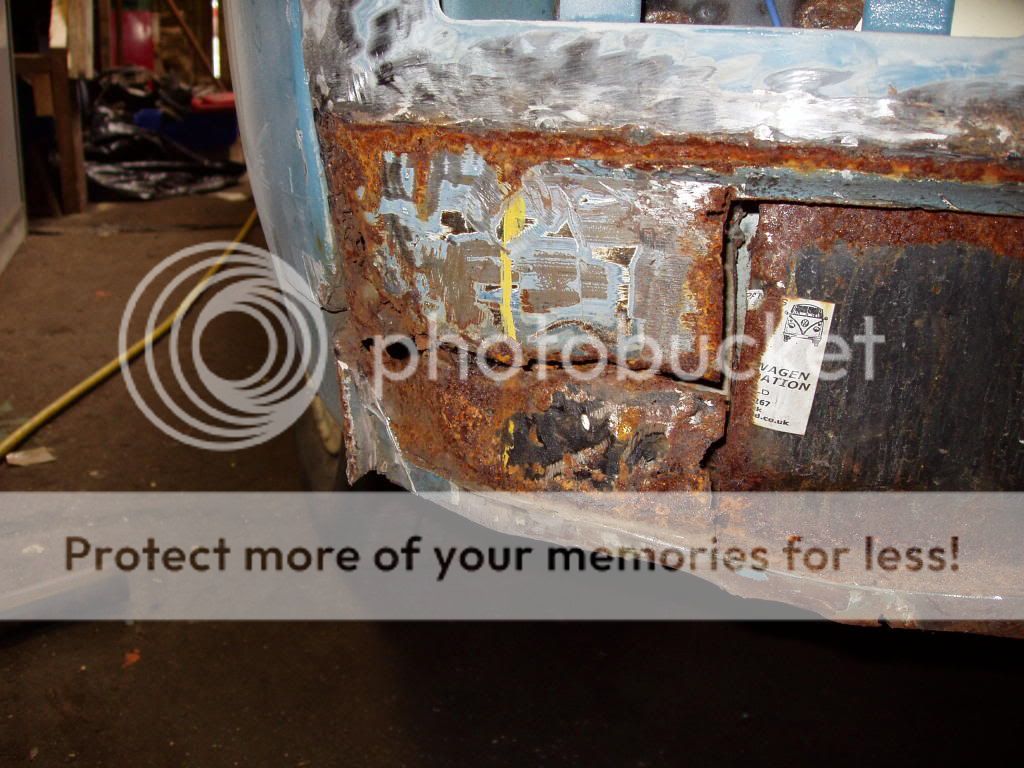
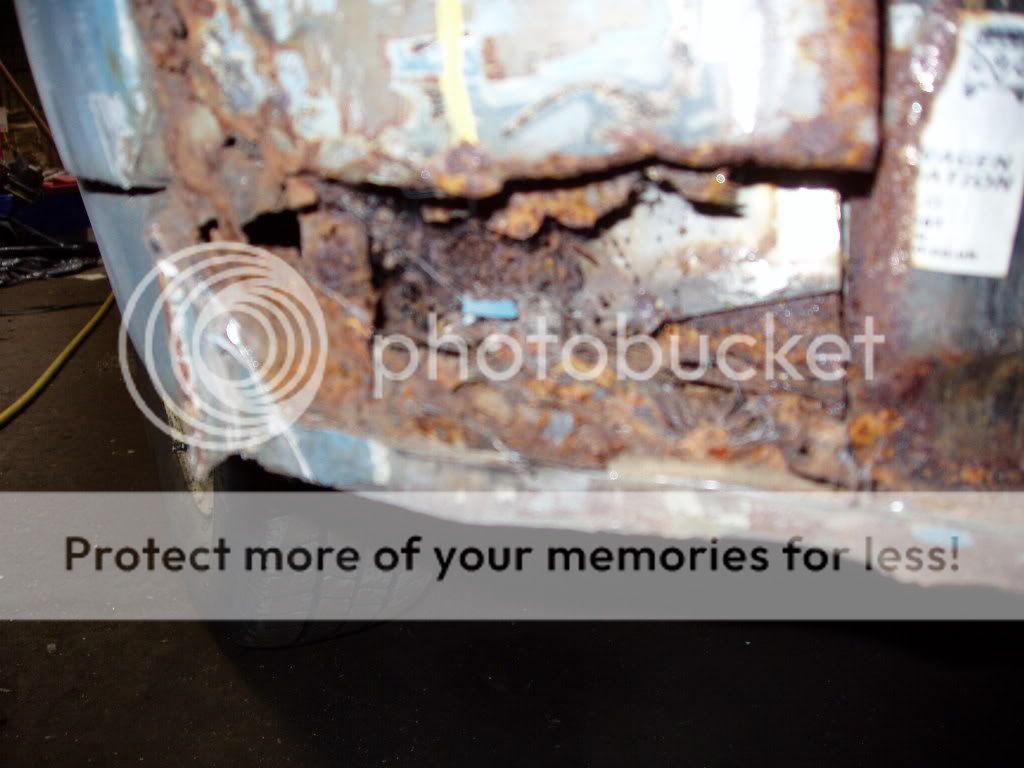
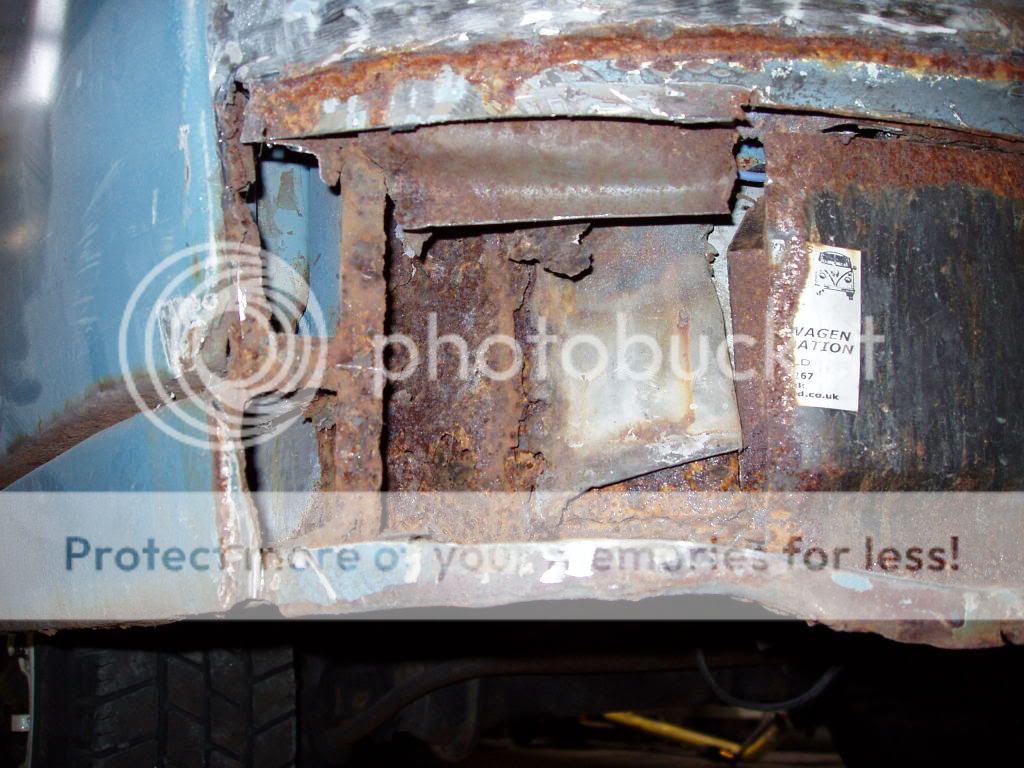
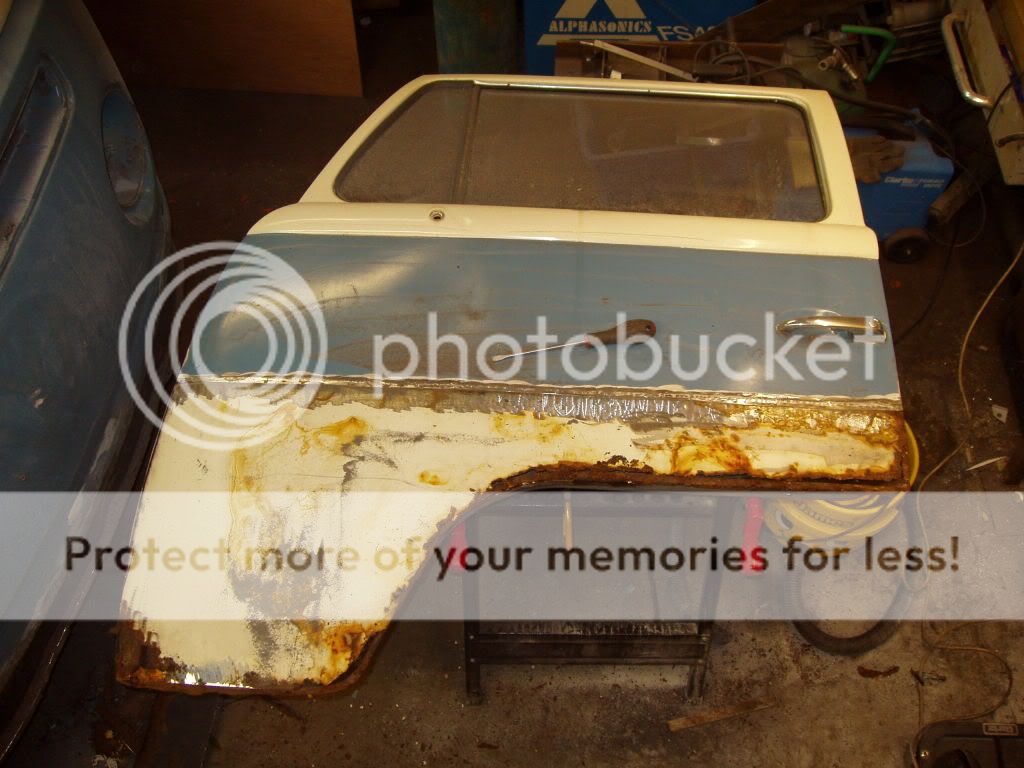
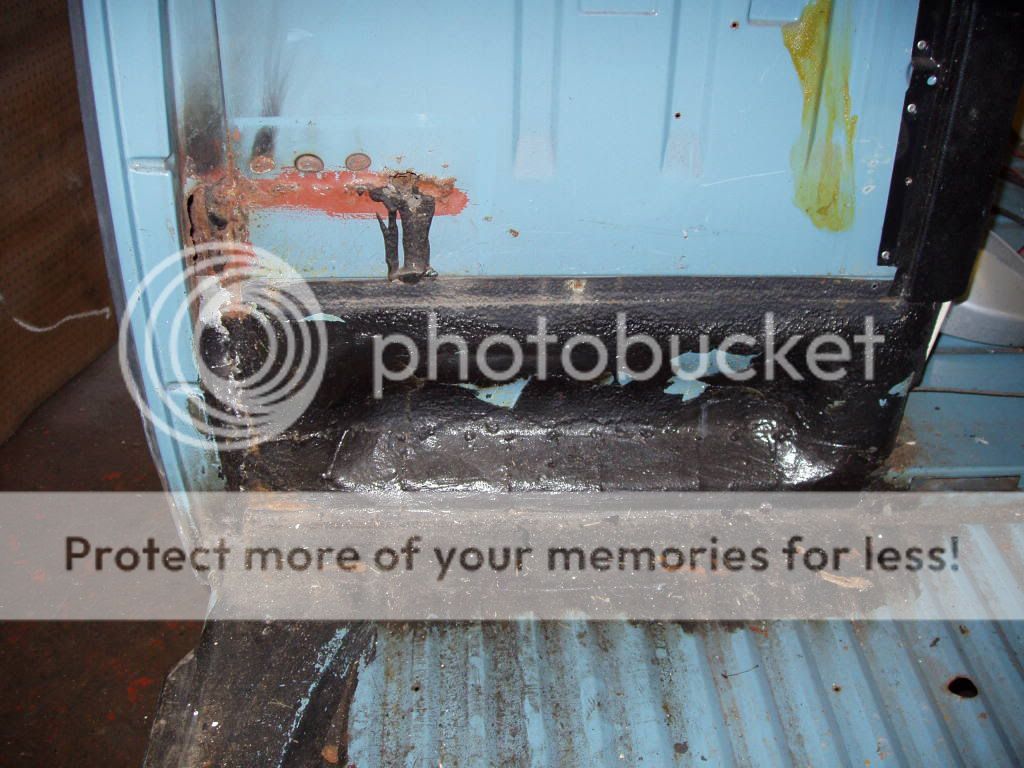
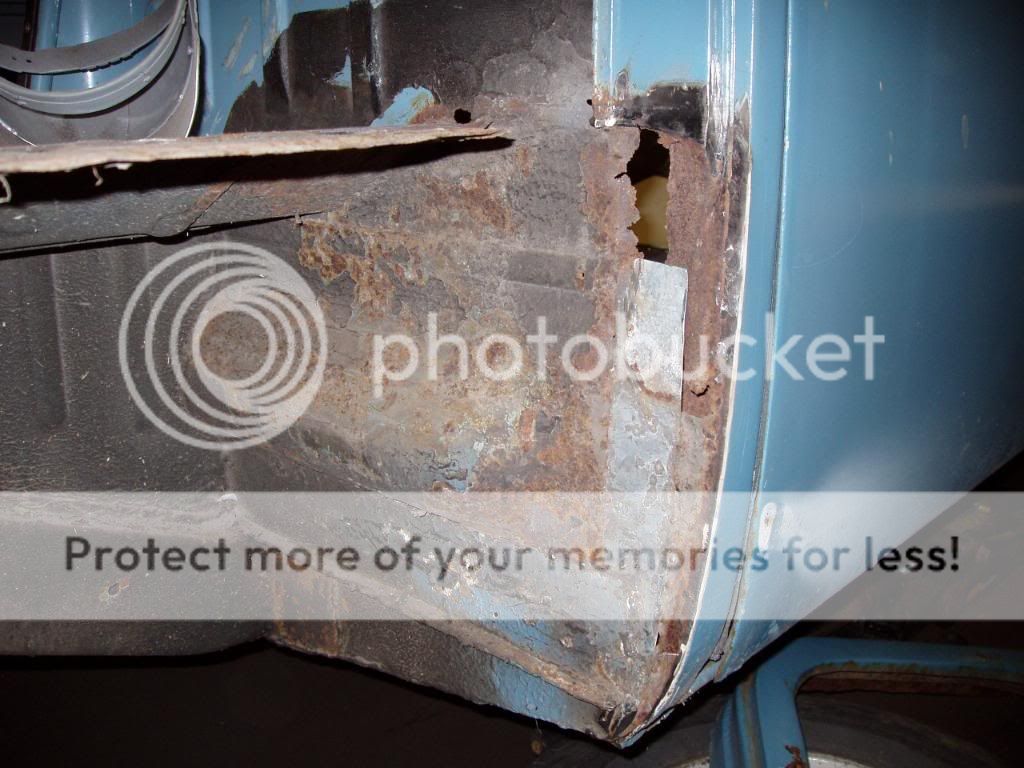
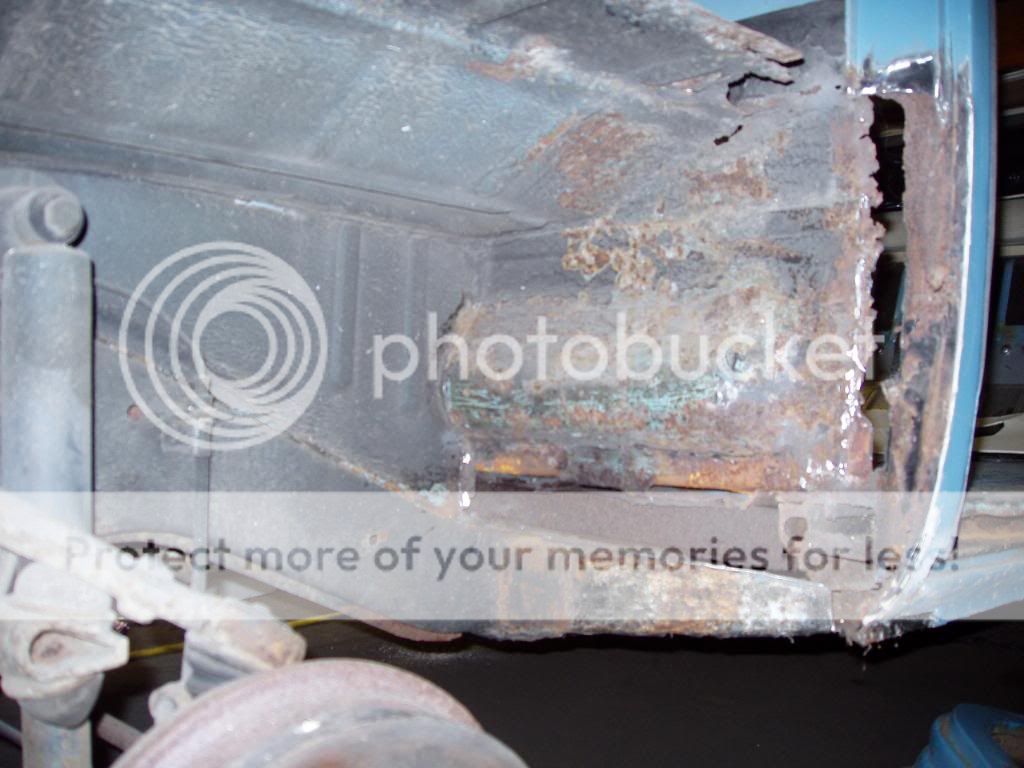
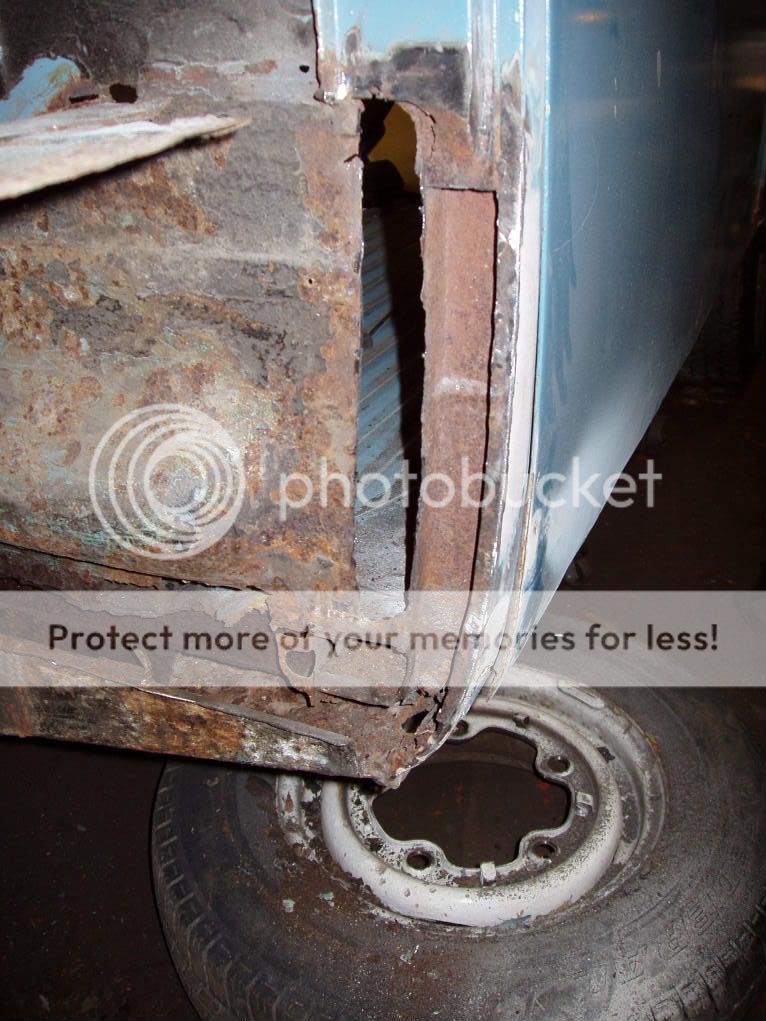
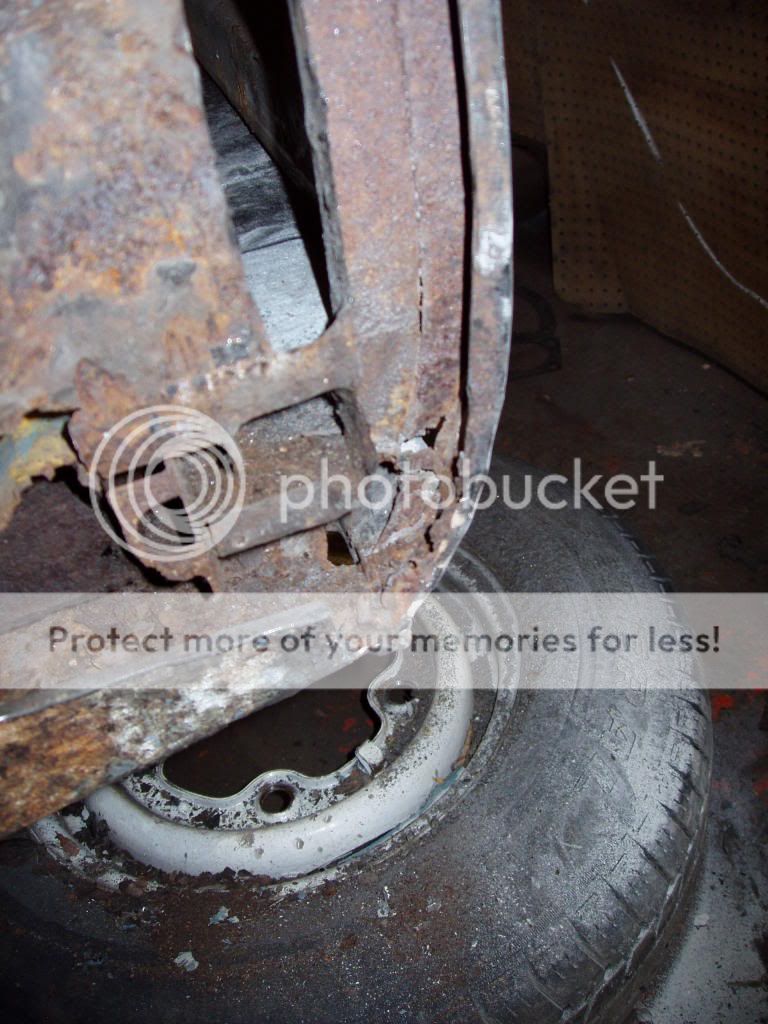
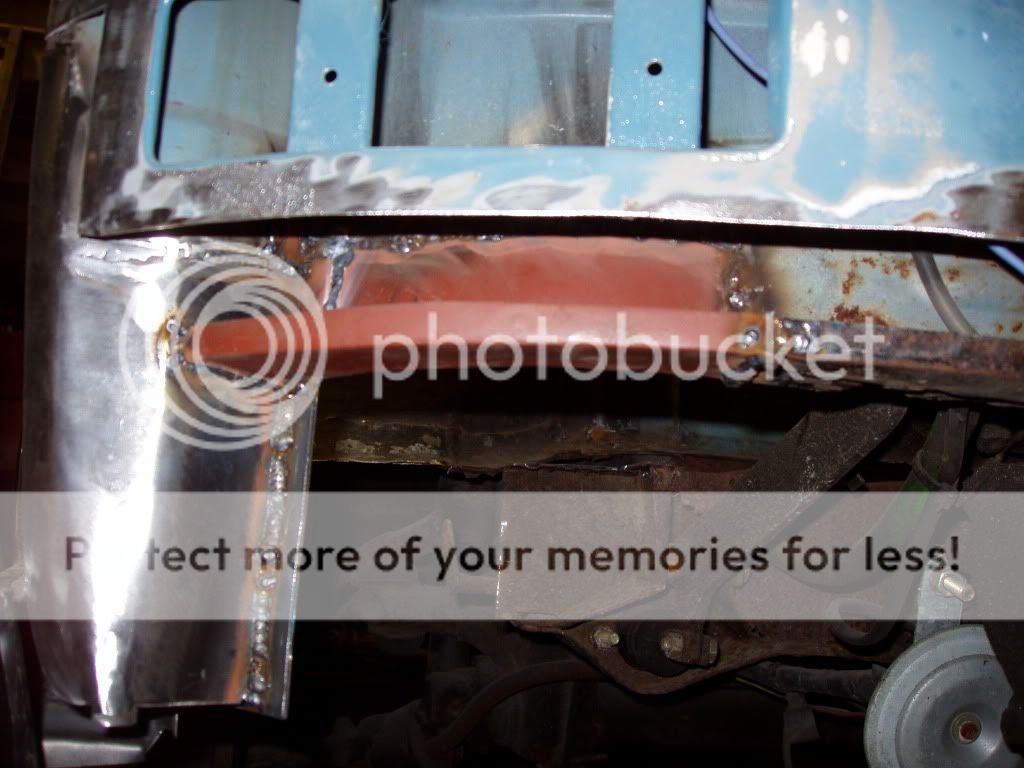
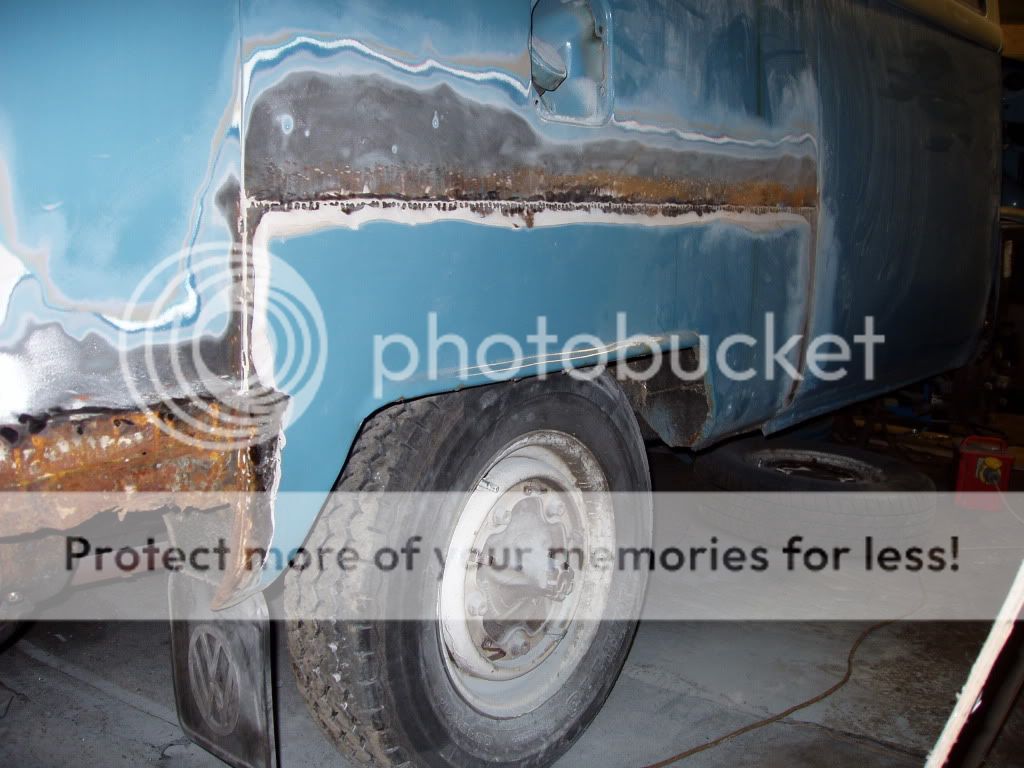
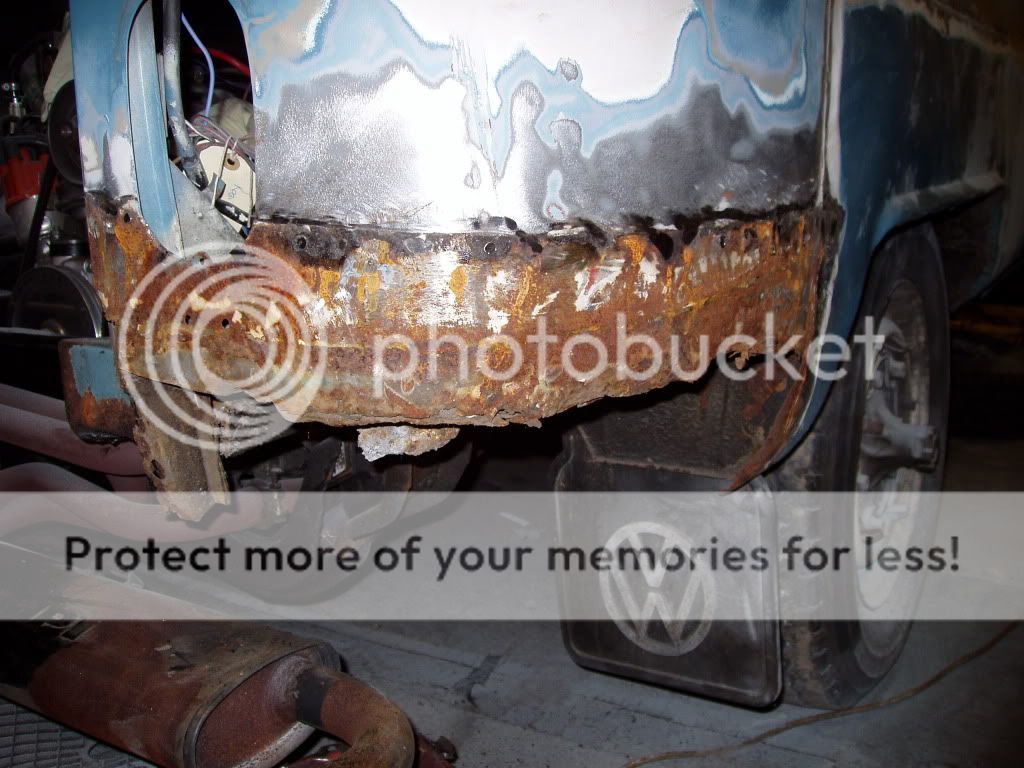
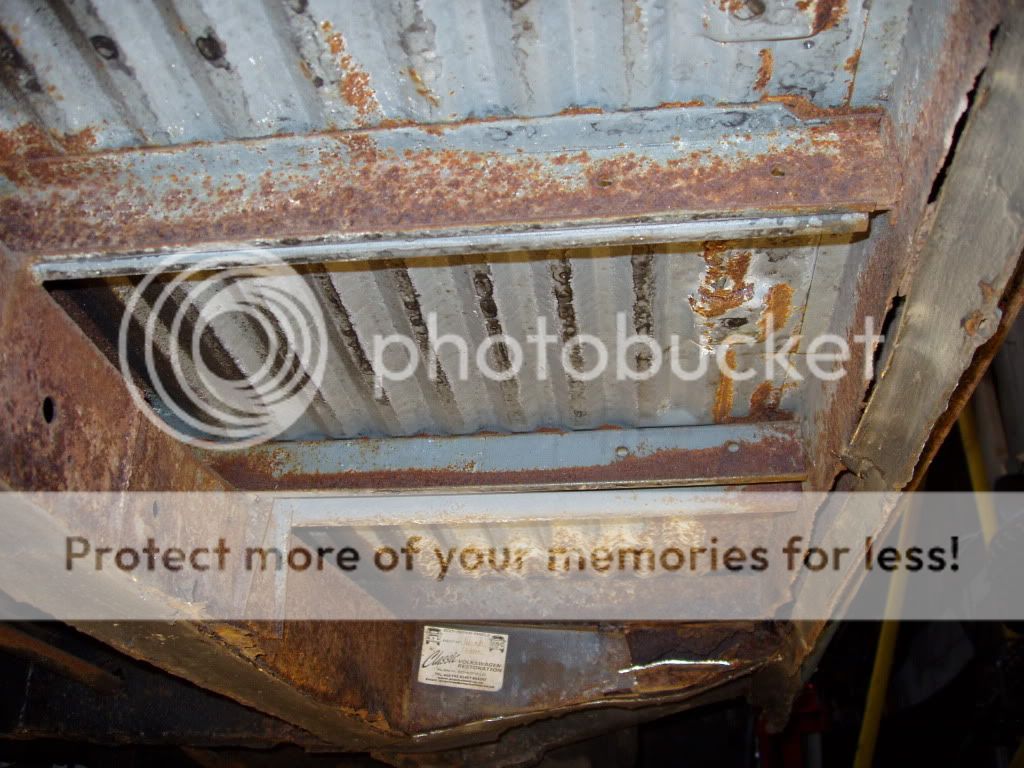
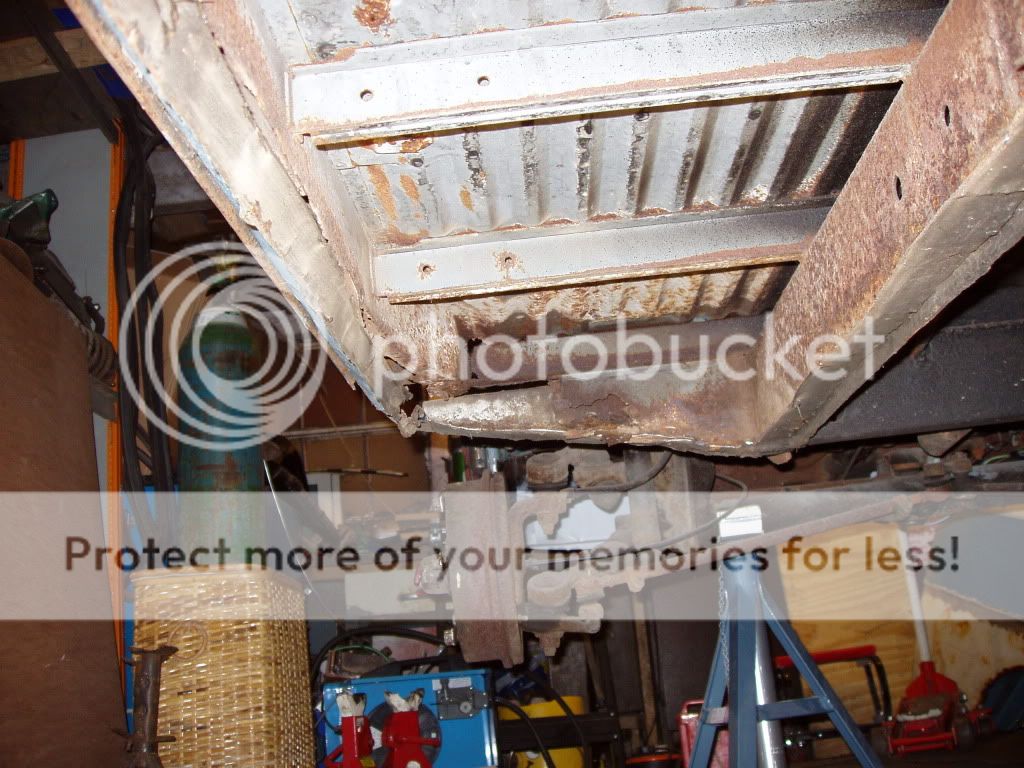
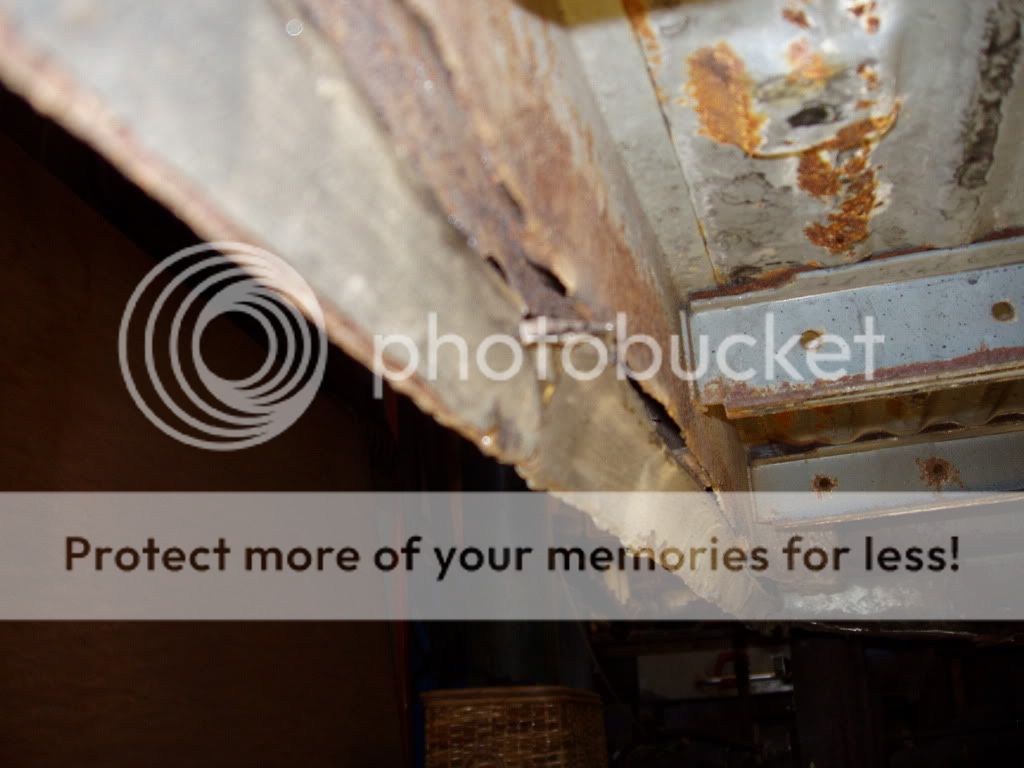
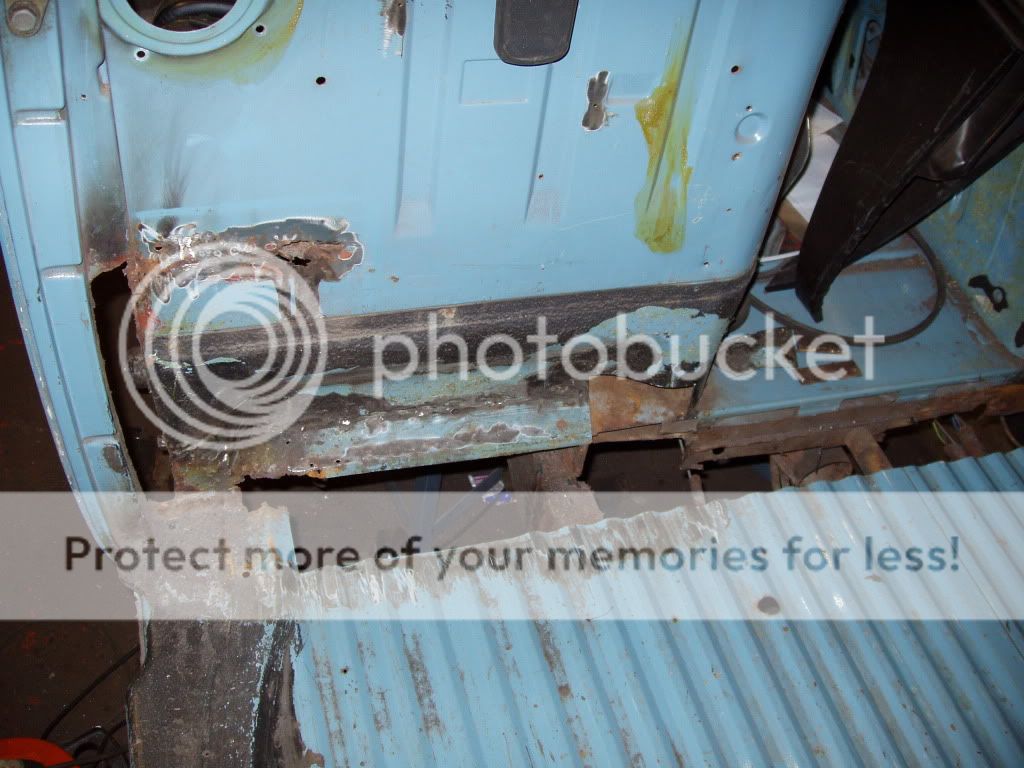
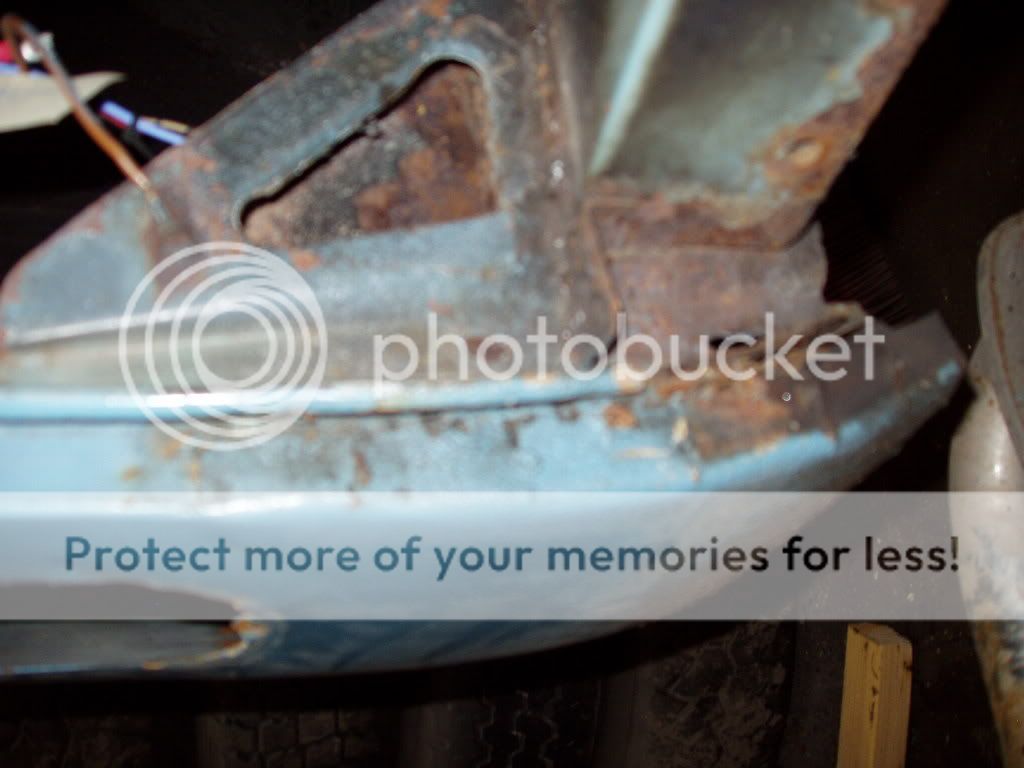
A lot of new panels have been fitted by someone in the past, the usual bottom half, but without removing the original panel to be replaced! All have to come off so the dreaded rot can be addressed and removed. This shows the amount of filler used on the doors to blend the 2 halfs together! About 3mm. In my opinion it would have been easier, quicker and cheaper to have cut the old panel out and used less filler!
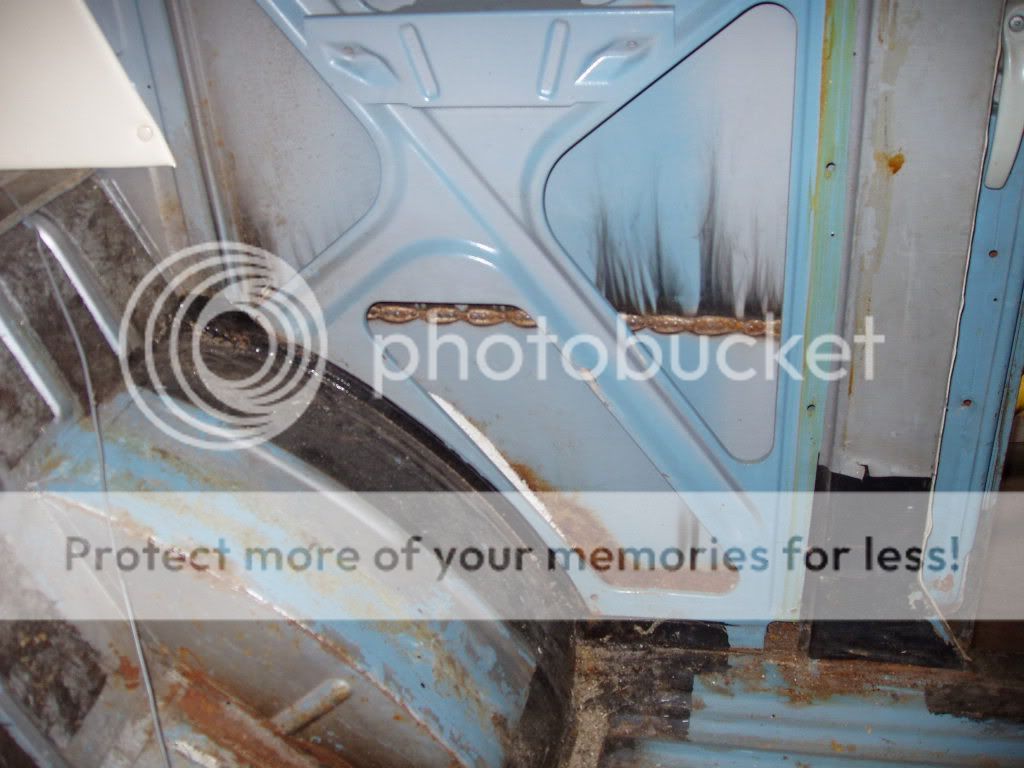
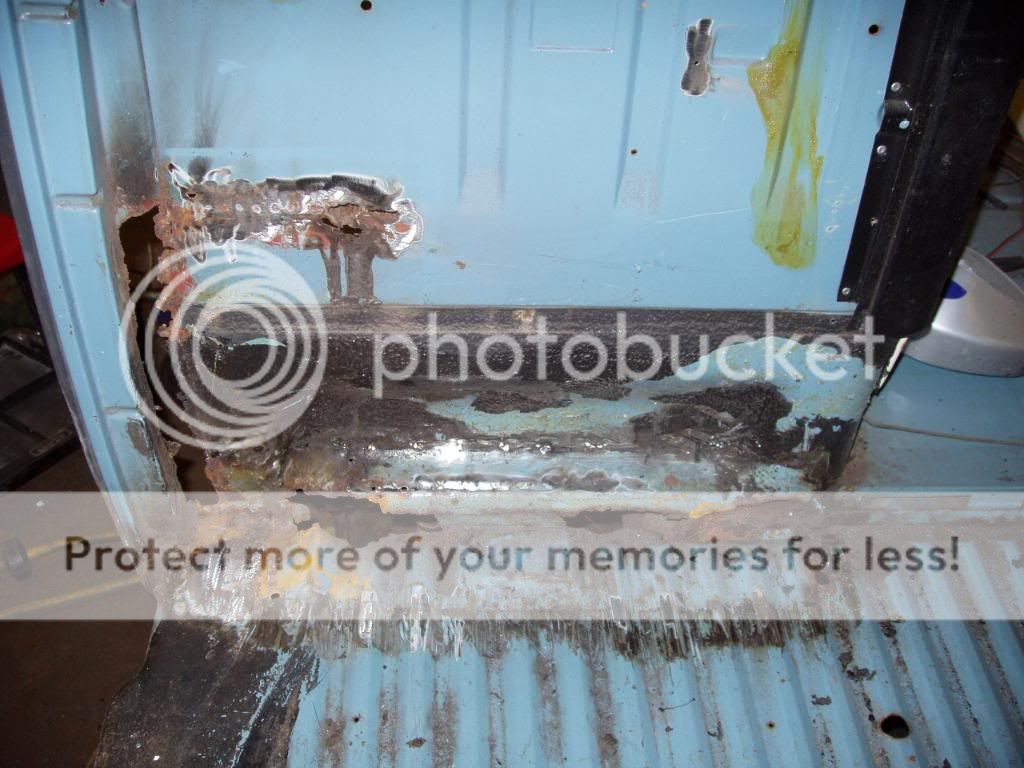
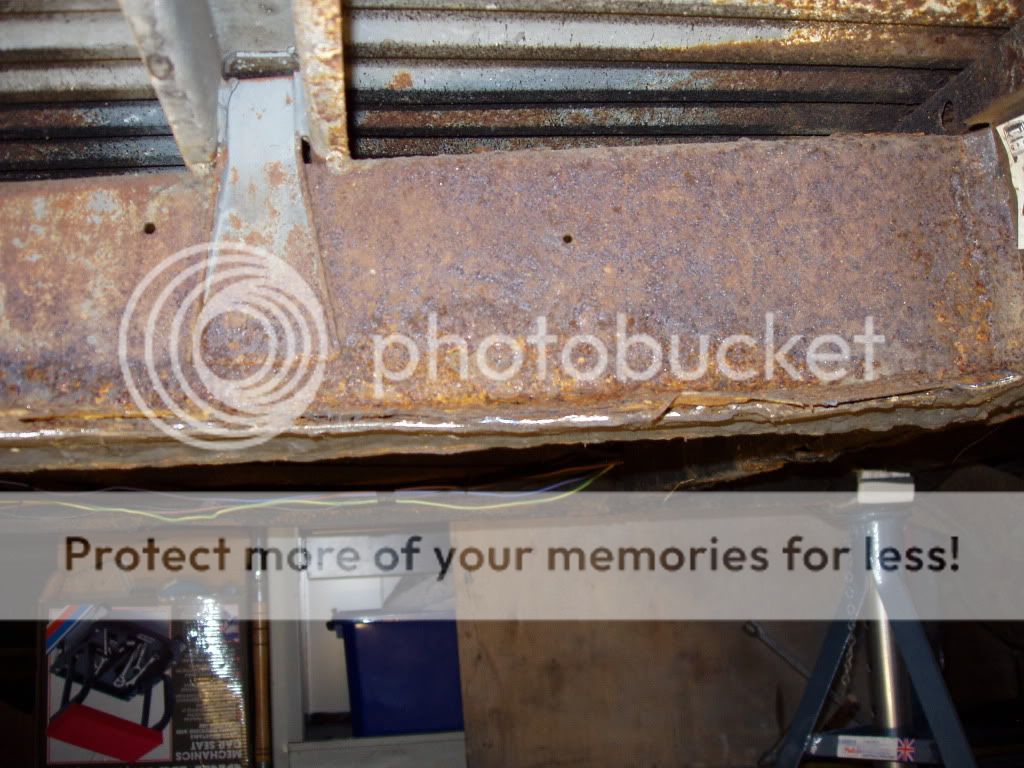
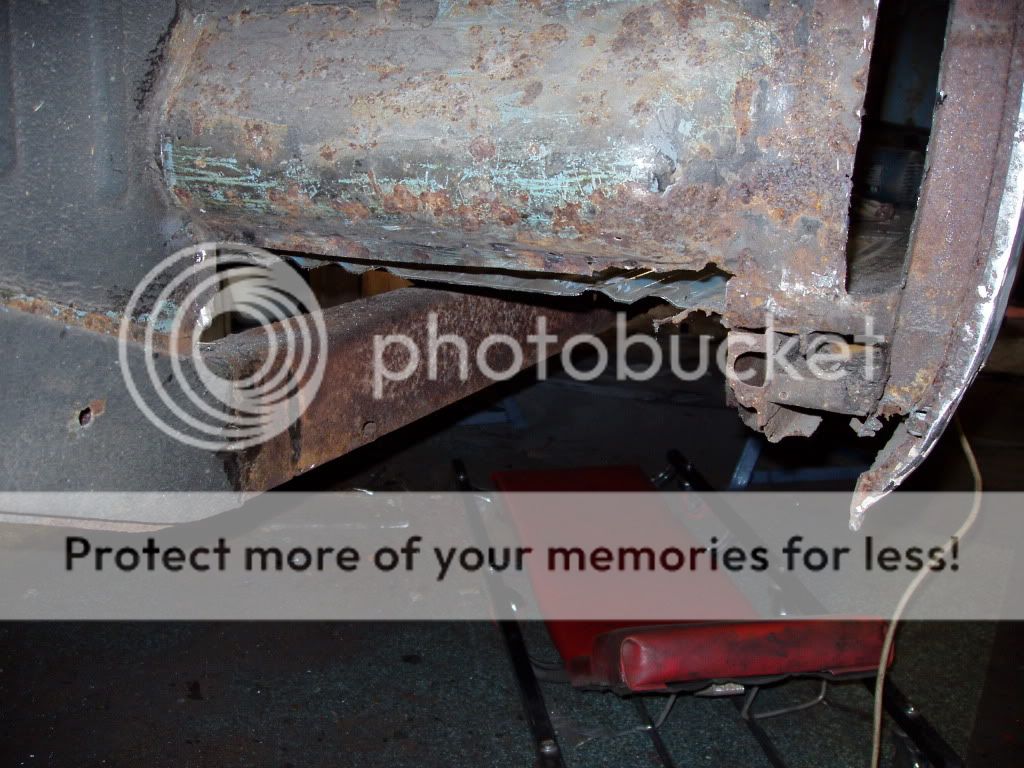
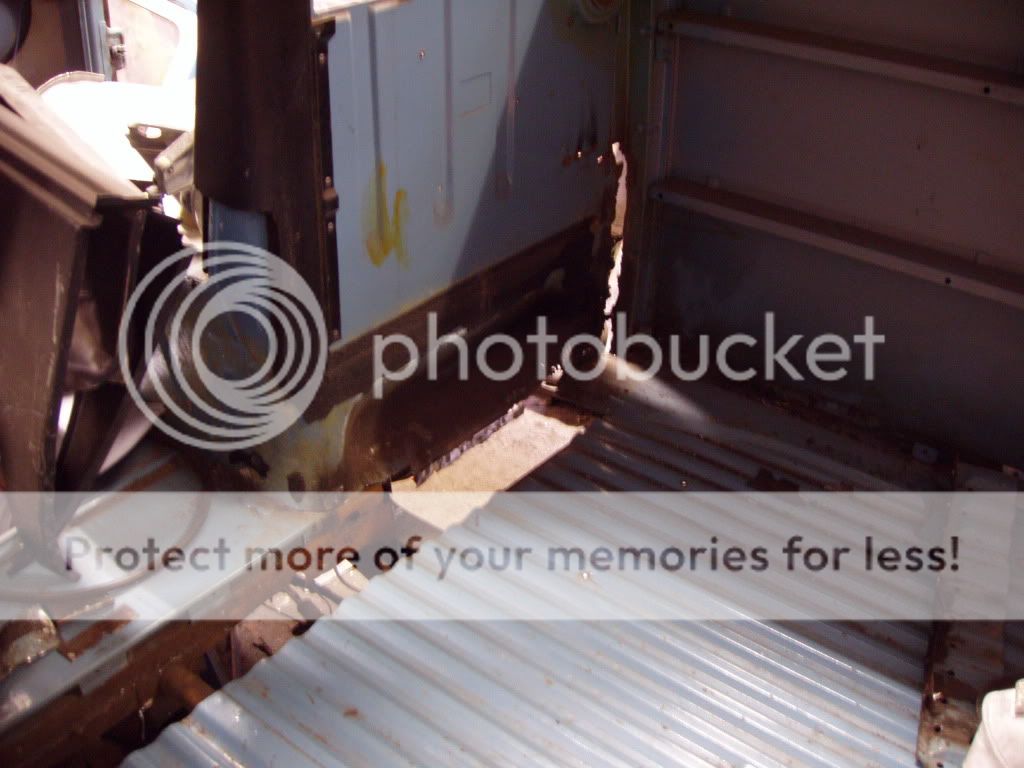
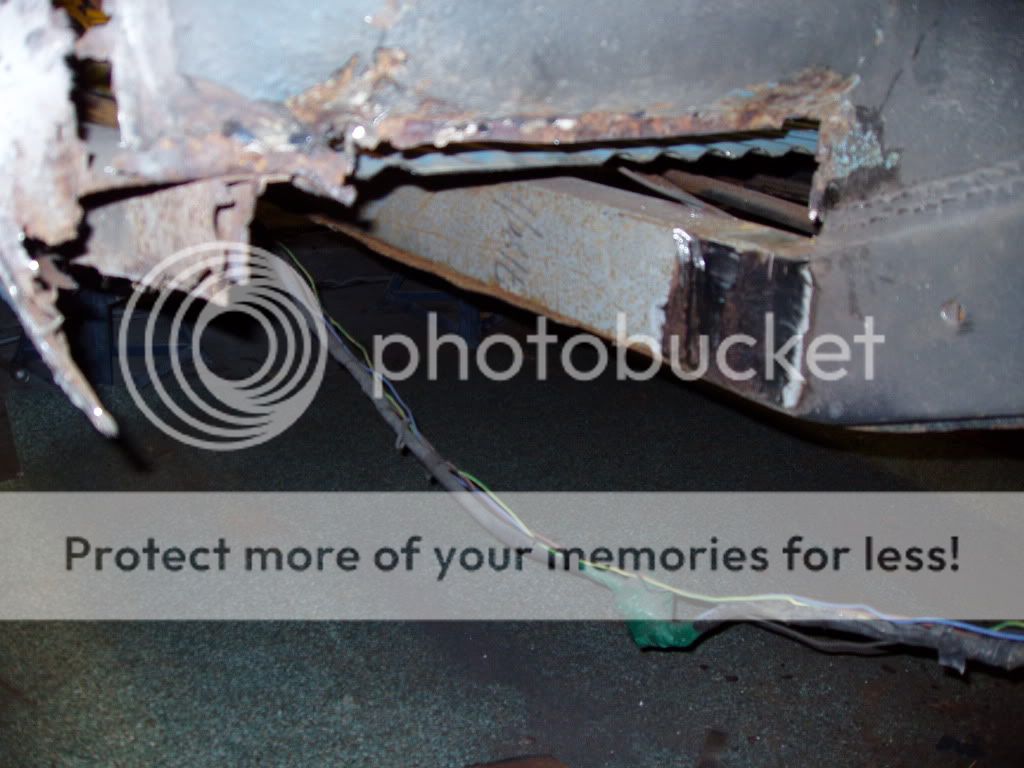
P4280057.jpg

P4280060.jpg

P4280061.jpg
 
mine was just as bad mate. you would think that filler was cheap when you look at how much folk throw on their buses. August seems optimistic but good luck to you for taking it on :D
 
Not half. It's gona look like Santa's groto in the unit by the time i've sanded it all off! Do the pictures come up ok? First time i've done this kinda thing, resto or forum!
 
you need to post the image code its the lowest option on the list below each image, that way the site links directly to the image rather than displaying a page link.....
 
If anyone can get a van done by August I reckon Neil can!
Good on you for finding a woman that doesn't mind you being down the unit all the time!
Good luck with the resto, I know it'll be a blinder!
Chris
 
Cheers fella.

Still can't get this photo thing sorted. May be the works pc, i'll try and upload some more tonight on the home pc.
See you next week Chris, i'll swap you a sanding disc for a brew and a biscuit!
 
Sorted the photo's, my work PC wouldn't let me load them, but it's ok at home so here we go!
Didn't get any work done Friday night or Saturday as i left the unit keys in the centre consil of my car, and let the good lady use it to help her friend move house :roll:

So here's what i did today.

Stripped and removed the lower front panel. Found a new panel behind the new panel, and that too has to be removed as it has been fitted without removing the rot! :evil:

P5020068.jpg

P5020078.jpg

P5020079.jpg

P5020077.jpg

P5020080.jpg


found some right crap work!
P5020081.jpg


More new panels to be ordered.

Stripped the lower half repair panel off the door so it's back to original size ready to cut out and replace the front arch.

P5020083.jpg


Removed the interior, luckily that looks pretty good!

P5020069.jpg

P5020070.jpg


Just a couple of places to re-repair. The usual :roll:

P5020071.jpg

P5020073.jpg


Looks like the rear arches will have to come off too. Looking from the inside, more new panels over old!

P5020074.jpg

P5020075.jpg


So it's front arch removal tomorrow as i already have a new 1 and order a load of panels Tuesday! :D
 
Amazing the work people go to to do a poor repair! How much harder would it have been to do it properly?? At least you'll have the satisfaction of doing it right this time. Enjoying the thread, keep it up.

Gareth
 
Spent some more time in the unit Monday. I removed the front nearside wheel arch and any plates that were in that area ready to cut out the rot and weld in the new metal. :D

P5030084.jpg

P5030085.jpg


And it's off along with the plate for the seat belt anchor. The edge of the wheel housing where the lip is needs replacing as the old arch was welded over it instead of under!

P5030089.jpg

P5030090.jpg


Plates removed!

Before.

P5030087.jpg


After.

P5030092.jpg


More plates removed!

Before.

P5030094.jpg


After.

P5030095.jpg


Trial fit of the new arch. Nowhere near welding it in yet as all the other metal needs replacing first including the cab floor, inner and outer lower front panels and reconstruction of the bottom of the A post.

P5030097.jpg

P5030098.jpg


More panels ordered this morning which should be here Thursday.

Going to remove the sections of cab floor tonight and tidy up all the areas where plates have been removed.
 
I removed the floor section and was pleased to see the condition of the chassis leg. No work needed here just a clean and paint before the new floor section goes in.

P5050099.jpg

P5050100.jpg

P5050101.jpg


I then cut away some rot from around the B pillar to find it had a good covering of filler and once that was sanded off i found it had holes in the bottom 3" and was twisted. New panels ordered!

P5050102.jpg

P5050103.jpg


Yesterday was a short evening and i only managed to remove the drivers wheel arch and assess what plates need removing.

P5050104.jpg

P5050105.jpg


No work on the van tonight as i'm going to look at a camper for the future brother-in-law.
Hopefully i can get the plates removed from the drivers side and the front lower inner panel removed on Friday night.
 
Got the drivers floor section removed Friday night. This took longer than i thought with releasing it from the brake support bracket. Again the chassis rail this side is in fantastic condition.

P5080110.jpg

P5080111.jpg


I went back to the unit early Saturday morning for a couple of hours to remove the lower inner front panel. A Saturday afternoon wedding and a full day Sunday recovering from the celebrations meant that was all that got done this weekend! :roll:

P5080107.jpg


And trial fit!

P5080106.jpg


Monday nights job is to rebuild the bottom of the A pillars.

P5080109.jpg
 
I was stuck in work till late early this week so didn't get to the unit! :x So Wednesday and Thursday night i repaired the bottom of the A post and a bit of the lower inner front panel that the new lower inner front panel will weld to, if that makes any sense! :roll:

Before

P5080109.jpg


After

P5130113.jpg

P5130118.jpg


Also had a little help from a mate, cheers Stef. We got the rear quarter sanded down to the welds ready to be removed and removed the corner panel and battery tray. The suface rust that can be seen on the quarter panel above the welds was under the filler!

P5130116.jpg

P5130117.jpg

P5130115.jpg

P5130114.jpg


I'll be away from the unit for a few days now till Monday due to fishing trips, more weddings and All Types Show on Sunday. More hours lost :cry:
 
Ok, so i got back to the unit on Monday and Tuesday night. I rebuilt the N/S A post bottom section and bit next to it that the inner front panel welds to. Then fitted the new inner front panel! :p

Feels like i'm on the way to getting somewhere now new metal is going on! :D

P5180121.jpg

P5180122.jpg

P5180123.jpg


I'll grind back the welds tonight and add a coat of etch primer.
 
Cheers easy.

Forgot the camera tonight, will get some more pics tomorrow. Got the welds on the innerfront panel ground back and primed. Also got the van up on stands and removed one of the belly pans! Not looking to bad to be fair. I sections and floor are all intact. Some surface rust on the chassis. The inner sill is gone, which i expected.
 
I left my phone in the unit last night so nipped in this morning to get it and took some photo's while i was there.

P5200124.jpg


P5200132.jpg


As is the rest of the bus it seems, half a job done on the rear outrigger! :evil:

P5200125.jpg


And the front.

P5200126.jpg


Sills and chassis.

P5200127.jpg

P5200129.jpg

P5200130.jpg
 
I didn't get to work on the bus this weekend due to playing out on my bike Saturday and spending quality time with the good lady Sunday and Monday.

Did do a few hours Friday night, i removed the front outriggers and a section of floor to expose the top hat section. Once the section of floor was removed it was obvious that the whole top hat needed to be removed! So out came a full strip of cargo floor. Once everything was visible i wasn't happy with the front cross member so that came out too.

P5250133.jpg

P5250134.jpg

P5250135.jpg

P5250136.jpg

P5250143.jpg

P5250144.jpg


I then removed some rot from arround the area where the air feed into the cargo area is.

P5250140.jpg

P5250141.jpg


Everything is ready now to start putting the new metal in, outriggers, cross member, top hat section and plating around the air blower area.
 

Latest posts

Top