71 DUMobile drive rebuild-- now FOR SALE--

Early Bay Forum

Help Support Early Bay Forum:

This site may earn a commission from merchant affiliate links, including eBay, Amazon, and others.
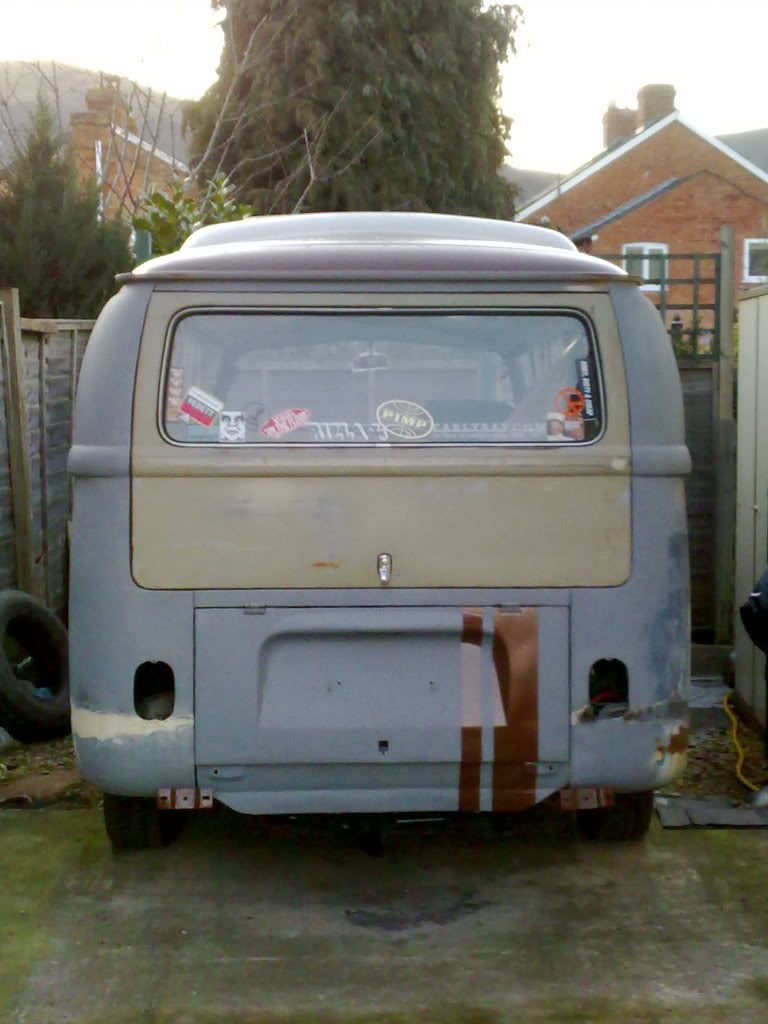
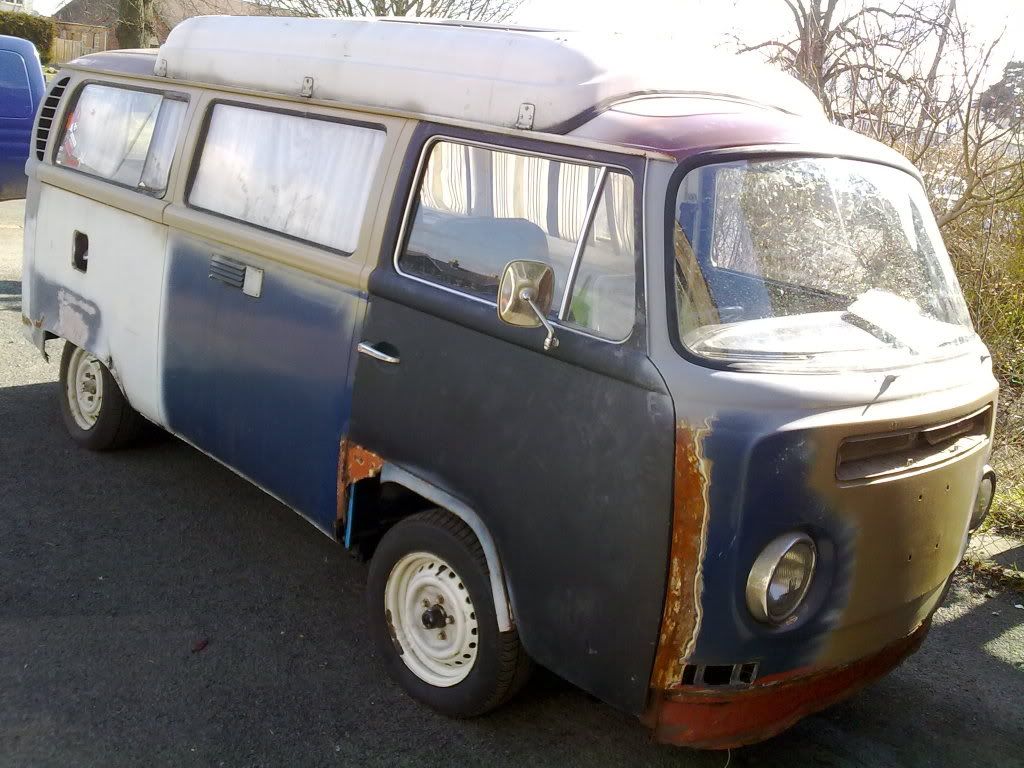
well i decided to try and fit the screen myself was quite worried about the scuttle not being right but....it was :mrgreen:

14032010448.jpg


14032010446.jpg


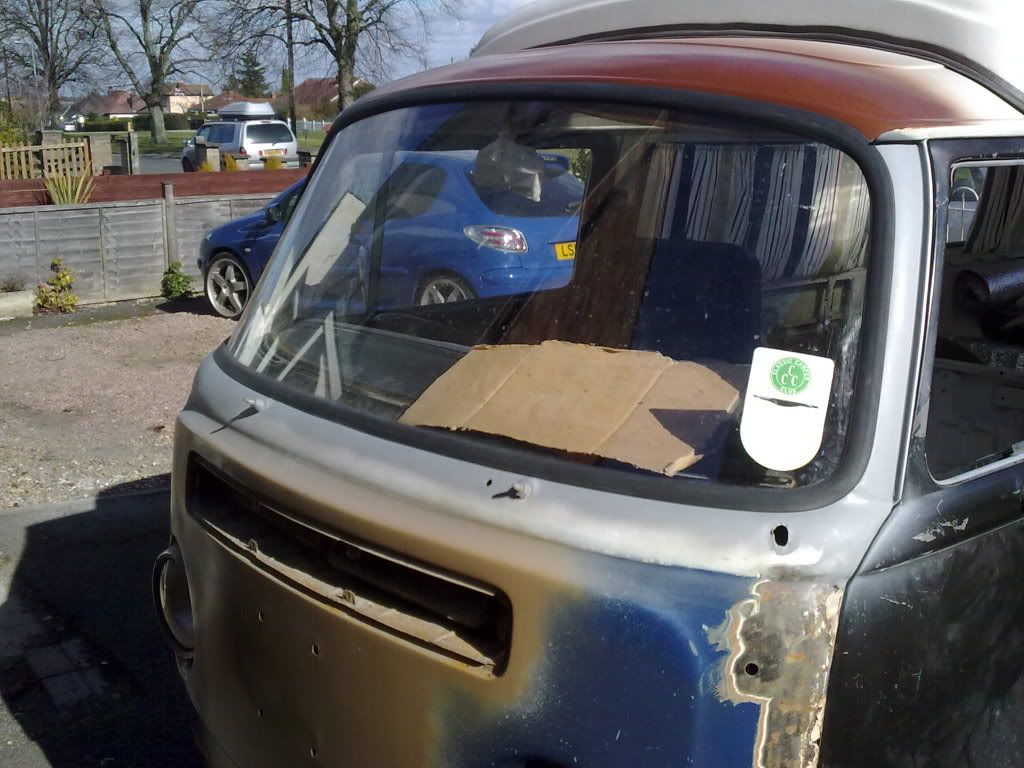
was a bit tricky as was first time fitted a screen but super happy

14032010445.jpg


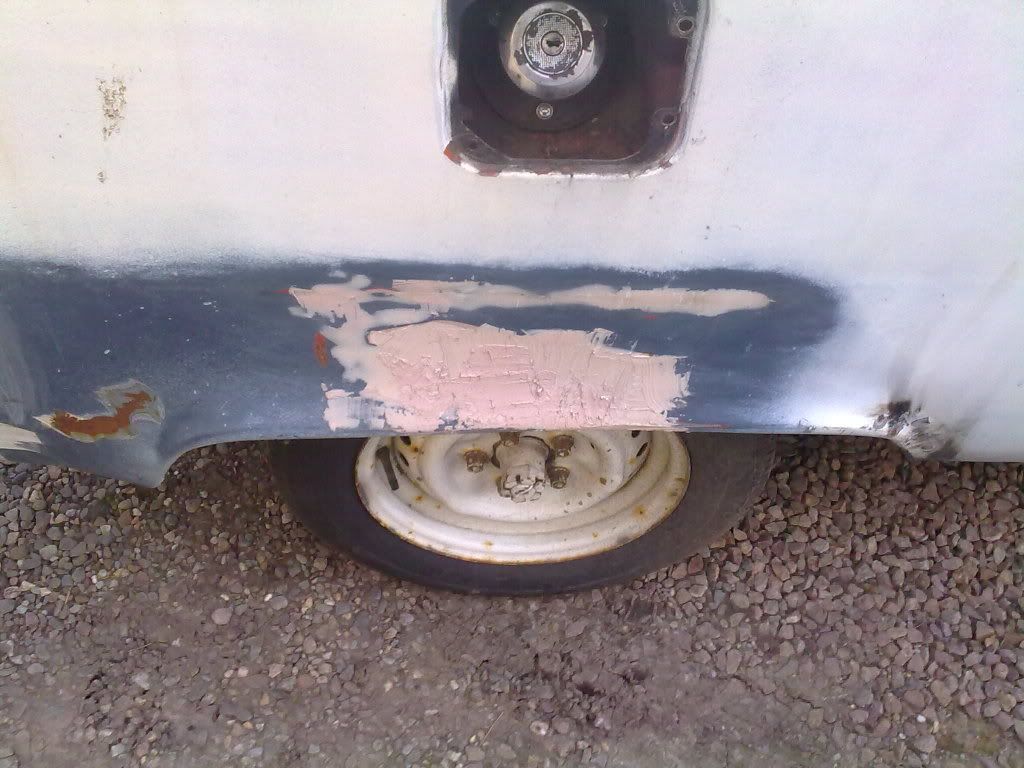
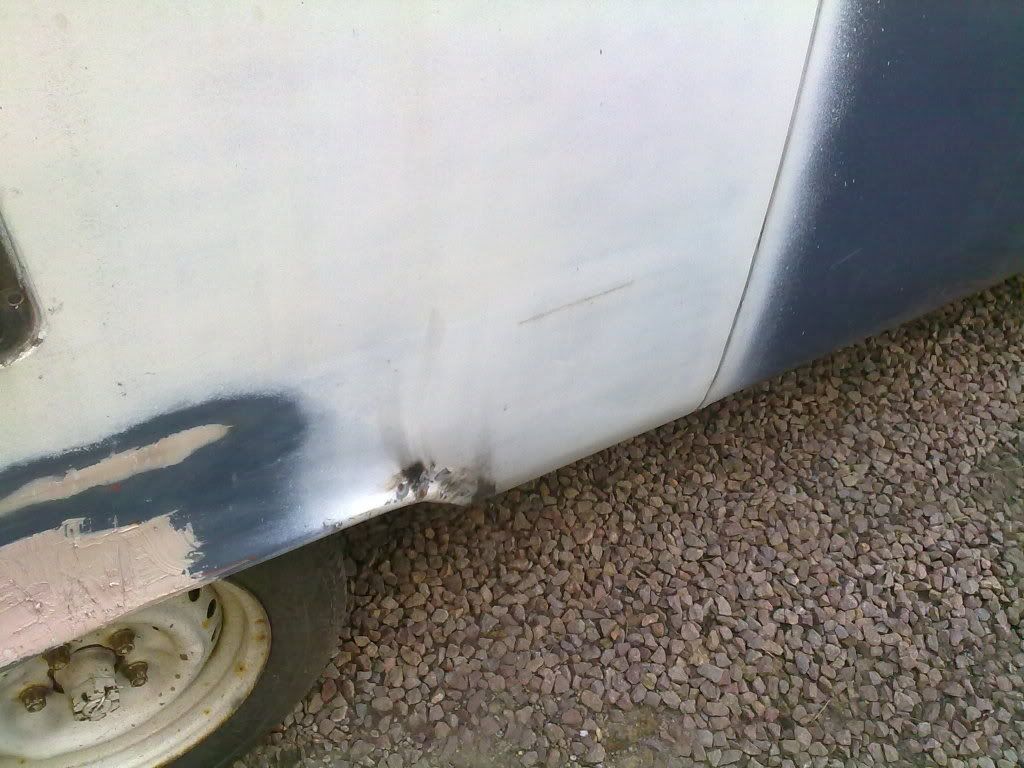
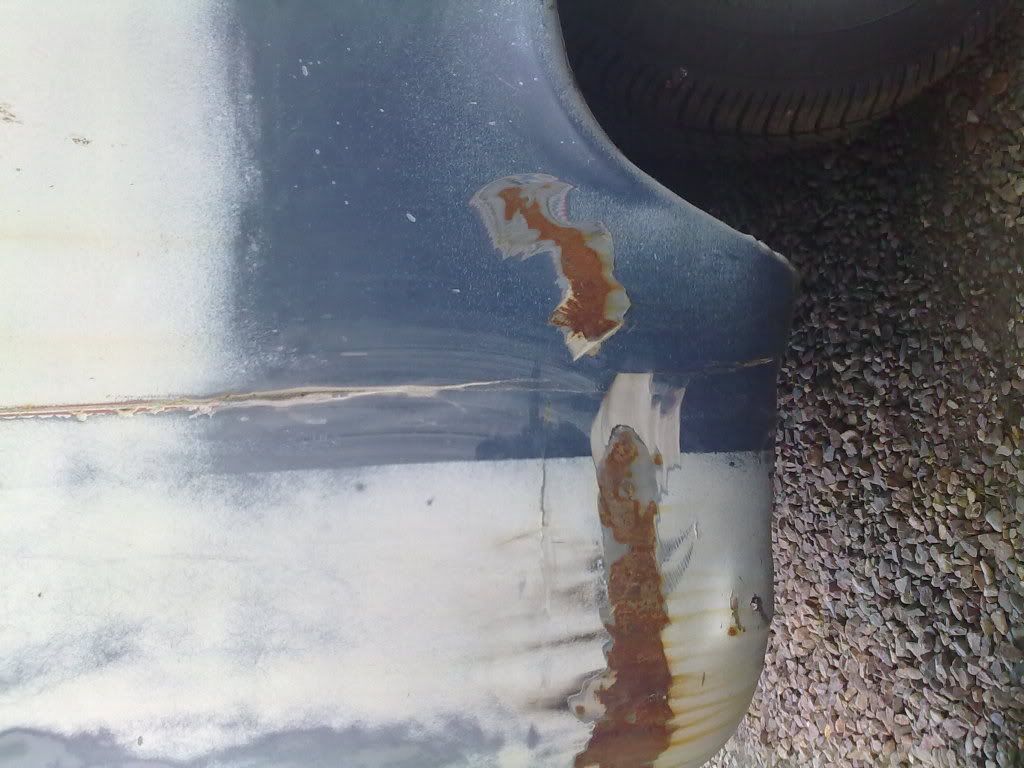
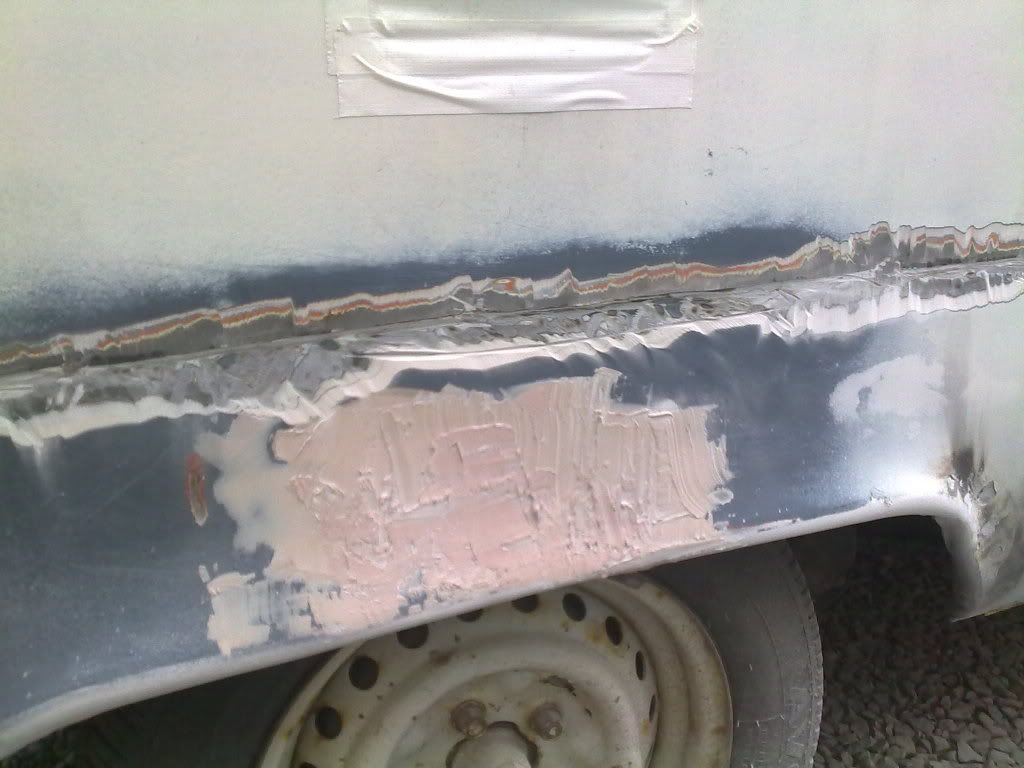
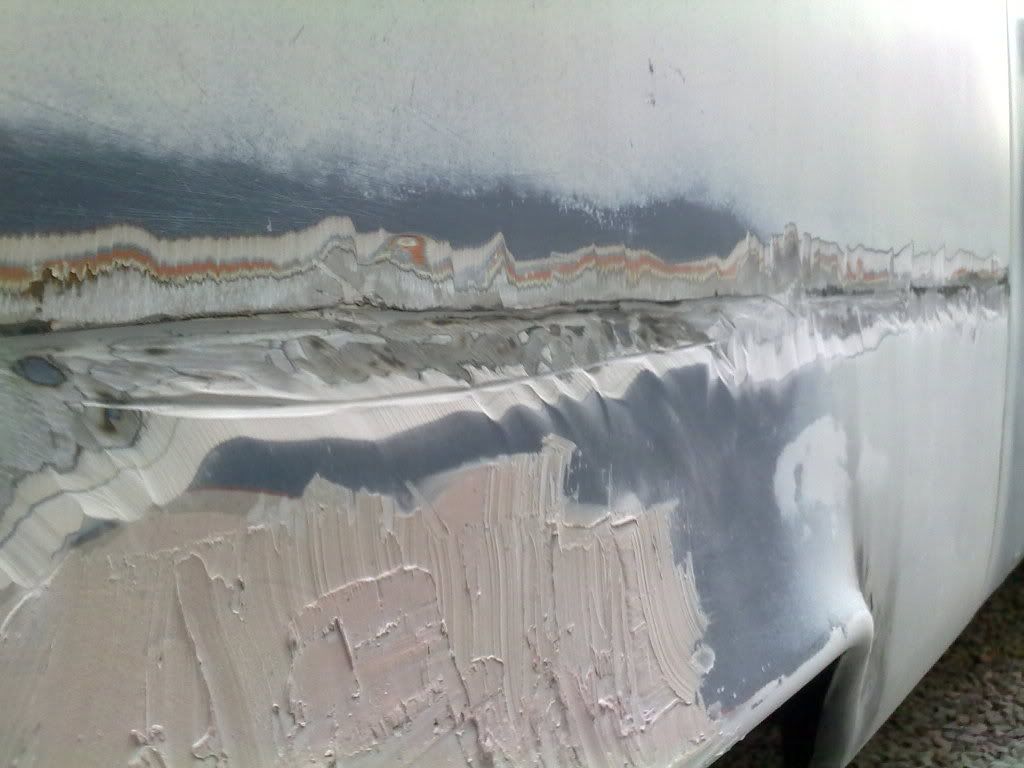
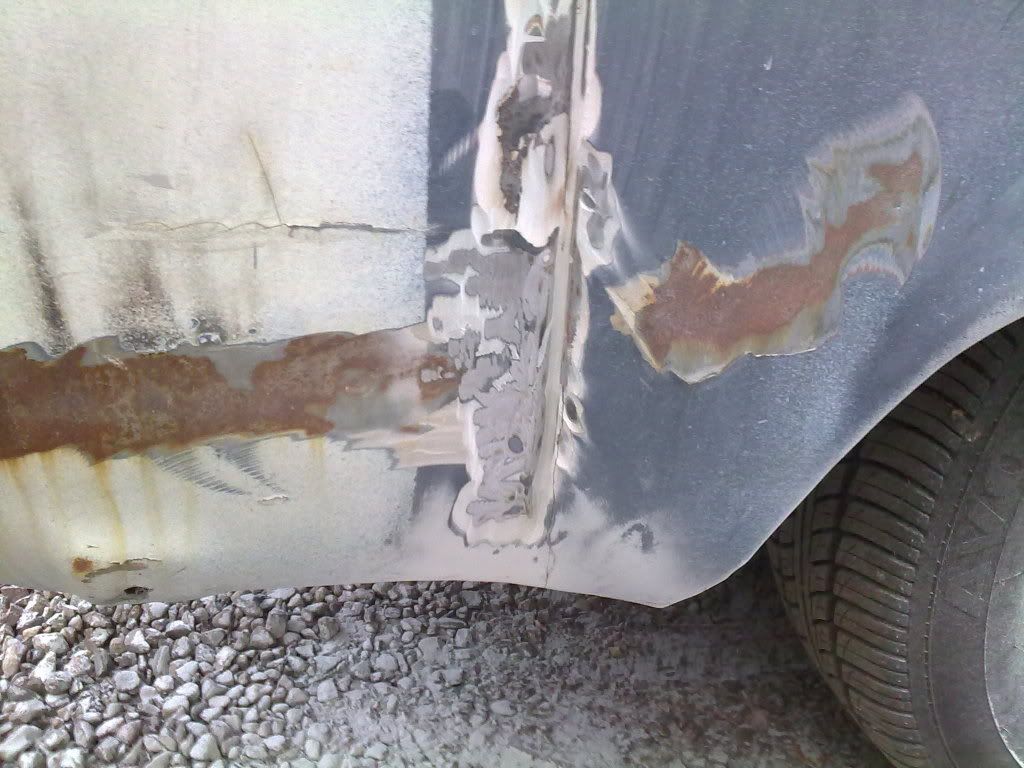
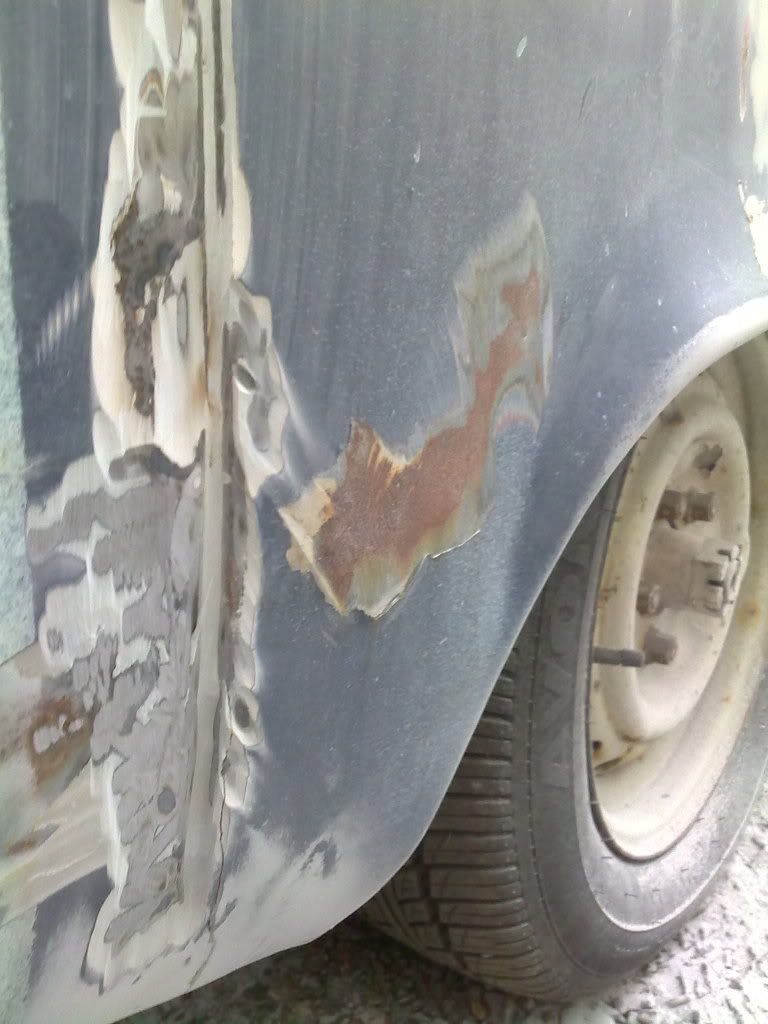
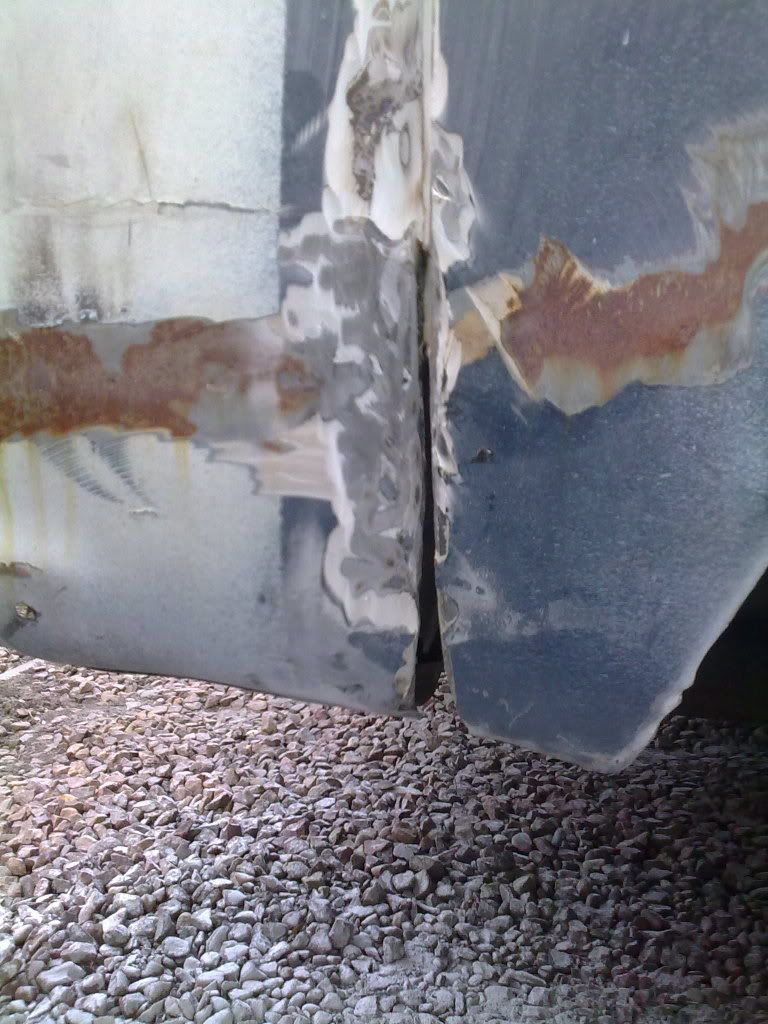
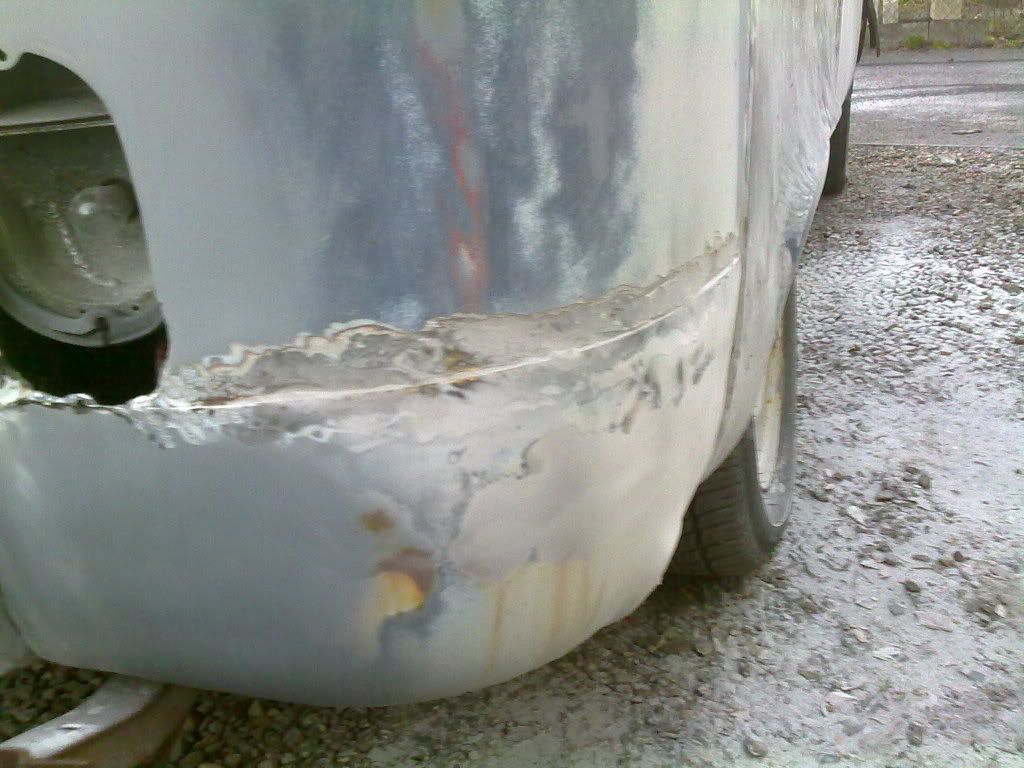
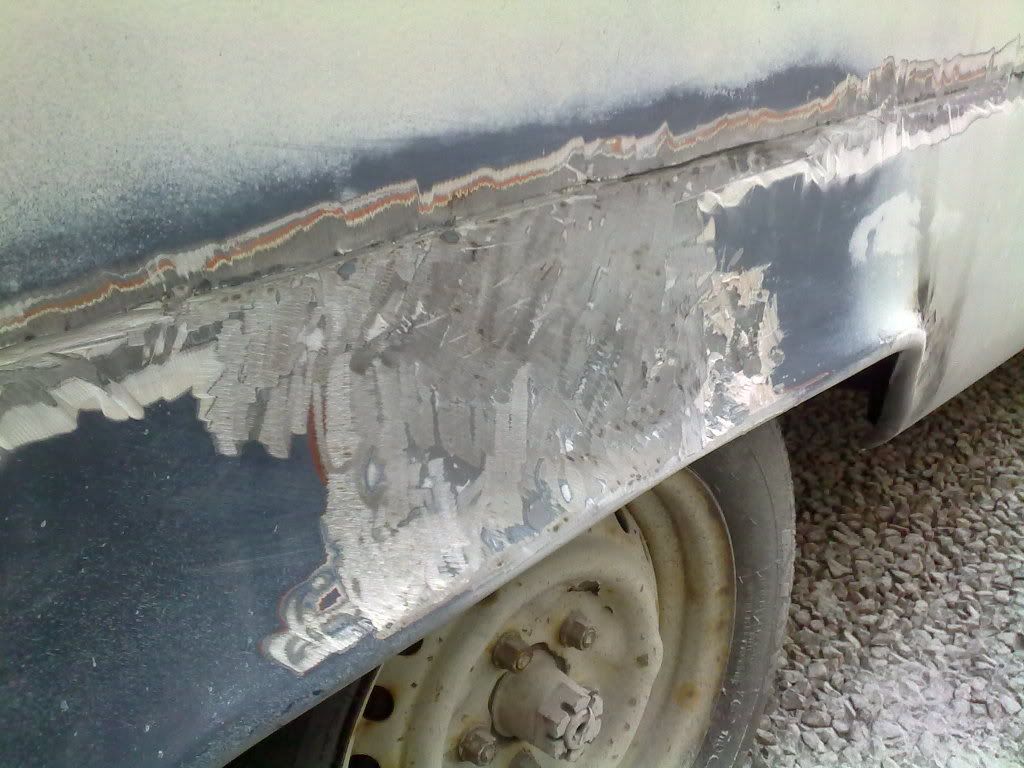
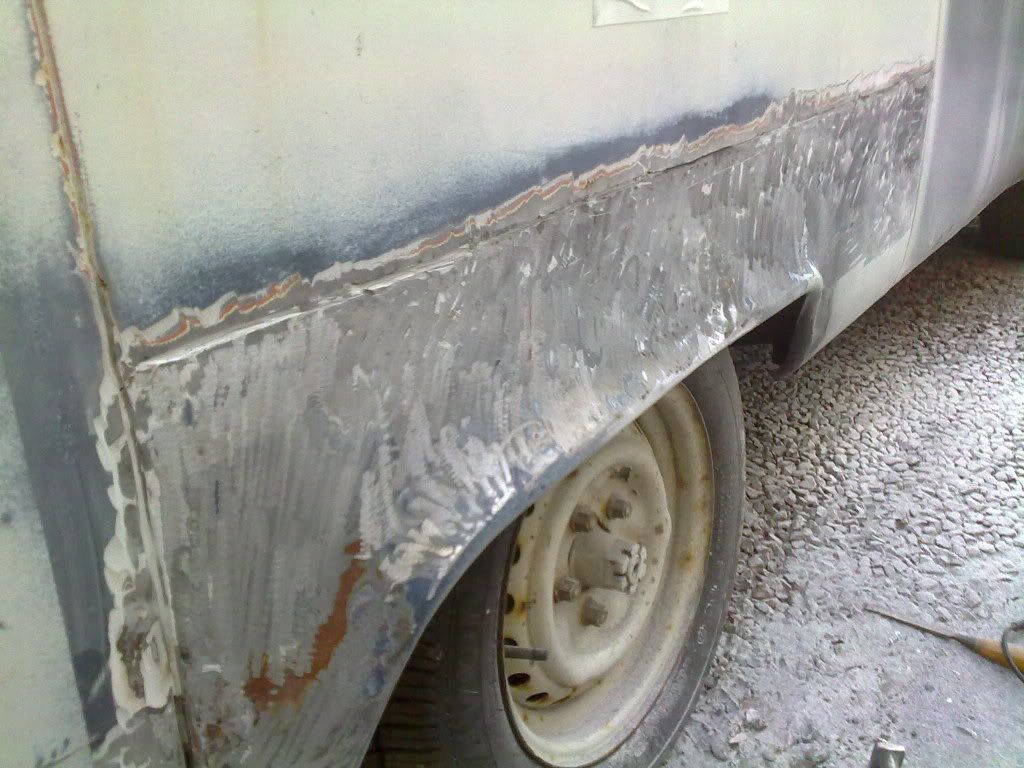
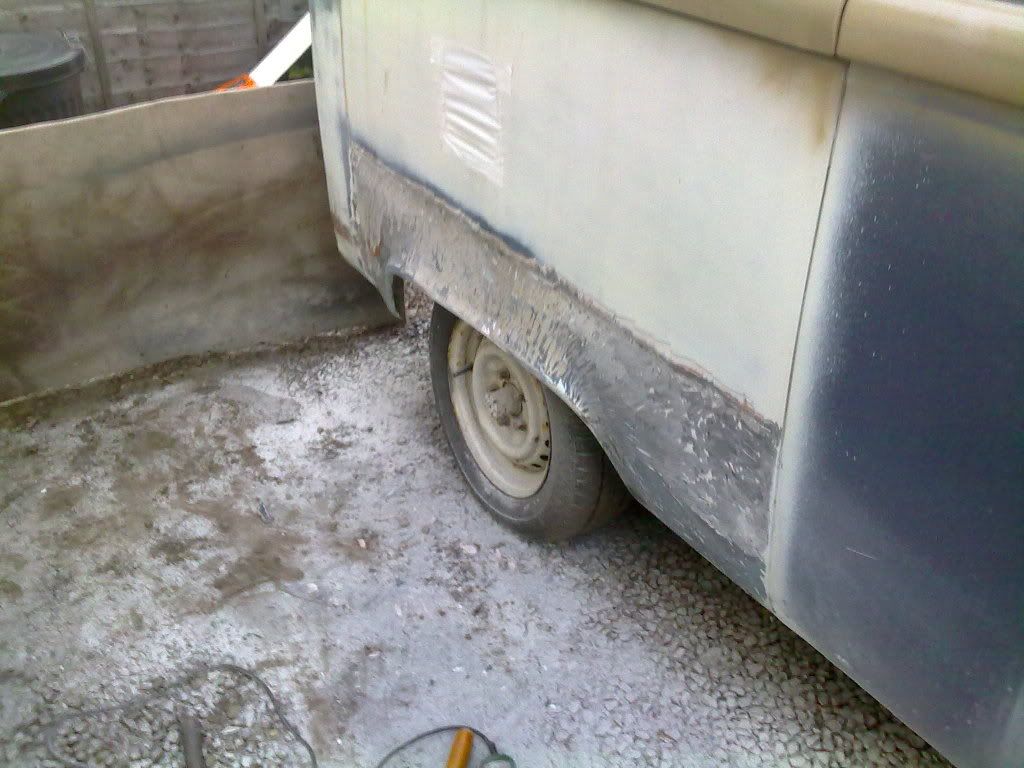
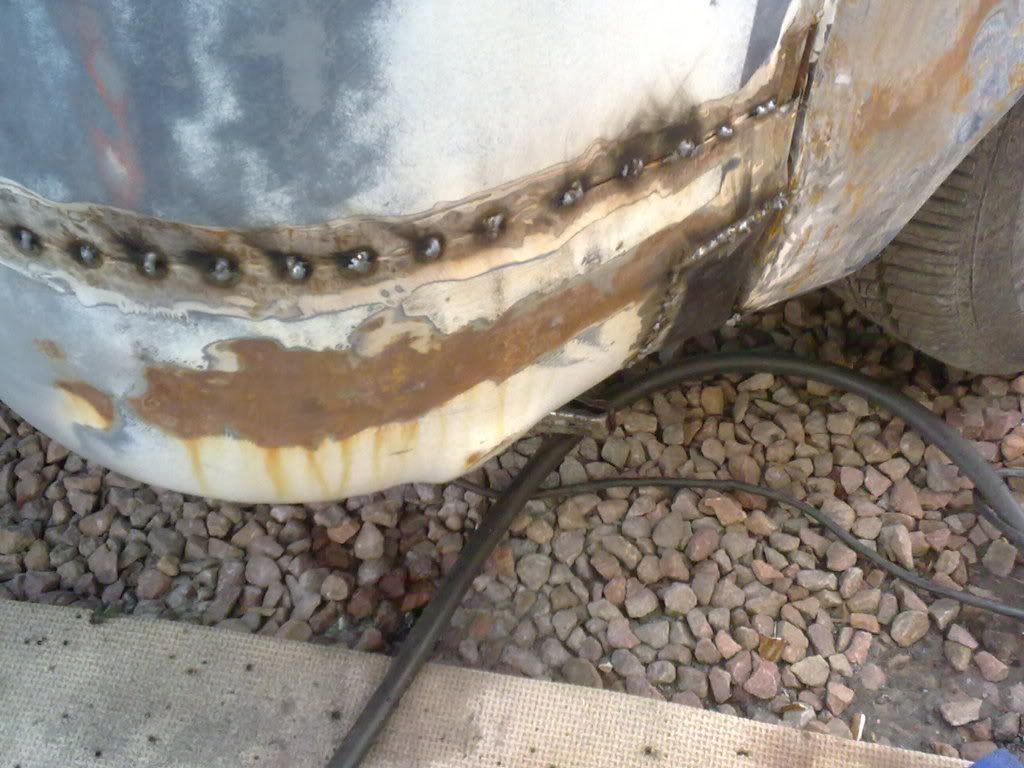
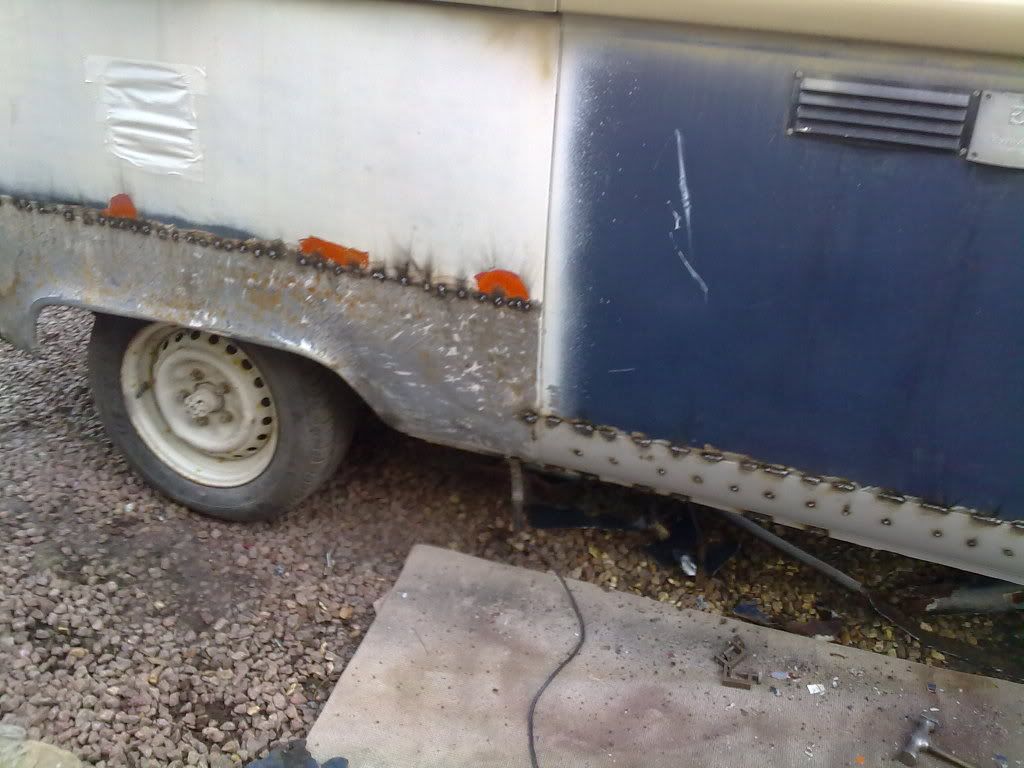
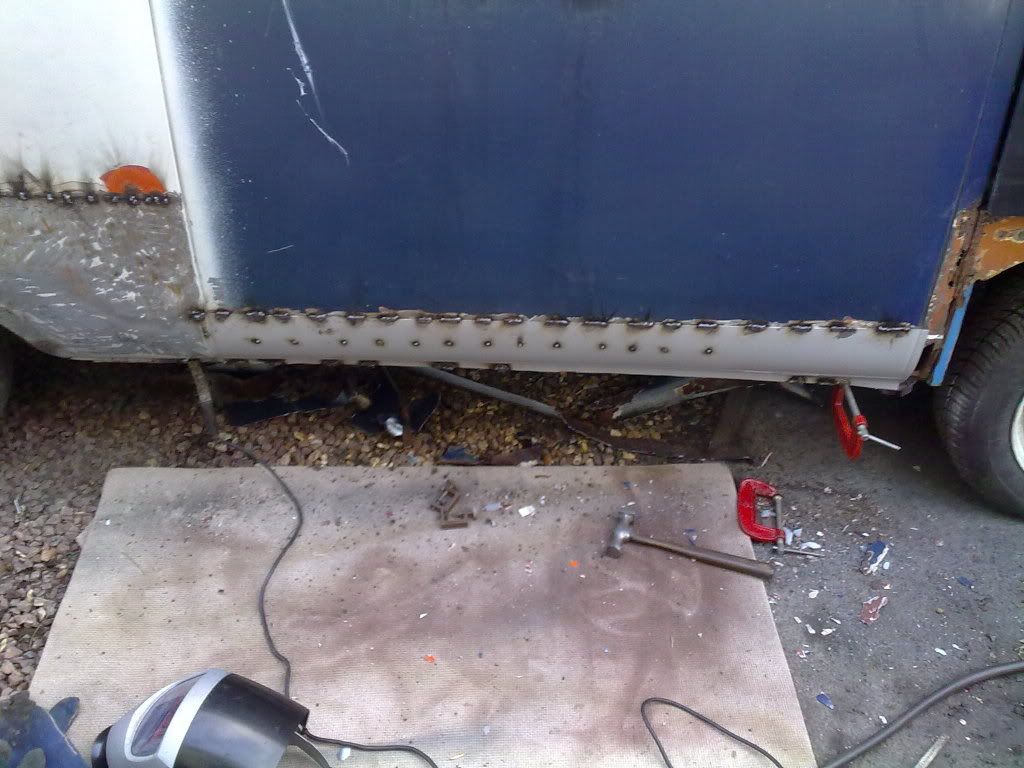
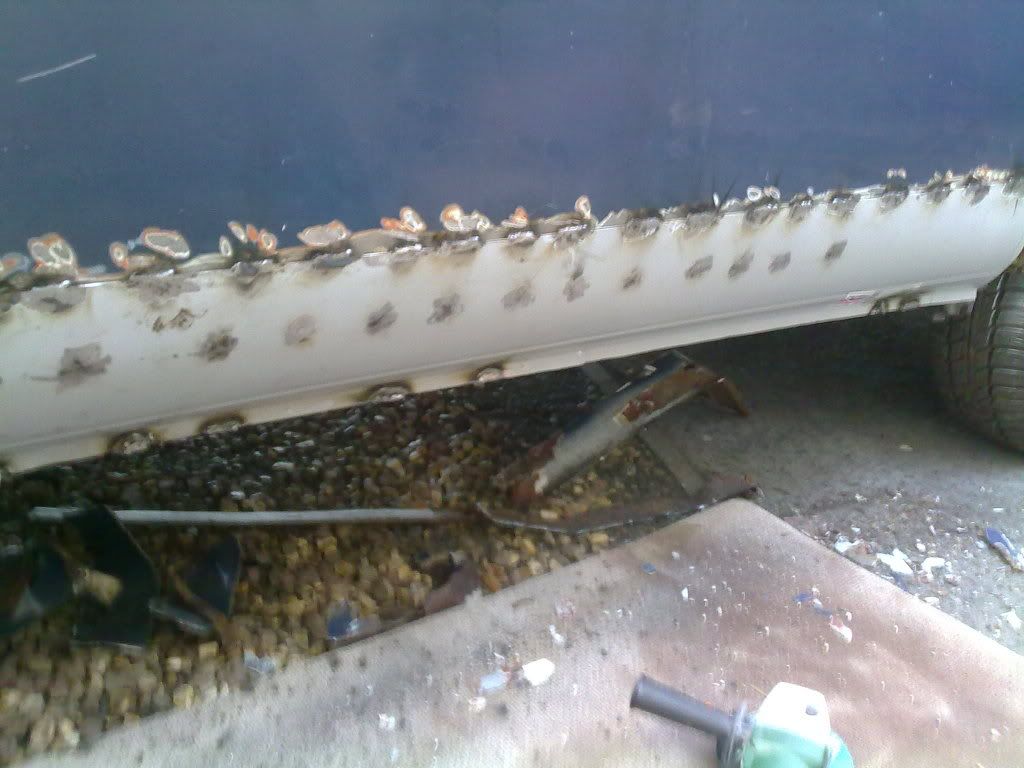
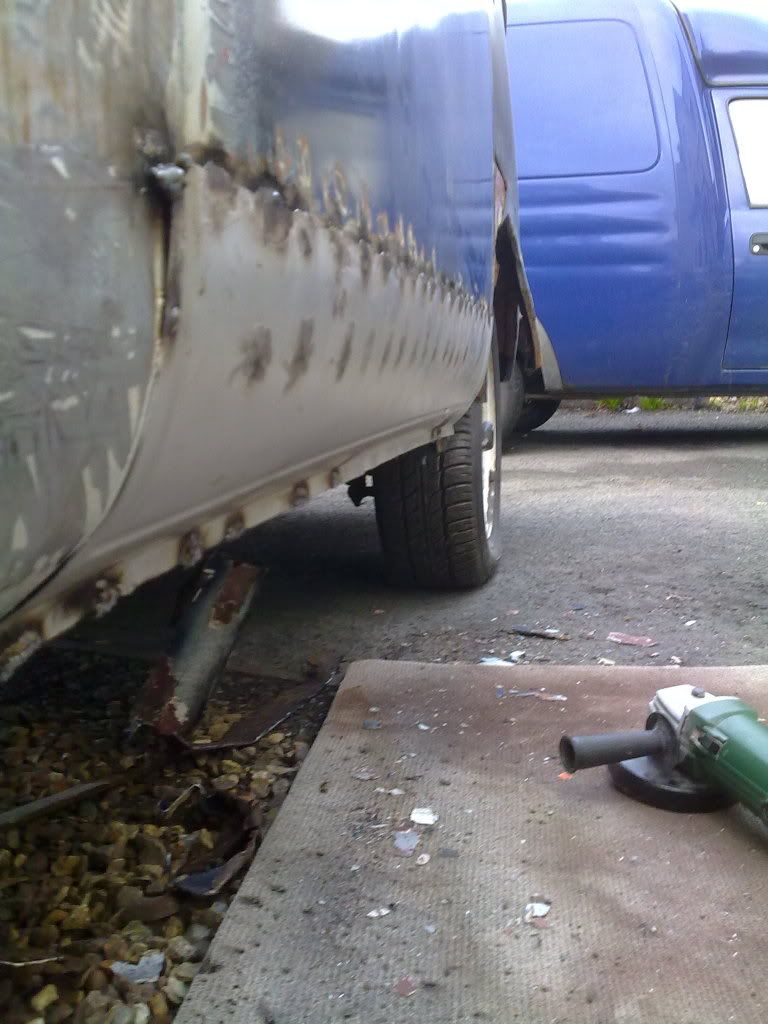
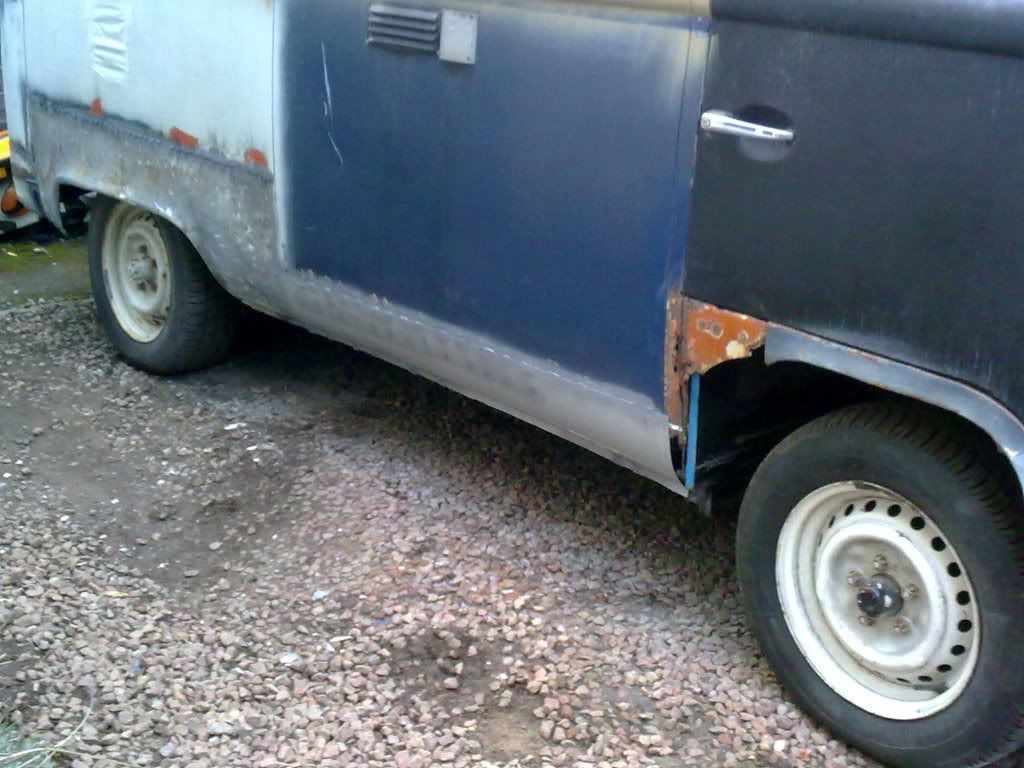
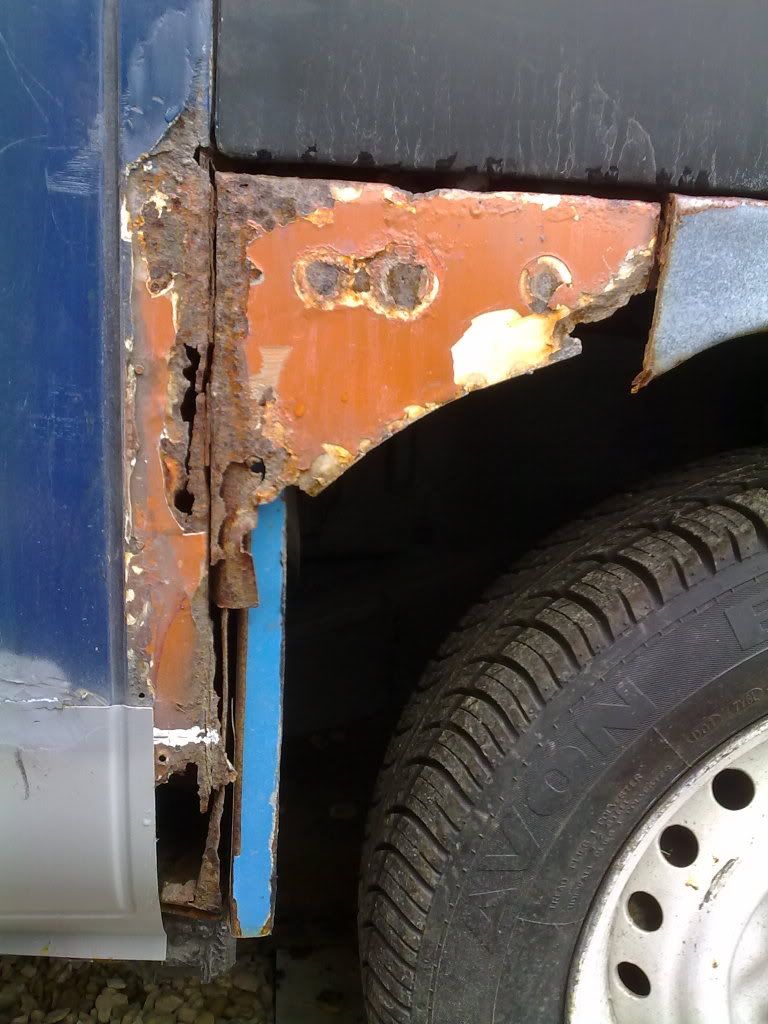
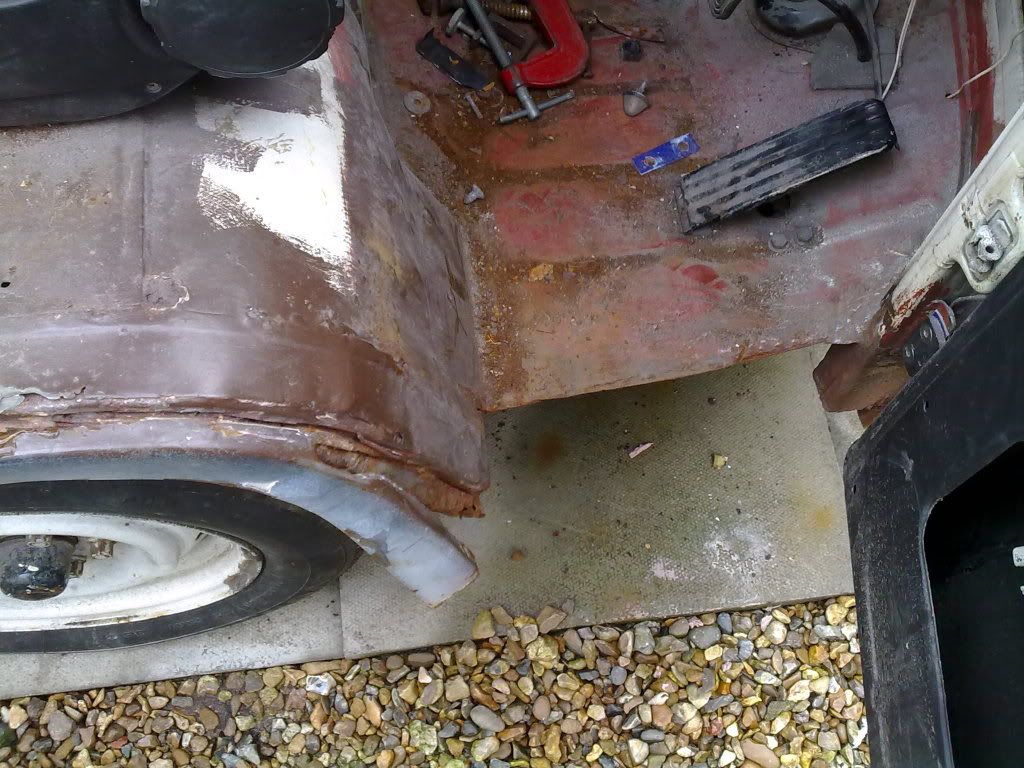
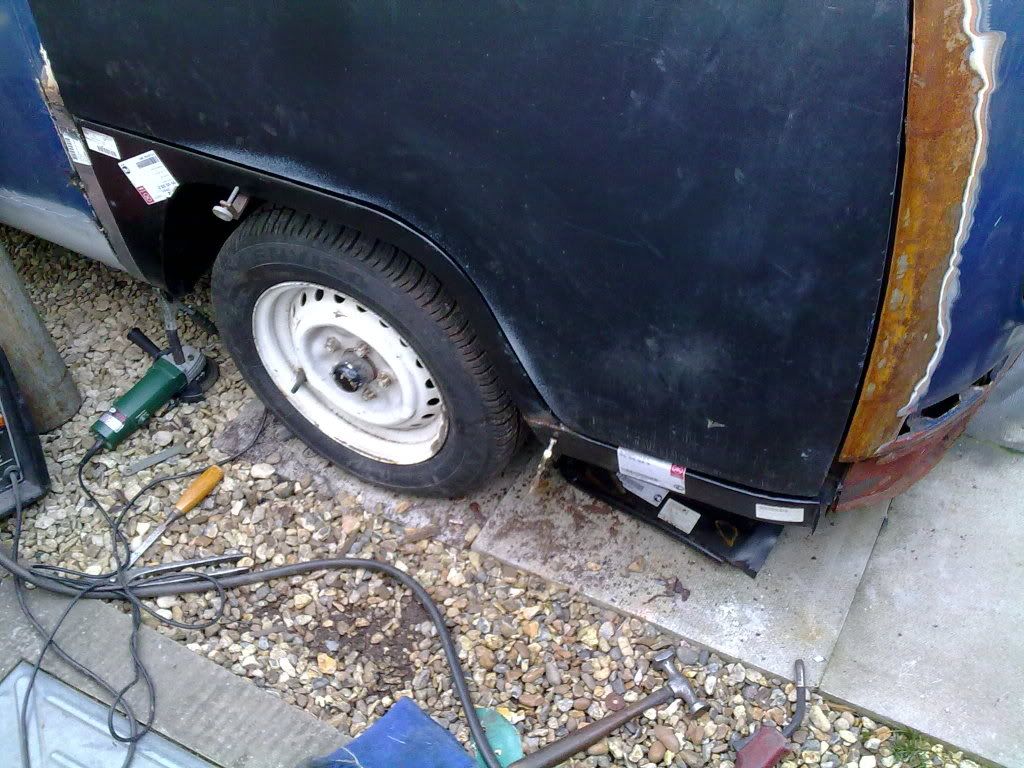
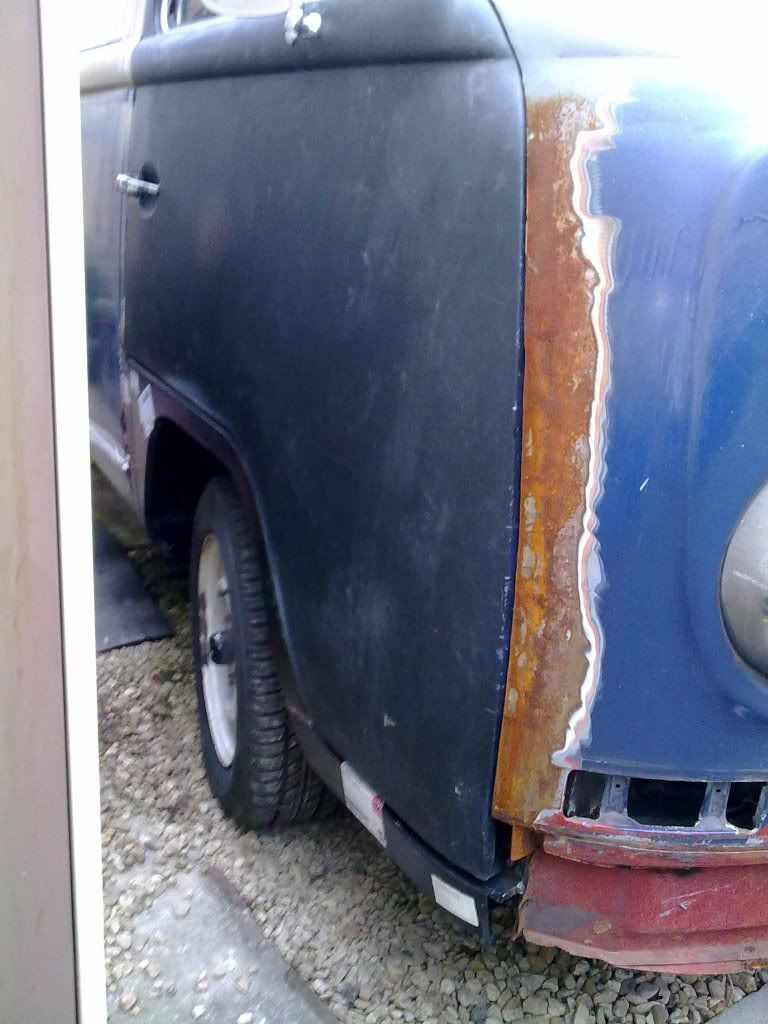
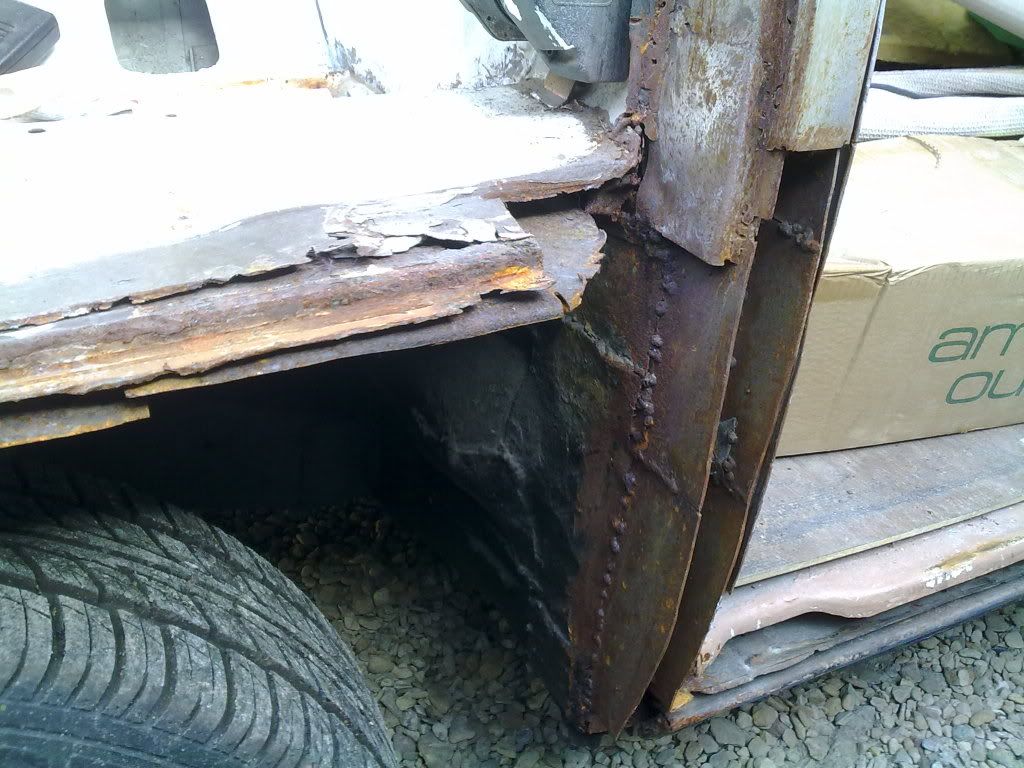
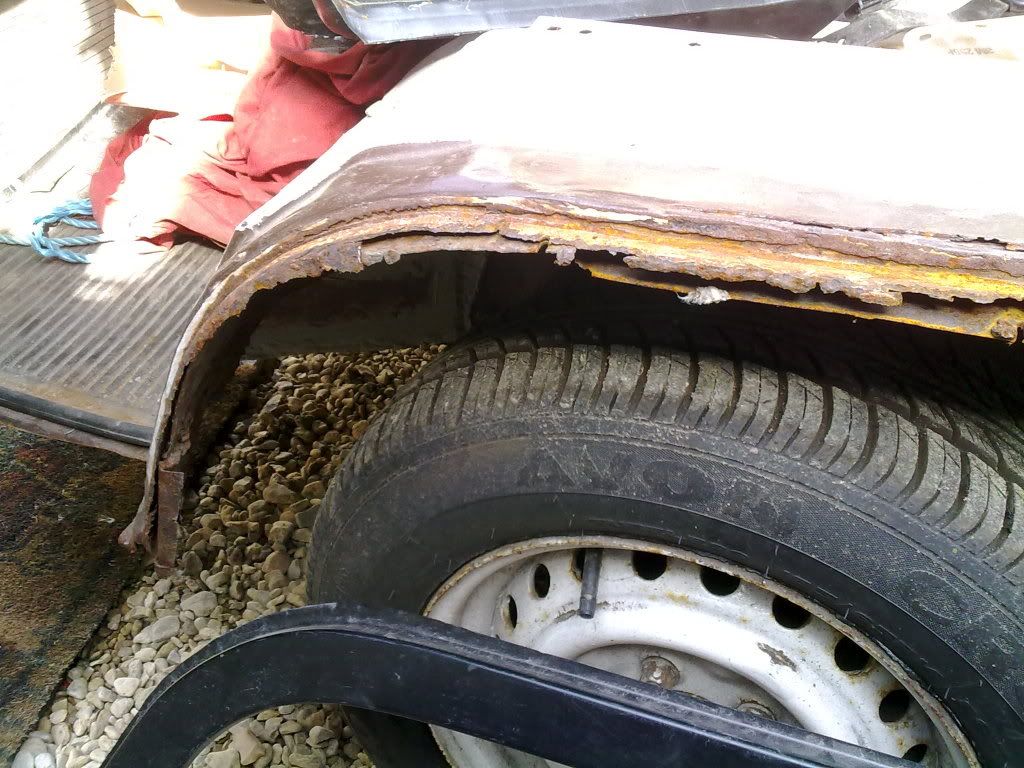
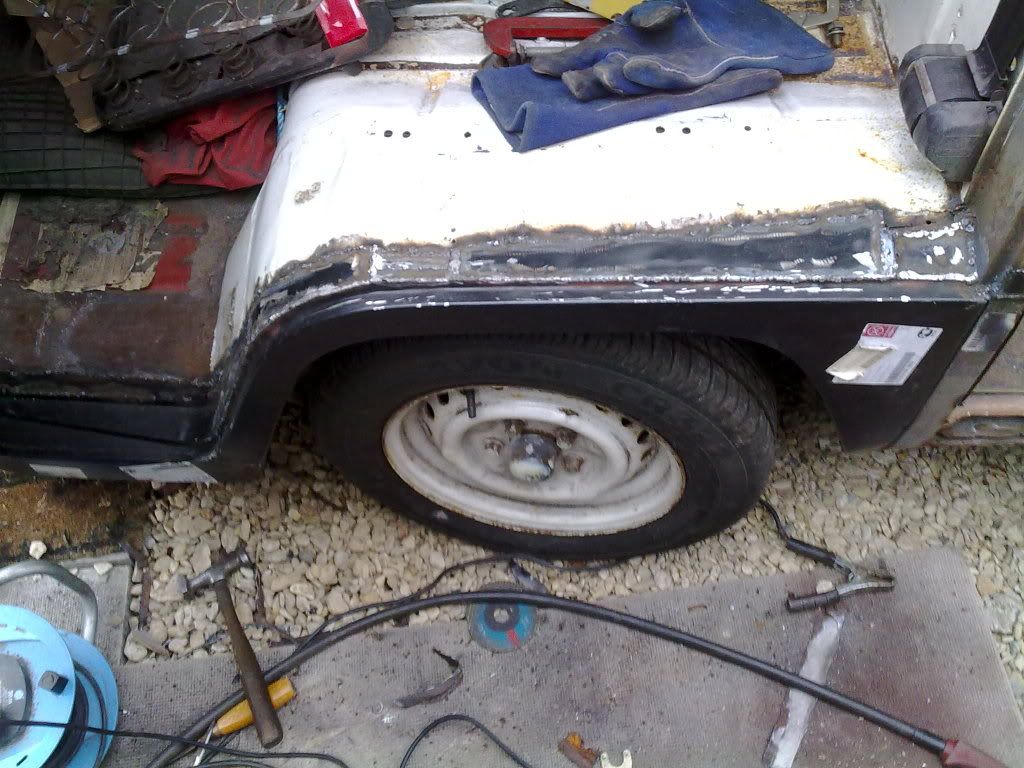
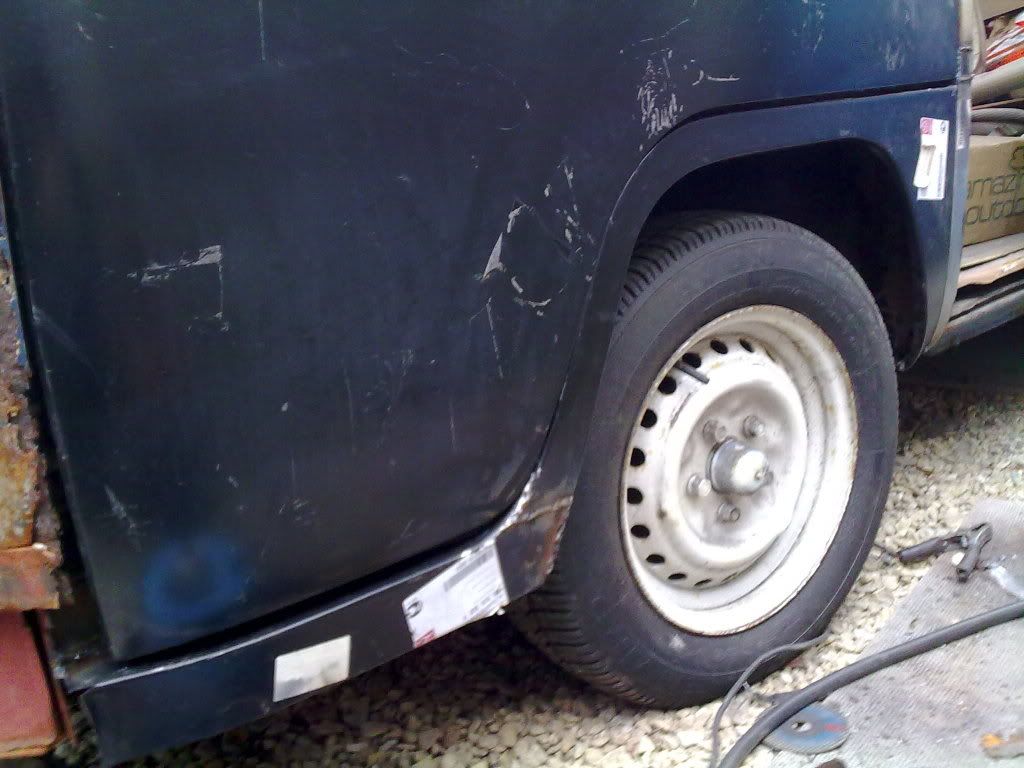
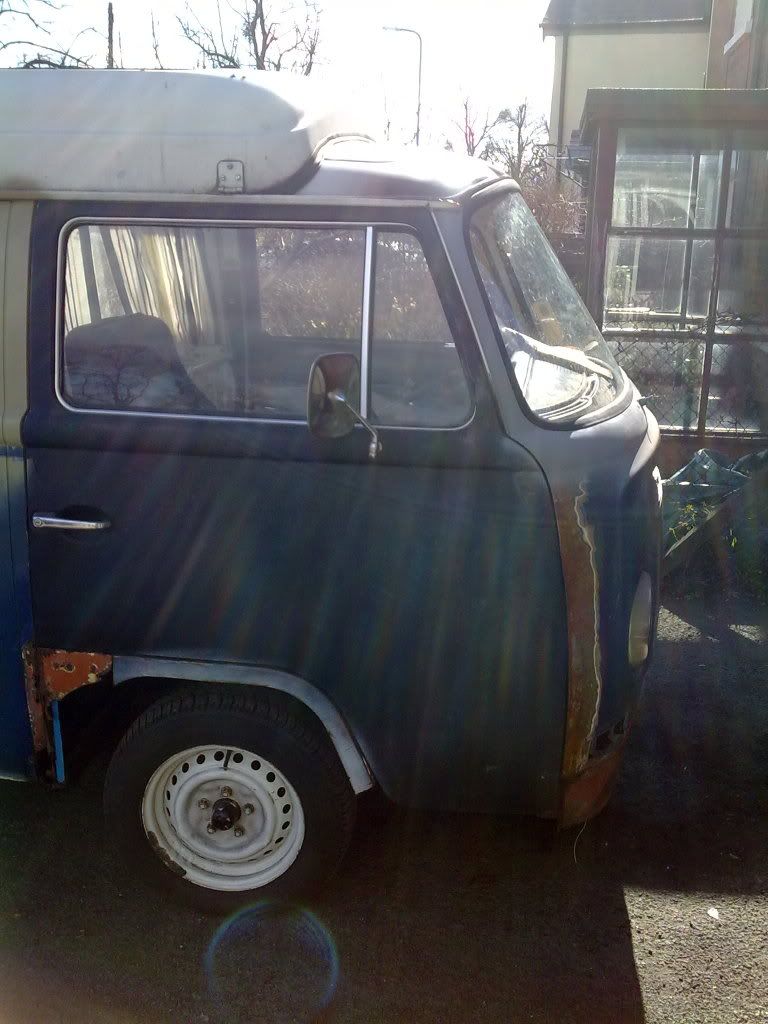
so back to rear arch then the other side and front arches after that ....good weekend i do think 8)
 
well i managed to finish work at normal time today so had an hour on the van.was to damp to carry on filling the other side so turned her round ready to start other rear arch , kinda wish i hadnt :lol:

15032010456.jpg


saw this crack so thats why i attacked it :msn4:

15032010457.jpg


15032010458.jpg


15032010459.jpg
 
stupid amounts of filler!!!!!!
:evil:
15032010460.jpg

just kept grinding and poking....

15032010461.jpg

didnt get any better...

15032010462.jpg

no idea what anybody was thinking!!!

15032010463.jpg
 
with the filler gone and the "welds" revealed it barely held together so iam left with some stupidly big gaps as you will see .....
 
these cracks just spured me on ...

15032010474.jpg


rust bubbles! :?

15032010473.jpg


its had 2 repair panels instead of the 1 and alot more filler ....
15032010475.jpg


so all this yet to be revealed :roll:
ordered the new bottom panel now though ...but all this bodging and filler hasnt seemed to phase me this time UK buses
:lol:
 
right well a bit of update, didnt take as many pics as would have liked but got stuck in the moment :lol:

rear corner and arch all welded up :D
put a piece in by the seem as i did on the other side ...
21032010478.jpg


21032010480.jpg


also got the new repair panel on, didnt get any pics of when cut it off sorry guys! :roll:

21032010479.jpg


21032010481.jpg

as you can see i havent welded a bit on the seem...ran out of gas :(

21032010483.jpg

the gap on the left will be welded and ground flat, so happy days bit more filling and sanding for me :lol:

21032010484.jpg

bit of primer on the bare metal ...starting to look more and more like van!!!
 
overall very happy onto the front arches finally :msn4:

o and a shot of her in her new spot .... :mrgreen:

22032010487.jpg
 
thought would share this with you aswell...my best mates golf that we both spent many hours on...

21032010476-1.jpg


will get some pics of it nice and clean the weekend!!

cheers guys 8)
 
well ive made my way to the front of the bus so decided to go for it with the arches :shock:

27032010501.jpg


27032010502.jpg

pretty rough pevious repairs...

27032010504.jpg


27032010503.jpg


27032010505.jpg


was really quite bad so i chopped out all the rust and previous bodges and went from there
was a bit worried about attempting these but didnt turn out to bad :lol:

27032010507.jpg


28032010512.jpg


28032010511.jpg


27032010508.jpg


inner and outer step all on ...happy days

28032010524.jpg


not 3 bad 8)
 
well i had another afternoon on the van...

28032010513.jpg


28032010514.jpg


this side doesnt look as worse but really was! :roll:
28032010515.jpg
 
new b pillar and arch on...
28032010517.jpg


28032010518.jpg

inner and outer step

28032010523.jpg


28032010521.jpg


still got to have a little tiny play with this door so the gap will be better than it is now!
but all in all very happy :D
valance and edge of front panel to go

:mrgreen:
 
you got time to go to bustypes? thats about normal ,but they dont get much worse.thought i heard an angle grinder ;) looking good,was going to call in, bus moved you as well?
 
well i shouldnt stop but be nice to go camping and get a few more bits for her :lol:
yeh its up the side now call in next time you hear me :D
 
cheers dude :) got a sh!t load of pictures to get up on here so this week will be a bit of an update....looking forward to seeing your bus the weekend mr dubscum :lol:
 

Latest posts

Top