Another 71' Westy makes it over here!

Early Bay Forum

Help Support Early Bay Forum:

This site may earn a commission from merchant affiliate links, including eBay, Amazon, and others.

cyberdyne systems

Well-known member
Joined
Aug 21, 2008
Messages
634
Reaction score
0
About time I showed everyone what I got:

486361.jpg
486359.jpg


From the front doors back its really good, the front panel has suffered a bit, and has had a basic repair (loads better than it was before) but its going to need more work, plus the paint blending in. Interior is quite well used and will need some time to get back to looking its best, but its all there.

Its going to stay standard height for a bit, but eventually it will be coming down :twisted:

Will get more pics soon

Gareth
 
Looks a nice solid Westy. Did you import it yourself?

The more pre71 buses I see the more I want one. :mrgreen:
 
Cali_bay said:
Looks a nice solid Westy. Did you import it yourself?

The more pre71 buses I see the more I want one. :mrgreen:

No i didnt import it, hats off to those who do though.

I just love the early bay westy's, so just had to have me one! :lol:
 
Ok an update of sorts,

I've started to remove the stickers and tinted film from the windows with good results,

stickers:

487234.jpg

487236.jpg

487235.jpg

487237.jpg


And some tint removal:

487240.jpg

487241.jpg

487242.jpg

487243.jpg

487244.jpg

487238.jpg

487239.jpg


Still a few windows left to do, but its looking more how it should now, kinda de-personalising it from the previous owner!

Gareth
 
Not much to update, straightened the over riders (bent) and rear bumper, got hold of a front badge (being blasted), fitted front poptop rubber, turning the tyre's round so the white band is facing outwards (still need one tyre 185/70 14, if anyone has one?). And started glueing some of the furniture:

494534.jpg

494533.jpg

494537.jpg

494538.jpg


Going to keep cleaning it up, putting the engine intake back to stock, and early next year get a red9 kit and lower it! Found out I can get the red9 bars shortened, so in time i'll get a narrowed beam and dropped spindles and still have the same spring rate.

Gareth
 
Nice westy - very similar to mine, condition and front end respray. :mrgreen:

What's the beetle like? Looks very interesting...
 
Joval said:
Nice westy - very similar to mine, condition and front end respray. :mrgreen:

What's the beetle like? Looks very interesting...

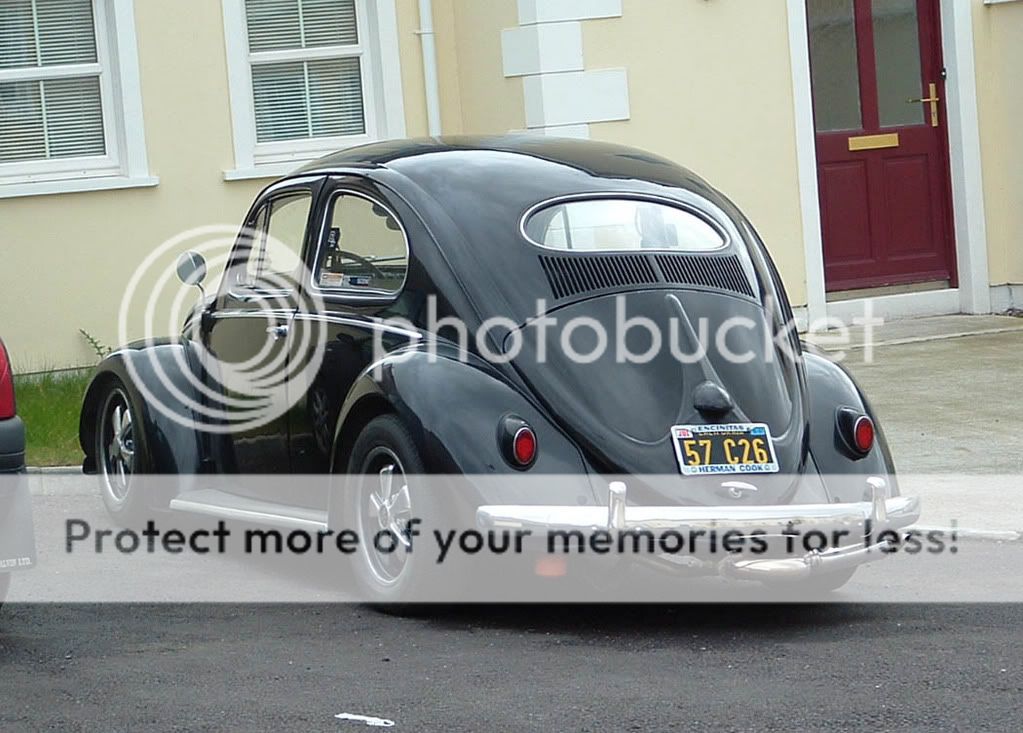
Its a Horizon blue Oval, late gearbox and engine, 12v etc, lowered on early fuch's (4.5 & 6) and a stainless exhaust. Plans are to narrow beam, repaint with it decromed, and the exhaust cut outs filled in. As its a daily, i'll keep it stock 1600 (economy/reliability). 8)
 
Nice, I had an oval before the westy - it had to go though, wasn't child friendly :(

57oval.jpg
 
Very nice!

Here's mine with original 1200 still in it, back in 2006 - can't find many recent/decent photo's of it...must make amends!

302218.jpg


P.s. I use it with my 2 kids (fitted seat belts)

Gareth
 
Ok so I've started to remove the rear seat base and wardrobe, the reason is the wardrobe shelves have all come loose and it needs to be glued back together as its trying to pull itself apart (and in fact the front came off!)

The wide trim is missing from the front, but i've managed to get some in what looks like a closely matched profile, the only thing is its dark grey, so i'm going to paint it. Tried a bit of rattle can primer and it looks like it will hold up good, so soon i'll be off to Halfords to find a suitable colour - probably going to go for something to age it, an off white/hint of yellow, or leave it round my girlfriends brothers place so it can be smoke damaged!

Here's some pictures:

front of wardrobe without side trim

498364.jpg


New trim paint test

498355.jpg


Profile of new trim

498356.jpg


I'll show how the colour match goes soon
 
Ok so i've got the wardrobe out and started glueing it, also managed to get some paint for the wardrobe edge trim, see what you think. Probably a little shiny but it looks pretty close to me, just being new compared to the original trim bits.

Wardrobe removal, took the rear seat base off to allow enough movement:

499135.jpg

499136.jpg


Before and after glue:

499137.jpg

499138.jpg


Trim edge painted:

499145.jpg
 
cyberdyne systems said:
bas_T2a said:
Nice work! Where did you get the trim?

A guy I know works on T5 camping conversions, got hold of it, with painting i recon it will be a close match.

Gareth

Hope the paint will stay on the trim. But it's a nice makeover!! :)
 
You know what its like with over spray, can never get the damn stuff off! Hopefully it will last on the trim though.

I have a pic of the wardrobe with trim mocked up, yet to be trimmed and stuck in:

500721.jpg


Also the ignition jammed, so had to get it out - not easy! And decided to re key the lock to match the others. Here are pics of it apart and you can see the spring that needs pressing to release it from the housing and the hole which you have to use some wire to press the spring:

500724.jpg


Gareth
 
I have now cleaned out under and inside the bench seat - think we had mice in the past! There was lots of shedded paper and droppings, nice! I suspect its cause the seat base came from another van, and was probably stored somewhere first.

The wardrobe has gone back in now. Intention is too remove all furniture to replace floor and headlining and side panels at some point, but will be prepared for that and do it in one go. Anyhow i'm pleased with how the new edge strip complete's the wardrobe and is a good match.

Ignition went back in ok and is working again, now on the same key as the other locks.

501891.jpg

501892.jpg

501893.jpg

501894.jpg


Gareth
 
Thanks corkwesty!

Here is some parts I picked up today, manifold, carb and oil bath air filter, vacuum distributor and a generator.

At the moment its got a smaller carb and a single port style manifold with adapters to fit the twin port heads, the dreaded 009, and a crap aftermarket air filter (it suffers from bogging and poor acceleration at low revs). So with the correct distributor coupled with the preheat on the original oil bath filter it should run loads better. The generator had an aftermarket pulley and it worked loose and damaged the thread, so i'm changing it out.

501939.jpg


Gareth
 

Latest posts

Top