You are using an out of date browser. It may not display this or other websites correctly.
You should upgrade or use an alternative browser.
You should upgrade or use an alternative browser.
Charlie Brown The '71 Ex Dormobile...
- Thread starter the_troupster
- Start date


Help Support Early Bay Forum:
This site may earn a commission from merchant affiliate
links, including eBay, Amazon, and others.
the_troupster
Well-known member
gninnam said:Looking good.
I have a BN4 to go in mine, but I'm missing quite a few wires so will have to play around with it when I get the chance.
Did you power it from a battery when you tested yours?
Cheers")
Yeah, I bench tested it out of the van... I've got a wiring diagram saved somewhere, i'll post up later. It'll smoke a bit when first fired up until it burns all the crap thats acummulated in the combustion chamber whilst in storage. Summat to be aware of and not **** you up too much! A bit of danger makes you feel alive...
Jim
the_troupster said:Yeah, I bench tested it out of the van... I've got a wiring diagram saved somewhere, i'll post up later. It'll smoke a bit when first fired up until it burns all the crap thats acummulated in the combustion chamber whilst in storage. Summat to be aware of and not **** you up too much! A bit of danger makes you feel alive...
Jim
Cheers Jim and look forward to the wiring diagram
the_troupster
Well-known member
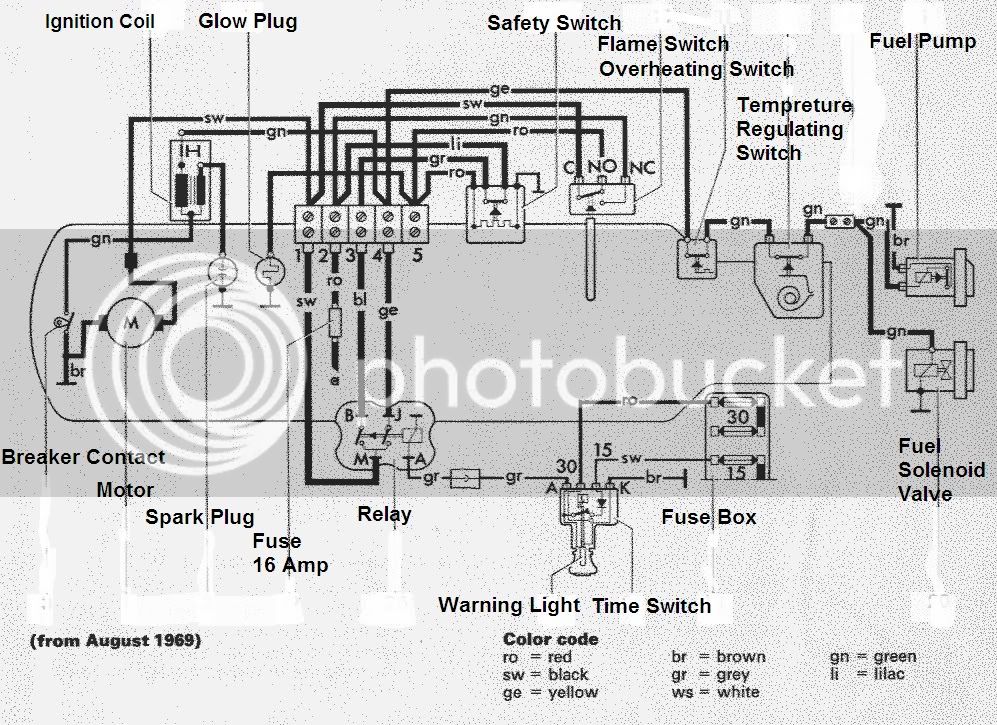
There you go, print that bad boy out. From memory, I dont think the wire colours matched up to well. But the paths are correct.
Finished the fuel supply on my bay tonight, so gave the petrol heater a whirl. Took a while to bleed the fuel through but fired up ok after. I must remember not to re-start until the excess fuel has evapourated naturally though. The resultant back fire is pretty scary! Still, it's the right day of the year for it... ish.
Jim
Thanks Jim,
Will try and dig the unit out next week (would have done it this weekend but busy with other things as is usual ) and see if I can get something working - will have to use a transformer as I don't have a spare car battery :shock:
Will try and dig the unit out next week (would have done it this weekend but busy with other things as is usual
) and see if I can get something working - will have to use a transformer as I don't have a spare car battery :shock:
$41.88
$46.95
Billet Window Crank, for All Years VW Beetle, Pair, Compatible with Dune Buggy
✅ Dune Buggy Warehouse


$9.37
Empi 4429 Ivory Sun Visor Clips for Vw Bug 1965-1967/ Vw Bus 1968-1979, Pair
MOORE PARTS SOURCE

$9.94
$10.95
Empi 00-4428-B VW Bug, Beetle, Sun Visor Clips, Type 1, 68-79, Black, Pair
MOORE PARTS SOURCE


$7.94
$15.23
Door Panel Clips, for VW Aircooled Door Panels, 50 Pieces, Compatible with Dune Buggy
Appletree Automotive


$10.00
Volkswagen Genuine VW Driver Gear VW Logo Specifications T-Shirt Tee - X-Large - Black
wolframitersqga

$24.61
Airfix Quickbuild Volkswagen Camper Van Red Brick Building Plastic Model Kit J6017, Multicolour
Amazon Global Store UK


the_troupster
Well-known member
Fired the engine up! It seems it's a goodun! Thankfully! :lol:
Got a bit of tuning to do, as not idling too well. Timing, carb etc. Only grumble is stripping the thread on the end of the generator shaft whilst trying to adjust the belt tension. I suppose i'll use this as an excuse to upgrade to an alternator.
Anyway, i'm away for a few days now,but on my return i'll get on with painting the doors now that the paint has arrived.
Jim
southcoastcruiser
Well-known member
waouh
good job.....
some pics for you with black brms


thierry
good job.....
some pics for you with black brms


thierry
the_troupster
Well-known member
southcoastcruiser said:
Wow, that's some fine inspiration right there Thierry. Thanks.
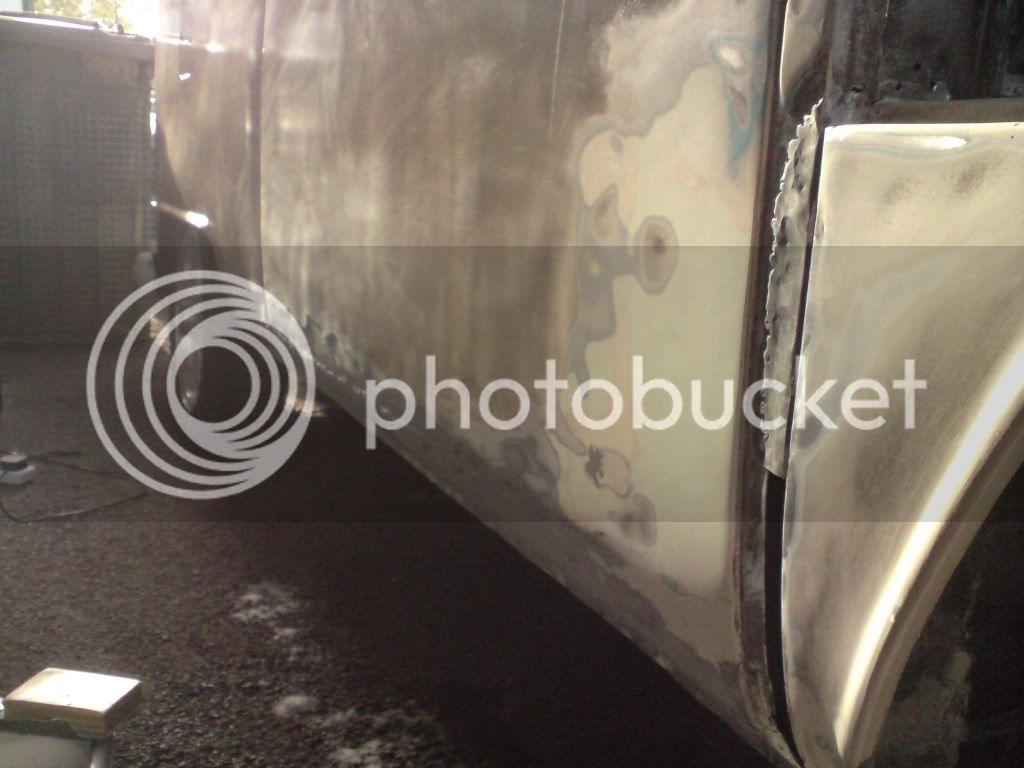
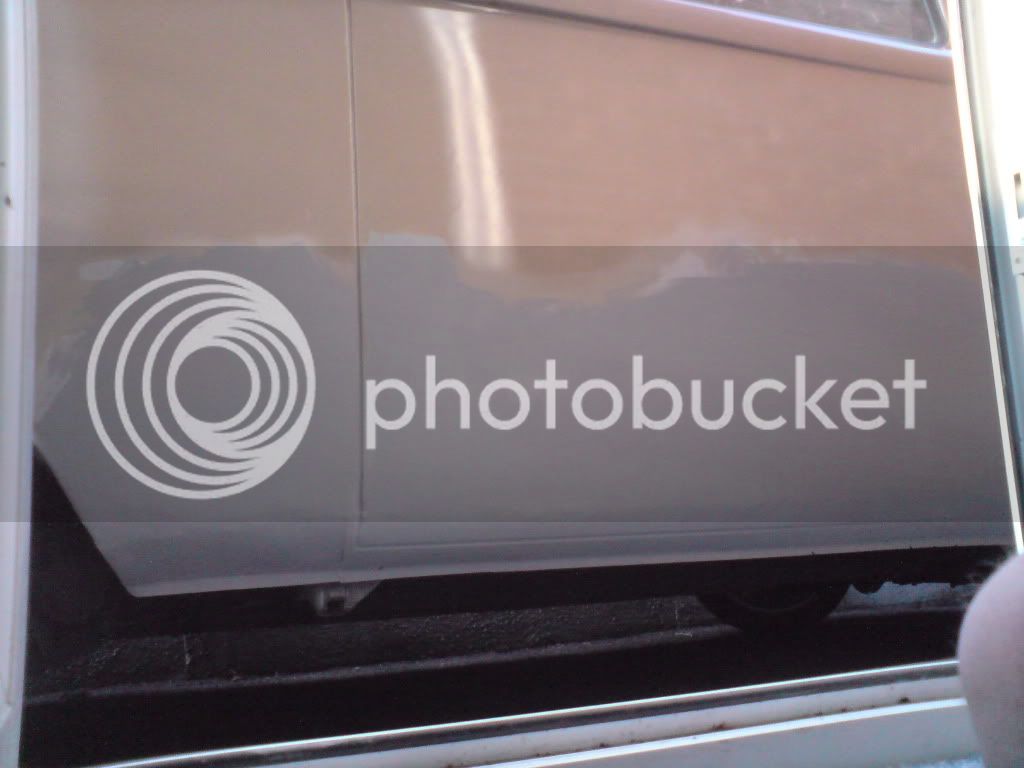
It's been a few months since my last update. I've been busy getting the doors solid ans straight.
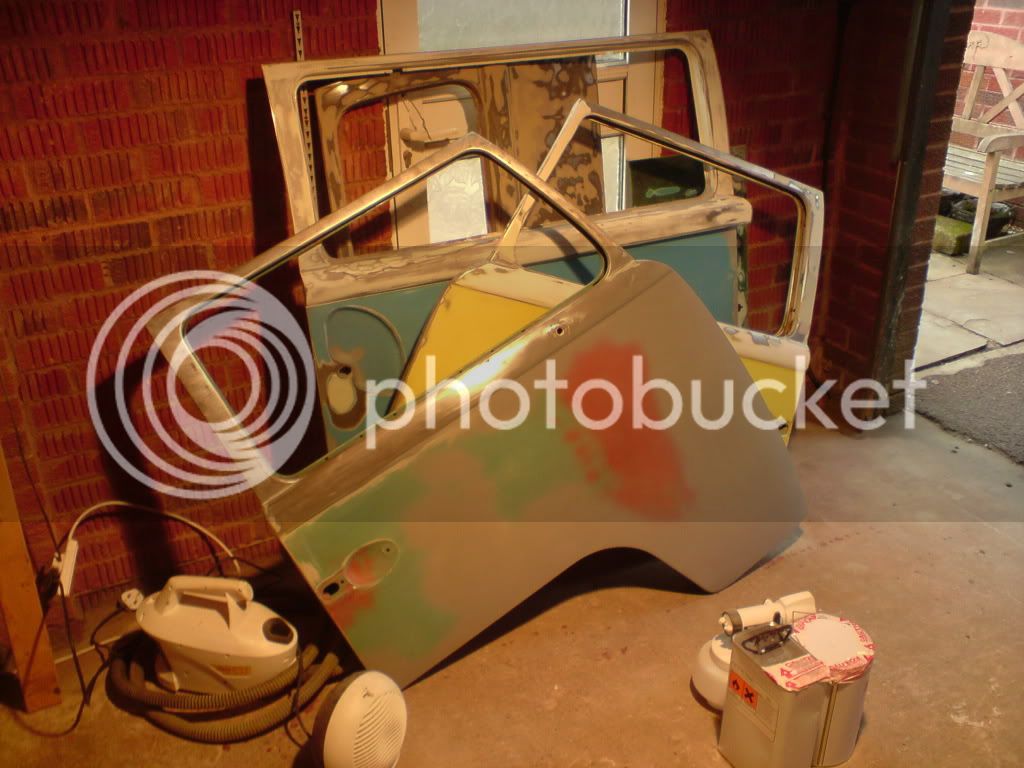
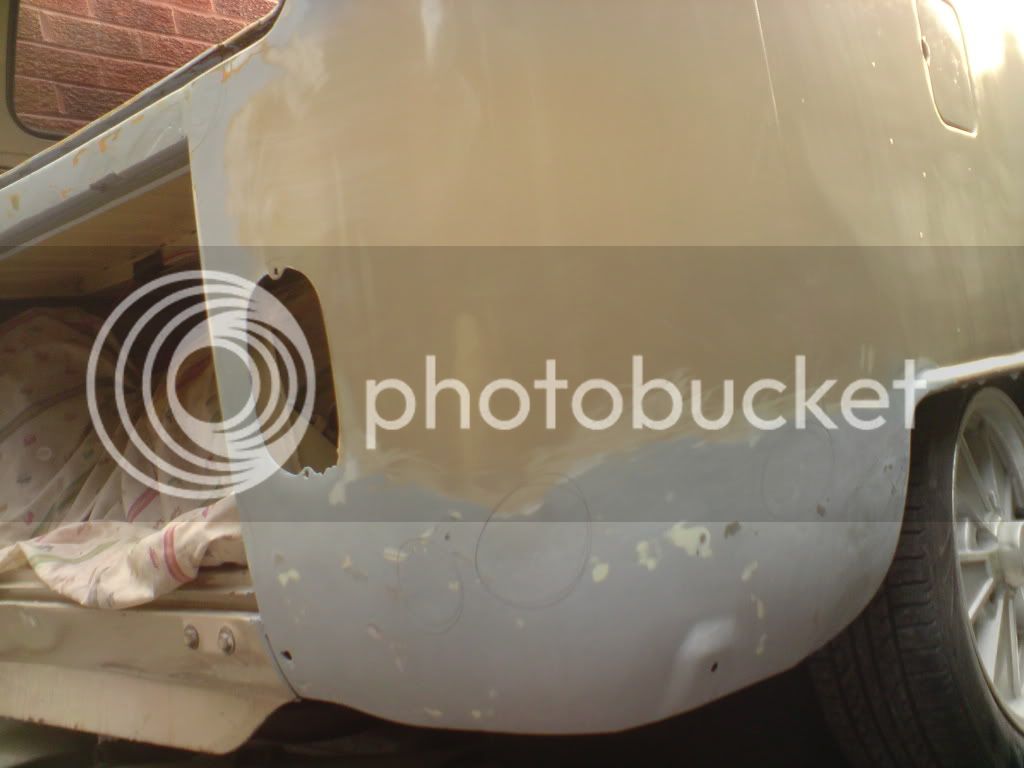
Now that it's starting to warm up, i've been able to lay some primer down. Here's the first coat sanded back. There's still lots of bare metal showing so a second coat will be needed before any top coats.
I'm also picking up Transporterhaus spindles and Slamwerks adjustable springplates at Dubfreeze, so some major work on the suspension is underway. I'll get some pics of that up in due course.
Cheers for now
Jim
the_troupster
Well-known member
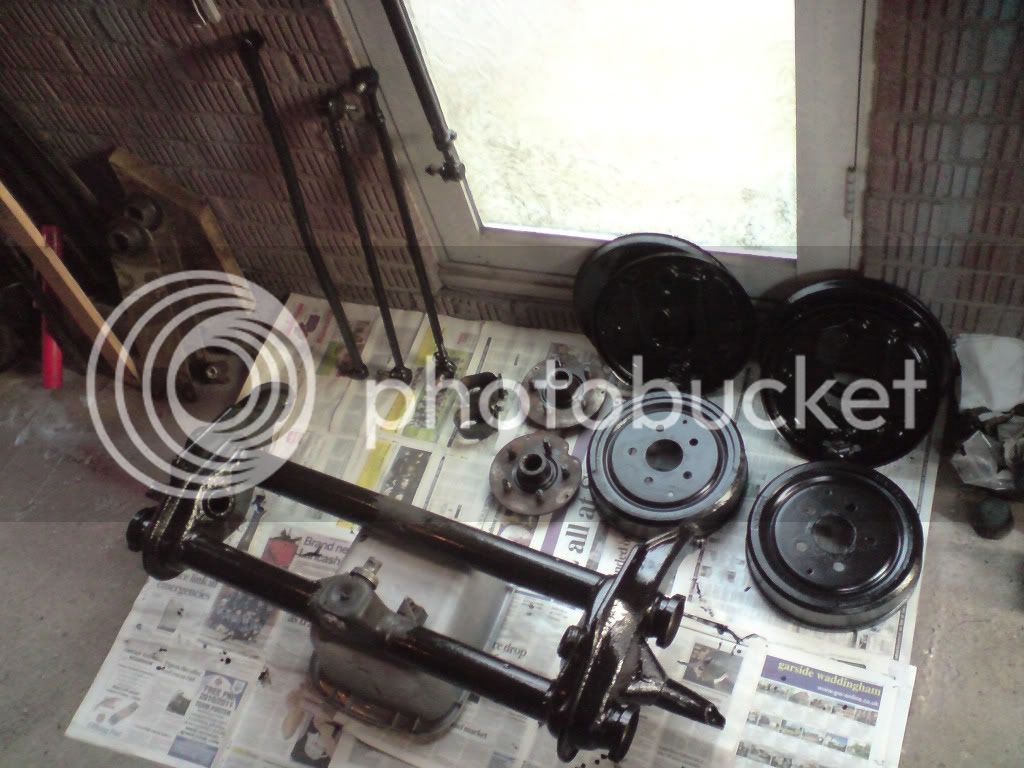
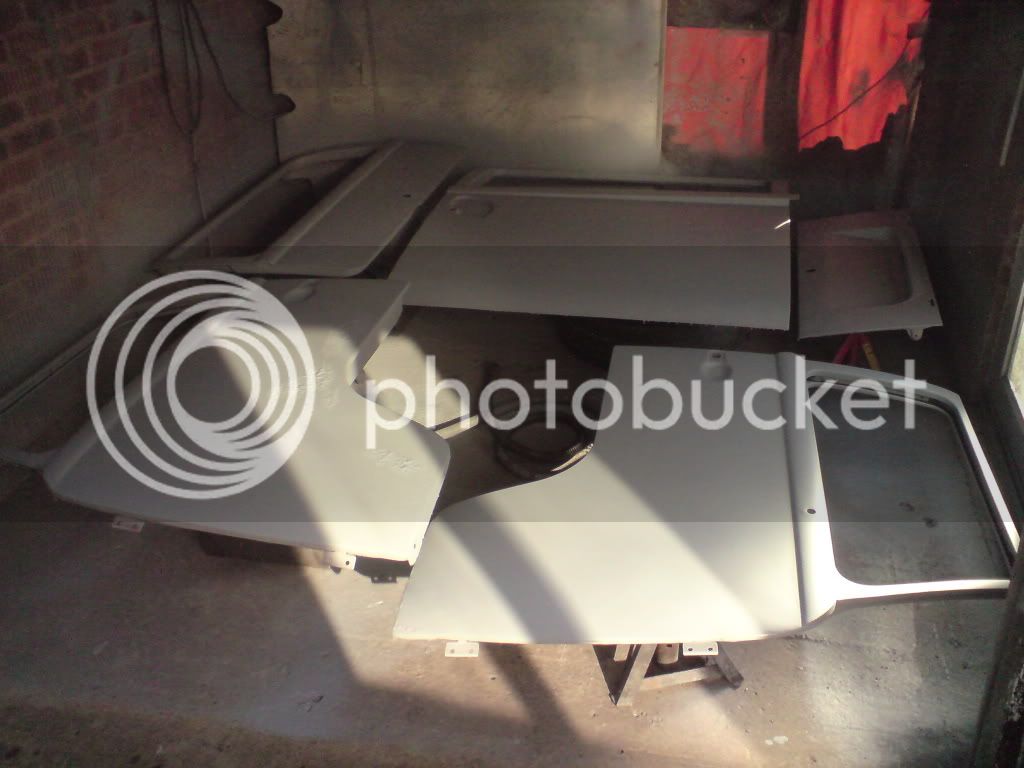
So, I did pick up the flipped spindles and adjustable spring plates... Worked a few stints pulling the beam off/apart. This is what my garage looks like now...
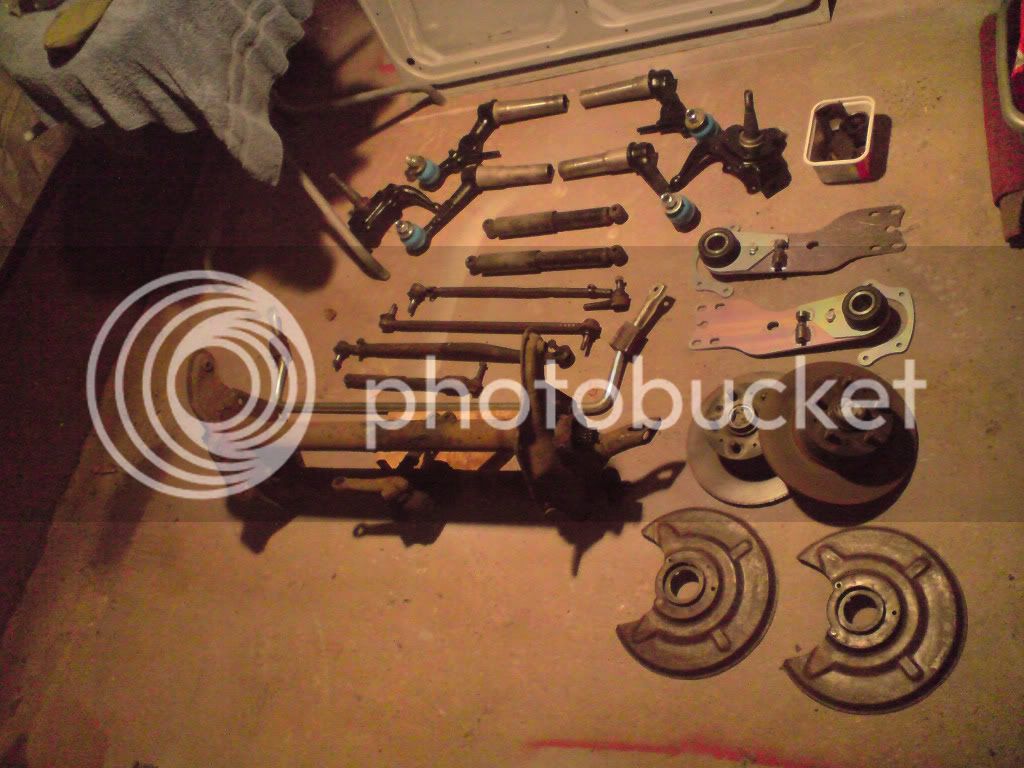
Got some cleaning and painting to do and then throw it all back together. Still need to pick up some weld in adjusters. Hopefully Transporterhaus will have theirs ready very soon!
Also picked up a pair of new 175/50 15 tyres for £40 deliverd for my BRM's.
Cant wait to get it back on its wheels!
Jim
Got some cleaning and painting to do and then throw it all back together. Still need to pick up some weld in adjusters. Hopefully Transporterhaus will have theirs ready very soon!
Also picked up a pair of new 175/50 15 tyres for £40 deliverd for my BRM's.
Cant wait to get it back on its wheels!
Jim
creationblue
Well-known member
Great work, look forward to the next installment.
Just
Just
the_troupster
Well-known member
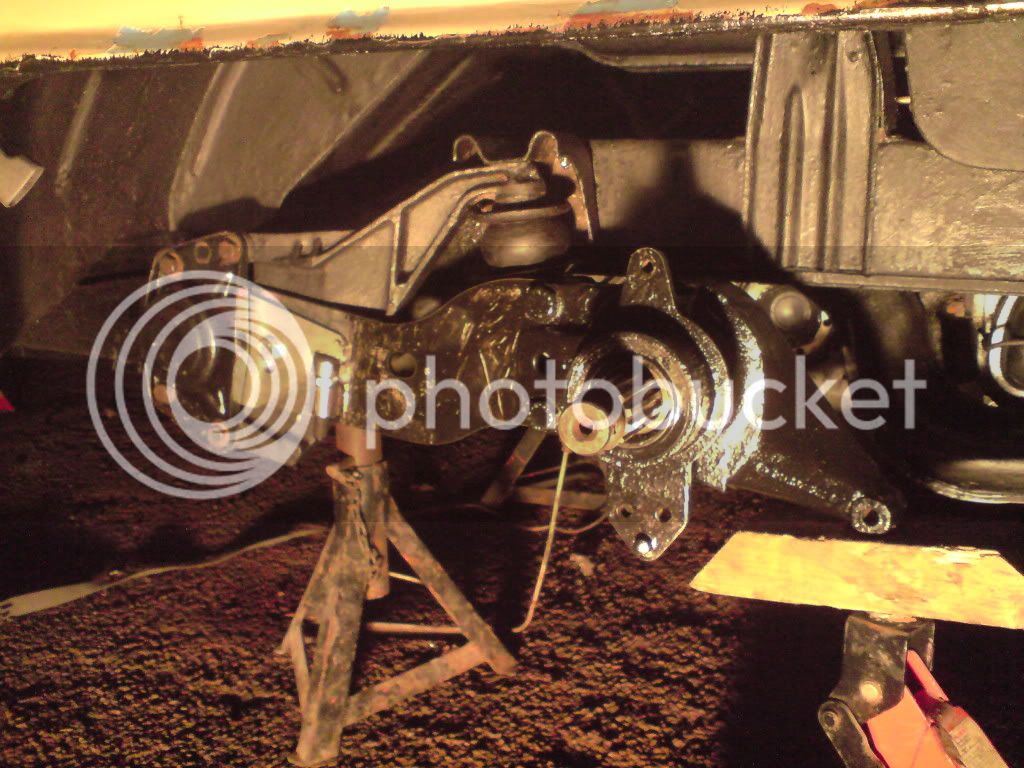
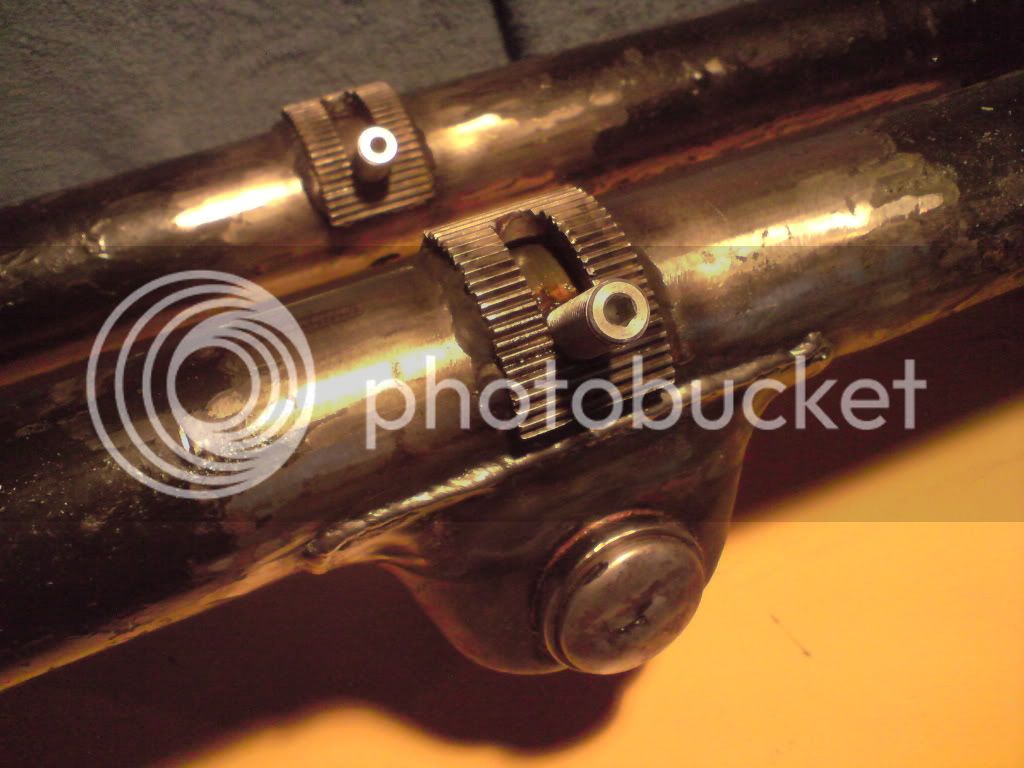
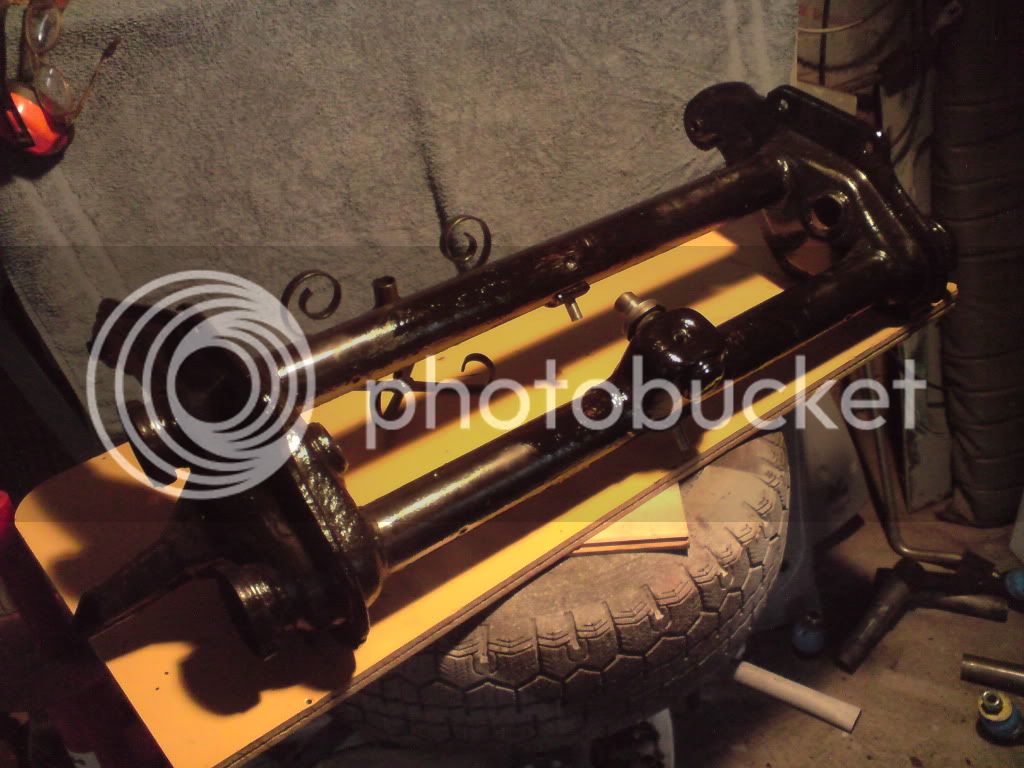
Time for another update.... 6 weeks on.
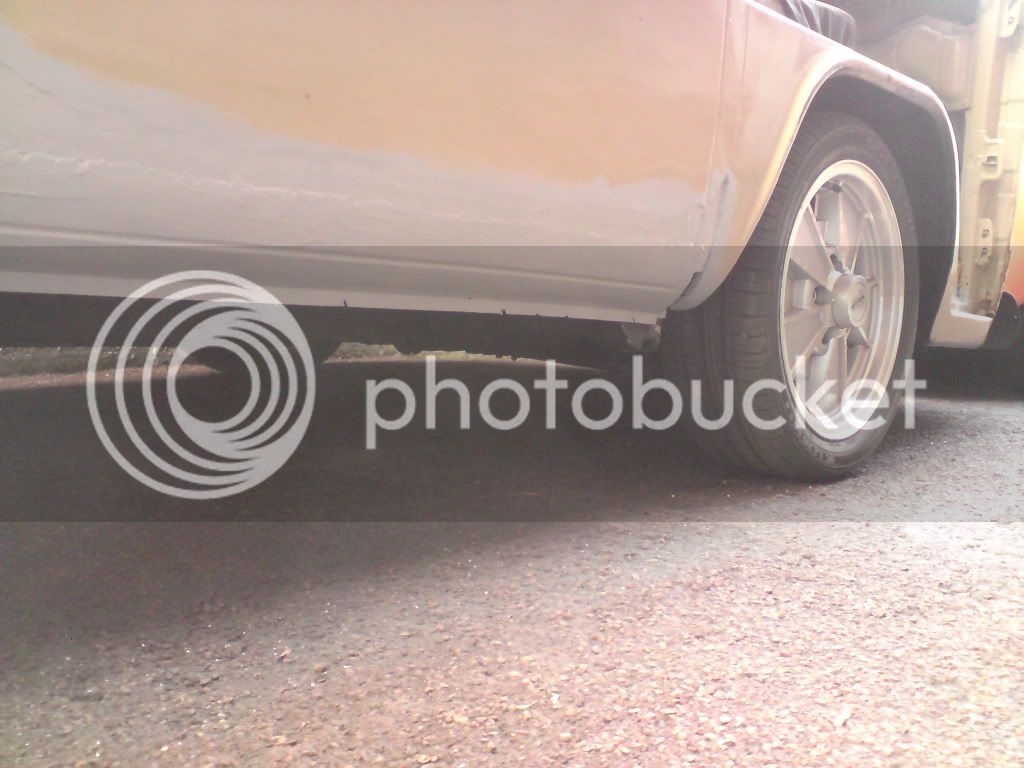
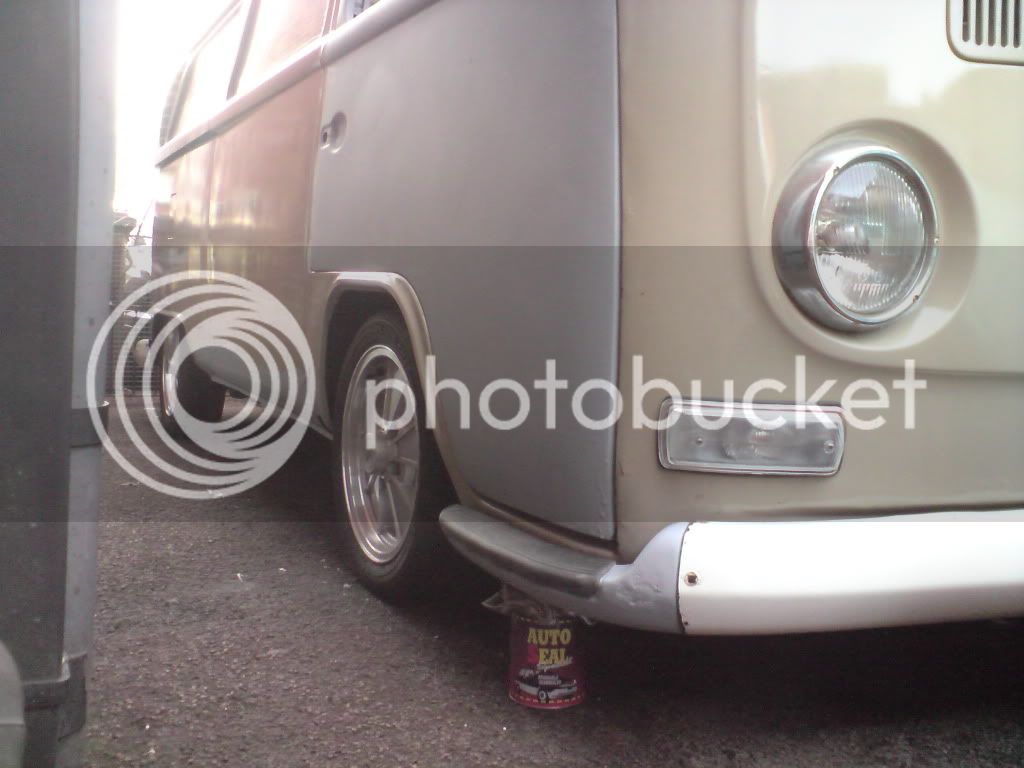
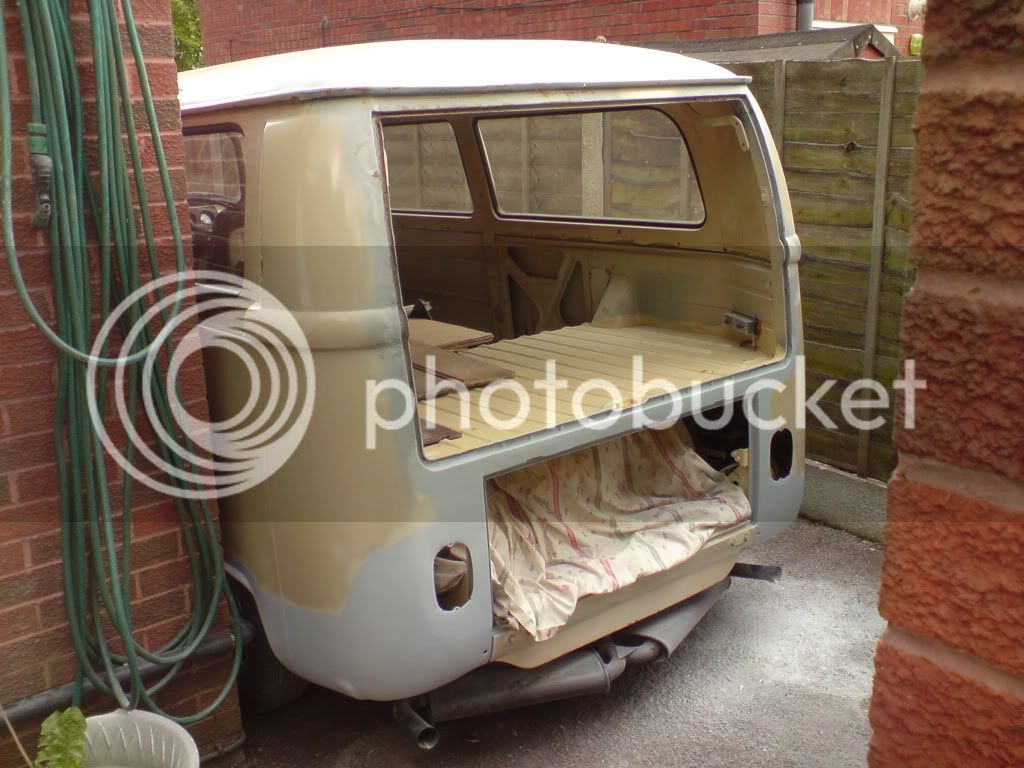
So, got the beam fitted and tweaked for height. Also been playing with the rear suspension height. It's not as low as I'd like, the adjusters are wound right in. I think I may of spaz'ed the torsion setting and not actually gone a click lower. I recon I'll live with it for now and reset later in the year.
Anywho, a few pics... 8)
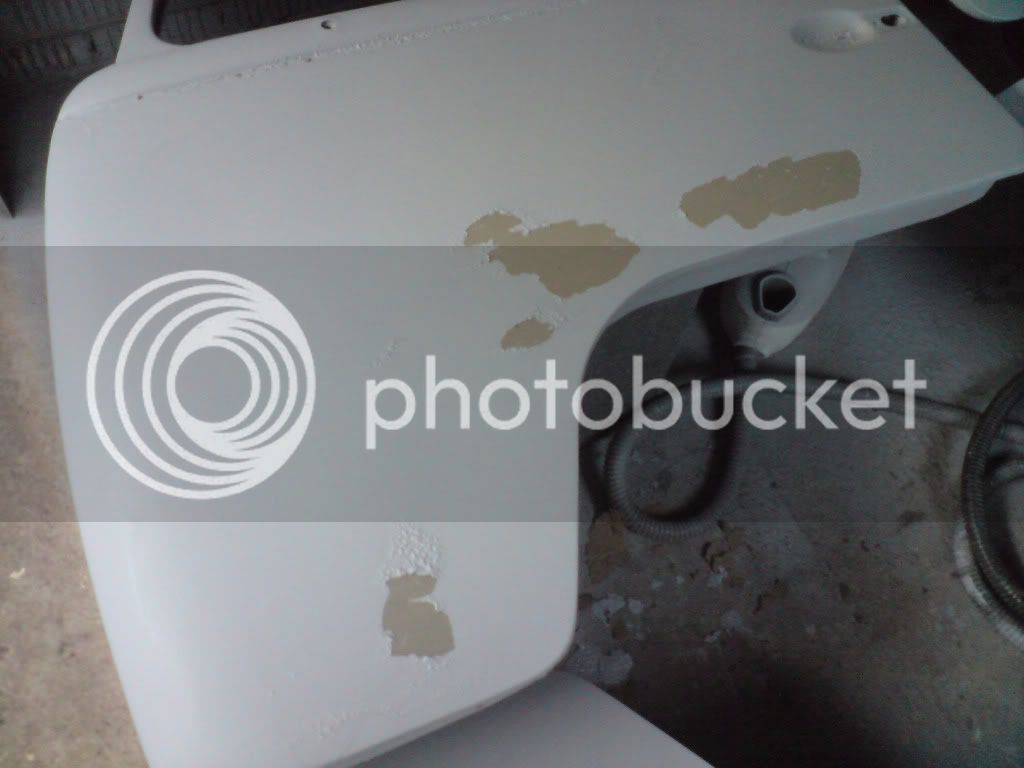
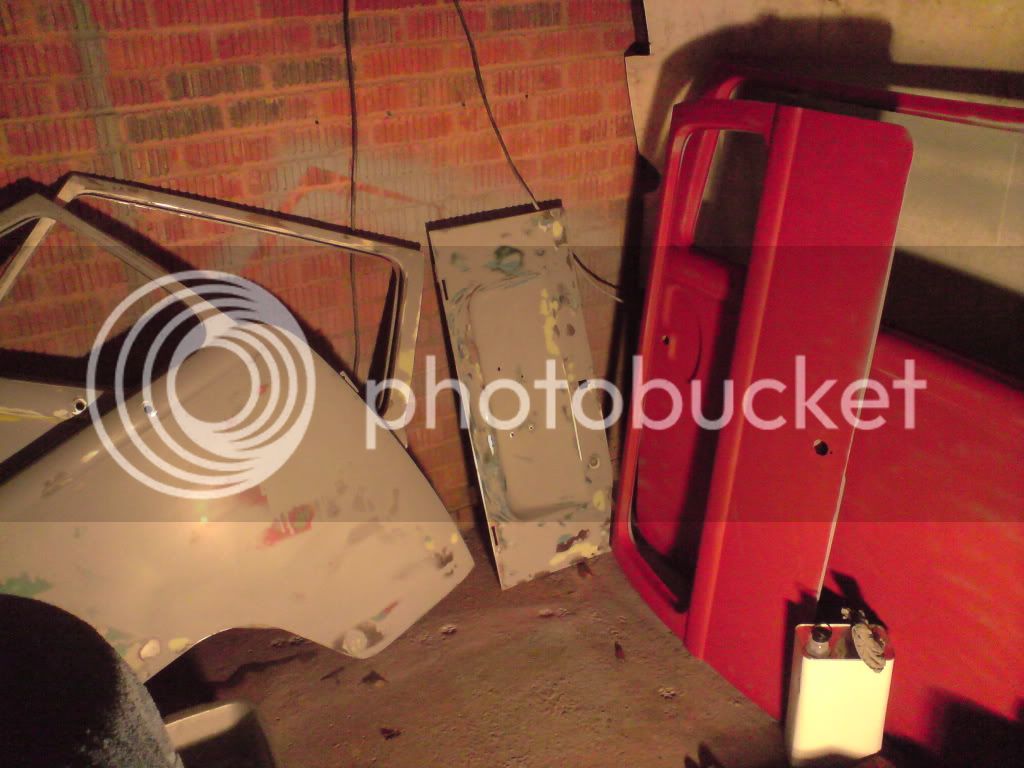
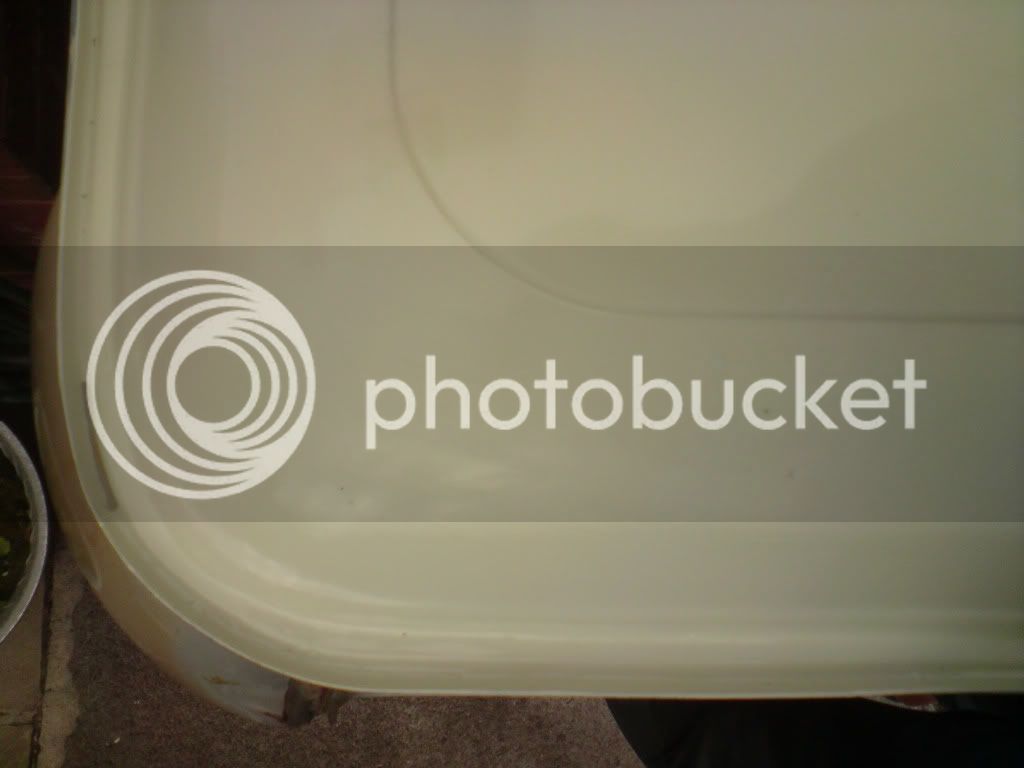
This door reacted to the celly primer. One of the previous coats caused this. Sanded back and brushed over now though.
Jim
So, got the beam fitted and tweaked for height. Also been playing with the rear suspension height. It's not as low as I'd like, the adjusters are wound right in. I think I may of spaz'ed the torsion setting and not actually gone a click lower. I recon I'll live with it for now and reset later in the year.
Anywho, a few pics... 8)
This door reacted to the celly primer. One of the previous coats caused this. Sanded back and brushed over now though.
Jim
the_troupster
Well-known member
A few more pics...
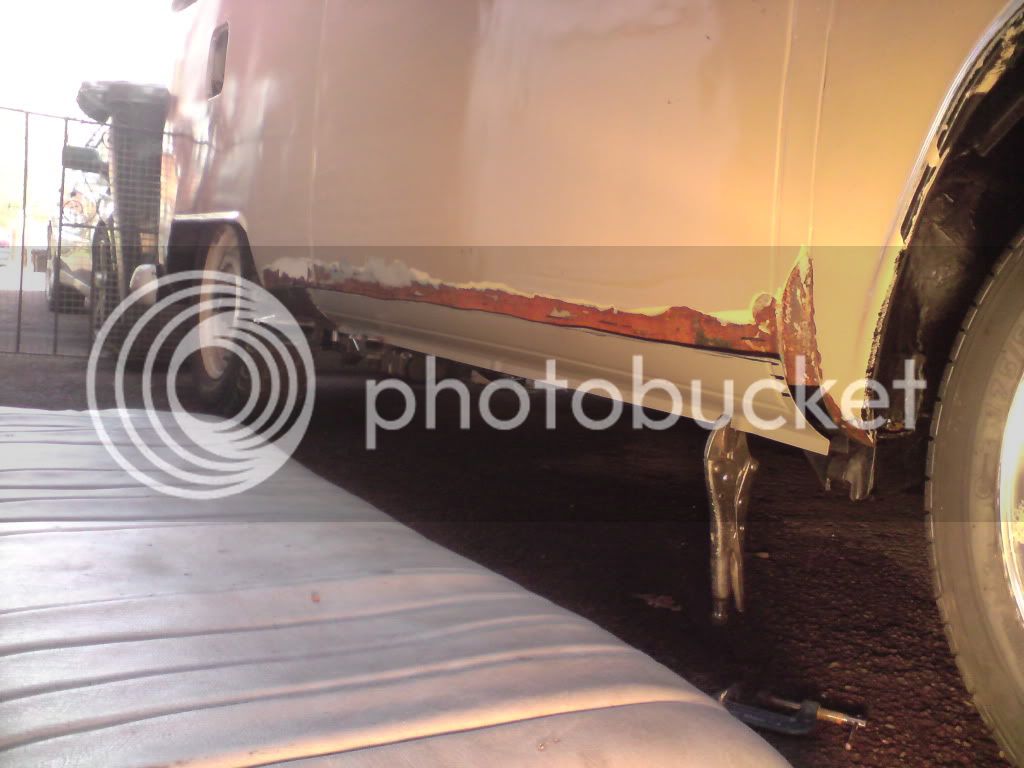
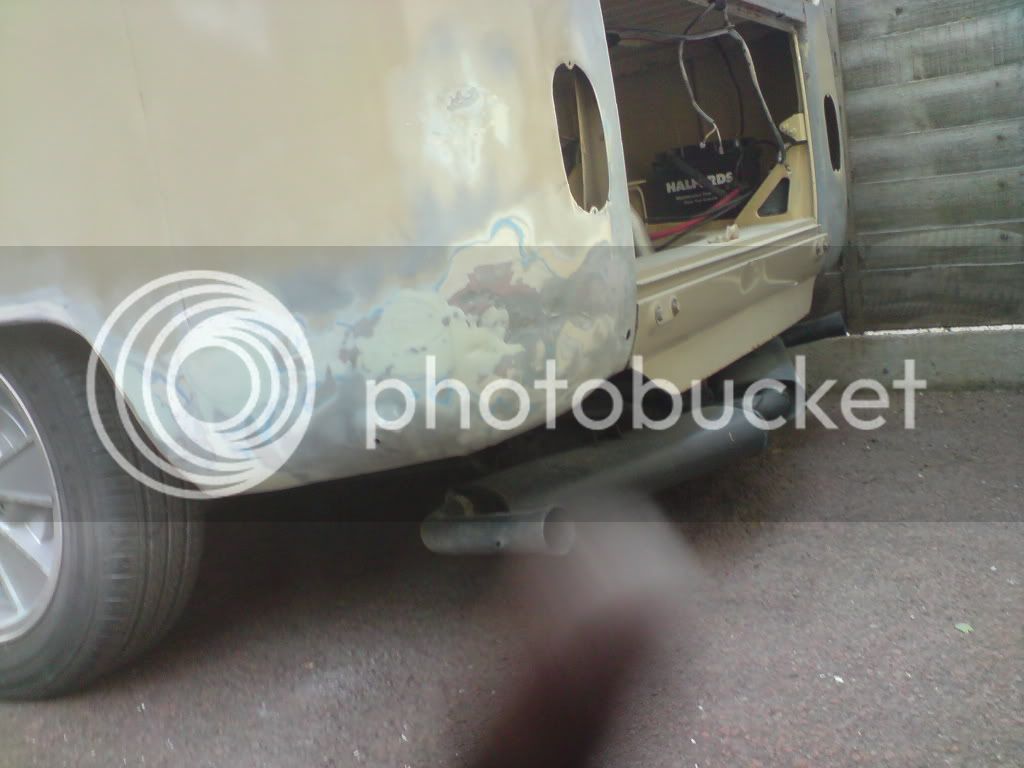
I wasn't happy with the previous owners blocksanding, so made a start smoothing things down, which then led to 'discovering' more rot in the b post...
More block sanding...
And some high build...
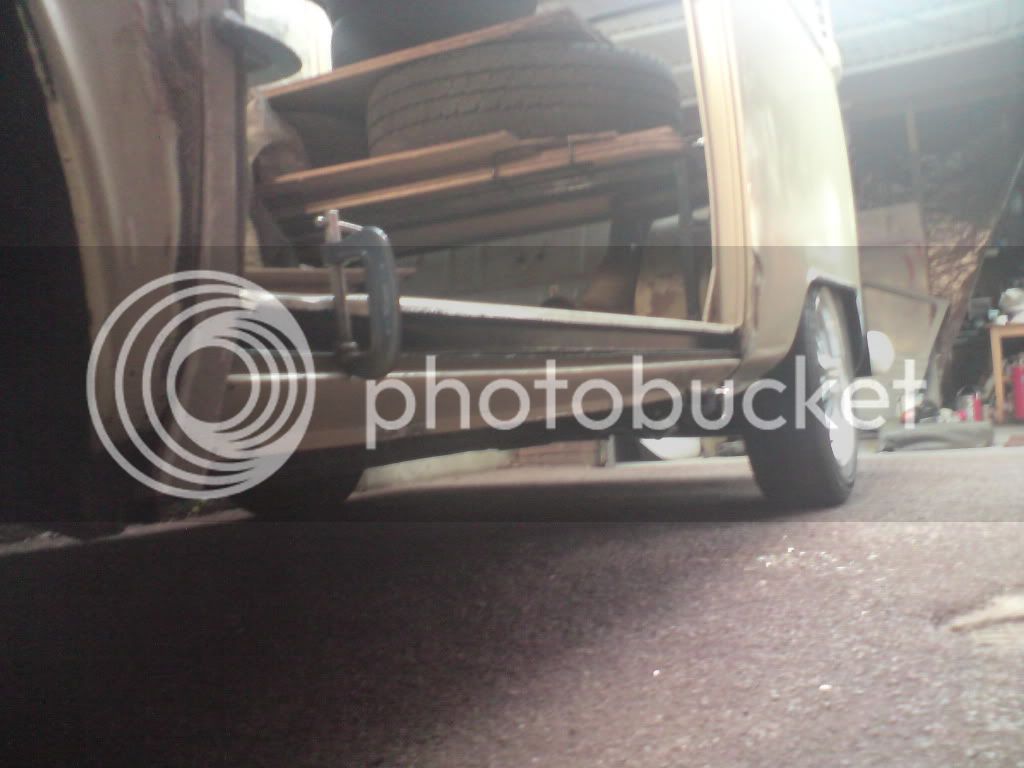
Some extensive rust repairs done to the cab steps. Trying for fit here. Need to add some captive bolts to the floor to hold it up. Also painted the arch and trail fitting the door. Piss poor panel gap there at the bottom. But I'll have to live with that.
Here's the dash so far... Hoping to get an ipod dock mounted in the ashtray for the headunit.
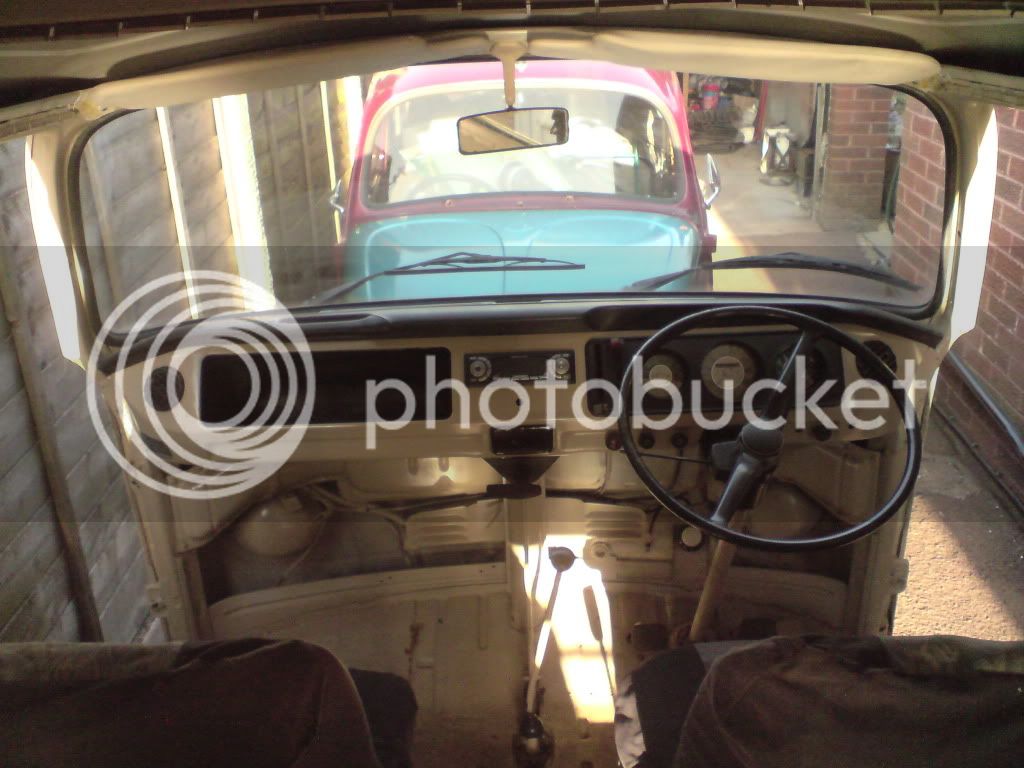
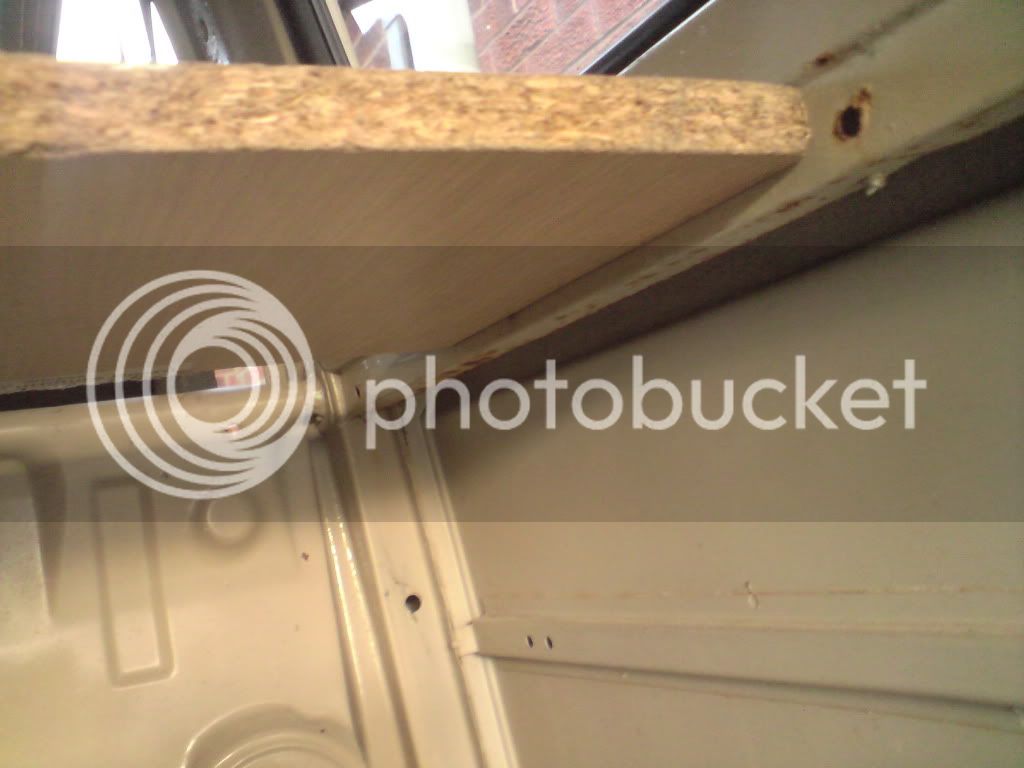
Not long until making a start on the interior. I need to engineer a way of mounting 15mm Conti into the recess beneath the windows. This seems the most logical height/posistion for the work tops...
That's all for now 8)
Jim
I wasn't happy with the previous owners blocksanding, so made a start smoothing things down, which then led to 'discovering' more rot in the b post...
More block sanding...
And some high build...
Some extensive rust repairs done to the cab steps. Trying for fit here. Need to add some captive bolts to the floor to hold it up. Also painted the arch and trail fitting the door. Piss poor panel gap there at the bottom. But I'll have to live with that.
Here's the dash so far... Hoping to get an ipod dock mounted in the ashtray for the headunit.
Not long until making a start on the interior. I need to engineer a way of mounting 15mm Conti into the recess beneath the windows. This seems the most logical height/posistion for the work tops...
That's all for now 8)
Jim
Darrencambs
Well-known member
- Joined
- Nov 14, 2010
- Messages
- 76
- Reaction score
- 0
Great work there Jim.
Looks like you've definitely broken the back of it now. Must be fantastic to know you're nearly done and soon be on the road.
Looks like you've definitely broken the back of it now. Must be fantastic to know you're nearly done and soon be on the road.
snow_pikey
Well-known member
Wow man, you have given your bus alota love!!
Nice to see projects like this done on the drive at home and another bus saved!
I look forward to seeing whats up next
Nice to see projects like this done on the drive at home and another bus saved!
I look forward to seeing whats up next
the_troupster
Well-known member
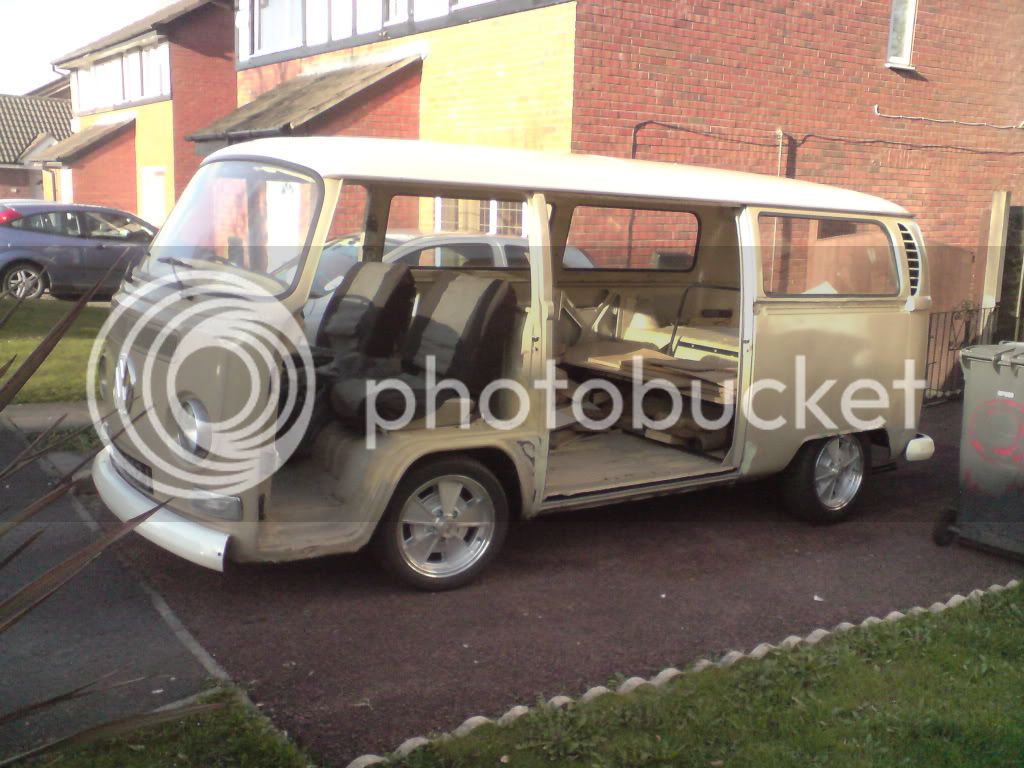
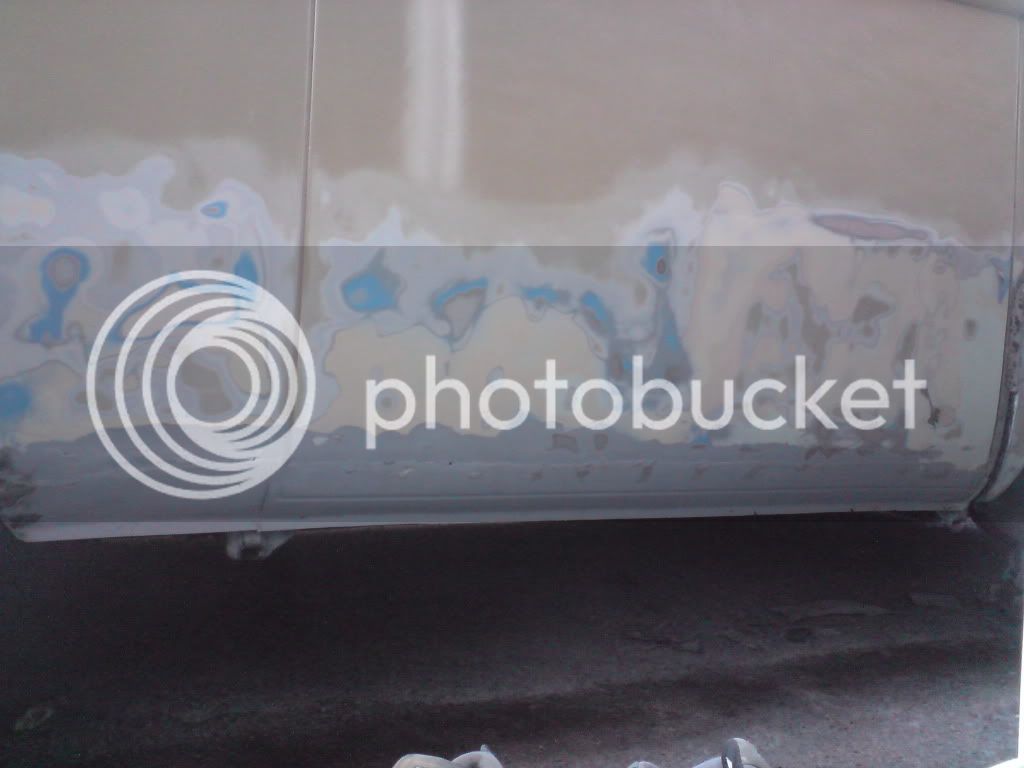
So... continuing with the filler and prep for paint. This will be no show winner, but trying to use the minimal amout of filler as possible...
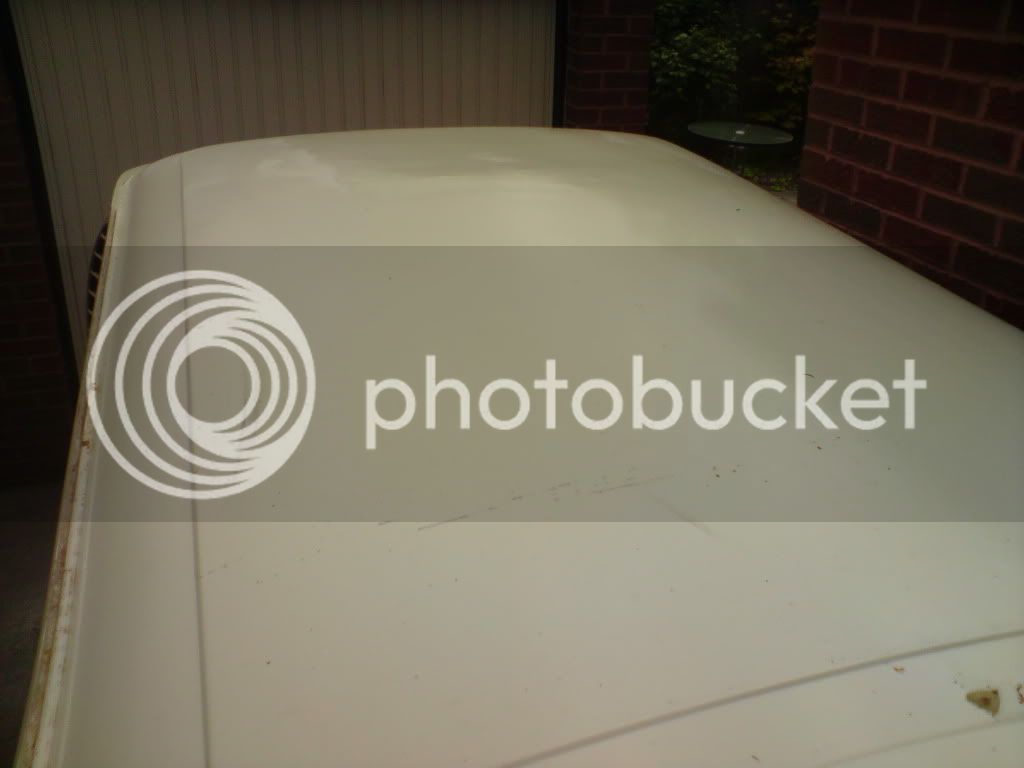
Finally got some colour on the roof. Looking closely, the colour match has a slight amount of green in it, but it's good enough for me...

Still working on the drivers side rear and above the engine hatch...
More updates soon! 8)
Jim
Finally got some colour on the roof. Looking closely, the colour match has a slight amount of green in it, but it's good enough for me...
Still working on the drivers side rear and above the engine hatch...
More updates soon! 8)
Jim
Similar threads
- Replies
- 49
- Views
- 6K
- Replies
- 8
- Views
- 3K