

faux
Well-known member
Nice one!
Are you on target for next weekend?
Are you on target for next weekend?
")


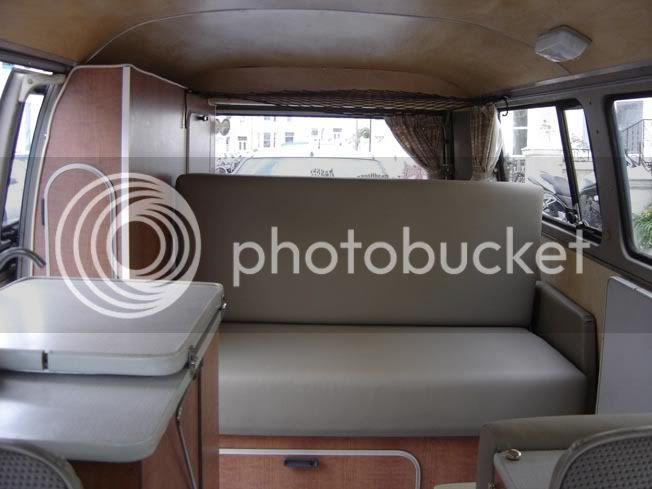
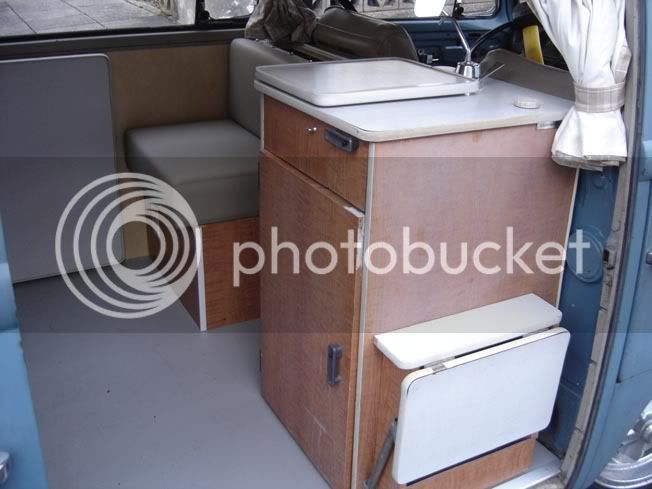 Made the van so much more useable,too.
 EgoTrippin' said:Its next on the list Clem
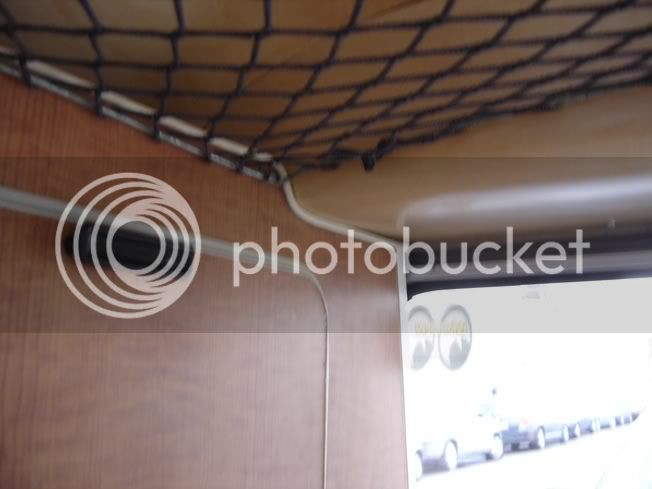
I noticed I was missing that as part of my westy detail mission at the show. I should also do the ply strip where the spare wheel was too.
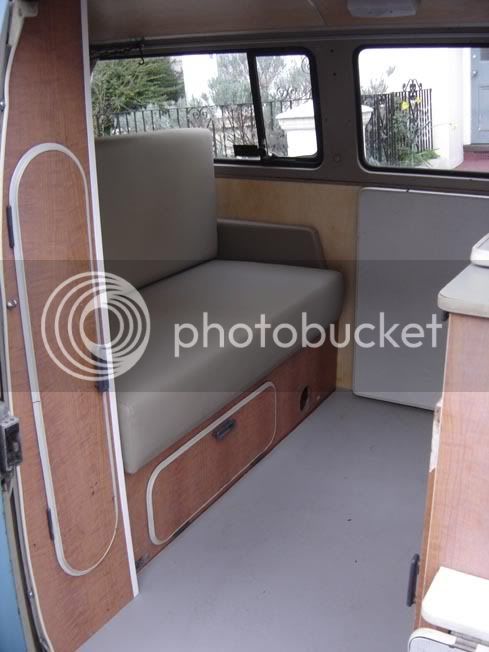
ddffrost said:I do like the visability of a bus though!
Enter your email address to join:


