GLADYS: GOING "BACK TO BEIGE' 68 RESTO.

Early Bay Forum

Help Support Early Bay Forum:

This site may earn a commission from merchant affiliate links, including eBay, Amazon, and others.

Mickey Sam

Well-known member
Joined
Aug 1, 2009
Messages
595
Reaction score
0
Location
Epsom, Surrey.
Hi Guys, after 'lurking' here for far too long I have finally managed to 'post'. I've taken a lot of inspiration from you guys on this forum so I thought it's about time I learnt how to use a computer properly and post some photos as I know you lot like a picture or two.

My knowledge of motors is practically sod all but as I have always wanted an old bus but couldn't afford anthing decent, the only thing to do was buy a 'rust bucket' and have a crack at this 'resto' malarky.

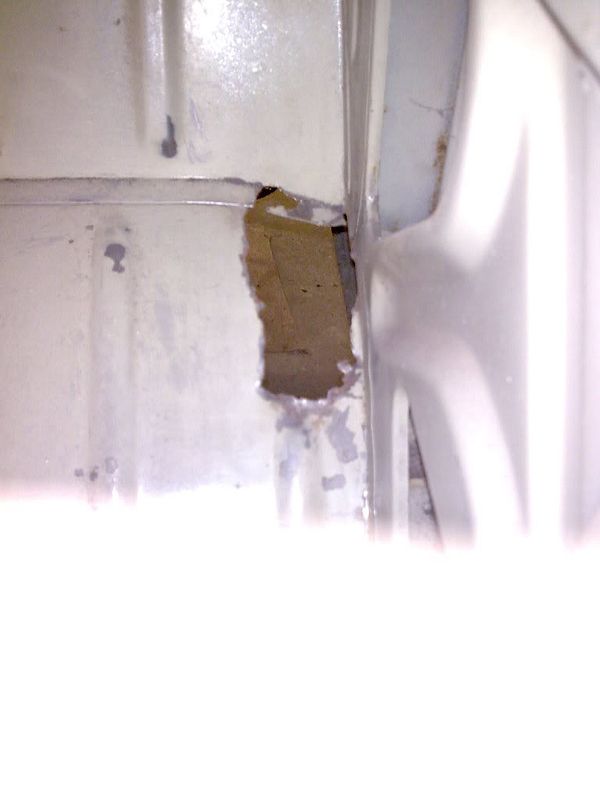
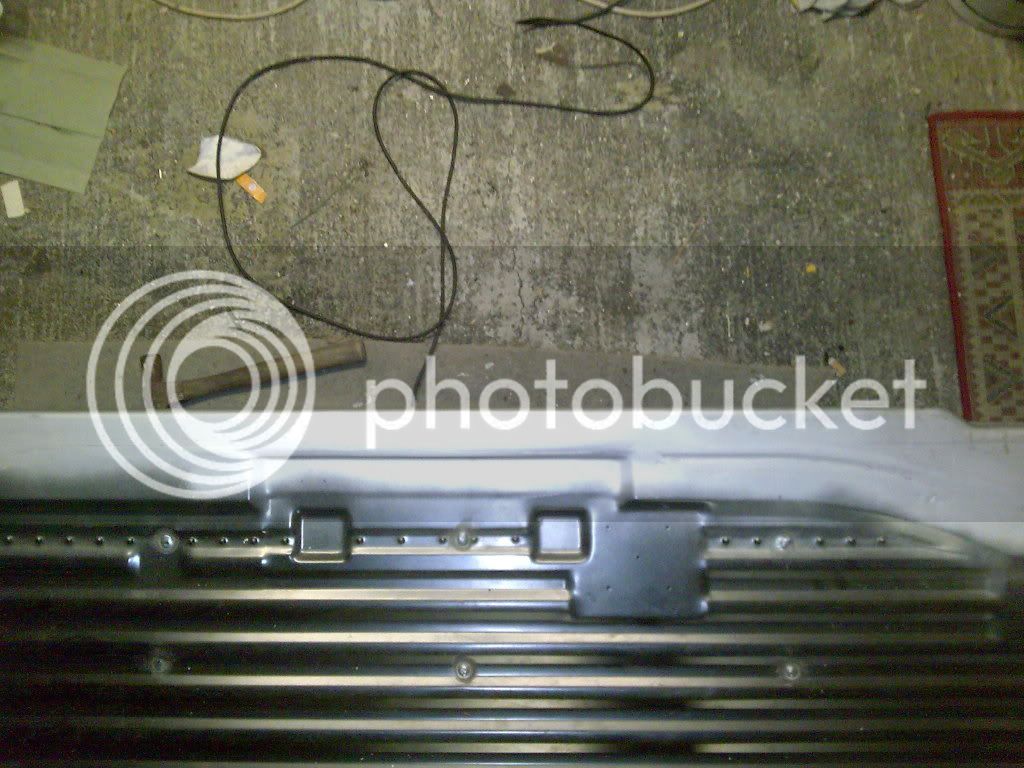
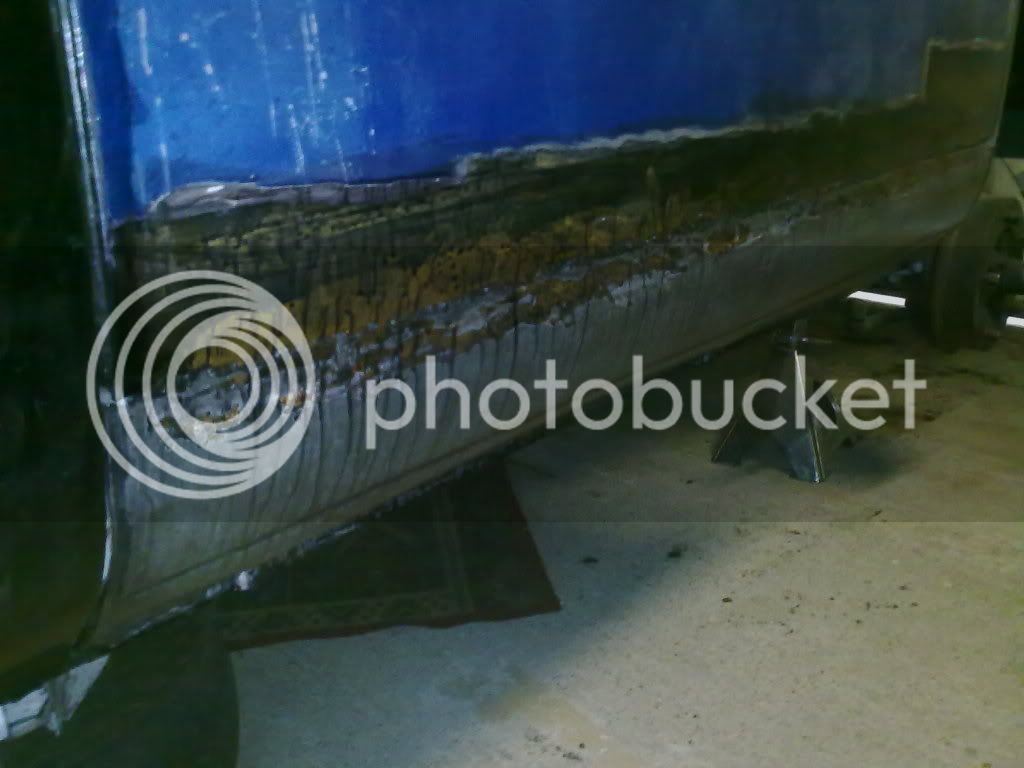
Anyway, here she is, and, as you can probably see, there's more than a bit of rust in all the usual places ( hidden underneath the rattle can blue and Dulux household gloss white !) and riding way too high. Not much chance of getting any patina here so I guess it's gonna have to be 'shiney'.

4.jpg


3.jpg


7.jpg


6.jpg


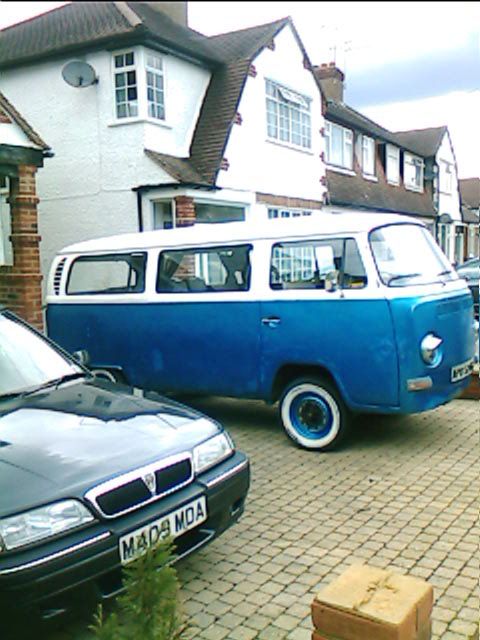
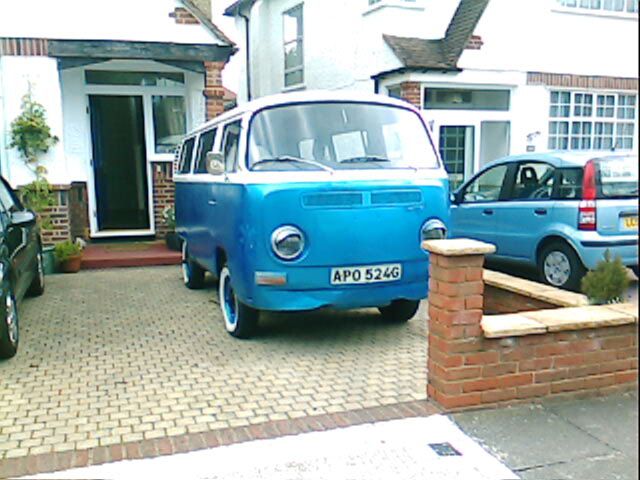
Believe me, the pictures do it justice !!

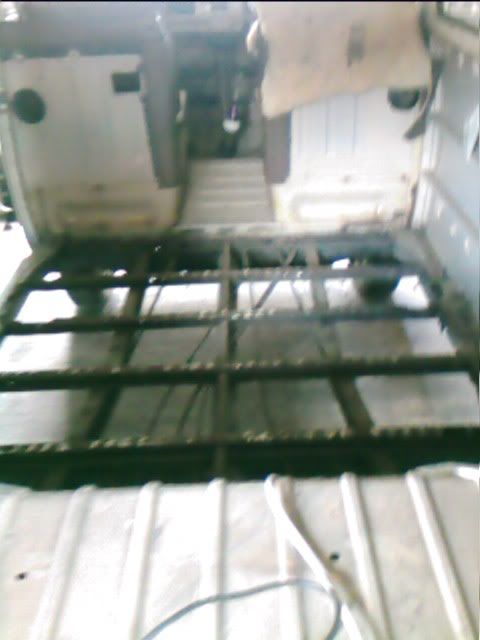
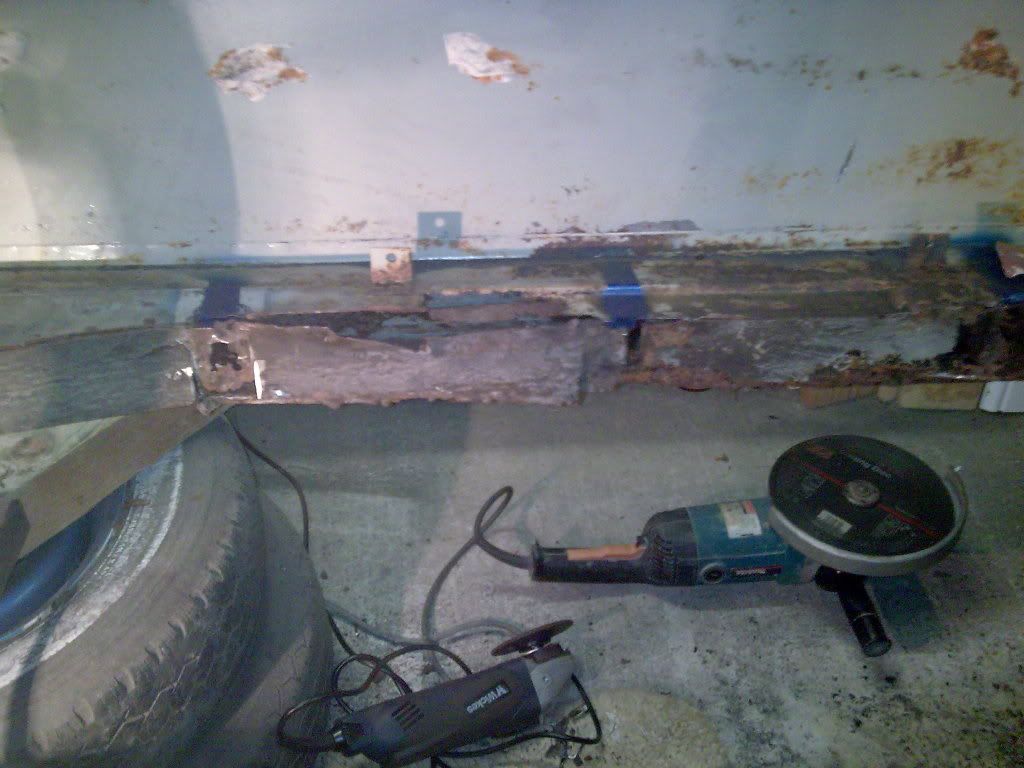
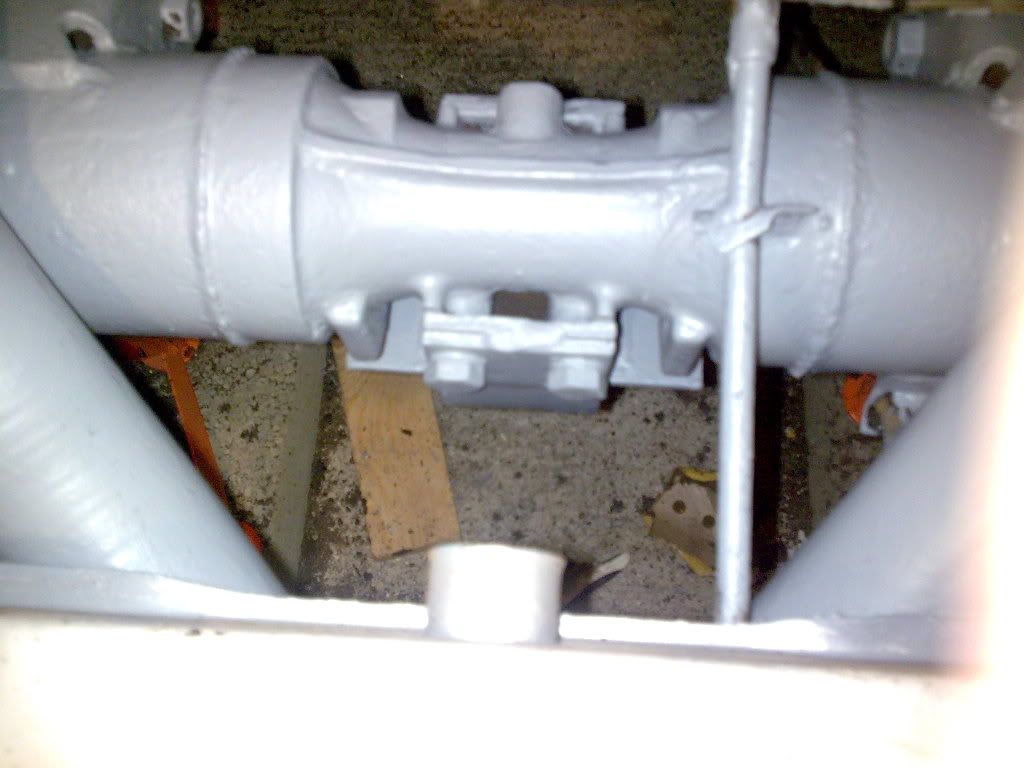
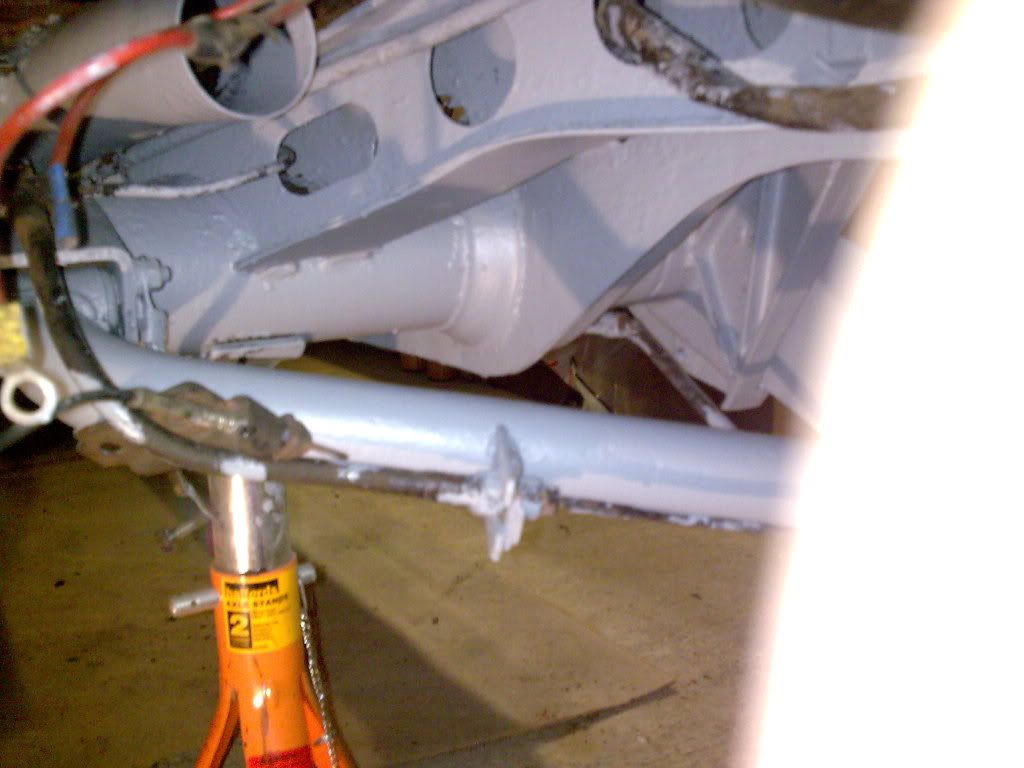
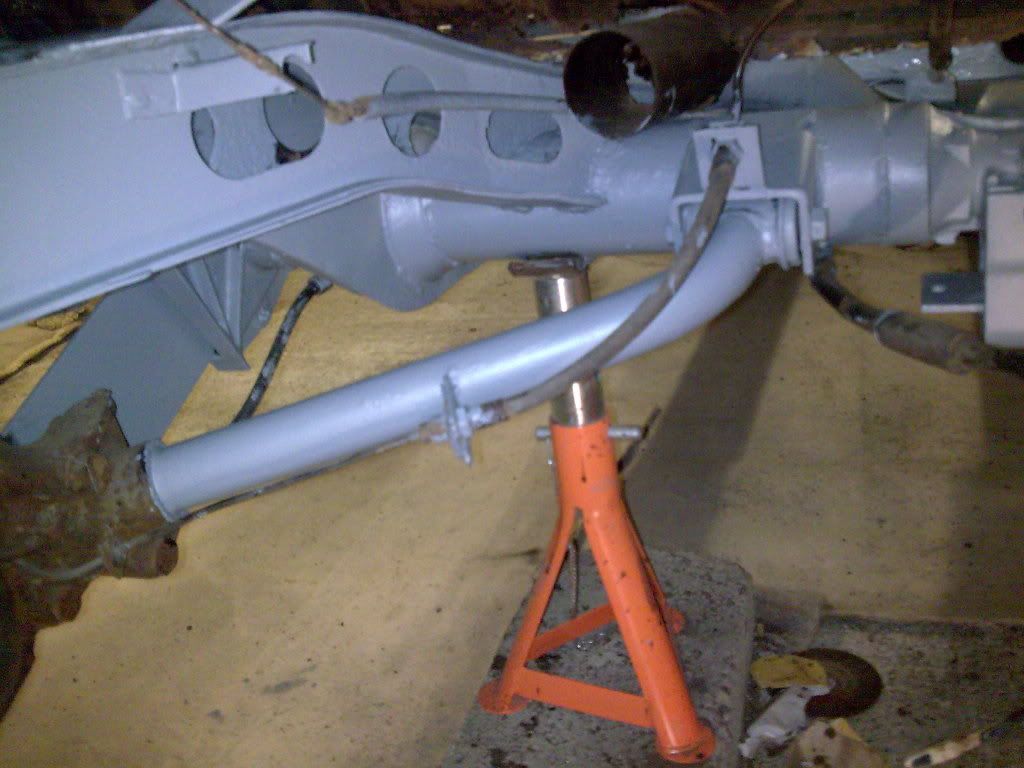
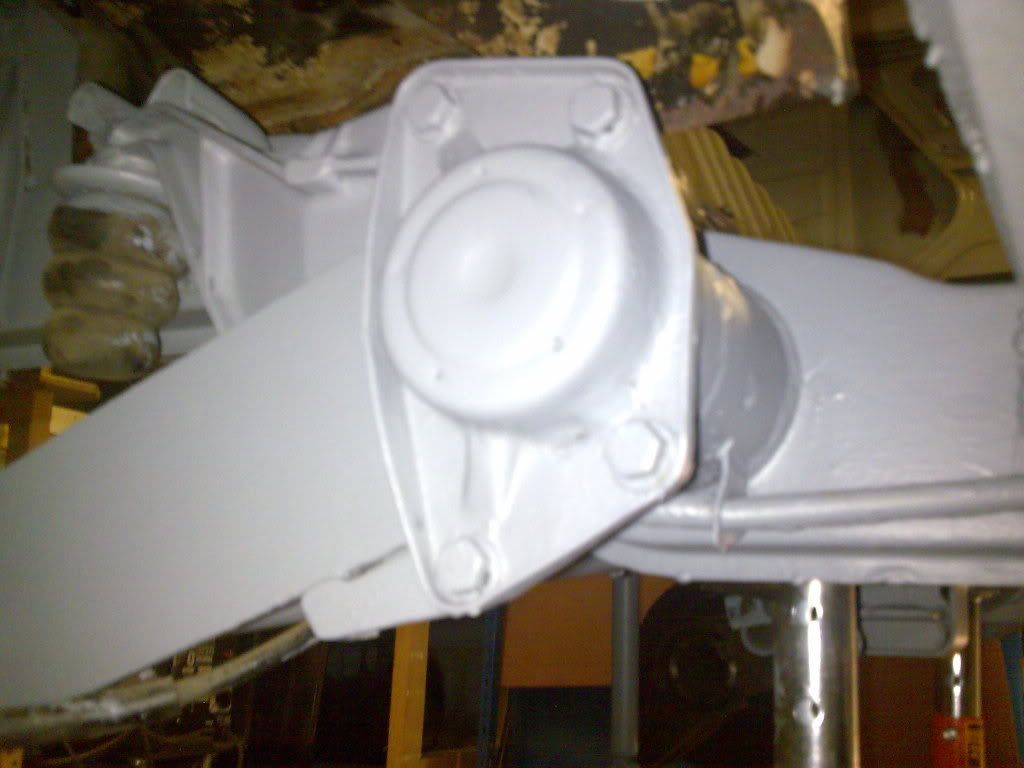
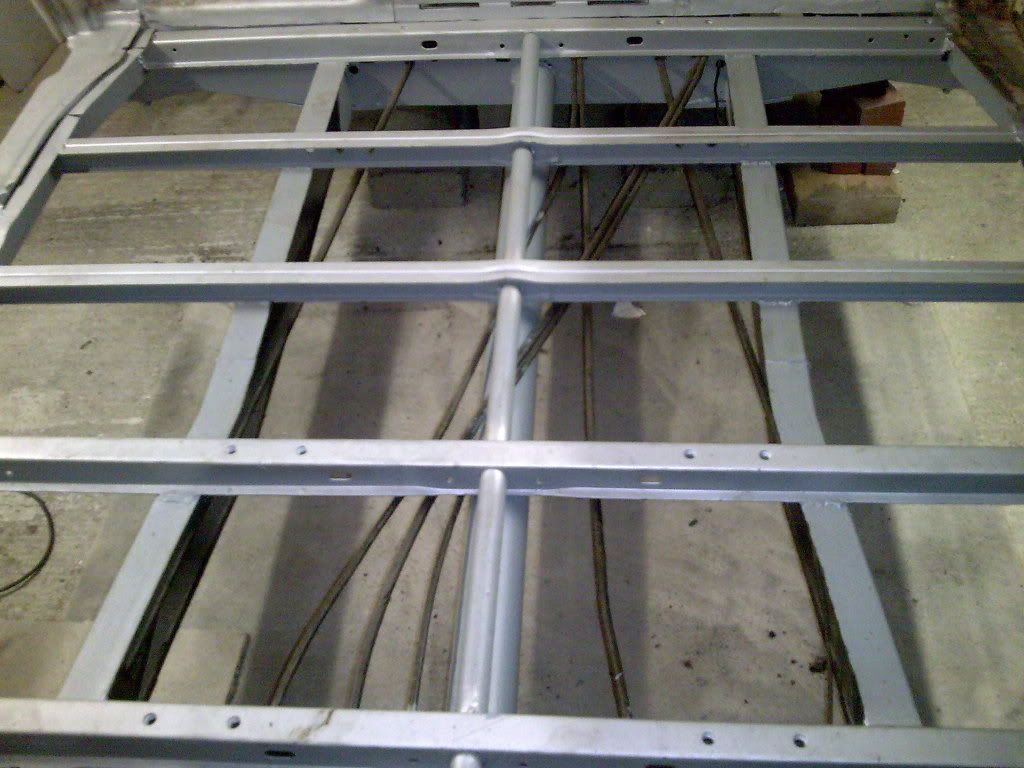
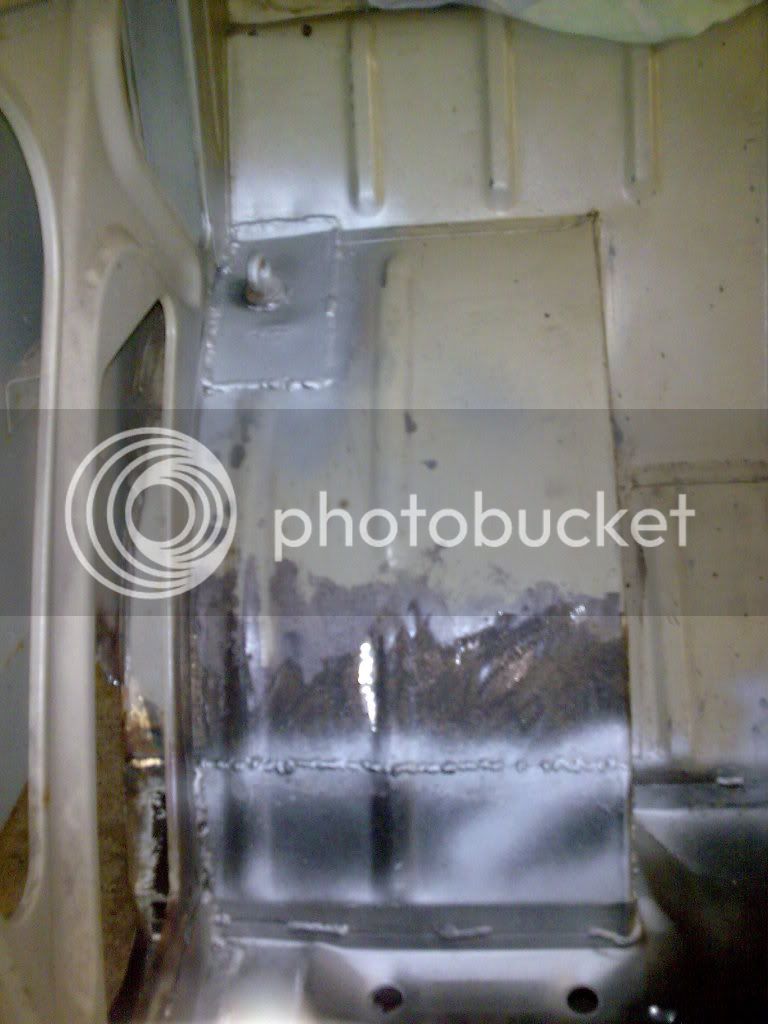
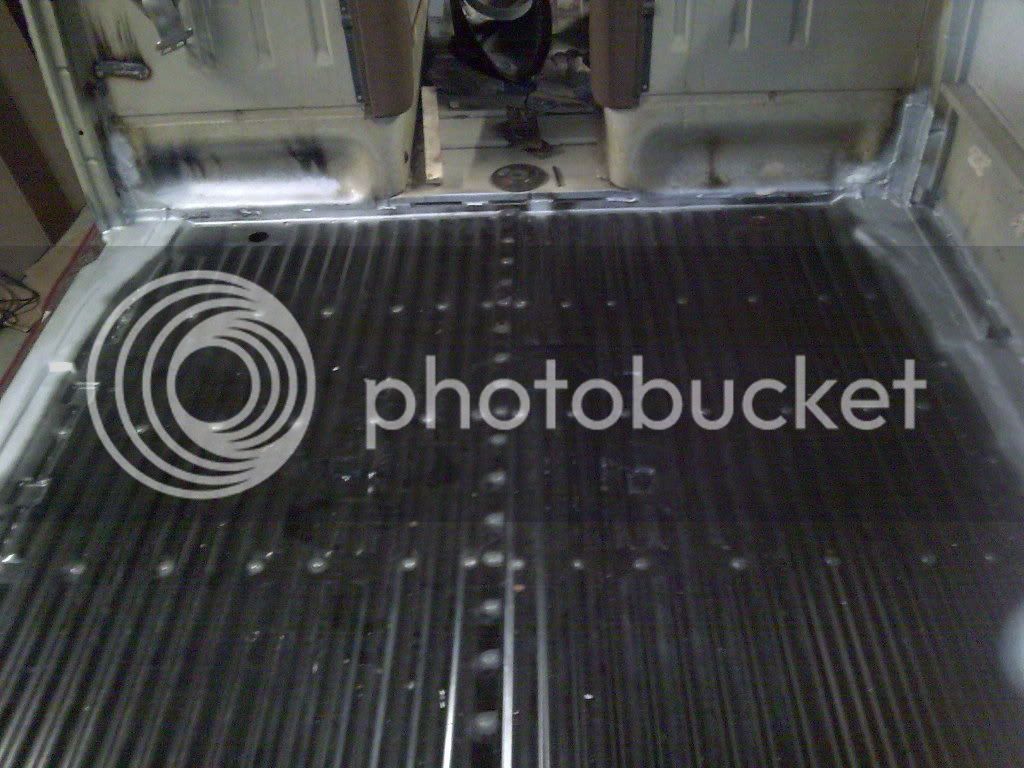
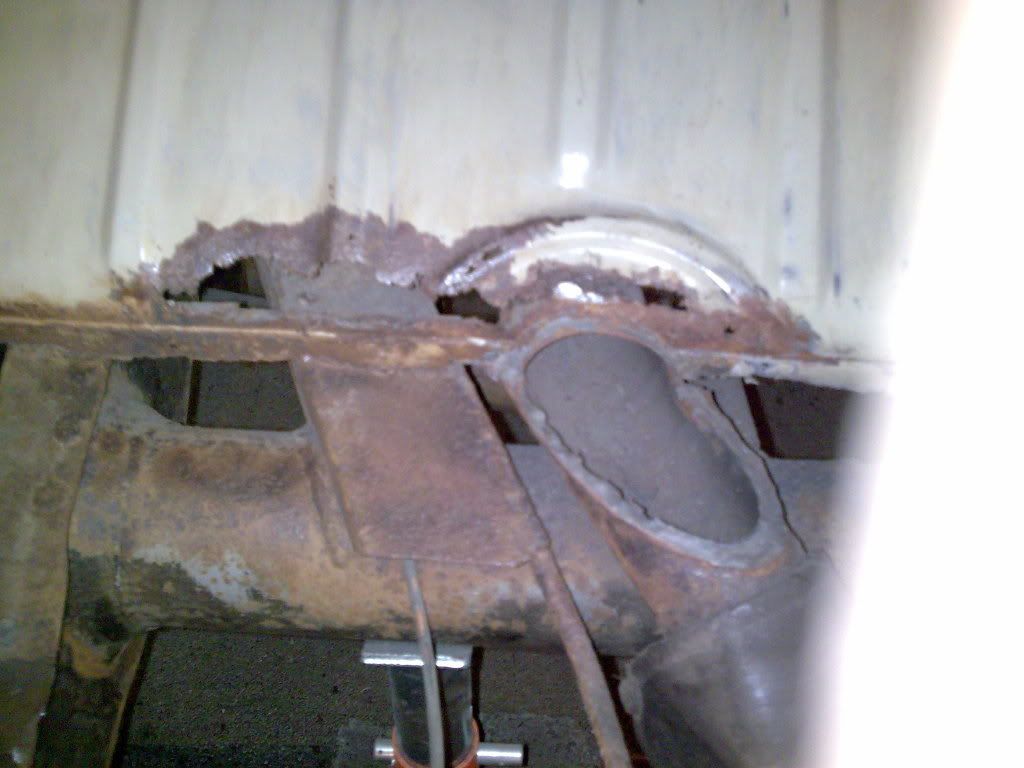
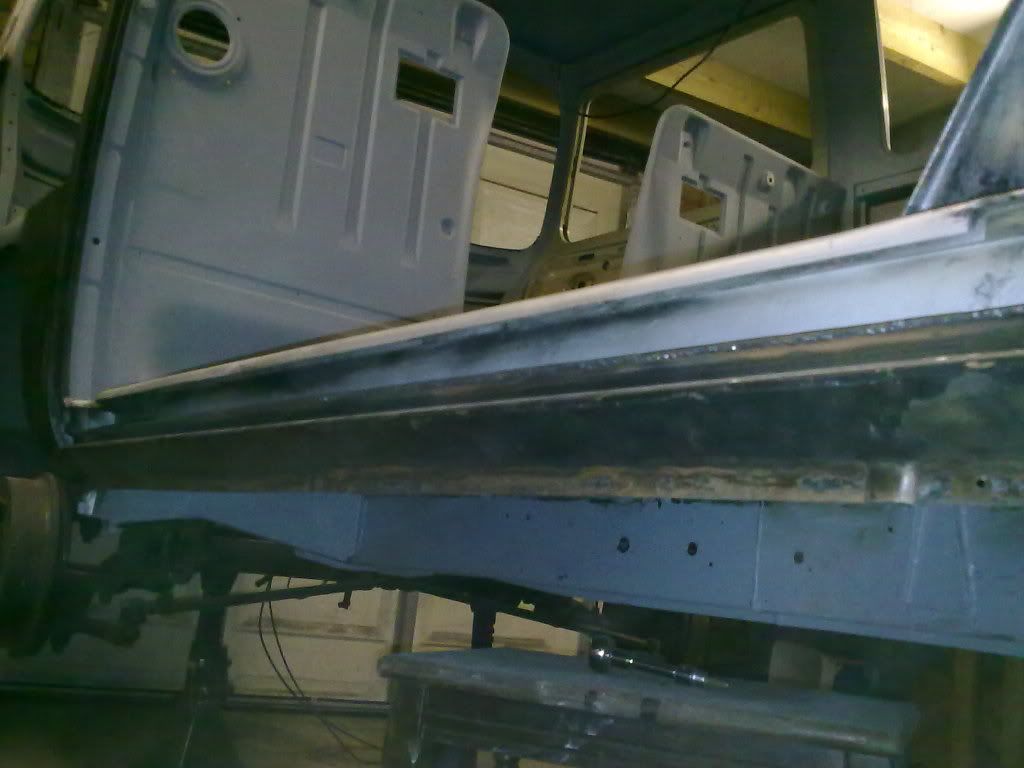
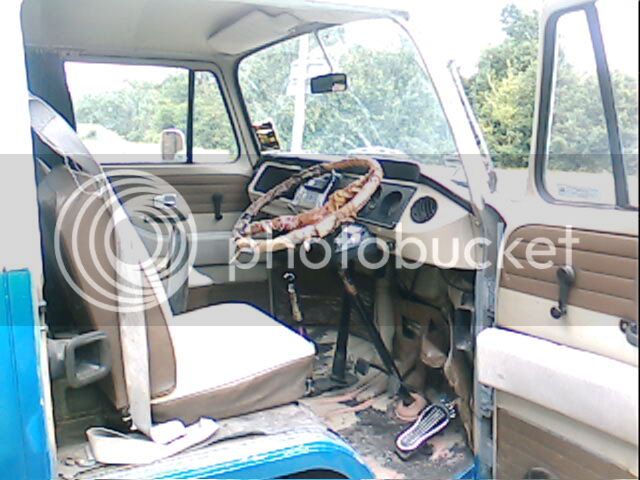
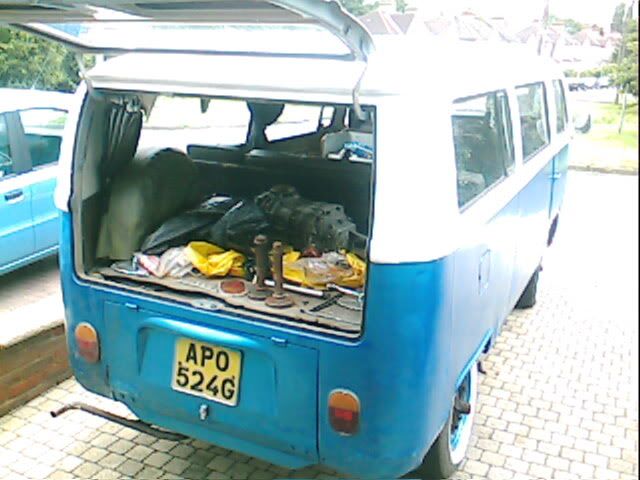
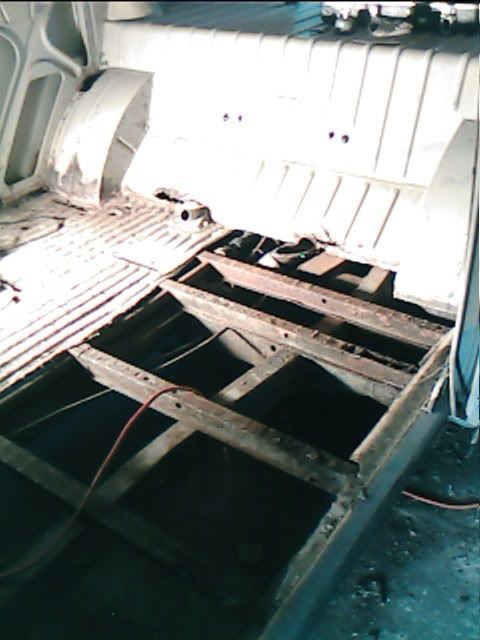
Next move was to make the garage bigger and have a good look at what I've got. Started the strip down and clean up and after countless nights with a drill and wire brush to remove all the muck and bullets caked in underseal I had a better idea what needed sorting.

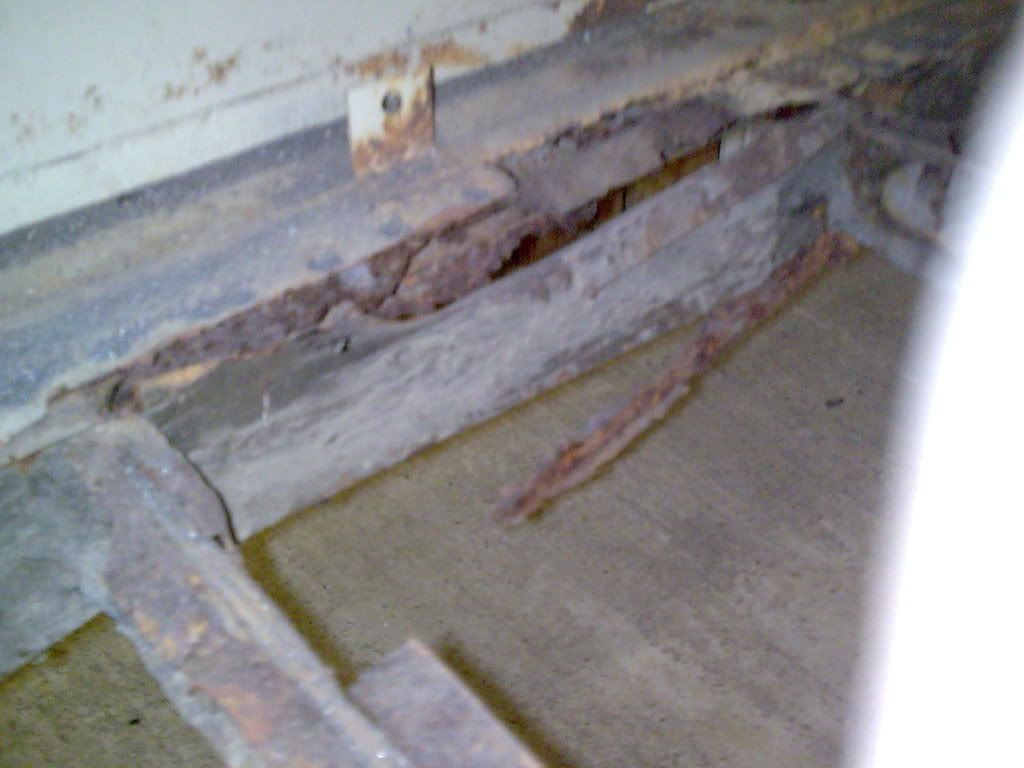
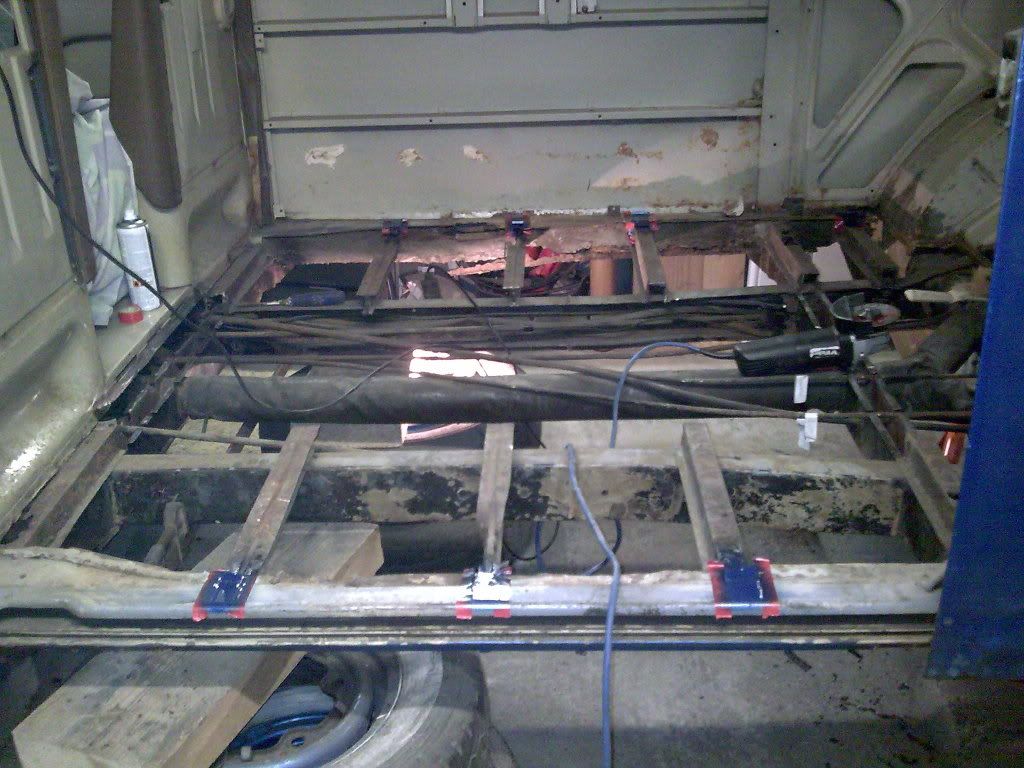
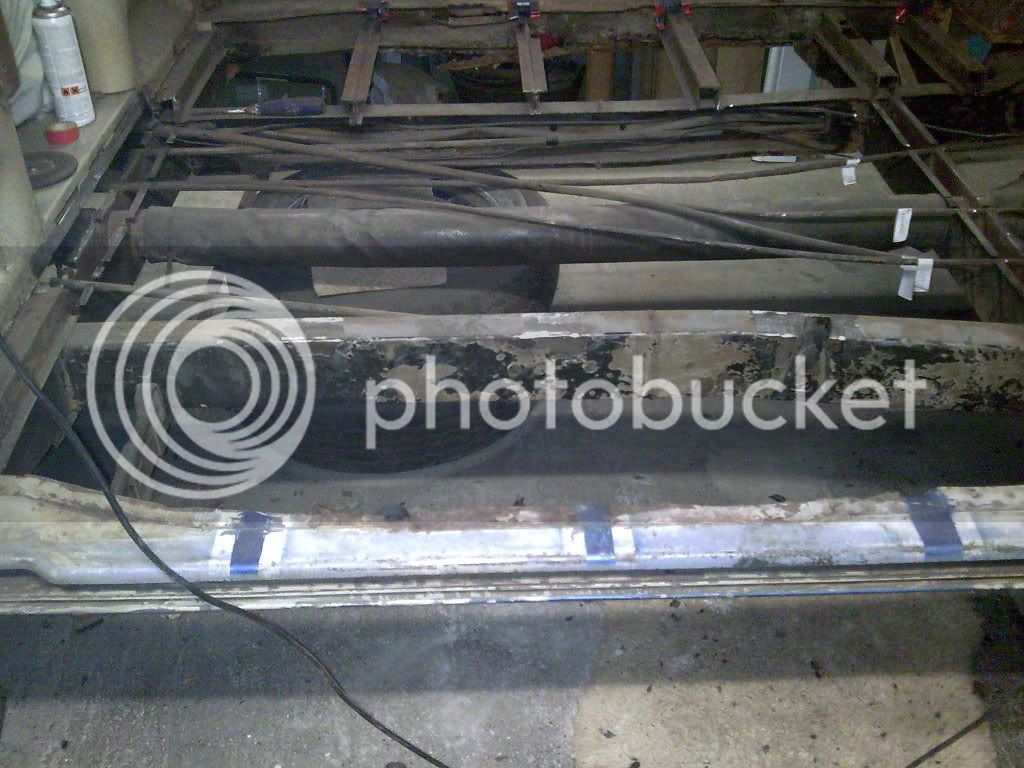
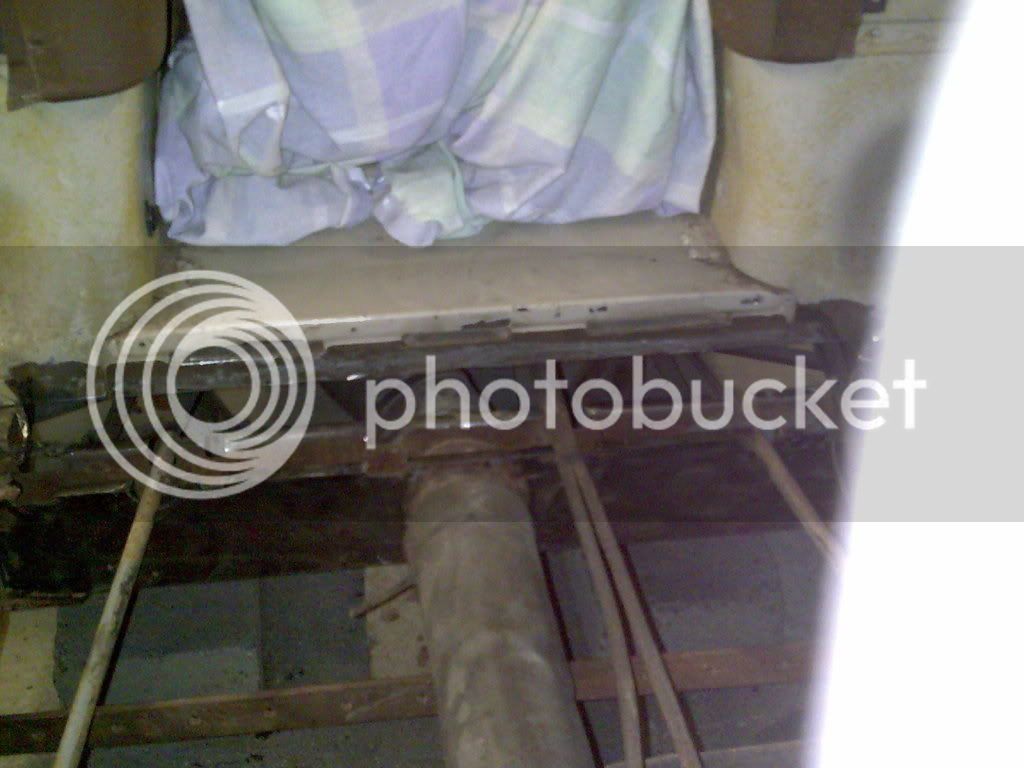
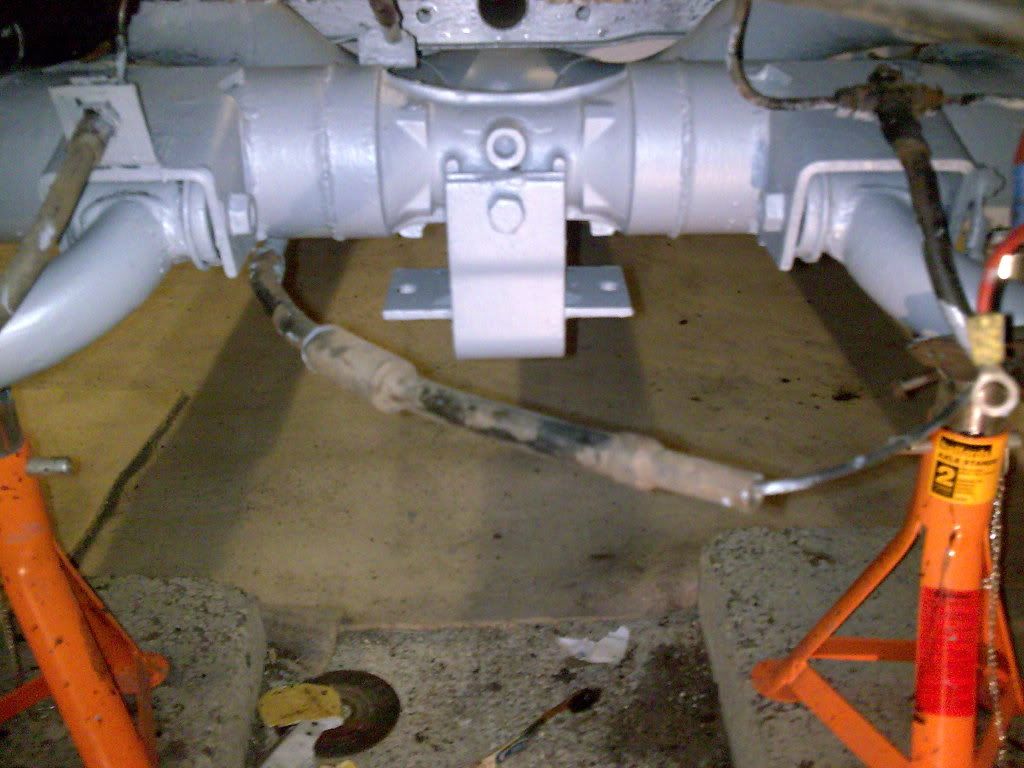
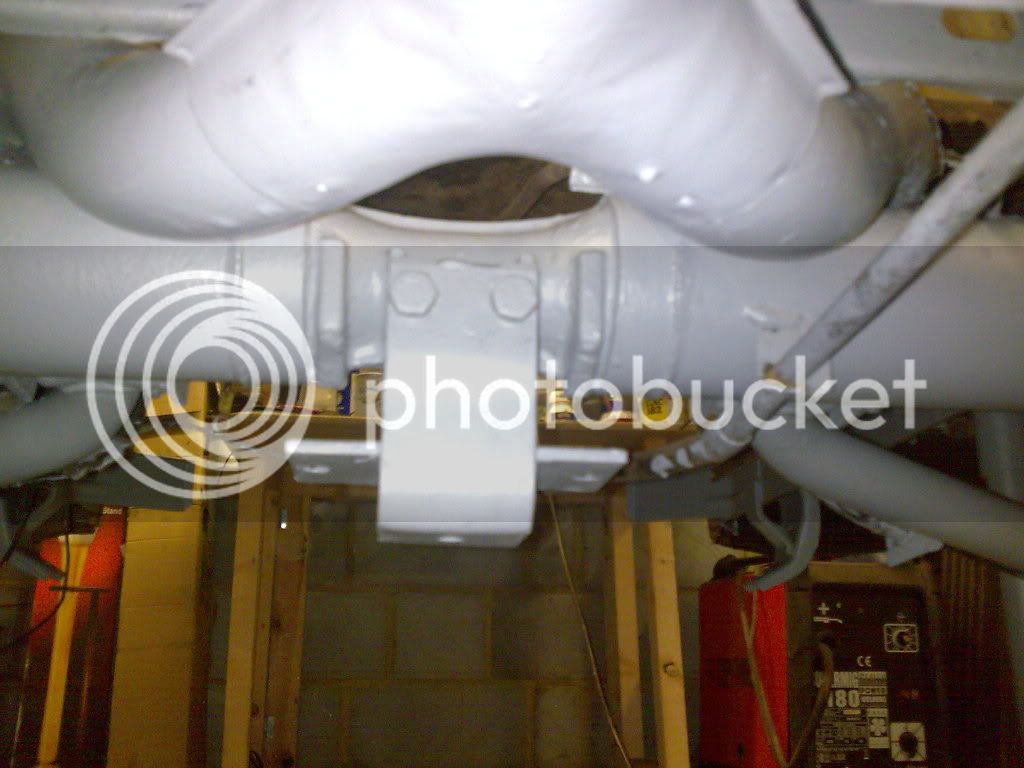
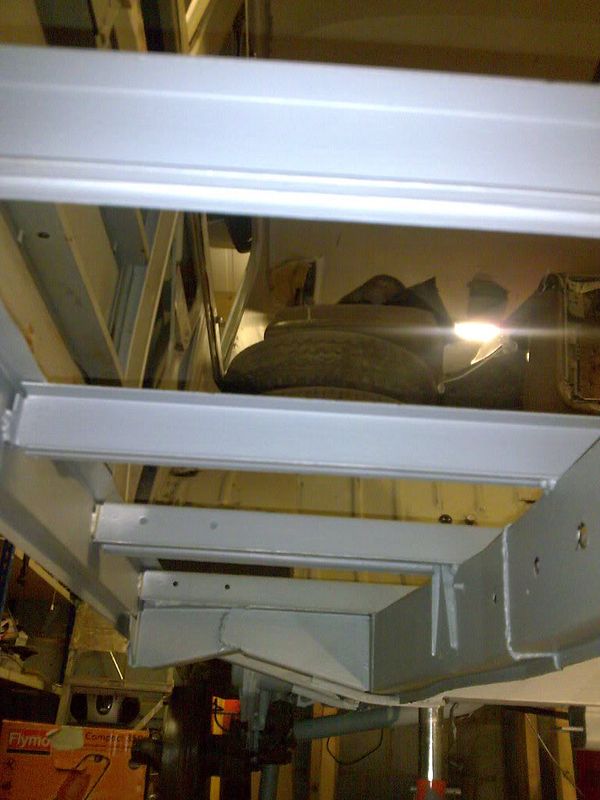
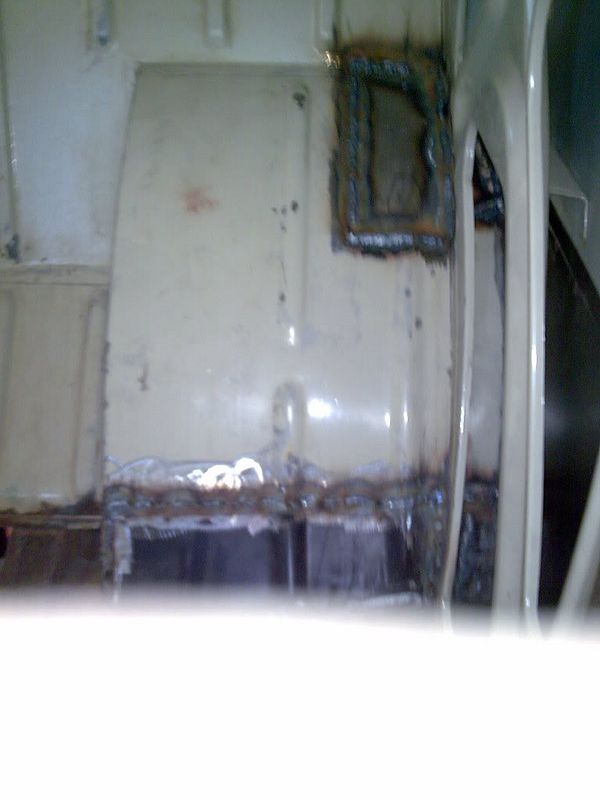
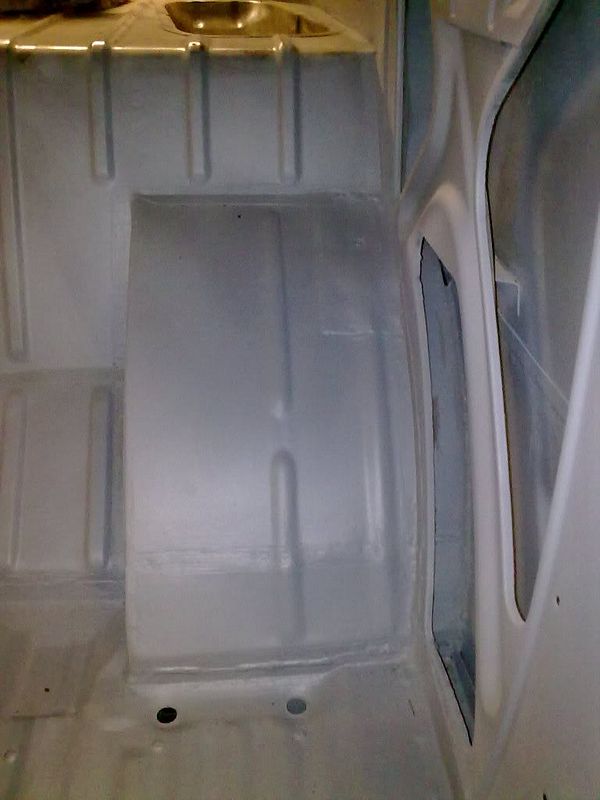
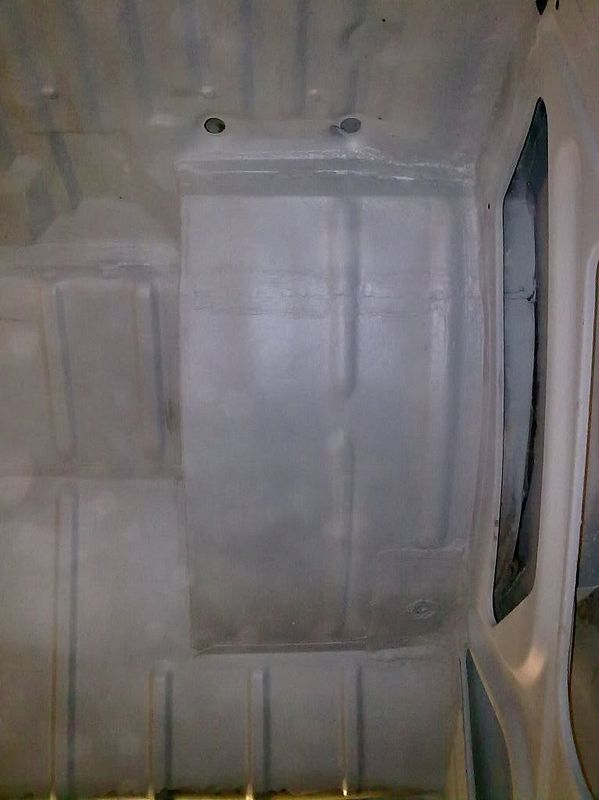
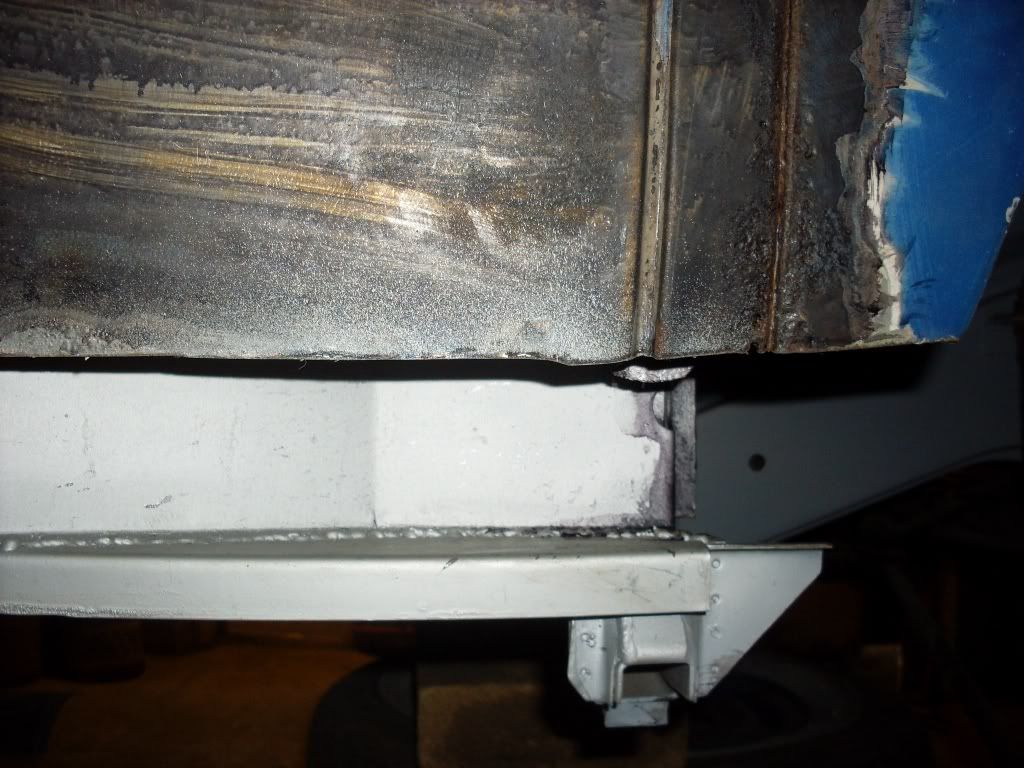
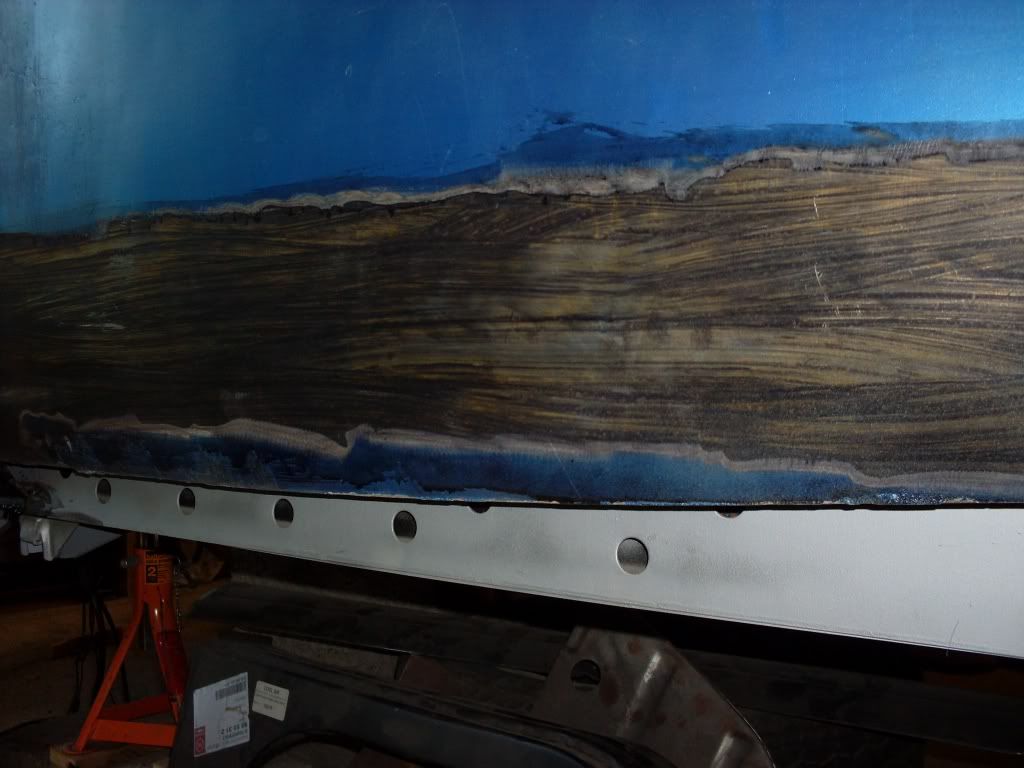
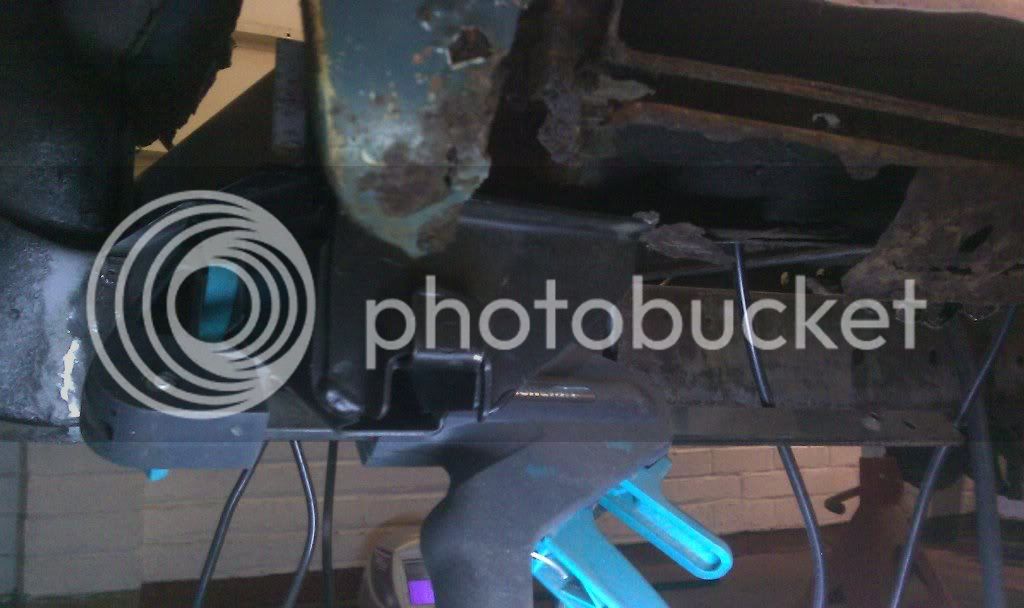
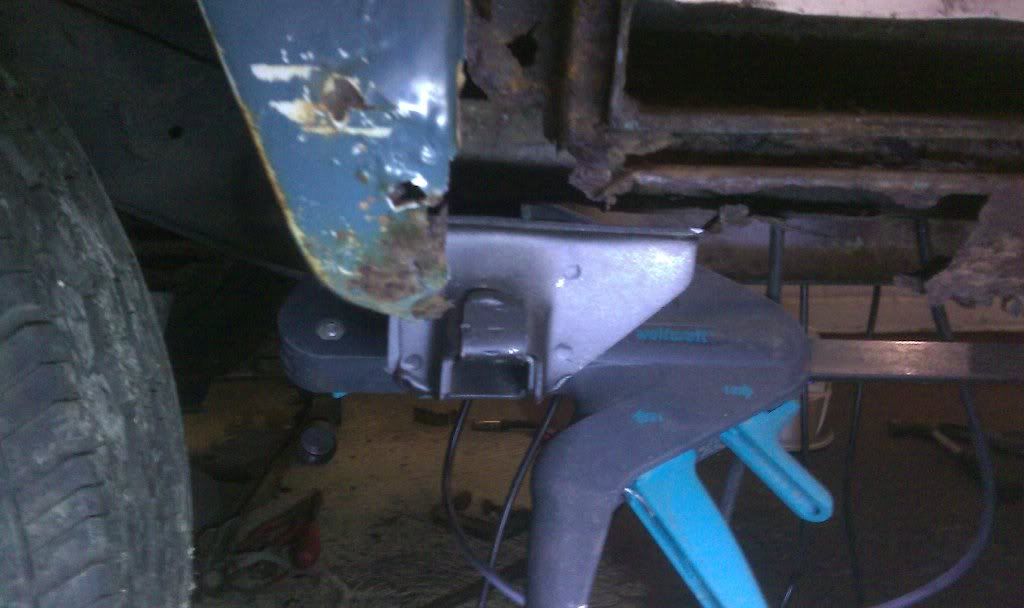
To cut a long story short I could see I needed to replace all the outriggers and jacking points and a lot of the floor supports needed attention so I decided I would adopt the " if a job's worth doing........." attitude and went for it .

Here we go then .. Now brace y'self Rodney,

19.jpg
 
Welcome to the fold :D

Looks so familiar once metal is removed - especially the sills etc :(

Looking forward to the pics and progress on this one ;)
 
Hi Gninnam, thanks for the welcome. I mentioned at the top of this thread that I got a lot of inspiration from this forum and the work you're doing to your Dormy X-over was part of my inspiration. The support from the other guys on here who have 'been there' is just the thing to make you go back down the garage and have another crack at it. How's the Dormy coming on ?
 
Few more pics,


Got to the stage where I was'nt sure what I should remove and when, but had decided I was going to replace all the floor supports so in for a penny.. out come the middles of the floor supports

22.jpg


Sliding door ends of the floor supports out, not feeling to sure at this point..

23.jpg


My bottle's rattling like a good 'un now..

24.jpg


Opposite sliding door side floor supports out , no going back now. At this stage I am waiting for a loud 'bang' and half expect the poor thing to fall in half !!

25.jpg


21.jpg
 
Mickey Sam said:
Hi Gninnam, thanks for the welcome. I mentioned at the top of this thread that I got a lot of inspiration from this forum and the work you're doing to your Dormy X-over was part of my inspiration. The support from the other guys on here who have 'been there' is just the thing to make you go back down the garage and have another crack at it. How's the Dormy coming on ?

The forum is inspirational - some of the work the guys do on here (oh, shouldn't forget the occasional female :shock: ) is fantastic so you have picked the best forum for this.

Regarding the Dormy - not moved on at all due to work (will probably get even less as the company I work for have just bought another business for 1.7 billion Euro's....), but one day :mrgreen:
 
Thanks again for the welcome. Chuffed that I've finally sussed loading pictures at last.
Don't want to bore you all but I'm gonna sort out a few more photos over the weekend.
 
Nick-Rackham said:
Mickey Sam said:
Thanks again for the welcome. Chuffed that I've finally sussed loading pictures at last.
Don't want to bore you all but I'm gonna sort out a few more photos over the weekend.

We like pictures :D

Not 'arf ;)
 
Continuity cock-up with photos. After all the cutting and grinding ,my mobile phone camera packed up ,apparently it was full up with iron filings ( can't imagine how that happened !! )so a few 'after' photos.

After hours of stripping, grinding, sanding, cleaning, and zinc priming I had prepared a lot of the areas that would be hard to reach once the new floor panels went in:

42.jpg


I'll be proud to hang my gearbox here ( one day ! )

43.jpg


44.jpg


Bit more tarting up ,

46.jpg


45.jpg


47.jpg


It all looks very 'pretty', it almost seems criminal to cover it with stonechip, paint, thick black underseal and waxoyl ! May seem a bit belt and braces but I don't want it rusting again !!


Update: have now replaced all 6 floor supports ( 4 top hat / 2 'I' beams ) all outriggers and jacking points, rear wheel arch closing panels to the front of both rear arches on both sides, inner and middle sills and heater tube between cross members.
Fortunately the sliding door runner was rock solid as I really did'nt fancy replacing that - Ive seen it done on this forum and take my hat off to anyone who's done it.


29.jpg


30.jpg


33.jpg


I'll be back soon with some photos of the floor in place..........
 
You have been working hard - that looks very nice indeed 8)

Hats off to ya mate ;)
 
Cheers Gninnam, I feel like I'm getting somewhere now, long road ahead though.
Do you have a re-start time for your resto yet or will it be a matter of when time allows ?

Nick-Rackham, just checked your thread out, shit mate, looks like a lot of graft in front of you, coming on nicely though Good luck and keep the photos coming, cheers
 
Mickey Sam said:
Nick-Rackham, just checked your thread out, shit mate, looks like a lot of graft in front of you, coming on nicely though Good luck and keep the photos coming, cheers

Cheers Mickey, but how the F*ck did you manage to get that lot done so quick? :oops: Looks like we got a race!! ;)
 
Nick, don't be too impressed, that little lot probably took me about 18 months. I would have posted photos from the start if I knew how. I'm a bit of a dinosaur with computers and my mate has only recently shown me how to post photos etc :oops: ( yeah, you guessed it, my mate has just had to add the 'embarrassed ' smilie for me ). Photos will be coming fast and furious until I've posted up to date then things will really slow down. . As far as the race goes, if I had as much time and money as I have enthusiasm I'd put myself in the frame for it but at the rate I'm going you'll be driving yours before I get paint on mine !!
 
TFFT :D Thought my resto must be the slowest on the planet! :lol: Looking forward to seeing the next installment (we love pictures here :D ) and don't keep us hanging too long until we're up to date!

Know what you mean about money and time, but enthusiasm is for free, so just keep cleaning, scraping underseal, wire brushing and everything else that doesn't cost money! all helps towards the end goal ;)
 
Mickey Sam said:
Cheers Gninnam, I feel like I'm getting somewhere now, long road ahead though.
Do you have a re-start time for your resto yet or will it be a matter of when time allows ?

Nick-Rackham, just checked your thread out, shit mate, looks like a lot of graft in front of you, coming on nicely though Good luck and keep the photos coming, cheers

Nick is doing a nice job also 8)

A re-start time........... Not really, but it will be ready for next summer (I'm sure I have said that every autumn for the last 5 years :D )

Looking forward to the updates ;)
 
Bit of an update and some more photo's for you picture junkies.................I know you've all seen it before but you can't tell me that you don't get a kind of sick kick out of seeing someone suffering how you did while you were at this stage..

Anyway,
After a good clean up - the rear seat belt mountings were non existent on both sides and the closing panels at the front of the rear wheel arches needed replacing

39.jpg


40.jpg


That should hold a seat belt now, bit more grinding, etch primer, weld paste and zinc primer.. does get a bit mind numbing at times.


41.jpg


21102010059.jpg


I can't seem to rotate this picture for some reason -I don't remember standing on my head taking the photo !! Anyway, given up trying but it's doesn't look any better the right way up !


21102010058.jpg


Floor in at last !! As most of you know, they don't make floor panels for RHD, so this is 2 LHD panels shaped to fit..


37.jpg


Nice fit by sliding door, (when was the last time you saw a claw hammer with a wooden handle ?? )

38.jpg


Couldn't find a replacement panel for around the hot air vents so patched instead

Image006.jpg


21102010057.jpg


Ready for outer sill, check out the lovely new jacking point !!


vwpics005.jpg


Bit of rust treatment splashed about till I get some etch primer on ..

vw004.jpg


New sill in place, I like'd the way the sill was available with the bottom of the side panel repair incorporated, two jobs , one panel , you can't knock that !


UPDATE11102010038.jpg


Sill under sliding door runner in but still needs a bit more grinding etc

21102010065.jpg


Wanted to crack on with prepping the interior with zinc primer next , probably just to give myself a bit of a lift and kid myself I'm getting close to a drop or two of Savanna Beige !!

Will post a few pics of the interior soon.........
 
Looking good Mickey :) how close are we to "being up to date"? ;)

One question if you don't mind. Is the jacking point located / orientated correctly?

vwpics005.jpg


just about to weld mine in and I've orientated the sticky out bit to face towards the middle of the bus i.e. towards the back for the front ones and towards the front for the back ones. If that makes sense? Cheers, Nick

EDIT:- Here's what I mean. It's the other side to your pic (passenger side RHD)

0144.jpg


0145.jpg
 

Latest posts

Top