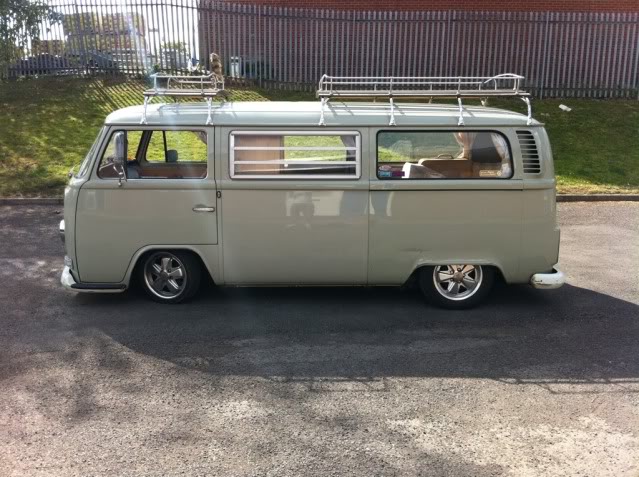
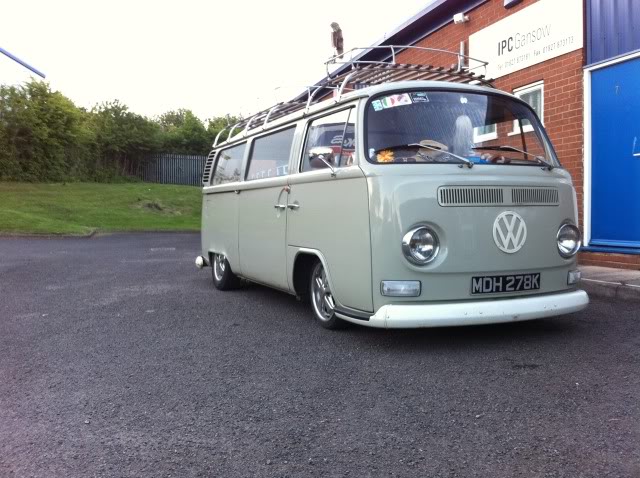
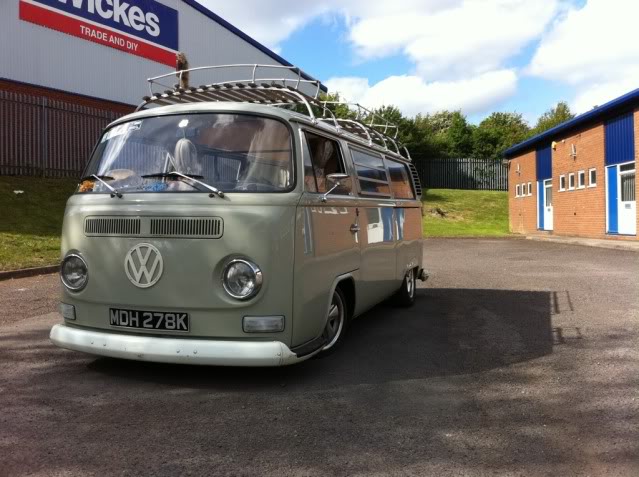
Guido the B-Movie Bus

Early Bay Forum

Help Support Early Bay Forum:

This site may earn a commission from merchant affiliate links, including eBay, Amazon, and others.
Right! Time for an update!

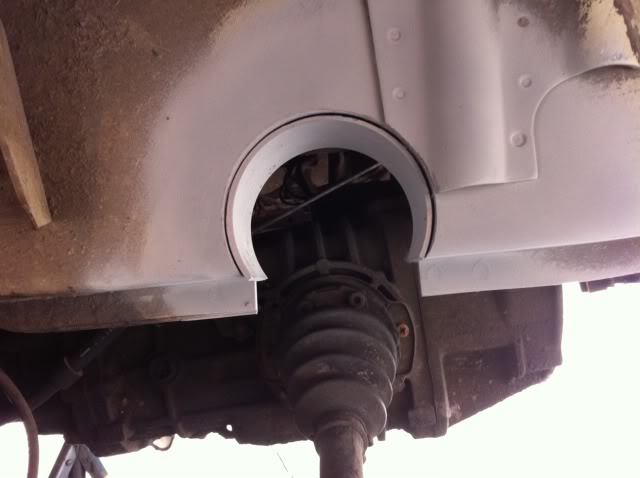
After seeing a few of my mates notch their rear of the bus I felt inspired and decided to go ahead with it! I have been swaying towards the method of cutting halfway up into the chassis for the width of the a-arm and the driveshaft and then welding box section above for strength. The only problem is I have limited tools and ecperience and after helping my mate Paul (godbus) do his notching I came away doubting my ability to get it all done. If you notch this way you have to cut your upper bump stop mount clean off from the torsion beam casting. Cut you a-arm braket to allow the a-arm to travel further upwards which in turn require you to move back you brake line brackets which in turn requires you to remake your flexis to be longer etc. You obviously have to fabricate the box section which needs to be plated and closed off either end. At this point I decided to look back into the horse shoe plate idea. Big thanks to Ground Hugger and Dr Slam as I found the exact info I needed to go ahead and do mine the same. The benefit of horse shoe plates is that even when down on 3 splines you don't have to do ANYTHING to the a-arm - all you need do is notch for your drive shaft. This sounded much more like the kinda of job I could handle. Also I am no able to keep my bump stops and once I have my final ride height set I will be cutting new rubber bump stops to make sure they hit before the drive shaft does.

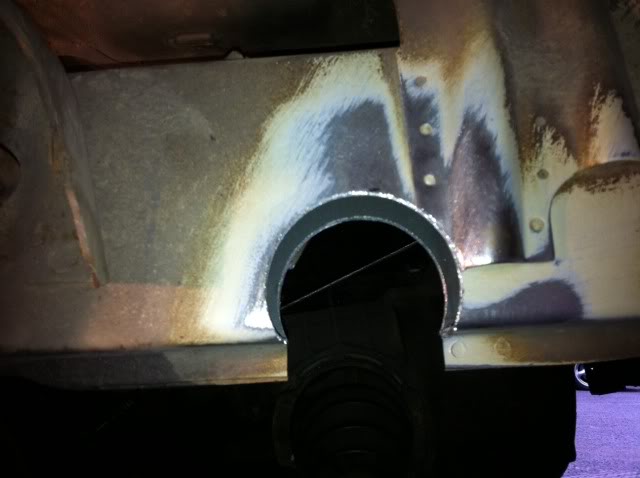
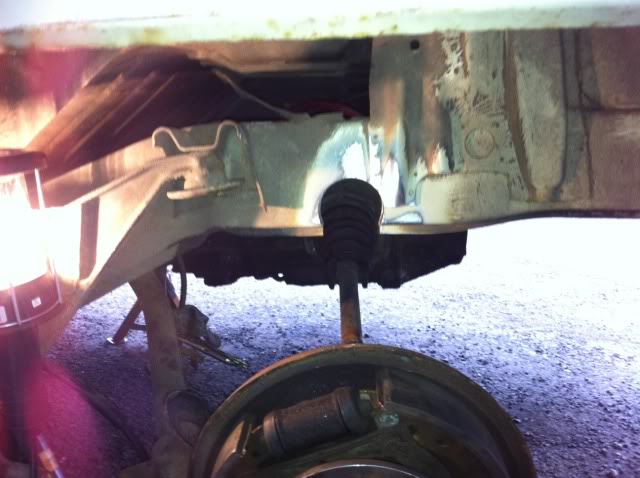
I cut the hole using a Wickes 70mm hole saw (YES Wickes! It did both sides and hardly touched the teeth!)
rear-notching-1.jpg

rear-notching-2.jpg


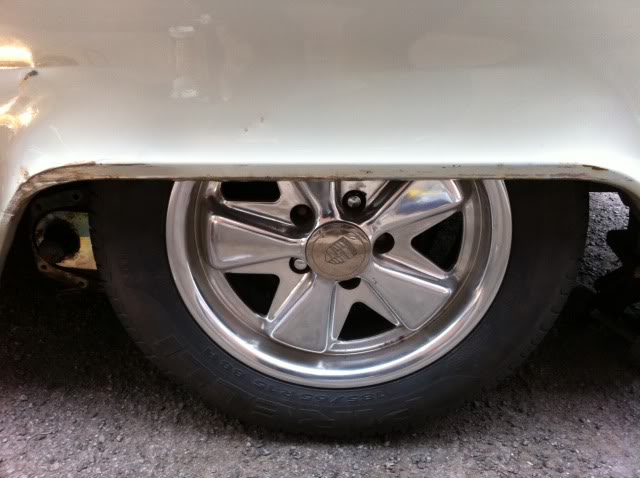
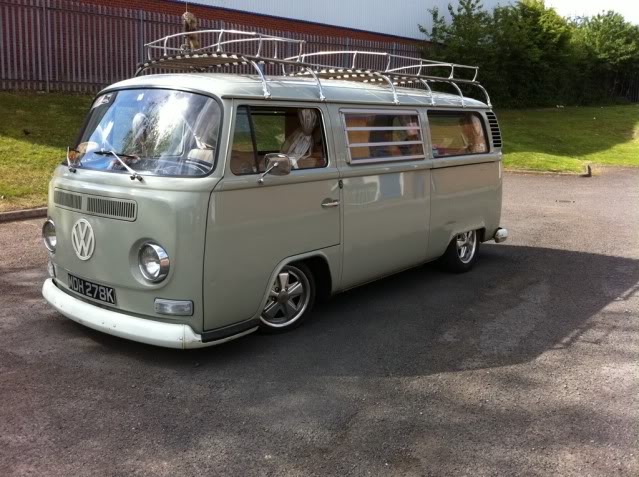
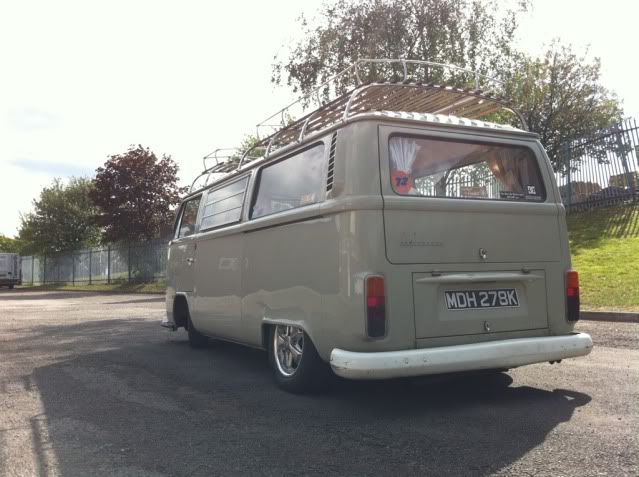
Obviously the first thing I did after cutting the holes was to bolt up my hub as if I had horse shoe plates on and drop the bus to the floor to get a mock up. After LOTS of playing I decided this would be how the bus would sit when the engine was back in and I had set the spring plates. Not super slammed but should look much better levelled out and I get some much needed suspension travel back.
rear-notching-3.jpg

rear-notching-4.jpg

rear-notching-10.jpg


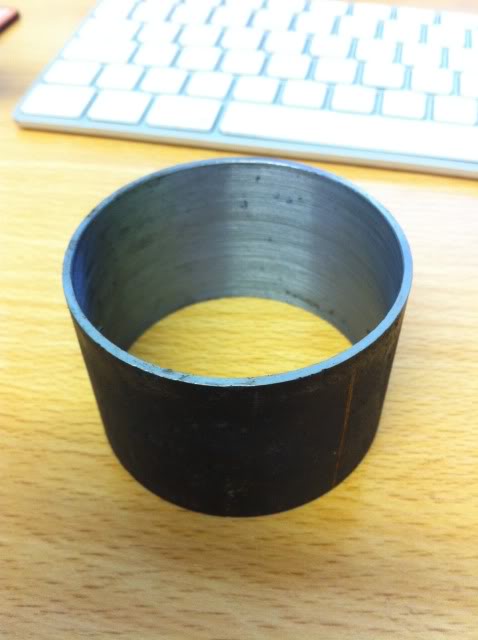
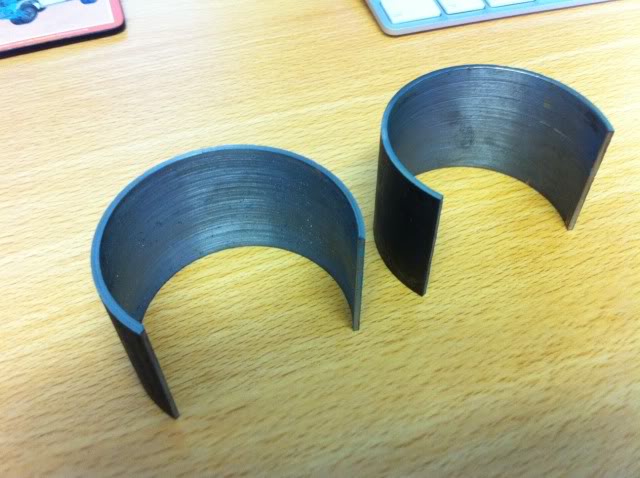
Off to see my friendly mechanical engineer Tom to get some 70mm outer diameter steel. He bored it out to 66mm inner diameter to give me my 2mm thickness. I marked up these hoops and Tom cut them down for me.
rear-notching-5.jpg

rear-notching-6.jpg


I stripped everything back to bare metal and painted it all in 2 coats of zinc primer.
rear-notching-7.jpg


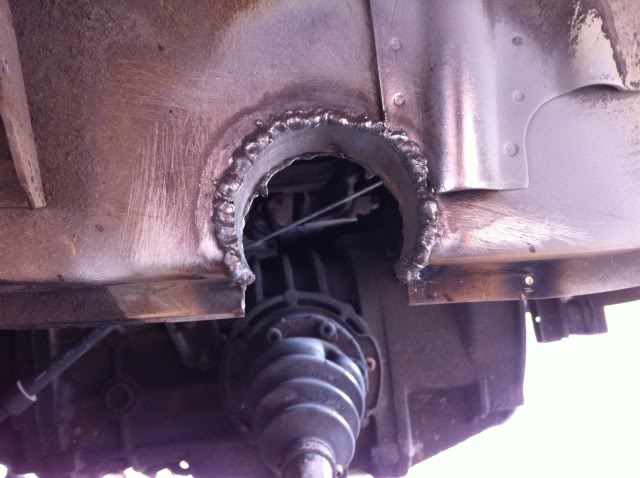
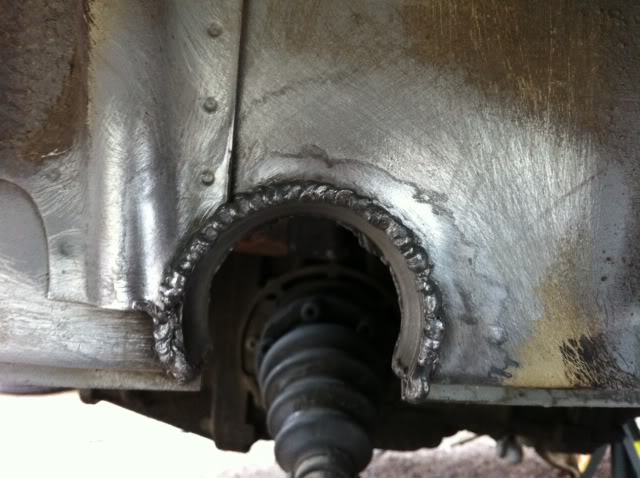
I Then welded them in. I did ALOT of practive welding on scrap 2mm metal to ensure I was getting good penetration. My welding improved alot on this job.

First side welded:
rear-notching-8.jpg


Second sided welded:
rear-notching-9.jpg


Today I sprayed another 2 coats of zinc primer and then painted over in Por15. I will be doing another couple of coats of Por15.

The only down side I can see so far to horse shoe plates is they make it even harder to get your wheels off. The spring plates lower and rest on the torsion beam casting but now your wheel is 3.25" higher in the arch! I got round this (thanks to Dr Slam! photos on his thread!) by cutting out the lower section of the casting - this allows the spring plate to lower just slightly but it's enough then to get your wheels on or off. Obviously you still need to remove you lower shock bolt to allow the hub to lower down. I will take some photos tomorrow of the cut casting. Thanks for reading!
 
It is pretty tight! I was really worried because the horse shoe plates reset you camber but because I have gone down further I still get some negative camber which is good else I don't think the wheels would have fitted. I have maybe 1-2 mm clearance between the outside of the tyre and the arch! Luckily SSPs new wheels have great offsets else I would have been rolling on stock wheels for a while!
 
Thanks guys!

227873_10150261730433939_778658938_8756428_7602758_n.jpg


Tonight I remade the hard brake lines from the a-arm bracket to the hub as the hub now sits 3" higher.

Hopefully horse shoe plates will be here before the end of the week - engine going back in Thursday so will still need tio have a play with the spring plates. Can't wait!
 
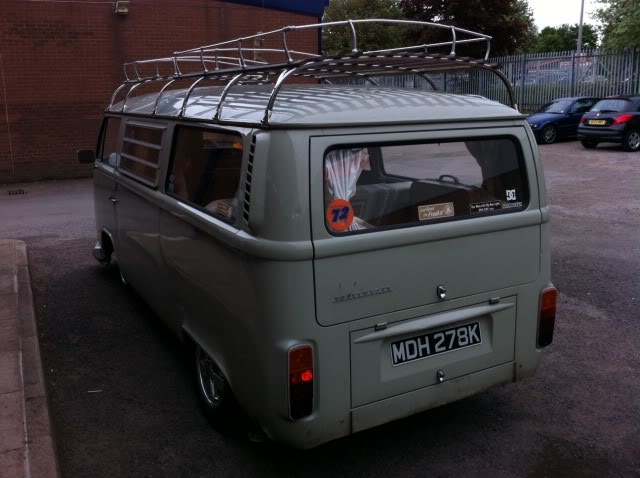
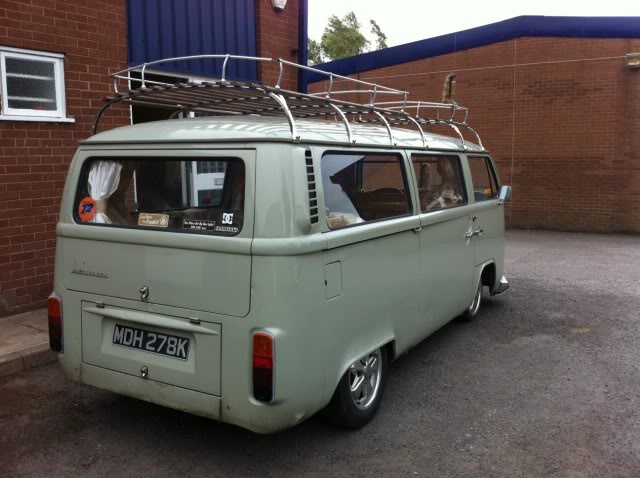
All done and back together! - Just gotta bleed brakes tonight.

[youtube]Ke6uzuuFH0I[/youtube]
 
Airtime said:
No wonder you're chuffed, it's awesome! :shock: 8) 8)

Well done!

Thanks dude!

Definitely glad I bought a new exhaust!
260429_10150303005998939_778658938_9088850_162648_n.jpg


I got a 76-79 single piece tail pipe silencer as I wanted to fit a bluebird stainless tailpipe
270586_10150303006833939_778658938_9088866_7974276_n.jpg


Does anyone know the best way to remove a snapped exhaust stud? I only broke one so I was actually quite chuffed - I have read some people have had all four snap on them!
 
First off....................Perfect stance!! Well done!


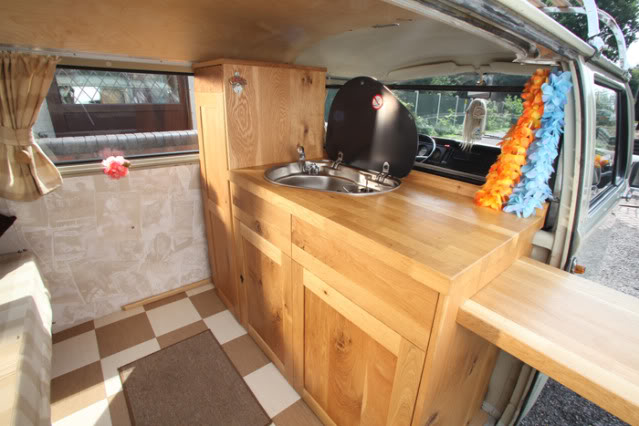
Now for a question...............Does your cabinet with the fridge and sink also have a stove? If so can we see pics?
 
Still one of my favourite crossovers :D

davesmith84 said:
Does anyone know the best way to remove a snapped exhaust stud? I only broke one so I was actually quite chuffed - I have read some people have had all four snap on them!

Snapped studs are a bane and everyone has their own technique.

Has the stud sheared level with the head or is there a stub of it poking out?
If there is, then welding a nut on the end will often let you winch the remains out (heat from the welding helps loosen the stud too).

Failing that, opinions are divided. Usually it's a case of drill it out (make sure you centre punch bang on centre first!), others recommend easy-outs but if it snaps you're in trouble. If you drill go for drilling then a left hand thread drill bit will sometimes winch the remains out before you get out to the case, which is always nice.

Have also heard good reports on this stuff though not tried it myself yet:
http://www.wurth.co.uk/catalogue/pdfs/UK-CD_07_0186.pdf" onclick="window.open(this.href);return false;
 
ecvwfan said:
First off....................Perfect stance!! Well done!


Now for a question...............Does your cabinet with the fridge and sink also have a stove? If so can we see pics?

Thanks bud! Yes it has a single burner but we only use it to boil a kettle! We have a separate portable suitcase style double burner which we use to cook food on - often outside the van. I will get a pick up for you shortly!
Geeze said:
Still one of my favourite crossovers :D

davesmith84 said:
Does anyone know the best way to remove a snapped exhaust stud? I only broke one so I was actually quite chuffed - I have read some people have had all four snap on them!

Snapped studs are a bane and everyone has their own technique.

Has the stud sheared level with the head or is there a stub of it poking out?
If there is, then welding a nut on the end will often let you winch the remains out (heat from the welding helps loosen the stud too).

Failing that, opinions are divided. Usually it's a case of drill it out (make sure you centre punch bang on centre first!), others recommend easy-outs but if it snaps you're in trouble. If you drill go for drilling then a left hand thread drill bit will sometimes winch the remains out before you get out to the case, which is always nice.

Have also heard good reports on this stuff though not tried it myself yet:
http://www.wurth.co.uk/catalogue/pdfs/UK-CD_07_0186.pdf" onclick="window.open(this.href);return false;

Thanks Geeze - I have read up on these methods. I think I will give he weld a nut on the end as I do have about 15mm of studd left sticking out of the head. Fingers crossed! I have ordered a few new studs from Machine 7 but they are on back order at the moment so could be a while before I get it all back together :(
 
'ere you go - not a great photo but the only I could find that shows the burner.
DaveandSarahinTamworth0149.jpg
 
great thread dave! got myself a cross over bus too.

youve really been building up those skills! nice one. so whatever happened to that two toned bug you had, the day you turned up at deanos?
 

Latest posts

Top