Here's Hank, 68 Deluxe

Early Bay Forum

Help Support Early Bay Forum:

This site may earn a commission from merchant affiliate links, including eBay, Amazon, and others.
I popped in on Sarah and Hank today, and after having been treated to a big chunk of cake, surrounded by a big pool of custard, and a nice cuppa tea, I was given a ride out in the lovely Hank! :D
He's a fab bus, Sarah, and you've done sterling work on him! :D

Here are some pics I took;

Picture499.jpg


Picture504.jpg


Picture503.jpg


:D
 
Nice to see two big smiles in the same photo! Seems that the owner is happy with her bus and vicewersa 8)
 
Thanks guys,

Jim, yep I got the plates last saturday so have done a little driving about since then although not too much as one of the front brakes is sticking and getting really smelly and hot.

Went and bought new shoes, brake cylinders and flexi hoses so should be able to change them tomorrow morning, then the proper driving can begin, especially as I've got free parking for work for the next 2 weeks. :D

Hoping to have a go at laying some flooring in the back this weekend too just as long as the rain holds off for a bit. Then I can bolt the bed down properly and maybe try sleeping in him.
 
I'm afraid it's not the original paint you see looking so shiny there. Not a million miles away from the original though as you can still see it on the insides.
 
Wow - what a difference you have made 8)
What plans now - the roof looks like it needs a bit of a touch up :wink:
 
Managed to sot out the front brakes today so he's stopping well now and not smelly anymore!

Yep the roof is a little crusty in places so hoping to rub areas rub those bits back and covered up pretty quickly, just battling with the wet weather on so many jobs at the moment.

The immediate to do list consists of:
Changing the rear and side window seals
Sorting the crusty patches on the roof
doing something about the seat covers (or lack of)
Laying some flooring inside
Covering the underside and all the usual places in a good layer of waxoyl
make the interior lights work
fit a stereo and some speakers
Fit a leisure battery and cigarette lighter sockets
Make the sliding door shut better
Fix the tailgate lock
Make the strange under dash light thing work (it's really weird but really cool)
Drive it
Go camping
Enjoy it even more

It's a pretty big list so should keep me busy for a little while!!
 
Things have progressed quite a bit since I last posted, I forgot I started this thread, oops.

I spent last year enjoying using Hank and got to loads of shows and camp outs. I did little bits and pieces to him as I went but nothing really major.

Just after Christmas the gearbox blew on the way back from a camping trip, so I spent a few days over new year sorting that out, I'd not dropped the engine on my own before but had some good instructions from a friend at the end of the phone. I got the engine & box removed in about 4 1/2 hours on the drive at home and managed to source a replacement box that evening which was in Chippenham. I went and picked that up the next morning and fitted it in the afternoon. Then Tofufi came round the next day and helped me put the engine back in.

I stared a body refinishing (paint spraying) course at college in September so currently my main focus is getting him ready for a respray.
 
19/01/2009

Well I've had Hank, my '68 bay for just over a year and this week I've finally started to prep some bits for paint.

He had 40 years sitting in the texan sunshine which while keeping him pretty rot free has taken it's toll on the paint on the roof.

I'm doing a college course in paint spraying at the moment so I have access to some handy facilities and will be able to use the booth when it's ready for the paint to go on :D

While I can use the stuff at college I usually only get a couple of hours a week to do my own stuff around our sylabus.

This week I started to tackle the rust spots on the roof, there's quite a few and after a winter in the UK they were starting to look a bit nasty:

DSC00177.jpg


Most of the rust has sanded off with p80 grit paper on a DA and is cleaning up petty well. I think it'll need a fine skim of filler to cover the rest of the textured bits but not very much.

DSC00174.jpg


I brushed some zinc primer over the bare metal for protection when I ran out of time yesterday but if it's dry tomorrow I should get a bit more done.

My plan is to paint the roof first, then depending on how much of the term is left pull him apart and paint the rest properly

I also painted the front bumper last week too, got some new stainless bolts this week and they're all polished up and shiney now, just got topop out tomorrow and get some washers then it can go back on.

Not sure I can get away with storing it in the living room much longer
 
18/01/2009

Well today I finally got my front bumper back on, All the bolts are stainless polished up to be shiney, the rubbers are new and the paint is also fresh.

It got a bit dark as I was doing it so the pics aren't the greatest:

DSC00180.jpg


DSC00182.jpg


and it's not sitting quite level yet either but I'll have a go at sorting that out tomorrow afternoon in some daylight.

Ddn't get any more done on the roof over the weekend, weather hasn't been too good and had to stay clean to go out to lunch today so ran out of time.

Will update more as I do it
 
19/01/2009

Well it's now dark so I've come in as I couldn't see what I was doing any longer.

Got a couple of hours work in this afternoon after work and after I had a nap.

decided to have another go at the rust on the roof. much the same as last week really, but today I used 40 grit paper, although lower quality so got through loads of it.

Managed to get another 4 or 5 rusty bits mostly cleaned up, and brushed some more zinc primer over them. This is just a tempoary measure til I can prep it properly and keep it out the rain for painting.

The bit above the windscreen is the worst so far :( and I'll need to get a wire wheel or similar in there to really clean it up properly, but the bulk is gone for now. That'll have to wait for payday on Friday as I'm totally broke til then, it's been a long 4 weeks since the last pay day!

DSCN3590.jpg


DSCN3591.jpg


DSCN3601.jpg
 
19/01/2009

some of the other bits cleaned up:

DSCN3600.jpg


The gutters are going to take quite a bit of prep too :( but none of the rust is really bad or gone all the way through :)

DSCN3595.jpg


DSCN3598.jpg


Here's an idea how many rusty patches there are, taken from upstairs window:

DSCN3602.jpg


oh and here's some pics of the fresh bumper in daylight :D I didn't get round to sorting out the wonkyness yet, can't quite get my head round how to do it yet.

DSCN3586.jpg


DSCN3587.jpg


DSCN3588.jpg


DSCN3589.jpg


There's some solvent pop in the left hand step piece but I've already painted them twice and I can't face doing it again for the moment. It will drive me nuts if I don't do it though so I'll see how much white paint I've got left at the end.
 
21/01/2009

Not very much progress today as I've been in college all day today and it was raining when I got home.

I did however manage to stick a couple of washers under the bumper mount and level it up a bit at lunchtime.:

DSC00183.jpg


looks better now :D
 
24/01/2009

Not a lot of progress over the weekend, work & beer saw to that.

Today I changed the fan belt following a mishap with my jump leads last week, oops.

I also took the roofrack out the inside and took it apart so it's out the way for now. Then I tidyed and cleaned the interior as it's now up for sale. Just the interior, I'm keeping the bus.

fingers crossed for a dry afternoon tomorrow so I can get the sander back out for a few hours :D


04/02/2009

Still no more sanding done :(

Had Monday and Tuesday off work this week and oped to get 2 good long days work in but Hank spent most of it looking like this:

DSC00195.jpg


DSC00196.jpg


So that didn't happen.

I did do a bit more fault tracing in the engine bay with the wiring, I found a couple of loose wires so sorted them out and I think it's all good again. Also while I was in there luckily noticed one of the fule lines was leaking, so changed those too.

Then popped over to my mates house as I was bored and spent the rest of my days off helping out with some work on another firends beetle. They let me use cool tools like angle grinders and plasma cutters :D
 
17/02/2009

Finally have something to update with :D

Turned out my engine wiring didn't fix my problems and broke down again last week, this time he wouldn't even jump start so spent a few days the workshop getting fixed properly. Turns out the voltage regulator was broken so had a new one fitted and all is well again :D

Highly recommend http://www.jeffsvwshack.co.uk

anyway, back to my progress.

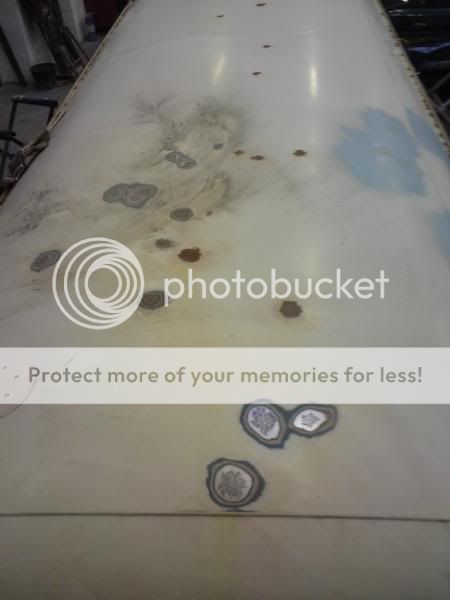
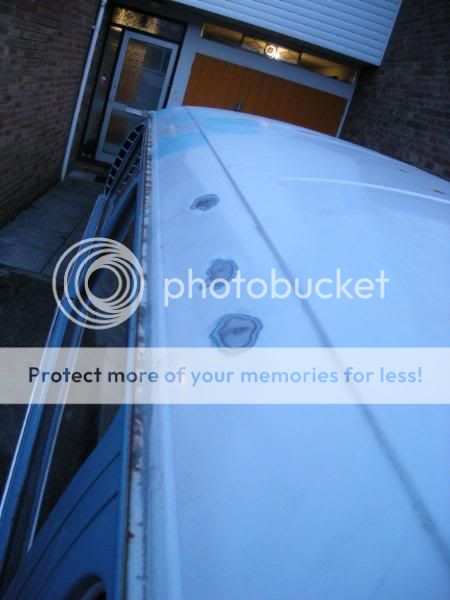
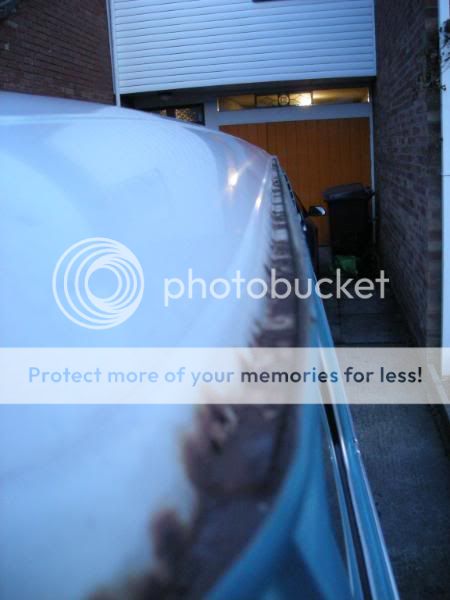
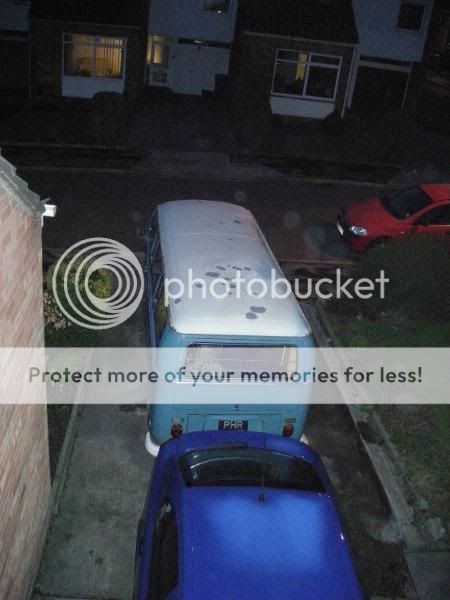
I did some more sanding of rust on the roof on Saturday, and bought some Krust so sploshed that over the bare metal before spraying on some etch primer.

No photos from that, but it's much the same as the photos before.


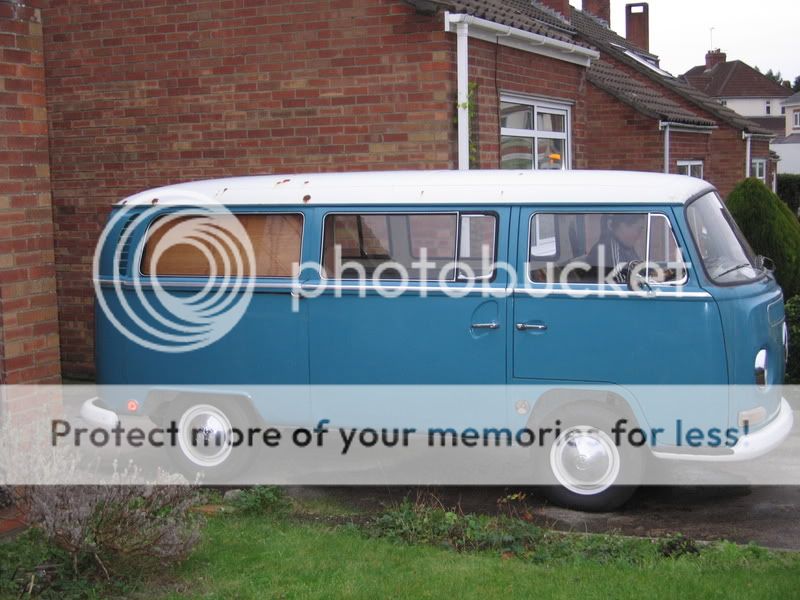
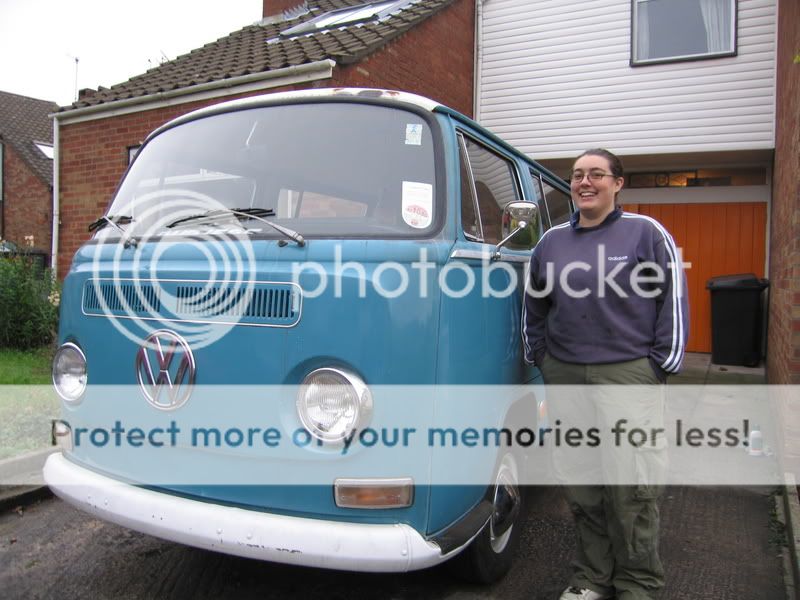
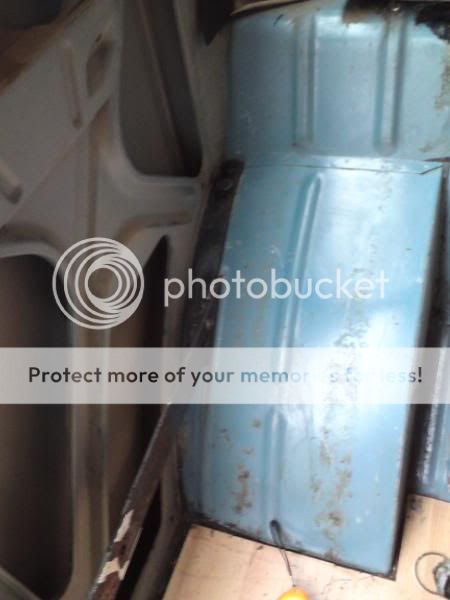
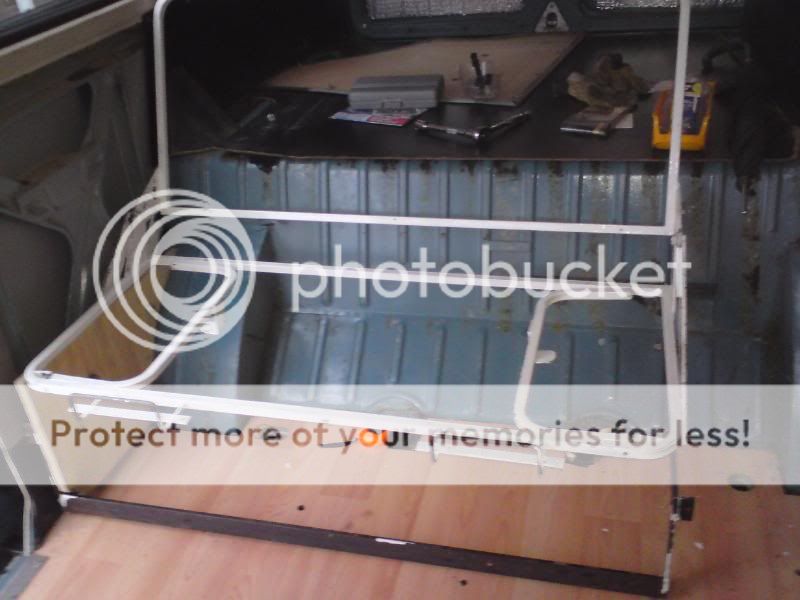
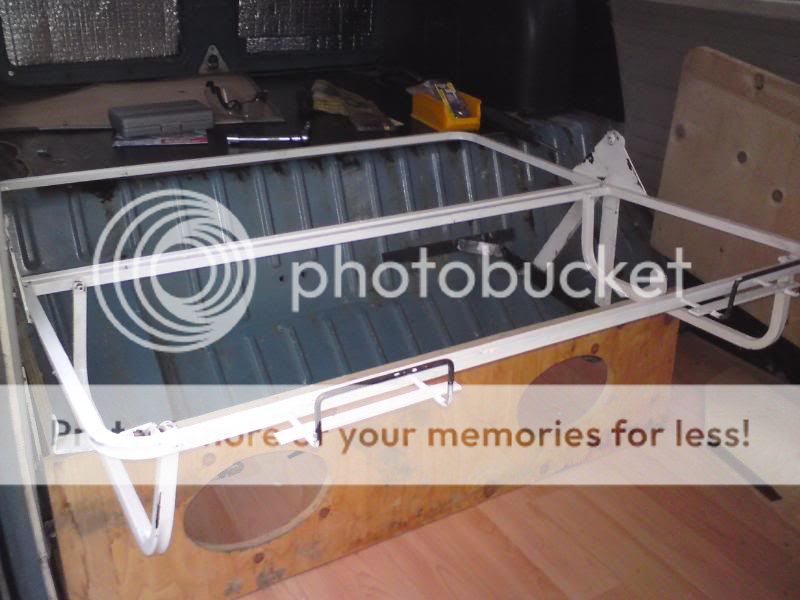
This week I've put the paint prep on hold, and as I sold my Westy Interior a couple of weeks back I've been trying to make my other rock and roll bed fit.

I bought it 2nd had about 2 years ago, before I even had Hank and it's been sat taking up tons of space in the garage since then.

I think it's an old bluebird customs bed although someone has messed about with the mounting brackets and the one that was there was in the wrong place!

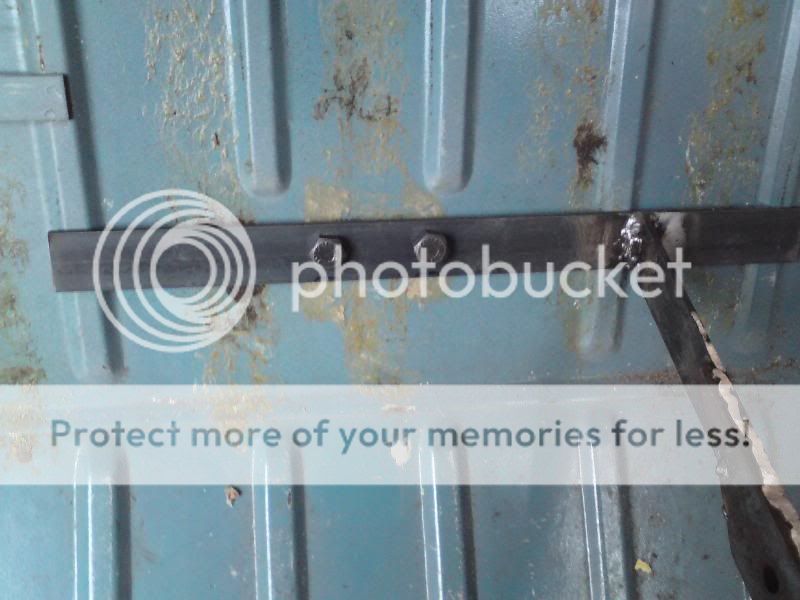
Luckily I learnt how to weld at college last week :D

I cut the old bracket off and made a new, longer one and welded that on:

DSC00219.jpg


it now secures through the seatbelt mounting point on the rear arch:

DSC00224.jpg


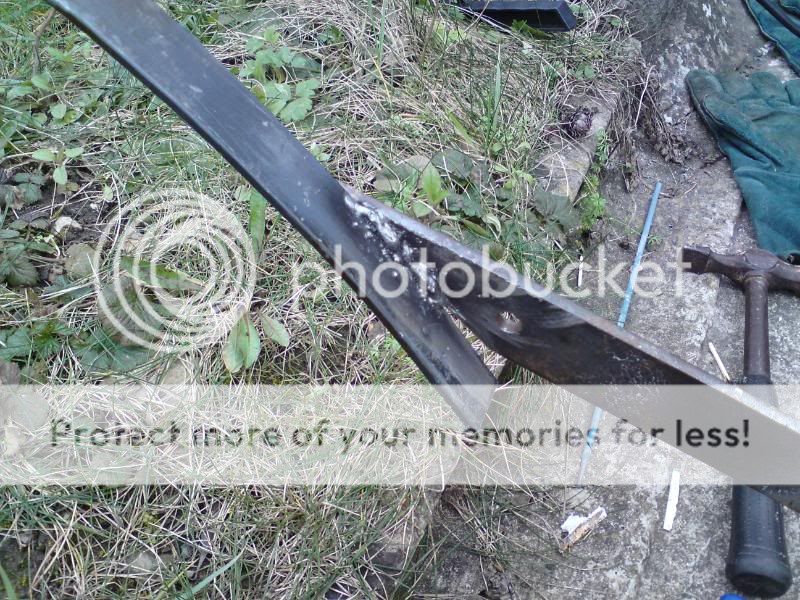
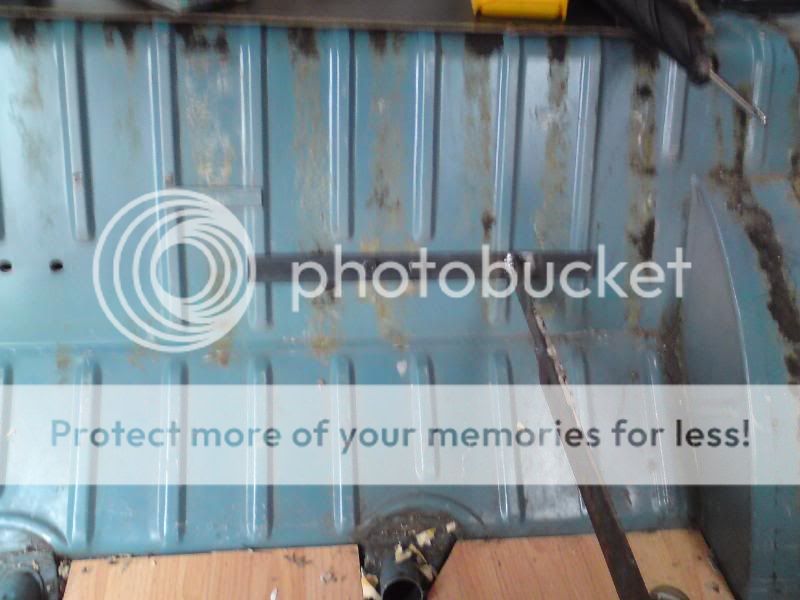
Then onto the other side, the horizontal bar just finished in the middle of nowhere so I first extended it to meet the slopey bit of the van at the back:

DSC00223.jpg


Then I cut another piece of metal to bolt to the central seatbelt mount on that side and welded the 2 new bits together

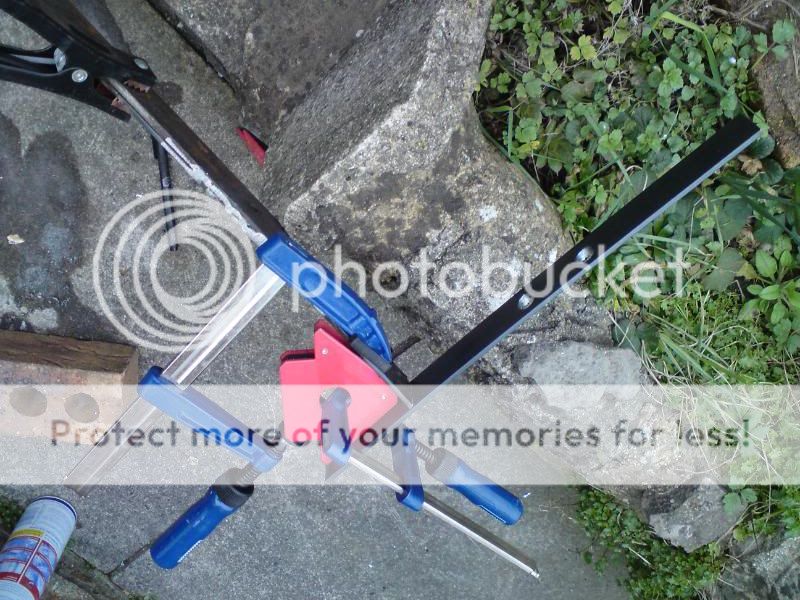
getting this held in place to weld was a nightmare:

DSC00220.jpg


DSC00222.jpg


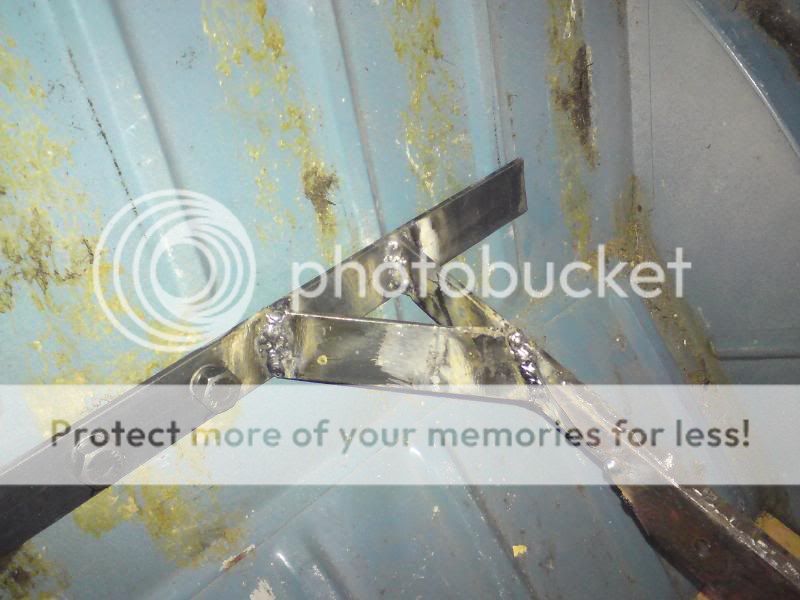
Then to increase the strength I added a diagonal brace thingy:

DSC00226.jpg
 
17/02/2009

Once that was done and trail fitted I re-fitted the rest of the frame to check it all lined back up properly:

DSC00227.jpg


DSC00229.jpg


and with the boards led on top:

DSC00230.jpg


It seems to be sitting slightly high at the moment, but once the cussions and bedding are on I reckon it'll be fine
 

Latest posts

Top