Here's Hank, 68 Deluxe

Early Bay Forum

Help Support Early Bay Forum:

This site may earn a commission from merchant affiliate links, including eBay, Amazon, and others.
18/02/2009

More progress today :D

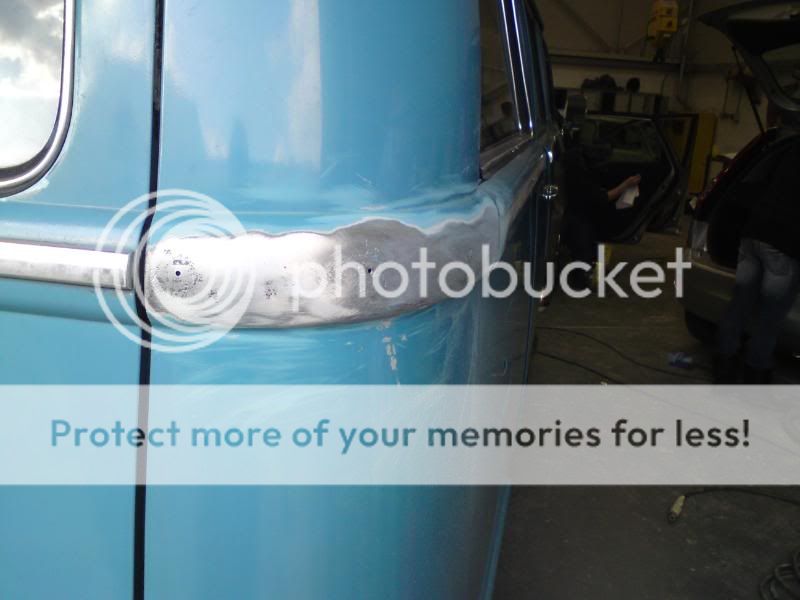
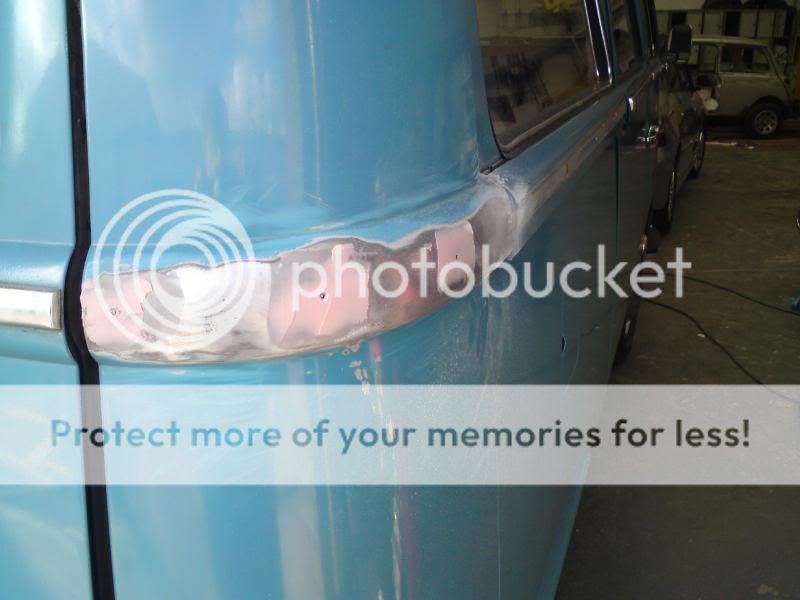
I popped round to my friends place this morning and got him to give me welds a once over, I'm really new at welding so wanted to make sure they were strong enough. He gave me the thumbs up.

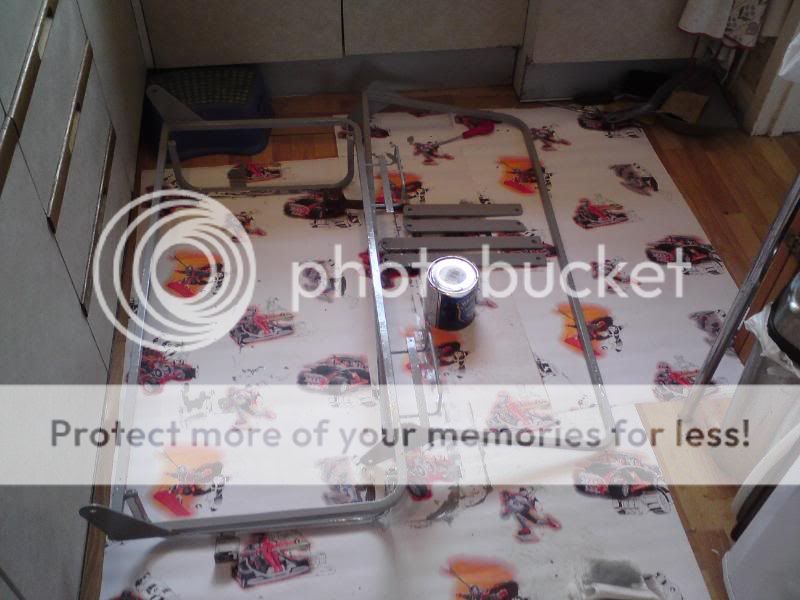
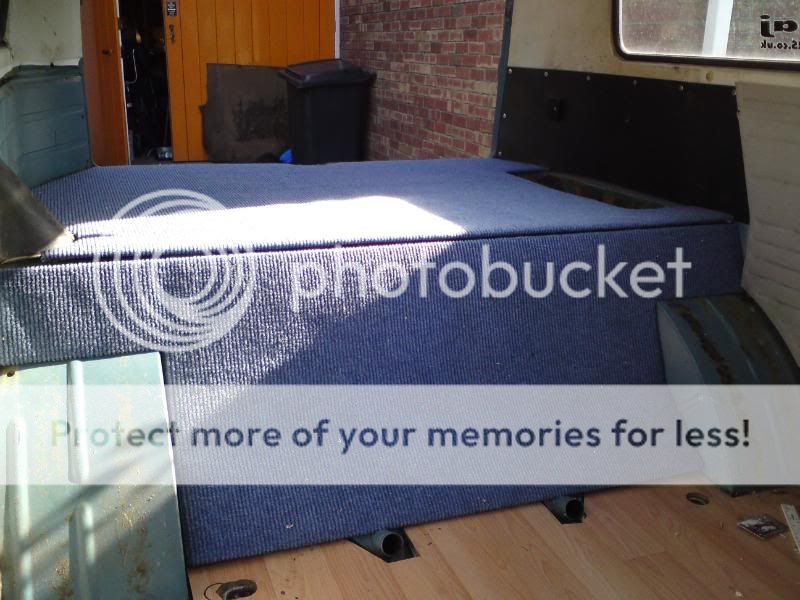
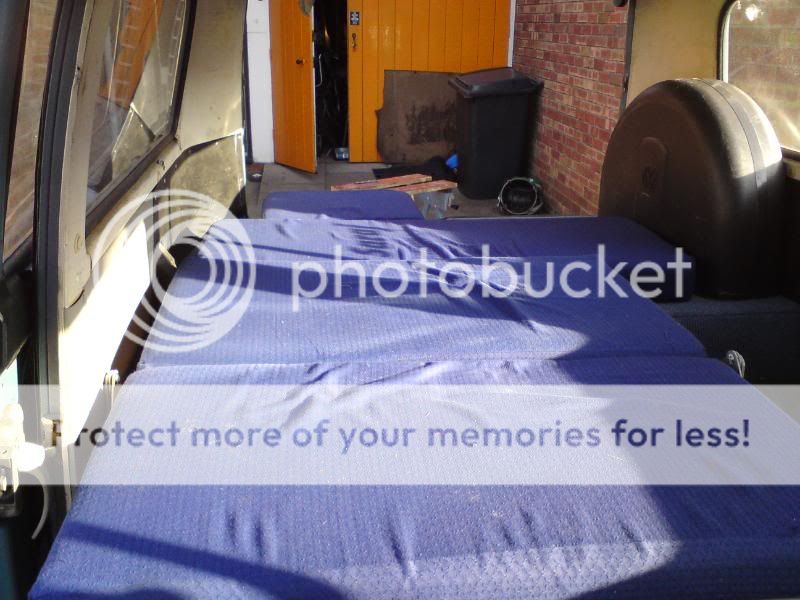
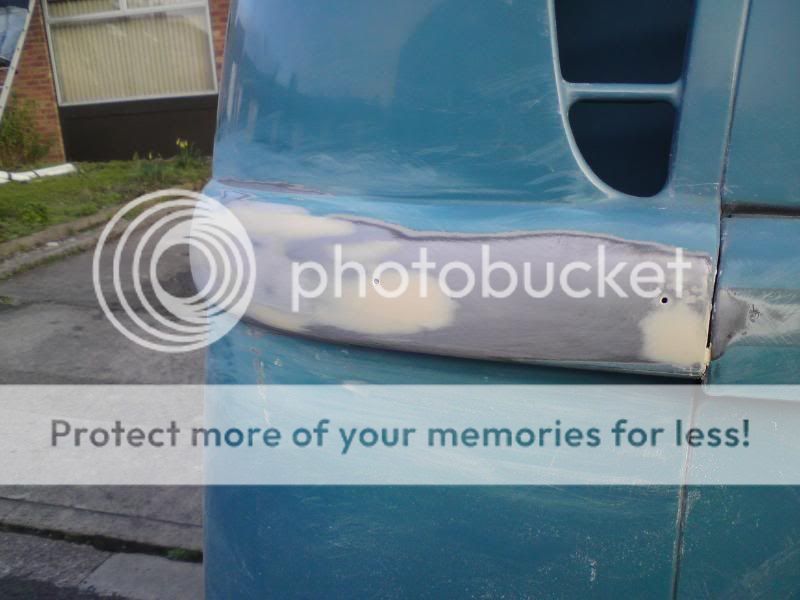
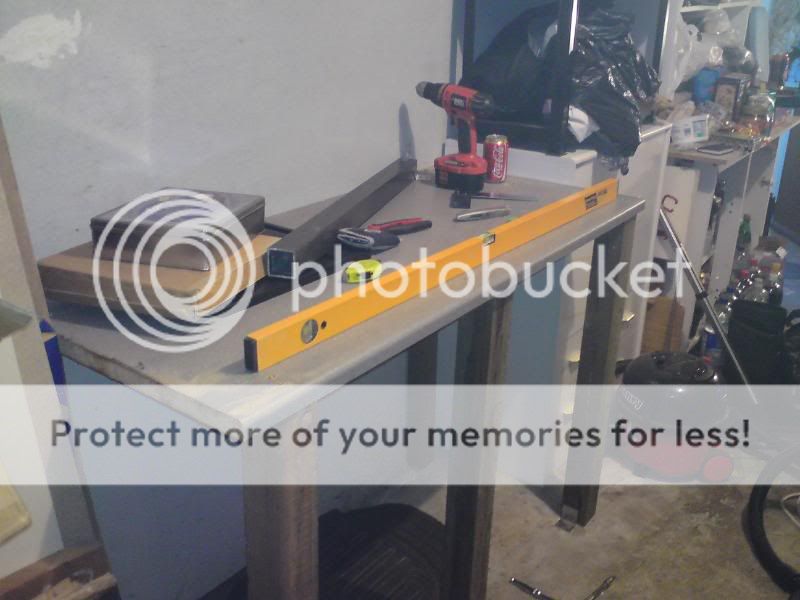
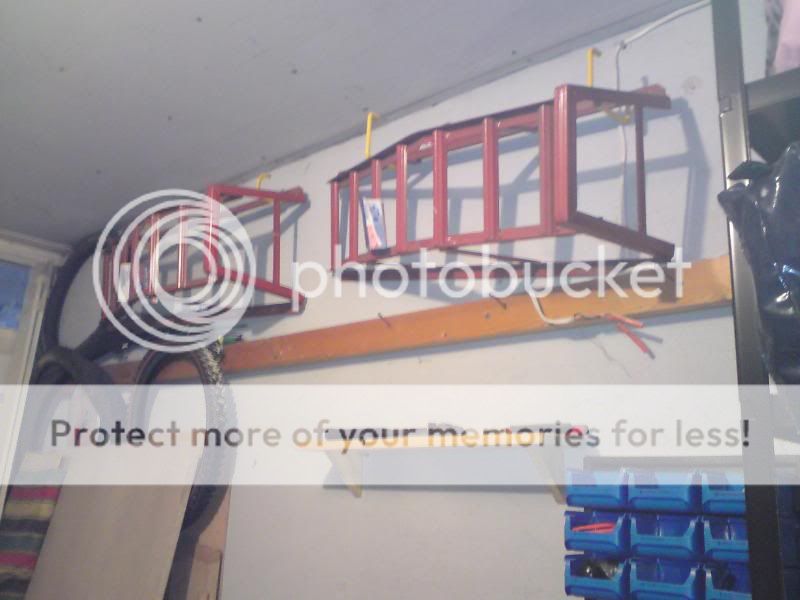
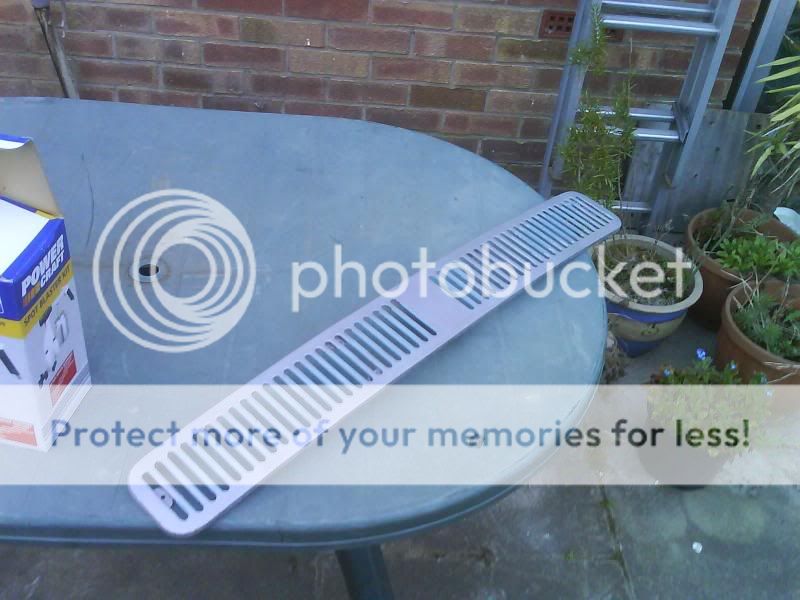
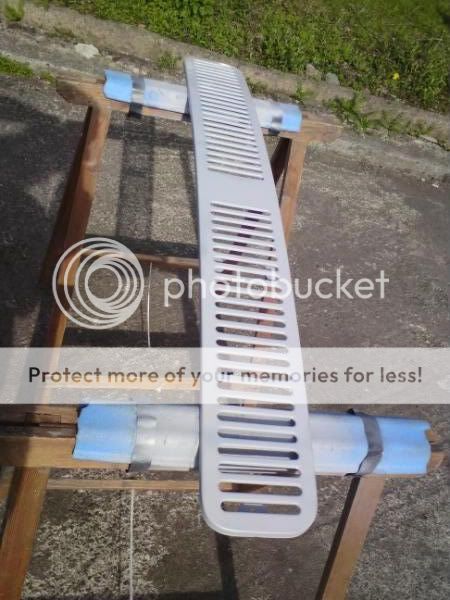
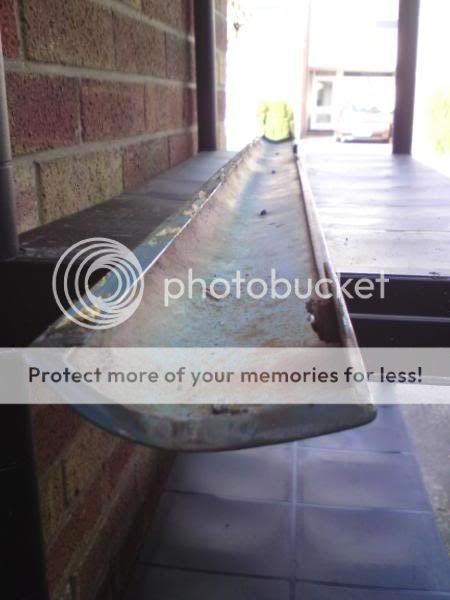
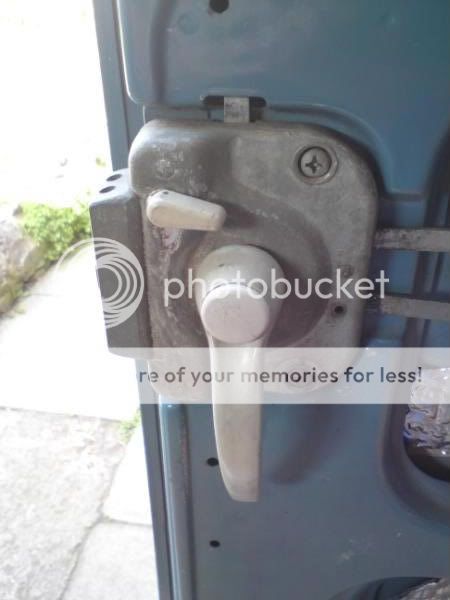
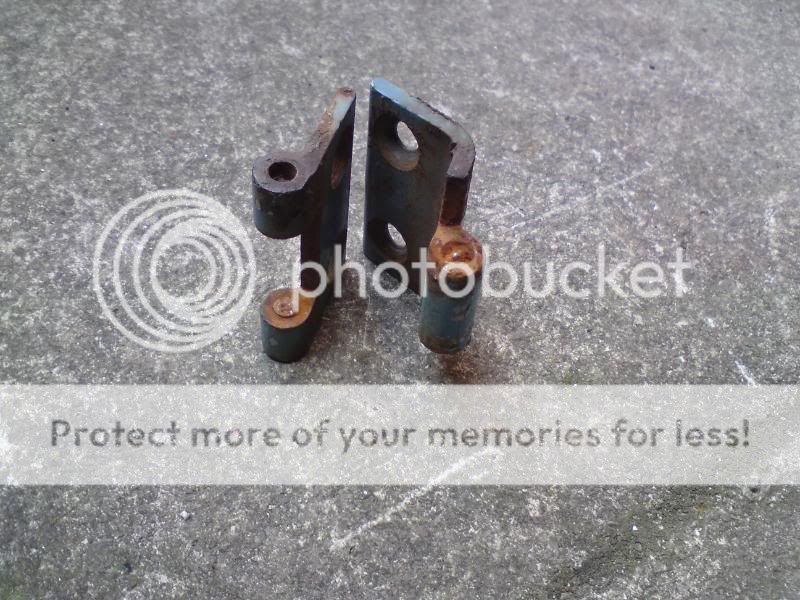
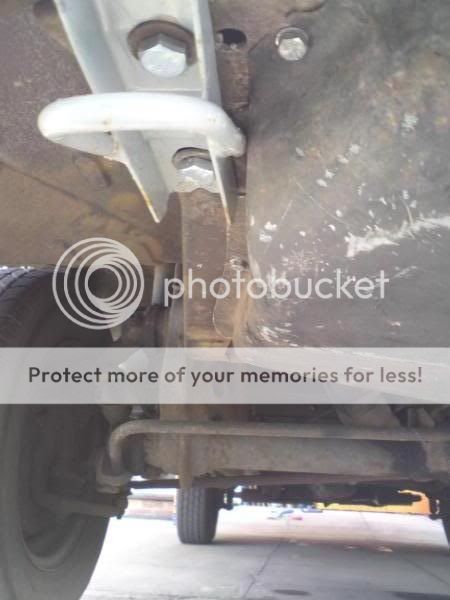
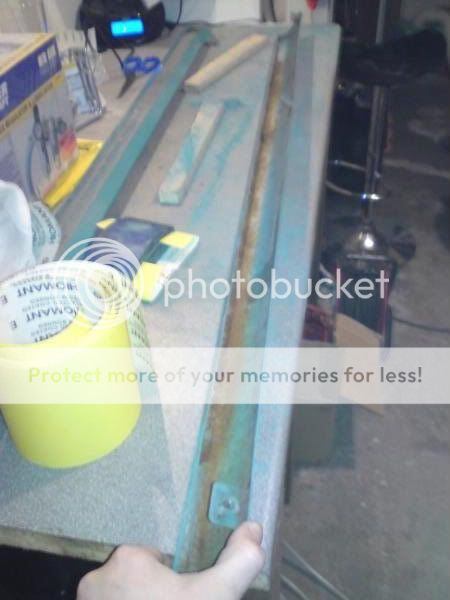
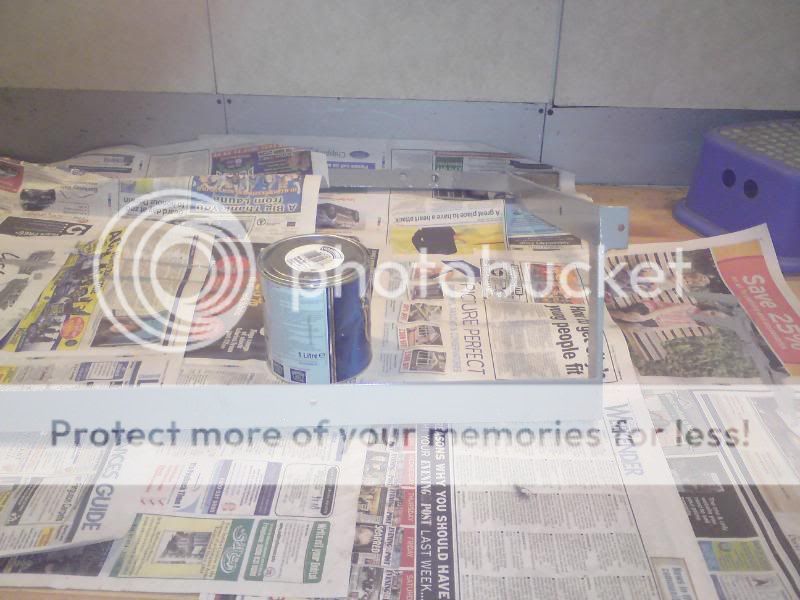
When I got home I took the bed back out again and set about cleaning up the metal frame that I was wleding yesterday. I used a flap wheel on a drill to get rid of the rest of the plastic coating and the surface rust. Then I gave it a coat of Hammerite for protection and to make it look nicer:

DSC00241.jpg


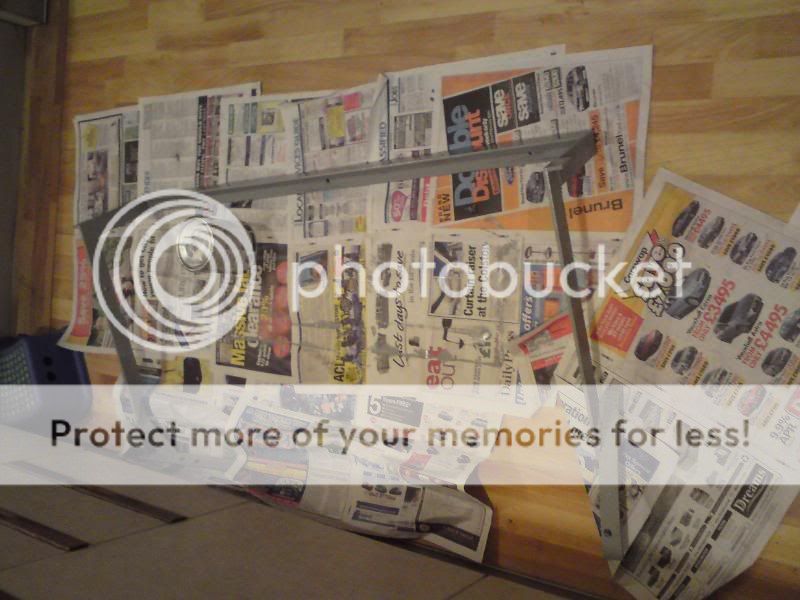
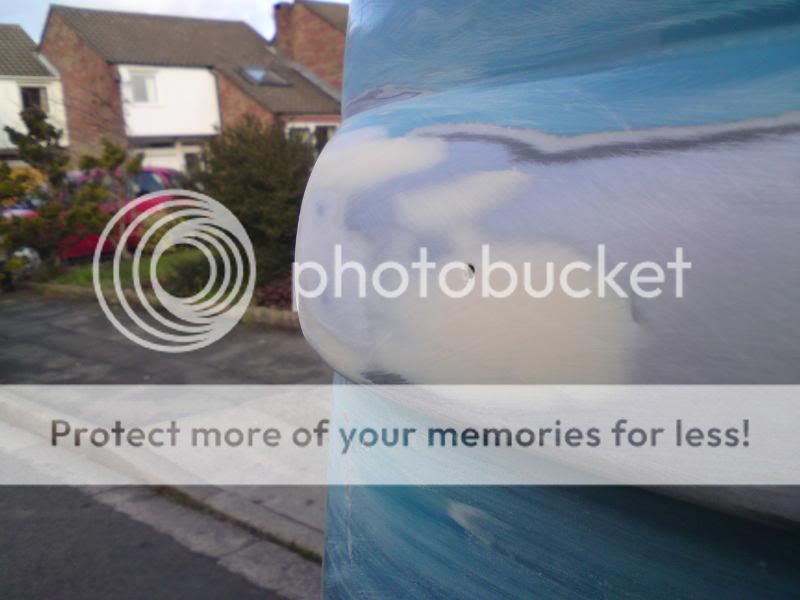
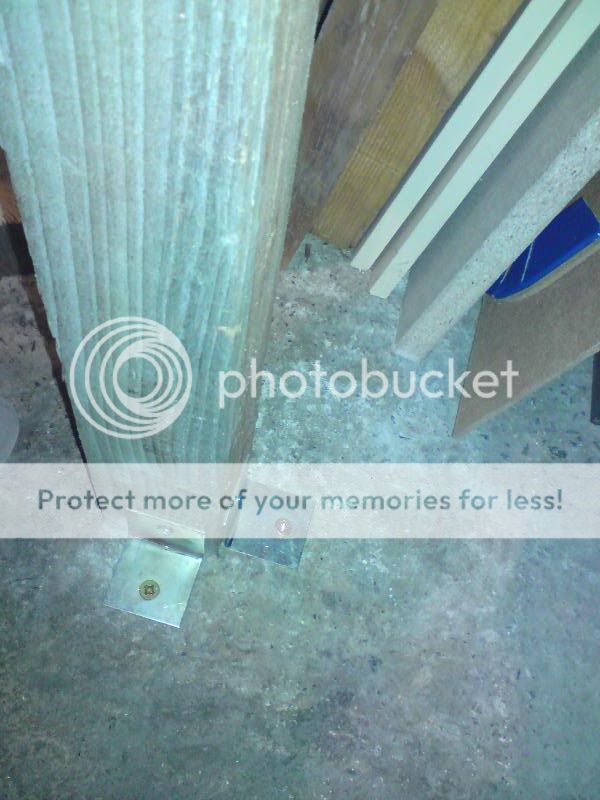
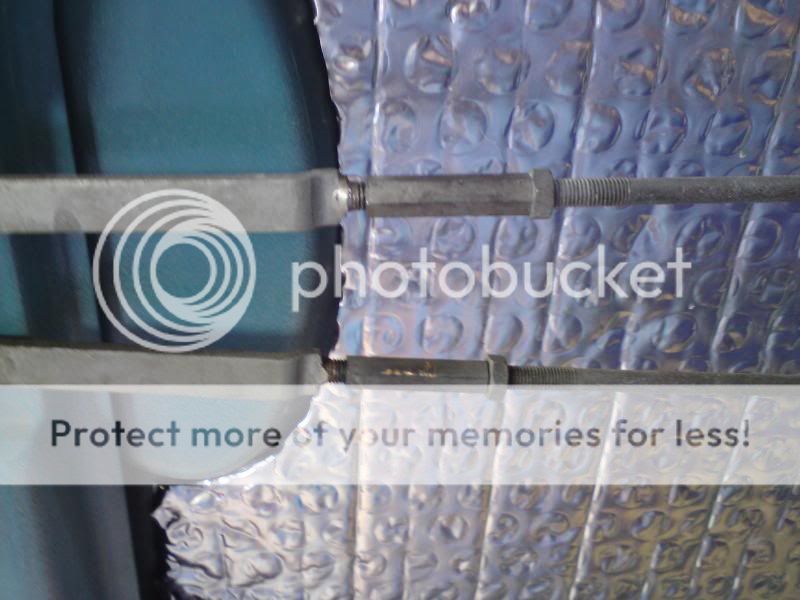
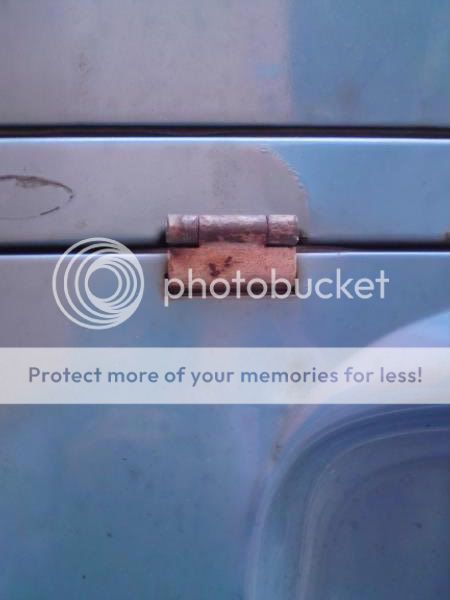
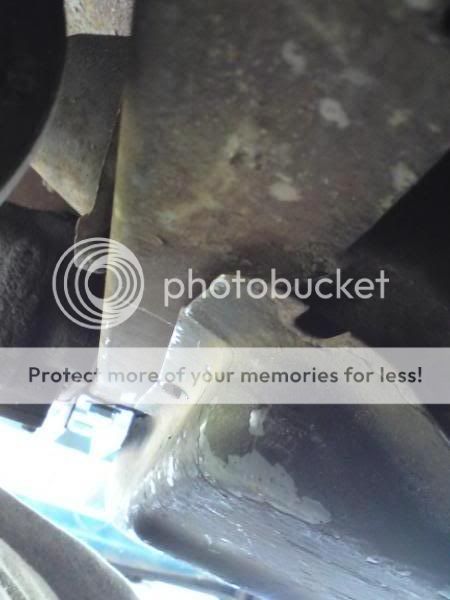
seems I missed a bit :mad:

DSC00243.jpg


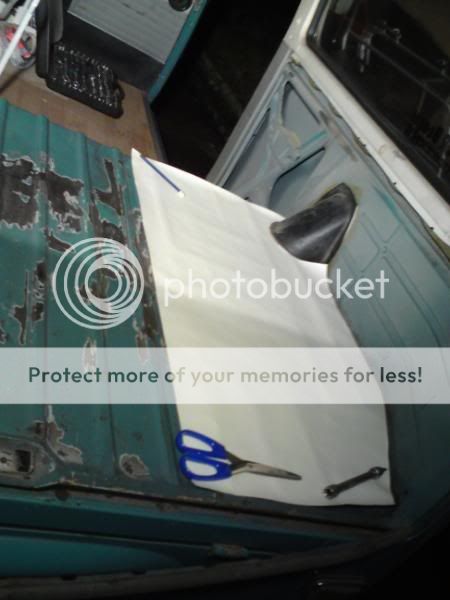
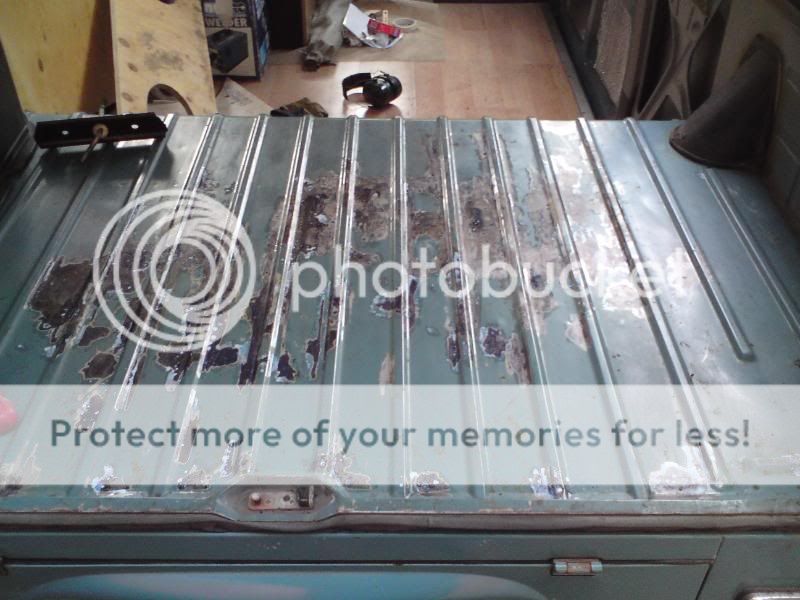
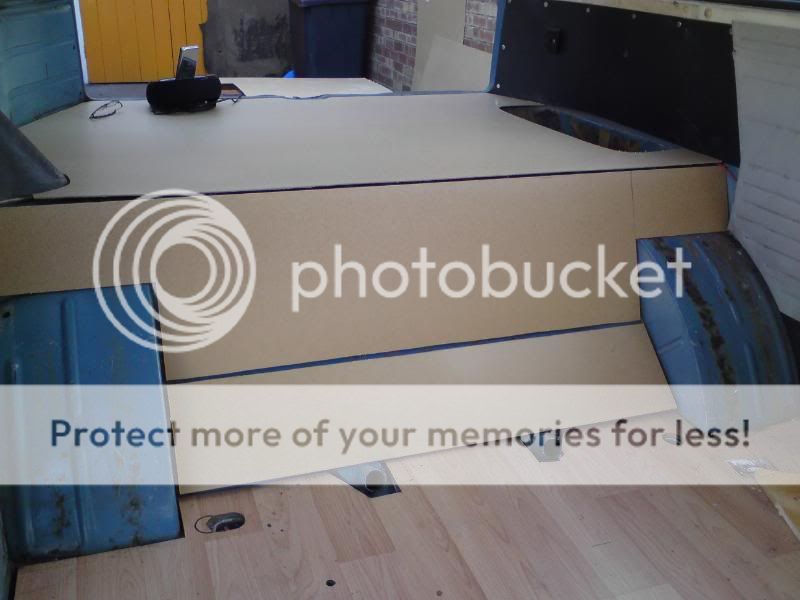
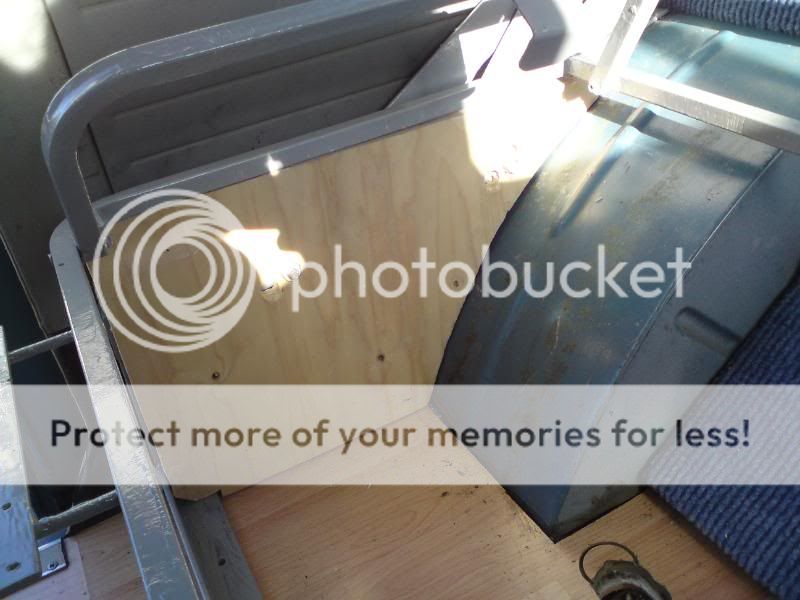
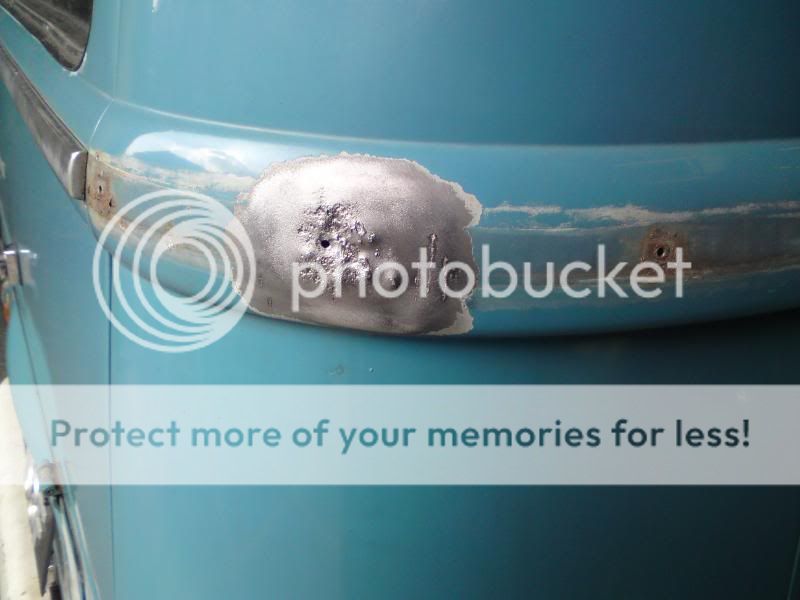
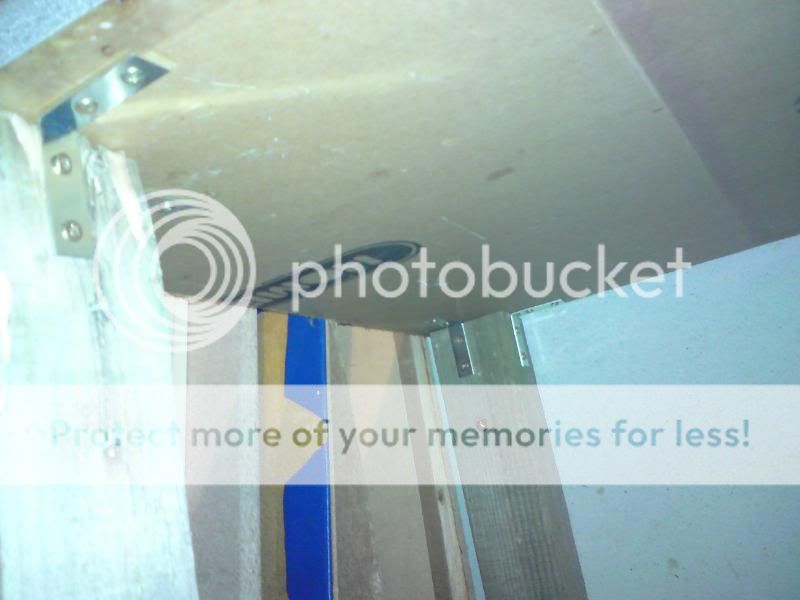
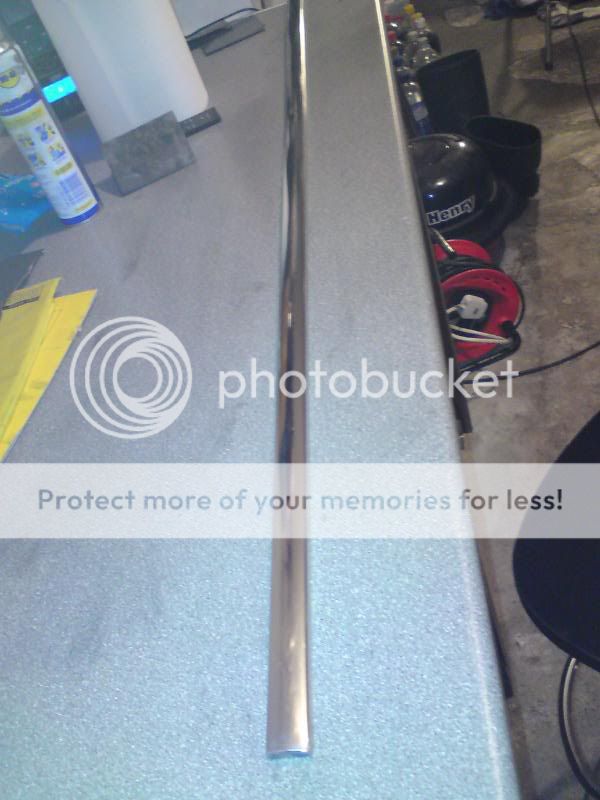
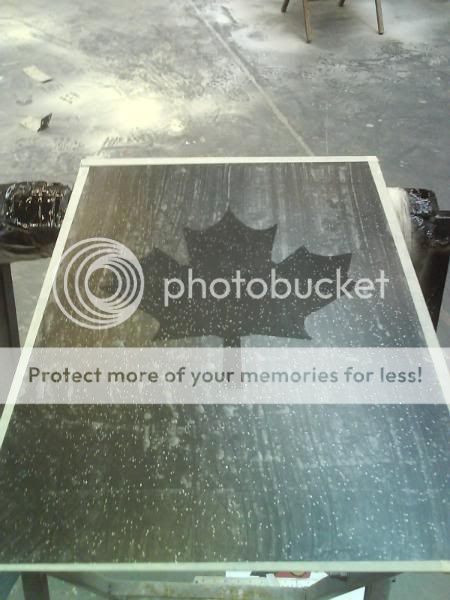
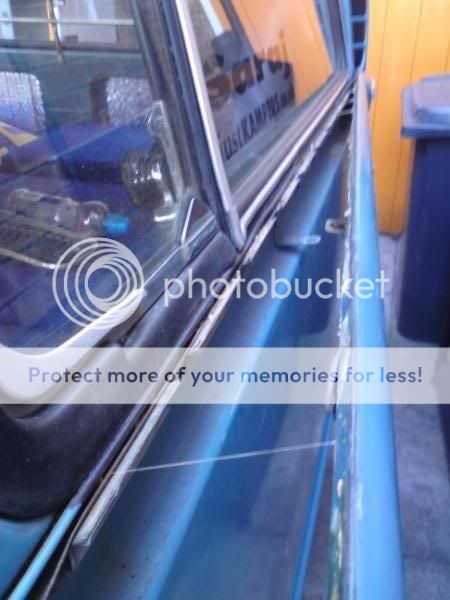
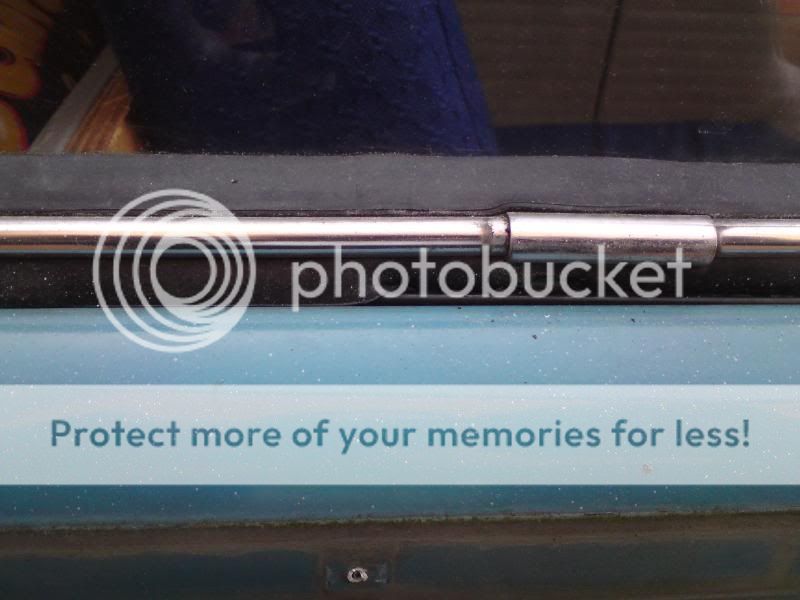
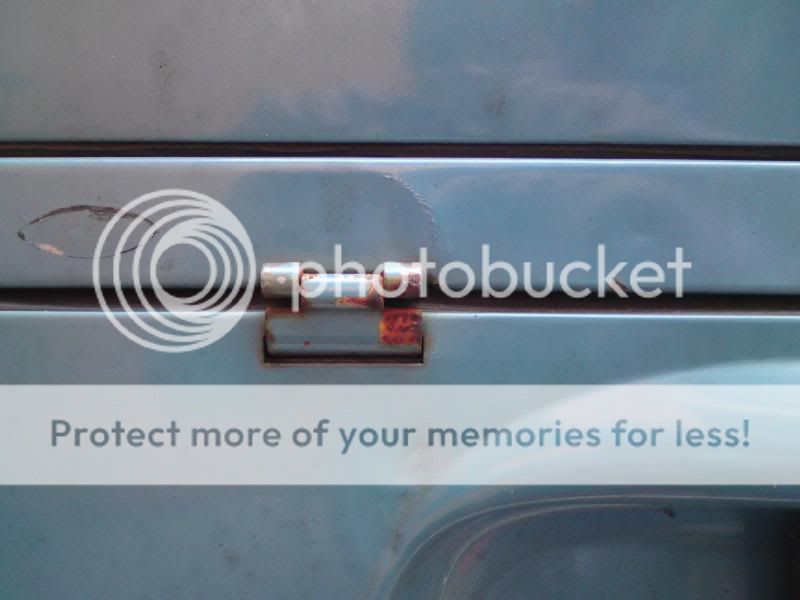
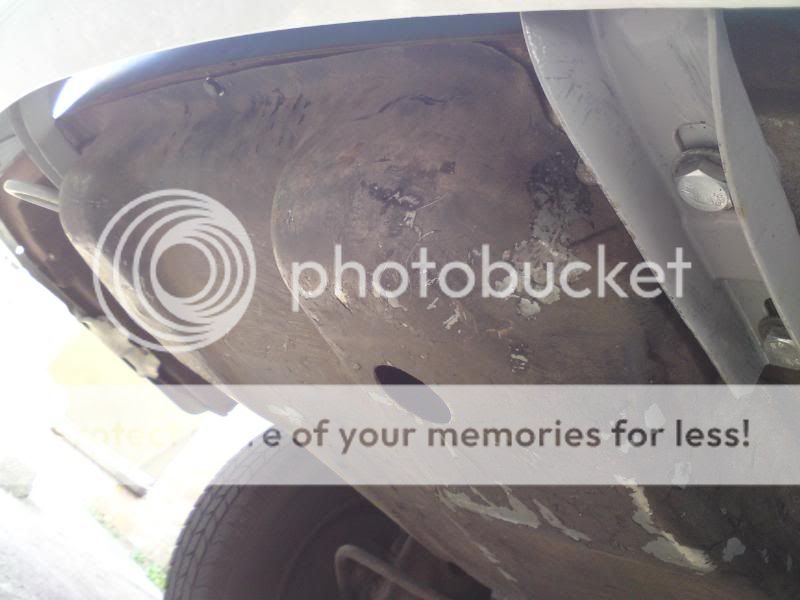
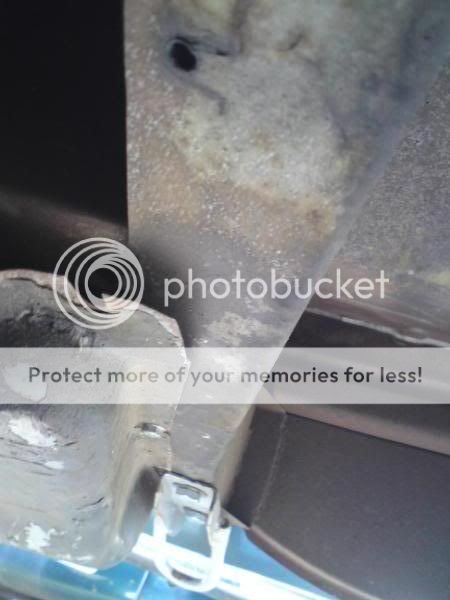
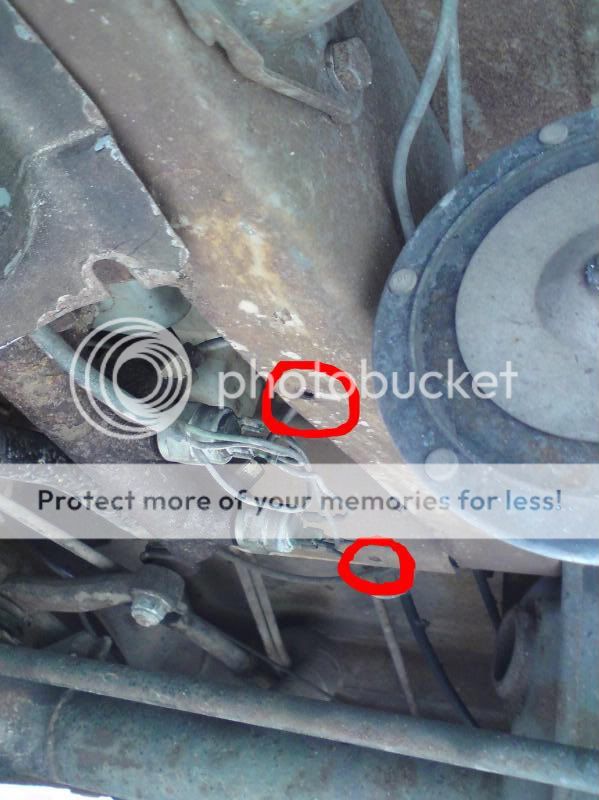
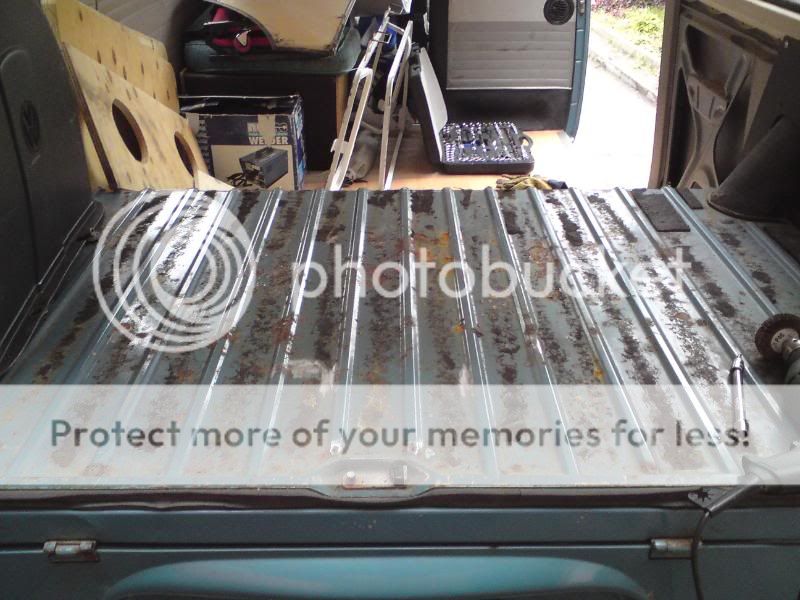
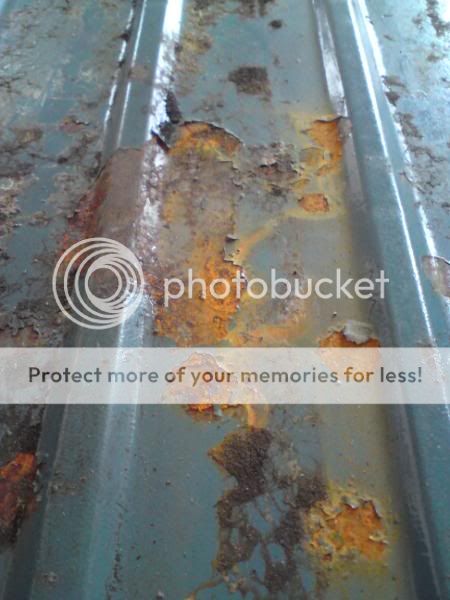
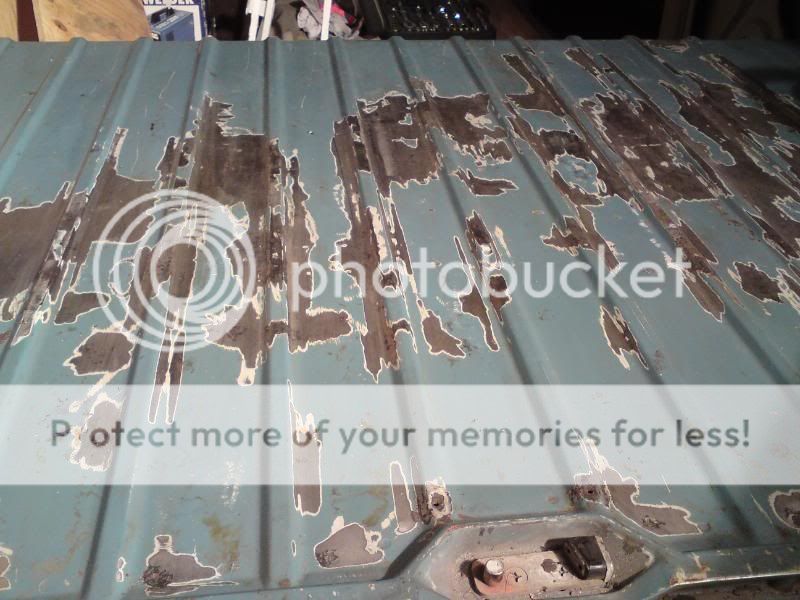
While that was drying I decided to replace the board on top of the engine as it wasn't a good fit and was getting tatty. I took it out and found a load of surface rust :( it's not horrible, ubt I wanted to deal with it before it got the chance to take hold:

DSC00232.jpg


DSC00233.jpg


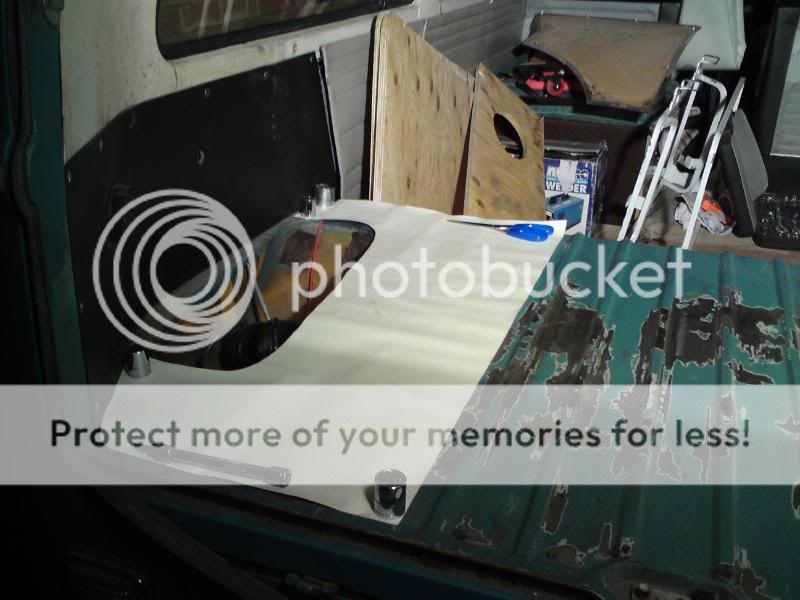
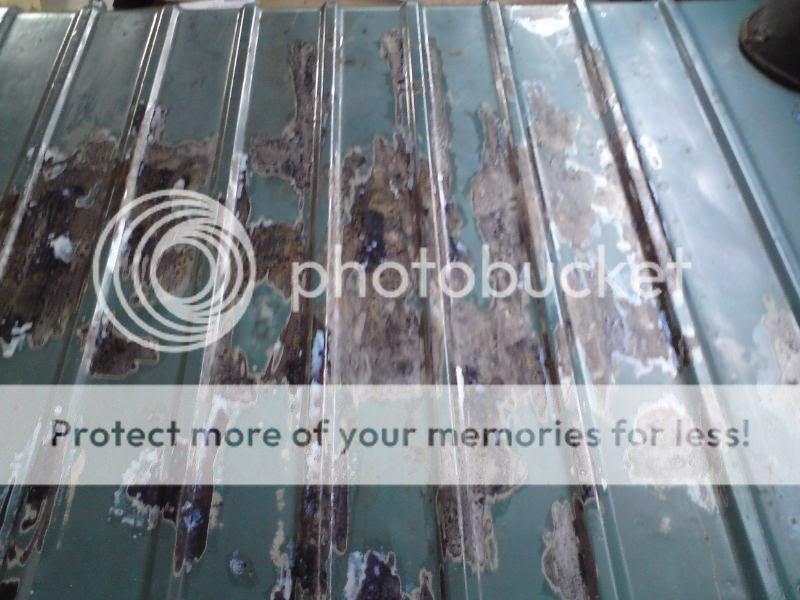
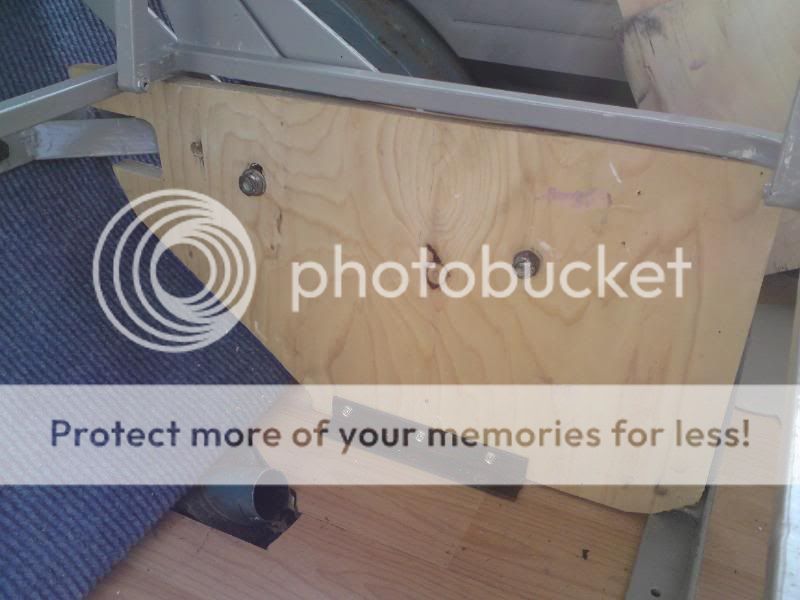
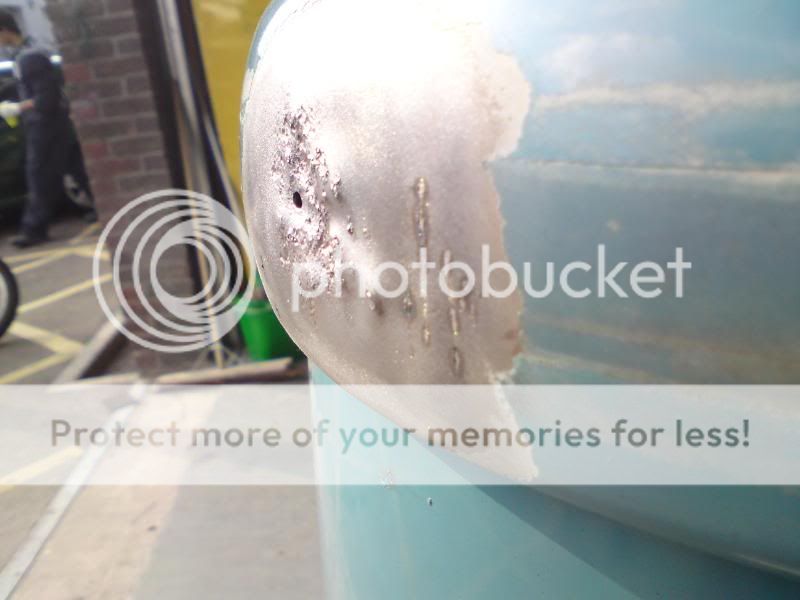
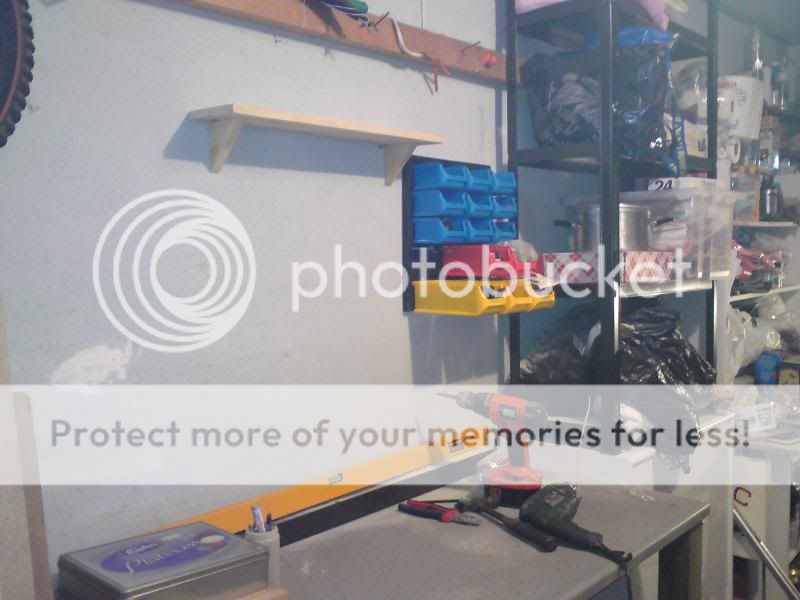
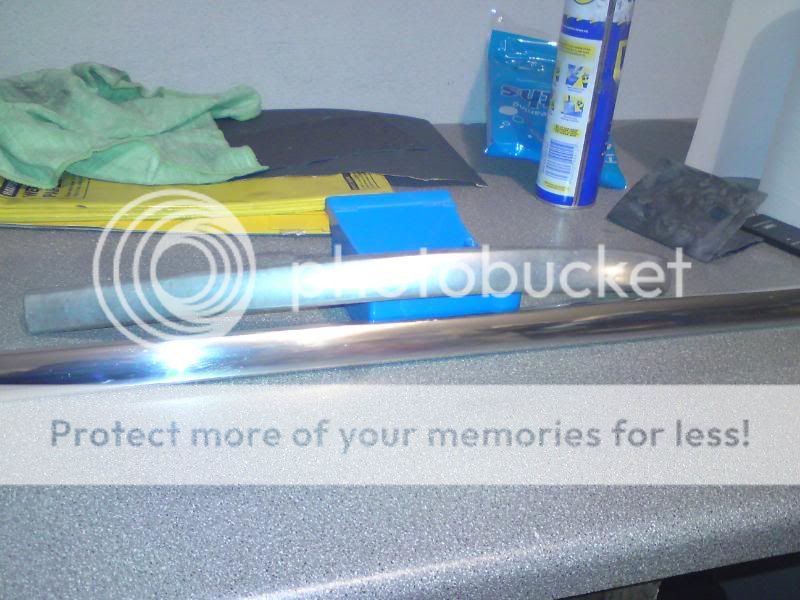
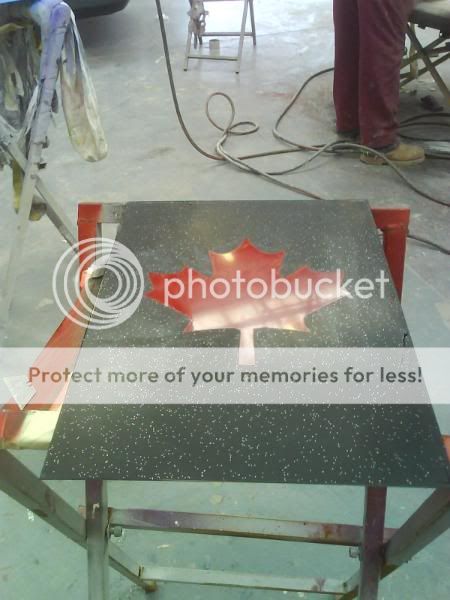
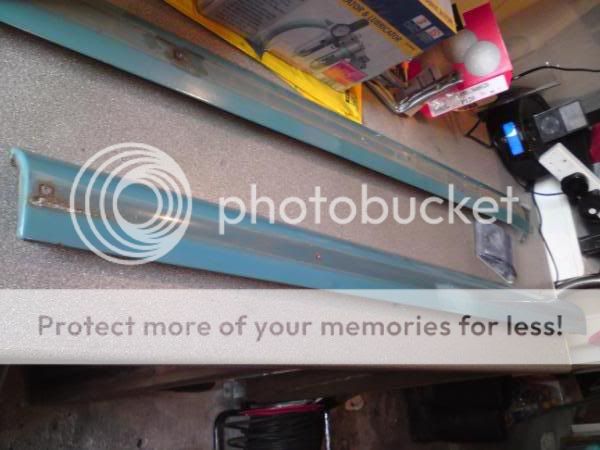
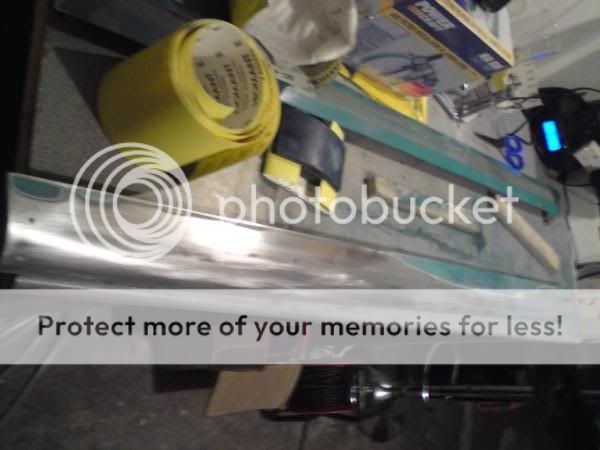
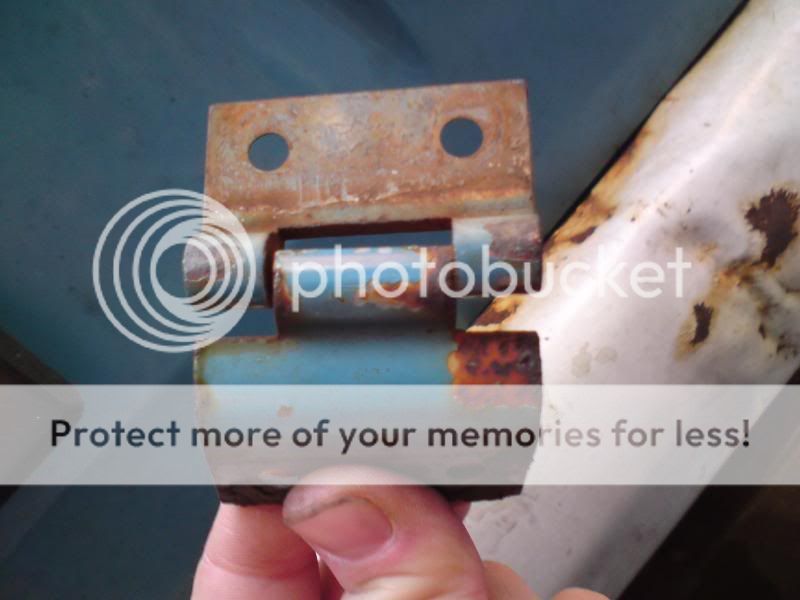
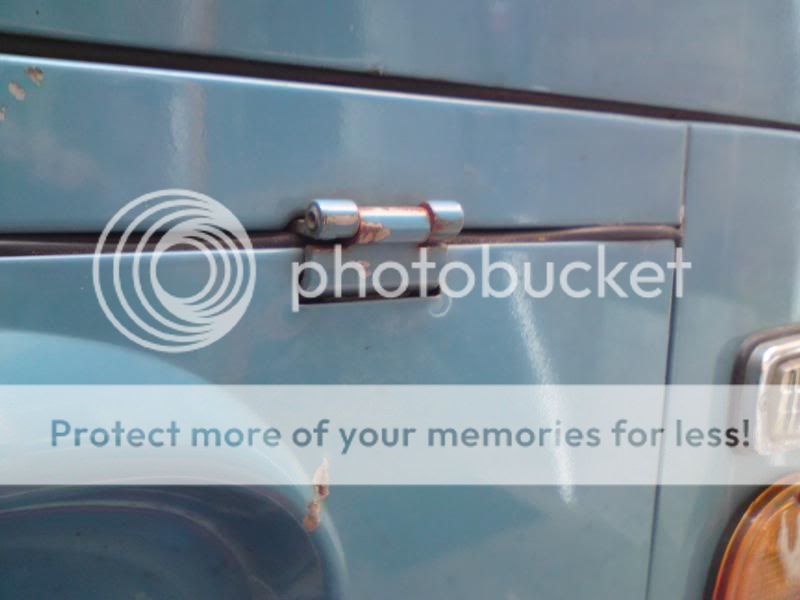
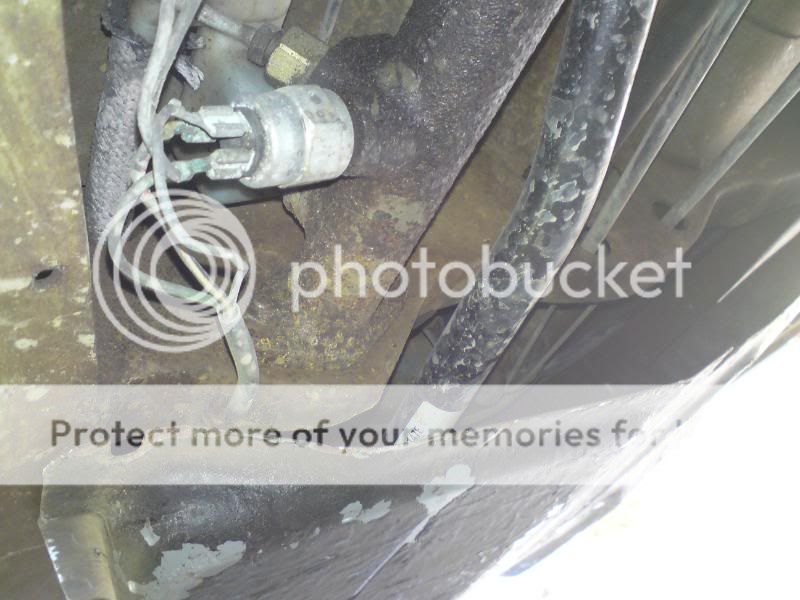
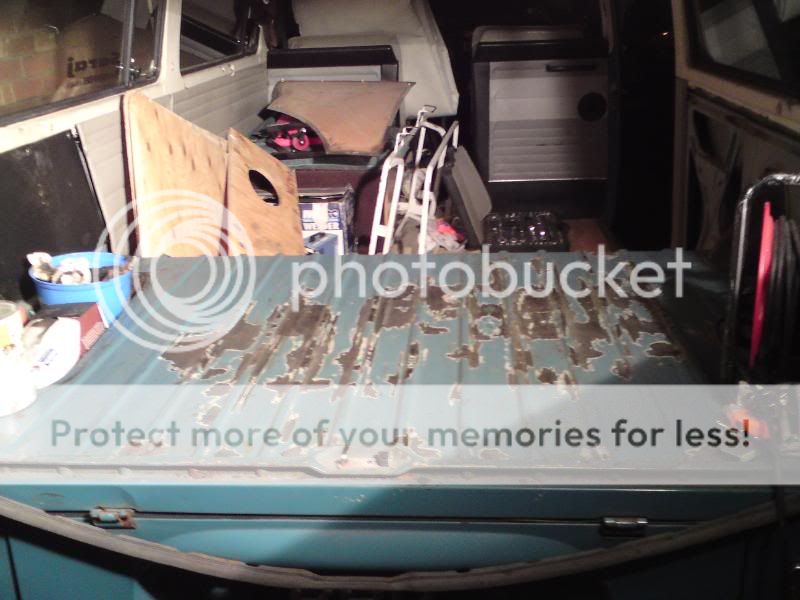
So while I had the drill and flap wheel out I sanded these bits back to shiney metal too:

DSC00234.jpg


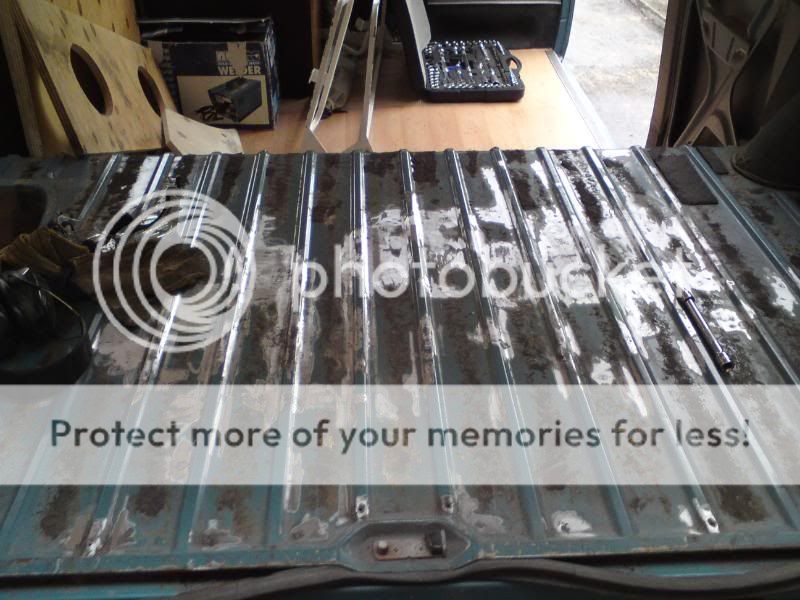
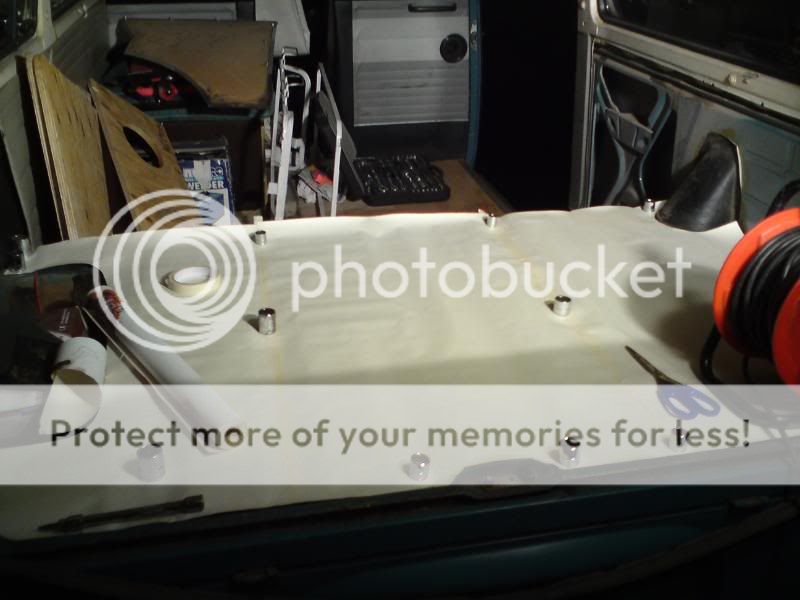
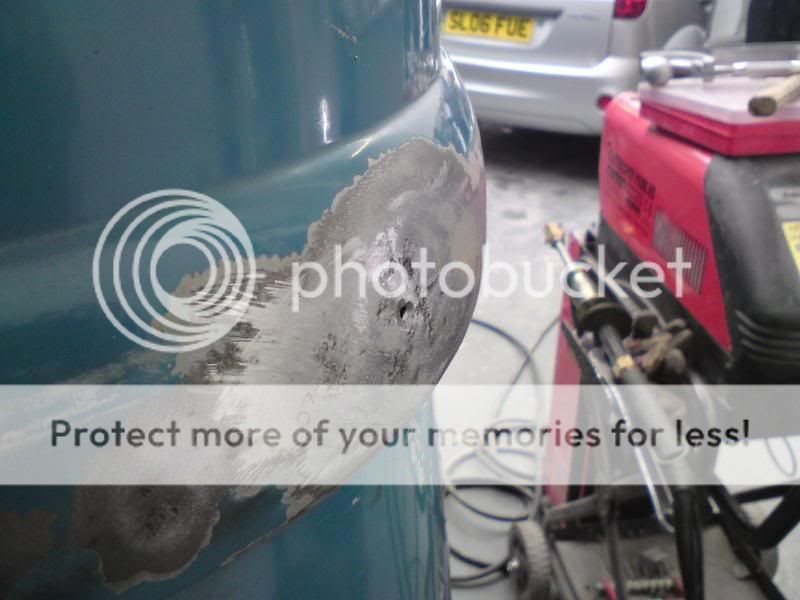
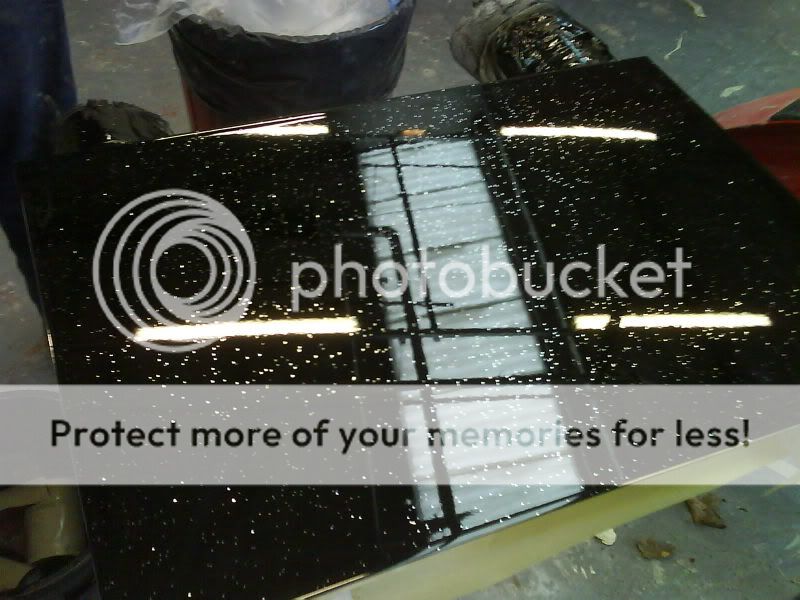
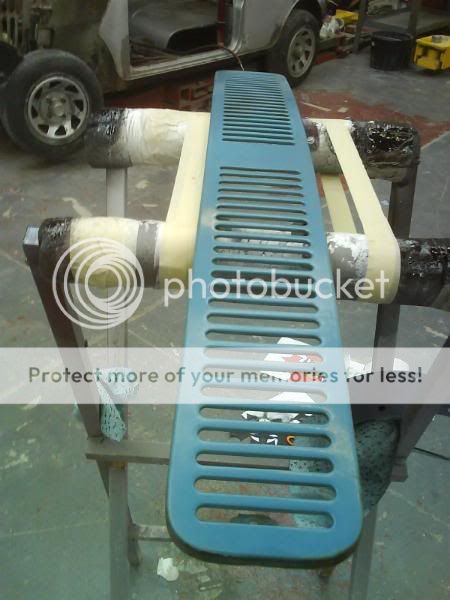
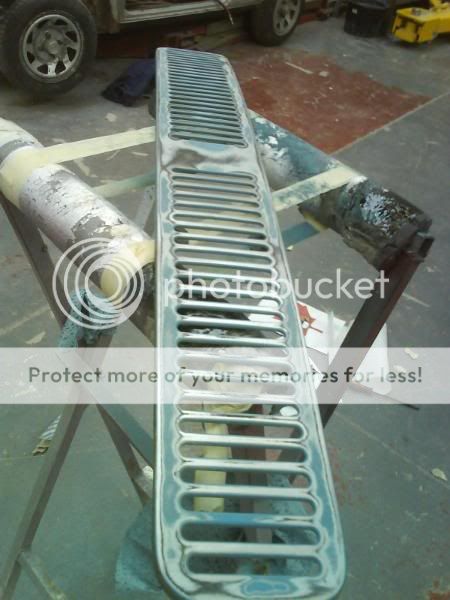
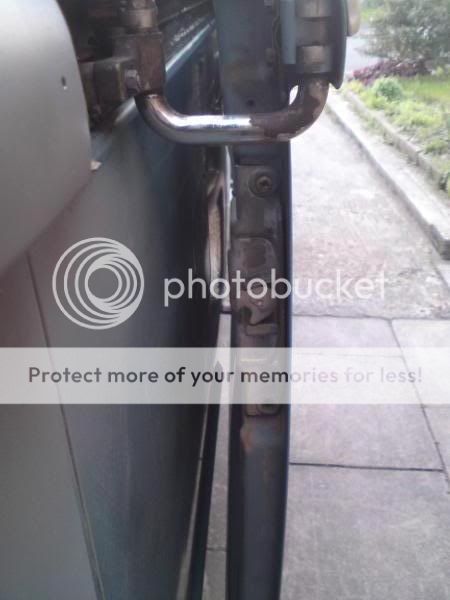
The nasty looking black stuff in the pic is the remains of some sound deadening stuff and the glue that secured it. This was stuck well so I spent hours rubbing it off with thinners, grey scotch and a filler spreader. I lost count of the number of gloves I got through trying to keep the thinners off my hands, but it was worth it in the end:

DSC00235.jpg


DSC00236.jpg
 
It had got dark by then so I didn't get a chance to put any paint on it yet but I did make a template for the new board out of some old wallpaper:

DSC00238.jpg


DSC00239.jpg


and I found a use for my imperial sockets ;)

DSC00240.jpg


tomorrow I need to decide what to do about the paint on the bit I sanded today, It's not going to be visable so in theory it shouldn't matter what it looks like and I don't have any of that blue paint yet. But I want the van to be done right.

I think I'll probably hammerite it for now then when I get the paint for the outside, repaint it then.

I don't have the money to buy the blue paint just yet.

Also tomorrow I should get the rest of the bed frame painted and hopefully fitted, and make the new panel for over the engine bay
 
19/02/2009

Today it was raining all morning so that meant I couldn't cut the wood.

Instead I took the rest of the bed frame apart and sanded and painted it in the kitchen, took forever as our kitchen is really small:

DSC00247.jpg


While I was waiting for bits to dry enough to turn over I went outside and painted over the bare metal from yesterday with Kurust:

DSC00250.jpg


DSC00249.jpg


While that dried I painted the other side of the bed frame, then it had stopped raining so I got the wood out to make the new board, but it was about 4 inches too small so I'll have to get some more wood tomorrow :rolleyes:

I then Hammerited over the Kurust over the engine bay. I will re-do this in the right colour blue when I repaint the rest of the van, but this should protect it for now.

Yesterday I also bought some carpet to go over my new panel (once I've made it)

it looks more blue in real life though:

DSC00253.jpg
 
22/02/2009

I had a busy day on Saturday so didn't have time to update this before I headed off for the weekend so here's the next installment a day late.

I started off cutting out the new panel for over the engine, the template I made earlier in the week worked a treat and it came out a good fit:

DSC00255.jpg


Then I made 2 more boards to go on the slopey bit inside:

DSC00257.jpg


DSC00258.jpg


Once they were cut I covered them in my new carpet. I folded over the edges and stapled it on at the back. I used one piece of carpet for the 2 slopey panels so the hinge at the joint.:

DSC00259.jpg


DSC00260.jpg
 
once that was done I moved onto re-assembling the bed and fitting it.

DSC00261.jpg


With the adjustments I had to make to the frame, none of the wooden boards at the sides or front quite fitted so the all needed trimming to fit and the holes re-drilling so it all lined up, this took ages but it now fits well enough to be useable:

DSC00262.jpg


DSC00263.jpg


They're still not quite right so I'll probably remake them later on, but I'll need to get some more wood for that so it'll keep a bit longer.

I went and got the cussions out the loft and had a quick lie down, just to test the comfyness:

DSC00264.jpg


Then had a big tidy up and hoover, looks lush now:D, eventually all the cussions will be replaced with some that fit better, but I'll have to save up for them and there's other stuff further up the shopping list at the moment.

DSC00266.jpg


DSC00267.jpg
 
05/03/2009

Well things progressed a bit more today :D

I've gone back to exterior work thins week seeing as the interior is now useable again.

Back at college this week after 2 weeks half term and I managed almost the whole day doing my own stuff today as the others in my group ahdn't finished some paperwork.

I got the spot welder with slide hammer attachment thingy out and decided to tackle a dent in the rear corner which had been there since before I bought Hank. I forgot to take any before pics today but you can see in this one, it's right on the corner of the swage line:

IMG_3010.jpg


A bit of careful pulling later and it was starting to take it's proper shape again:

DSC00277.jpg


DSC00278.jpg


I checked how it was progressing with a flexible body file, this showed any high and low spots and smoothed the rough bits from the welder:

DSC00279.jpg


DSC00281.jpg


I also cleaned up the other surface rusty patches where the trip clips attach before applying some filler:

DSC00282.jpg


There were 3 or 4 thin coats of filler to get the correct shape back.

DSC00284.jpg


DSC00285.jpg


Then I etch primed the bare metal and zinc primed the rest of this area:

DSC00286.jpg


DSC00291.jpg


Still plenty more prep to do but this was one of the "nasty" bits so I'm very happy with how it went :D
 
08/03/2009

Onto the weekends progress,

There hasn't been much van work going on this weekend, however, I haven't been sitting around twiddling my thumbs.

Over the past few weeks my dad and me have been having a big clear out in the garage with the view to making it more useable and less like a pigsty. 3 trips to the tip last week cleared some space and new shelving went up.

This weekend saw the making of our first workbench :D

DSC00294.jpg


Big thanks to The Braincell for the old kitchen worktop :D

The legs are made of old fence posts and they're screwed to the floor, wall and worktop:

DSC00297.jpg


DSC00296.jpg


then I put up some storage bins and a shelf:

DSC00299.jpg


and finished off with mounting the car ramps on the wall out the way:

DSC00300.jpg


We're having some sockets installed by a proper electrician in the next couple of weeks, and a vice and bench grinder are on the shopping list.

Once that was finished and the tools put away I set to work using the bench :D

I've started polishing up the deluxe trim off hank so it'll be all shiney ready to put back on once he's painted.

Because it is annodised (sp) I had to sand that coating off with wet & dry paper using WD40 as a lubricant. I used P440 grit to get through the coating, then P1200 to get the scratches out before polishing up with metal polish.

it's slow work, but looks awesome once done :D

DSC00302.jpg


This one shows the difference it makes:

DSC00303.jpg
 
16/03/2009

after a few days with no time for van stuff I had to go away for the weekend too so things haven't moved on much.

Today I had a day off so got some more done :D

I took the front grill off at college last Thursday while I was waiting for this to dry: (still not finished)

DSC00260.jpg


DSC00262.jpg


DSC00265.jpg


and then set about sanding it:

DSC00263.jpg


DSC00264.jpg


Then ran out of time so continued today.

It's in pretty good shape overall so just needed to bare metal the bits with surface rust. I decided to try out my new spot blaster as it's a bit fiddly for sand paper and this is how it came out after about 4 hours!!:

DSC00266.jpg


I couldn't get the blaster to do the insides of the grills so I'll get the paper out tonight and give them a going over.
 
I've been beavering away again today :D

Started off by finishing the sanding on the grill, it took forever, those little gaps are very fiddly and there was 92 of them :eek: got there in the end though and then gave it a coat of etch primer, first on the back, then the front:

DSC00308.jpg


DSC00309.jpg


While that was drying I thought I'd do one of those "10 min jobs" :lol: taking the track covers off was a complete ball ache, I don't think the drivers side one had ever been off before! and the rubbery trim bit was glued on:

DSC00305.jpg


A hammer and a block of wood later and it was eventually off:

DSC00311.jpg


The outside is in very good shape, but the underside is a little rusty in places:

DSC00307.jpg


By this point the etch primer had dried nicely so I sprayed on some zinc primer aswell and set it in the warm sun.

I then moved onto the track cover behind the sliding door, This was an arse of equal proportions, the new window rubbers i fitted last year were the main problem as they over-lapped the top of the tracks:

DSC00310.jpg


I then started to sand the first track cover, it's in the best condition so doesn't need too much work, the other side will need some hammer action:

DSC00330.jpg


DSC00311.jpg


When I got bored of sanding I decided to finally get around to adjusting my sliding door to try and make it shut better. The outer handle is supposed to pull up once closed to pull the back of the door in the final click, but that doesn't work.

I played about with the striker plates and other ajustable screws and bolts but still can't quite get it right.

There is a screw missing off the mechanism at the back of the door so I suspect that may be playing a part:

DSC00315-1.jpg


but it does sit a bit better in the hole now:

DSC00317.jpg


DSC00318.jpg
 
By the time that was done the primer was dry so I put the grill back on, I figured on the front of the van is probably the safest place to keep it for now :lol:

DSC00313.jpg


DSC00314.jpg


I noticed today just how different the colour is to the original, once I took the deluxe trim off the track covers it was really quite destinctive:

DSC00312.jpg


Thats it for today, hopefully more might happen tomorrow..........
 
18/03/2009

More did happen today :D but I got so engrosed in what I was doing I forgot to take any pictures.

I sandblasted the back of the good track cover then finished sanding the front. It is now in etch primer so I should hopefully get a few coats of highbuild on it tomorrow :D

I also did some more work on my custom panel at college, this was it last week:

DSC00265.jpg


I've now added the brown for the beavers face and the white on the helmet and teeth:

CCR_logo_no_text1.png


Hopefully tomorrow I should get the really fiddly black done, then finish off with the white for the eyes and nose followed by a good dose of lacquer to seal it all in :D
 
21/22/03/2009

got loads of little bits and pieces done since the last update but can't do one now because I'm ging camping tonight, just because I can


ok, I'm back from my little jaunt now so here's what I've done.

I continued to try and figure out the sliding door, it's never shut properly without a good slam and it was doing my head in.

My friend Jeff pointrd out that as the little lock latch on the inside was missing so I took one off a RHD mech that I had. It was held in with a small pin so I had to go and get a small enough punch to push it out. here it is fitted:

DSC00333.jpg


it still doesn't always stay horisontal but it's better than it was and now locks from the inside:)

I also adjusted the long bars that run inside the door so the handle pulls the back of the door in nicely:

DSC00336.jpg


Then I moved onto the dodgy engine lid hinge:

DSC00337.jpg


I took it off and discovered it was a bit more worn that I thought:

DSC00339.jpg


and it fell apart in my hand:

DSC00342.jpg


I then fitted another hinge, it's the wrong colour but is all in one piece and works a treat :D

DSC00341.jpg


I'll see if I can free up the broken bits one my original hinges and hopefully re-pin them later on.
The other side could do with refreshing at somepoint too, but that's not as bad:

DSC00338.jpg


Once I'd lined up the engine lid with the new hinge I set about fitting the front belly pan I picked up for a good price at oktoberfest in Cheddar.

I'm not certain it's the right one for my van as there are extra screw holes in it that don't come anywhere lining up with the chassis, but I got it on and it's not going to fall off anytime soon.

the holes at the front all lined up nicely:

DSC00343.jpg


DSC00345.jpg


it took some persuasion with my hammer to get the sides lined up but they're secure now too:

DSC00347.jpg


DSC00346.jpg


it's just the back edge I'm not certain about:

DSC00349.jpg


as there seems to be more screw holes further along:

Holes.jpg
 
22/03/2009

I decided it was about time I used Hank for a camping trip so once I'd cleared away my tools yesterday I hit the road and went to Slimbridge in Gloucestershire. It's not too far away and the campsite there is out the back of a nice pub :D

here's where I woke up :D

DSC00355.jpg


There were 2 other early bays there last night too :D
 
Nice looking bus Sarah.
Great tip on how to clean up deluxe trim. Will be having a go at that now, thanks! :)
 
leon said:
Nice looking bus Sarah.
Great tip on how to clean up deluxe trim. Will be having a go at that now, thanks! :)

Thanks,

feel free to come round and polish the rest of my trim, only 11 pieces left to go :lol:
 
sparkywig said:
Nice looking bus, Sarah :D

Thanks Sparky. :D

here's todays update:

Yesterday I flatted the primer on the front grill and good track cover, unfortunately I burnt through the primer on the track cover in a couple of places so I re-primed it in the afternoon.

Today I set about beating the other track cover back into shape. it's the top one in this pic, you can see where it's bent at the edge as the sliding door wasn't closing right and kept catching on it.

DSC00311.jpg


I got that quite close to straight then had to finish off the smoothing with a thin skim of filler at that corner and another small patch about half way along the bottom edge.

I then sandblasted the inside as it looked like this:

DSC00331.jpg


once it was back to metal I painted the inside with a light coat of etch primer then 2 heavy coats of high build primer. I ran out of time then so it's still in the booth at college drying. I'll go and pick it up tomorrow, and hopefully next week I'll be able to prime the other side.
 
Saraj said:
21/22/03/2009

the holes at the front all lined up nicely:

DSC00343.jpg


i think where that screw is,is a drain hole for the front of the van,i am usually wrong
mind,but cleaned mine out when it first came here and had half bucket of smelly water on my lap :x

rich
 

Latest posts

Top