Hovis, my ratty1970 Deluxe Aussie bay turbo

Early Bay Forum

Help Support Early Bay Forum:

This site may earn a commission from merchant affiliate links, including eBay, Amazon, and others.

kevdonlon

Well-known member
Joined
Dec 12, 2006
Messages
108
Reaction score
0
Location
Sunny Stoke
Hi guys,thought i'd introduce you to Hovis,my beloved early bay,hope you like him

A brief history goes a bit like this-

It all started after finding a mint low mileage bay for my sister earlier in the year.
I went to VW Northwest at Tatton park just for a mooch around and got taken by my lovely bay "Hovis"
He had been imported from Oz earlier in the year by one of my brothers mates and he had basically started things off with a narrowed lowered beam and a set of Radar replicas.I had a quick look around,badgered the Mrs for a few days then went to see him with an offer he couldnt refuse.
I became the proud owner a few days later,much to the disgust of my mother whose house i parked him in while i made room at home.
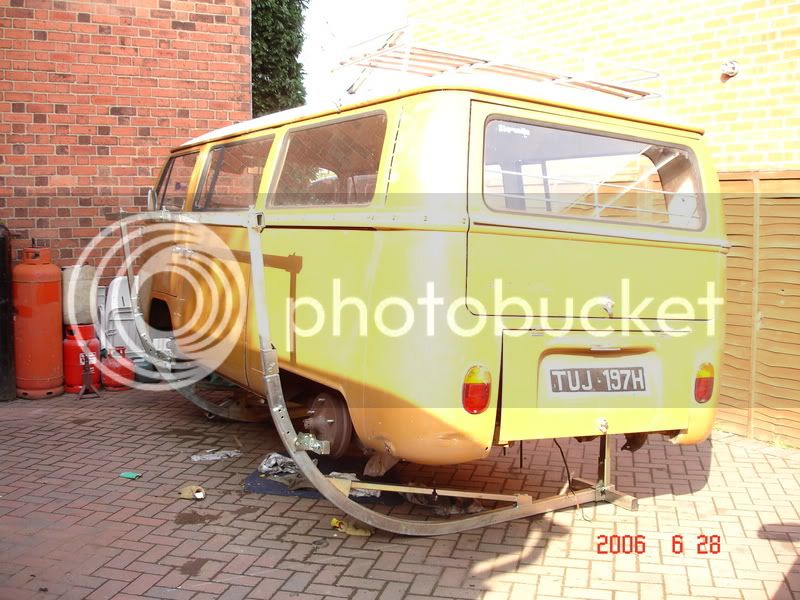
Here he is as delivered
DCP_0090.jpg


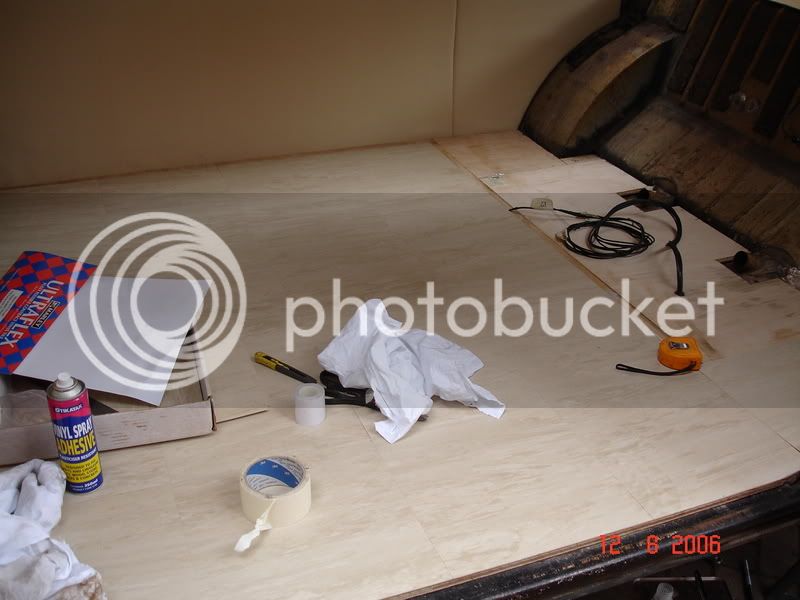
I didnt really do much with him then for a couple of months whilst I collected bits from mainly ebay or shows.
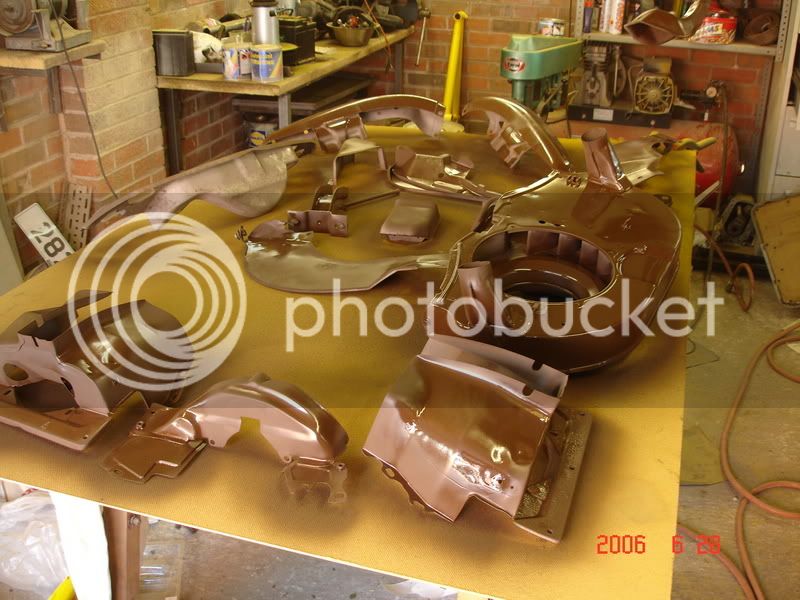
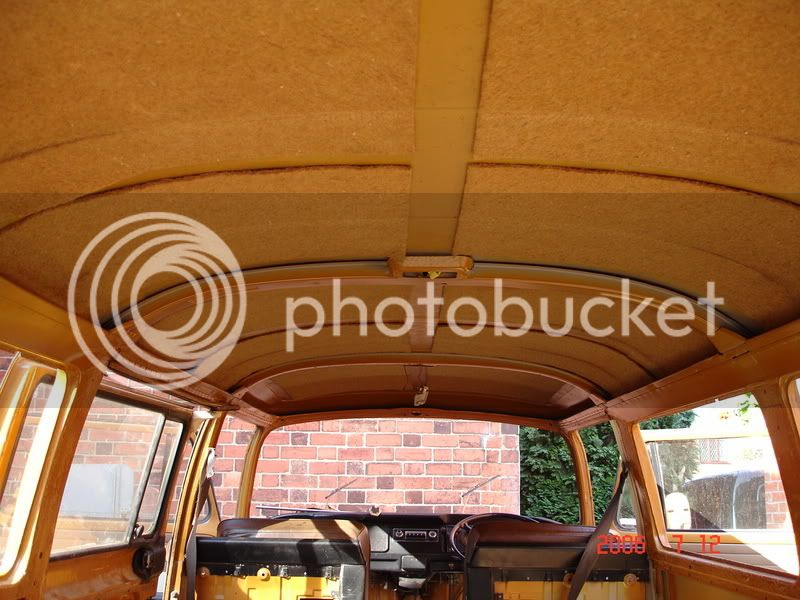
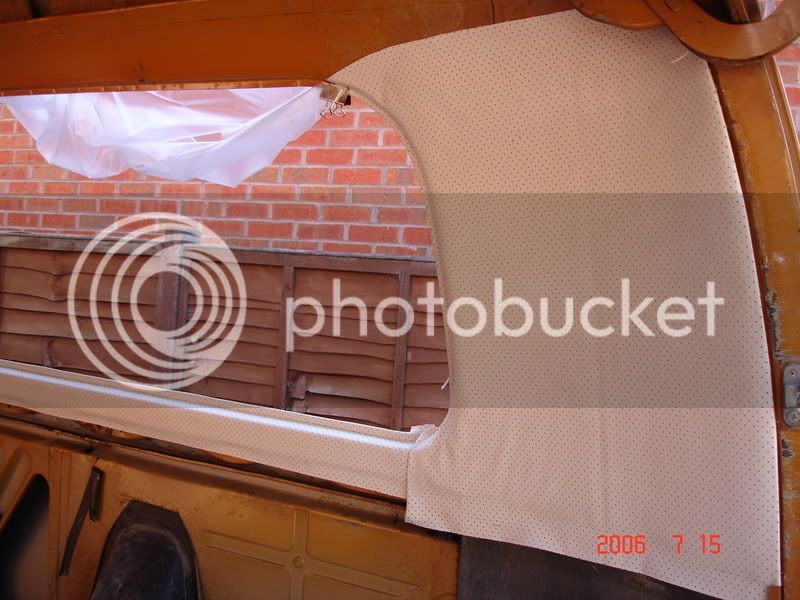
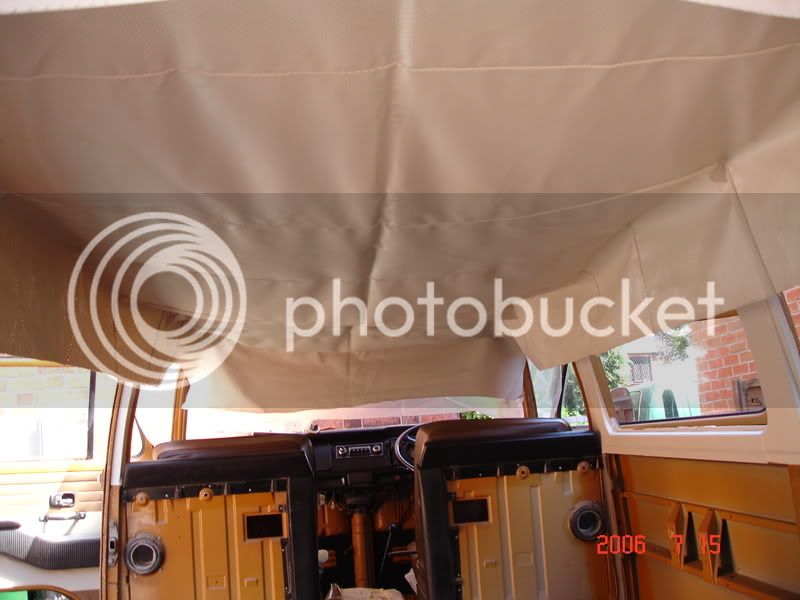
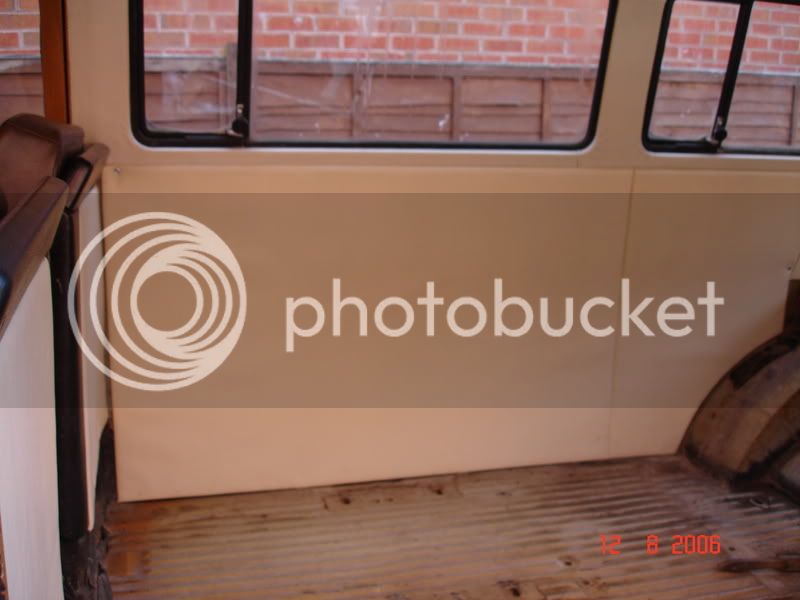
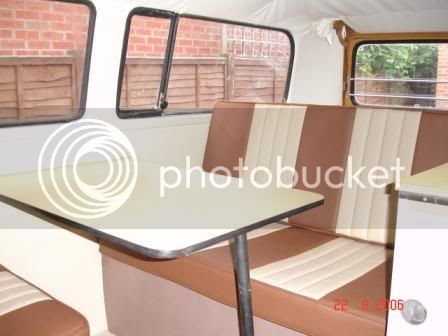
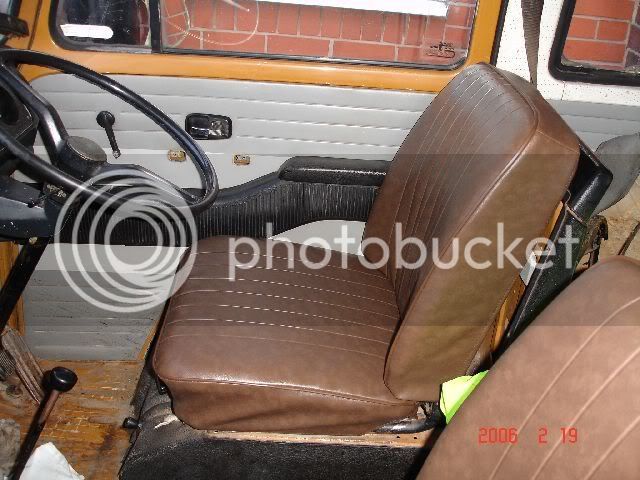
I started the interior with a set of Ebay bargain TMI seat covers(£36),that set the tone for a Brown interior anyway
DSC00326.jpg

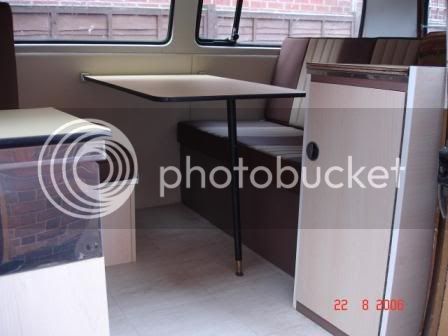
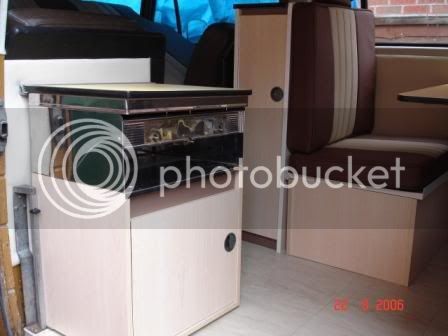
Things got bought and stored,deadlines missed through work or laziness untill I decided that after being invited to a Deluxe line up at Vanfest that i'd better pull my finger out if it was ever to get finished.
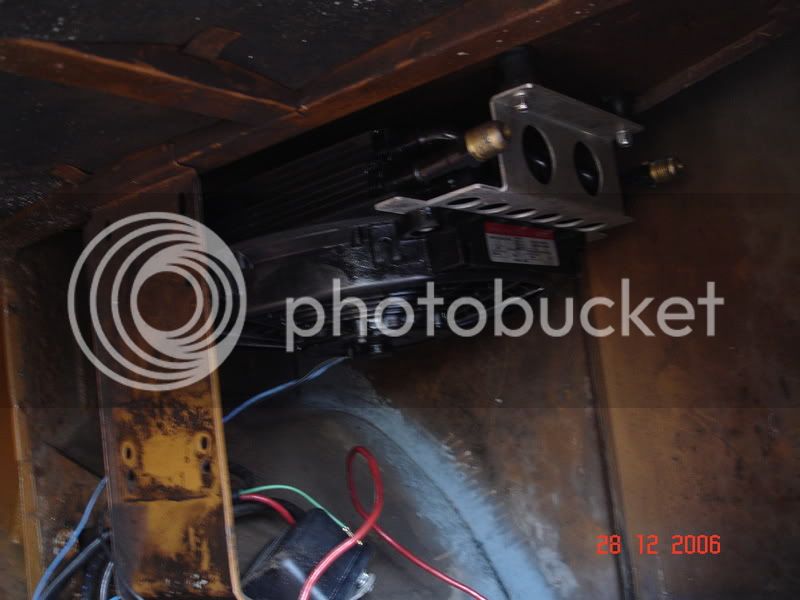
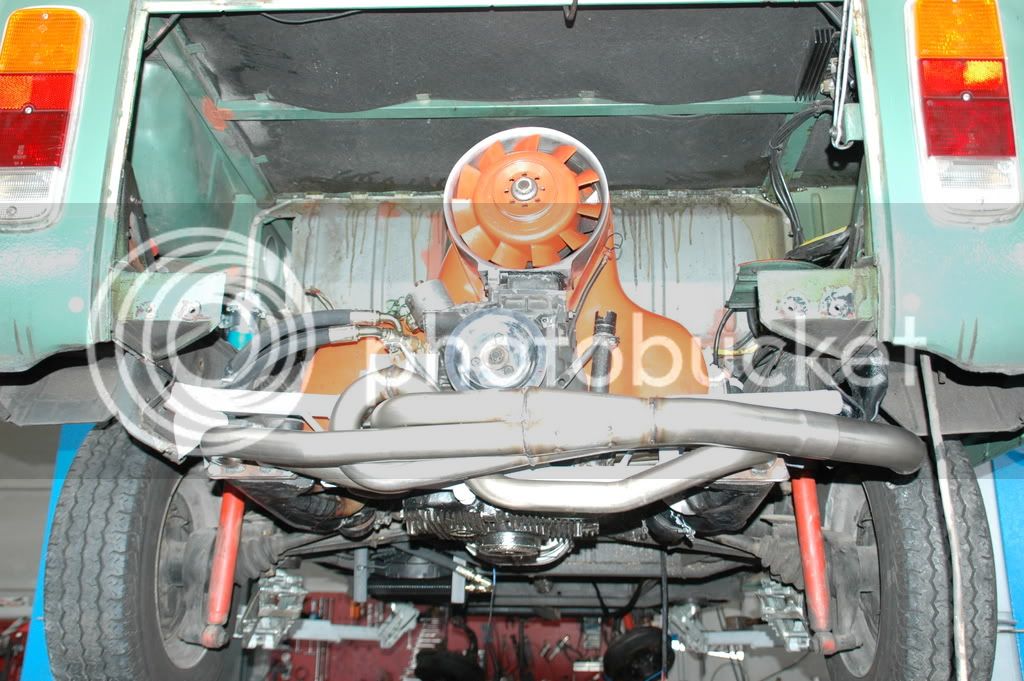
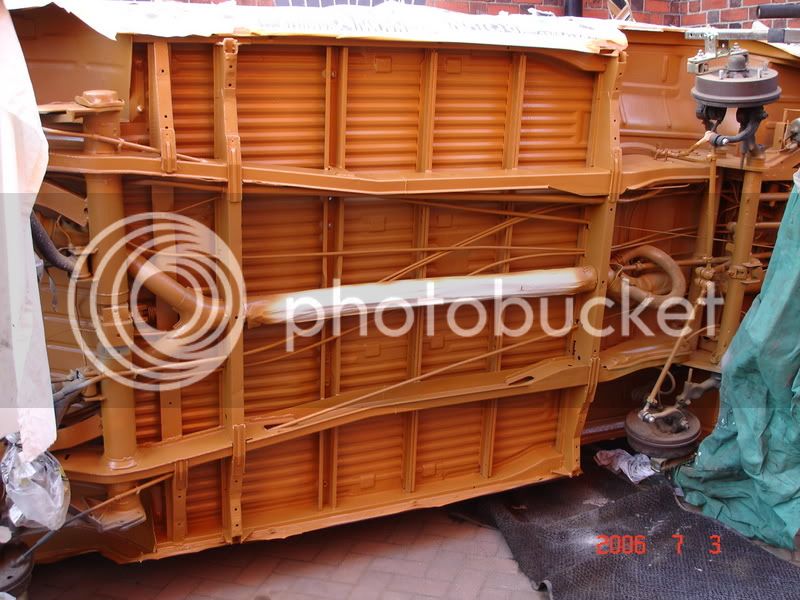
Now i am not the kind of person to take on a massive restoration,i can do it but dont get much pleasure from it,thats why i bought this bus,apat from the usual battery tray,it was and is totally rot free underneath,i decided that this was the way it was to stay and pinched my mates roller from his Capri restoration in order to protect Hovis properly
DSC00718.jpg

He was thoroughly cleaned,prepared,then several coats of Finnigans No1,primer,stonechip,more primer then topcoat.Shouldnt rot now.I was very carefull not to touch any of the actual bodywork,just filled him full of waxoil to preserve that "patina"
DSC00755.jpg
 
After the underneath was done i painted all the tinware to tidy the engine bay

DSC00713.jpg


This was then painted gloss black,the engine was cleaned and as it was an ok runner reassembled and refitted

Next on the list was a new headlining,this was the job i was dreading the most as it was to be done outside,I knew it was going to take more than a day so i watched the weather forecast closely for a few days sunshine before starting,luckily the sun came out so all the windows were popped and work began,the great thing was that there were no nasty surprises below the rubbers that needed repairs,oh how i love hot climates

The strip out
DSC00811.jpg


Starting to replace
DSC00821.jpg


Bit saggy

DSC00828.jpg


Getting there
DSC00830.jpg


thanks to whoever gave the tip of getting loads of bulldog clips,worked for me :D

Time to start the interior,starting with the floor
DSC00926.jpg


Then the panels,for these i got some parchment vinyl from Ebay,hardboard from B&Q,glue scissors and Bob's your uncle
DSC00922.jpg


I had previously decided that a late Devon Eurovette interior is what i wanted,it may offend the purists but after seeing how practical it was in my sisters bay (swing out /removable cooker and removable buddy chair,all important in a tin top)i bid and won one on,yes youve guessed it Ebay.
Now a word of warning,before you bid on something,make sure it is as described,i travelled almost 280 miles to pick this up and it was basically scrap,every piece of wood had swollen with damp and all the plastic coating had fallen off the rock and roll bed.
But as i've said,it was the interior i wanted so a bit of lateral thinking was needed,I have a good friend who fits bedrooms for a living and he has plenty of "ahem" spares laying around,so into the garage we went with the "spares" and using the old units as templates made new ones cleaning the hardwear as we built them up.
 
After a very poor attempt at upholstery and after my mum gave me some money as a gift when she emigrated i decided that i would have the upholstery professionally made.
J&S Upholstery made the bed cushions,the buddy seat cushions and the headrest(genuine Devon) for a dead reasonable amount and i can quite honetly say they were a treat to deal with.
Here are some shots

DSC00952.jpg

DSC00953.jpg

DSC00954.jpg

Not too shabby if I do say so myself

Everything got reassembled in anticipation of Vanfest,the only hurdle was the dreaded MOT
Unfortunately he failed on his first attempt,a few things were hastily ordered but things were looking grim as work was really busy and time was really short,its times like these when you realise who your friends are,unknown to me,my lovely sister and girlfriend had contacted good friend and general VW guru John Walklate (63Ragtop)he got the bus prepared for its mot on his day off and took it back for its retest while i was at work,i can honestly say that i am so gratefull as i had been working flat out everyu evening and weekend and had just about lost faith.
We finally made it to Vanfest,camped with friends,got drunk and had a brill time
Here is our "camping photo"

DSC00990.jpg


Our display photo
DSC00980.jpg


And a photo with my sisters van at Vanfest just before we came home

DSC01032.jpg


The journey home didnt go without drama,we lost 2nd gear and the brakes started to pull heavily to one side,no bother though as these will be sorted in the next phase of alterations........

the future,or present actually
John 63ragtop Walklate has built me a new 1776 engine,to this i have ammassed all the parts for a diy turbo conversion,this includes a new GT15 turbo,recon Renault 5 turbo carb,regulator dump valve etc,i have also had the gearbox rebuilt with a 4.57 ring and pinion to make the turbo work harder and also give a better cruising speed.
I am currently developing a wide 5 vented disc conversion for the front as i have access to some of the best motorsport engineers in the business who have spent time working with parts i have provided and between us we have developed a billet hub that fits a vented disc,huge caliper but without an increase in track,and all the parts are well up to the task of stopping a fully laden bus before anyone asks,all this for a lot cheaper than a bought alternative,more pics to follow.
I hope you have enjoyed reading this thread,please feel free to comment,good or bad
cheers kev
 
Brilliant :D
Nice work and the brakes sound very exciting - can't wait to see them.

Well done and wellcome
 
Wicked bus mate.
If one has to leave here at least it went to a good home! :wink:

Love what you've done with it. Just like I plan to do to my panel.... :D
 
mmmmmmmmm hovis!!!!!! i can smell warm bread already!! nice work mate you've done a great job there looks the shnizz!!!!! head lineings are fun arn't they!!!! (gravity sucks) im loving the bus and will keep an eye out for a closer look at the shows next year!!! 8)
 
Bus looks good. 8)

I'm seriously thinking about investing in one of those body roller things. They look really useful.
 
Ace bus dude! love the work done, lots of good hard graft!

I am sure that I saw you at Vanfest, must dig out me photos 8)
 
love the bus m8, the Interior colours and exterior colour goes together really well
 
I could have sworn I posted a reply in this thread... :?:

anyway, welcome aboard kev :D
 
As I have started this thread i will try to keep it updated with things that are happening.
Christmas has come and gone,bad weather and more laziness have hampered progress,I have the engine still in the garage waiting for the tinwear to be reassembled but before that goes in i want to sort the fuel tank in anticipation of the turbo conversion.
I have watched the many posts on turbocharging with interest,picking up hints and tips along the way,the bit i have been dreading is the fuel tank return,i originally wanted to go with a tee at the outlet and return the fuel back into the fuel pump line,after reading many posts that have said that there will be problems if i do it this way i decided to bite the bullet and weld a fitting into the top of the tank.
I took the tank out and washed it thoroughly a few times,made up the fitting required from my mates fittings box then drilled the tank to allow a boss to be welded,i then put my airline hose into the tank with my blow off gun trigger taped up so i had a constant flow of compressed air all the time i was welding.
This went without drama and i am pleased with the results

DSC01480.jpg


The keen eyed will notice that i have gone with a tee anyway on the outlet,this gives me the option of routing the fuel pipe either way into the fuel pump
I have also mounted my external cooler,i tried to fit it above the gearbox but there wasnt really enough room so after faffing around underneath looking for a suitable place i decided on putting it above the battery,the logic behind this is that when the bus is moving cool air flows down into this area anyway so should aid cooling,i couldnt get it into the airflow below the bus so this should do nicely

DSC01482.jpg


If anyone knows that this definately wont work please shout up before it gets piped up :)
 
Nice van.

Let me know how it goes i'm looking at ways to pipe in an external oil cooler.
 
i think thats a ACE idea mate

might even help with getting rid of the heat from the bay too if blowing air up thru cooler up to vents on side of bus

you all inspire me with idea's just got to get them done and get mine back on the road
 
this is how I mounted the cooler on my bus.
greet greg


Afbeelding011.jpg


tn_Afbeelding012.jpg
 
Greg,have you got any bigger pictures?

Another quick update:
Right then,early bay/full flow= small problem fitting the engine support bar and clearing the full flow fittings,solution after scrapping the CB maxi pump that was supplied with the engine by overtightening a 45 degree adaptor fitting was to fit a new pump with a Scat cover,3/8 npt 45 degree adaptor and chop off the offending mount.A quick scout around the garage heralded a length of tube and a scrap piece of rectangular bar,a new mount was then fabricated and welded onto the bar,clears all the pipes now
DSC01488-1.jpg


and a better view from the side

DSC01493.jpg


After that was done i started to assemble the tinware/dynamo,manifold etc. I decided to use Samco hoses on the inlet manifold as i have no idea if the standard stuff can take any sort of boost pressure,pricey but now i have piece of mind
DSC01490-1.jpg


Lastly for now i needed to mount the Renault turbo carb,this is almost a bolt on fit onto the standard manifold,all i had to do was slightly elongate the holes in the manifold to allow the carb to sit on,2 mins with a drill had this done.The carb linkage is on the wrong side to work with the standard throttle cable so this had to come off, (it also hits the dynamo)also the spindle is too long and also hits the dynamo,this was ground down and now clears a treat.
I chopped the old carb linkage up and welded it to a piece of the linkage on the other side of the carb (easier to see on the piccy than
try to explain) this will now take a standard throttle cable (important to me as i plan to travel abroad and need to take spares)
I have also found that with the alloy "lobster" that i plan to use i will have to relocate the coil
DSC01504.jpg


Thats it for now as i fell down the stairs last night and tore some lligaments in my ankle,so no garage for me for the next week or so.
The brakes have still not been sorted,my engineer has had a massive order for Land Rover bits so mine will have to wait :( but he has promised that i will have them done before the show season starts (bloody hope so,USB here we come :D )
 
I am sure this was a mate of mine's bus. He had it in Sydney a year or 2 ago. That nose is like a finger print. I seriously thought about buying it as I like deluxes in a big way. I hope you have a good time with it. I would leave the nose alone as a "heritage" or provinance issue.
On a different tangent, what is the go with salted roads in the UK these days? I heard somewhere that it is no longer practised, but I haven't heard officially.
David
 

Latest posts

Top