Doris
Well-known member
Hi fellow Early Bayers! following on from a thread I posted some time ago on here, I decided to refurbish my steering wheel as it had the all to common cracks around the horn push.At the thought of £99 for a repo one from JK and the recent incident of the seller on Ebay selling steering wheels that don't fit any thing - I thought this is the way forward!I won't cover emoval of steering wheel as thats easily covered else where.Also you may see I've left the steering wheel cover on and not re painted the whole wheel, this is because the leather lace up cover has been on the bus since about 1970 so I think it should stay in place, it would never go back right again!
It takes a bit of patience & a little time - but the result is worth it - see what you think..........
I decided to use Epoxy resin to repair the damage, it it tough,shapable and cheap enough to buy.I happened to use 'Milliput' common amongst modellers. less than £3 from Ebay. like plastacine before it sets,rock hard when set...

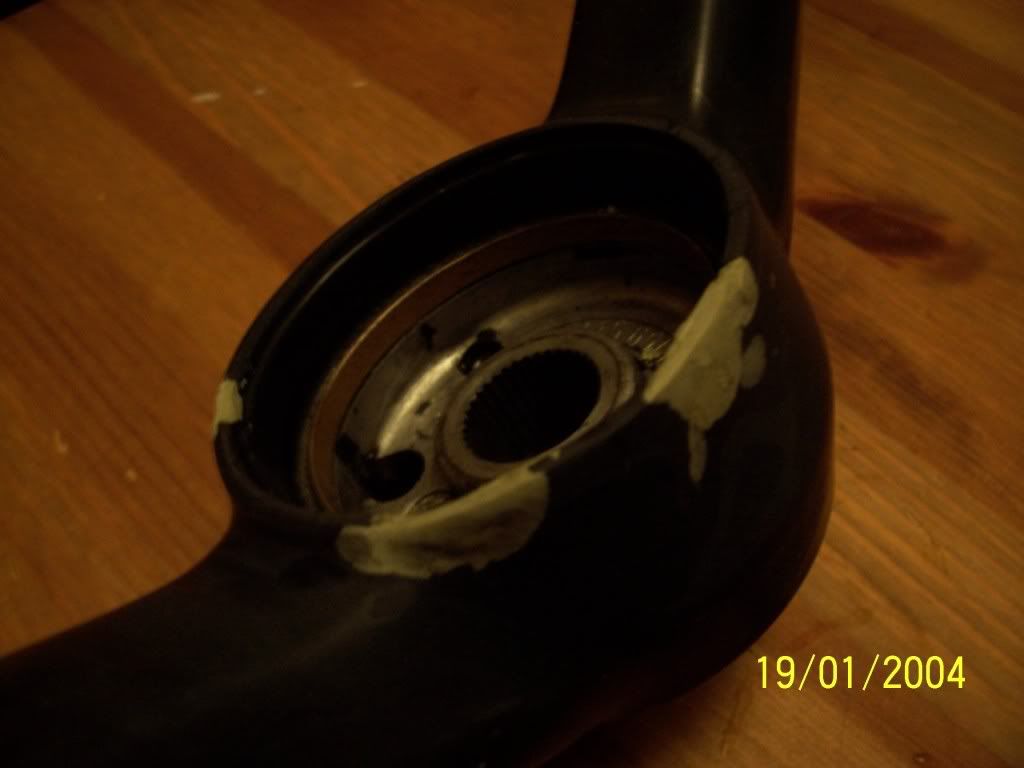
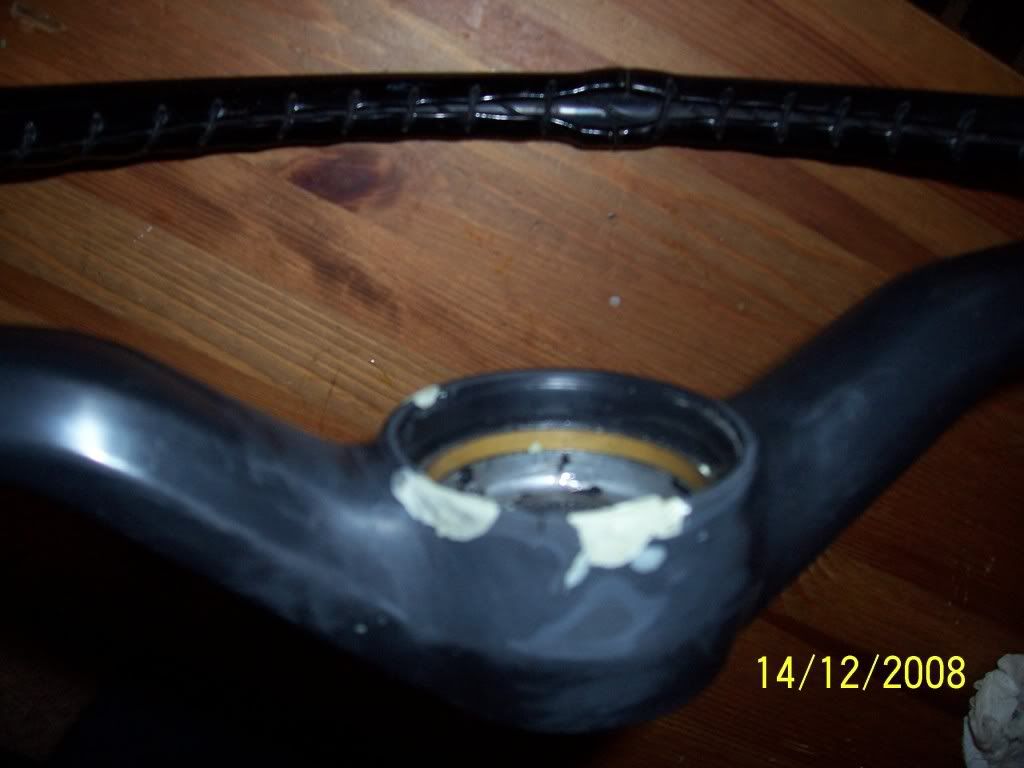
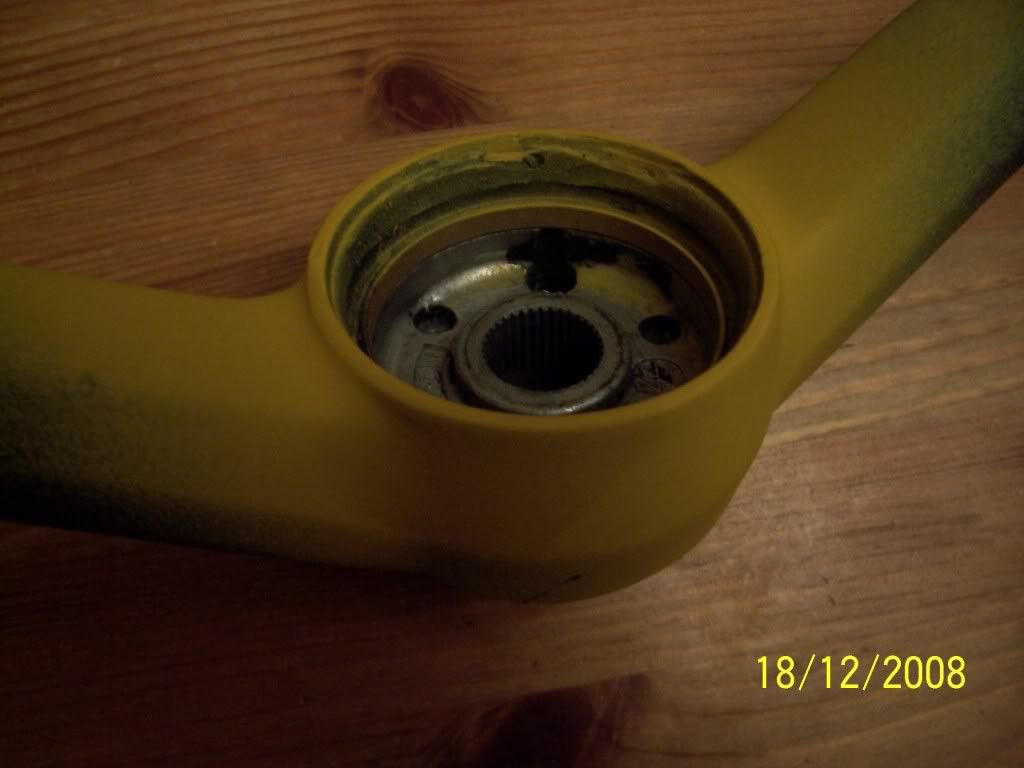
The offending article....

First I cleaned the damaged area of grease, dust etc and removed any obviously loose pieces. It was then simply a case of shoving the milliput into the gaps and roughly shaping it. I used a plastic lid to help shape it, but didn't bother after long as it was quite easy to control the putty.

Once set, I roughly shaped it, then found a few areas that needed another filling, so re applied the putty, once again shaping it roughly with a dremel. If you don't have a dremel type thing, good old wet and dry will do the trick, it'll just take a bit longer!
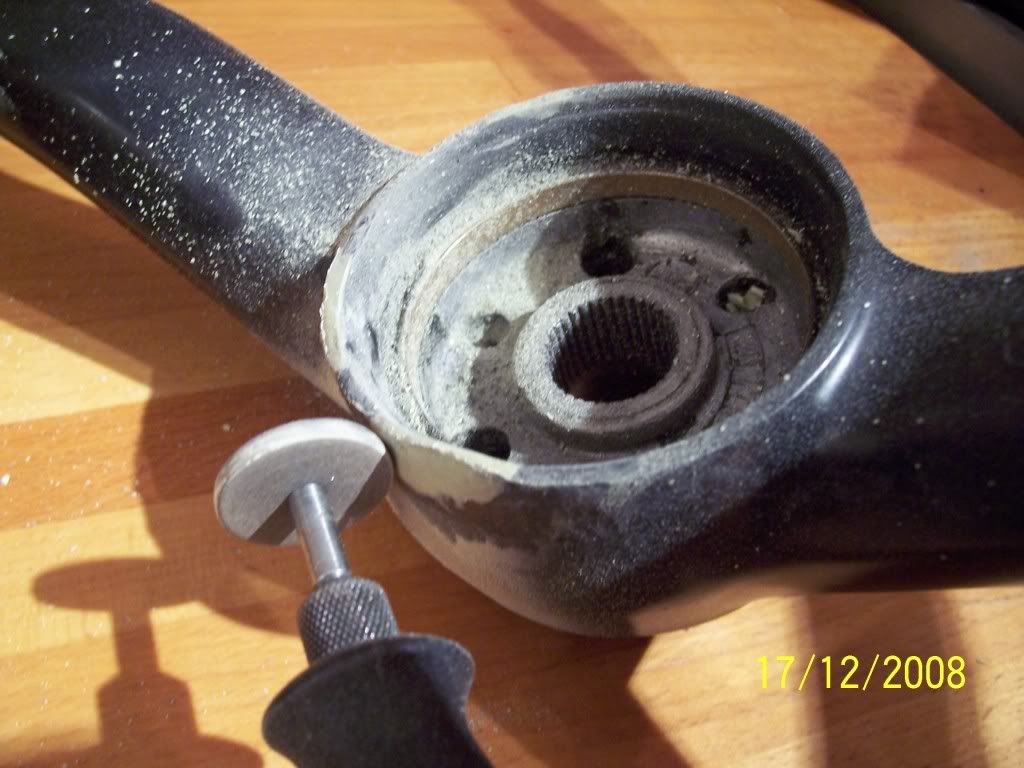
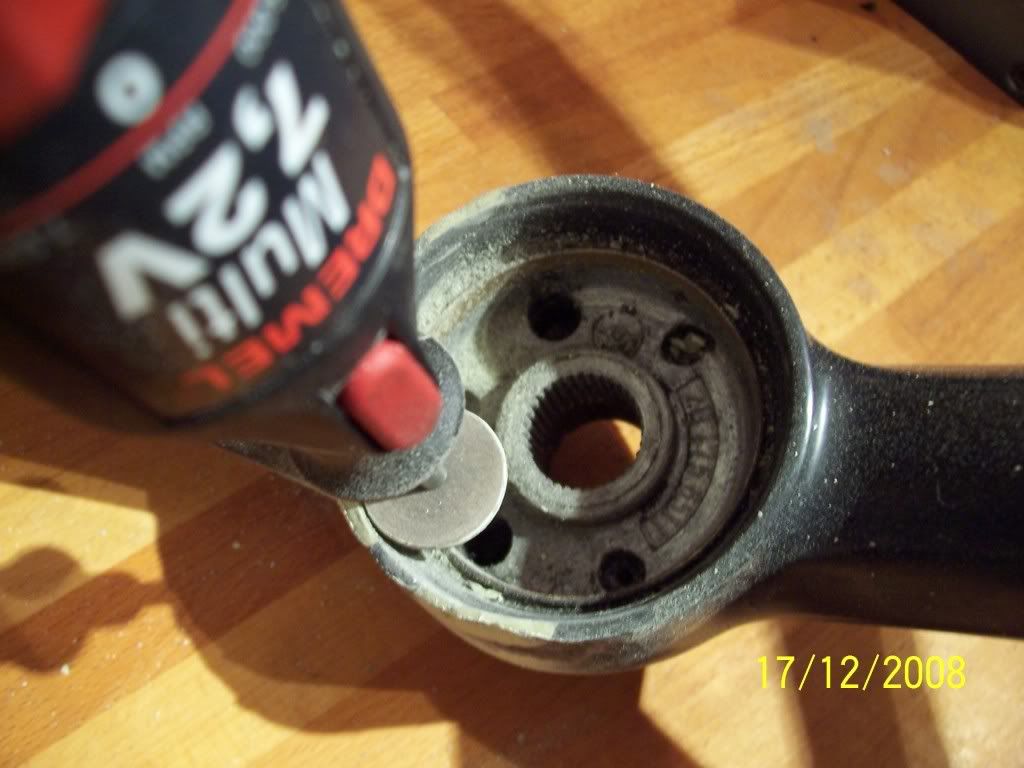
After getting it roughly right I then changed to wet and dry paper, starting at medium, working up to 1200 and 1500 grit paper to get the corect contour and blending the milliput with the original plastic....
I used a wet and dry paper wrapped around a kitchen knife to get the top of the repair level with the original...
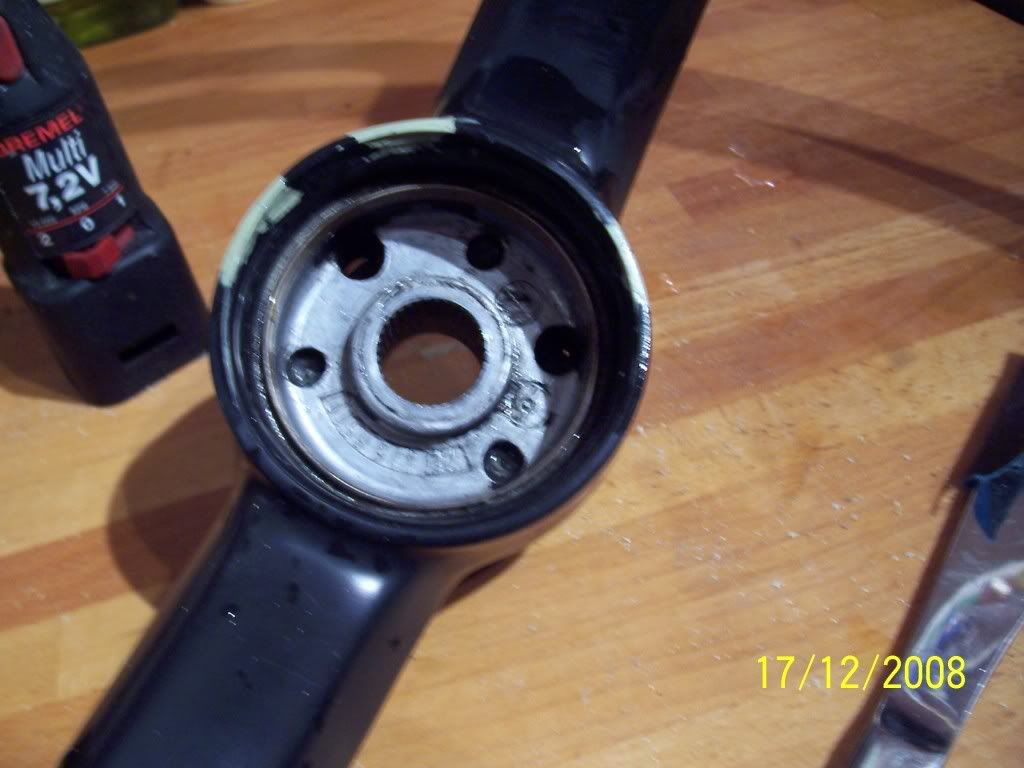
when I was happy with th e blend and shape of the repair, I used filler primer to cover the area. this highlighted a few area that needed a bit more attention. after which more filler primer until the repair was more or less invisible.....
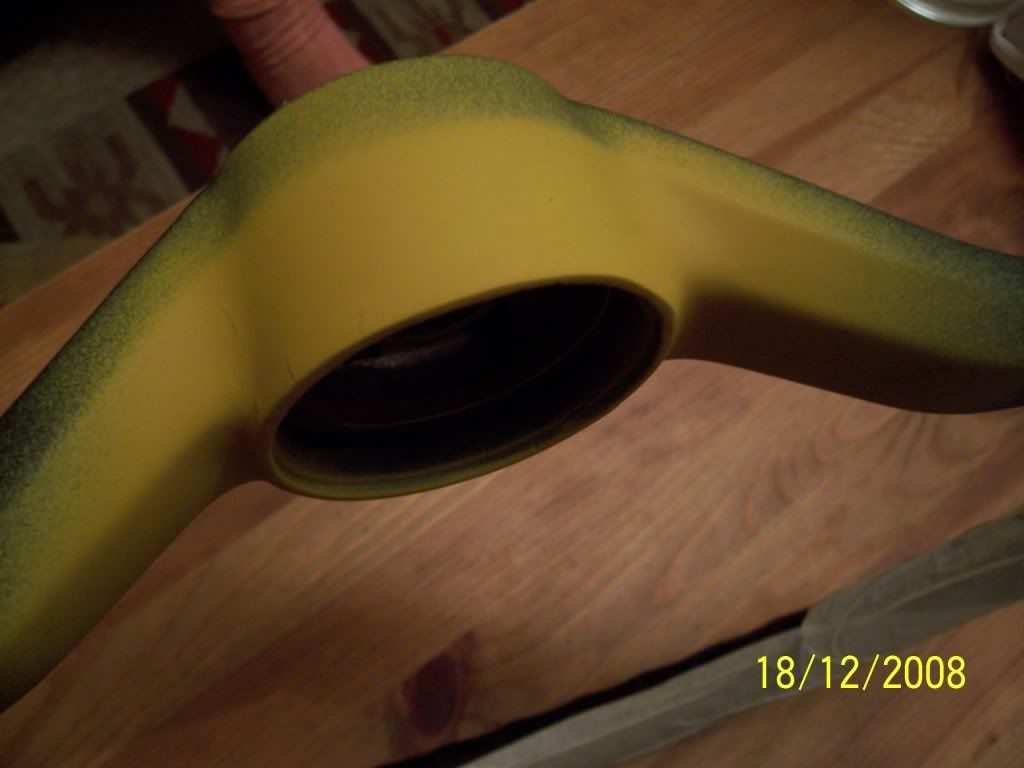
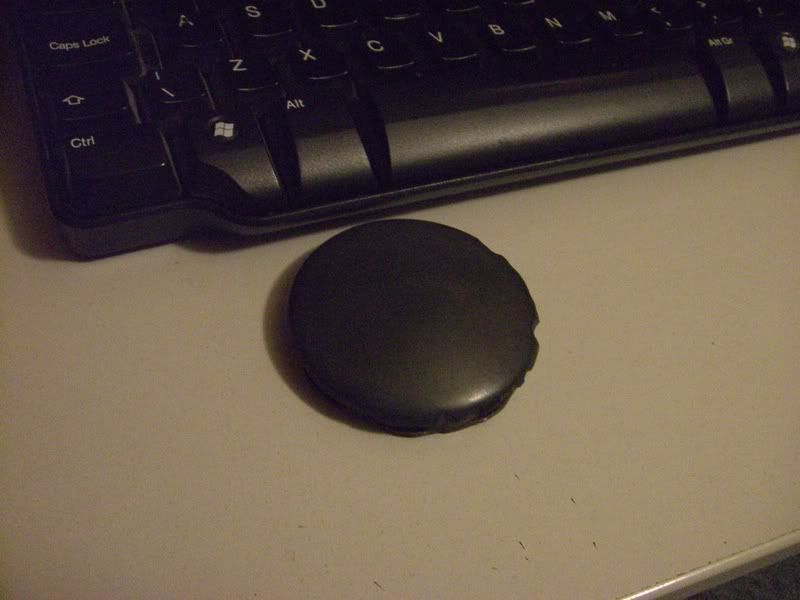
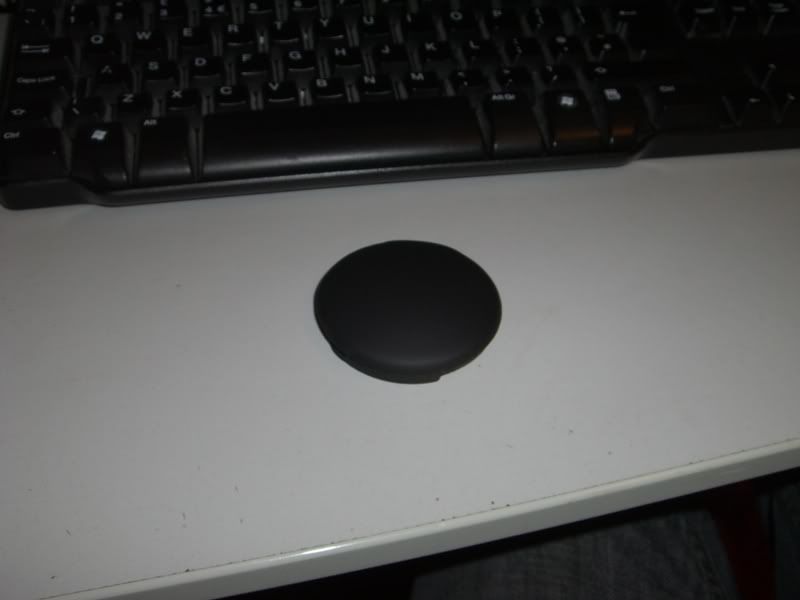
Then a final gentle rub with 1500 paper and the top coat. the nearest I found was satin black, but I'm sure with use, the black will be polished my my hand action on the wheel.......


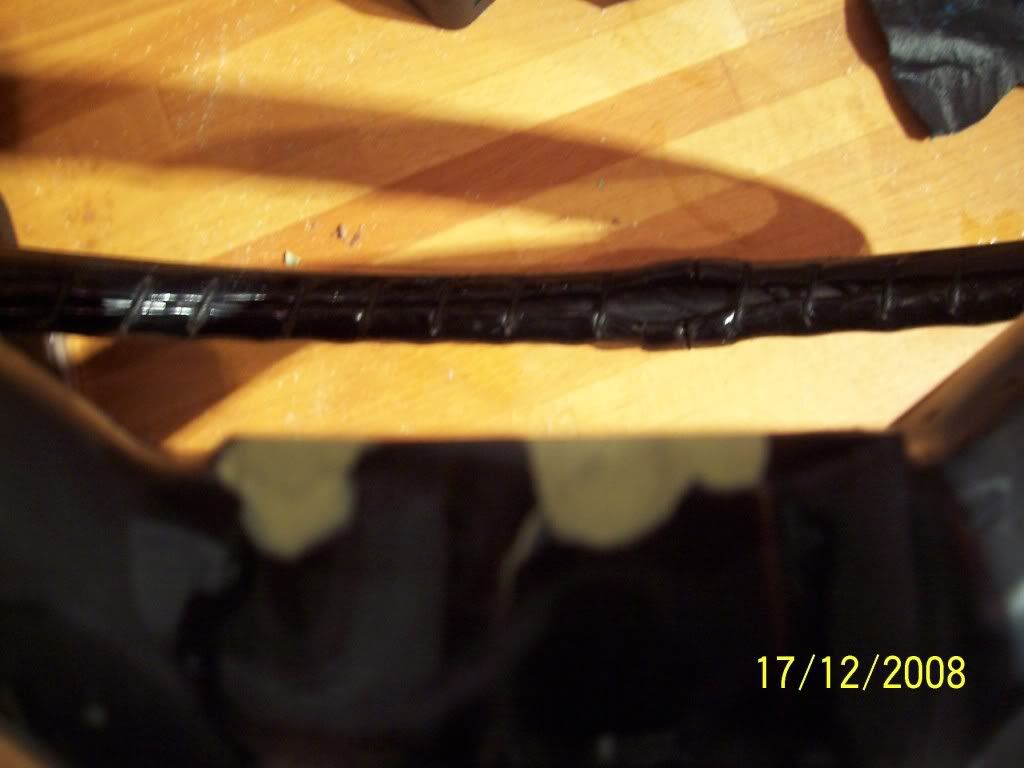
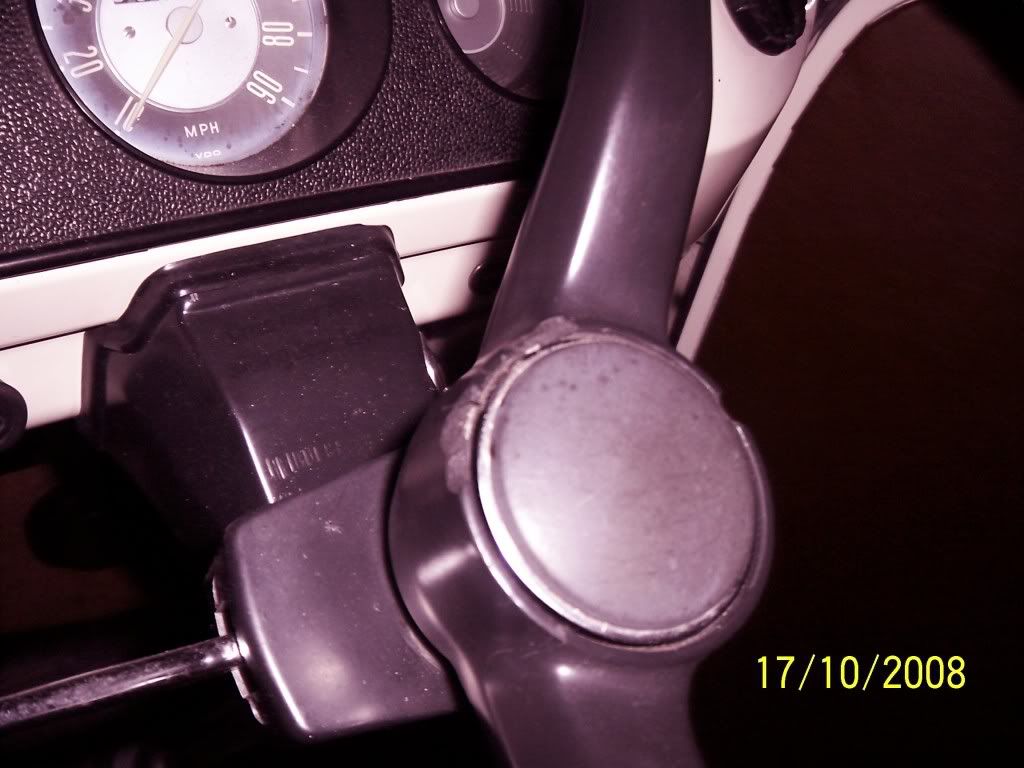
The finished result refitted......BEFORE & AFTER.............

It takes a bit of patience & a little time - but the result is worth it - see what you think..........
I decided to use Epoxy resin to repair the damage, it it tough,shapable and cheap enough to buy.I happened to use 'Milliput' common amongst modellers. less than £3 from Ebay. like plastacine before it sets,rock hard when set...
The offending article....
First I cleaned the damaged area of grease, dust etc and removed any obviously loose pieces. It was then simply a case of shoving the milliput into the gaps and roughly shaping it. I used a plastic lid to help shape it, but didn't bother after long as it was quite easy to control the putty.
Once set, I roughly shaped it, then found a few areas that needed another filling, so re applied the putty, once again shaping it roughly with a dremel. If you don't have a dremel type thing, good old wet and dry will do the trick, it'll just take a bit longer!
After getting it roughly right I then changed to wet and dry paper, starting at medium, working up to 1200 and 1500 grit paper to get the corect contour and blending the milliput with the original plastic....
I used a wet and dry paper wrapped around a kitchen knife to get the top of the repair level with the original...
when I was happy with th e blend and shape of the repair, I used filler primer to cover the area. this highlighted a few area that needed a bit more attention. after which more filler primer until the repair was more or less invisible.....
Then a final gentle rub with 1500 paper and the top coat. the nearest I found was satin black, but I'm sure with use, the black will be polished my my hand action on the wheel.......
The finished result refitted......BEFORE & AFTER.............
")