Huey - RHD Single Cab

Early Bay Forum

Help Support Early Bay Forum:

This site may earn a commission from merchant affiliate links, including eBay, Amazon, and others.
easy said:
Nice looking red wheeels dood :wink: im all about the reed wheels :D what tyres are you going for? a cheeky white wall sir? :wink:
Not at £156 EACH PLUS vat PLUS postage I'm not :shock:

Think I'm going to ring bay area rods and see how much their whitewall application service is. Will have the best of both worlds then, proper commercial tyres, whitewalls and still some wonga in my pocket.
 
blinkin eck thats a bit steep :shock: I got mine through ATS and cost around £90 each :D they are Marshall ones and are pretty sturdy tread, worth a looksy 8)
 
easy said:
blinkin eck thats a bit steep :shock: I got mine through ATS and cost around £90 each :D they are Marshall ones and are pretty sturdy tread, worth a looksy 8)

Well I can get 3/4" thin white bands for £45 each, but i wanted wide white bands which were expensive! Looks like I'm going to get them done by that bloke instead.
 
Wanged the wheels on the van temporarily
03052008001.jpg

03052008.jpg


Some bright spark had fitted both headlamp rims upside down, so the drain hole was facing up. Both reflectors had a rusty tide mark. :roll:
07052008.jpg

Luckily had some at work, and gave Huey a bit of attitude whilst I was at it.
08052008001.jpg

08052008002.jpg

08052008.jpg
 
Another month I reckon, will seem like a lifetime!

New Zaust...
09052008002.jpg


Couldn't resist firing it up like this :lol:
09052008.jpg


All fitted...
09052008003.jpg

09052008008.jpg


09052008005.jpg

09052008006.jpg
 
Going at it full tilt this weekend as I've got the workshop to myself.

Thursday night I began to finish off the little bits of welding left in the treasure chest area, will take photos when its all complete.

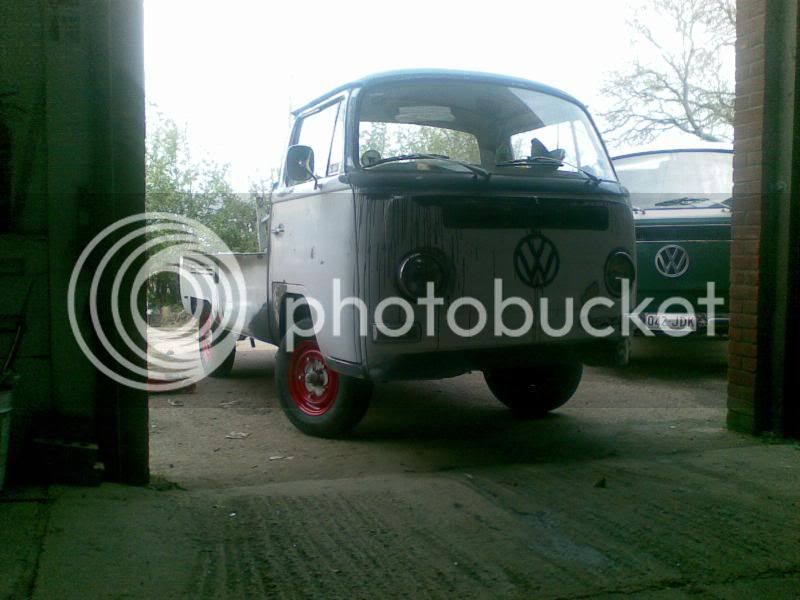
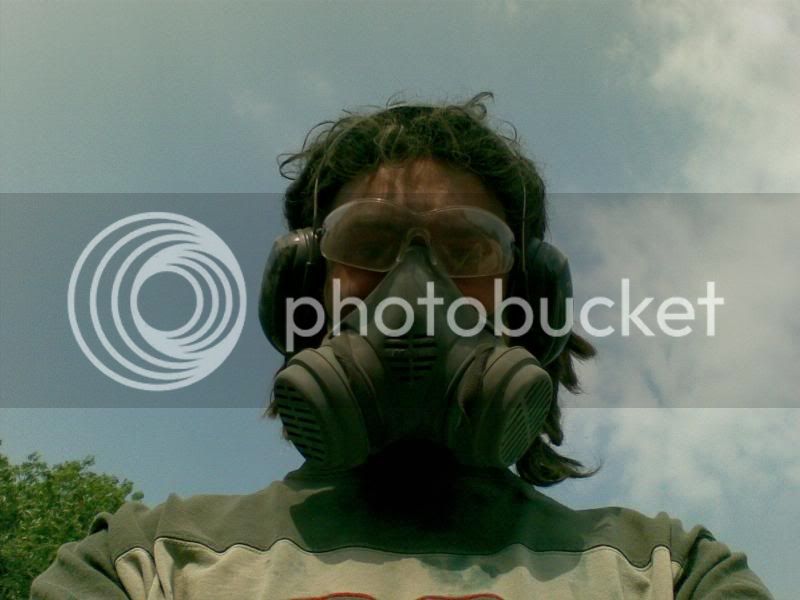
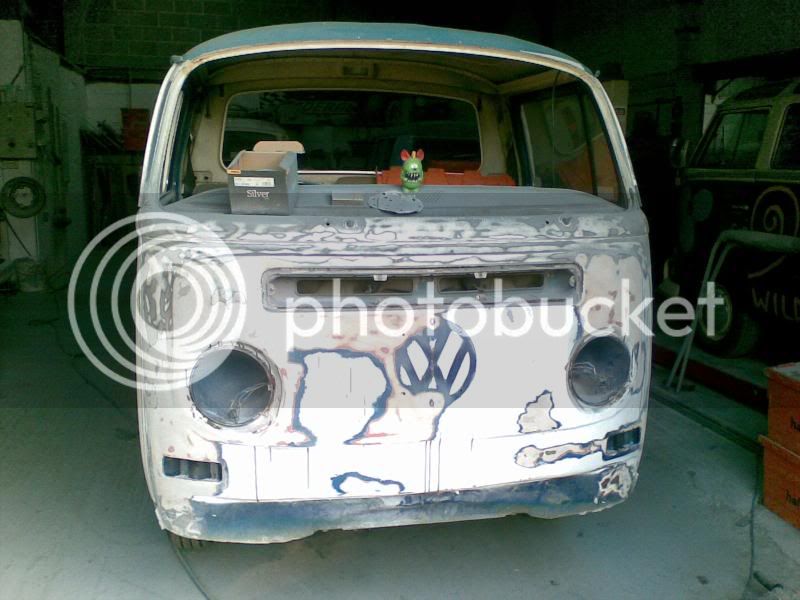
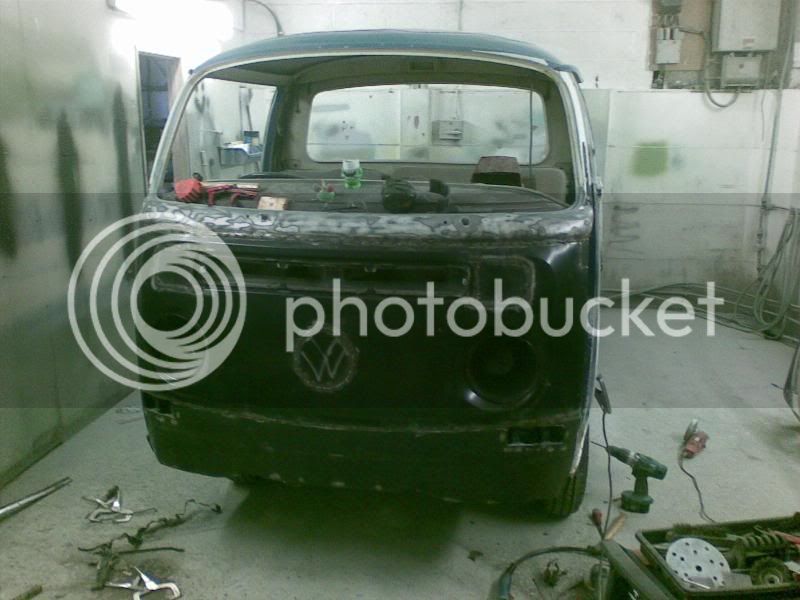
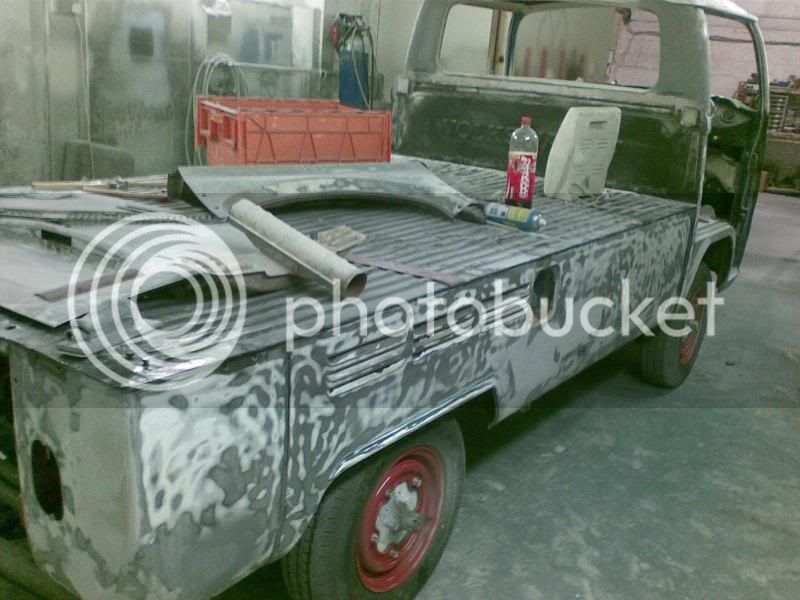
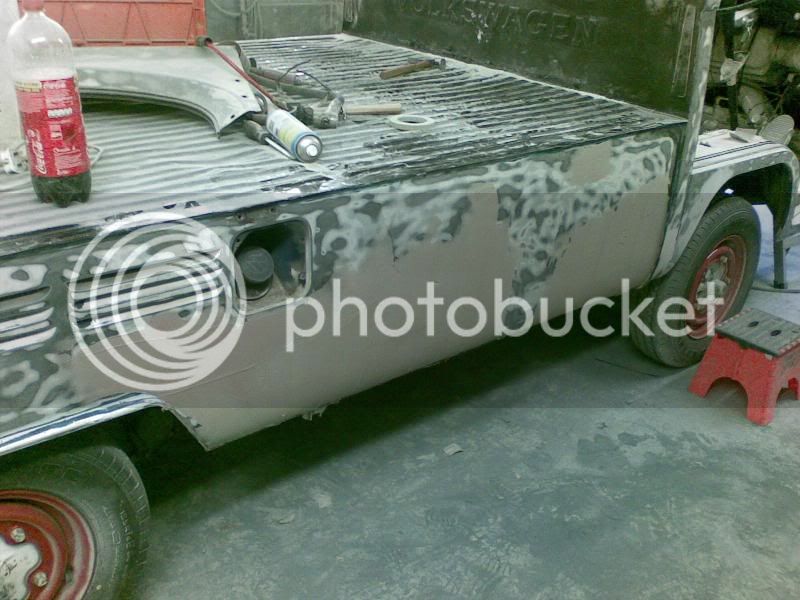
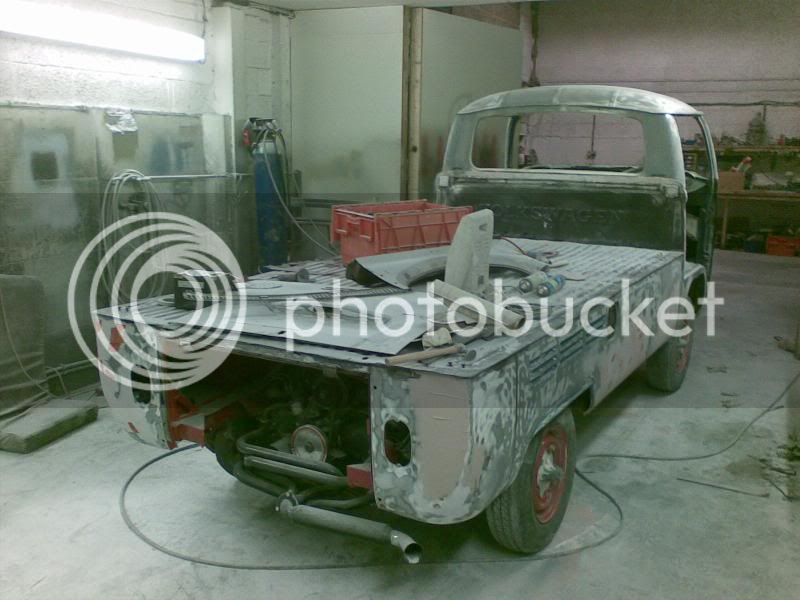
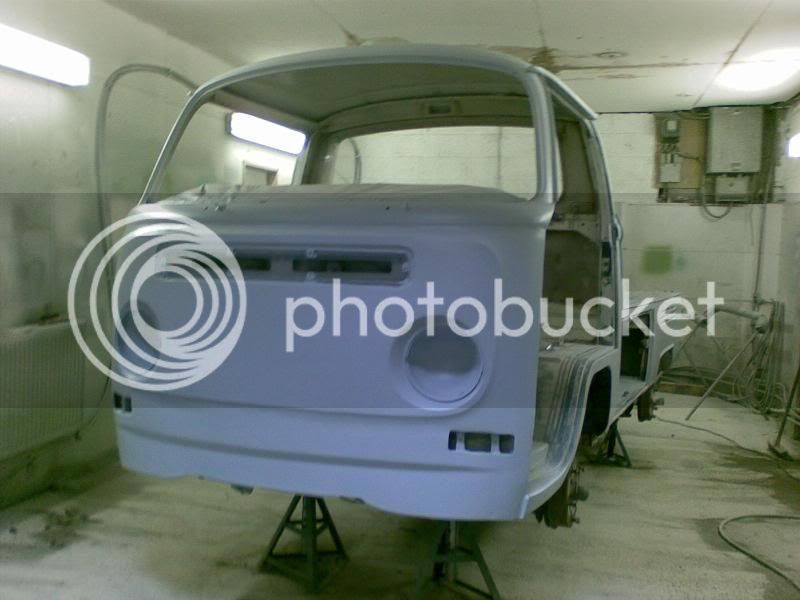
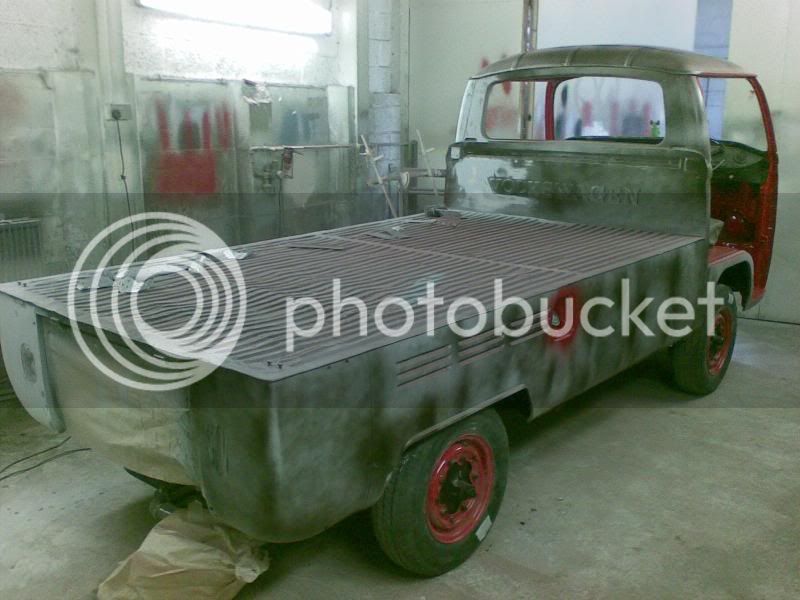
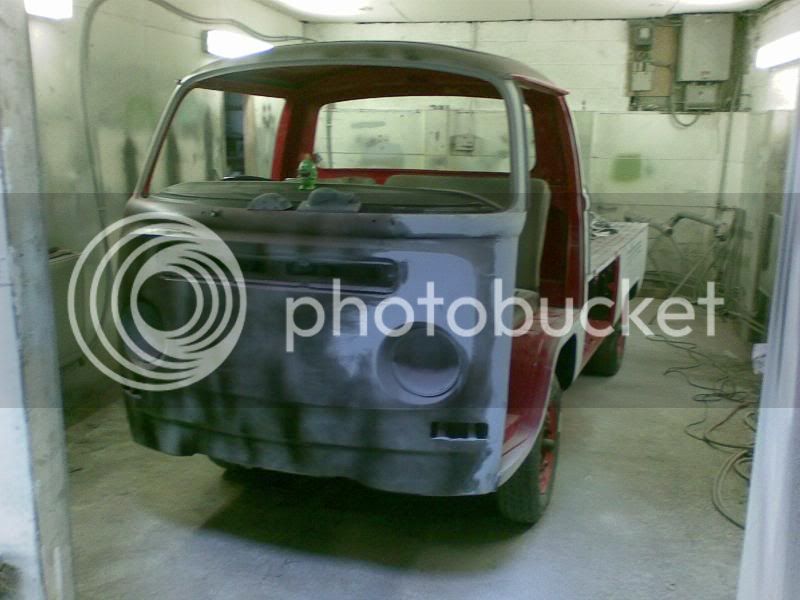
Looking like a reject from Half Life I started on the bodywork
22052008.jpg


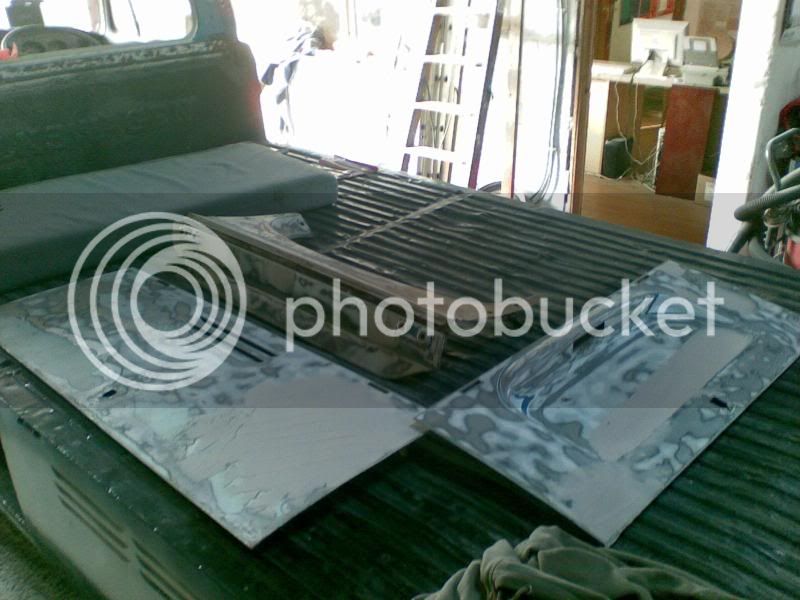
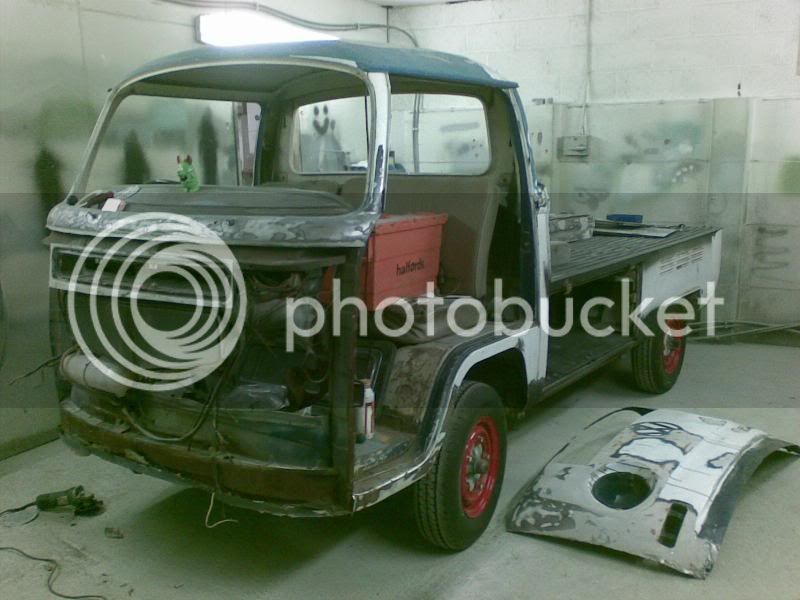
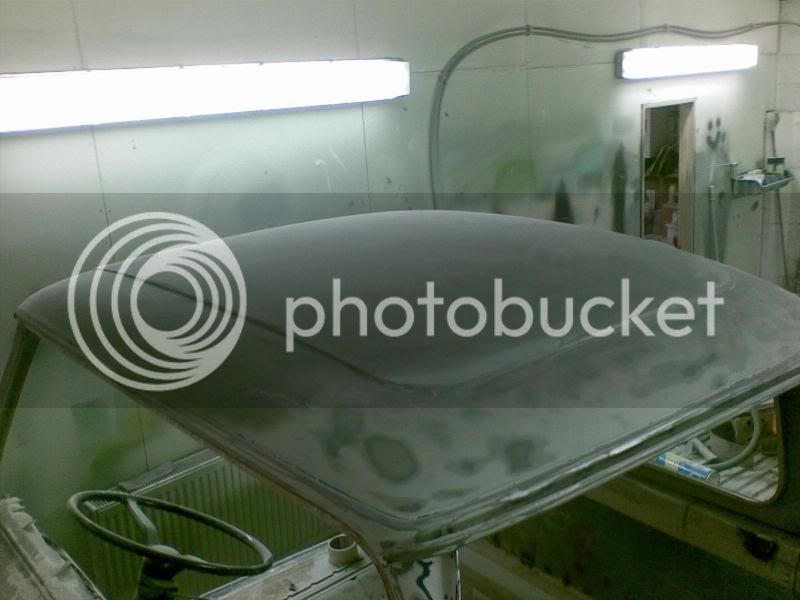
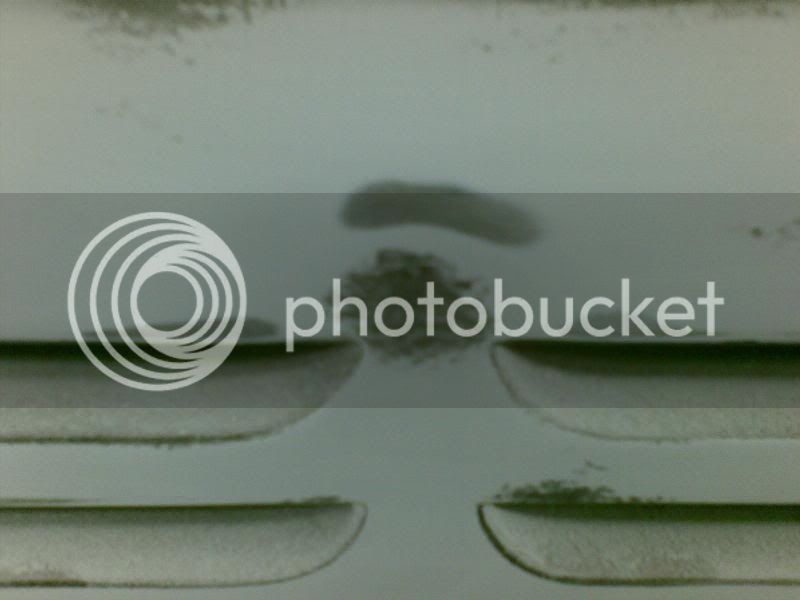
The roof is solid but severely dented
22052008003.jpg


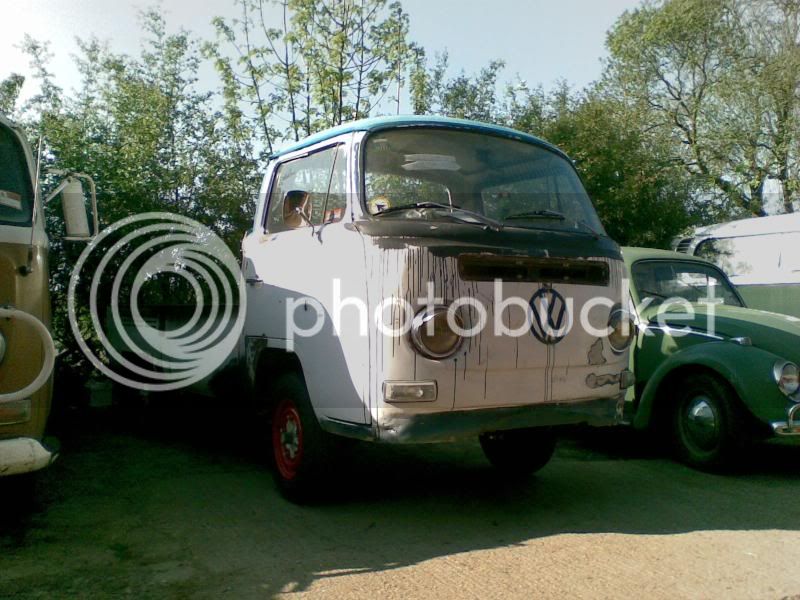
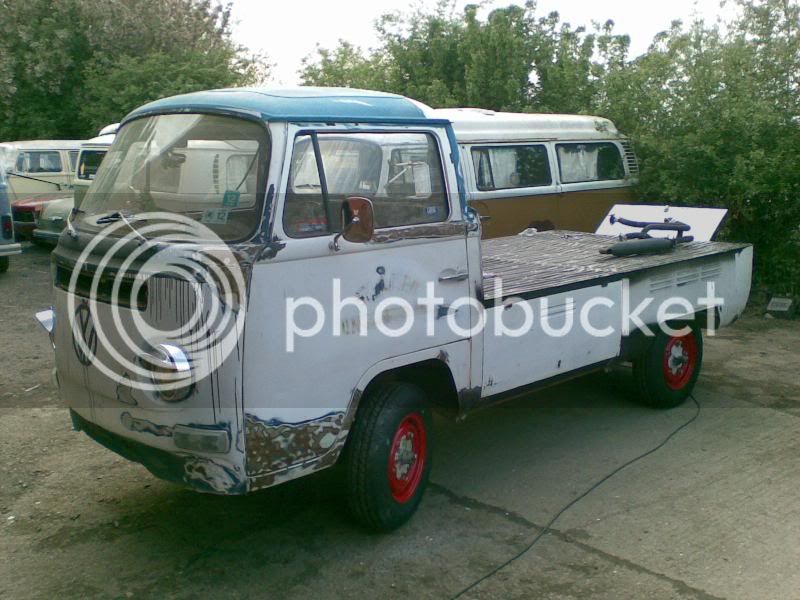
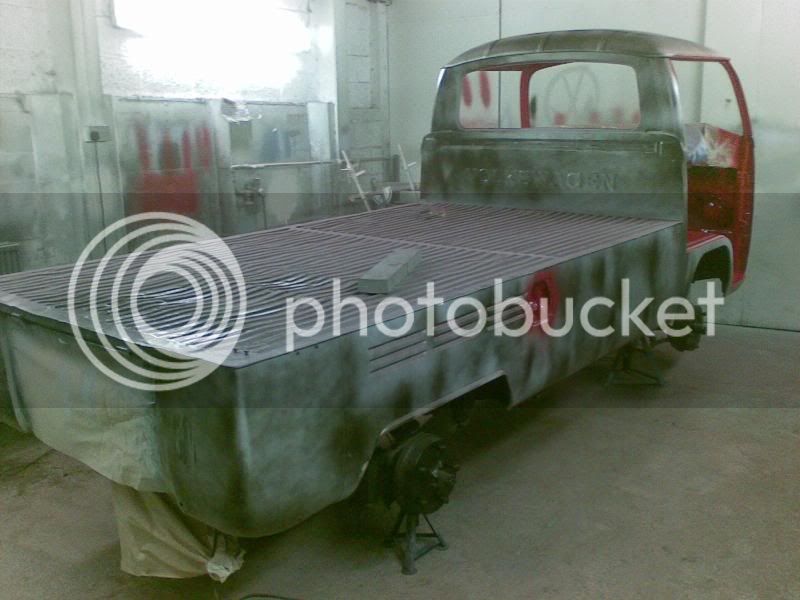
Got all the crappy paint off and got down to primer, metal and original paint. There is no point in going to bare metal all over as the original paint won't be hiding anything nasty and its another layer to help get the panels flat.
22052008002.jpg


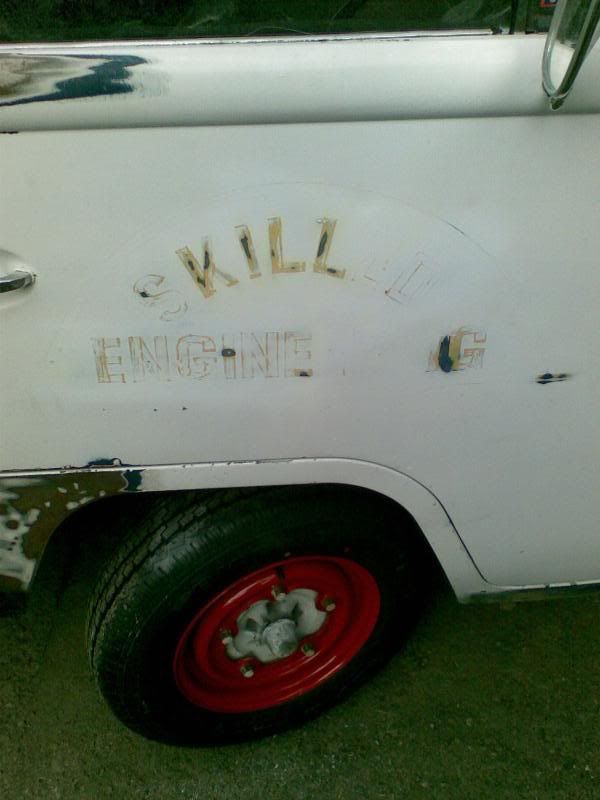
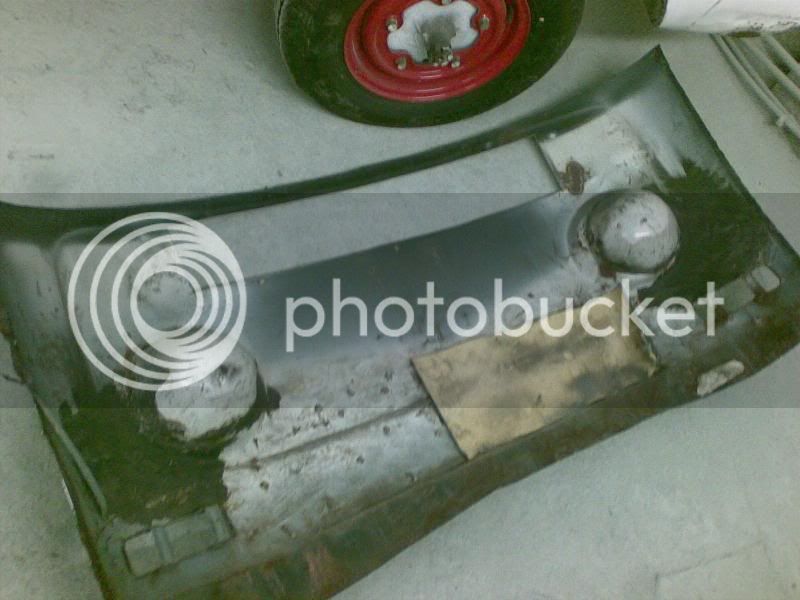
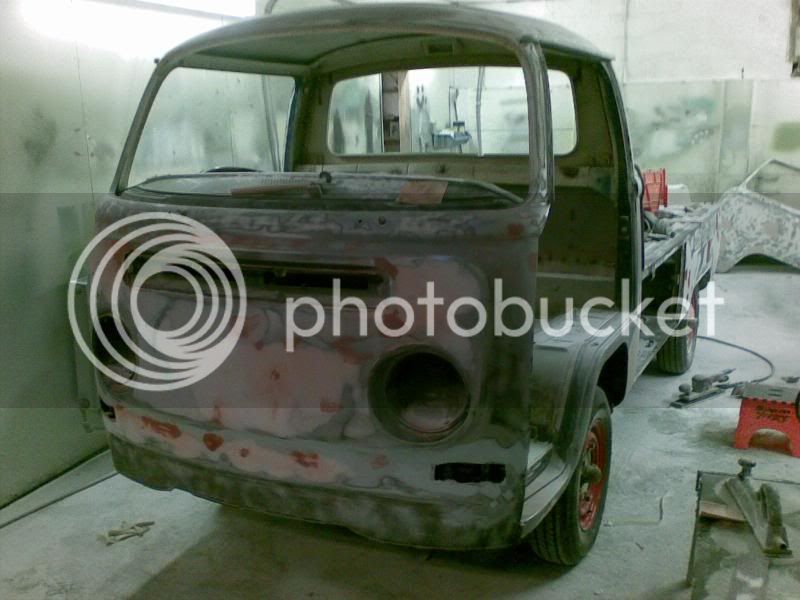
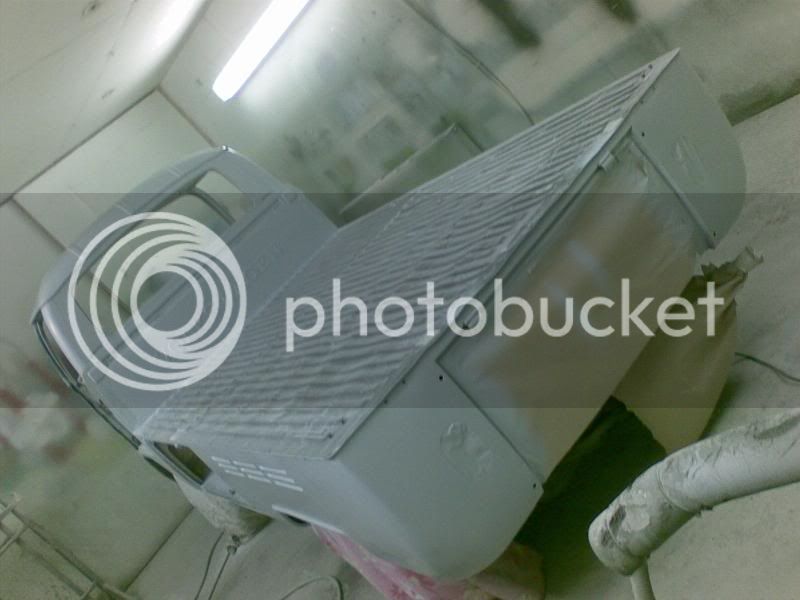
Front Panel, looks like its been replaced in the past however it was full of filler so its obviously hit two kangaroos in its lifetime.
22052008001.jpg


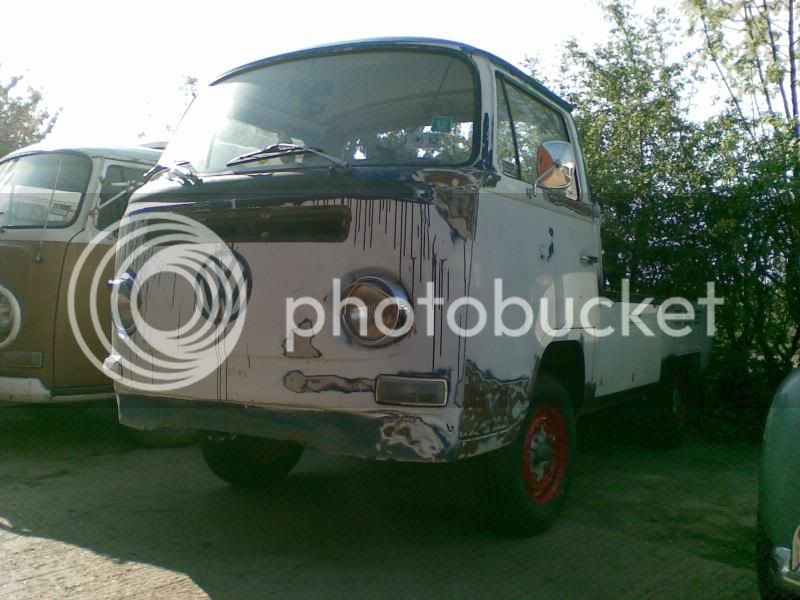
No point poncing about with bondo, I went for the grinder..
23052008.jpg


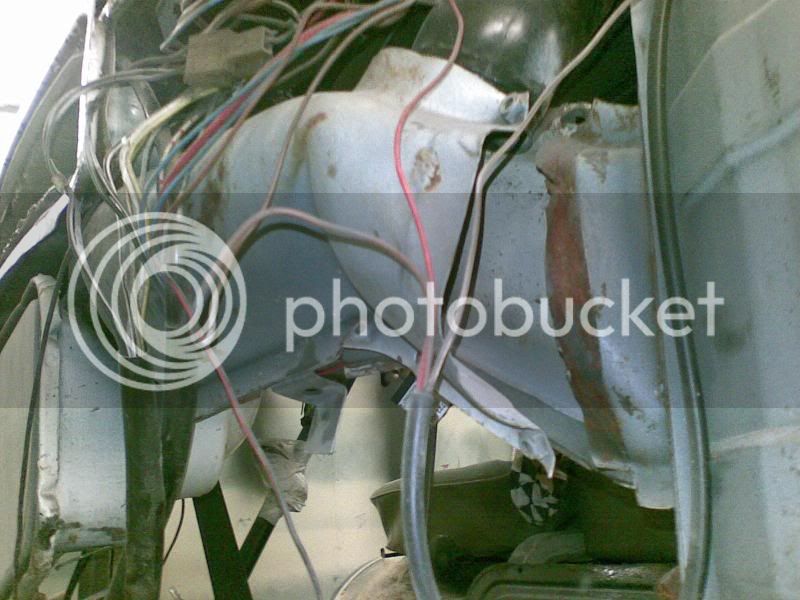
This was bent for some strange reason
23052008003.jpg


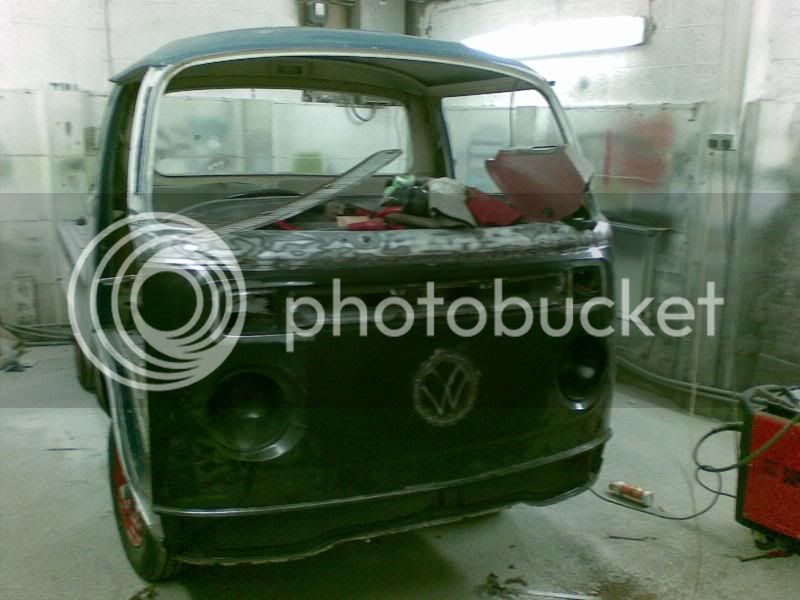
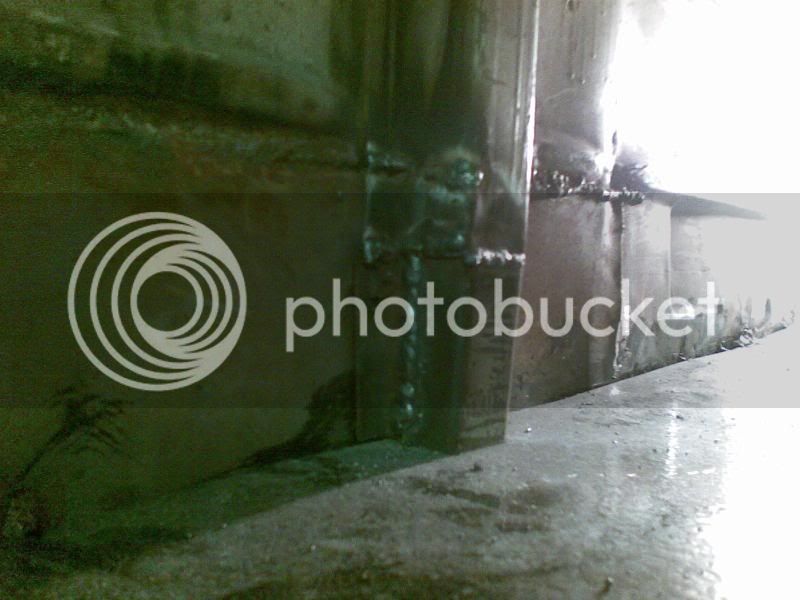
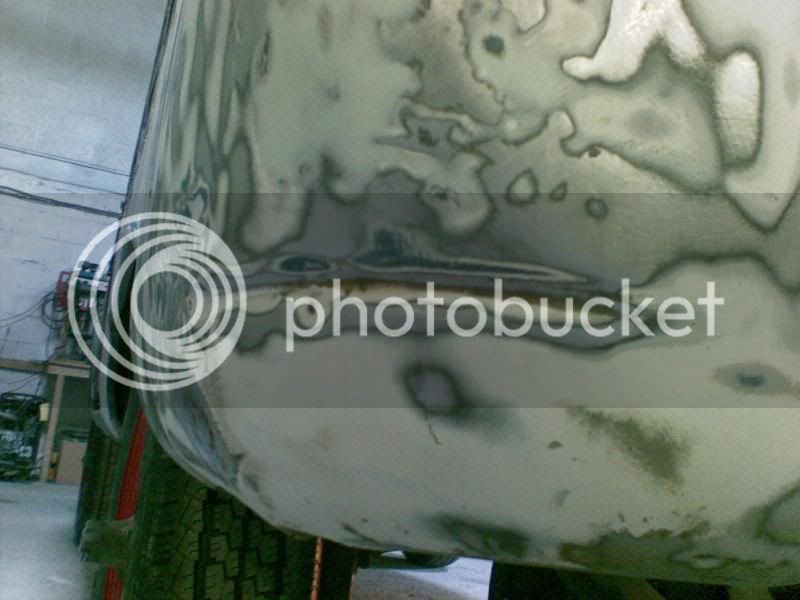
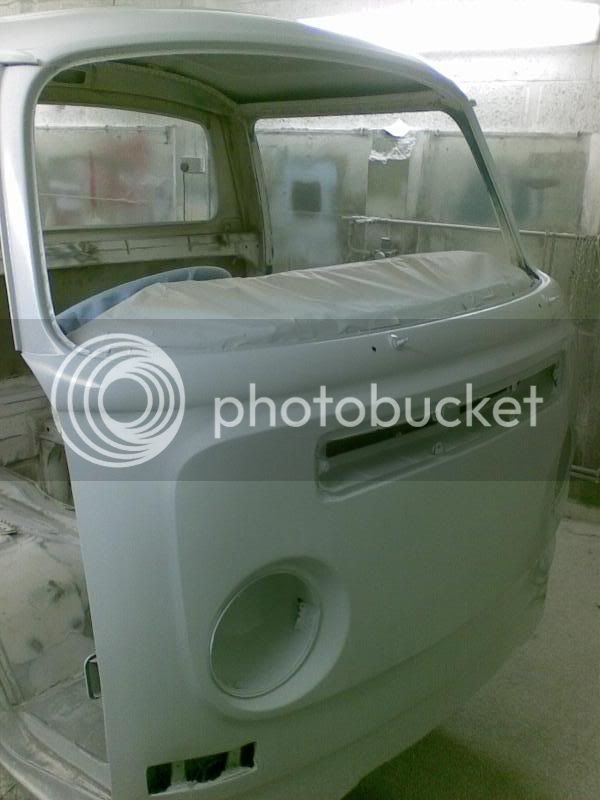
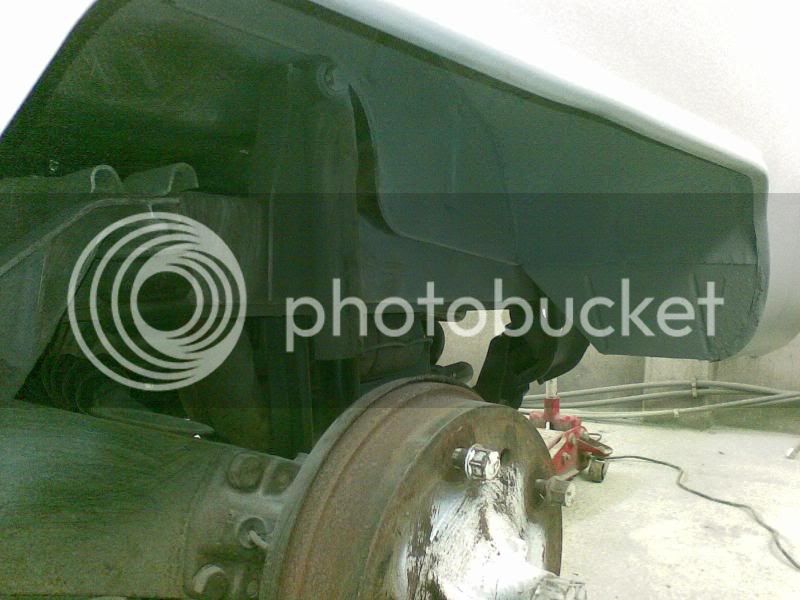
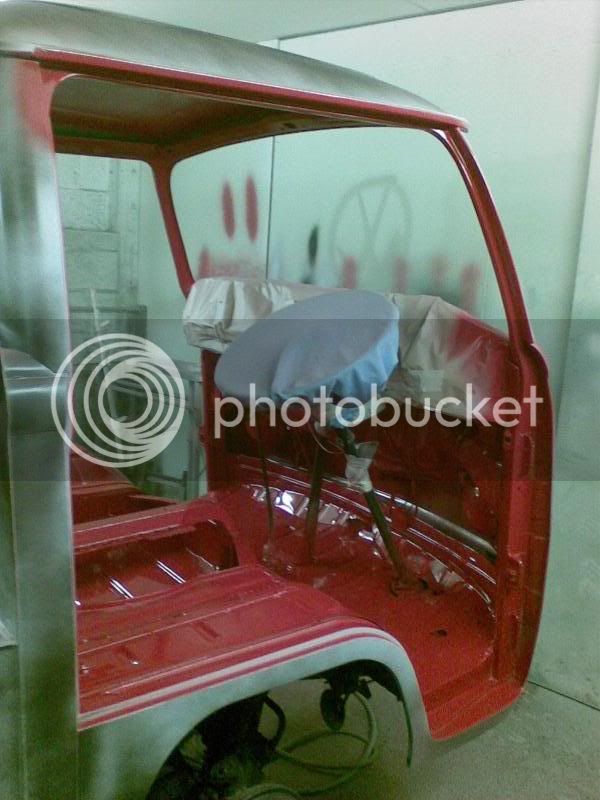
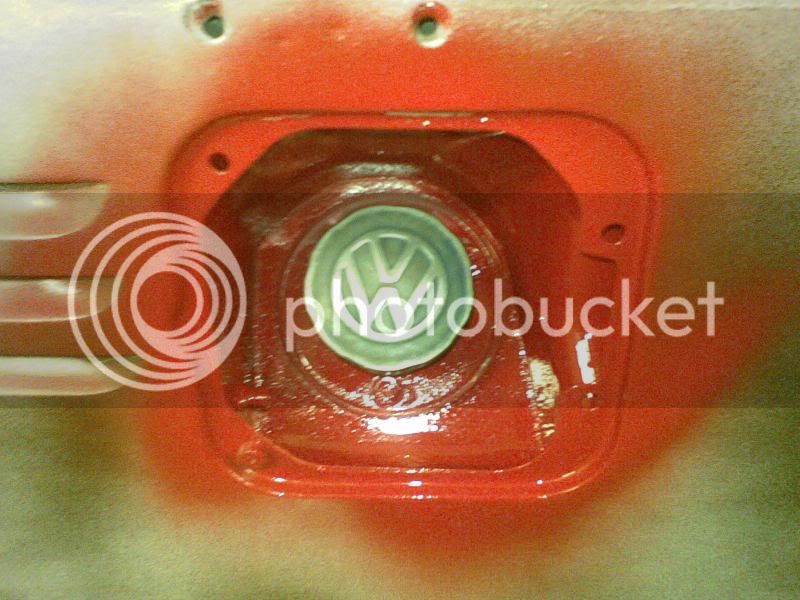
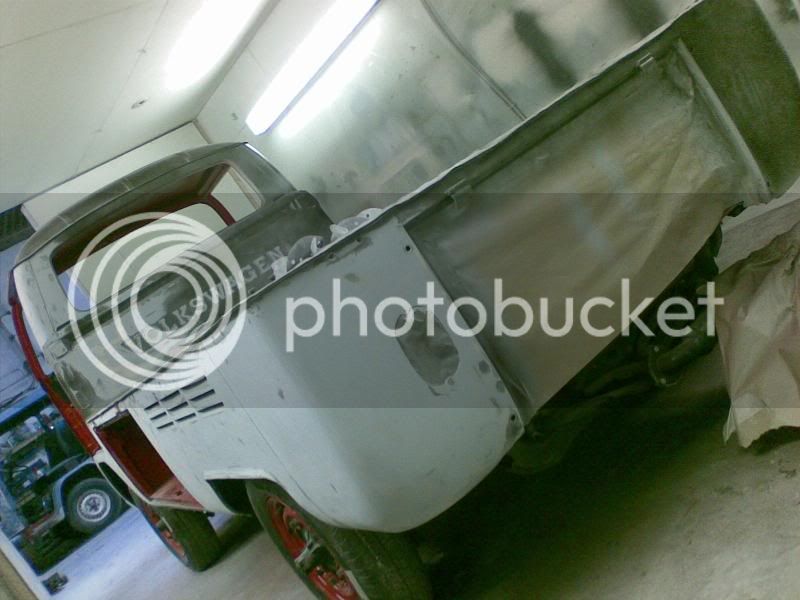
Gave the inner front panel a coat of hammerite, tacked the strip that runs along the top of the cab floor as it had some free at one side, started to put the new panel on
23052008005.jpg


Used parts of the old front panel to get the correct curve around the grill.
23052008006.jpg


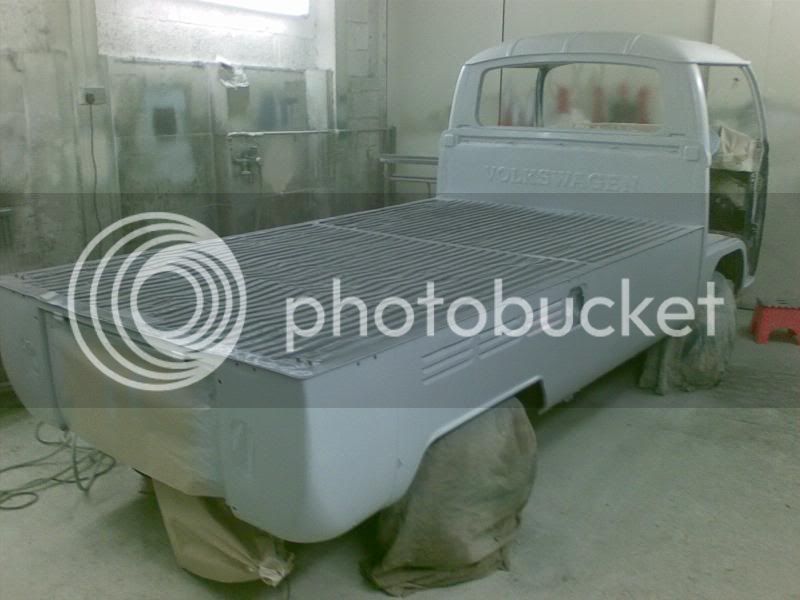
Really wanted the front panel finished by tonight, but decided to call it a day at 11pm.
 
Cut the brackets for the indicators out my old front panel and grafted them onto the new one, made some plates to blank off the late indicators and after much faffing about got the lower front panel fitted
24052008002.jpg


Here is the old front panel, full of holes presumably from where someone has had a go at pulling the dent out, but instead of welding them over they've just slapped filler on it
24052008.jpg


Last little bits of welding to the treasure chest area, you would have though the profile used for treasure chest strengtheners would be the same as normal top hat section, however this is not the case so I had to do some modifications.
24052008003.jpg


Got the whole bus sanded down now, now I need to start beating the dents out and skimming it with filler.
 
I hope it is! These late nights are doing me in! Decided to have a lay in today. Just about to go down there now.

Really wanted it in primer last night but ran out of time. Got a lot more bodywork to do today...
25052008.jpg

25052008001.jpg
 
Had a bit of a 'mare tonight. Wanted to get the interior done after I'd high built it however we ran out of seam sealant so couldn't do the last little bits in the treasure chest and cab. Will hopefully get this rattled off tomorrow night.
Got the high build on though.
29052008003.jpg

29052008002.jpg

29052008001.jpg
 
Thanks for the comments guys :)

Jacked it up and got the wheels off..
30052008001.jpg


Stone Chipped the arches
30052008002.jpg


Painted the underside and used the spare paint in the gun as a guide coat for blocking the high build down
30052008004.jpg


Primed and painted the cab
30052008005.jpg

30052008006.jpg


Painted the treasure chest area but the colours have come out dodgy
30052008008.jpg


Fresh out the gunwash...
30052008003.jpg

Now where does that bit go? :lol:
 
Well done Prof 8) Almost forgot about the caddy tailgate on the bulkhead looking cool as fook mate
 
Arches and underside all painted
31052008.jpg

31052008002.jpg


Better photo of the treasure chest
31052008003.jpg


Well its not on the outside so needed to go red. Apparently this makes me a "tart" :lol:
31052008004.jpg


The purpose of guide coat, the black paint shows a low spot, the metal shows a high spot
31052008005.jpg


Back on the ground, fitted the hubcap clips to my wheels whilst there were off. Lots of flatting back to do to the body!
31052008006.jpg

31052008007.jpg

31052008009.jpg
 

Latest posts

Top