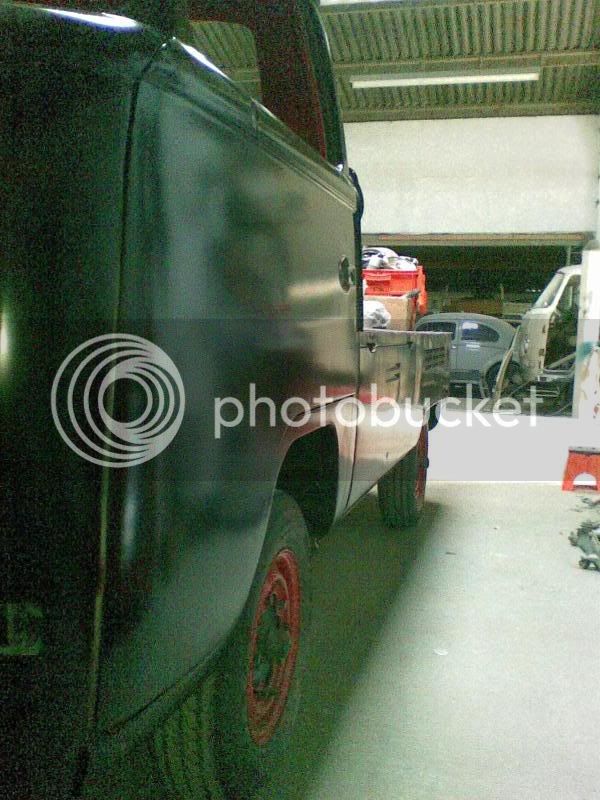
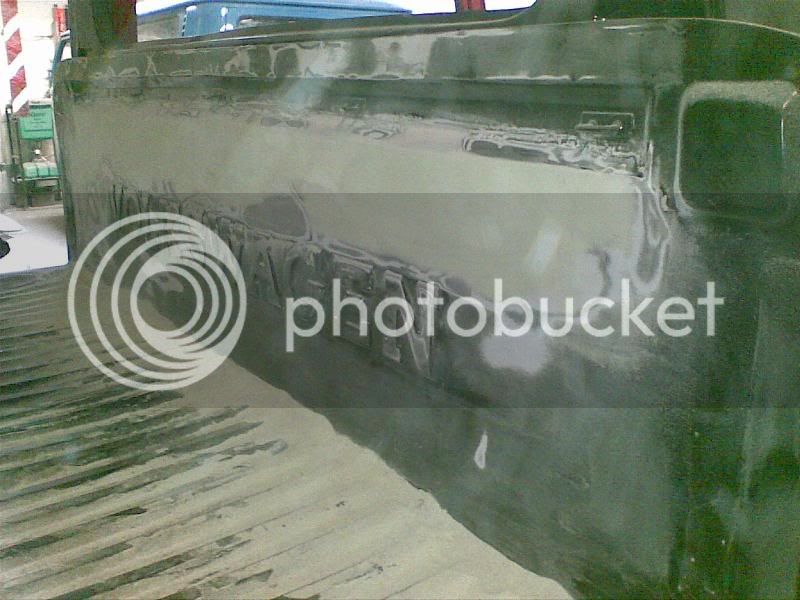
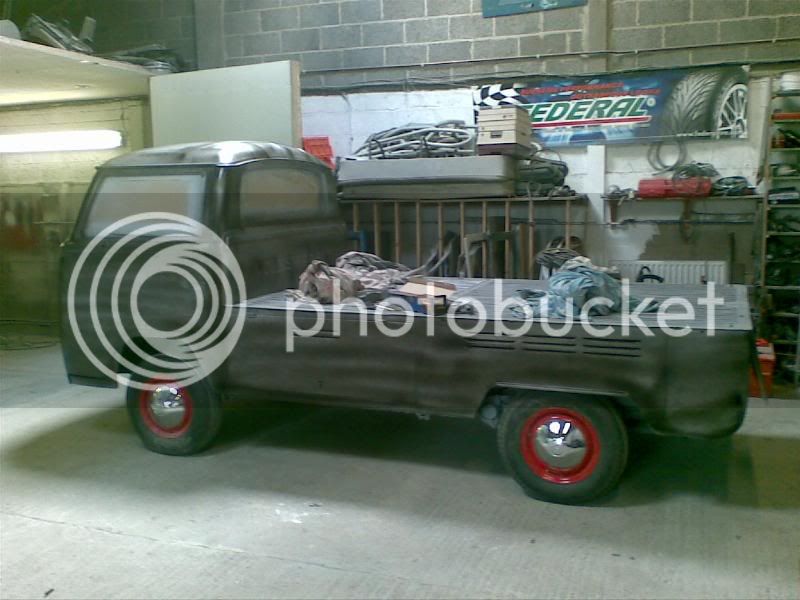
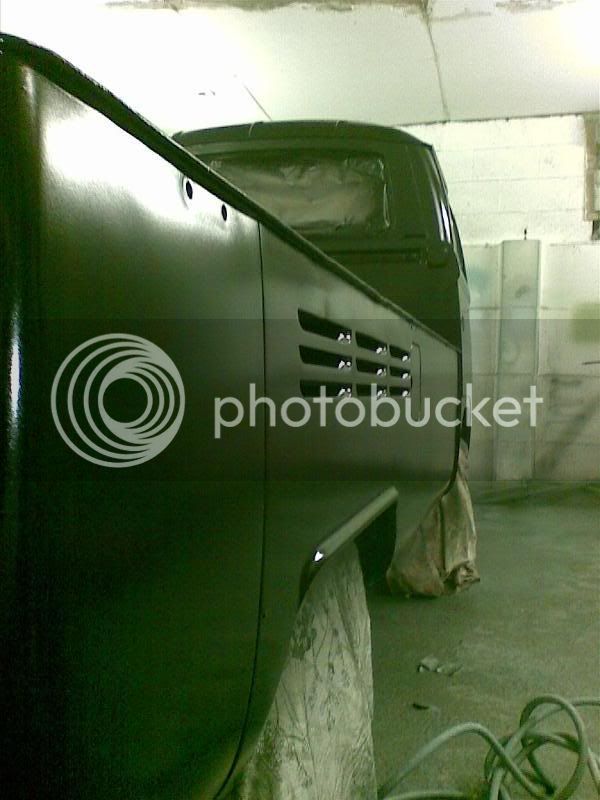
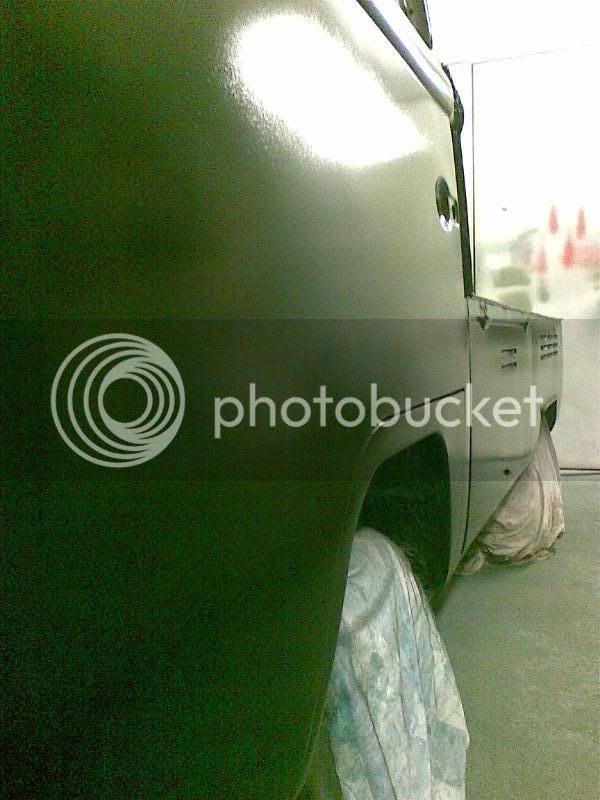
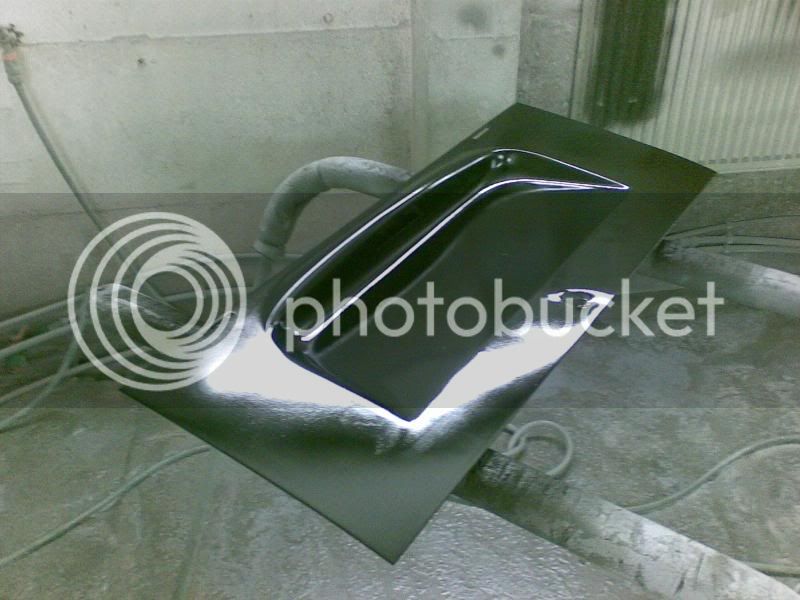
Thanks guys, I'm well chuffed with the way that side came out :lol:
He's never going to be a super straight show winner though cause at the end of the day he's been a work truck for some rough arse engineer so has got his fair share of dents and scrapes, plus the fact he's going to be my daily so will get some more no doubt!
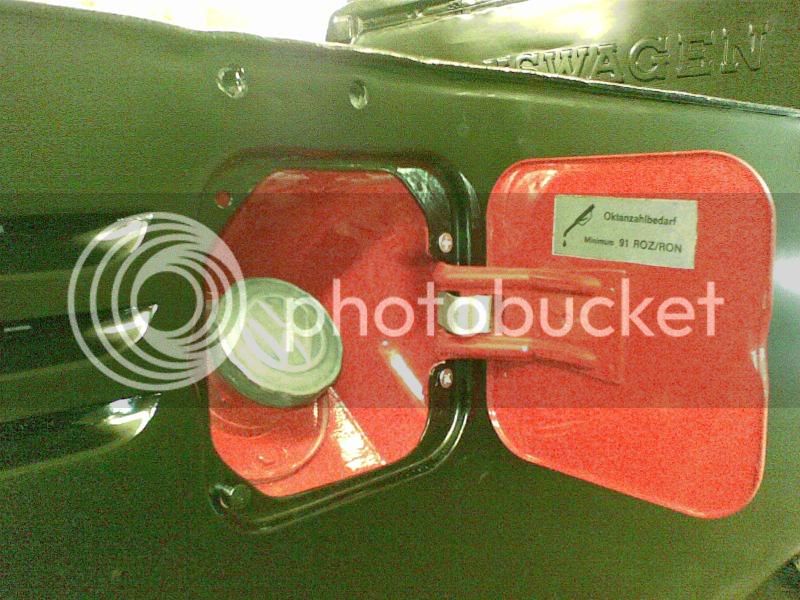
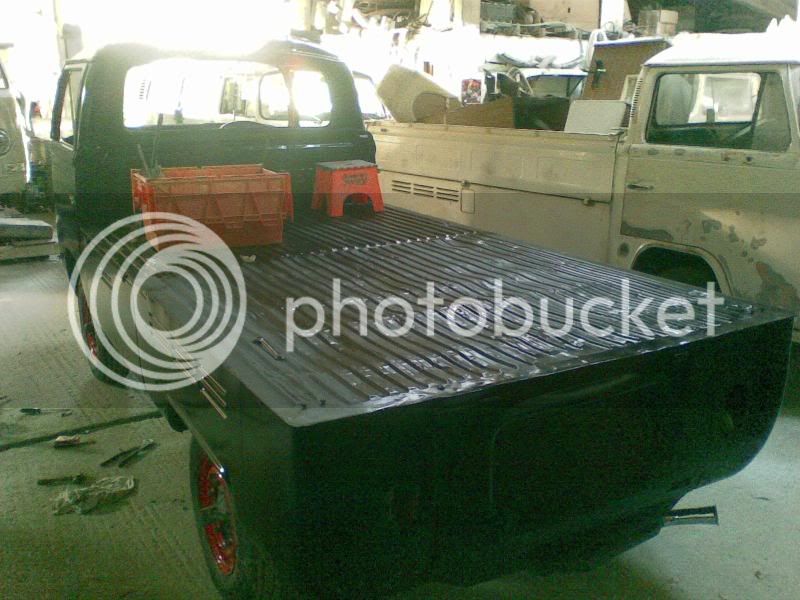
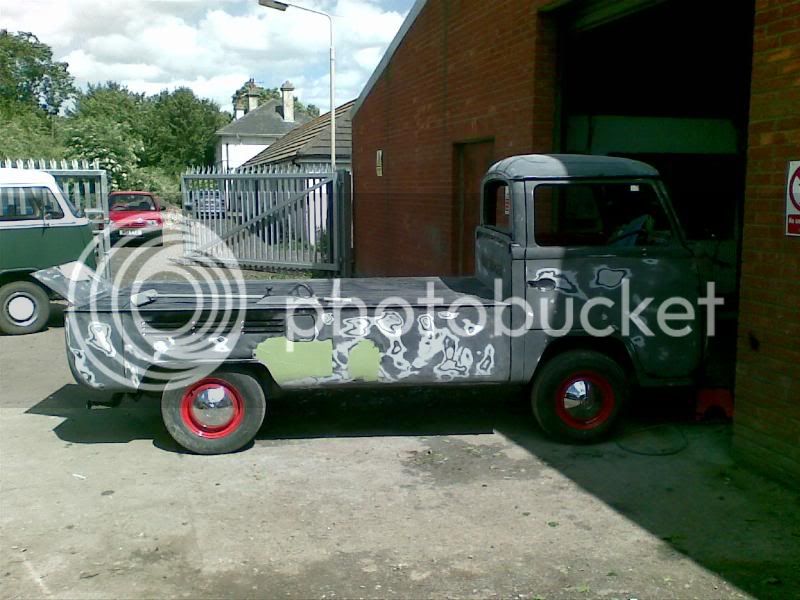
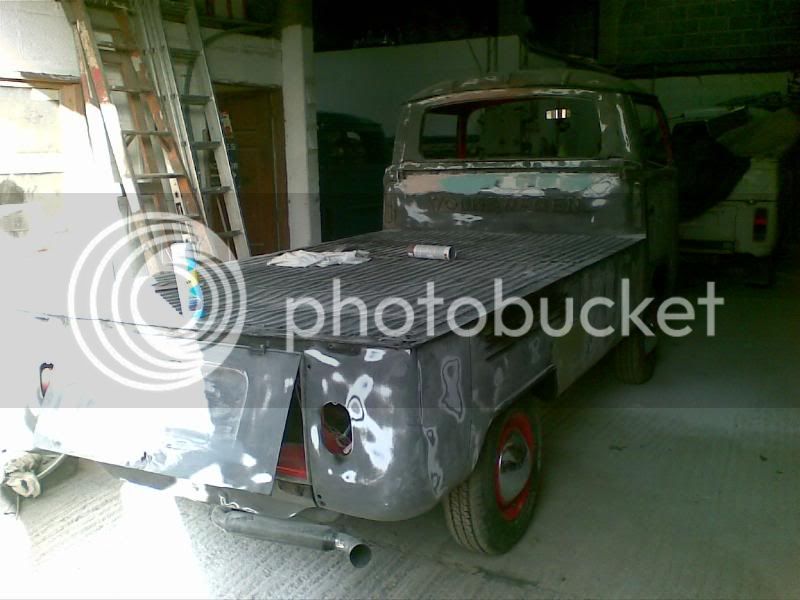
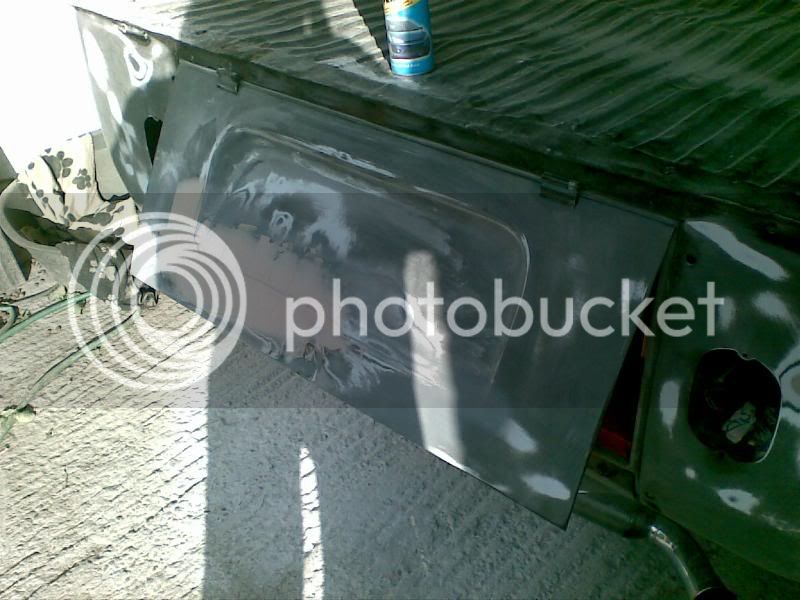
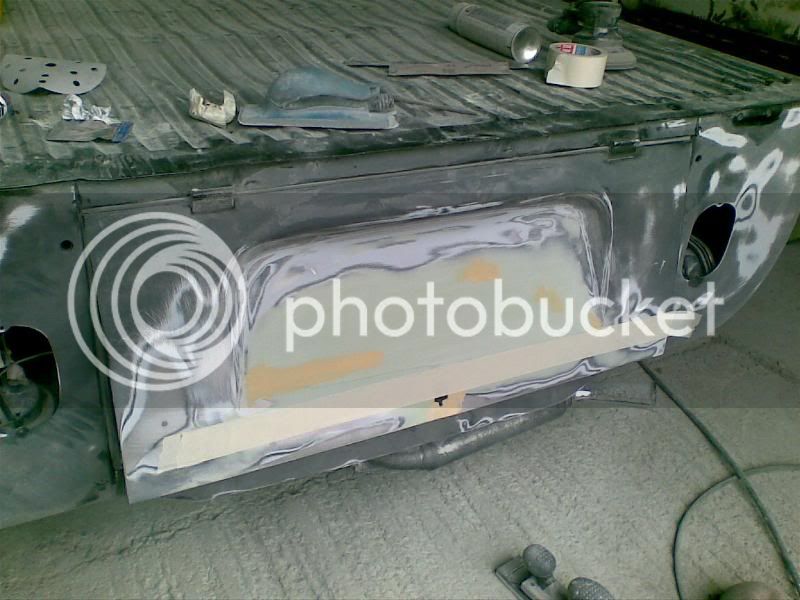
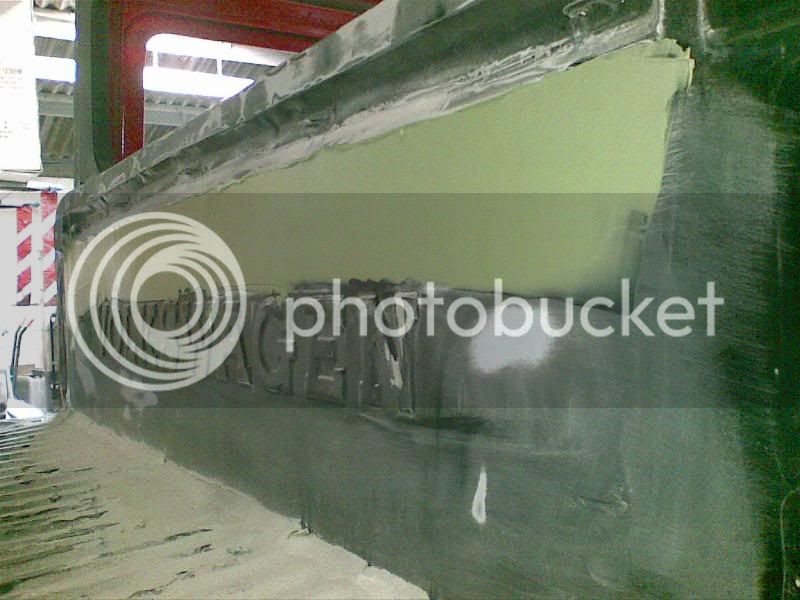
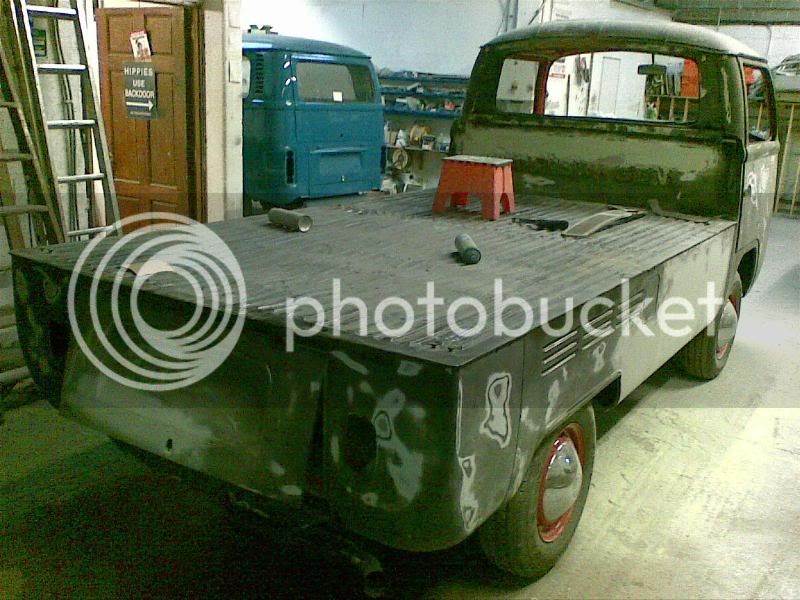
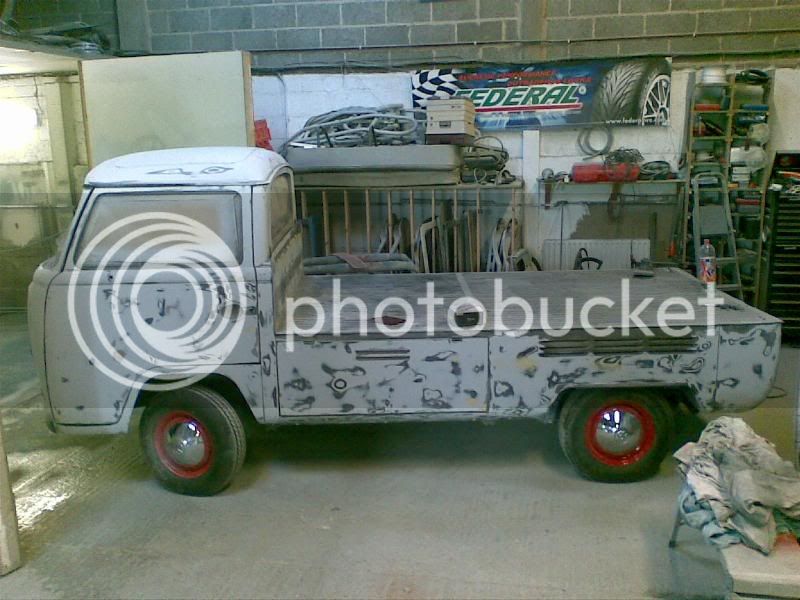
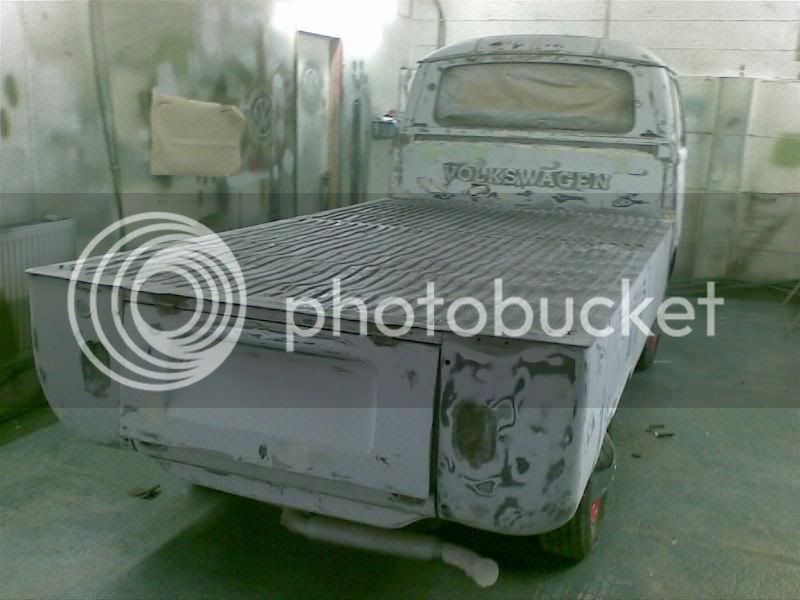
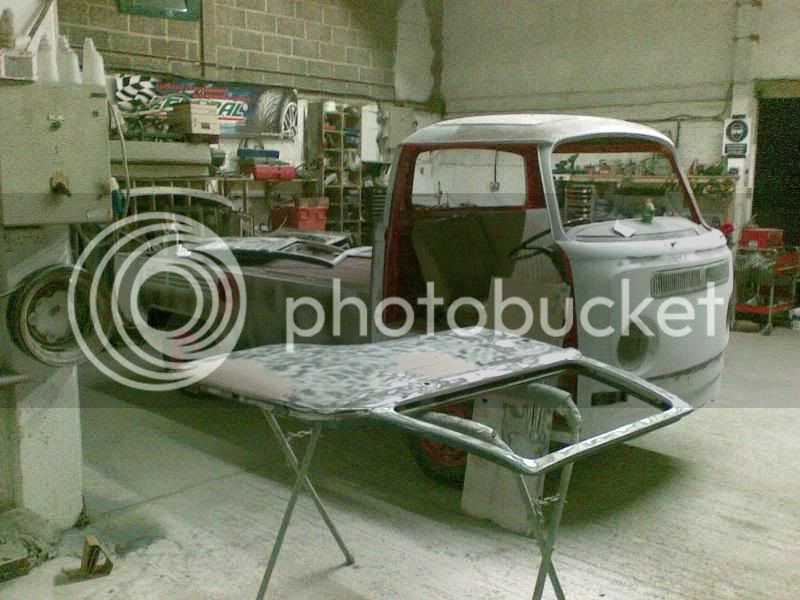
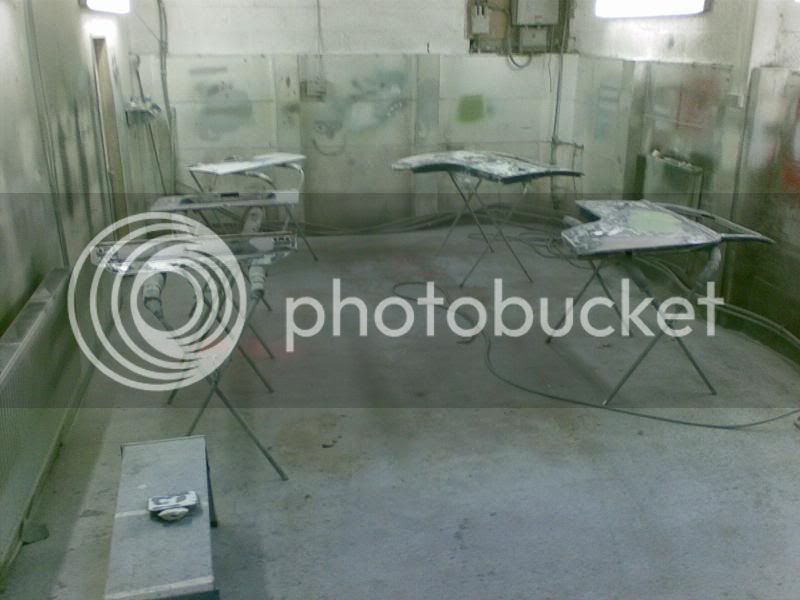
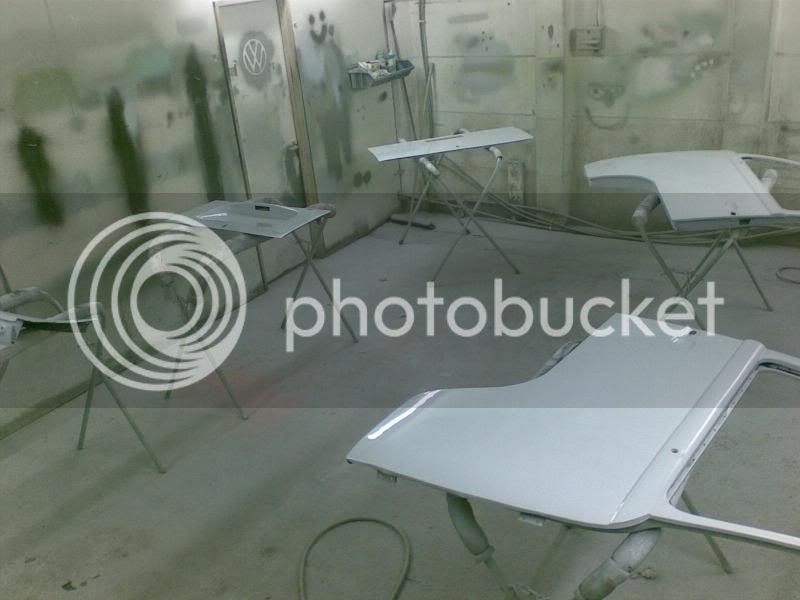
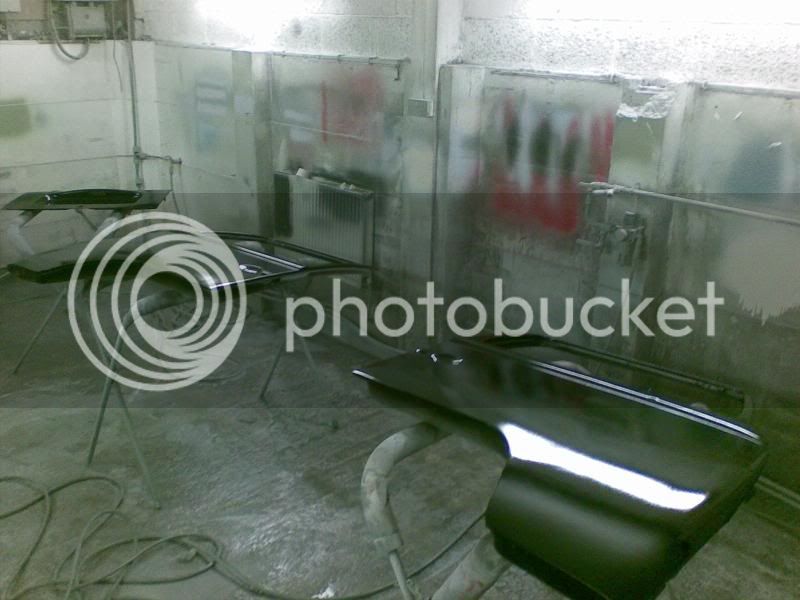
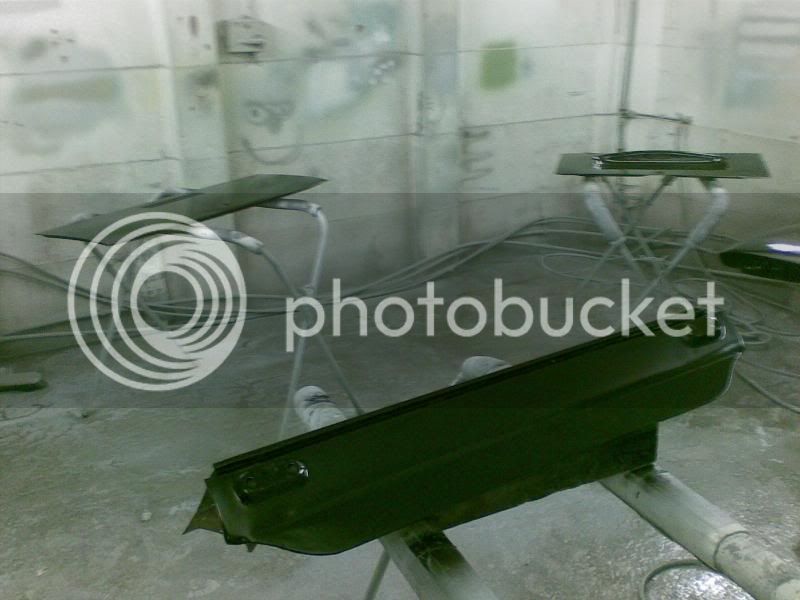
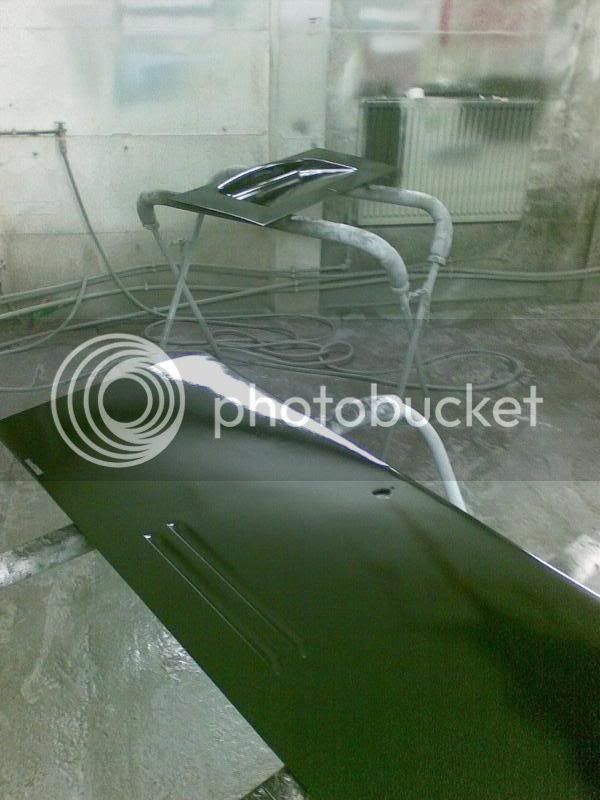
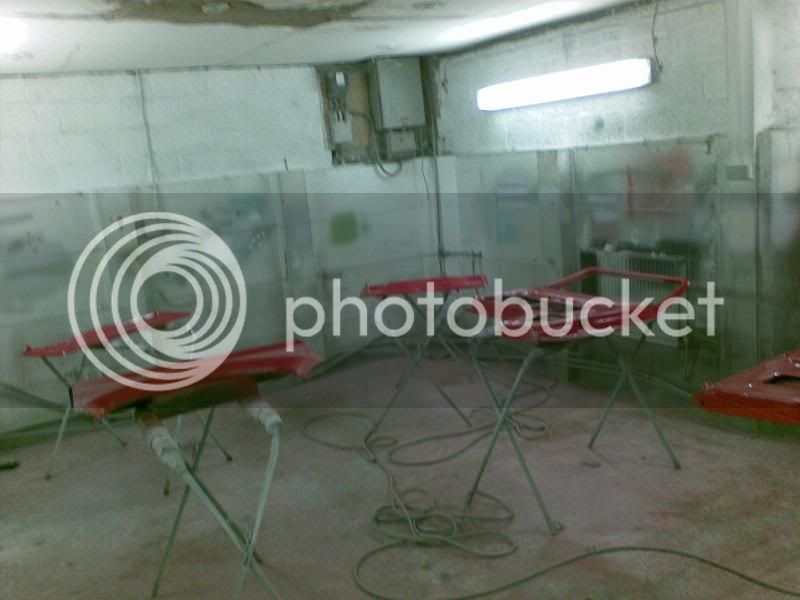
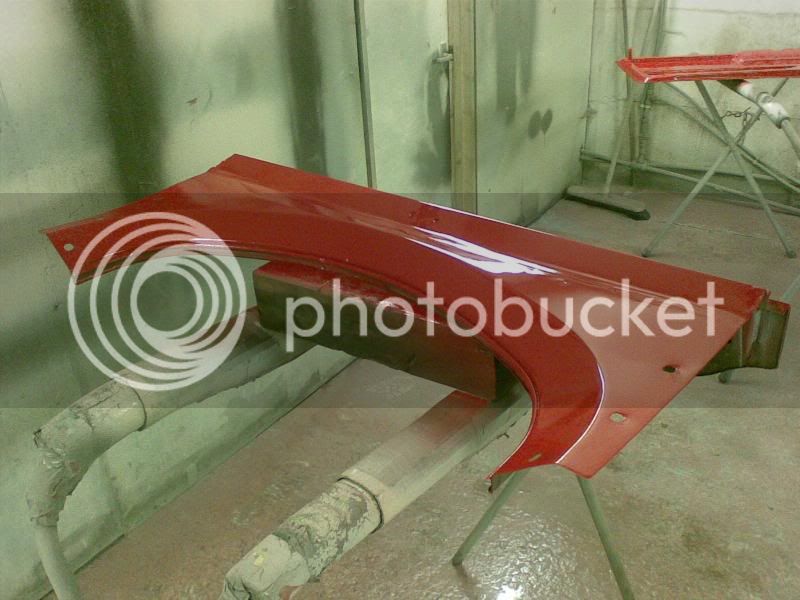
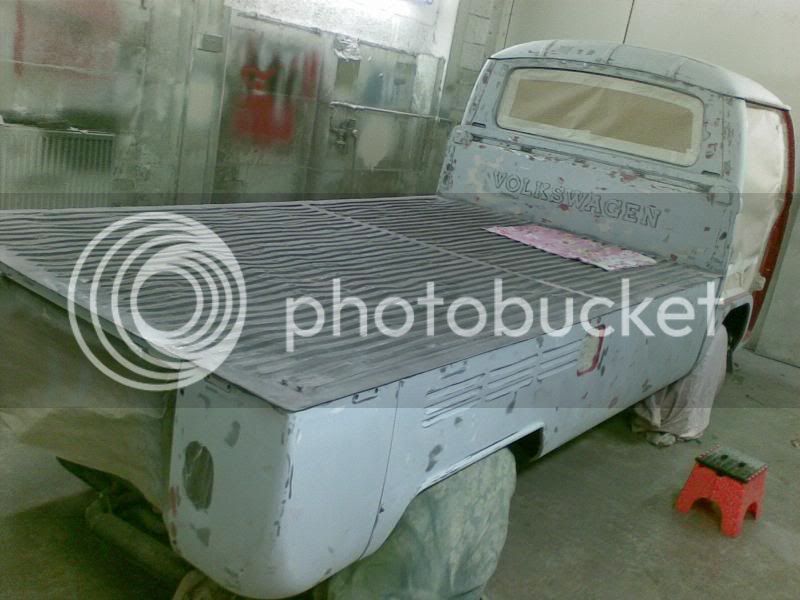
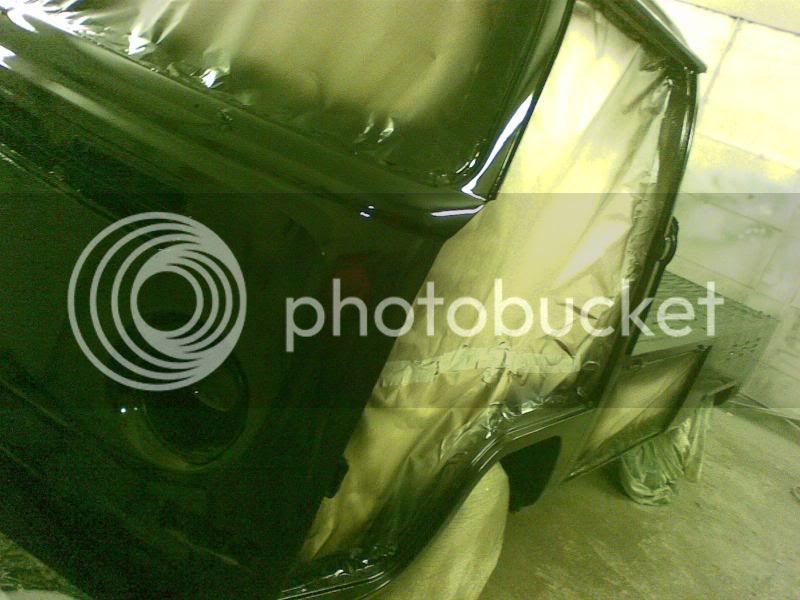
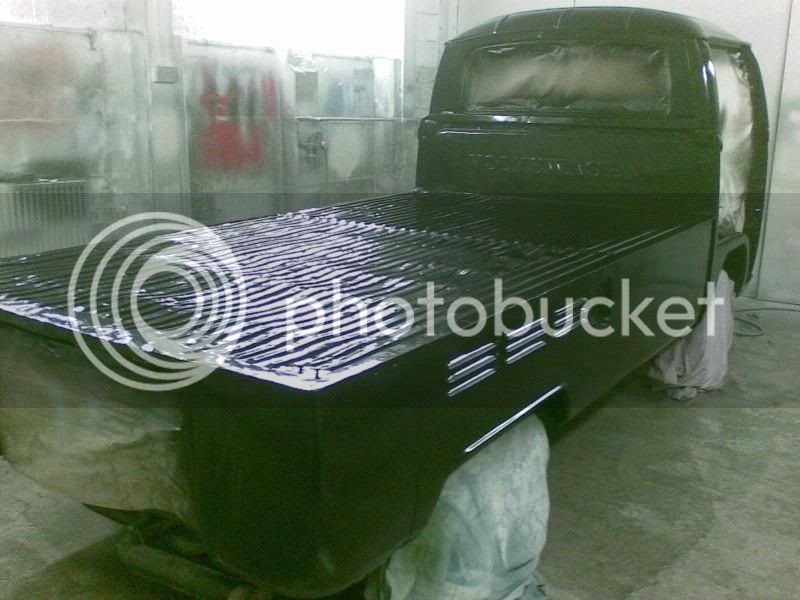
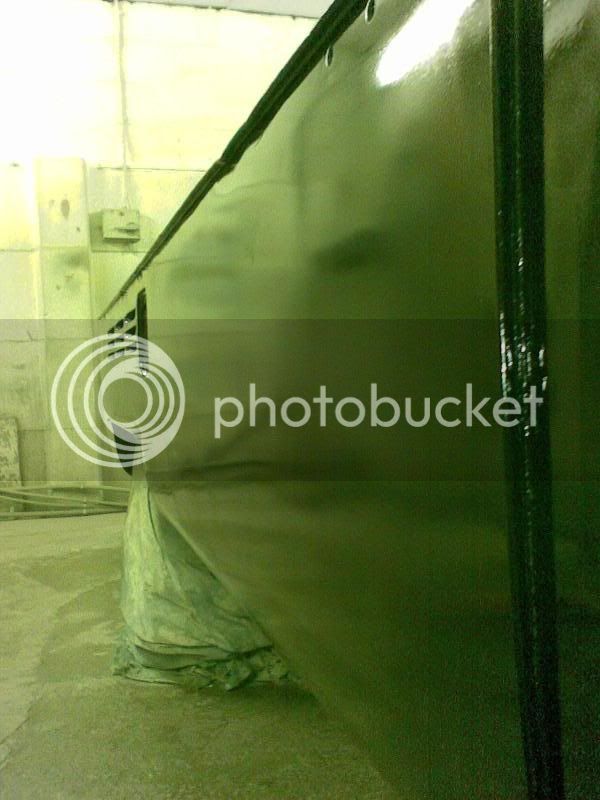
Here are sunday's photos:
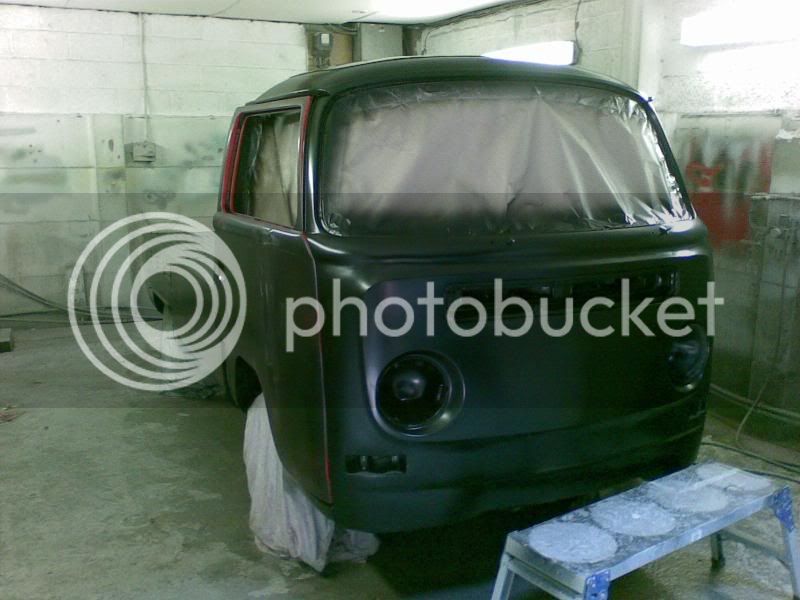
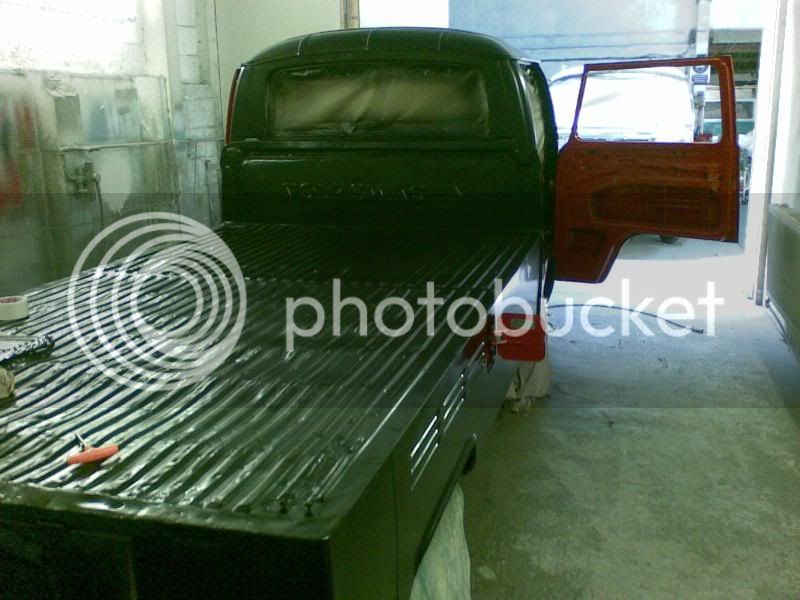
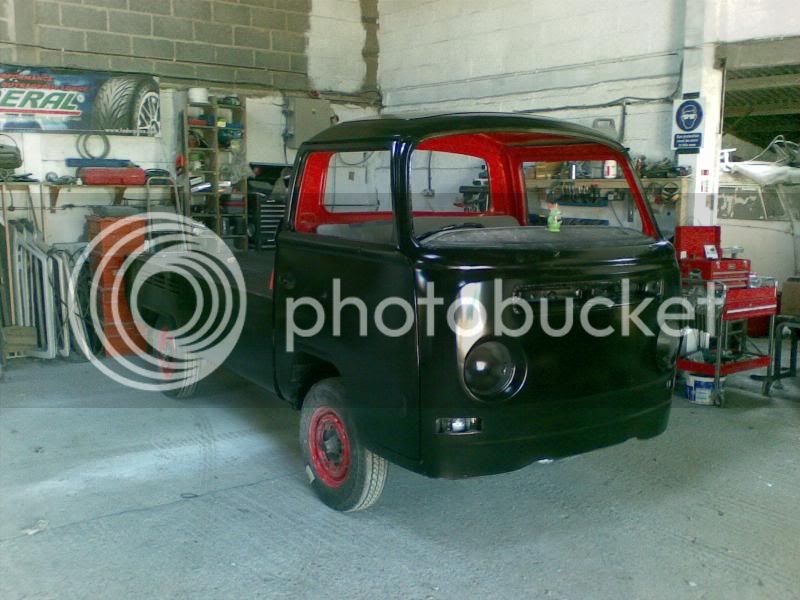
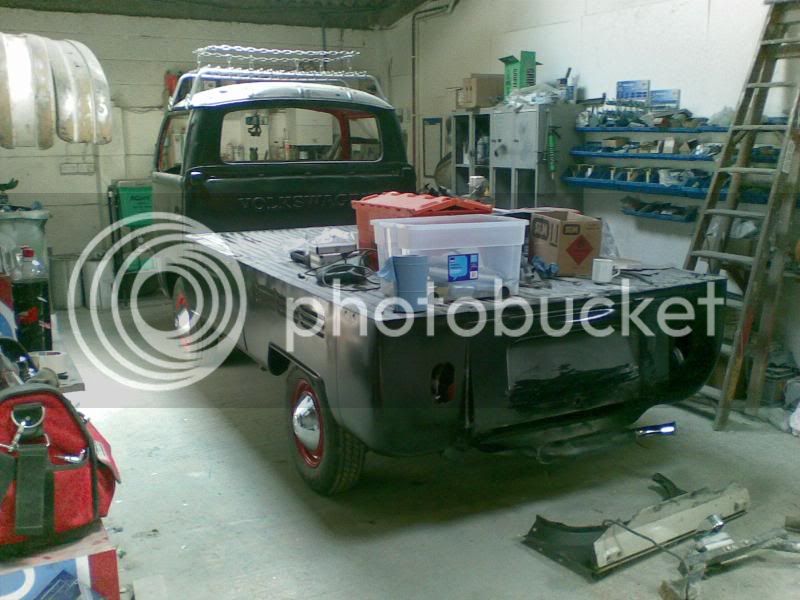
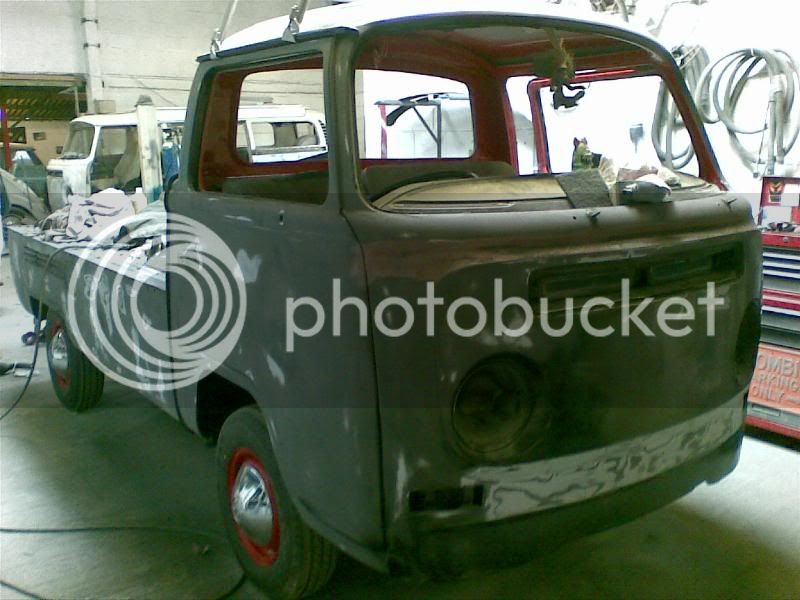
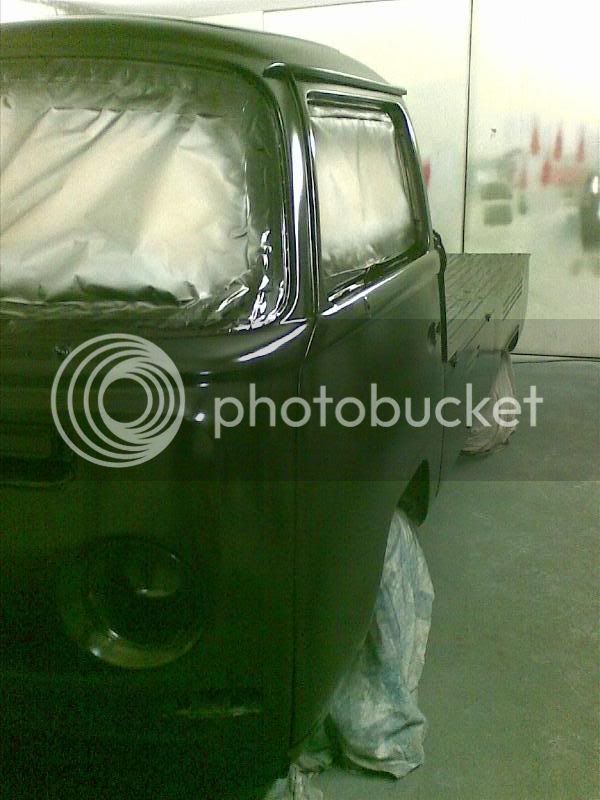
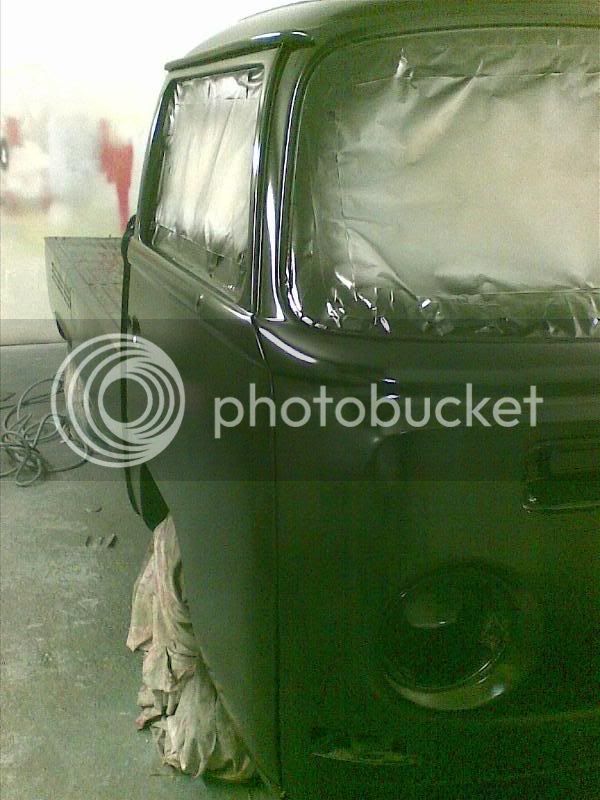
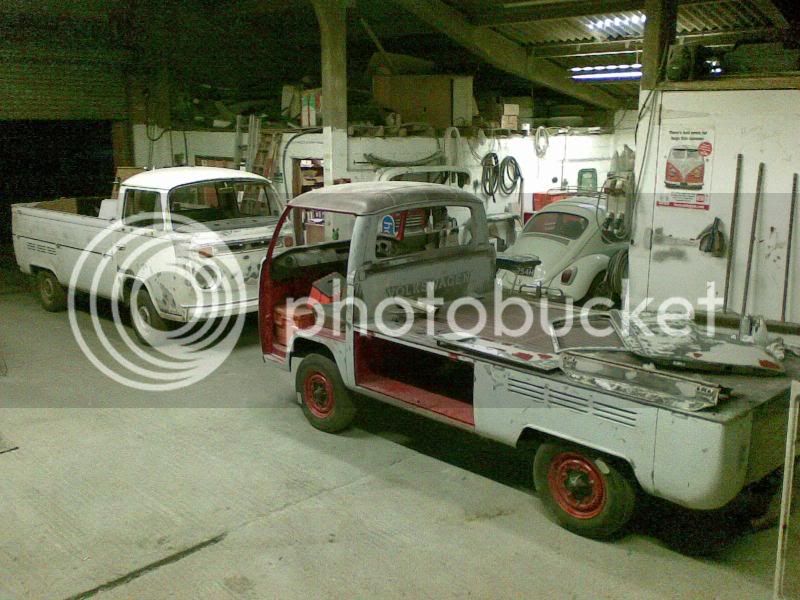
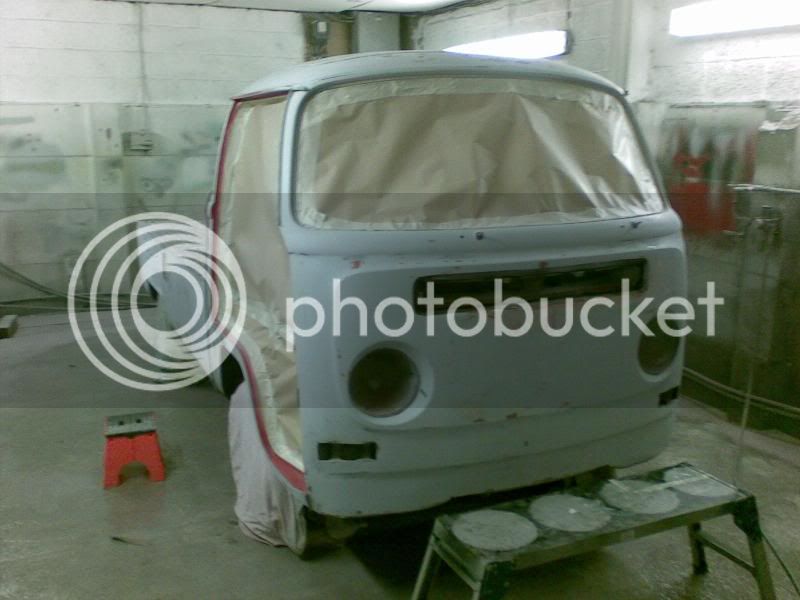
Fitted the doors
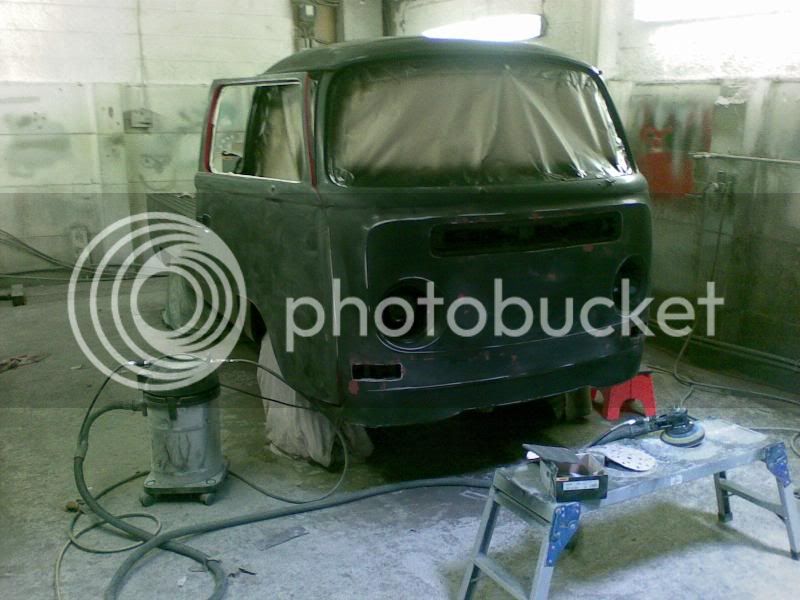
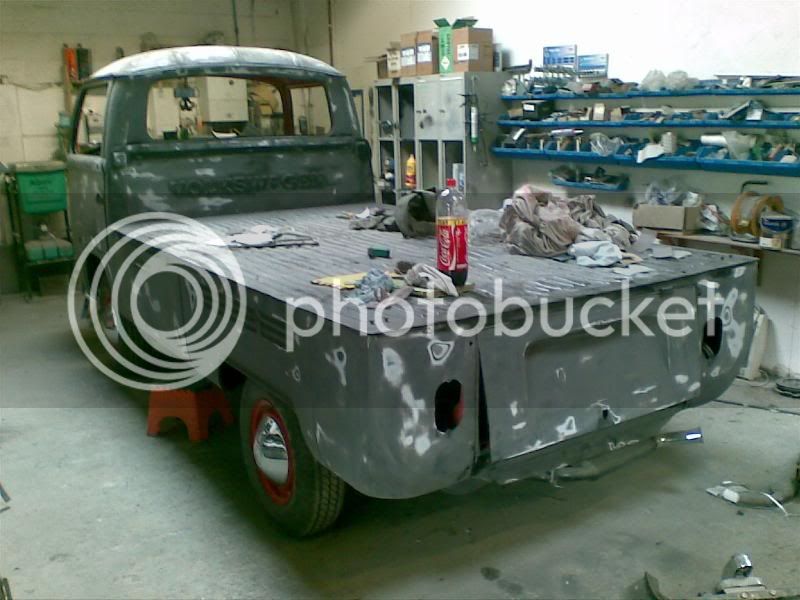
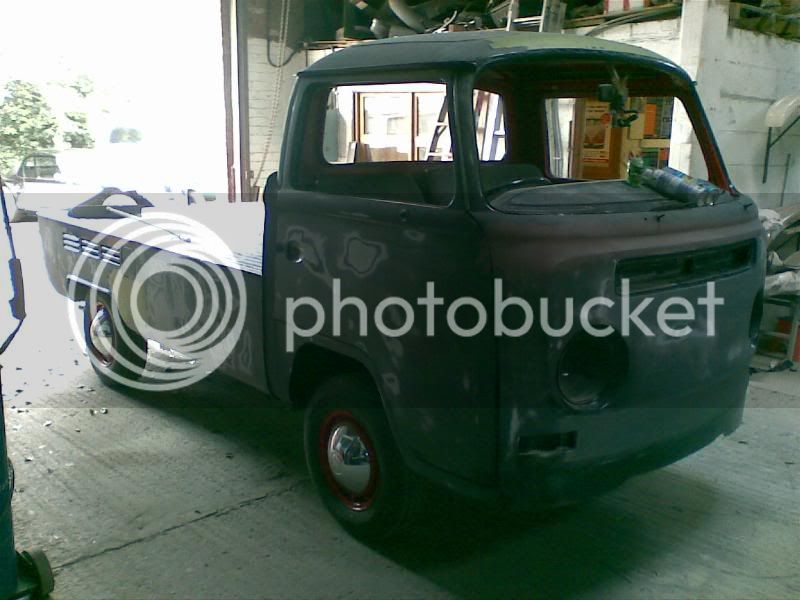
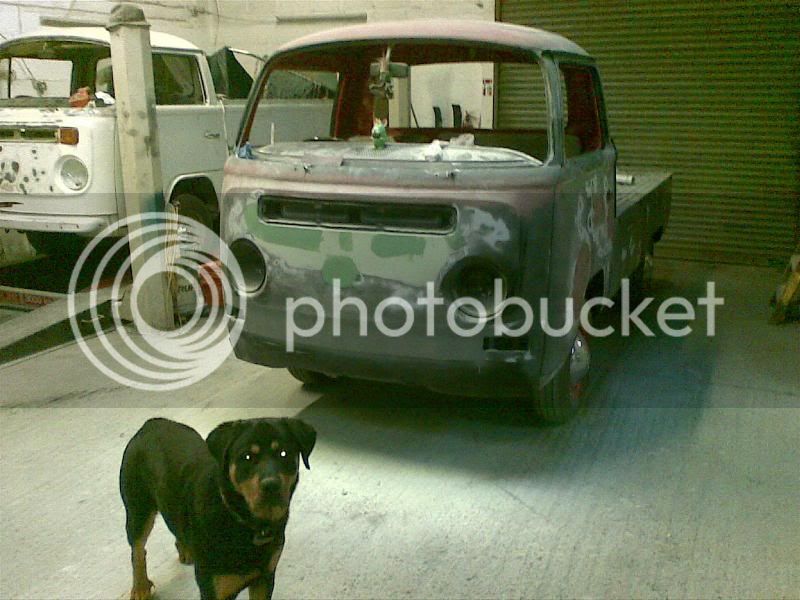
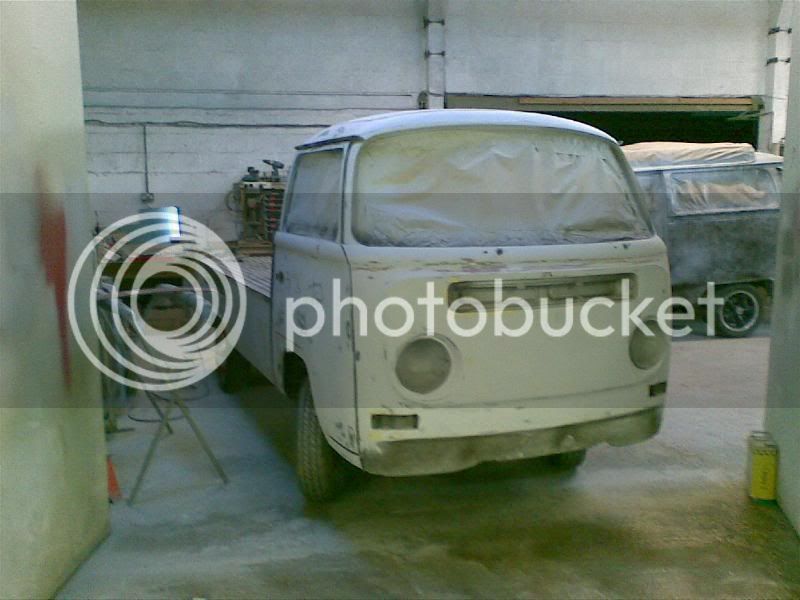
Blocked it down
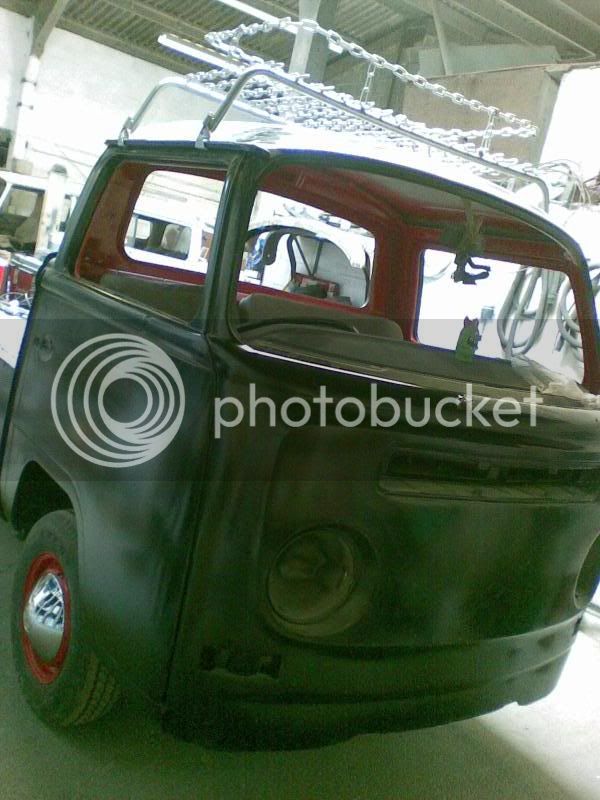
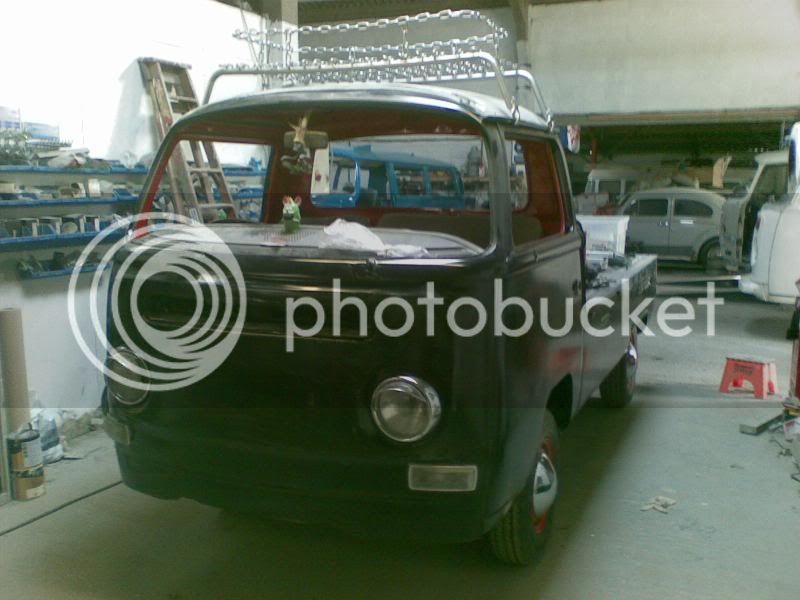
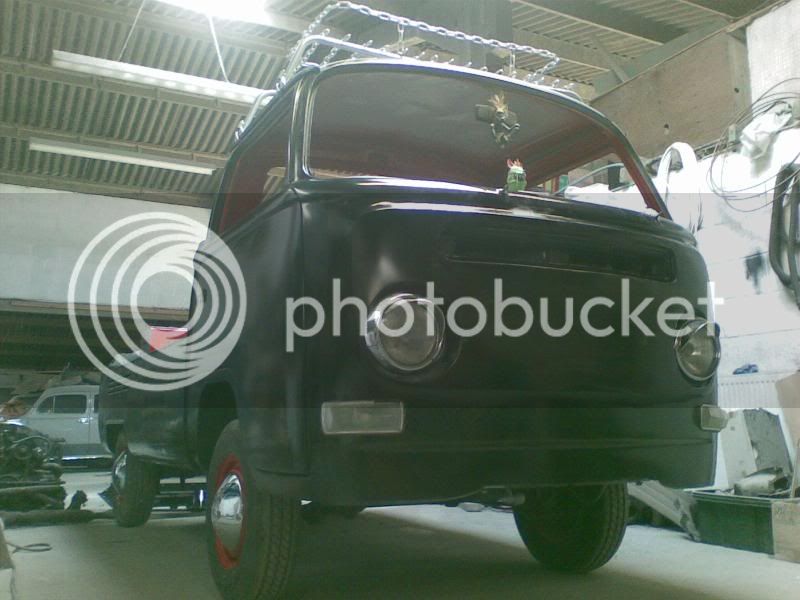
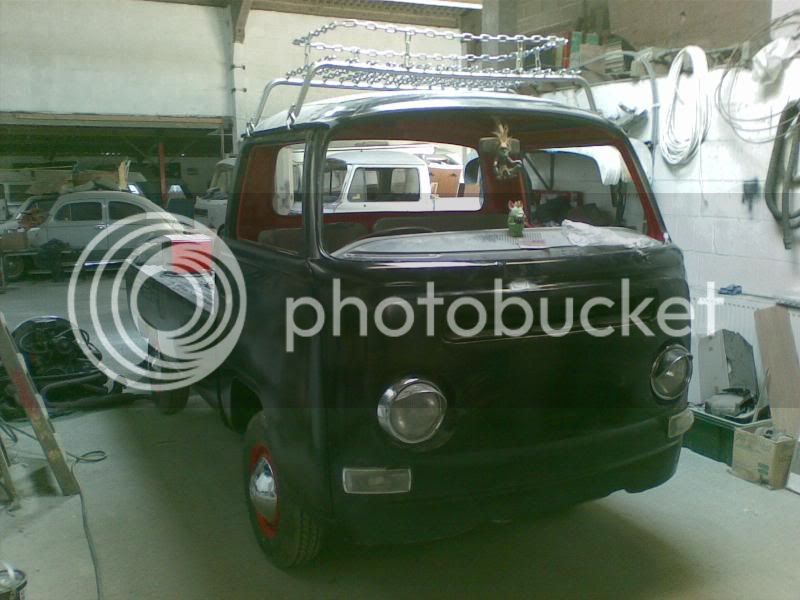
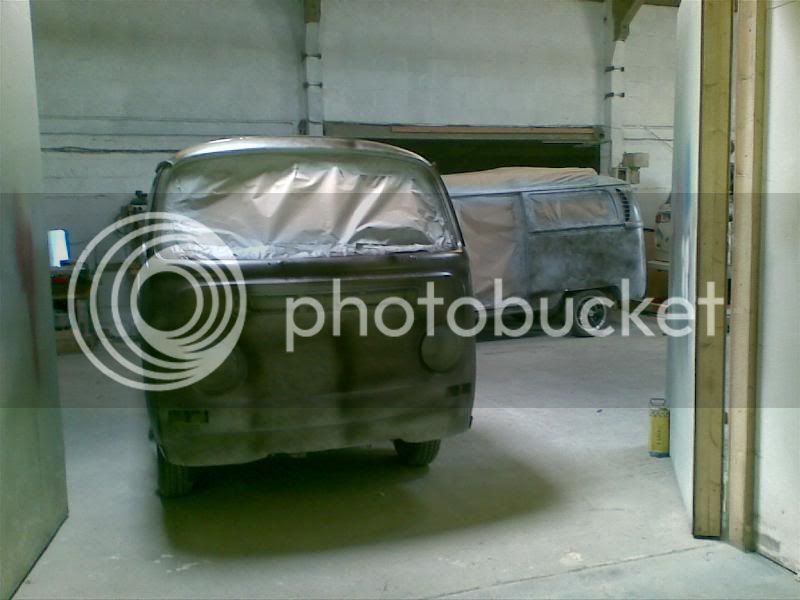
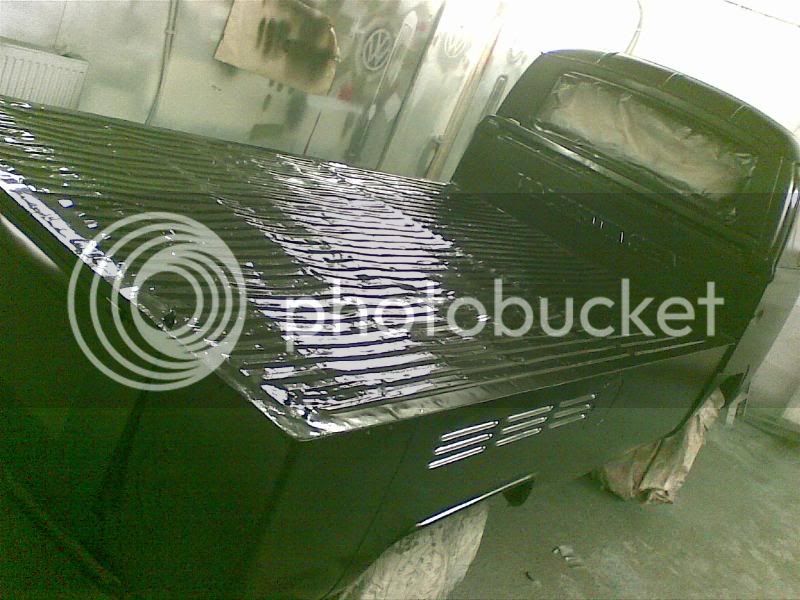
And then hit it with a coat of wet on wet primer and then the satin black.
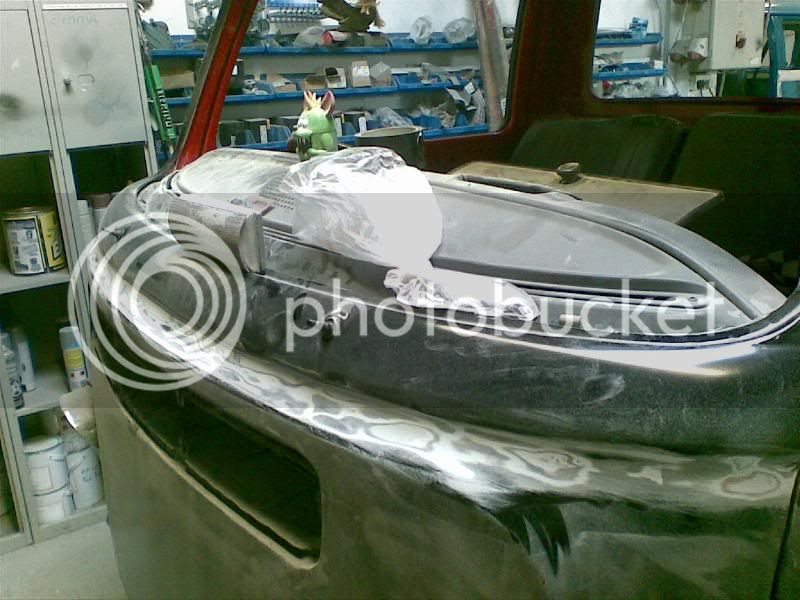
However, I only had a litre which was nowhere near enough. So I now have to wait for it to settle and then flat it back again. I've noticed a few more bits to sort out, I'm still not happy with the front of the roof and below the swage line on the front panel so there is a bit more work to do.
Fitted the locks and lined the doors up. Ordered the seals which I needed, fitted the seals that I had.
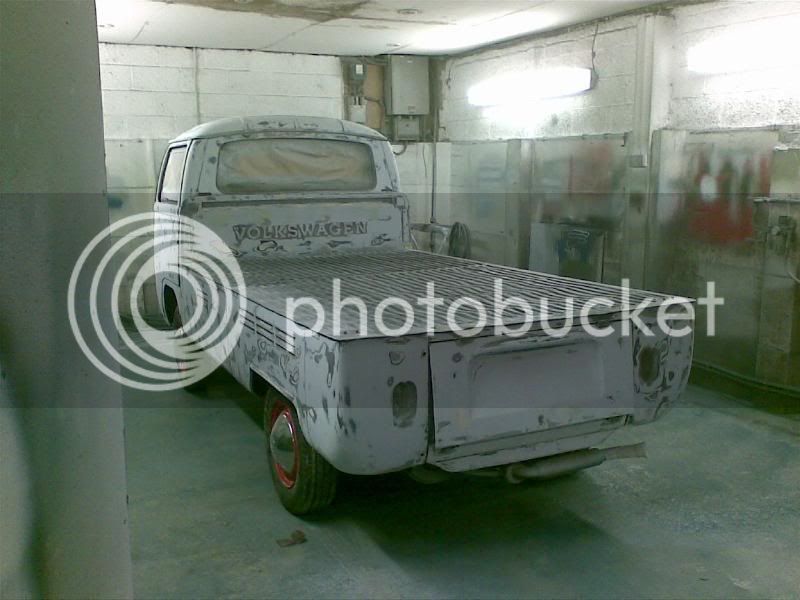
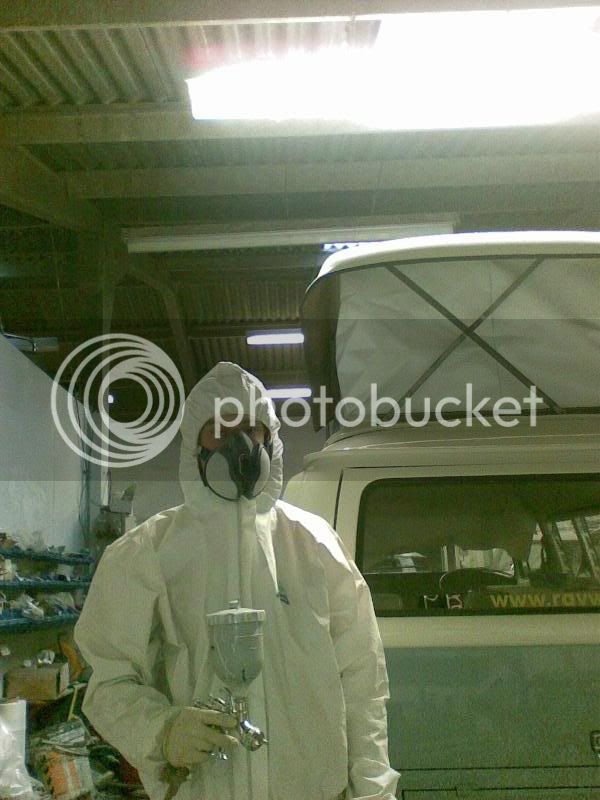
Seeing it in paint has been a good moral boost though.


")