You are using an out of date browser. It may not display this or other websites correctly.
You should upgrade or use an alternative browser.
You should upgrade or use an alternative browser.
"LemurBus" Empty Garage Syndrome
- Thread starter lemur
- Start date

Help Support Early Bay Forum:
This site may earn a commission from merchant affiliate
links, including eBay, Amazon, and others.
gninnam said:Well done with the MOT
Also, looking forward to seeing the bumpers installed (as I am sure you are....) :mrgreen:
I've had 3 days down at the Matts workshop and completed=
* new accelerator cable
* new accelerator linkage (buttys bits)
* scraped all flakey underseal from the front arches and all front cab area.
* chassis blacked all the above, prior to wax oiling.. this will be ongoing for a while i guess.
* re-tapped the bolt holes for the bumper irons.
* mock fitted the irons.
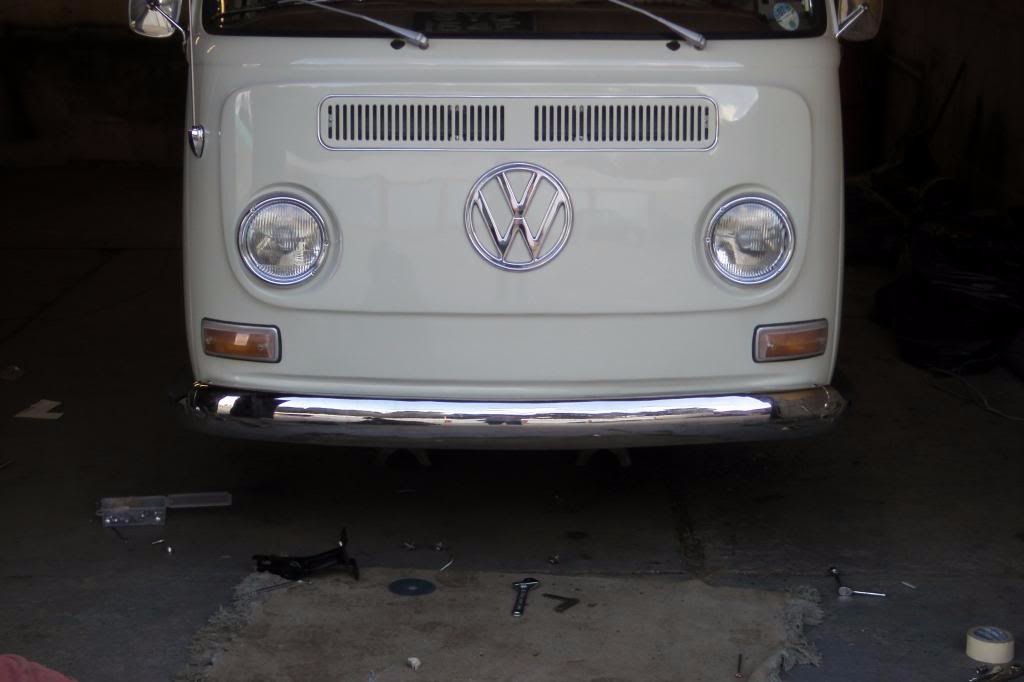
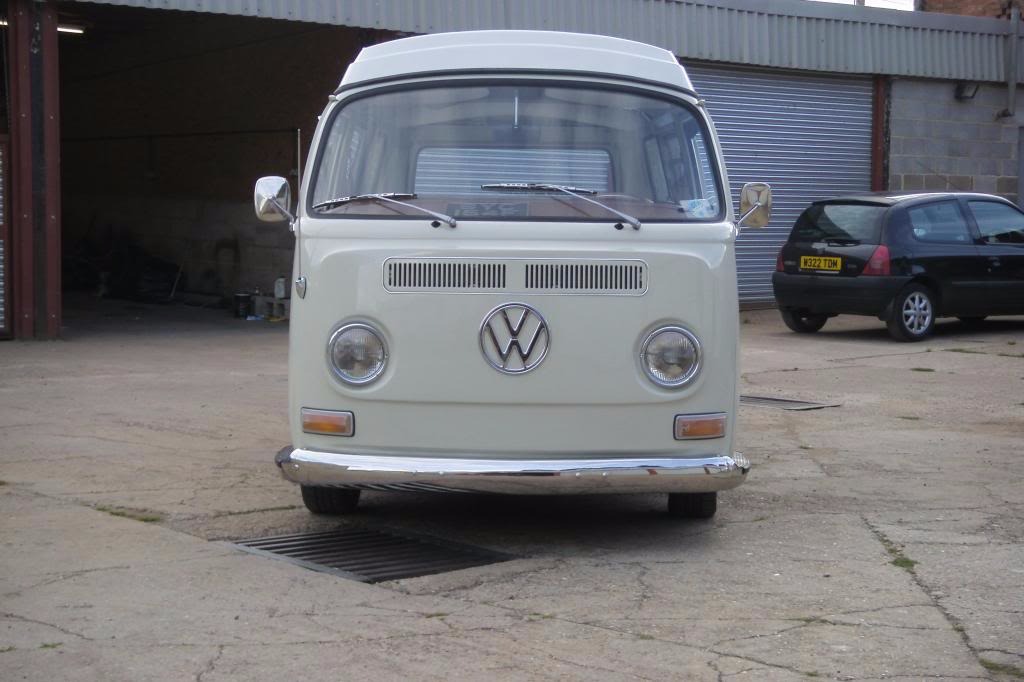
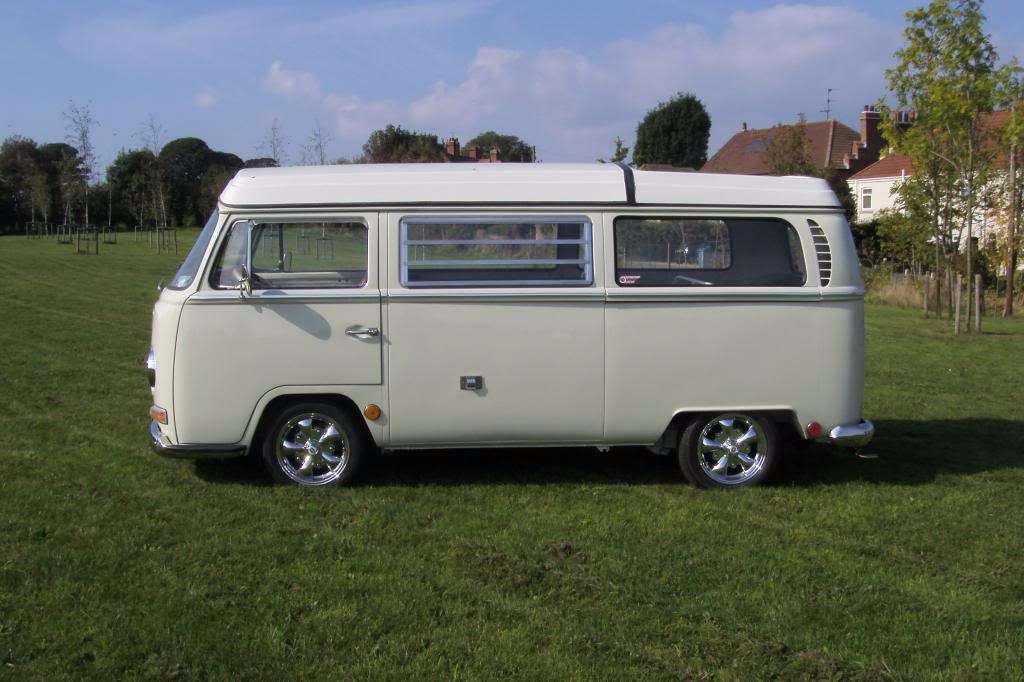
Just as I had to leave sat afternoon the front bumper was fitted with only some slight adjustments to make... you know, a few mm higher on the left and a few mm to the left.. I resisted taking pic's until it is "proper" :lol: but the stainless really does work with the rest of the bus!
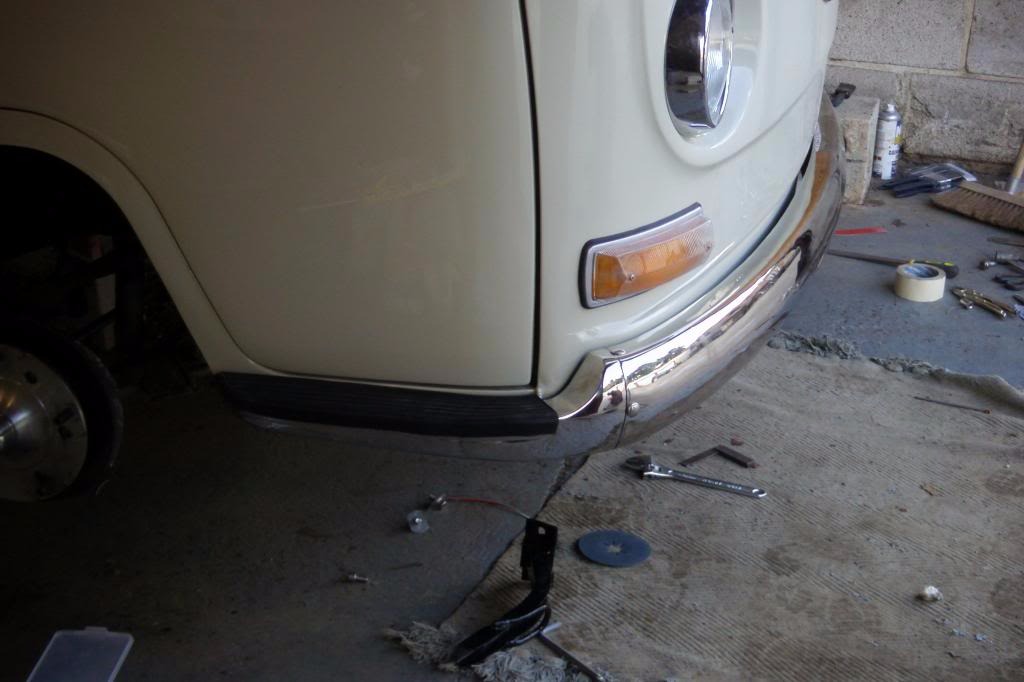
Now then.. if you buy Harringtons stainless bumpers beware that you will need to manipulate them! we have had t elongate holes on the side step brackets, file some areas and generally keep making fine adjustments throughout. That said they will clearly look 'the bomb' and will fit but you will need to take time and "work them"
Pics soon, I'm off to workshop at 3pm morra :mrgreen:
L
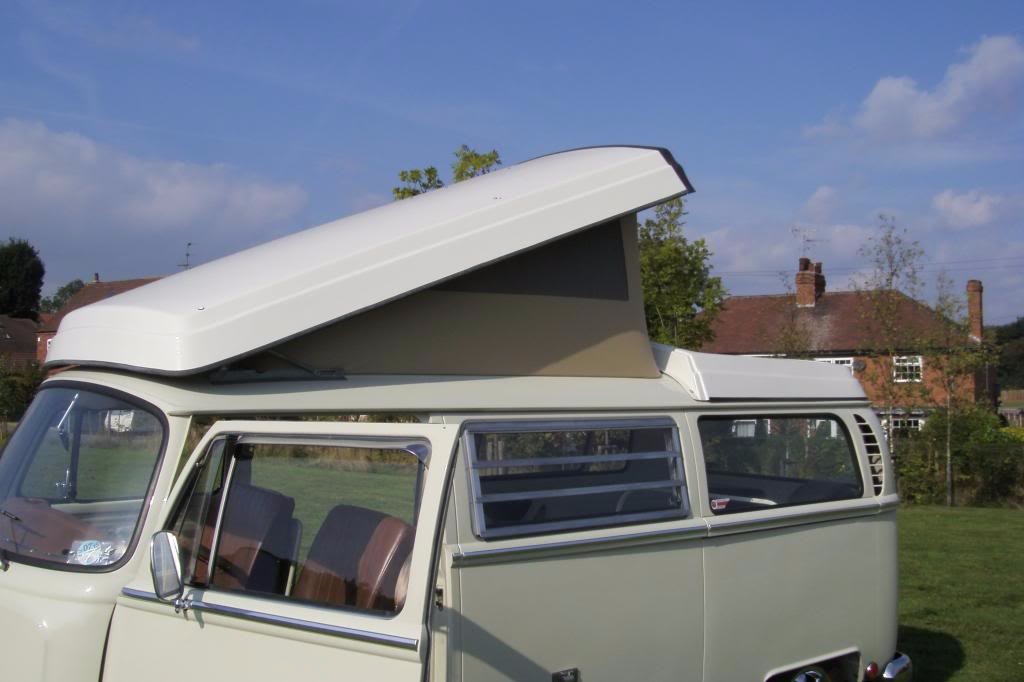
mid-install teaser
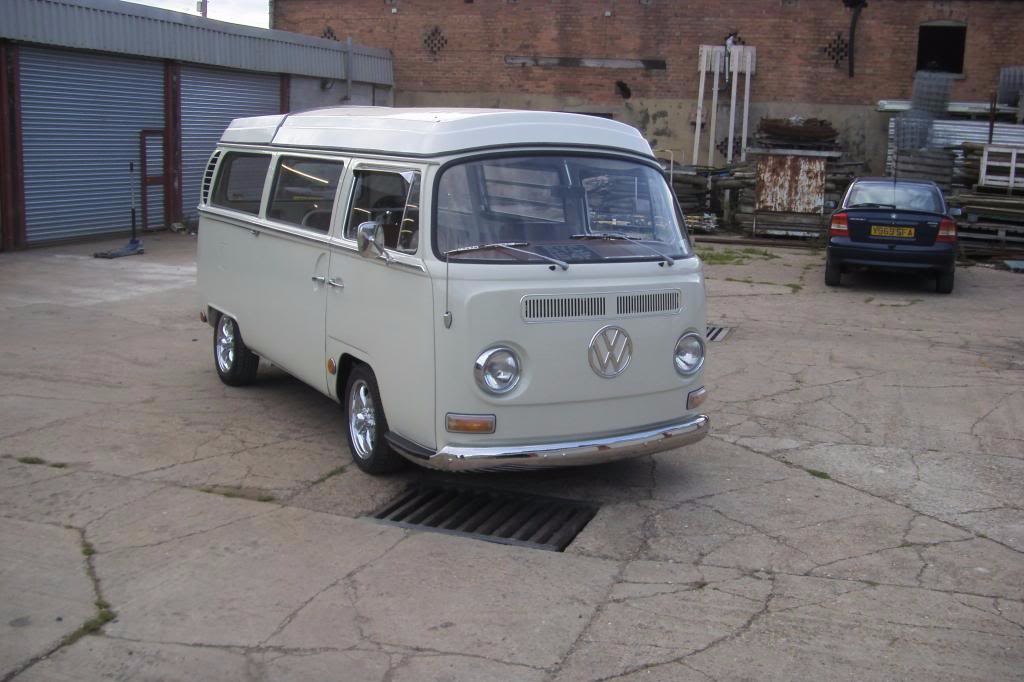
Got to tell you these bumpers fight you all the way, all the bolt holes on the side steps have needed elongating, various bending sessions :shock: but overall my verdict is that they are worth the trouble, they look super shiny nice and are never gonna rust to boot!! if you have time to be methodical and not get stressed.. half way into the task you'll just accept that they have been poorly pressed in Vietnam and you need to put in the effert that they didn't.. rant over.
Here is the front one finally in the correct position, accurate to within 2mm when measured at the 'static' constant points we've been using as 'control' this just needs the the 4 holes through to the irons drilling (tomorrow) and the irons shortening because i want them real snug up against the valance, aiming for around a 15mm gap :mrgreen:
I'll take honest feed back, feel free to shoot me down.. I'm sure the 'pro-stock army' are saddened by this :lol:
More pic's in a nice location when I drive her home from the workshop
Liam


$27.95 ($13.98 / Count)
Marketplace Auto Parts Window Crank Handle Set of 2 - Chrome with Black Knob - Compatible with 1968-1978 Volkswagen Beetle
Parts Geek LLC


$28.52
$32.43
Airfix Quickbuild Volkswagen Light Blue Camper Van Brick Building Model Kit, Multicolor
Amazon Global Store UK
StuF said:Big like from me!
I love shiny bits! 8)
gninnam said:Look very snug fit and I am sure will suit the bus once they are fully fitted
Thank you guys
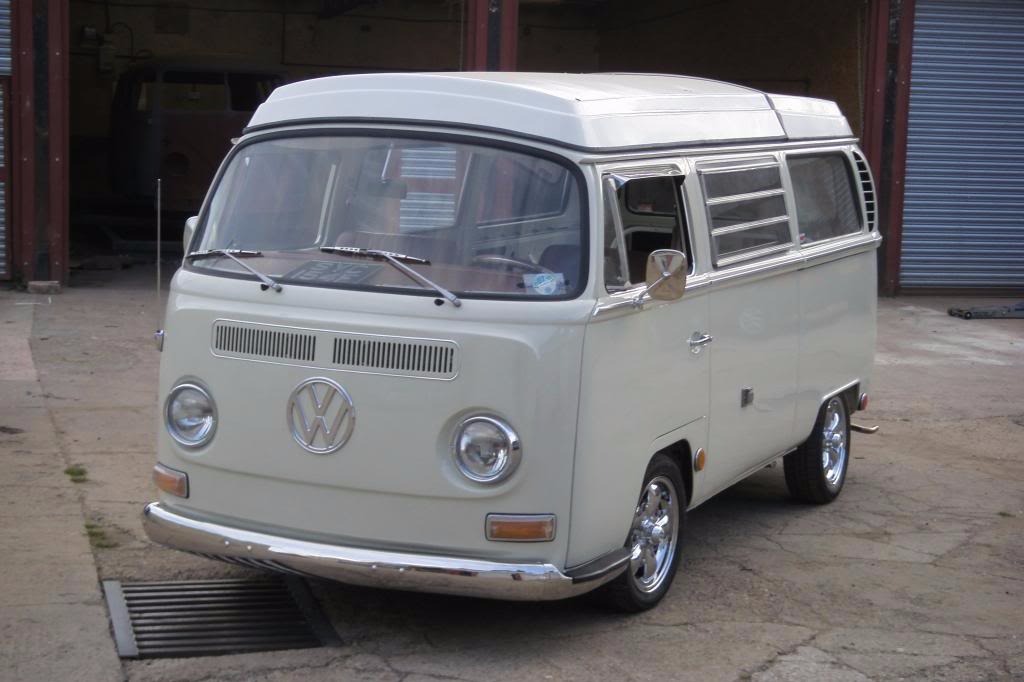
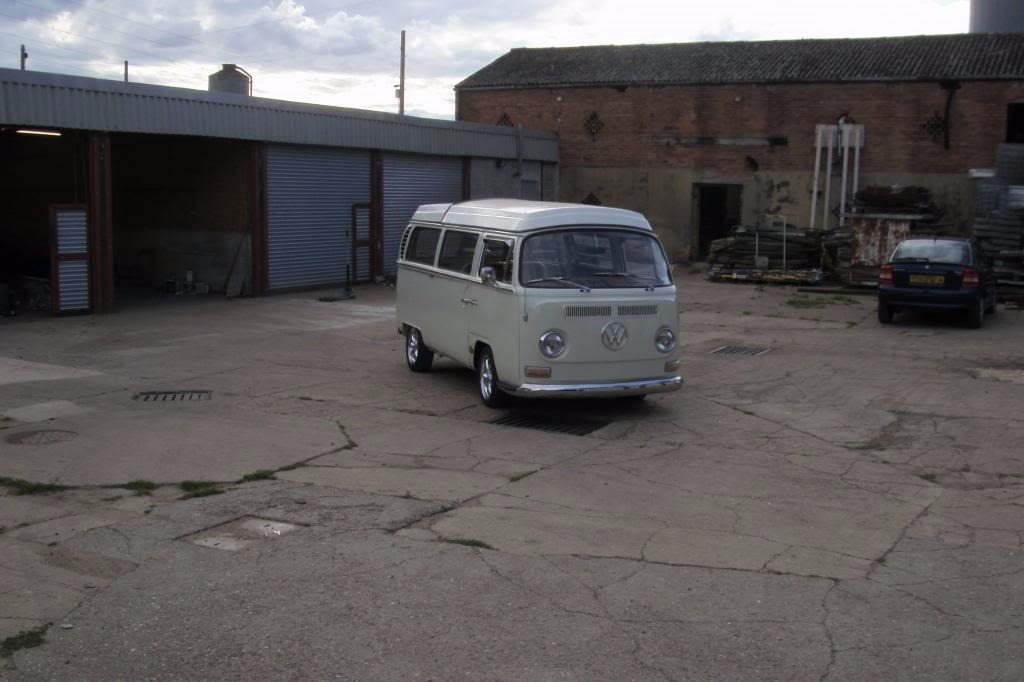
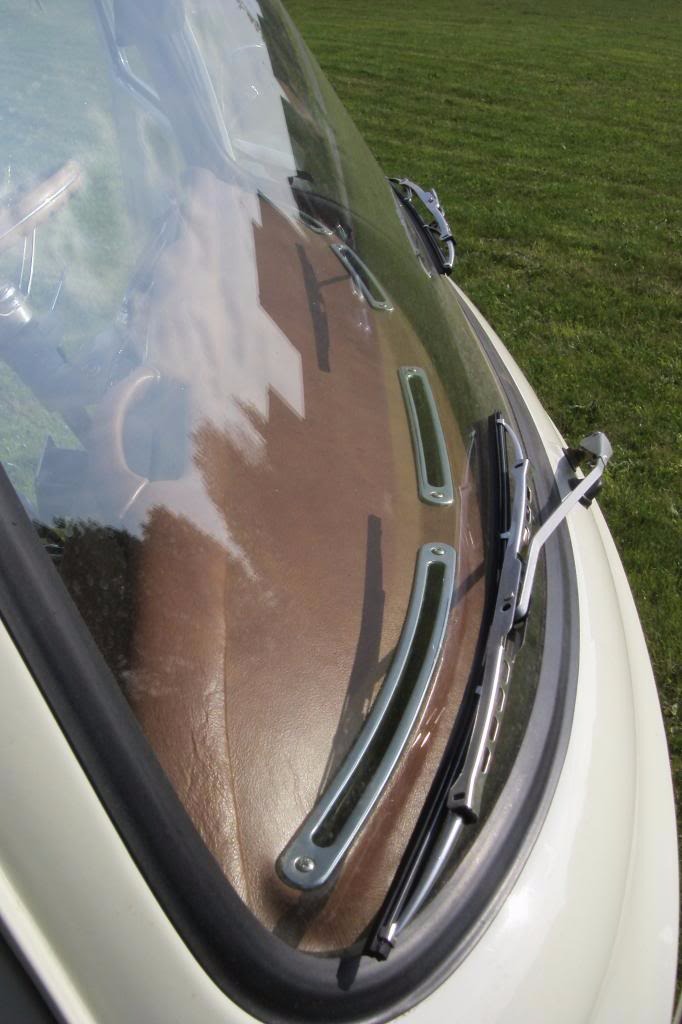
This is it then, the front one complete
This really is the best 2 determined blokes can do with a harrington s/s bumper,they are a proper challenge! Massive reshaping and notching on irons and side brackets/ fabricated washers etc. the back one is due to be fitted tuesday, the bolt holes for the rear irons have been re-tapped and the irons themselves have been por15'd ready..here it is, Oh the buttys linkage makes the gas pedal responsive too!
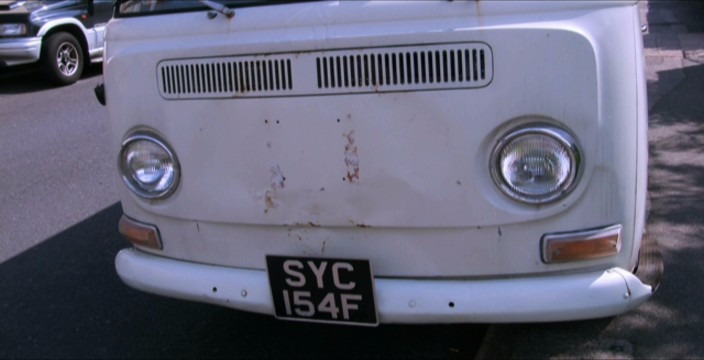
before :scared0012:

More pics after the bank hol... have a good one!
Cheers mangninnam said:Looks very nice and clean.
Well done
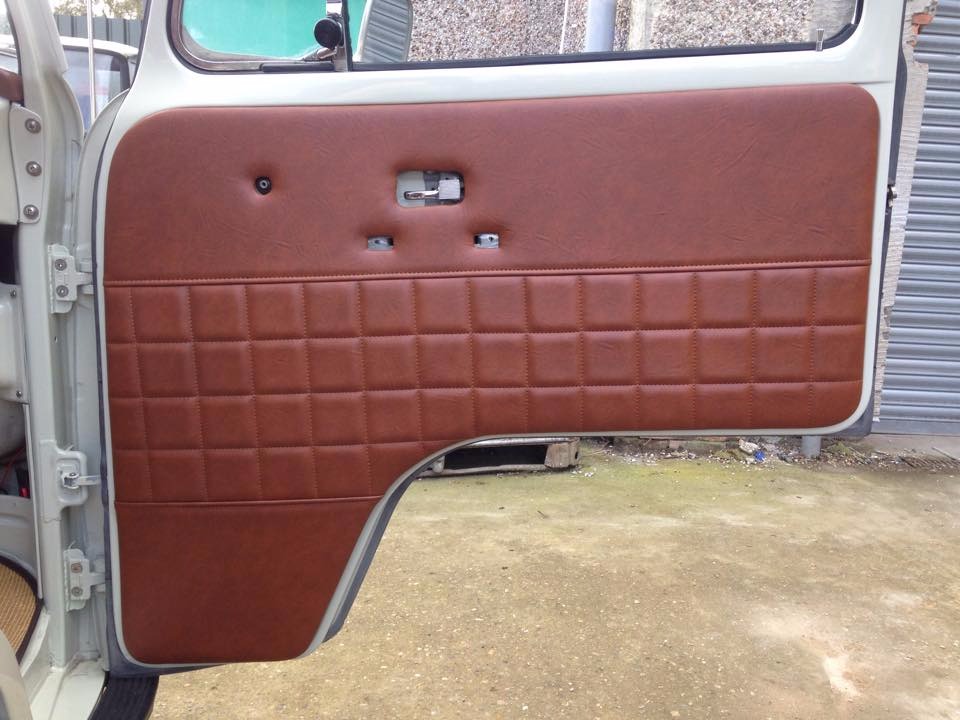
worth the hassle I reckon.And got a text from 'TrimJim' http://www.vwinterior.co.uk/" onclick="window.open(this.href);return false; today also about my upholstery, not sure how far he's got but he needs the bus now so I'm thinking that's good news! Could be as I return from Spain in a few weeks the upholstery will be ready to go in :bliss:
A happy Liam.
68_early_bay
Well-known member
lemur said:Cheers mangninnam said:Looks very nice and clean.
Well done
And got a text from 'TrimJim' http://www.vwinterior.co.uk/" onclick="window.open(this.href);return false; today also about my upholstery, not sure how far he's got but he needs the bus now so I'm thinking that's good news! Could be as I return from Spain in a few weeks the upholstery will be ready to go in :bliss:
A happy Liam.
Trimjim did my upholstery 8) he knows his onions, mines had 3 summers of hammer from the kids and it's still like brand new 8)
SiDev said:Just read your resto start to finish. Awesome work resulting in a very sweet ride.
Thanks SiDev that is kind.. stick with me though the resto goes on
68_early_bay said:lemur said:Cheers mangninnam said:Looks very nice and clean.
Well done
And got a text from 'TrimJim' http://www.vwinterior.co.uk/" onclick="window.open(this.href);return false; today also about my upholstery, not sure how far he's got but he needs the bus now so I'm thinking that's good news! Could be as I return from Spain in a few weeks the upholstery will be ready to go in :bliss:
A happy Liam.
Trimjim did my upholstery 8) he knows his onions, mines had 3 summers of hammer from the kids and it's still like brand new 8)
Yeah he sure does, Jimmy actually did my cab seats about 5yr ago when he first started out, he is a family friend like
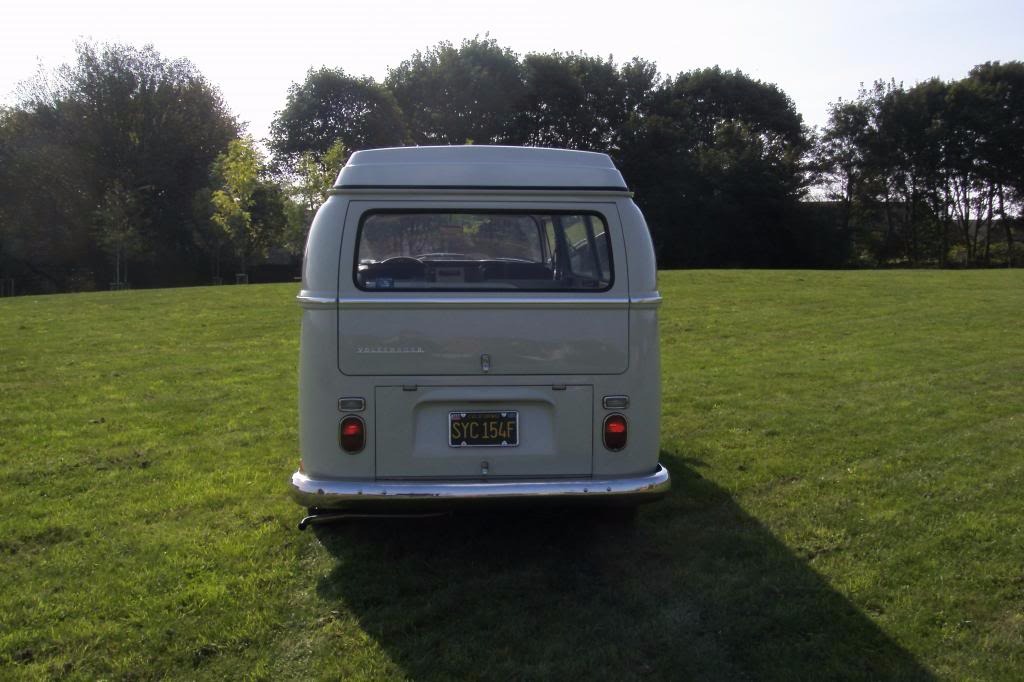
more pics over the weekend...rear bumper and yanky plates
L


Resto-raider
Well-known member
Only one word comes to mind: Awesome!
Dickie524
Well-known member
Inspirational thread here! Amazing work!!
Similar threads
- Replies
- 12
- Views
- 813