My 1970 Dormobile

Early Bay Forum

Help Support Early Bay Forum:

This site may earn a commission from merchant affiliate links, including eBay, Amazon, and others.

bushyboy

Active member
Joined
Jan 13, 2007
Messages
29
Reaction score
0
Location
Banbury, Oxon
Hi I am not new to the site I have been reading and admiring all you other users for a while but I thought it was time though to show you my bus and to get more involved in these forum things as I am a bit of a forum virgin.
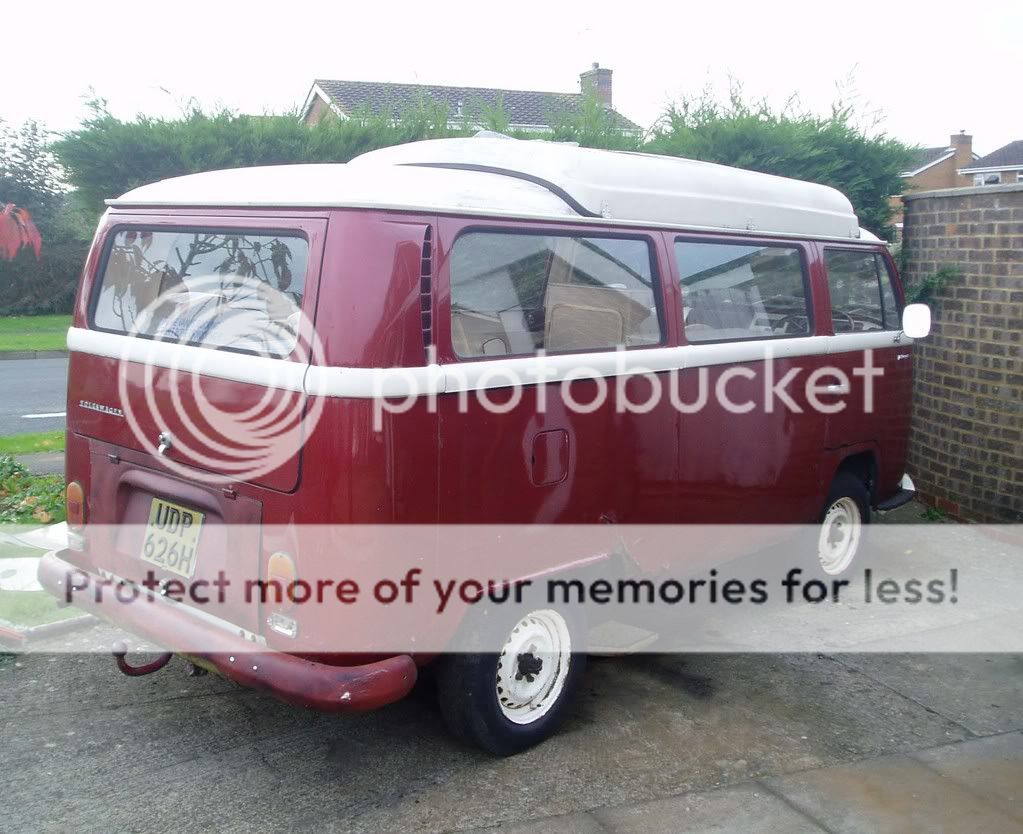
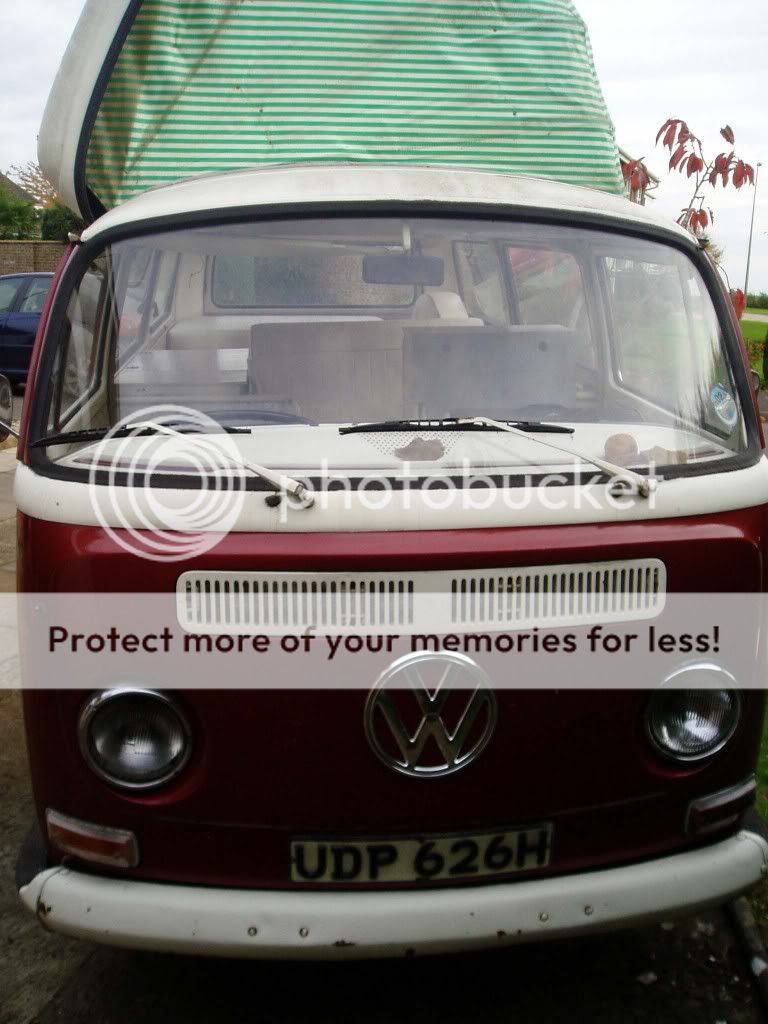
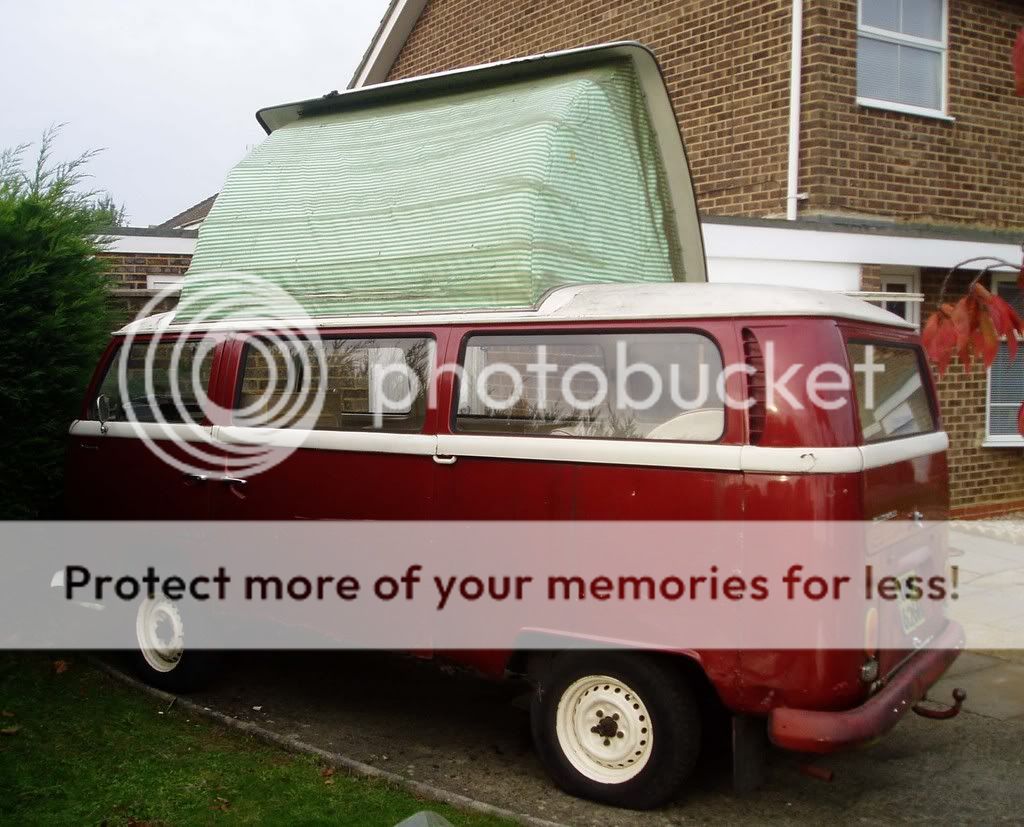
This is not my first bus I had a 1973 Westy but after travelling around france , spain and variuos other places I decided i needed an early bay, so i got rid and purchased the project bus you see here.
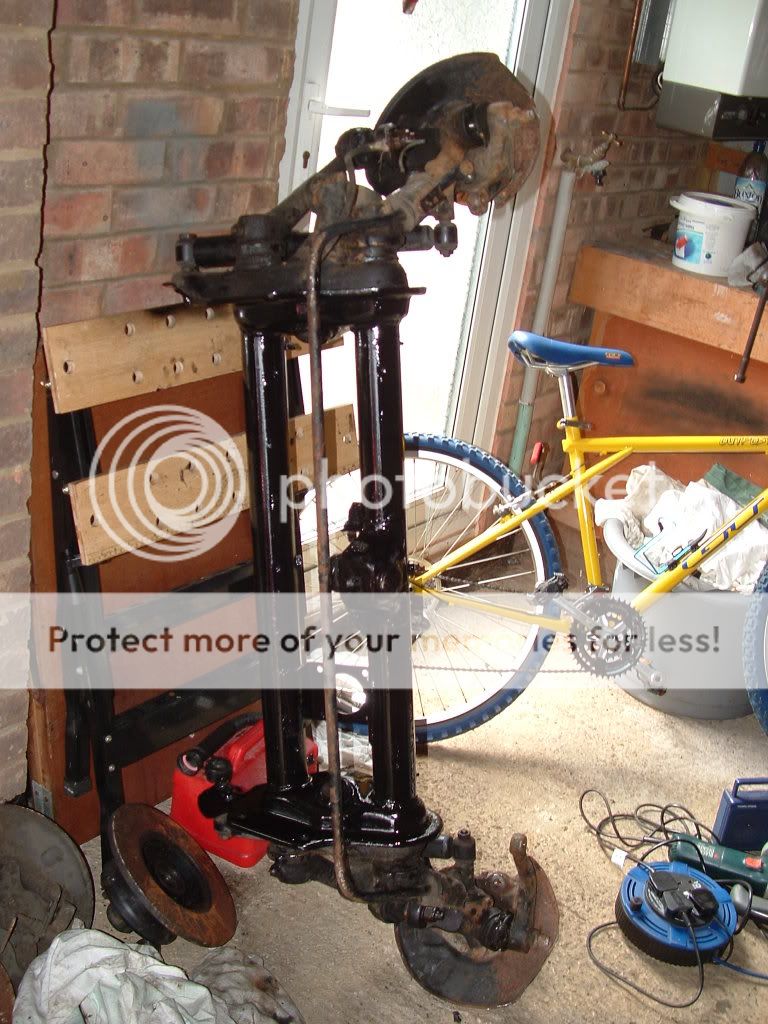
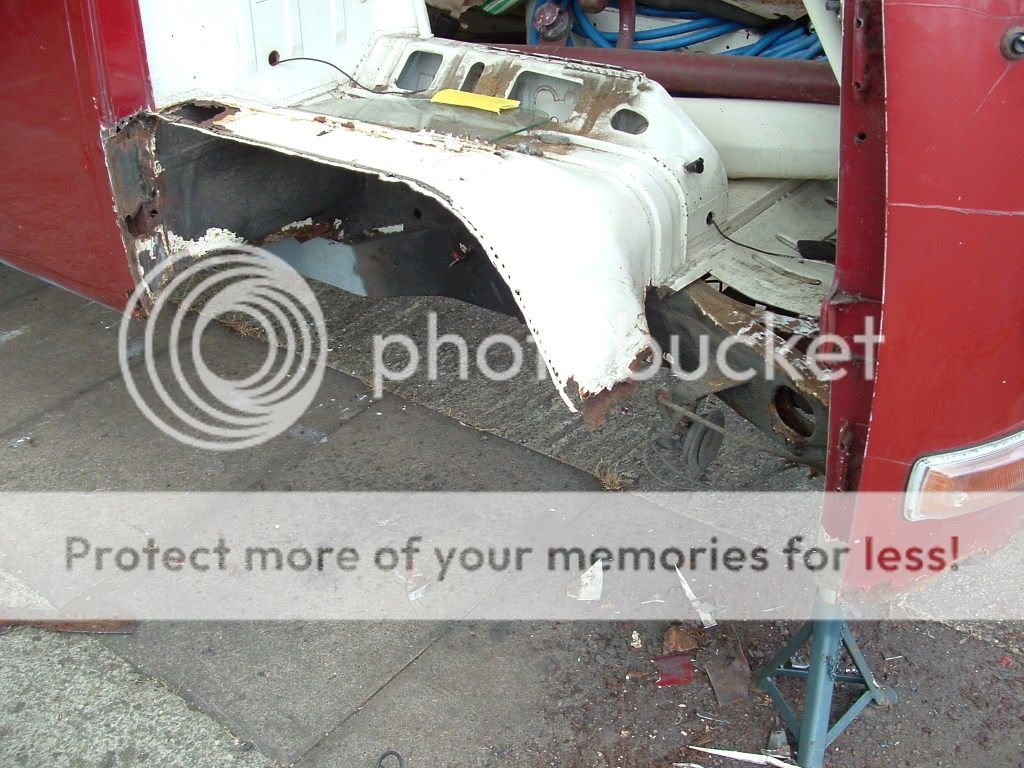
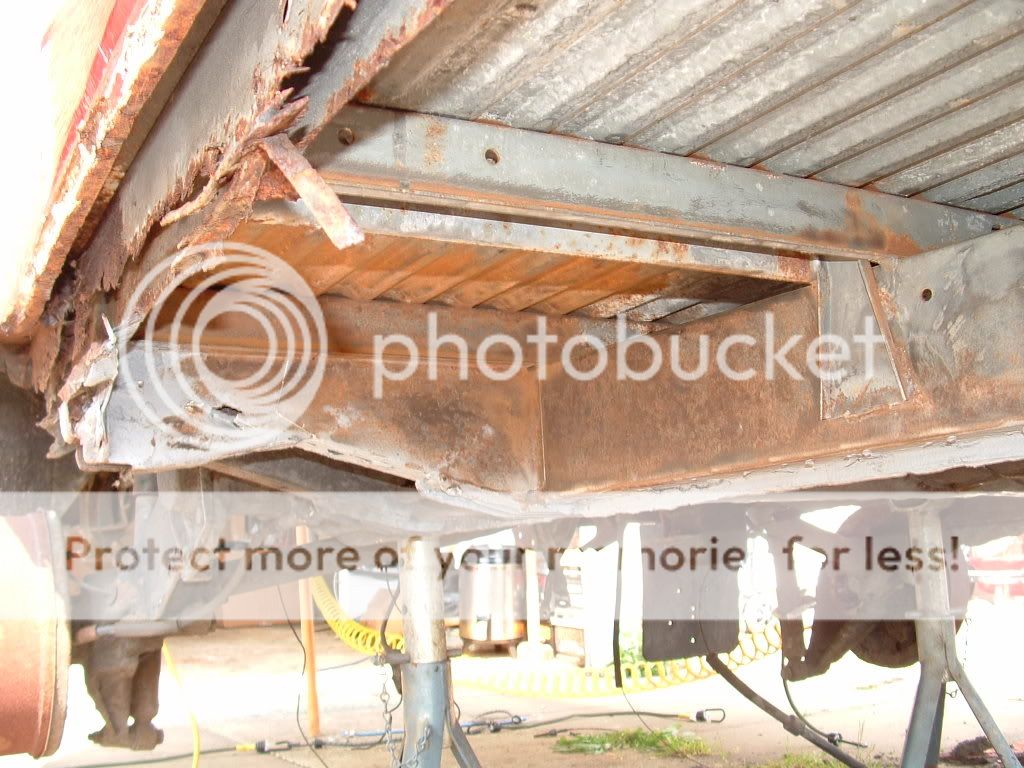
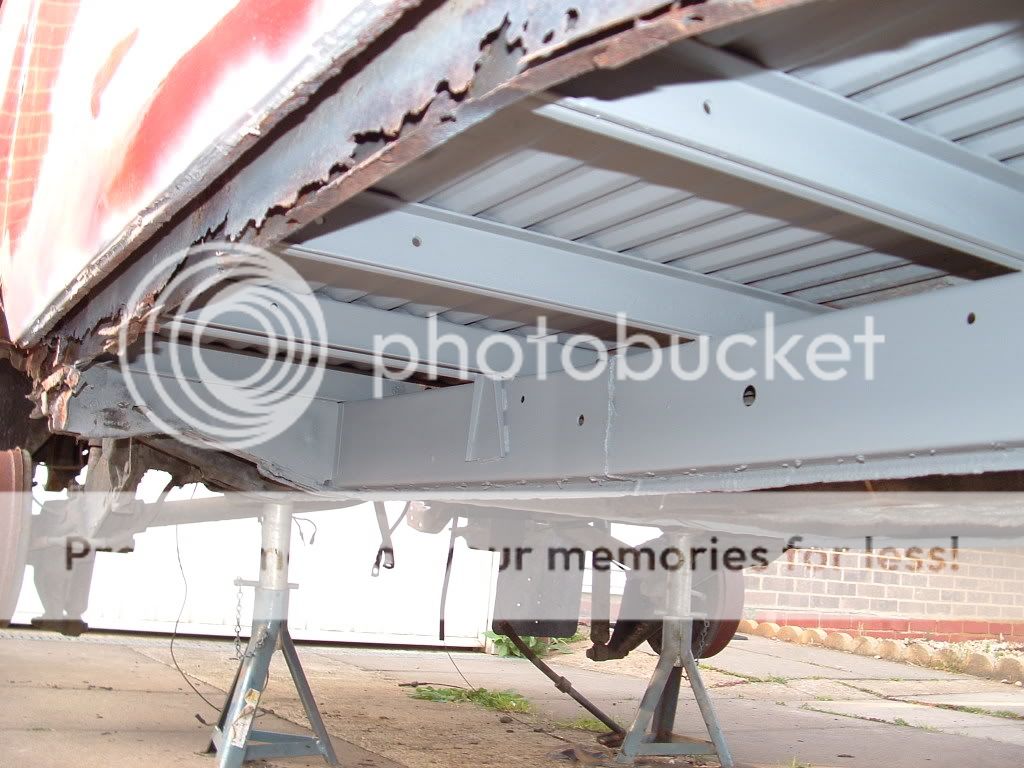
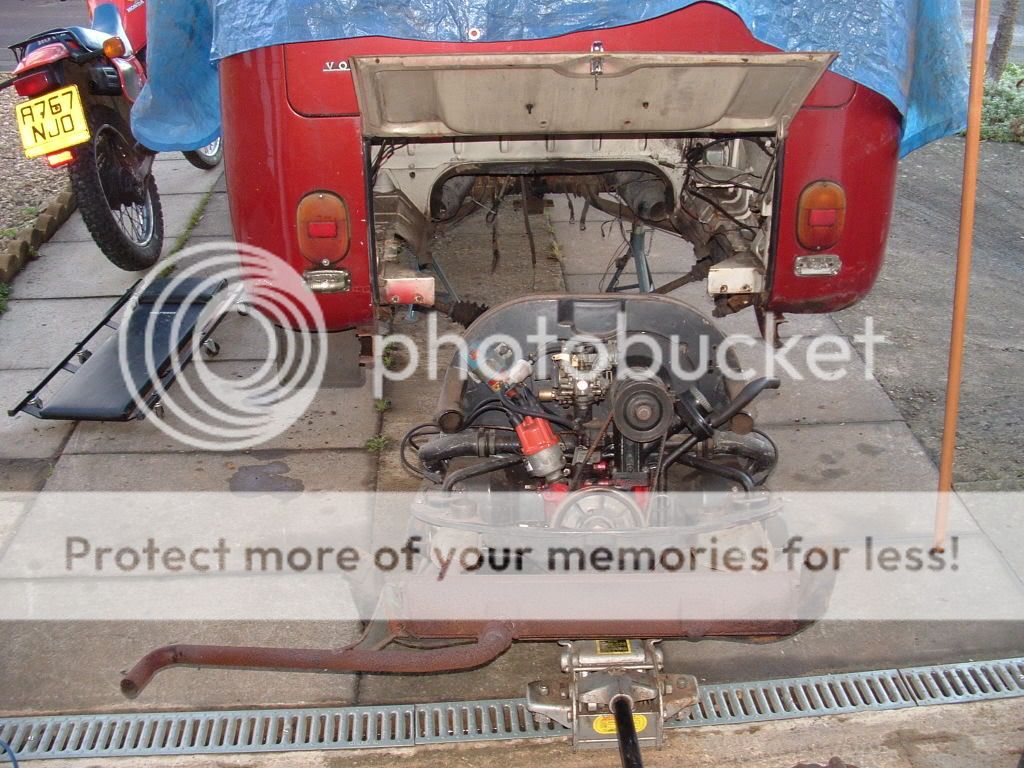
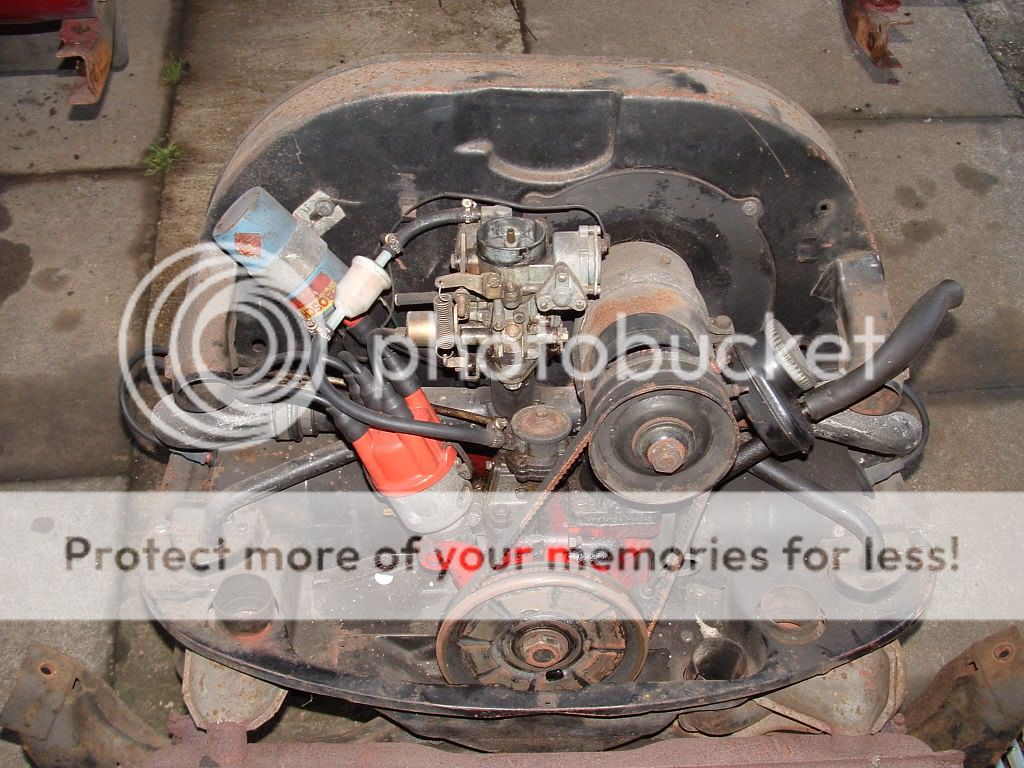
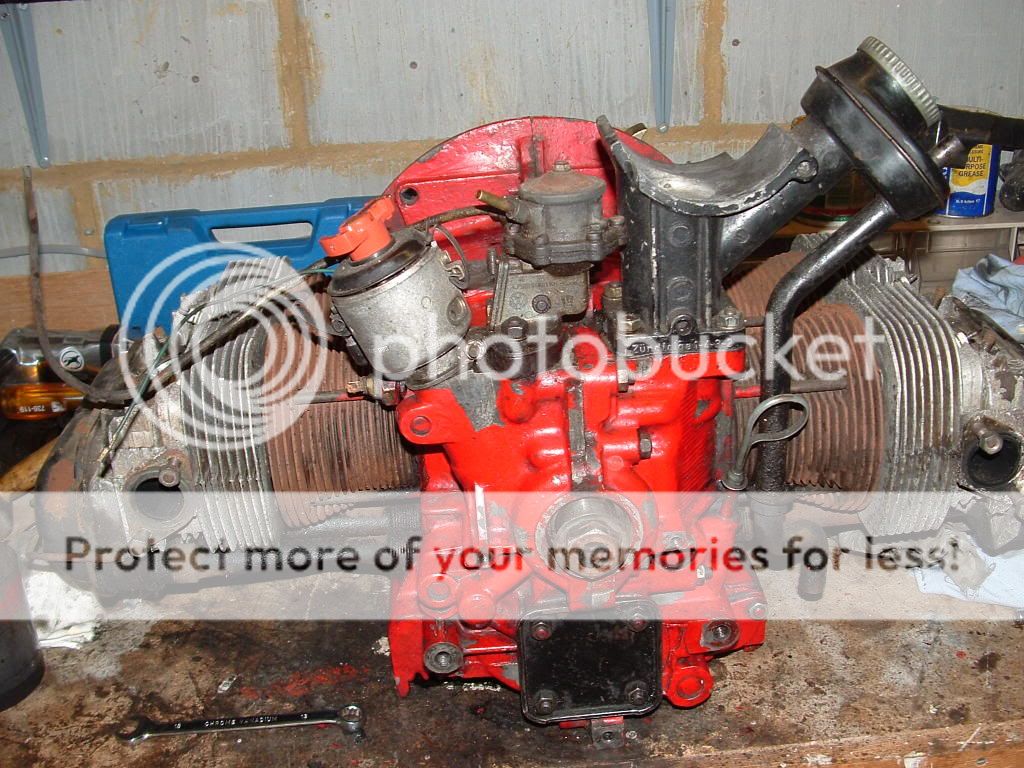
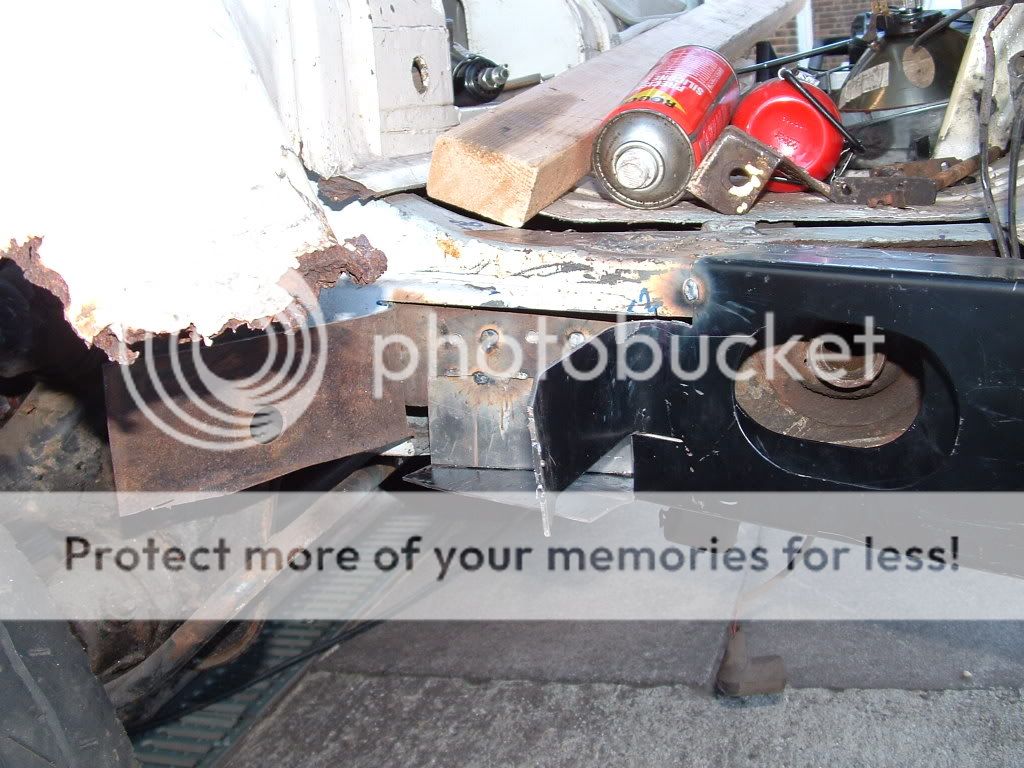
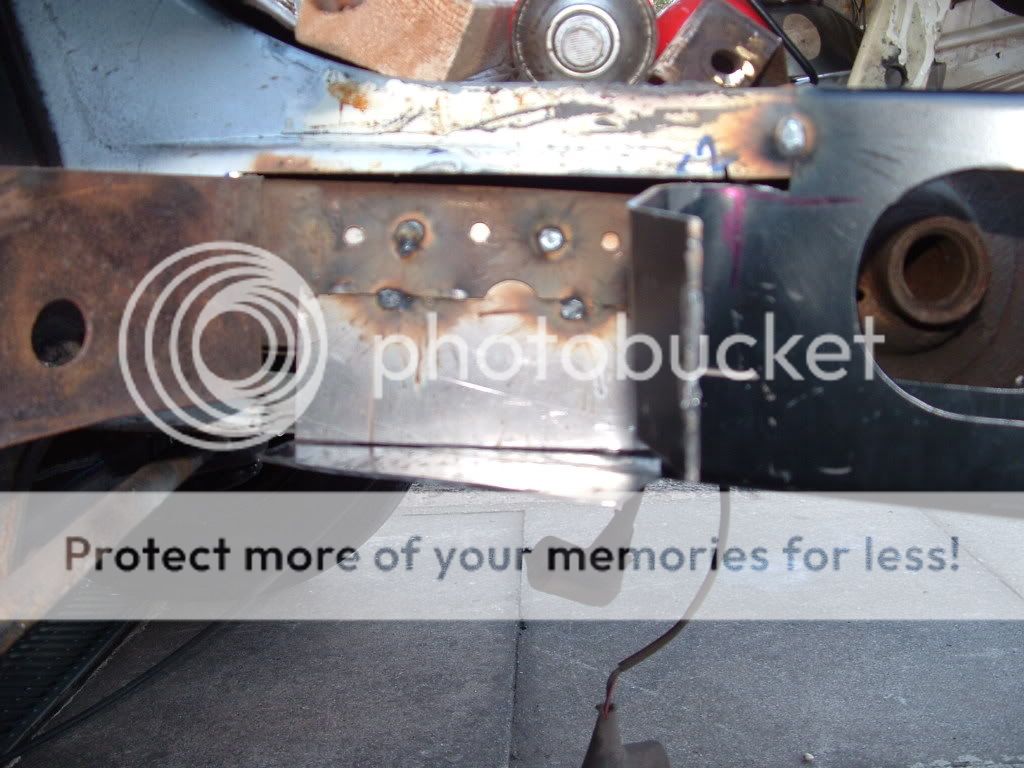
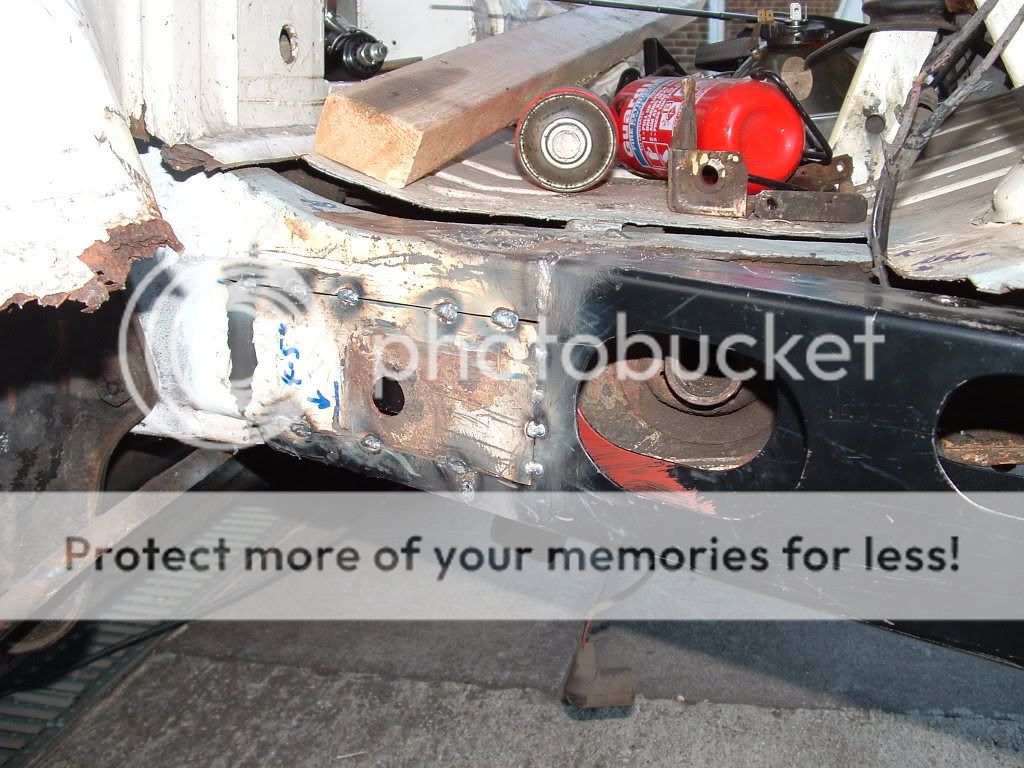
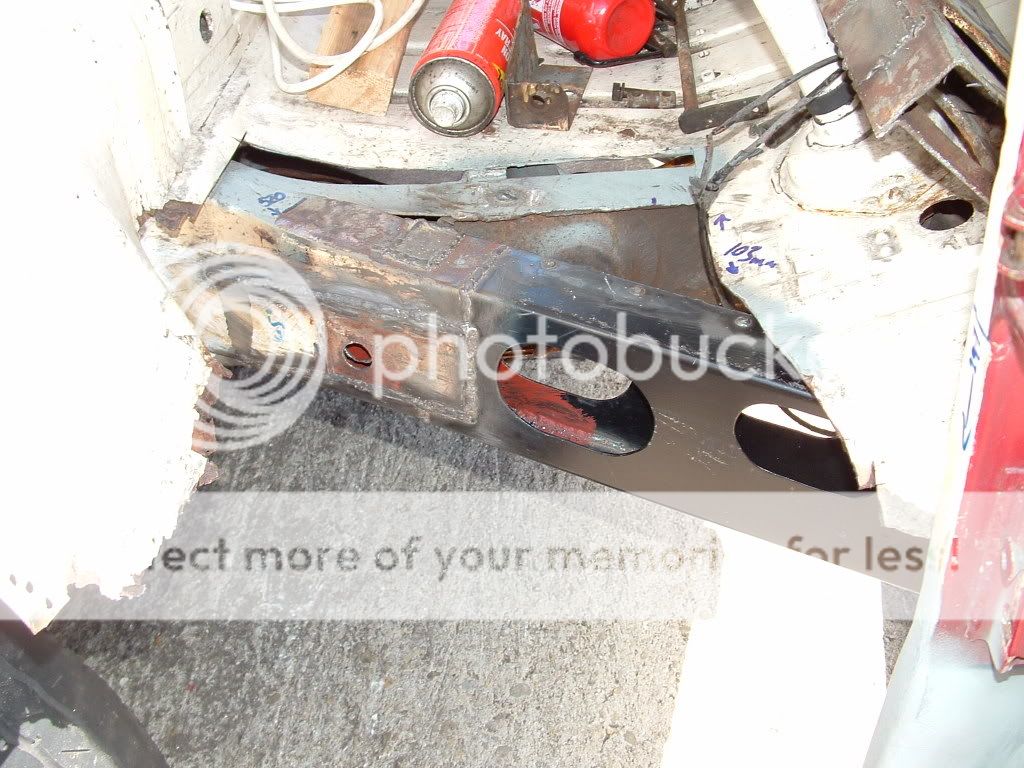
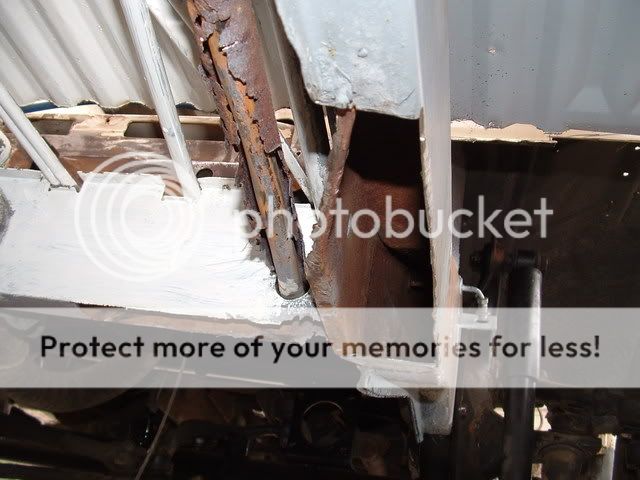
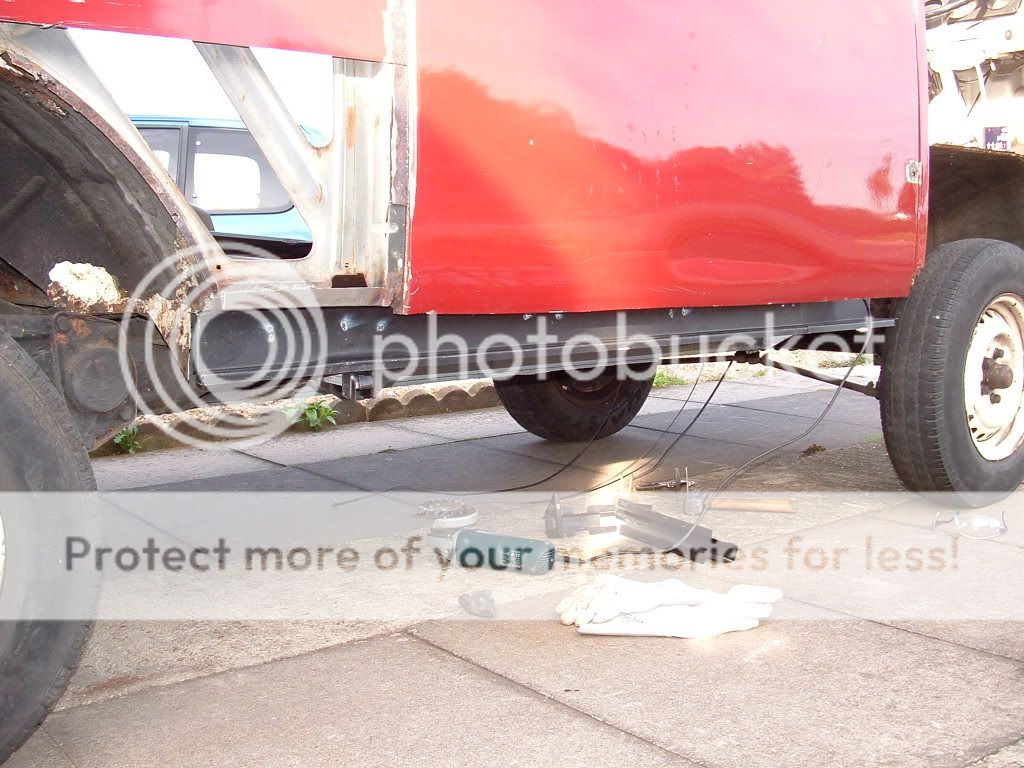
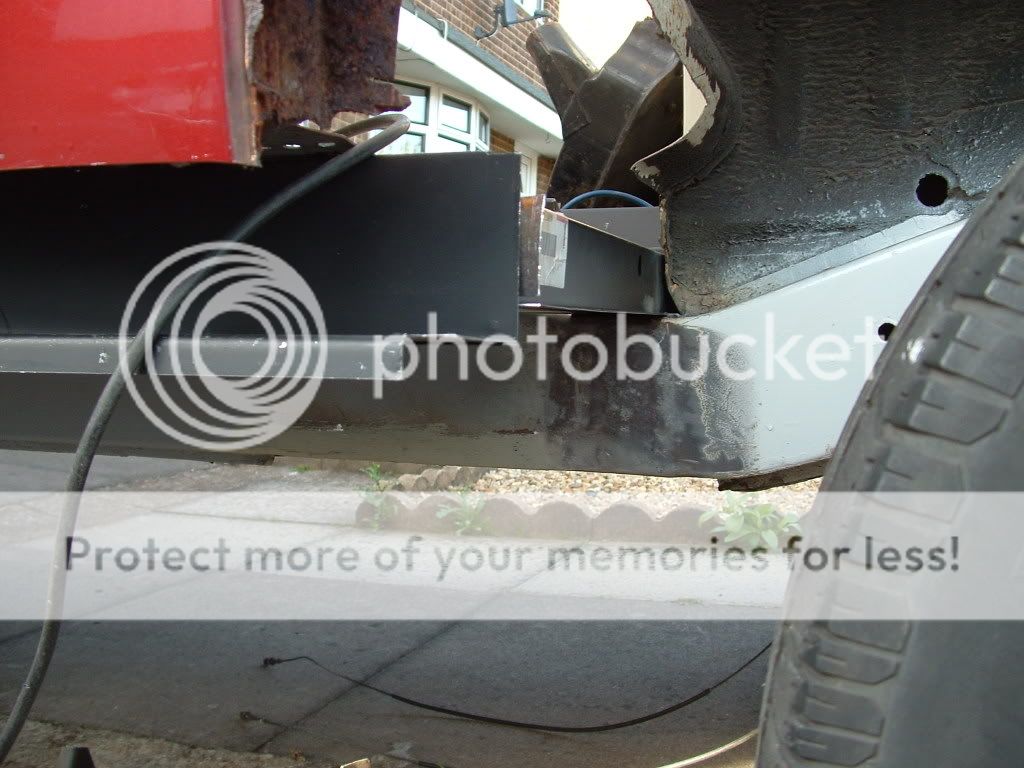
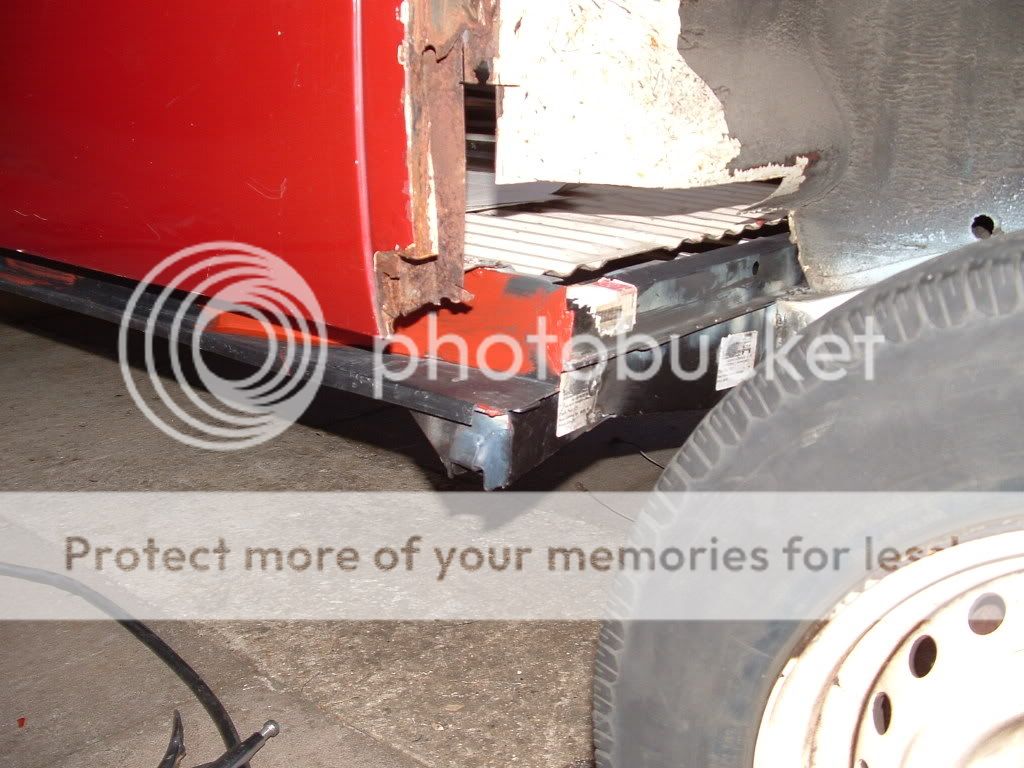
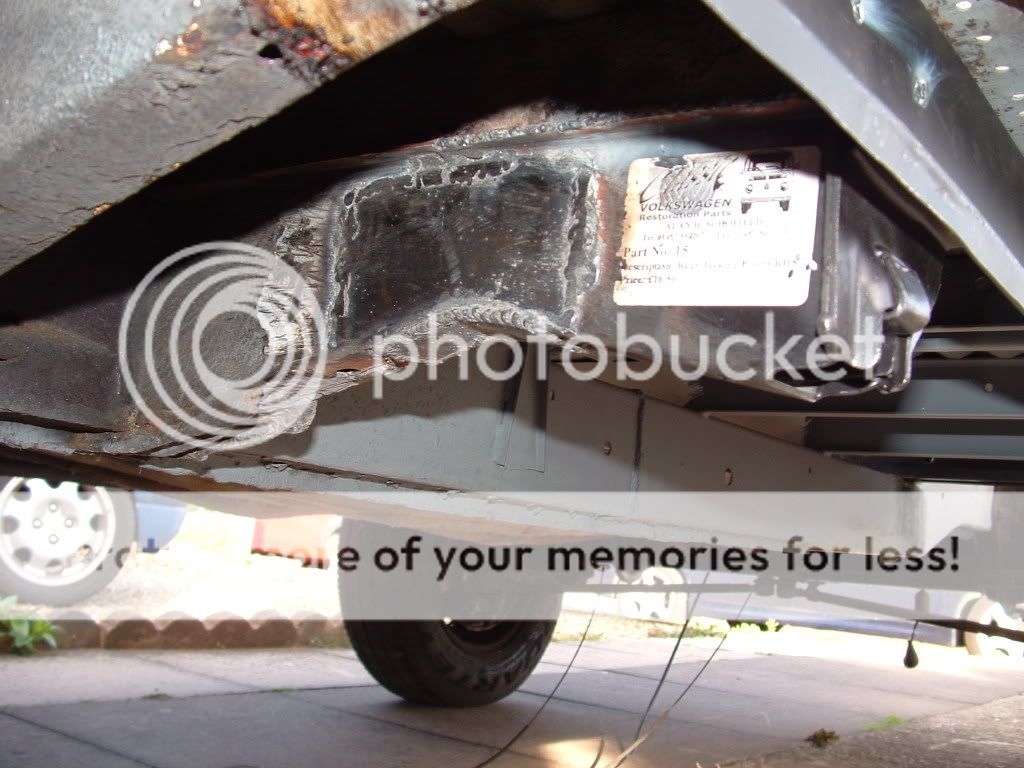
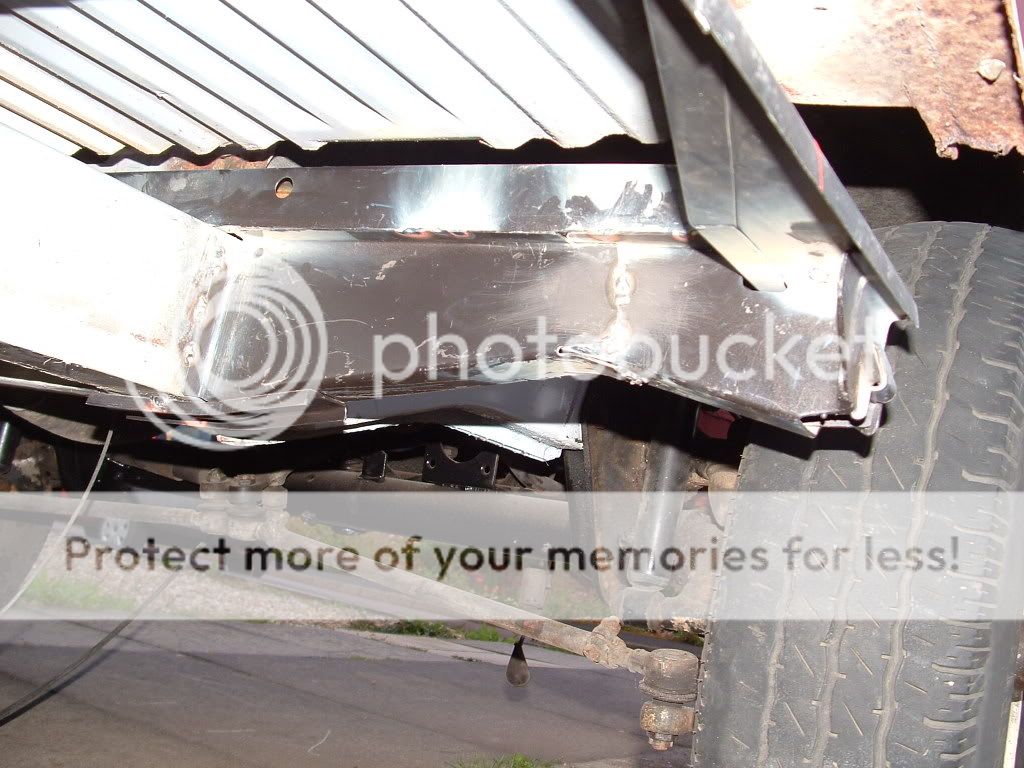
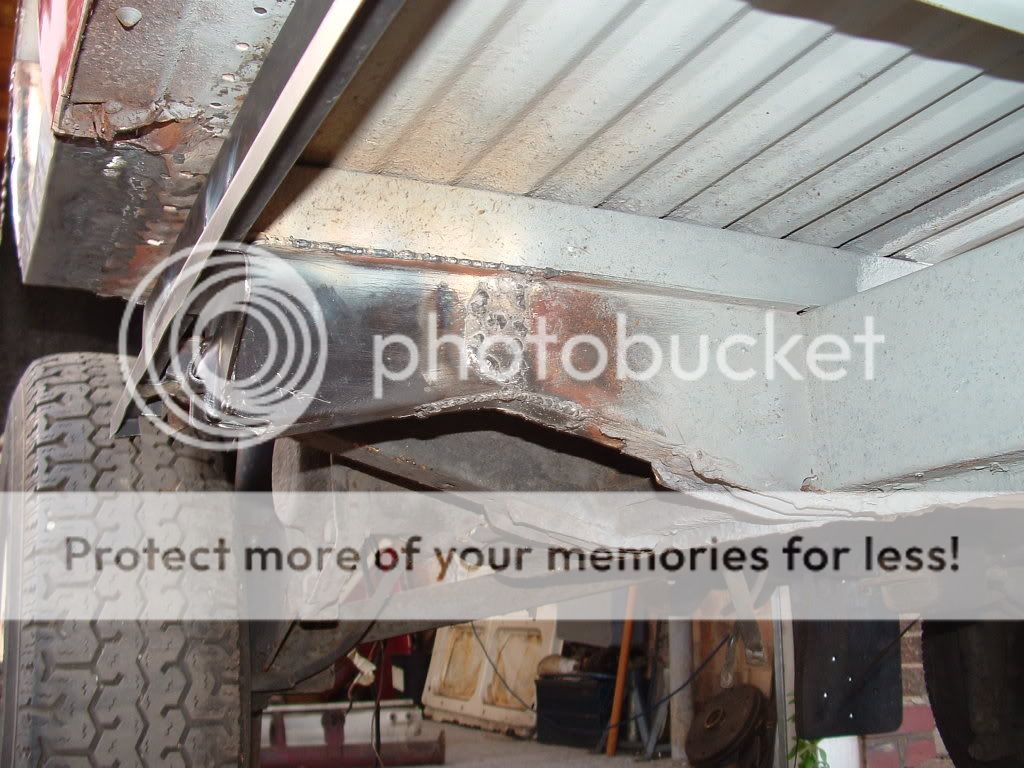
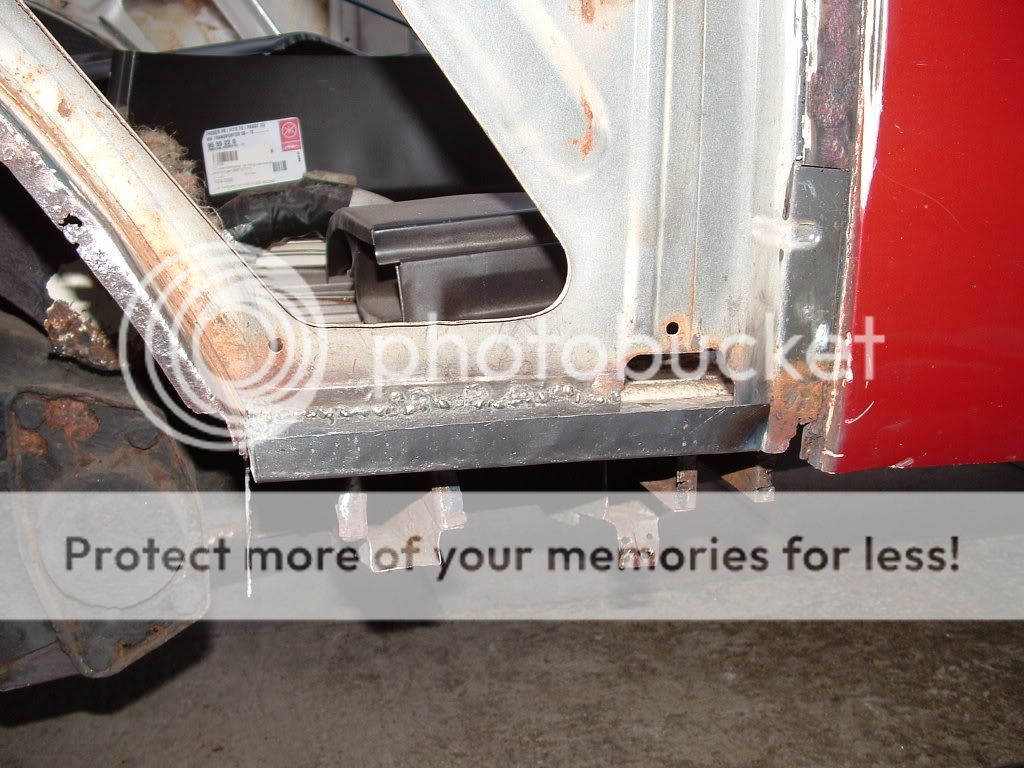
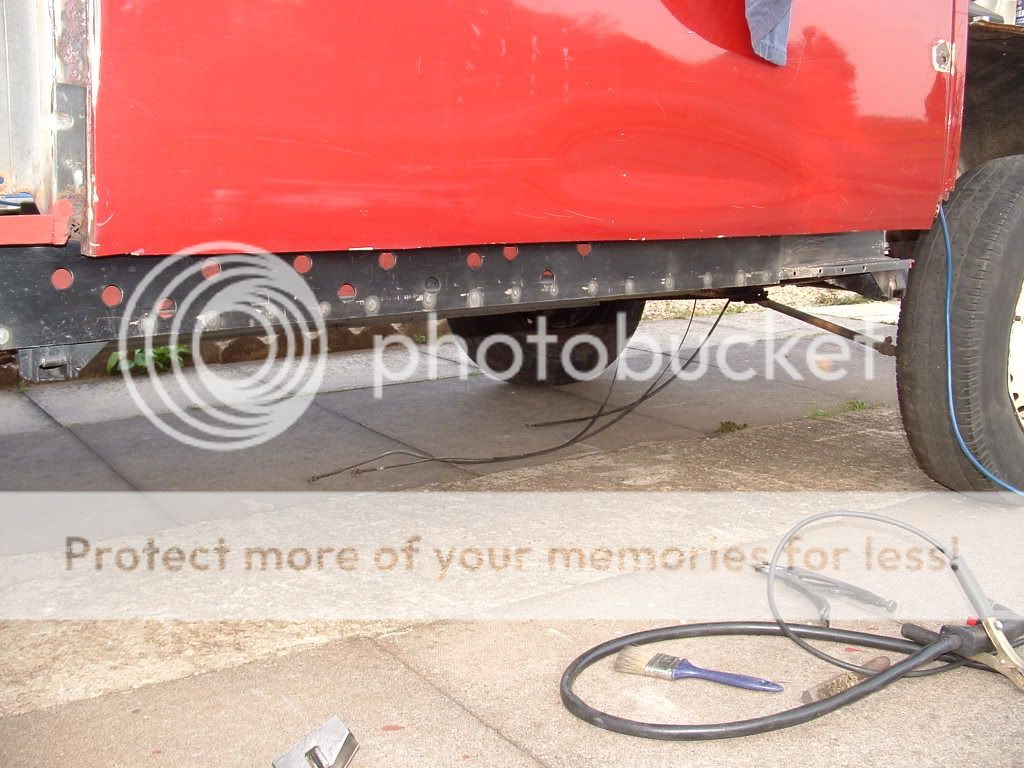
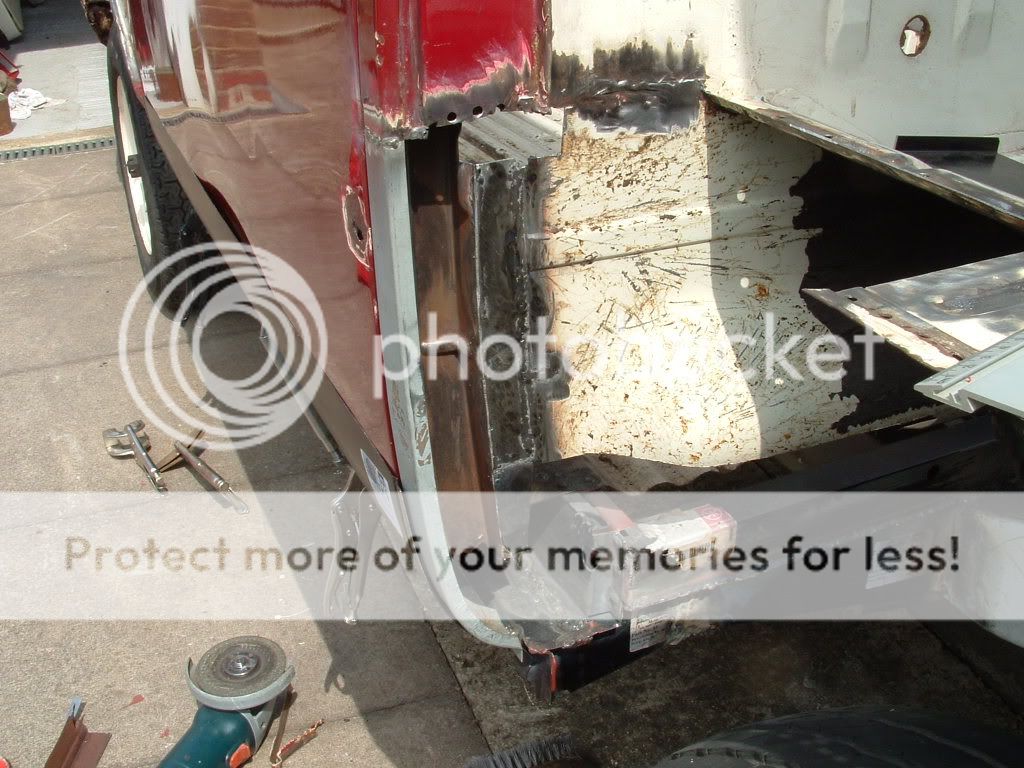
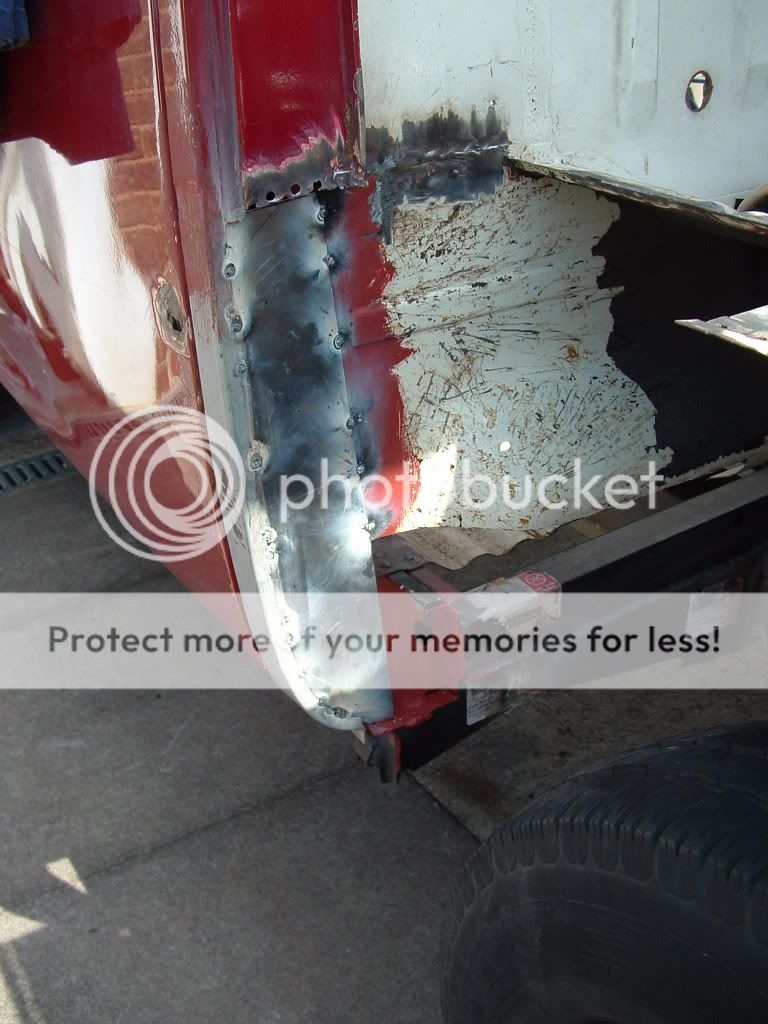
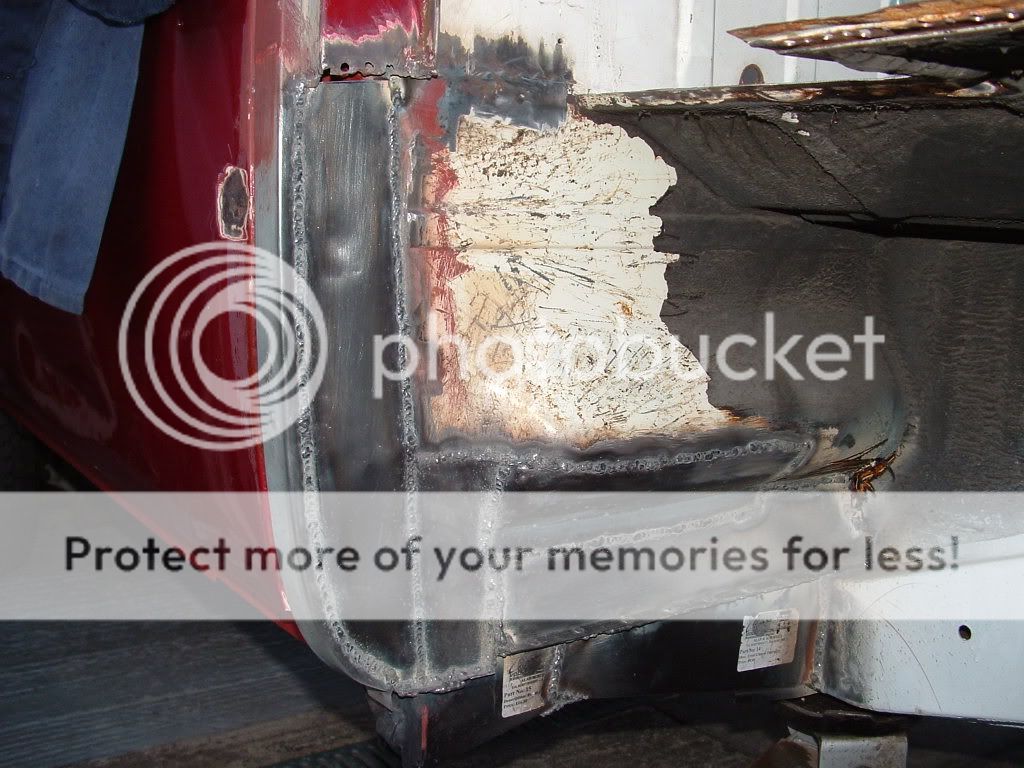
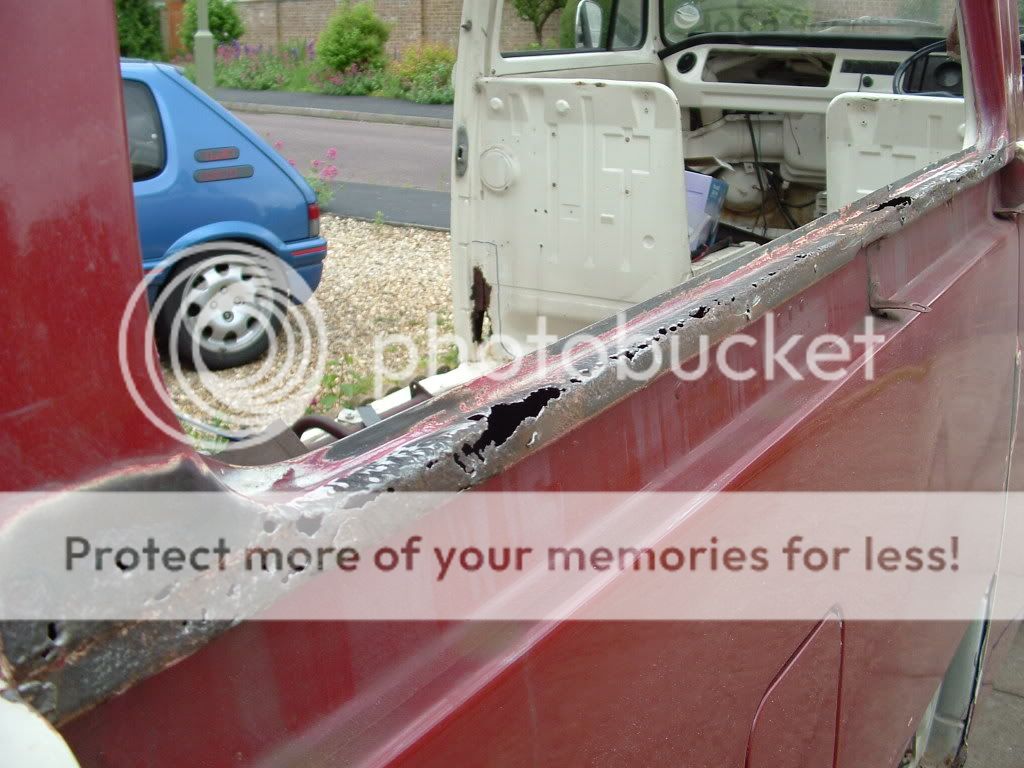
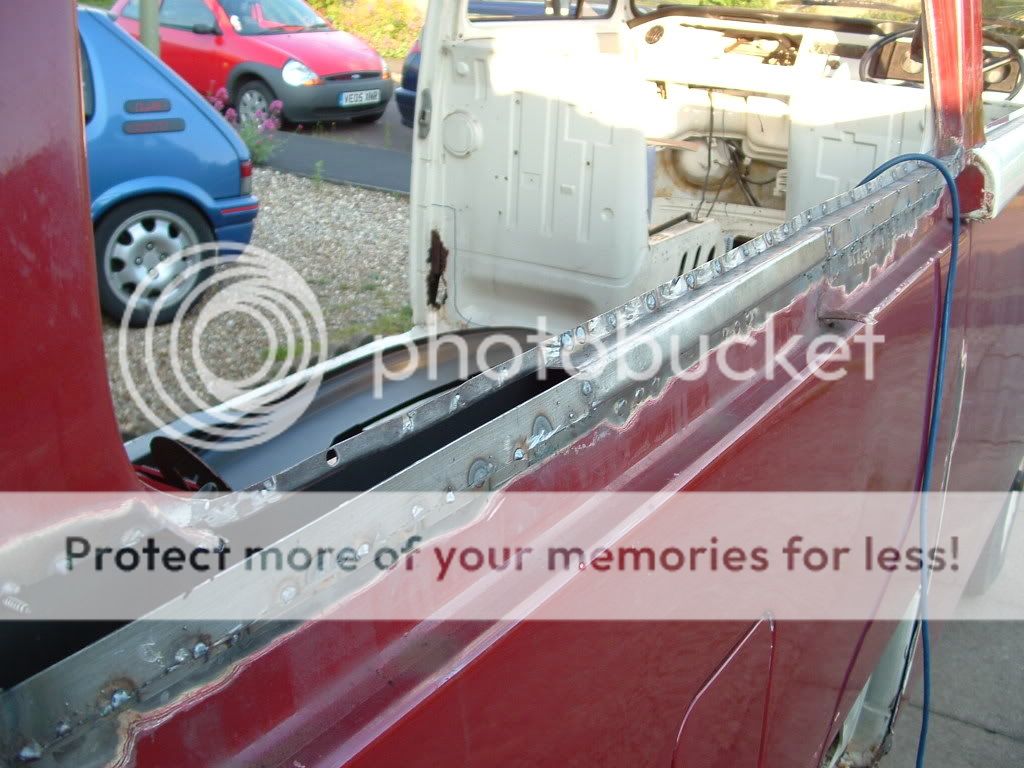
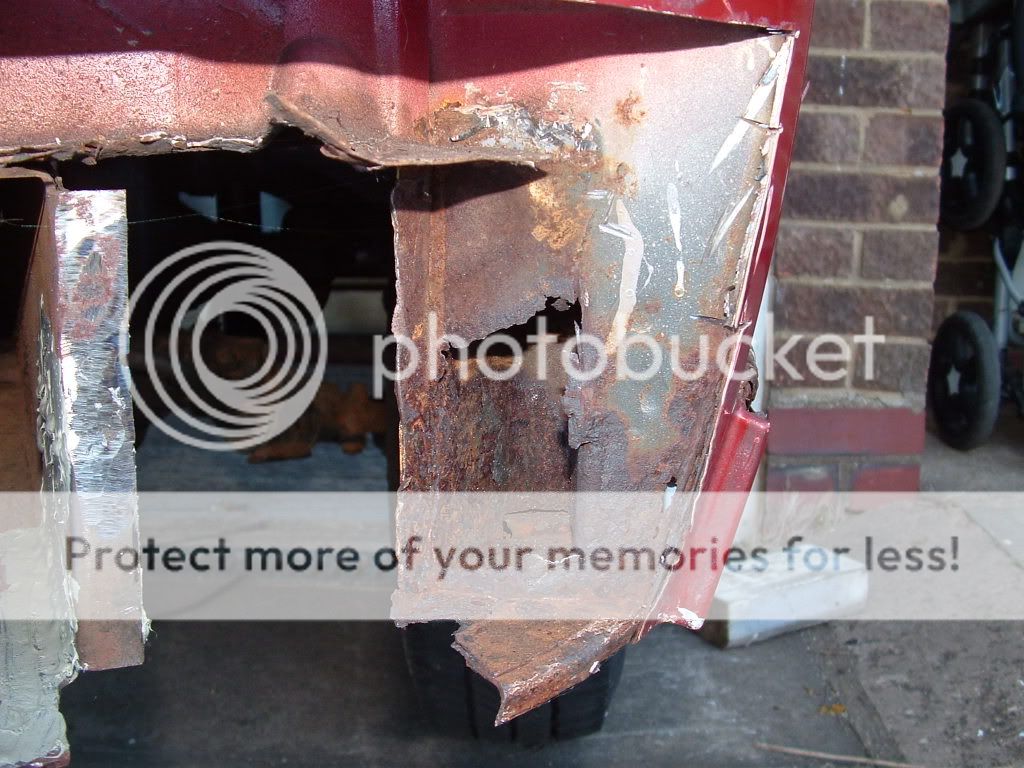
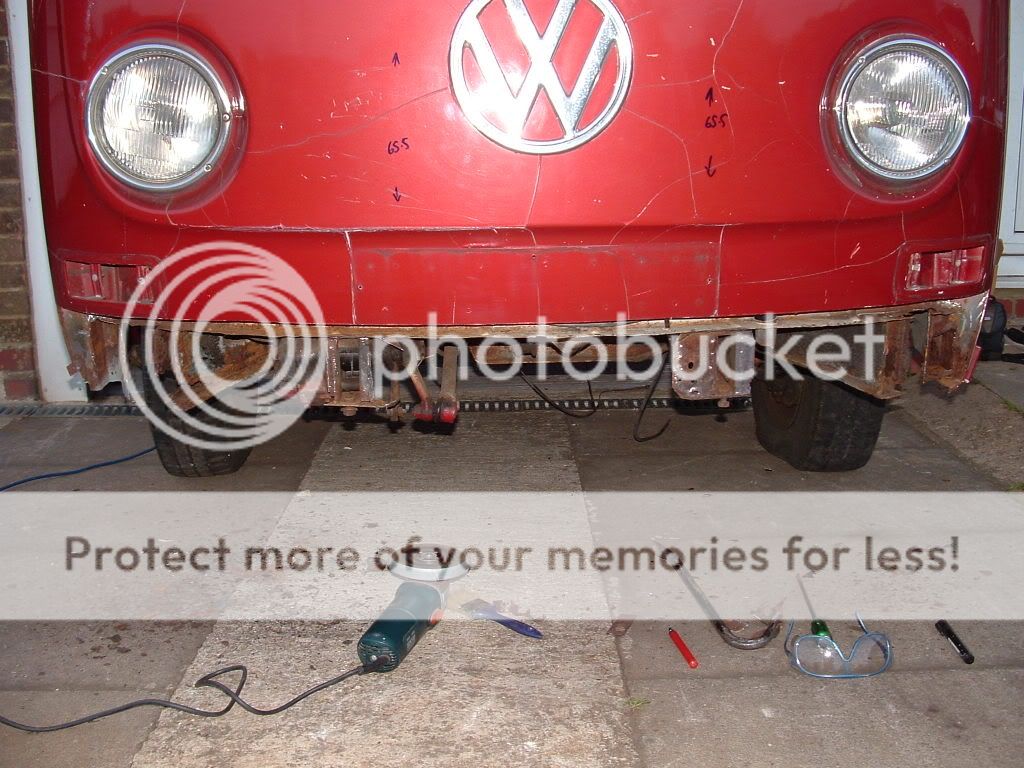
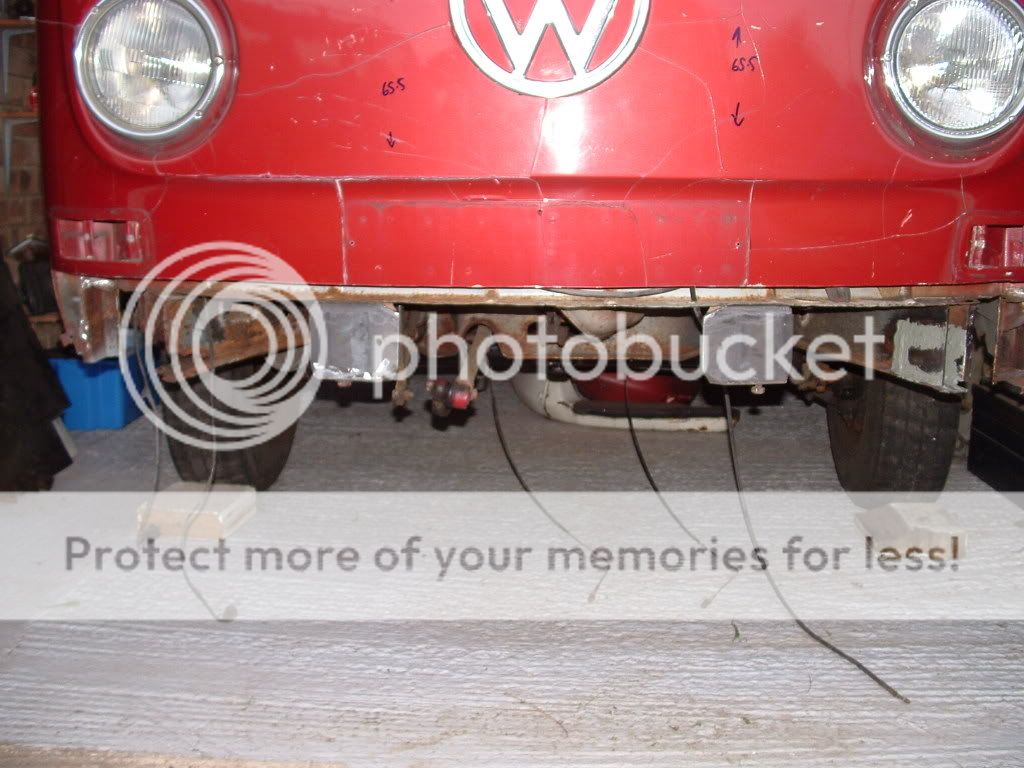
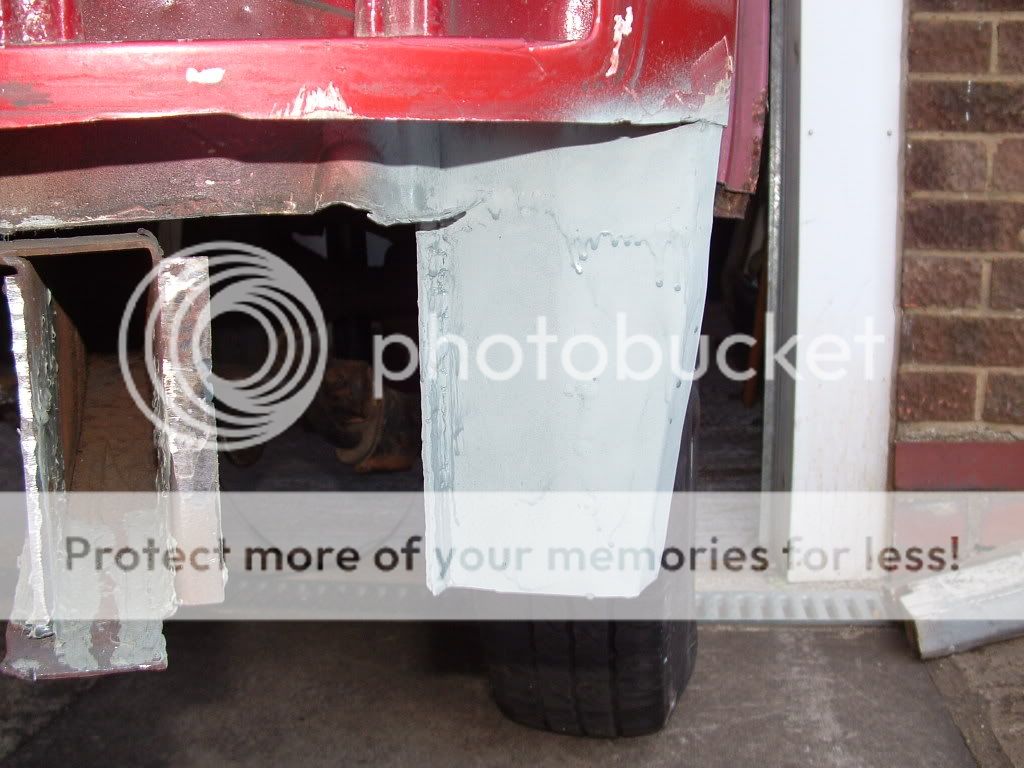
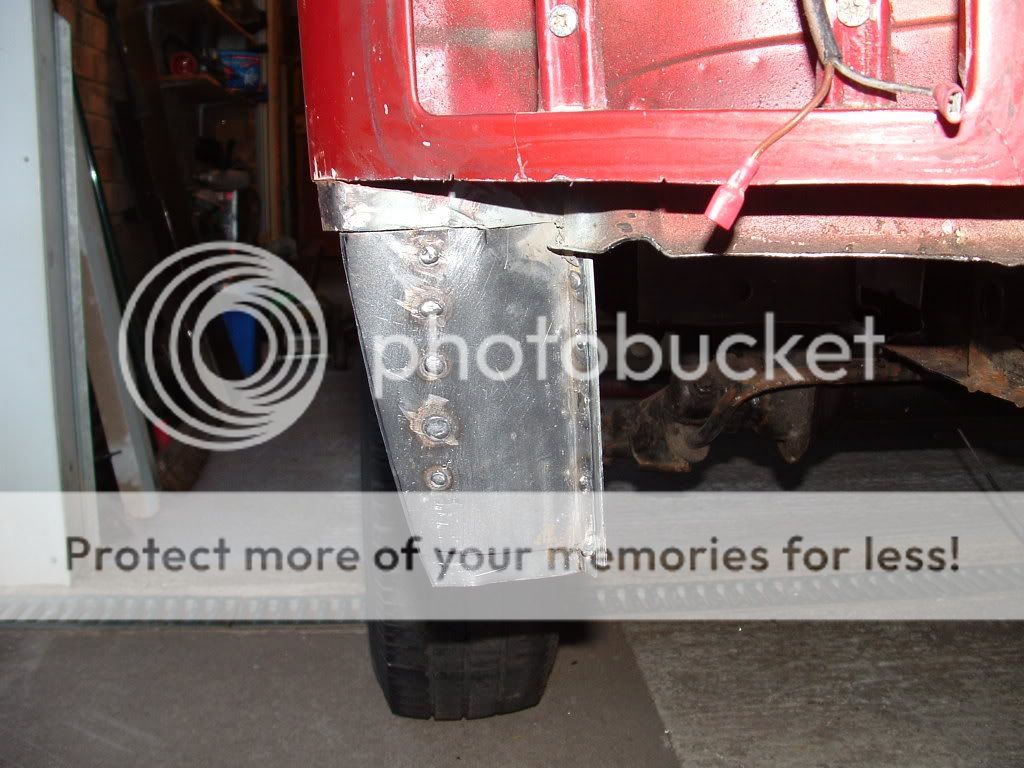
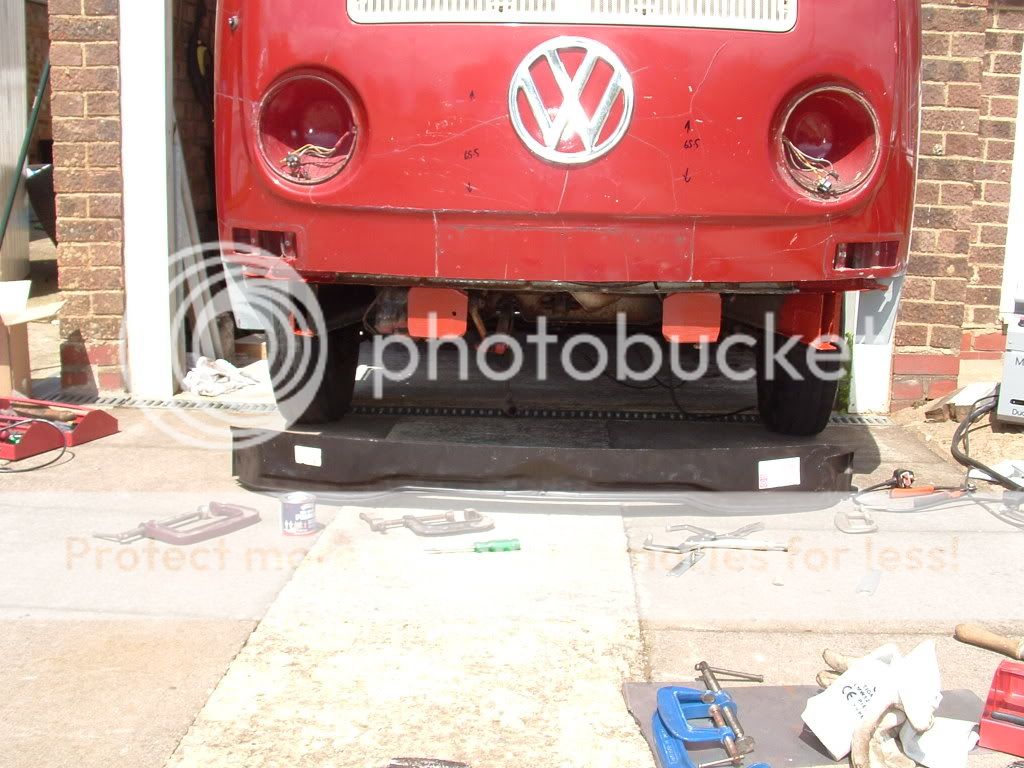
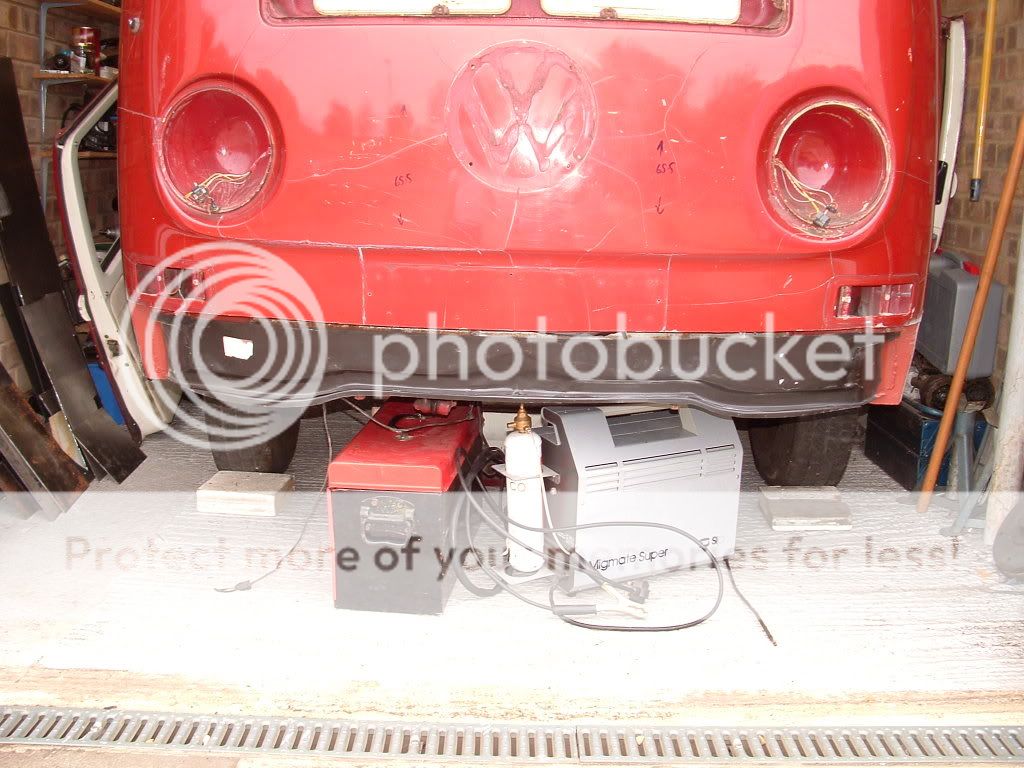
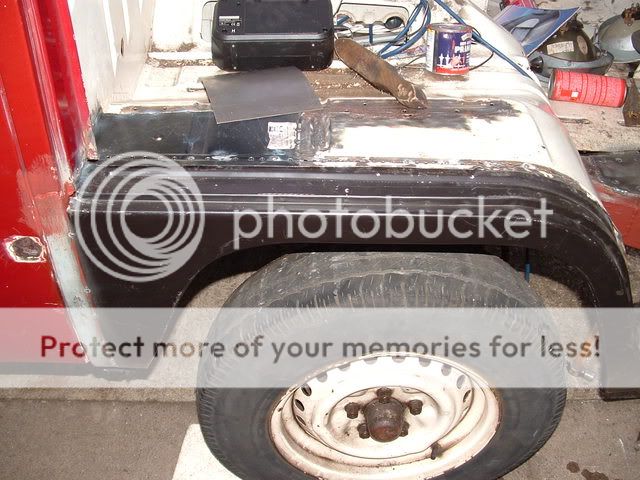
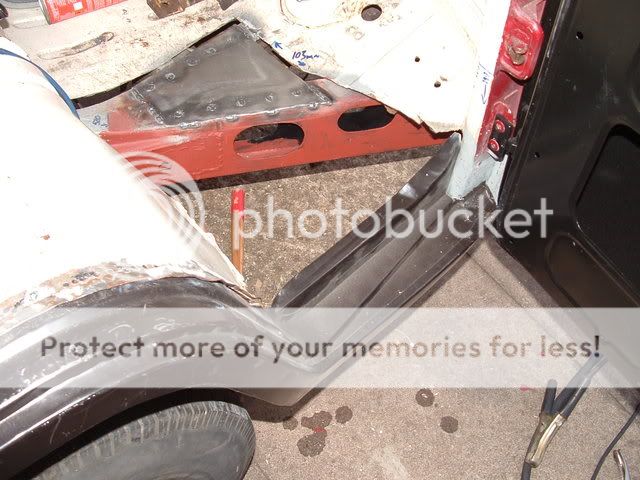
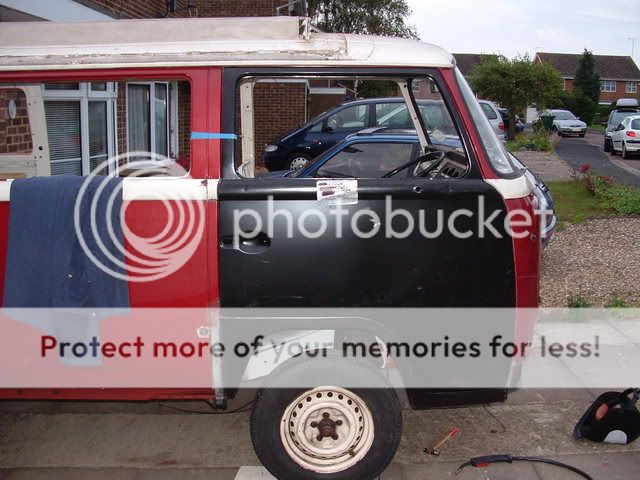
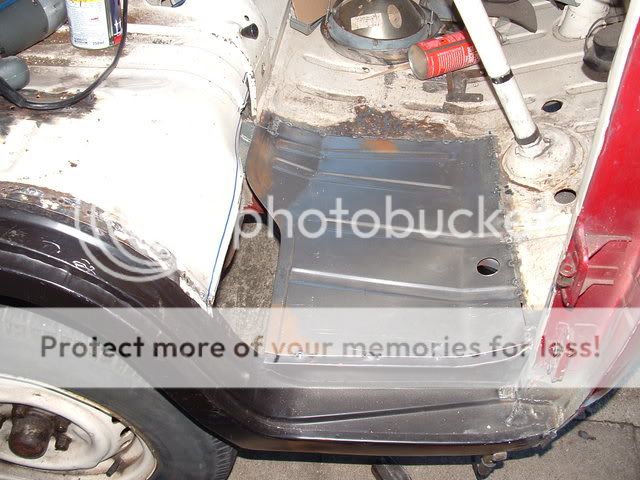
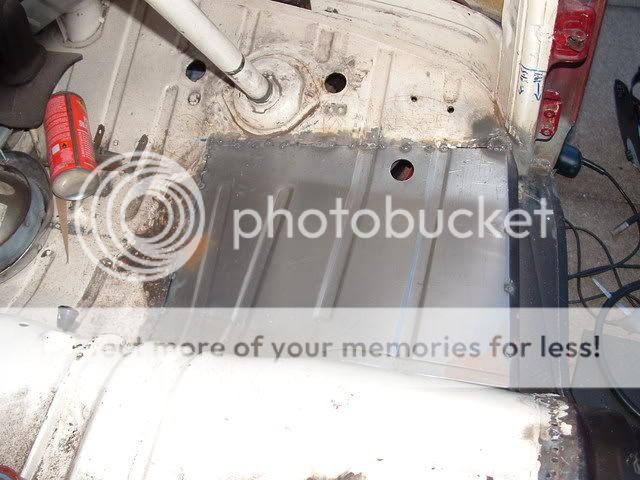
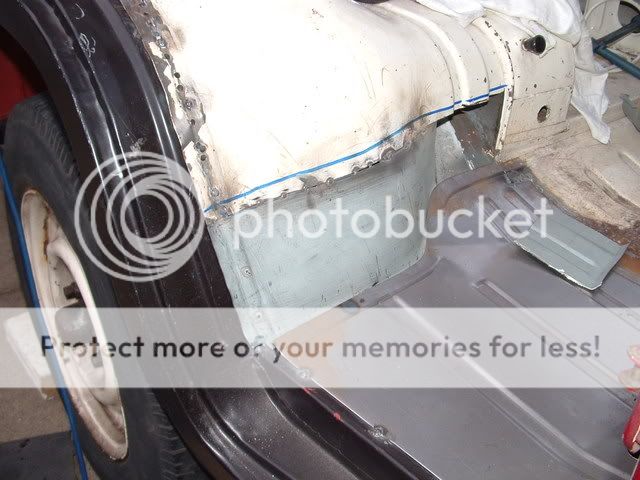
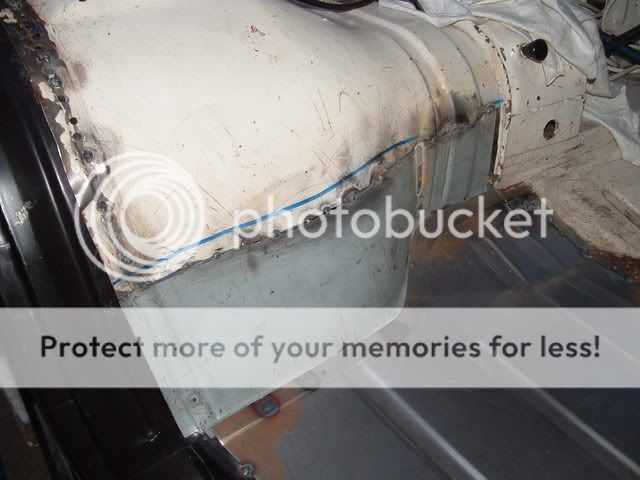
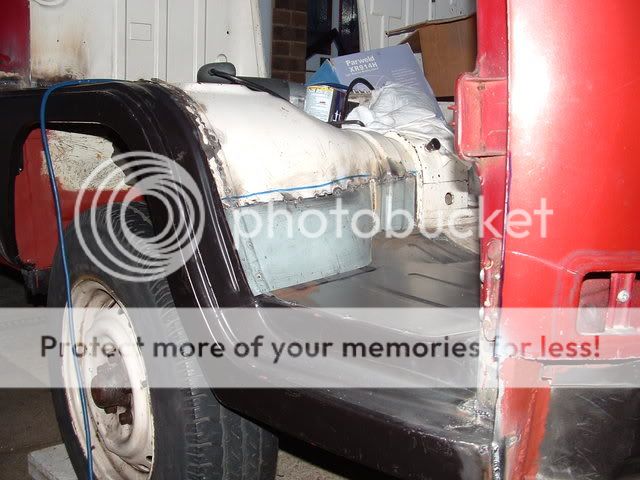
My 1970 Dormobile requires full renovation which I have been putting off as it makes me nervous, but after vanfest at the weekend and once again reading some of the threads on this site i've attacked it and plan to really cut into it now and over the winter. Here are some of the photos when i first picked it up. I will try and keep you updated as and when i can. Thanks for giving me inspiration.
PB060019.jpg

PB060014.jpg

PB060010.jpg
 
welcome aboard

Nice early bay fella, keep the pics coming

Just noticed the narrow 5 wheels, different on a 70 bus

CB
 
Nice bus - great to have more members getting involved, too!

It can be a bit daunting, but get stuck in and just ask if you have any questions! Look forward to seeing the progress! 8)

;)
 
That don't look too bad really.Whats the front chassis under the cab floor like? Look more like 1971 with those stud patterns? Good luck and remember sort out the essential welding before anything else and you could get it on the road as a road going projest first!

Good luck :)
 
hello mate and welcome, nice cheeky dormy there 8)
 
hey welcome, nice dormy and loving the colour. Chianti red?

Its good to see more folk coming onboard. EB is a good place to get help and inspiration :wink: .
 
Thanks guys. It is a 1970 the chassis number says so, but the front beam was changed for one with disc brakes. When I removed the beam it was a bit worse for wear so i got an absolute bargain off ebay. A rust free imported complete beam with disc calipers suspension the lot for £150. it is now painted and fitted. i have put up some more pictures of the progress so far.
DSCF0042.jpg

My ebay bargain.
DSCF0100.jpg

DSCF0103.jpg

DSCF0016.jpg

DSCF0001.jpg

Underside pretty solid except for usual places e.g outriggers.
DSCF0009.jpg

DSCF0011.jpg

1641 Engine removed
DSCF0015.jpg

DSCF0029.jpg

On the bench ready for strip down
 
If there are local early bayers who want to get together that would be cool. Mine isn't yet road worthy but I can talk Bays and resto's all night long.
 
Hi, thought it was about time I gave you another update, things haven't been going as quickly as i would have liked but i am currently putting every available minute into the project. There's quite a few pictures and they're not in any particular order but you get the general idea. Let me know your thoughts.

Front chassis repair.

DSCF0002.jpg


DSCF0001-3.jpg


DSCF0005-1.jpg


DSCF0004-2.jpg


Small chassis repair.

DSCF0022.jpg


DSCF0001-1.jpg


Outriggers, jacking points, sill, etc..

DSCF0056-1.jpg


DSCF0060.jpg


DSCF0064.jpg


DSCF0059.jpg


DSCF0063.jpg


DSCF0058.jpg


DSCF0056-1.jpg


DSCF0052.jpg


DSCF0002-1.jpg


DSCF0008-1.jpg


DSCF0011-2.jpg


DSCF0025.jpg


DSCF0052.jpg


Rear window sill undergoing surgery

DSCF0018-1.jpg


DSCF0004-1.jpg


Front repairs

DSCF0001-2.jpg


DSCF0010-1.jpg


DSCF0020-1.jpg


DSCF0039.jpg


DSCF0006-1.jpg


DSCF0001-4.jpg


DSCF0002-2.jpg


I'll try and update a bit more frequently from now on.
Just getting the front arch, door and floor back in, then move onto the other side before starting the rear.
 
Great job. you seem to have welding off to a good art, and thanks for good pics as well. It helps to see what I'm going to find!
looking forward to seeing her all done :D
 
Put the door on so that i could line up the arch and tacked it in position. Arch took a lot of fettling and manipulating to get it to fit, but very pleased with final gaps and position. That is a bitch of a job, not looking forward to the other side.

DSCF0001.jpg


DSCF0002-3.jpg


DSCF0005.jpg


DSCF0006.jpg
 
Little bit more done this morning. Floor in, lower wheel tub repair section in, that took some fettling the panel was nothing like the original shape. started seam welding the seatbelt repair panel in and some other small repairs but forgot to take pictures.

DSCF0001-5.jpg


DSCF0002-4.jpg


DSCF0004.jpg


DSCF0007.jpg


DSCF0008.jpg
 

Latest posts

Top