my 1971 danburyfalia pop top project

Early Bay Forum

Help Support Early Bay Forum:

This site may earn a commission from merchant affiliate links, including eBay, Amazon, and others.
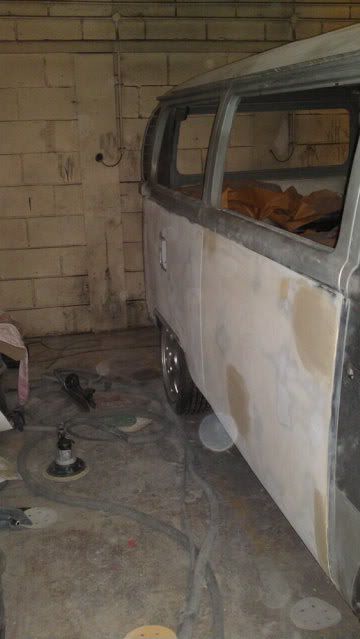
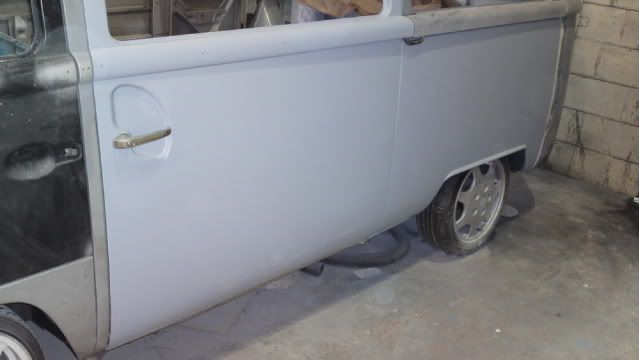
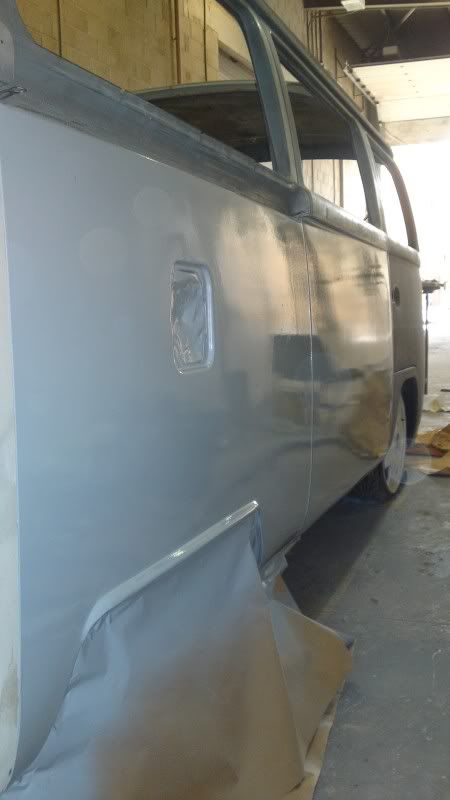
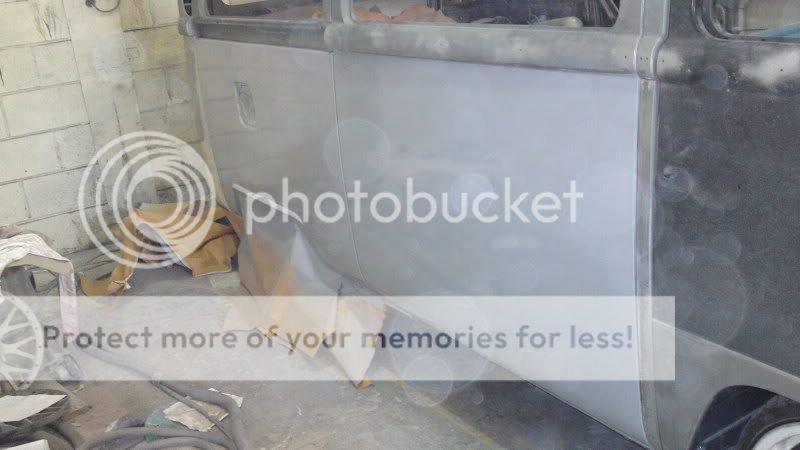
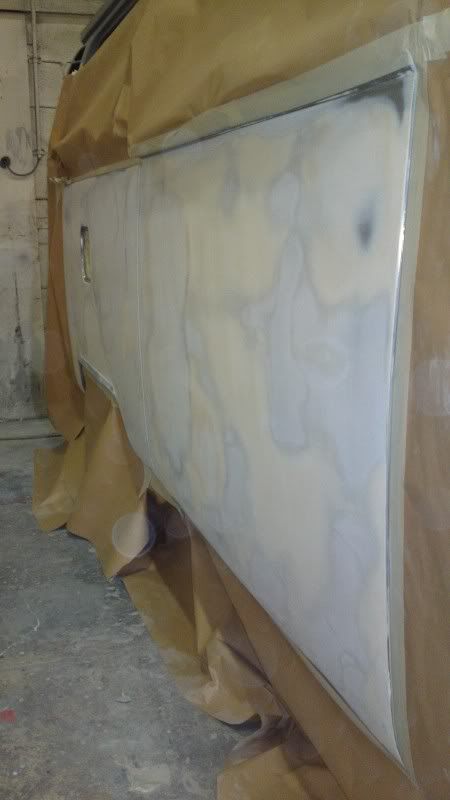
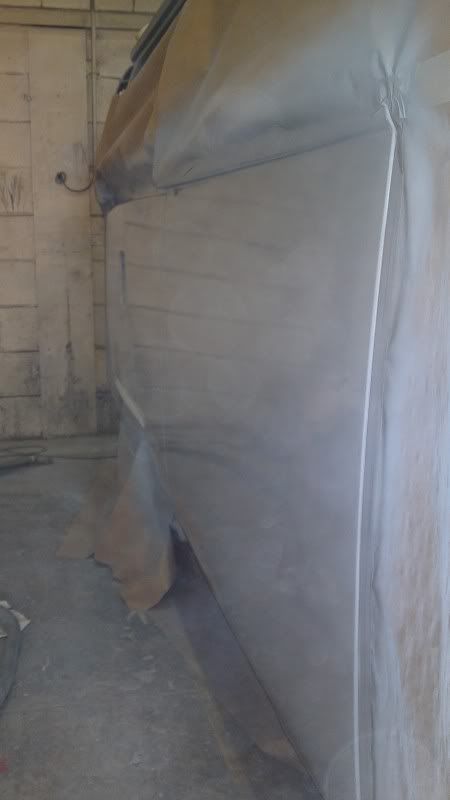
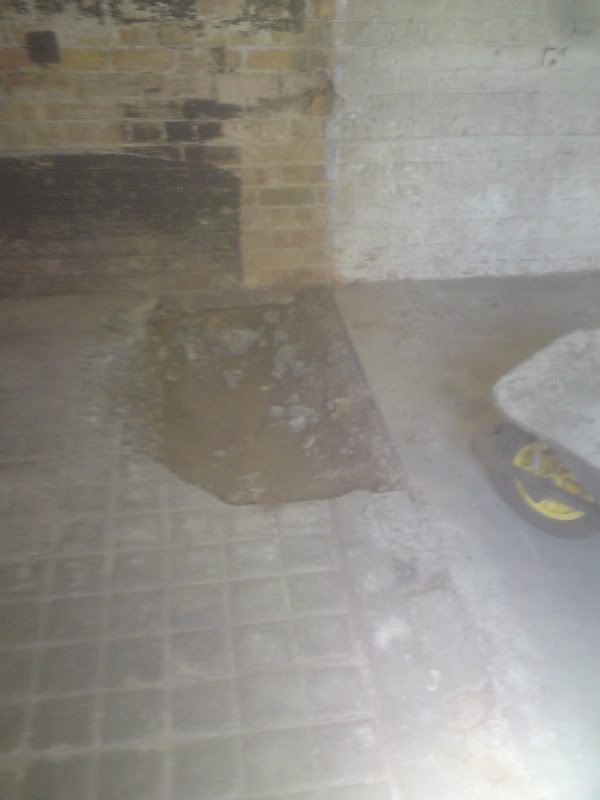
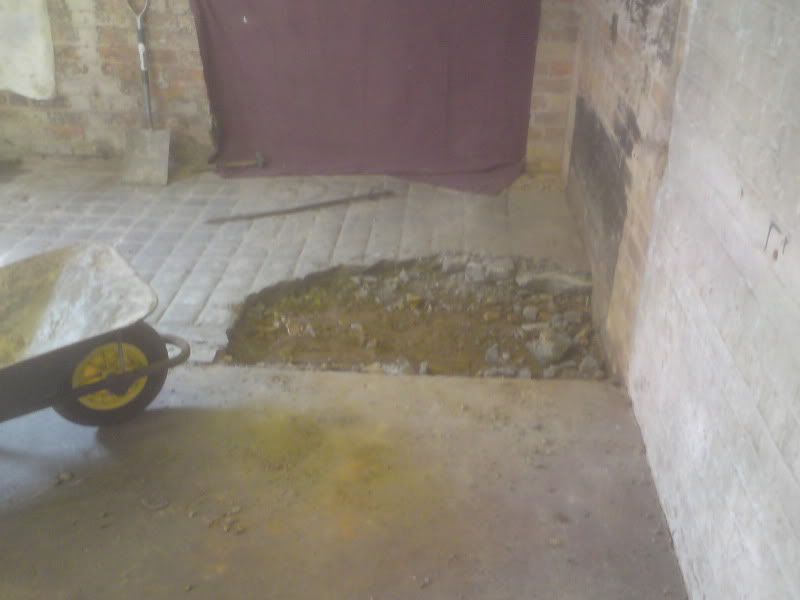
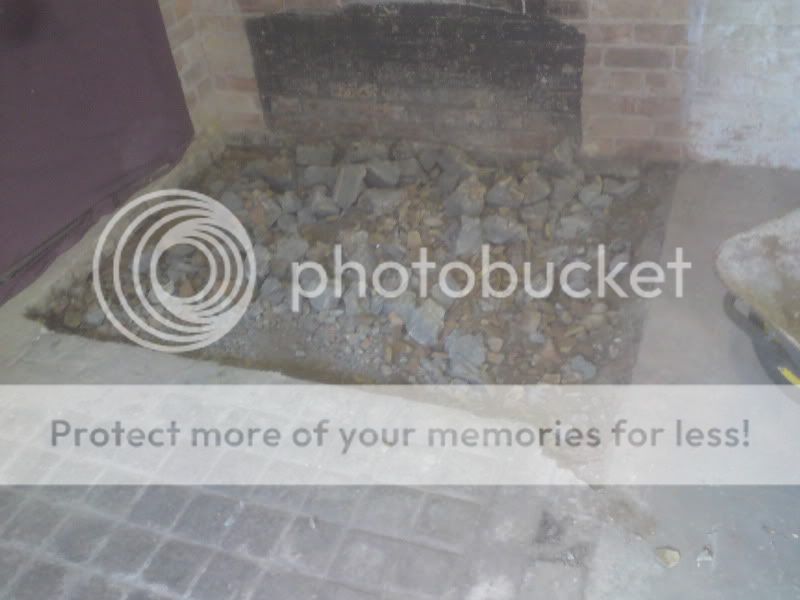
and today nelly emailed me with these pics. it feels so good seeing my bus getting straightened out, though it seems to want to fight nelly every step of the way.


002.jpg


004.jpg


010.jpg


011.jpg


012.jpg


015.jpg


019.jpg


020.jpg


023.jpg


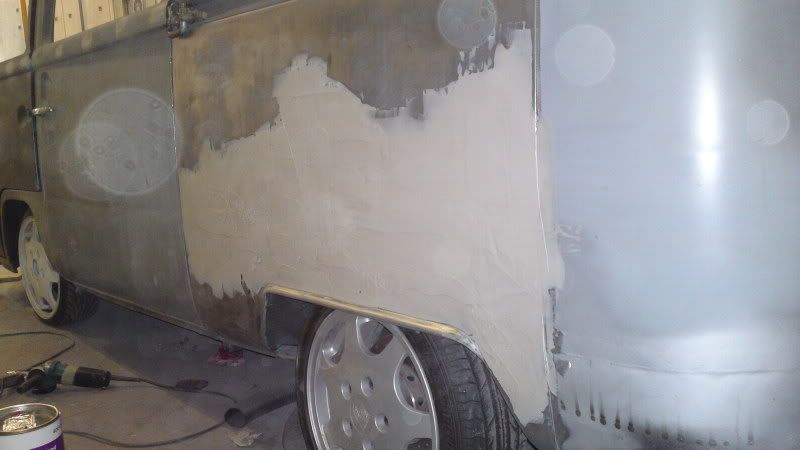
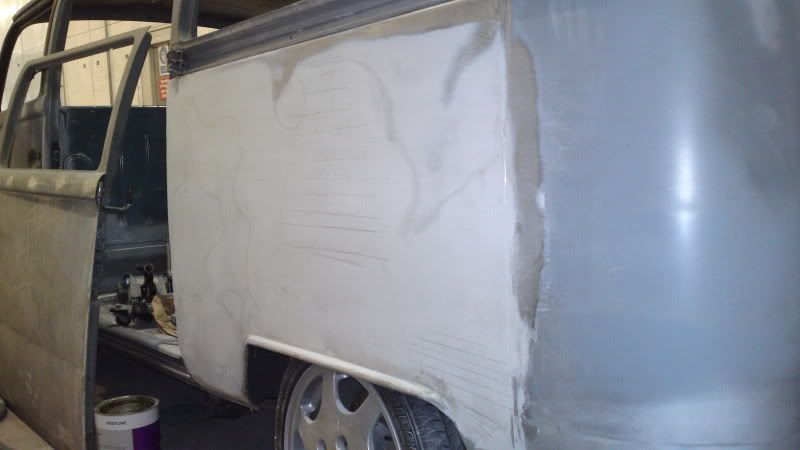
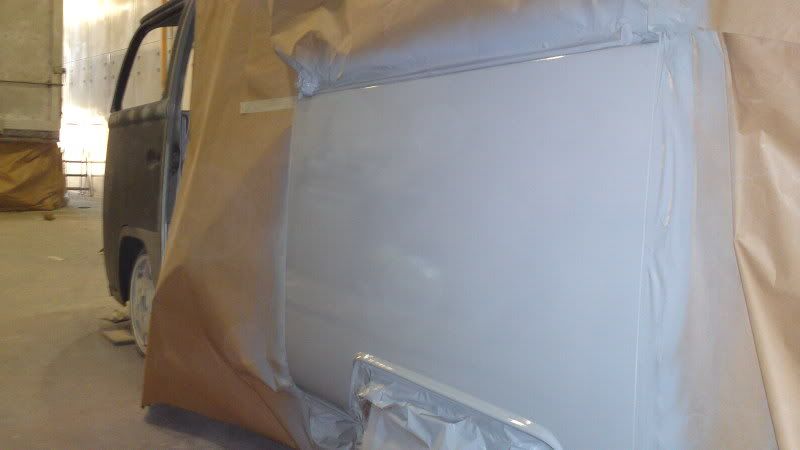
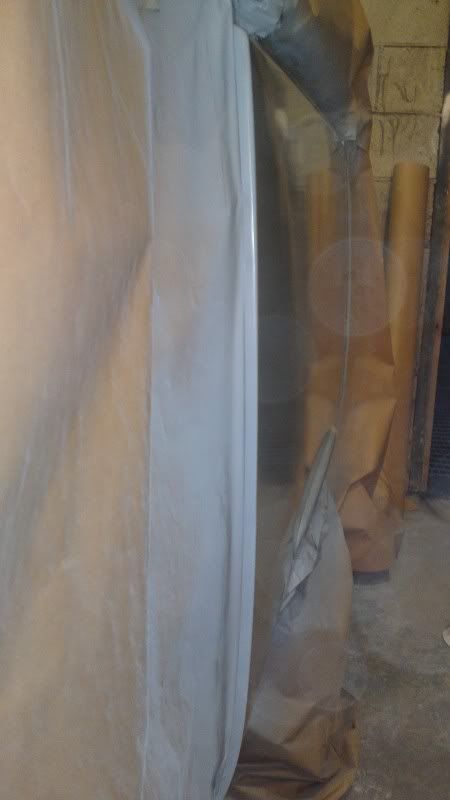
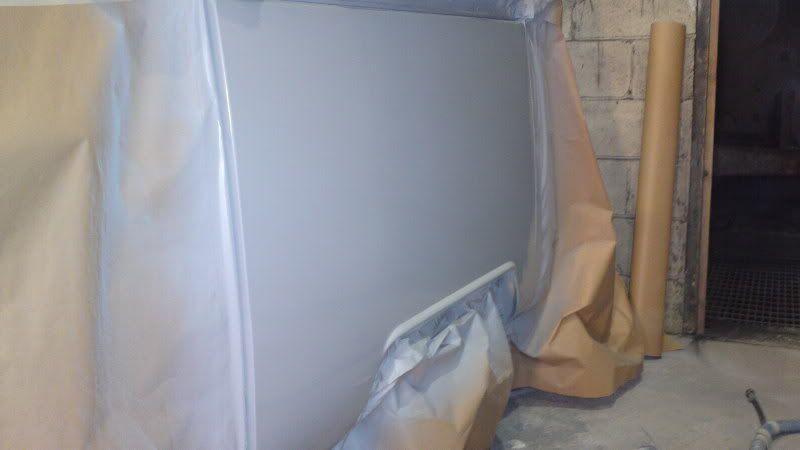
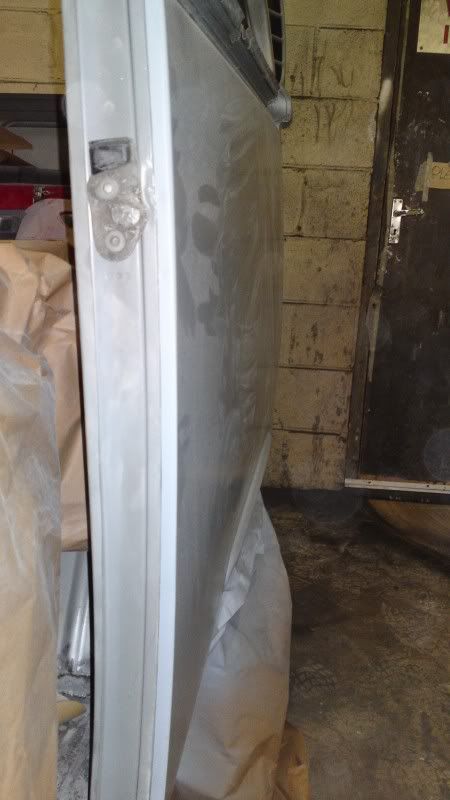
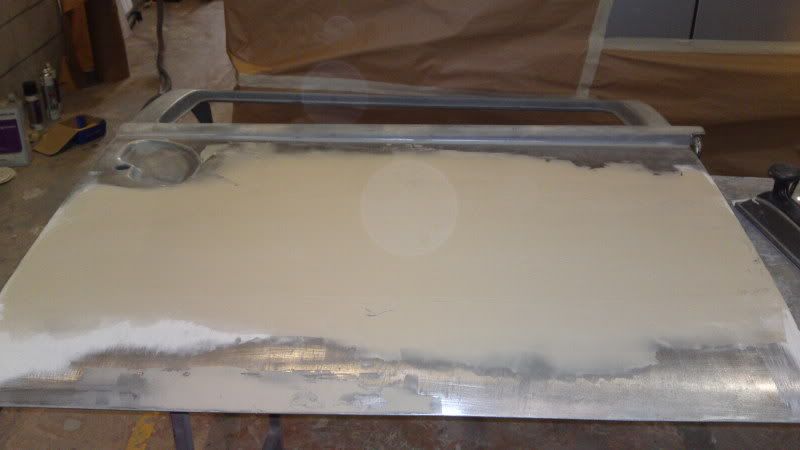
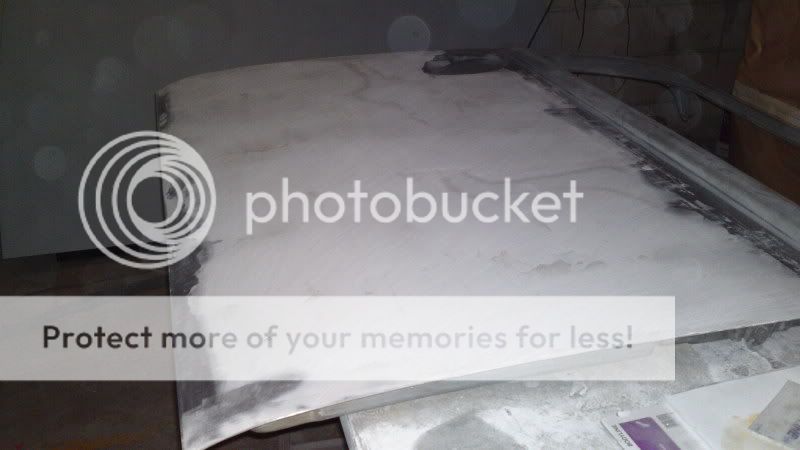
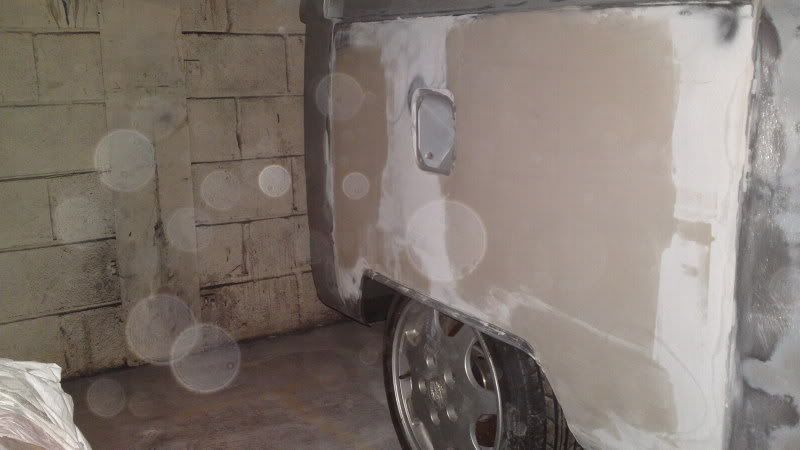
very excited though its a long road. its had a good bit of beating to get it somewhere near straight then the time sucking prep.

:D
 
its about time that boy pulled his finger out and started working on a bus :) hehe. i bet it feels good to see some prep going into that body mate. i'm stoked for you!

gotta phone up up my bodyshop this morning as i want to get the bus in to them tomorrow.

keep up the good work ande/nelly :)
 
another couple of pics of my bus sent from nelly.


23042011224.jpg


23042011222.jpg


i need to get round my workshop and start getting the rest of the bits up to scratch as my bus hasnt seen progress like this for a good while. its great :D :D :D
 
popped round my workshop today to clean the t4 and when i got back, yet more progress pics in my inbox from nelly :D


021.jpg


018.jpg


016.jpg


017.jpg


had to give up on washing my black golf on a red hot sunny day as it just took 2 hours to wash the t4 as the sun kept drying it out. that will be me at 9pm tonight washing my car :?
 
Coming on great! Any more pics and progress updates?

Also do you mind me asking what tools and techniques Nelly is using to sand/flat the large side panels, as I've just started this on my bus and it's no easy task? Having seen Nelly's arrow straight bus at Volksworld and now these pics of the prep on yours... he obviously knows a thing or two!!!!

Well done... keep them pics coming as I'm really looking forward to seeing your bus come to fruition... especially can't wait for those oh so satisfying 'new paint' pics!!!

Dan :D
 
cheers dan, looking forward to seeing your bus coming on again. As it was an inspiration to me while welding my bus. Seeing your workmanship and making me want to raise my game :) . dont know what kit nelly uses but elbow grease and patience i can imagine are the key ingredients to getting it straight.

i did see some great extra long rubberised sanding blocks at a show a while back to enable you to sand large flat panels. but i think having an eye for it is the bit you can't buy :(


any more pics on your thread dude? :D
 
Hi and thanks! :oops:
Yeah sorry there's not been any update from me for a while as the wife and I had a little boy in Feb so inevitably the Bus was on the back burner for a while. Begun to find a bit of free time here and there now to get back on with it so will look to resurect my thread with some current progress pics soon! I've made a start with the filling and flatting of the NSR quarter and have been finding it pretting hard going to get straight... hence my new found interest in how best to approach this? Like you say though.... I think it will come down to patience and elbow grease... lots of it!

Anyhow, enough about me, this is your thread... Great to see your bus moving nearer completion as it is inspiring me to push on with mine! Who knows maybe one day we may both actually get to included our completeted buses in and Earlybay line-up and compare notes!

Keep us all posted and keep those pictures coming!

Cheers

Dan
 
Camperdan said:
Yeah sorry there's not been any update from me for a while as the wife and I had a little boy in Feb so inevitably the Bus was on the back burner for a while.
Dan

Good one :party0046:
 
To get the filler flat on the sides the only advise i can give is to use as long a block as possible ie about 2' or more,
Not to much progress this w/end as i've been to santa pod rwyb to give the bus a shake down run ready for big bang ;)
Did make a start on front panel though.
001-1.jpg

002-2.jpg
 
Hi Nelly, thanks for the advice, need all the help that I can get, so all pointers much appreciated. The block I have now is about 16" I think... so sounds like I'll need to search out something a bit longer... story of my life ha ha ha! :lol:

Great work on the front panel... bet Ande is well pleased... know I would be as looks like it's coming on a treat!

Ande, without back reading all twenty something pages I cant recall if you disclosed what colour scheme you were going for.... or is it a surprise/secret? Soon be in colour!!!!

Cheers!
 
hi Dan you only need to go back a few pages to actually see the top coat as nelly came up to notts to spray the underneath when it was on my rollers.


Its gunna be vw beetle anthracite that came on a 1963 model so a little earlier than my bus. i hope it will be a little understated, thus allowing me to dress it up or down with as much or as little trinketry as i collect :D


bit of bonus progress as i didnt realise nelly had had chance to work on it this weekend :D i can imagine the front took a good bit of tickling as i did warp it a bit when taking out the badge bulge :oops: i can see why people leave them in.
 
ahh yes.... page 23! It will look awesome!

You gonna go for the same colour all over or contrast it with a different roof or top half?

I'm excited for you... and will be watching and reading with much interest, keep us posted!

Cheers

Dan
 
grey all over mate. cloud white bumpers and pop top. then if i can face the polishing, fully polished westy windows, rear safari, deluxe beltline, grill trim etc to bling it up. still cant decide on overiders or bumper trim at the mo. every now and then i have to go up in my loft to sort through the bits ive been buying for it as uts took me so long i forget whats up there.
 
whilst having a sort out i found my seats had been suffering a little from their time in the loft


DSC00356.jpg


so with a bit of this


DSC00357.jpg


they started to look a bit better


DSC00359.jpg


DSC00358.jpg
 
though its not all been about the bus.


ive been having a play with the golf of late


DSC00340.jpg


DSC00341-1.jpg


DSC00342-1.jpg


lowered it a bit more and now running lower profile rubber than before. if you not constantly hitting the floor and loosing your teeth you're not dubbin. does quite have the same ring ;)
 
then today armed with my young aprentice, i went round my workshop and thought i'd do a little investigative work with a sledge hammer


DSC00367-1.jpg


DSC00368-1.jpg


DSC00369-1.jpg


DSC00371-1.jpg


two hours to chop out about one twentieth of the floor. think i need a bigger hammer :D or a bloody big kango. i would like the floor completely up, membrained, then relayed with steel reinforcement and insulation so when the bus is done it passes building regs as a house. :D
 
Are you replacing the glass in your bus with new stuff? I found most of mine is all scratched :?

Any updates on paint?
 
front screen will be a new heated one when i get round to buying it. rear is going to be a creative engineering safari that ive had in my wardrobe for the last 3 years. the rest will be used glass. opening front quarters, westy jalouise, and opening rear quarters. :D
 

Latest posts

Top