My 70 Bus!! Wes

Early Bay Forum

Help Support Early Bay Forum:

This site may earn a commission from merchant affiliate links, including eBay, Amazon, and others.
I like the front panel how it is. If you paint it you'll probably end up painting the whole bus! The aa badge, running light and bling looks good too.

One thing though, on your number plate surround, shouldn't 'peices' be spelt 'pieces'???
Or is it different in the states?? Or maybe it means something else? Sorry for being pendantic, can't help it, I'm English you see!
 
r73 said:
I like the front panel how it is. If you paint it you'll probably end up painting the whole bus! The aa badge, running light and bling looks good too.

One thing though, on your number plate surround, shouldn't 'peices' be spelt 'pieces'???
Or is it different in the states?? Or maybe it means something else? Sorry for being pendantic, can't help it, I'm English you see!


LOL. Yah, I had it made years ago. Back before spell check! LOL Back then I didn't even notice the mistake. I just recently found the frame up in the garage so figured I would run with it. Most kids today can't spell anyway. LOL Today it probably should be "pcs"! LOL


I agree on the panel. I like it the way it is too. Gives the bus character. I have made my mind up. I'm just going to paint as little as I can to get the 'repair' covered. :D
 
:lol: I've got the same issue with panels. Dents and scrapes, the only way in my mind is a full resto or repair and blend the paint in for an authentic weathered look.
Thing is we have 3 kids and use the bus as was intended so no point in shiny paint just yet!!
 
r73 said:
:lol: I've got the same issue with panels. Dents and scrapes, the only way in my mind is a full resto or repair and blend the paint in for an authentic weathered look.
Thing is we have 3 kids and use the bus as was intended so no point in shiny paint just yet!!

My situation/view exacyly, keep the rot at but but keep the history 8)
 
Today we went to a non VW swap meet. Hubby spotted a bucket with some VW headlights, he started rooting threw it and it turned out to have several other bus parts. So we bought the whole bucket full!

Here is what we got.

IMG_2866.jpg


I needed the plastic covers for the seat belt latches. I also used the retracters, but the jury is still out on if I like them or not. LOL

Here is how my latches were,
IMG_2870.jpg


and now,
IMG_2871.jpg


I also scored another badge!!
IMG_2872.jpg


Here is an updated pic of the nose of the bus.
IMG_2874.jpg


I have another badge coming from a member here, once I get it I will have another update! LOL :D
 
Not much of an update, but I did go from the rear view mirror on top, to the bottom one! :D

45265f0e.jpg


Looks a lot better from the front of the bus now. :D

My kick panels came the other day. Today I decided to go out and see how the passenger side fit. I'm not to thrilled but I guess this is what I get for going with aftermarket. :? I don't like how there is a hole at the top right of the panel. I think it is there because they just made the driver and passenger the same then just cut the hole for the washer bottle. The hole I talk about is not really a hole per say, if it were on the driver side it would be the spot cut for the brake reservoir. Thing is on the passenger side this make a hole between the panel and the air duct. I will probably figure out how to add something to the back so I can fill in that gap.

IMG_2982.jpg


I have to do some trimming on the panel to finish it up. It doesn't sit down far enough to let the heater vent through. Then I have to deal with this mess on the driver side. LOL

IMG_2983.jpg


I really don't want to put the fuse panel back where it is supposed to go. I would rather it sit out in front. Yah it isn't the prettiest thing out there, but it sure makes it a heck of a lot easier to get too. I just know that as soon as I put it back in it's proper place, I will need to pull it back out to replace a relay. :roll: I also have to figure out where I want to put my toggle switches. Right now they are just wire tied to the column. I need to make a plate to hold them and my power source. That's another day's project! LOL
 
Look what came in the mail yesterday!! :D

IMG_3190.jpg


without wipers
IMG_3189.jpg


with wipers
IMG_3188.jpg


I was hoping for a nicer day so I could get better pics, but these will have to do for now. :D
 
Today I convinced hubby that this would be a good week to do my windshield. It will take a few days to do it because of course there are rust issues to deal with.

Here is the old windshield. Those white spots you see are where the glass is separating. It caused little bubbles between the glass.

19825f4a.jpg


This is the old seal and what rust you can see before seal removal.

996eb3fd.jpg


Things are not looking so good.

bee8837f.jpg


9a48cd05.jpg


Had to wait for hubby to help me remove the glass so I cleaned up the metal a bit. Found a few holes so far.

d19d0348.jpg


Glass is out. Part of the dash is rusty too and paint flaking pretty bad.

6aa13cac.jpg


Although the lip (part the seal sits on) is rusty, it is salvageable.
f3e0738b.jpg


Hubby figured out how to work my camera and got some shots of me sanding on the dash! :D

59c258cd.jpg


This is where we stopped for now. The wholes are basically right along the front where the rubber was sitting.

43c2d730.jpg


We will finish cleaning up the rust and then hubby will put Mar Glass on to repair the holes.

I took the grille off and will be taking it to the paint store so they can try to match it. I plan on only painting where we have Mar Glass and have sanding marks. I want to try to salvage as much as I can of the original paint. I like the originality of how the bus looks with it's old paint. In fact it was almost a little sad to have to pull the windshield out. It gave the bus character too! :D
Would be hard to try to put it back in do to the rock chips! LOL

I will update soon! :D
 
I got my new kick panels today! I had to do a little shaving to get the one to fit, but I like it alot better then the first kick panels I bought.

First passenger kick panel,

IMG_2982.jpg


New passenger side. Notice no hole!! I like this one much better!!

IMG_3239.jpg


I still need to figure out the driver side. I have my fuse panel in the front of the air duct and I really don't want to put it back where it belongs. I may use my first driver door panel for now and put holes in it to mount the fuse panel in the front. Then later if I decide to put the fuse panel where it goes, I will have my new kick panel with no holes to put on.

Today I also painted my defroster vents! :D Couldn't resist! LOL Figured if I don't like it I can easily repaint them black! LOL

IMG_3241.jpg
 
Got the dash done, still working on the windshield area. Hubby wants to paint on Sat. He is going to paint my decklid and apron too. I decided to just mask them off the best I can and not remove them. I want to buy some that are in my busses color once I find some anyway, so this paint job is just to make them match a bit better then the white that is on them now!

Dash before,

6aa13cac.jpg


Dash after,

_MG_0877.jpg


Hopefully I will have some painted pics come Sat. night! :D
 
Just read the whole thread, great work and a great story of rescuing a bus. Your certainly lucky in US finding such rot free buses. To think that would have been scrapped :shock:
 
uber cool said:
Just read the whole thread, great work and a great story of rescuing a bus. Your certainly lucky in US finding such rot free buses. To think that would have been scrapped :shock:

Yah, I was really shocked when we got out to the wrecking yard and saw it up on the rims for picking parts off of it. Luckily know one had picked anything though! I wouldn't leave the yard with out it! LOL This is the first Bay I have owned and I can say I really love it. Never thought I would with owning a spit. Figured spits were it, nope, bays are it too! :D
 
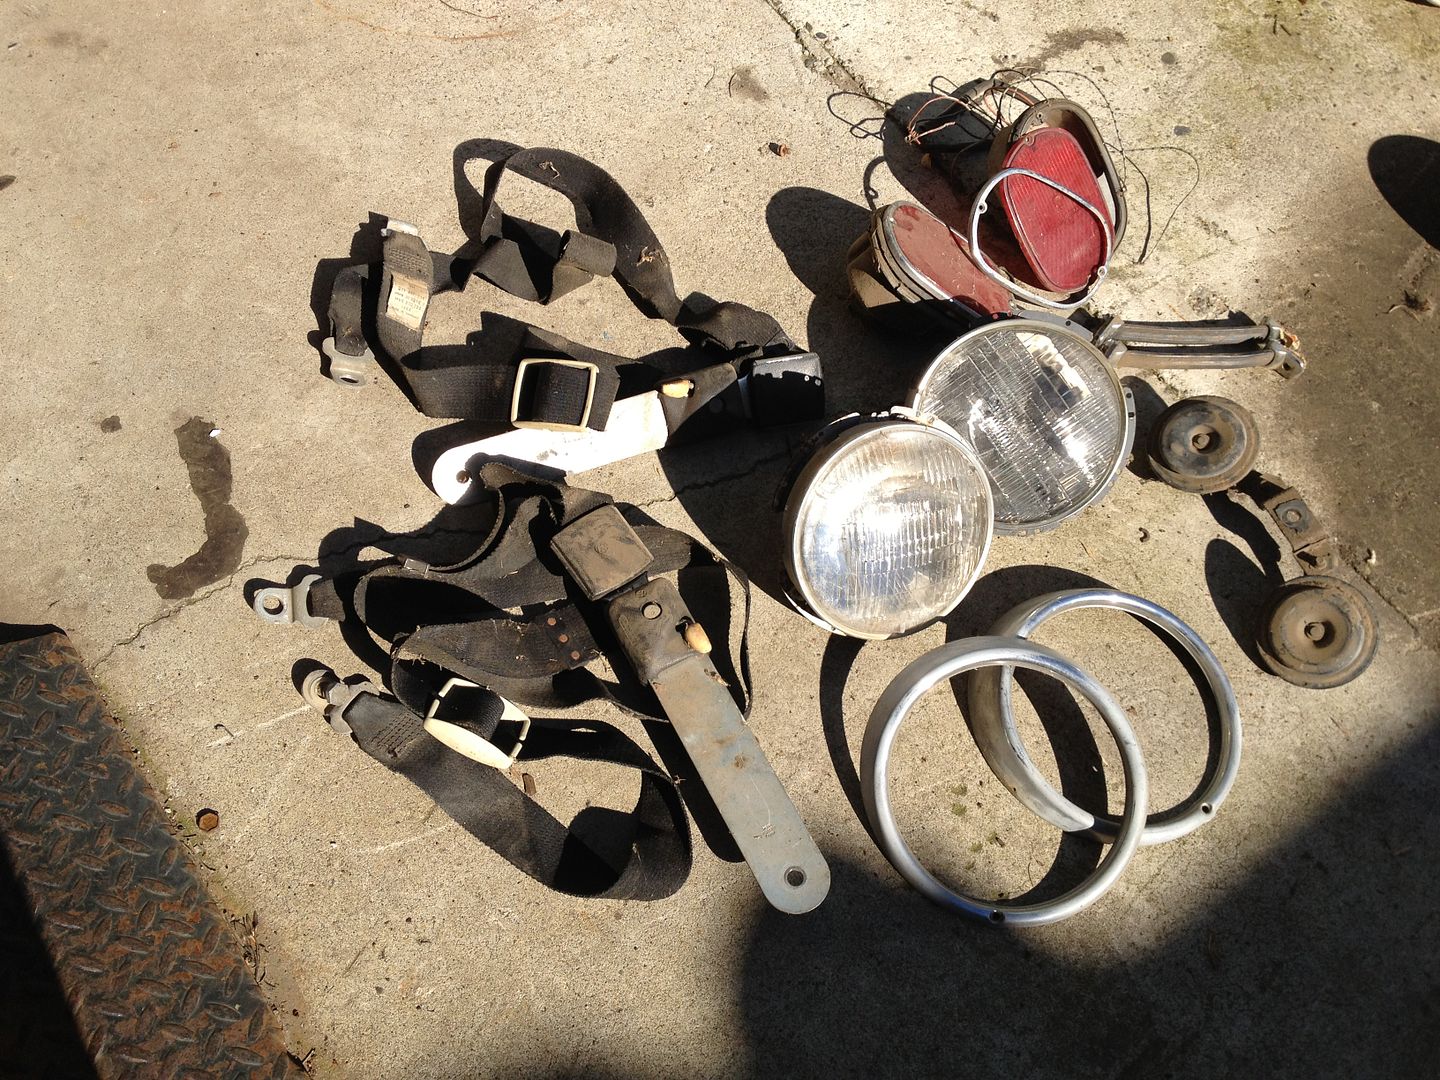
Well, got some more work done to the bus! :D

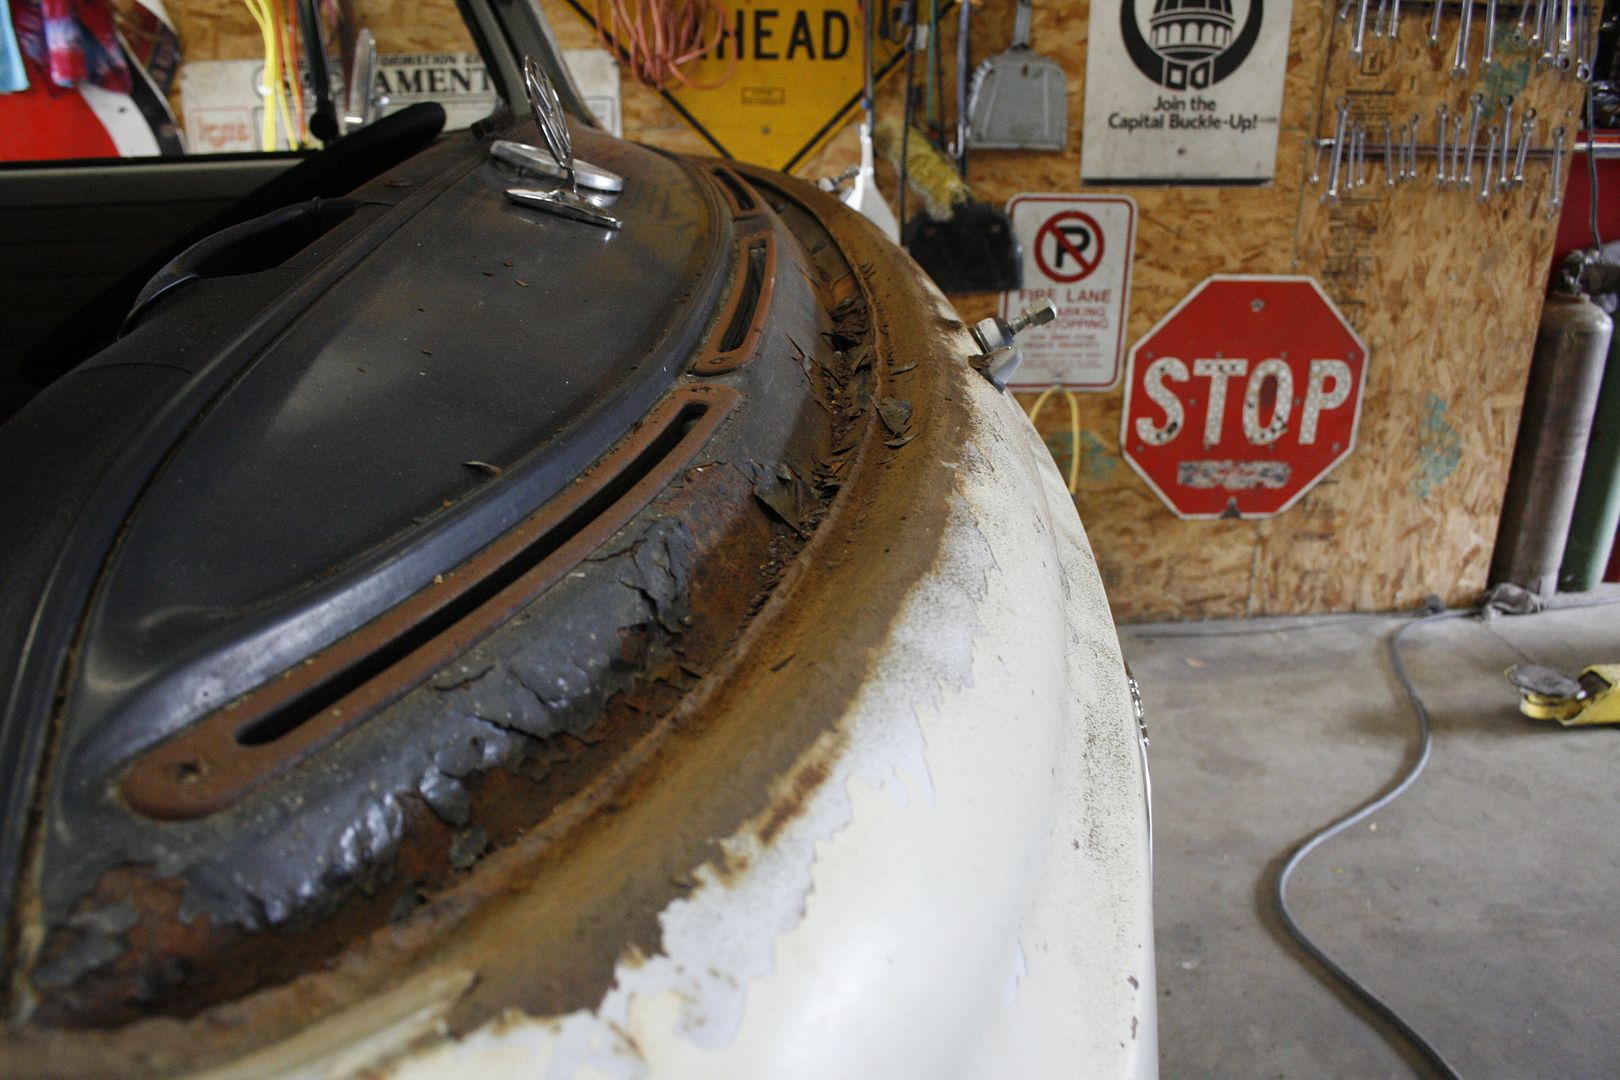
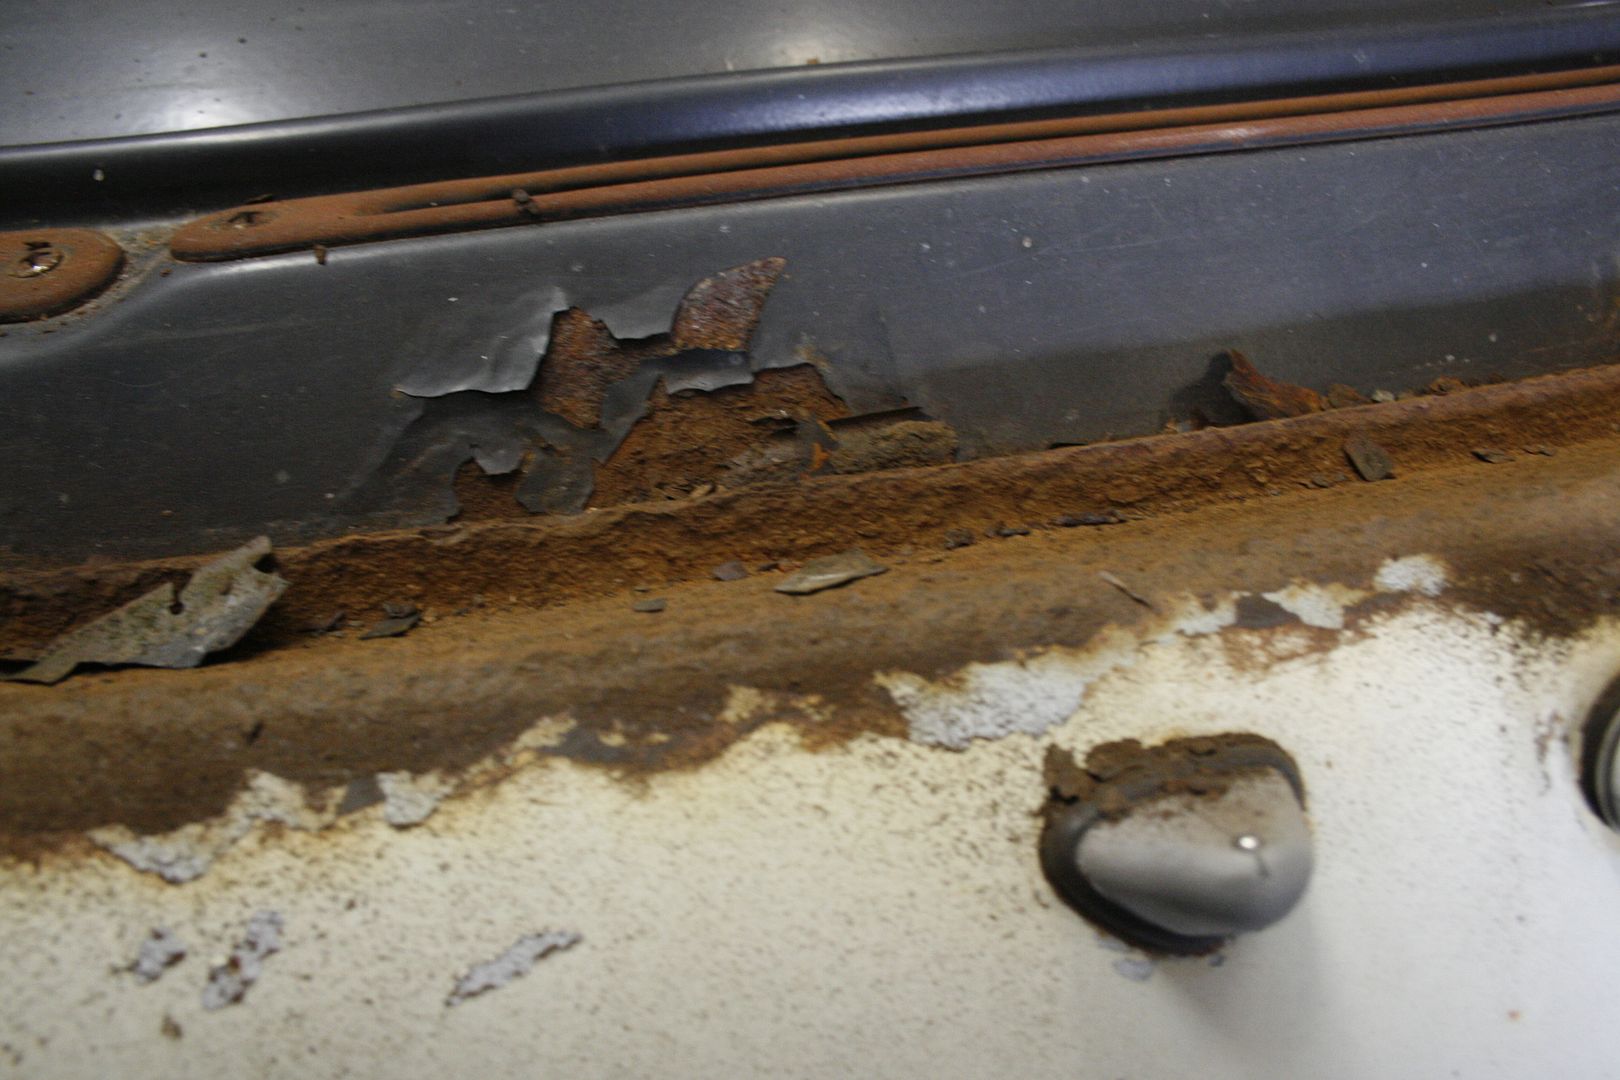
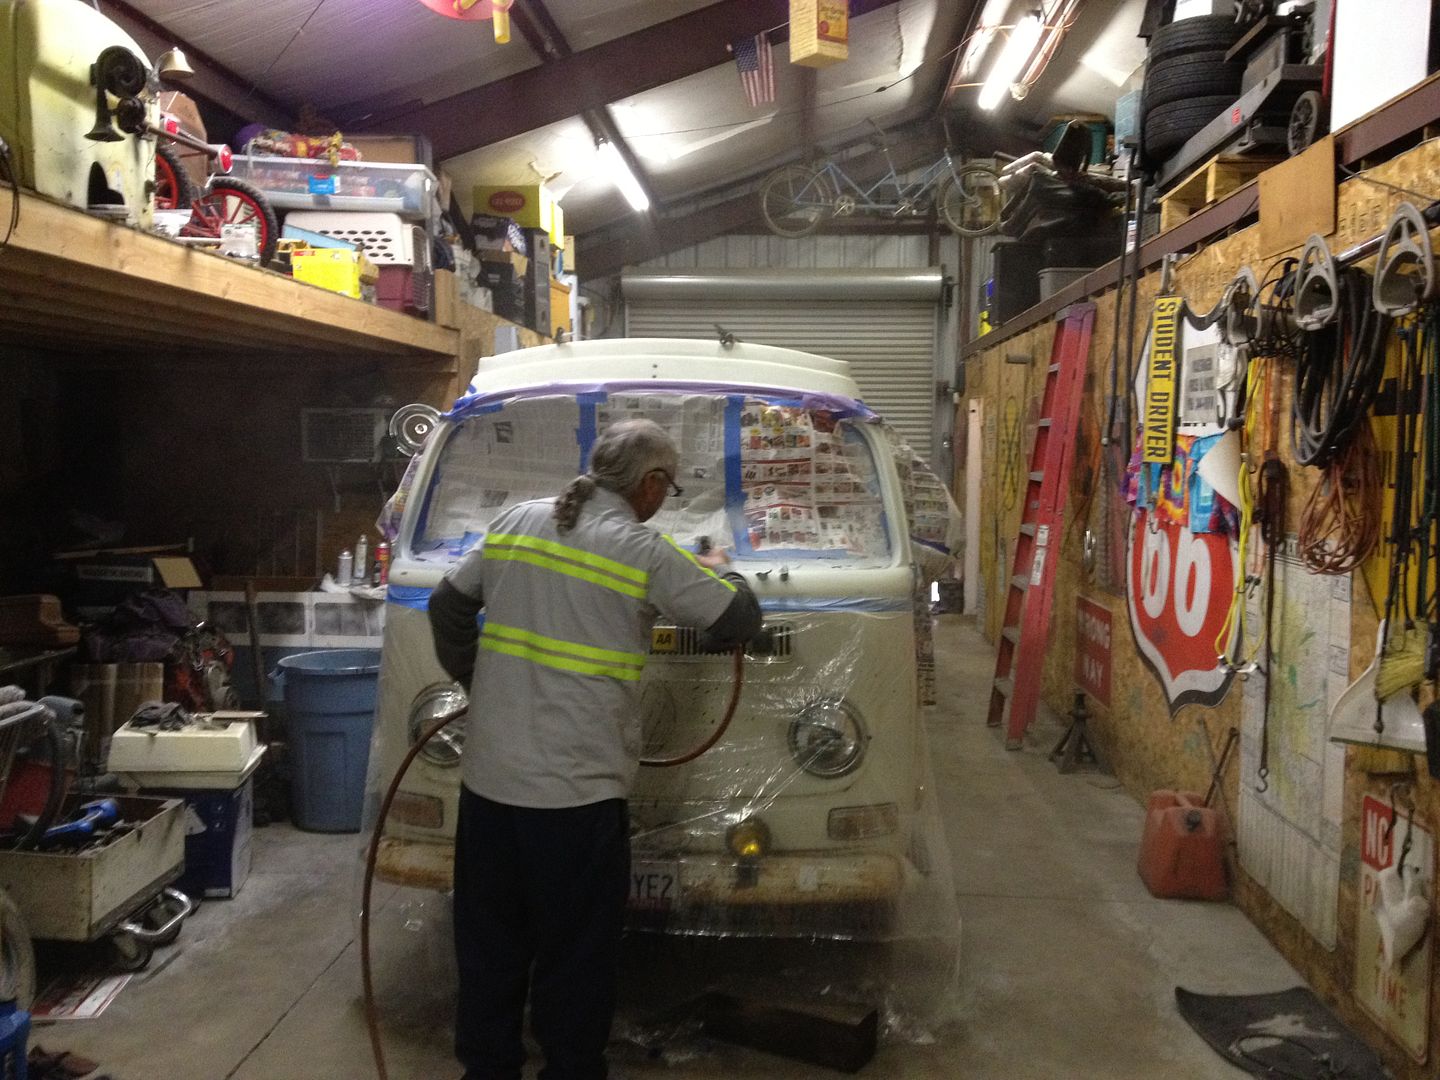
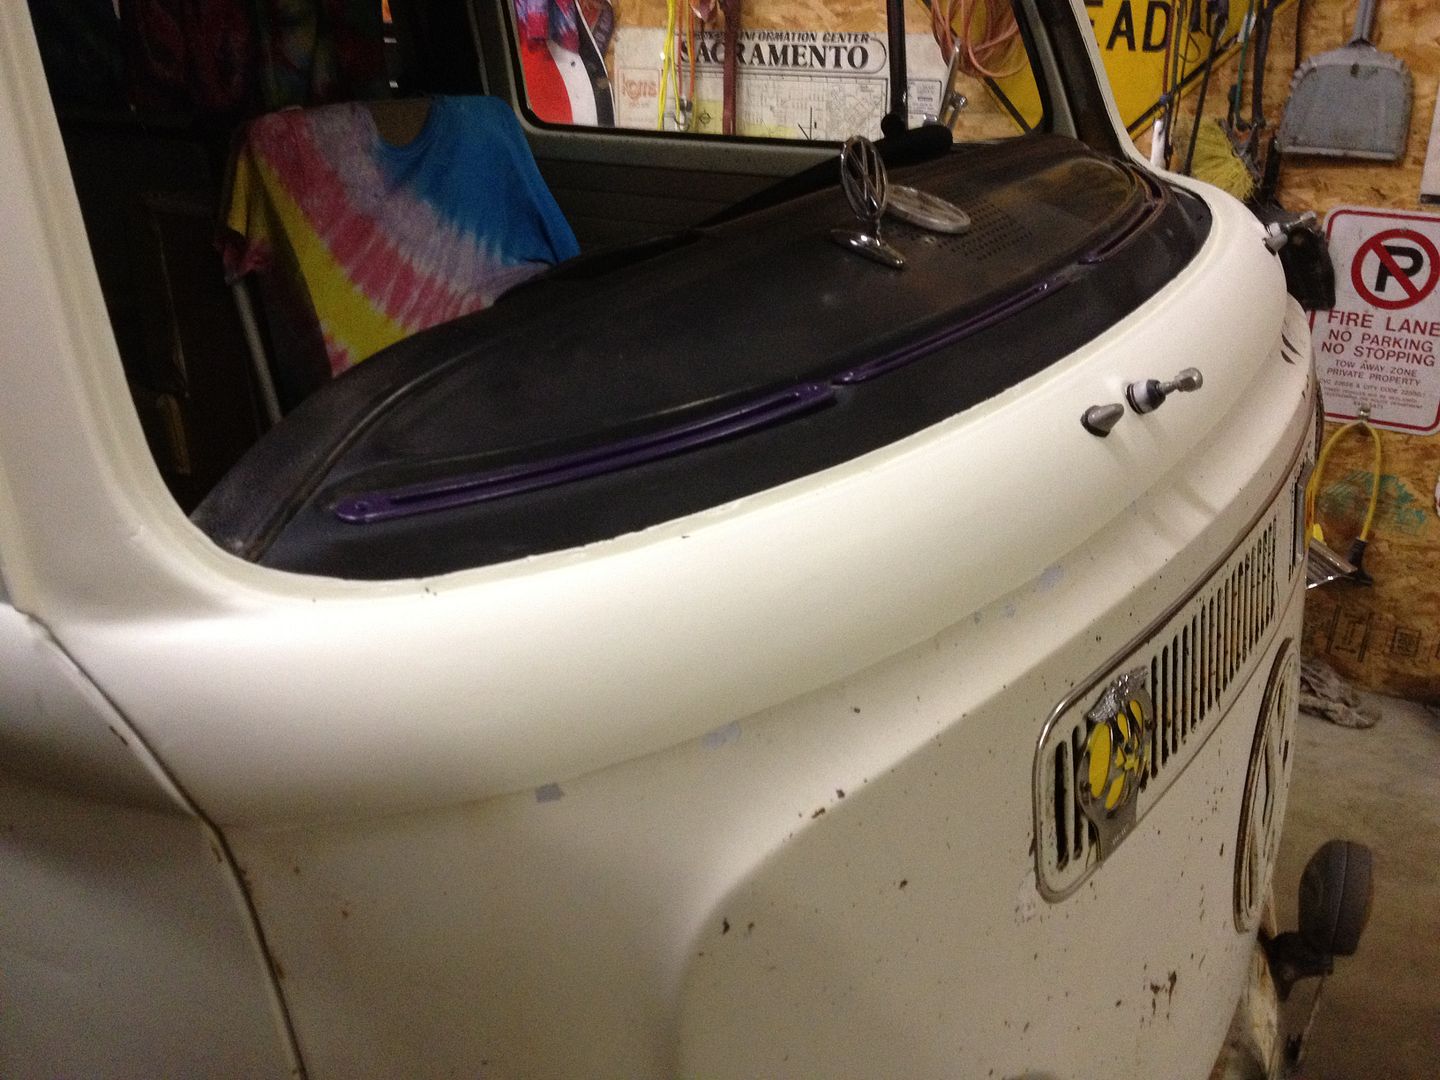
The paint I bought didn't match as good as I would have liked it too, but it is better then nothing. We decided to repaint the decklid. It went from this,

IMG_2230.jpg


To this,
bd777bd4.jpg


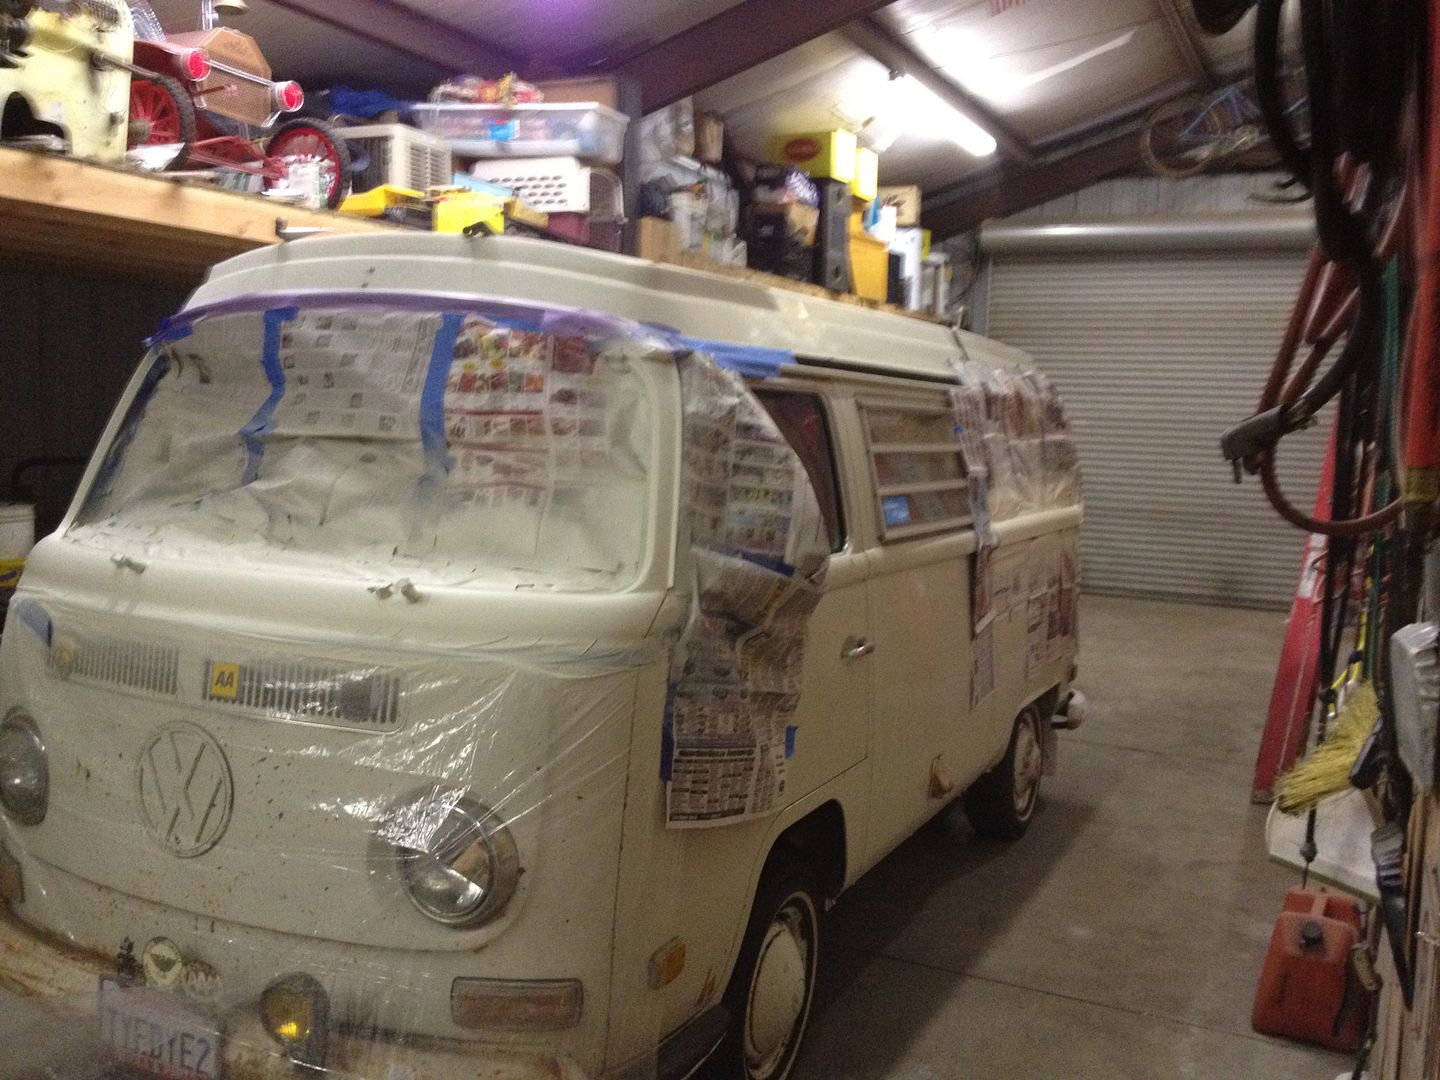
As you can see it still isn't as dark as the original paint, but it is alot better then that white I had before! LOL

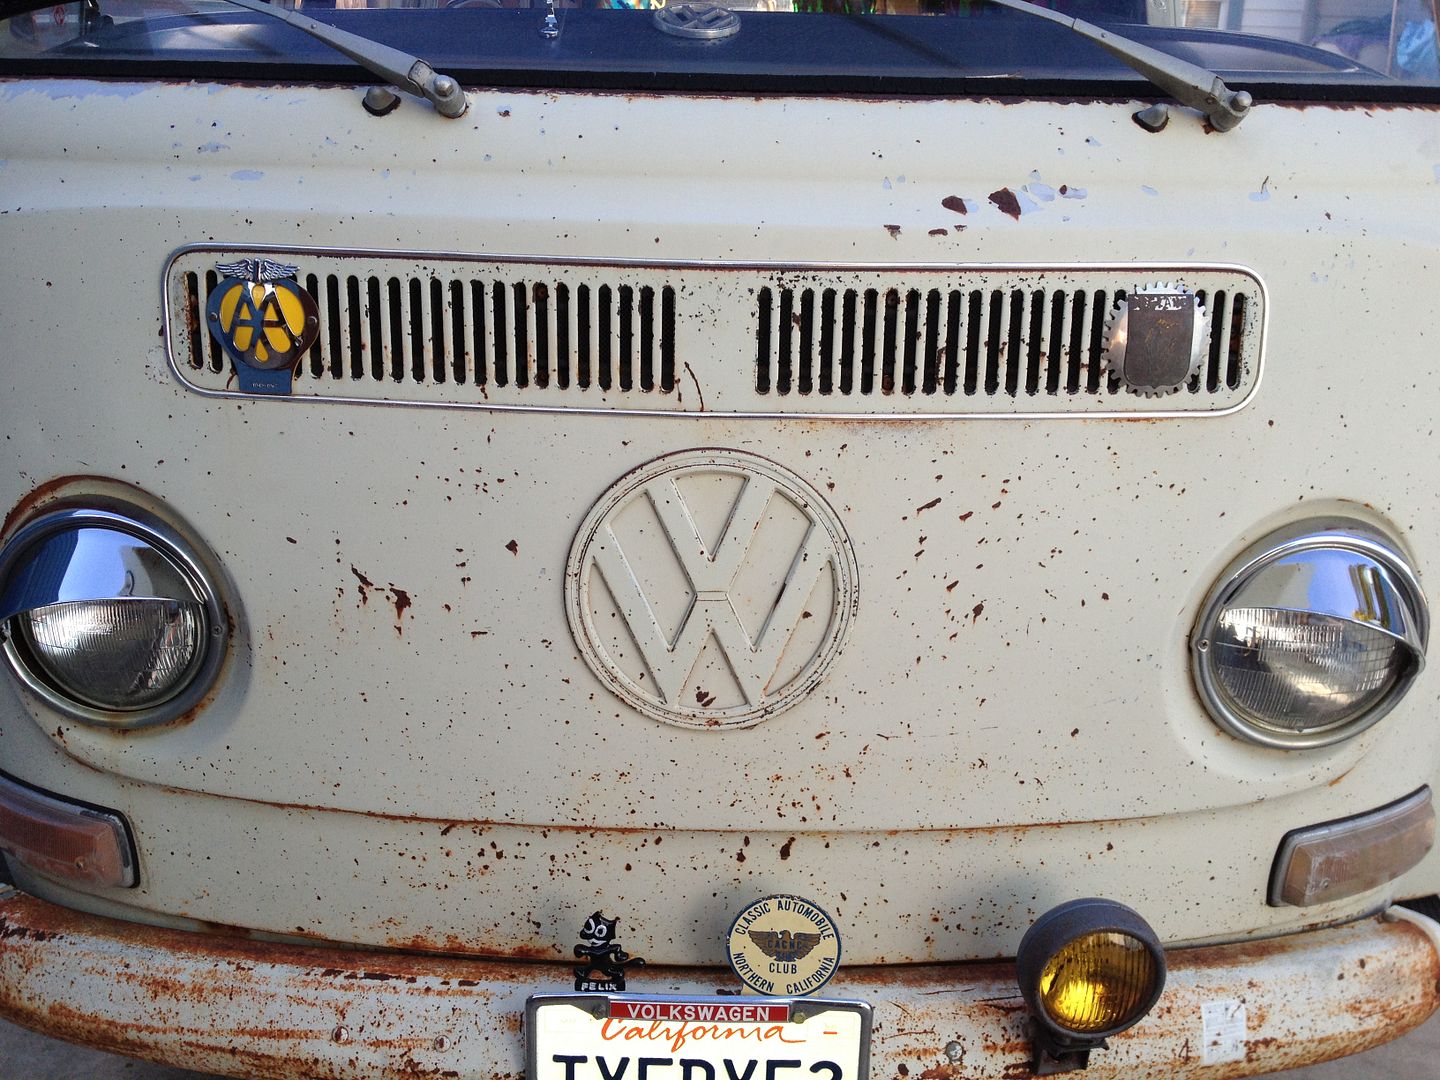
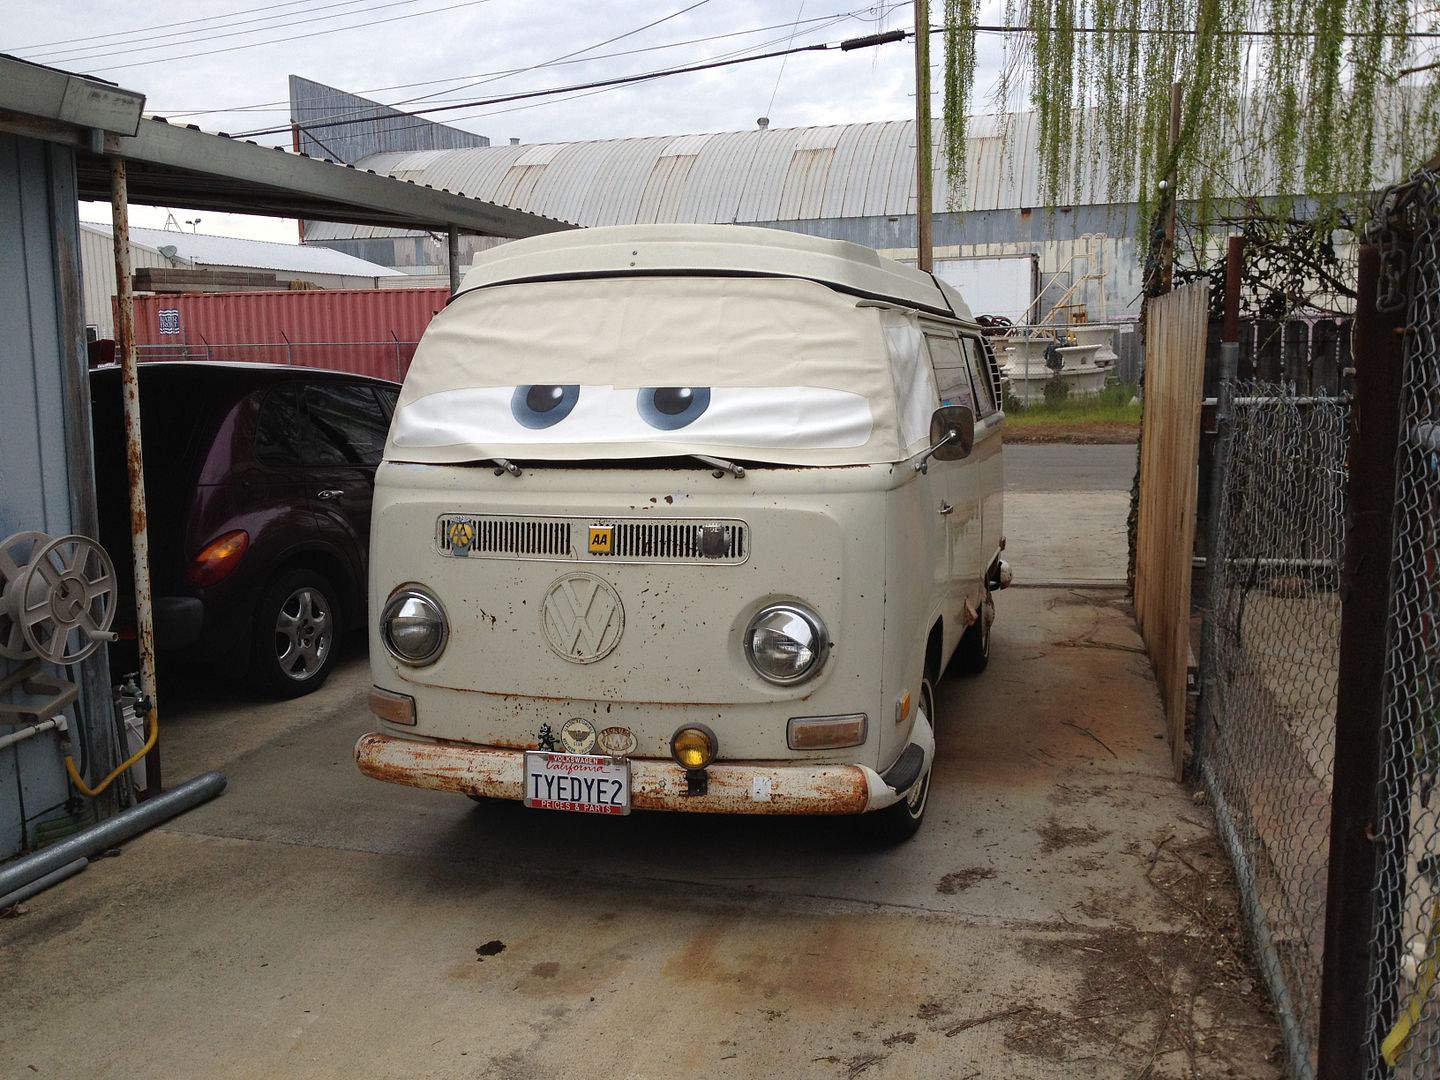
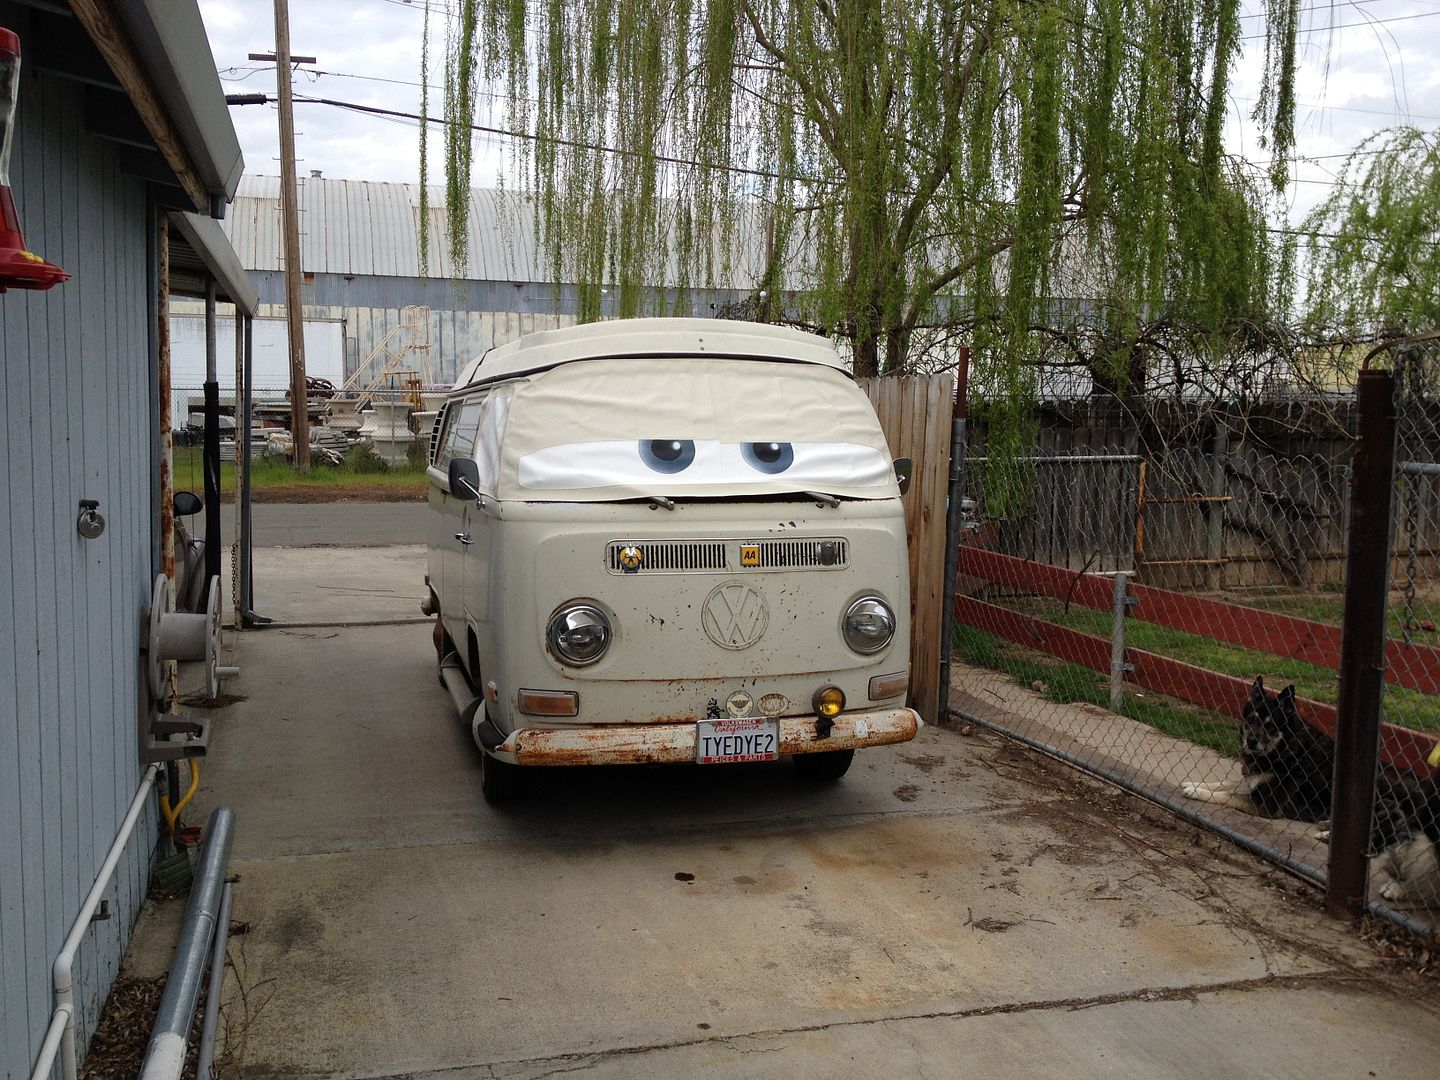
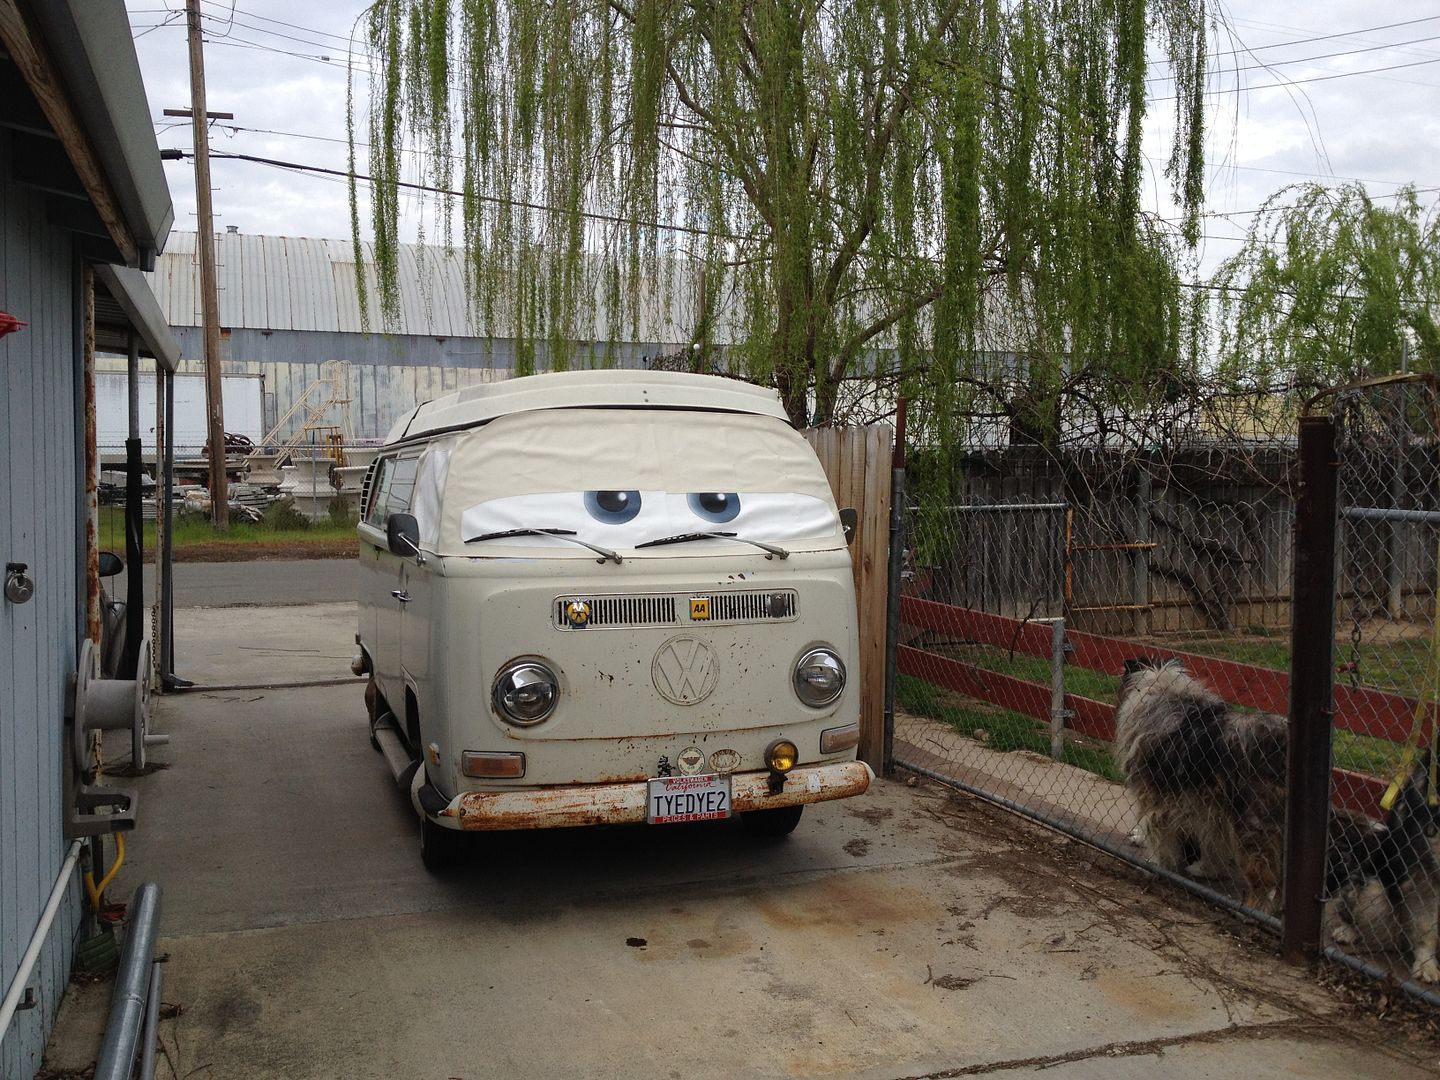
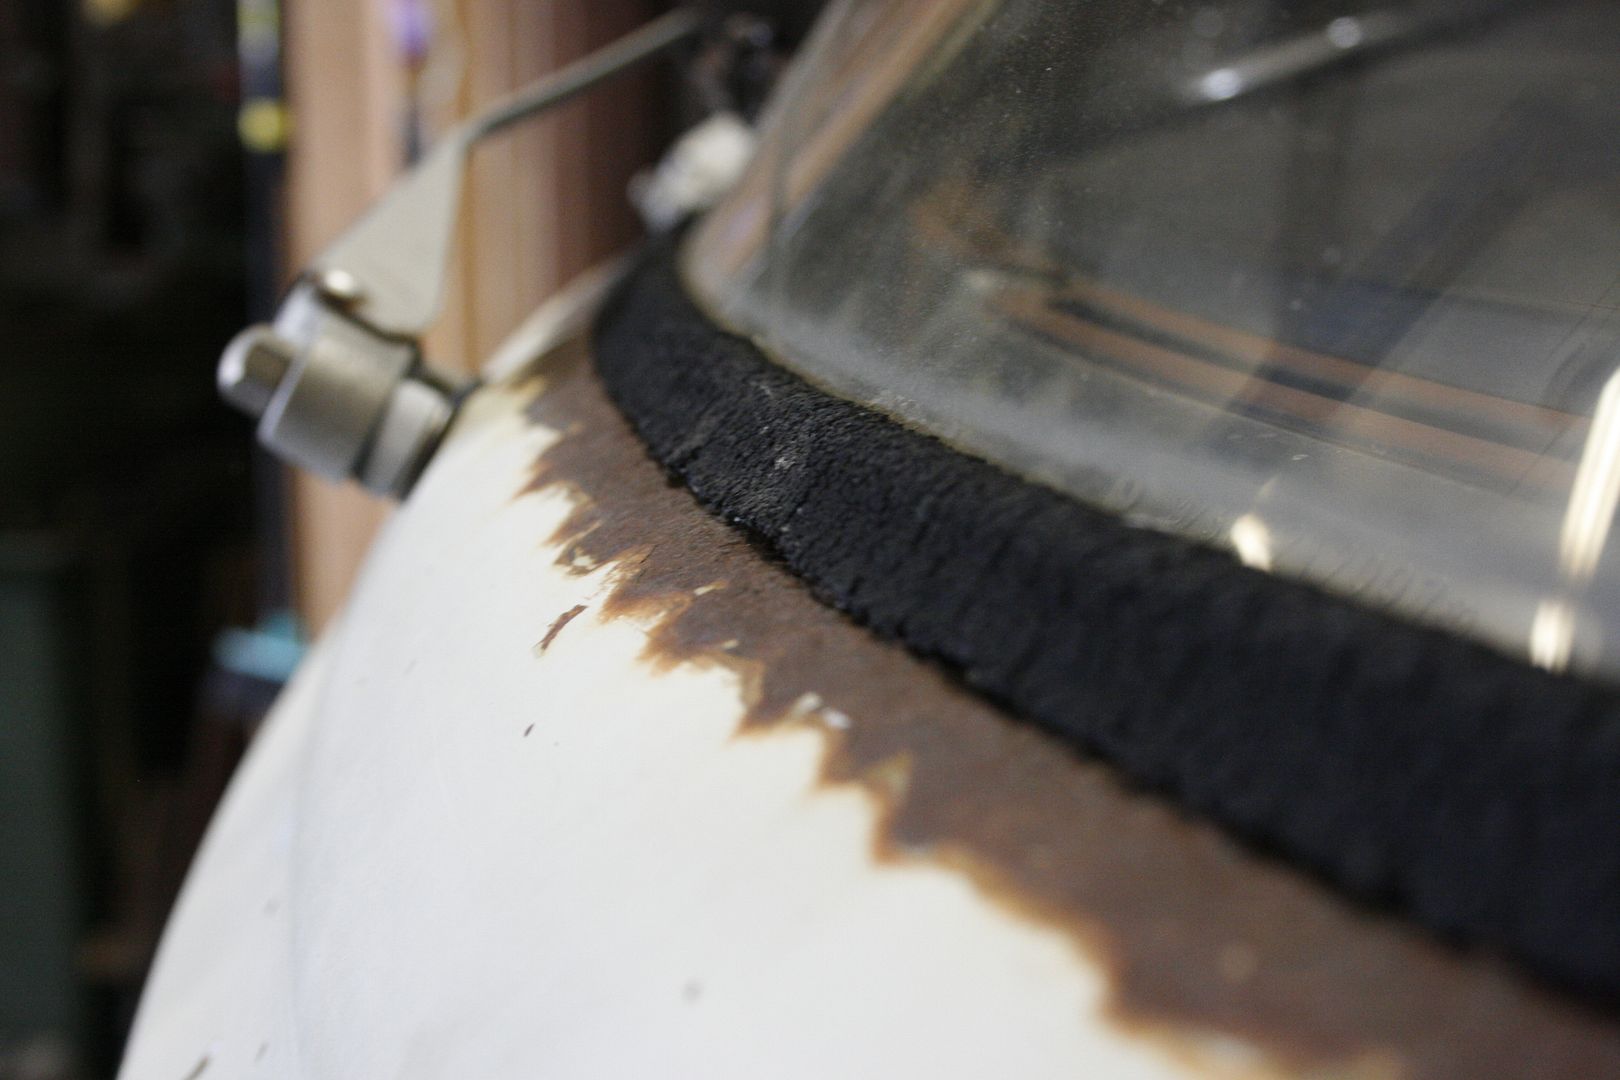
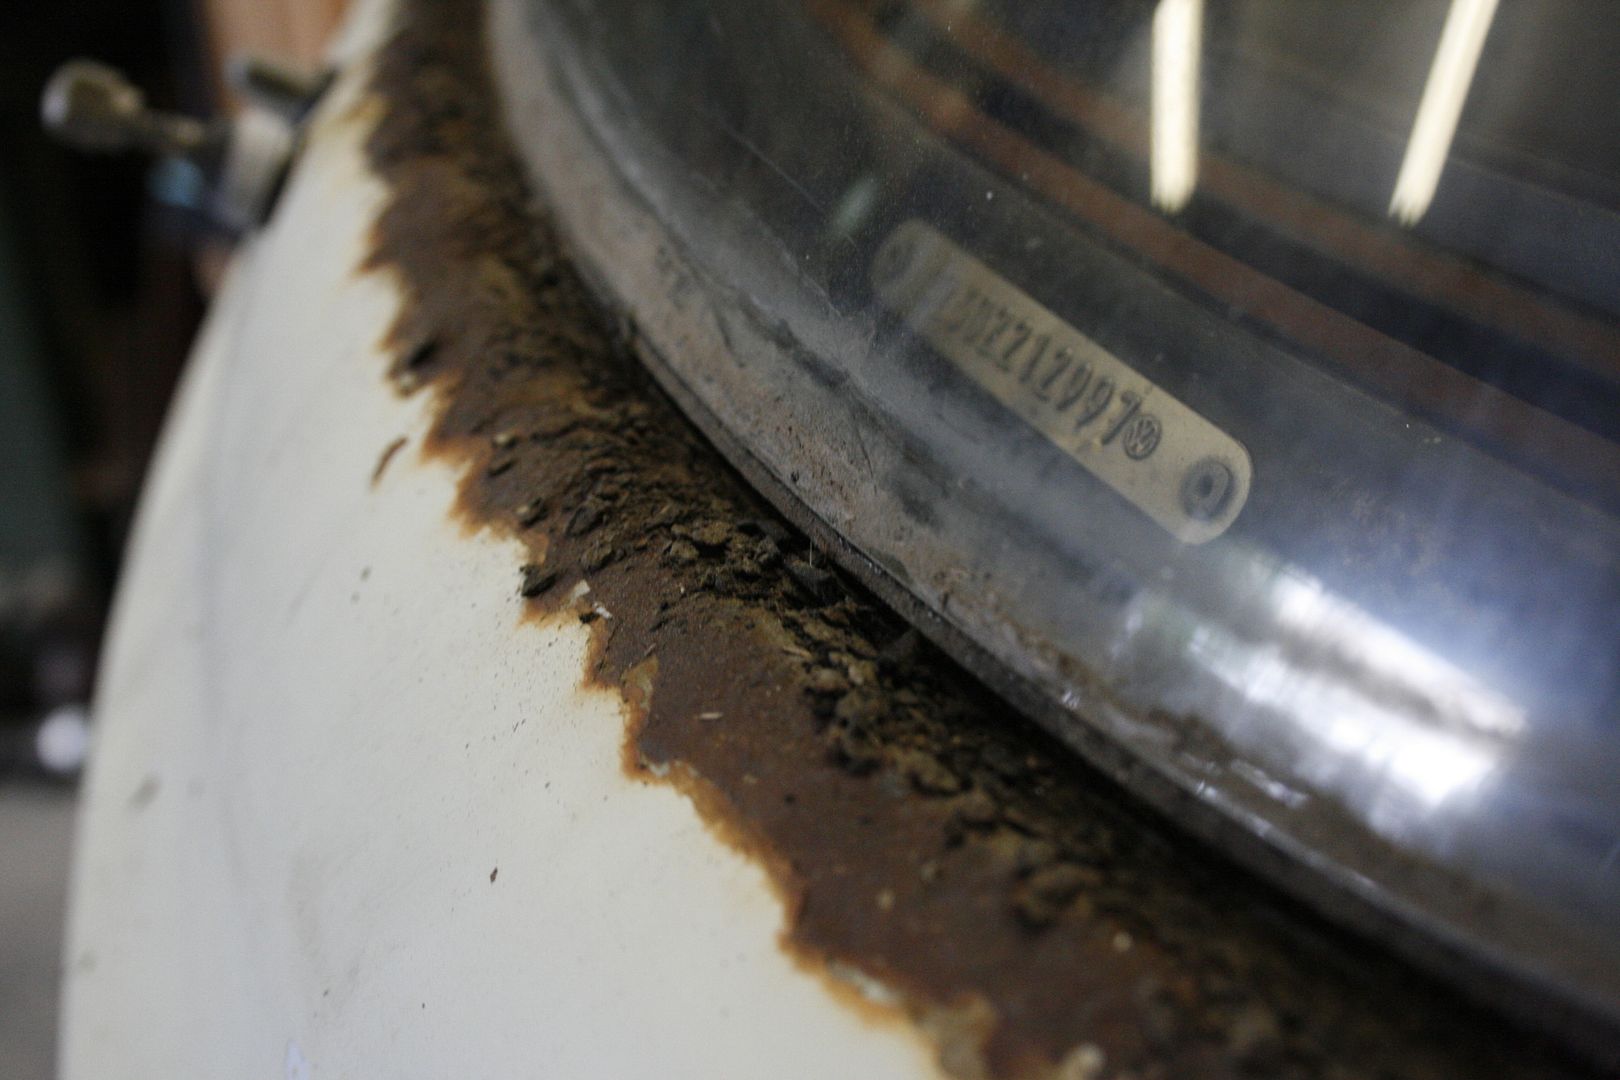
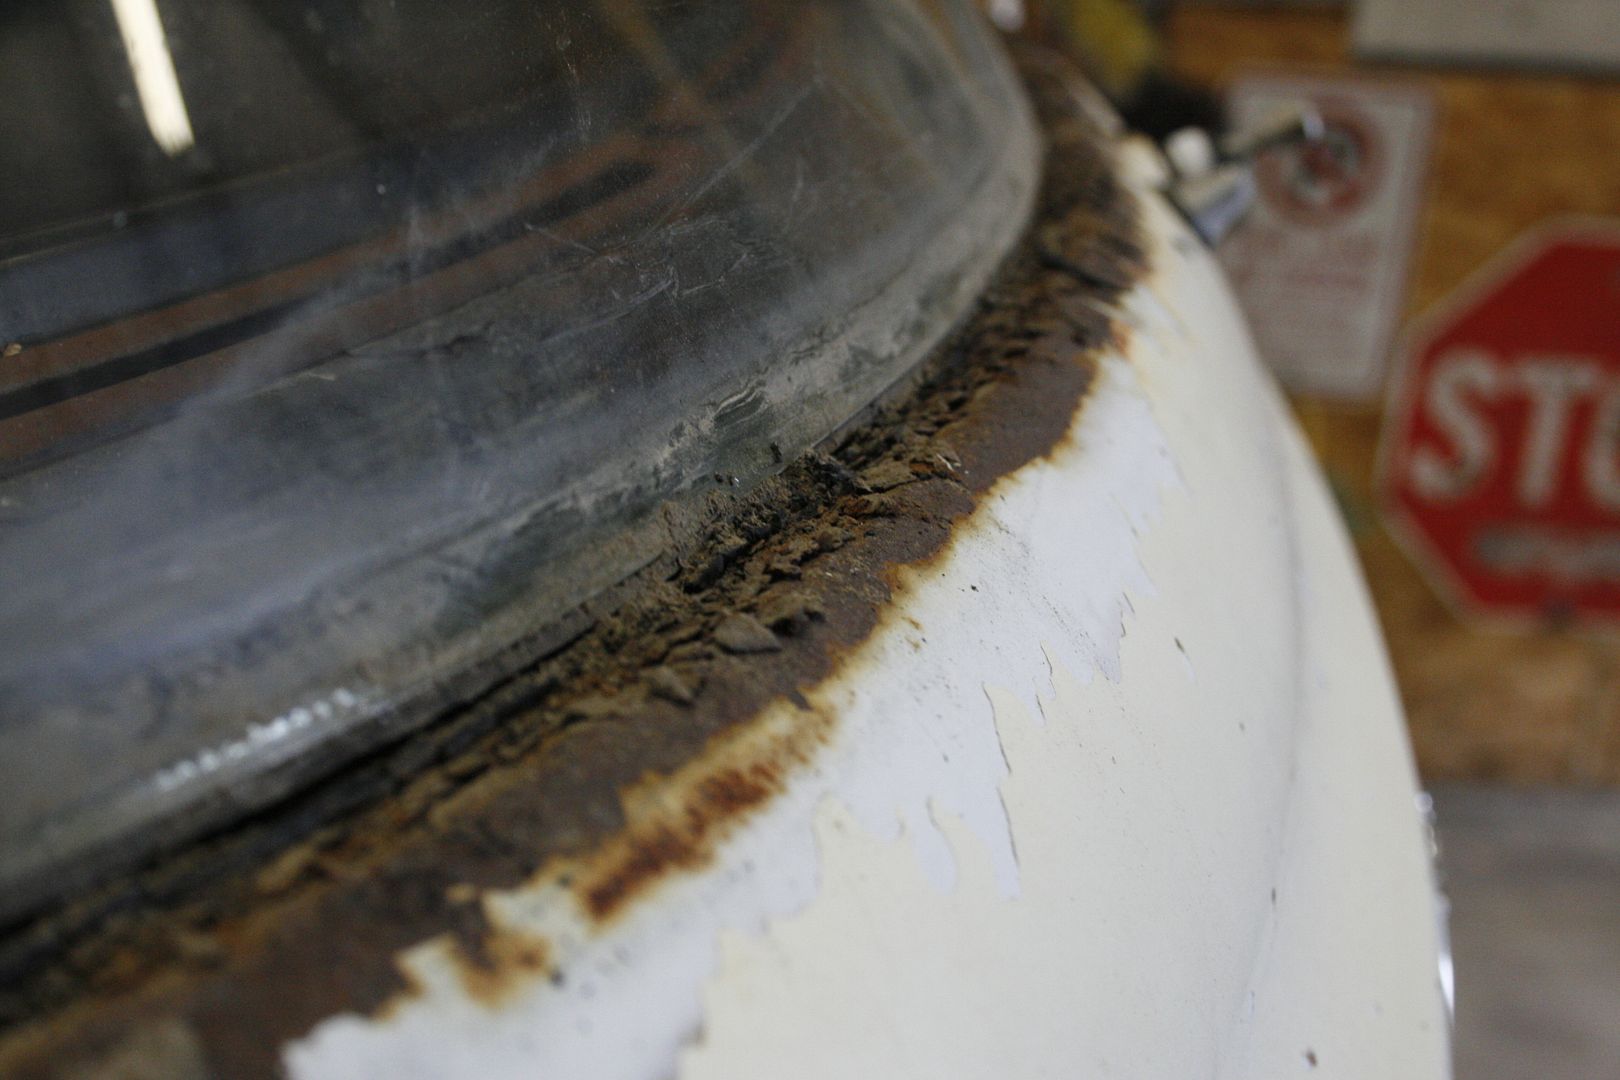
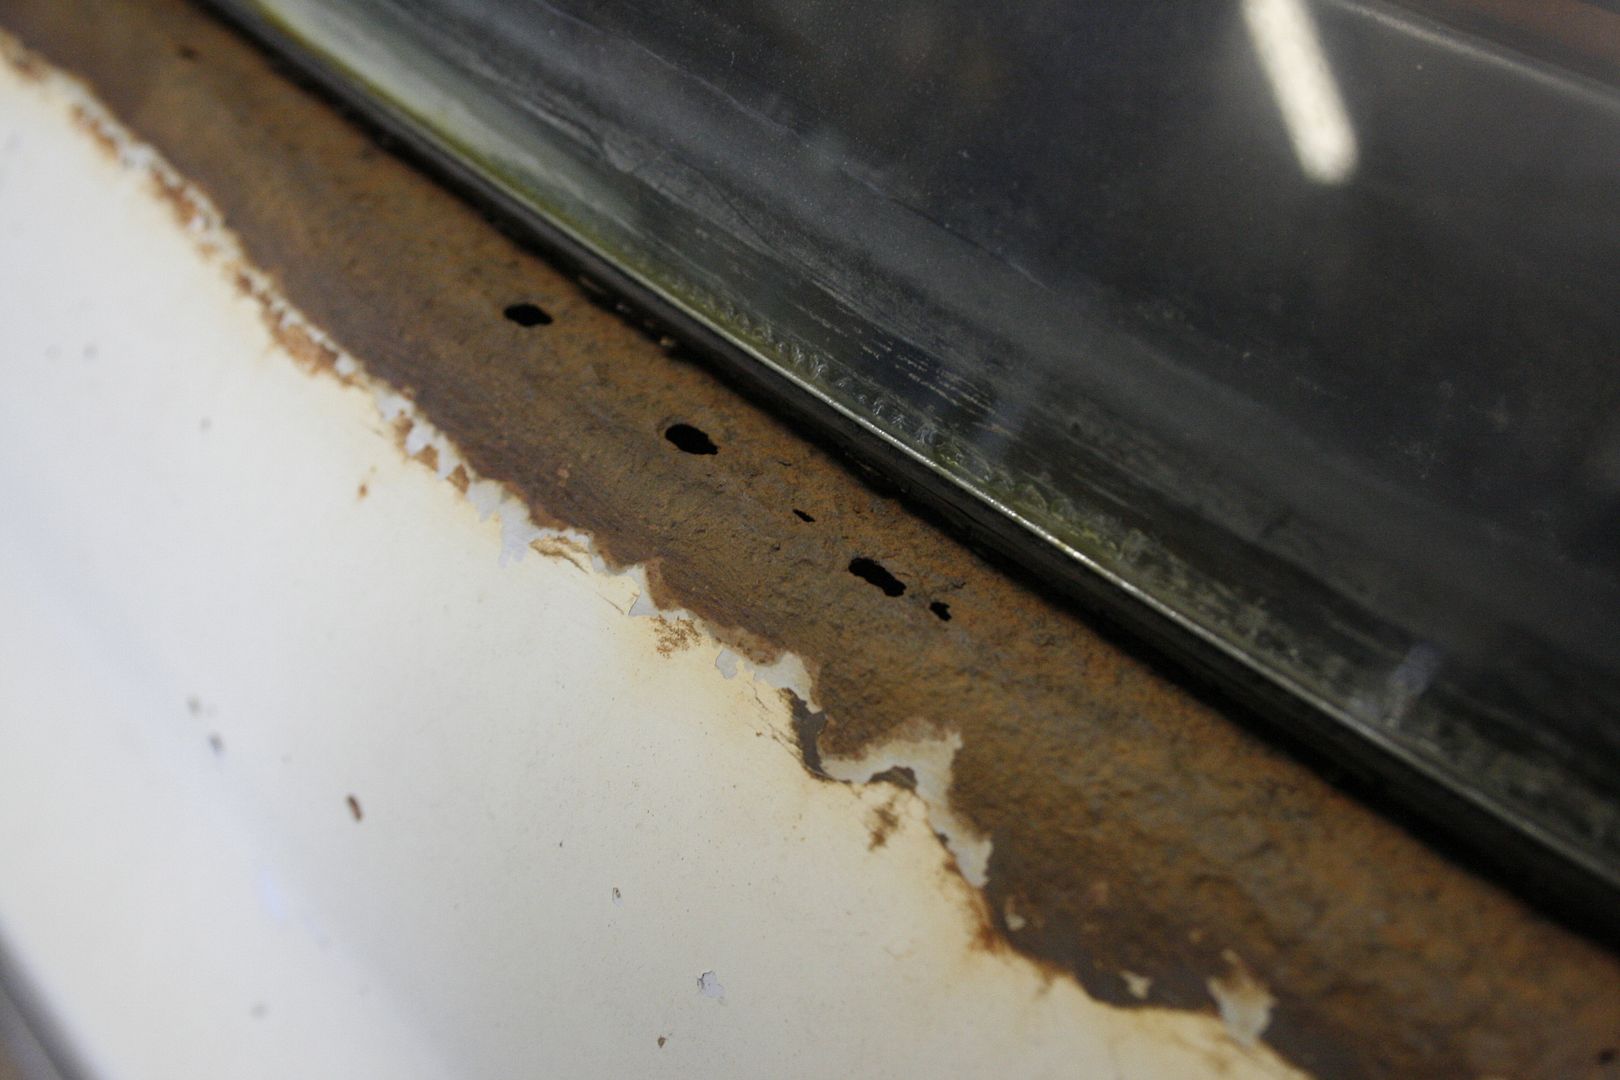
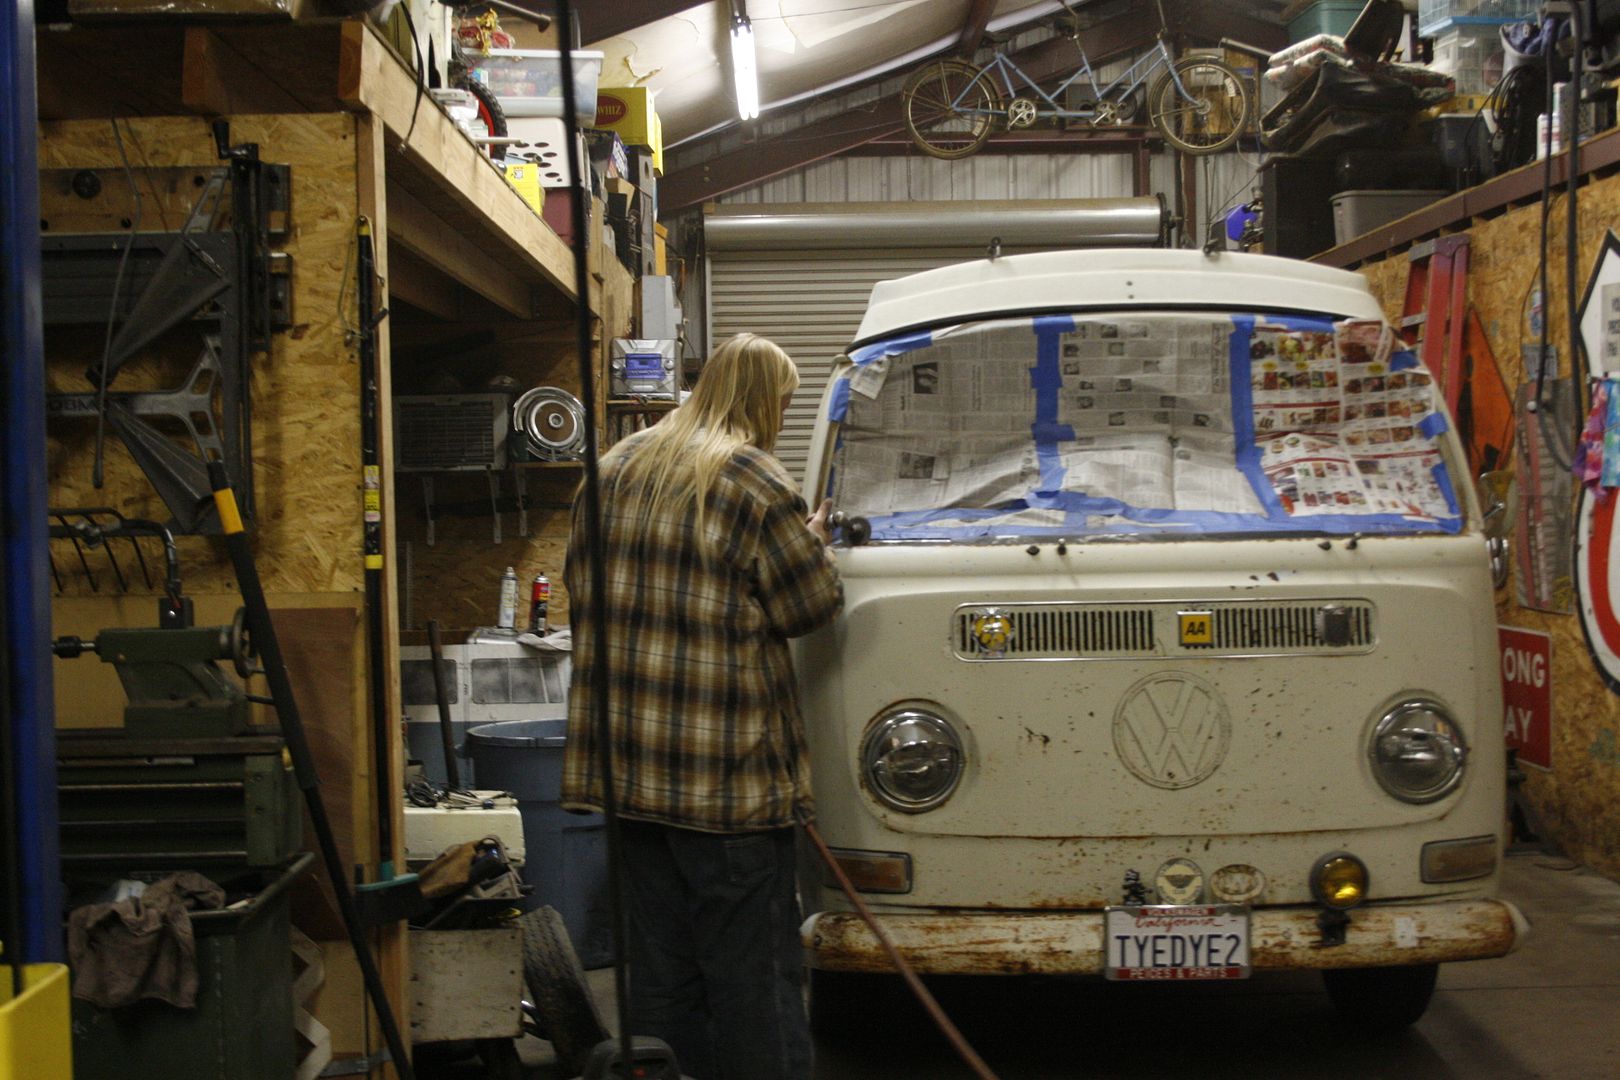
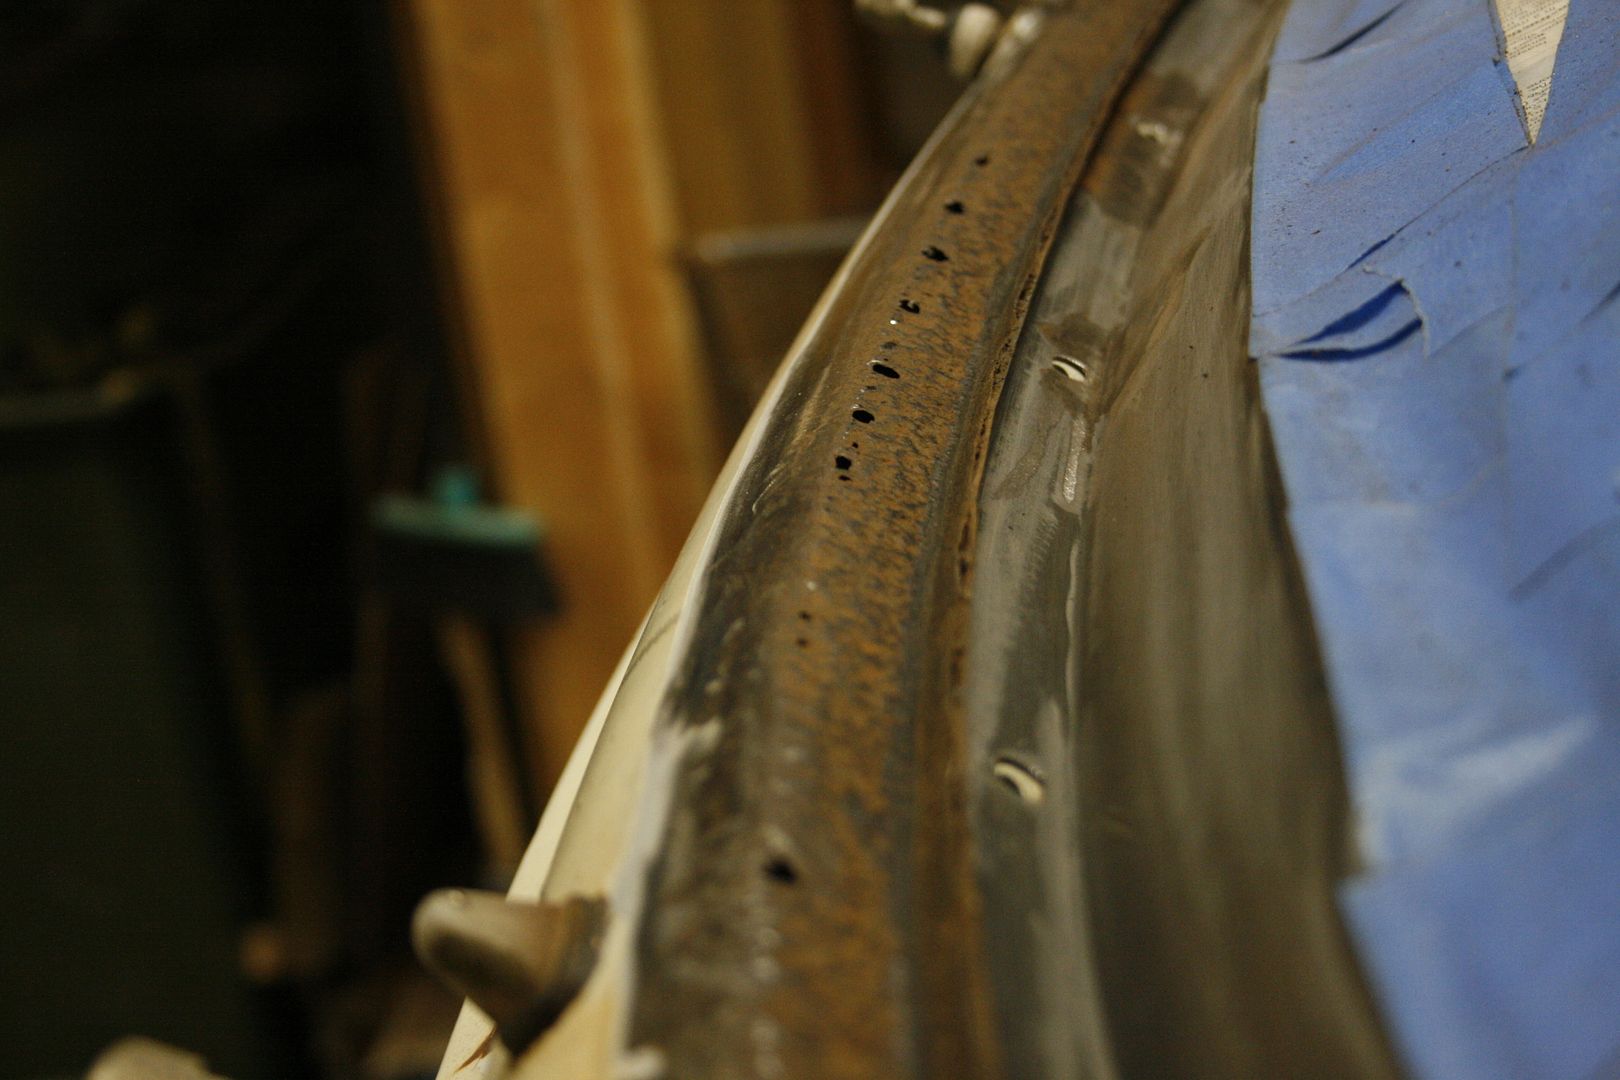
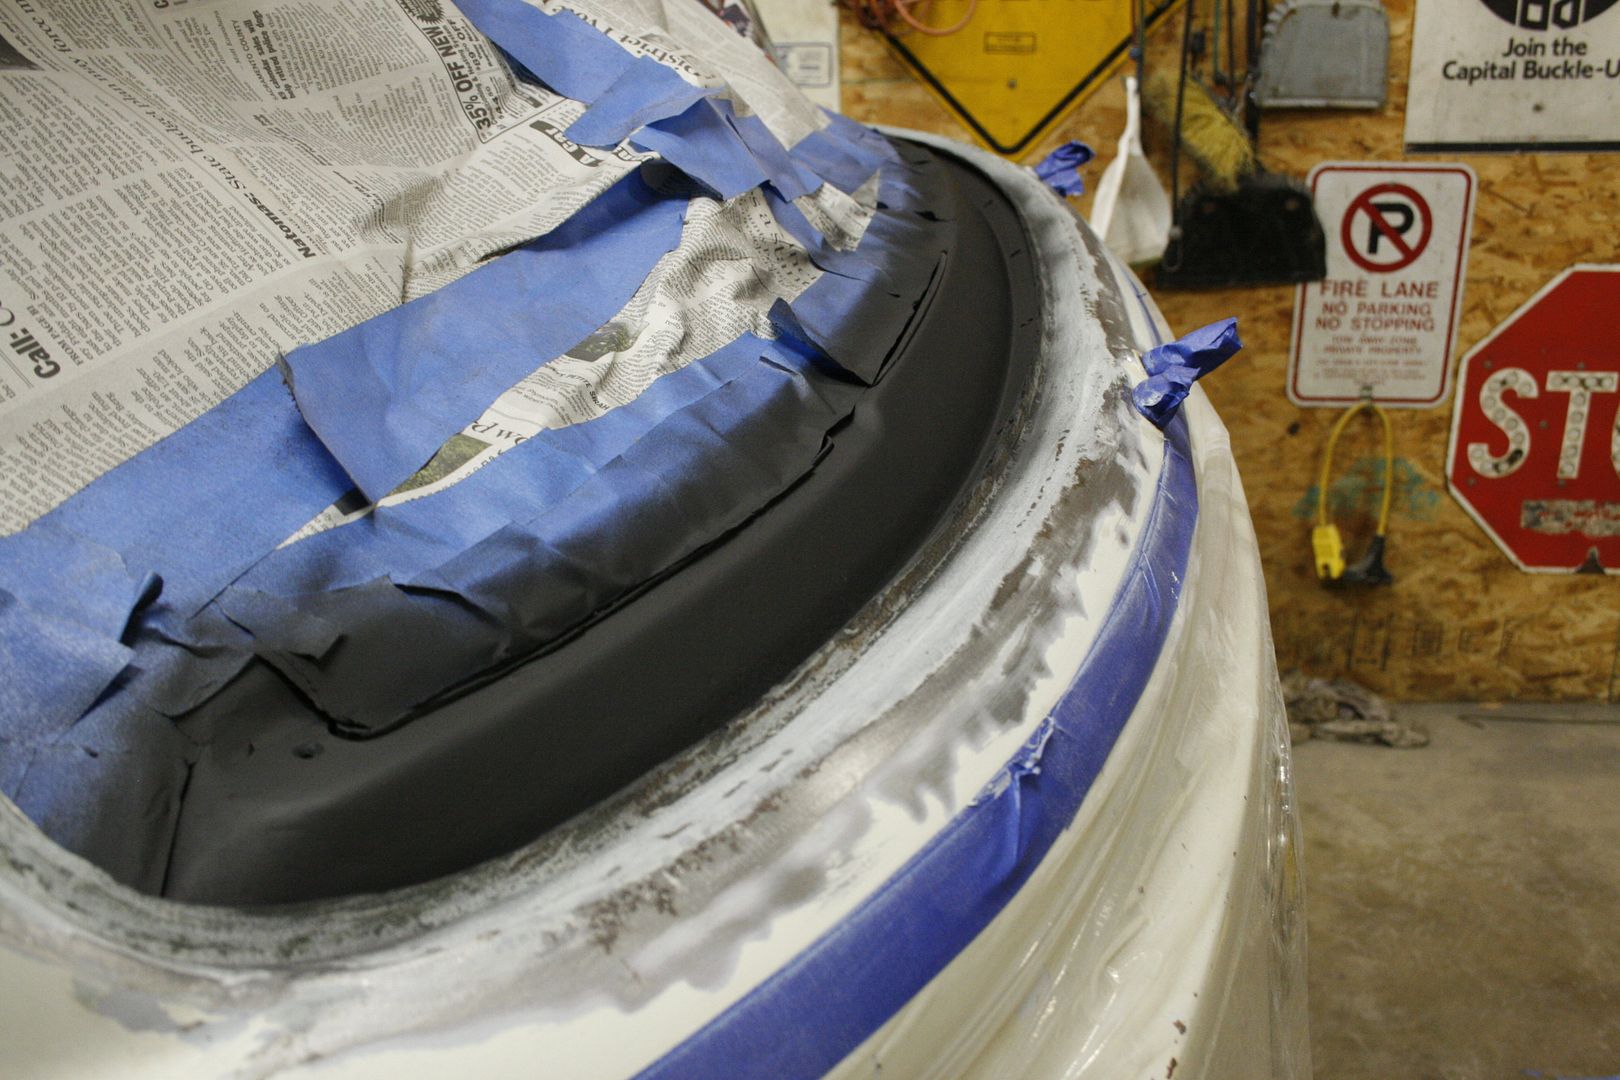
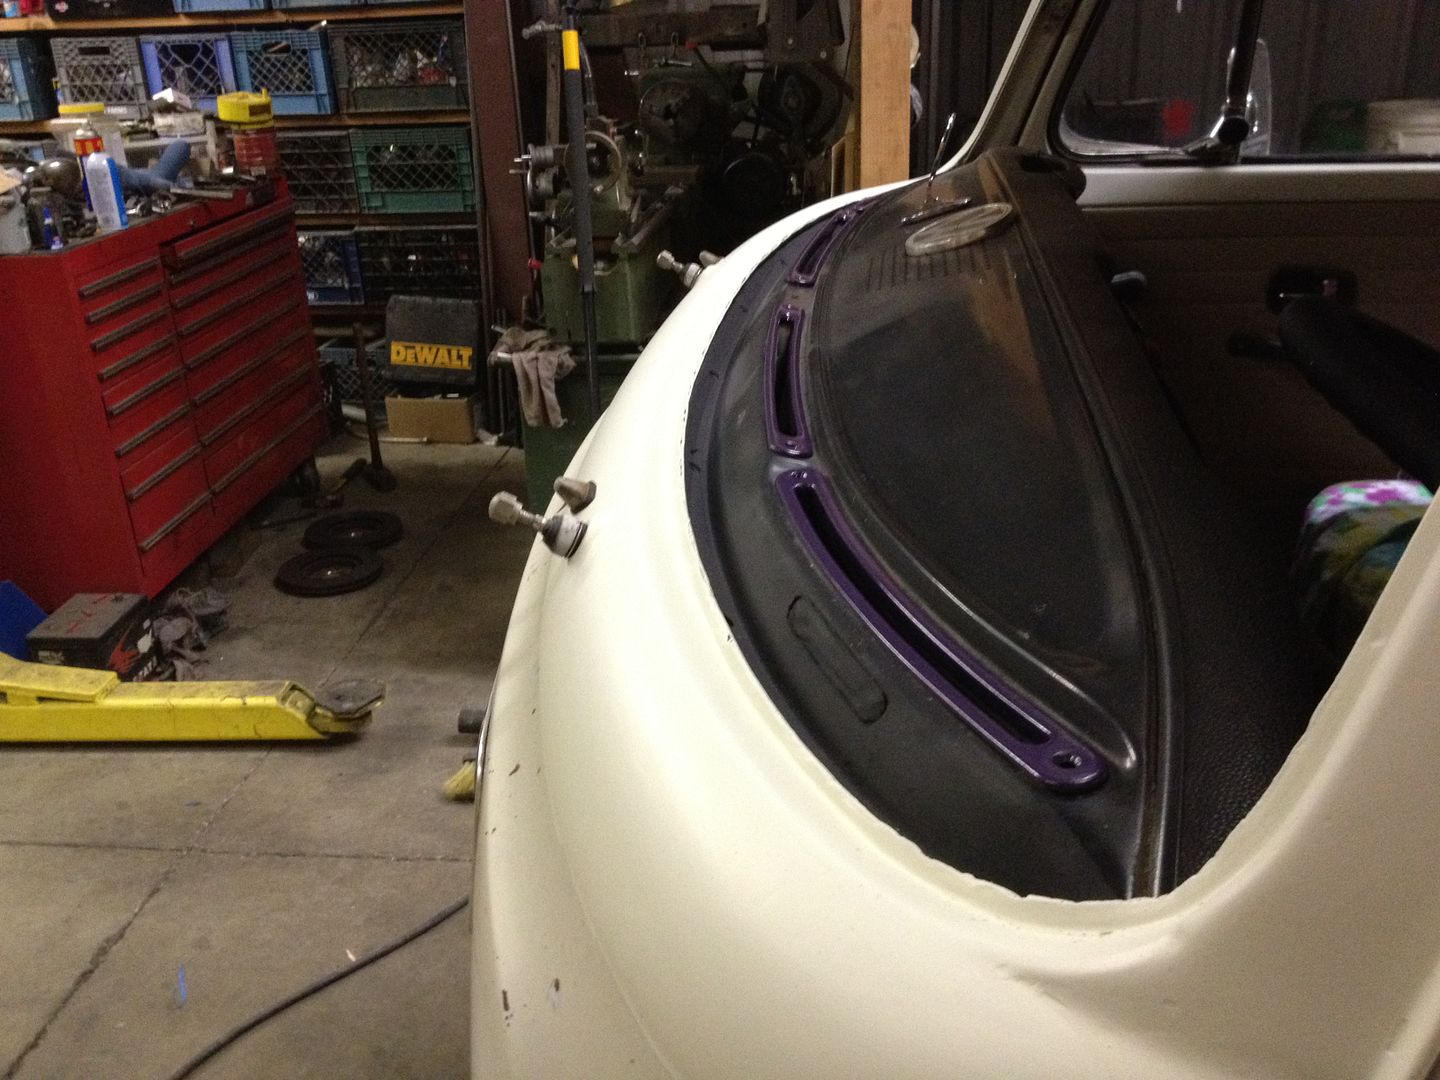
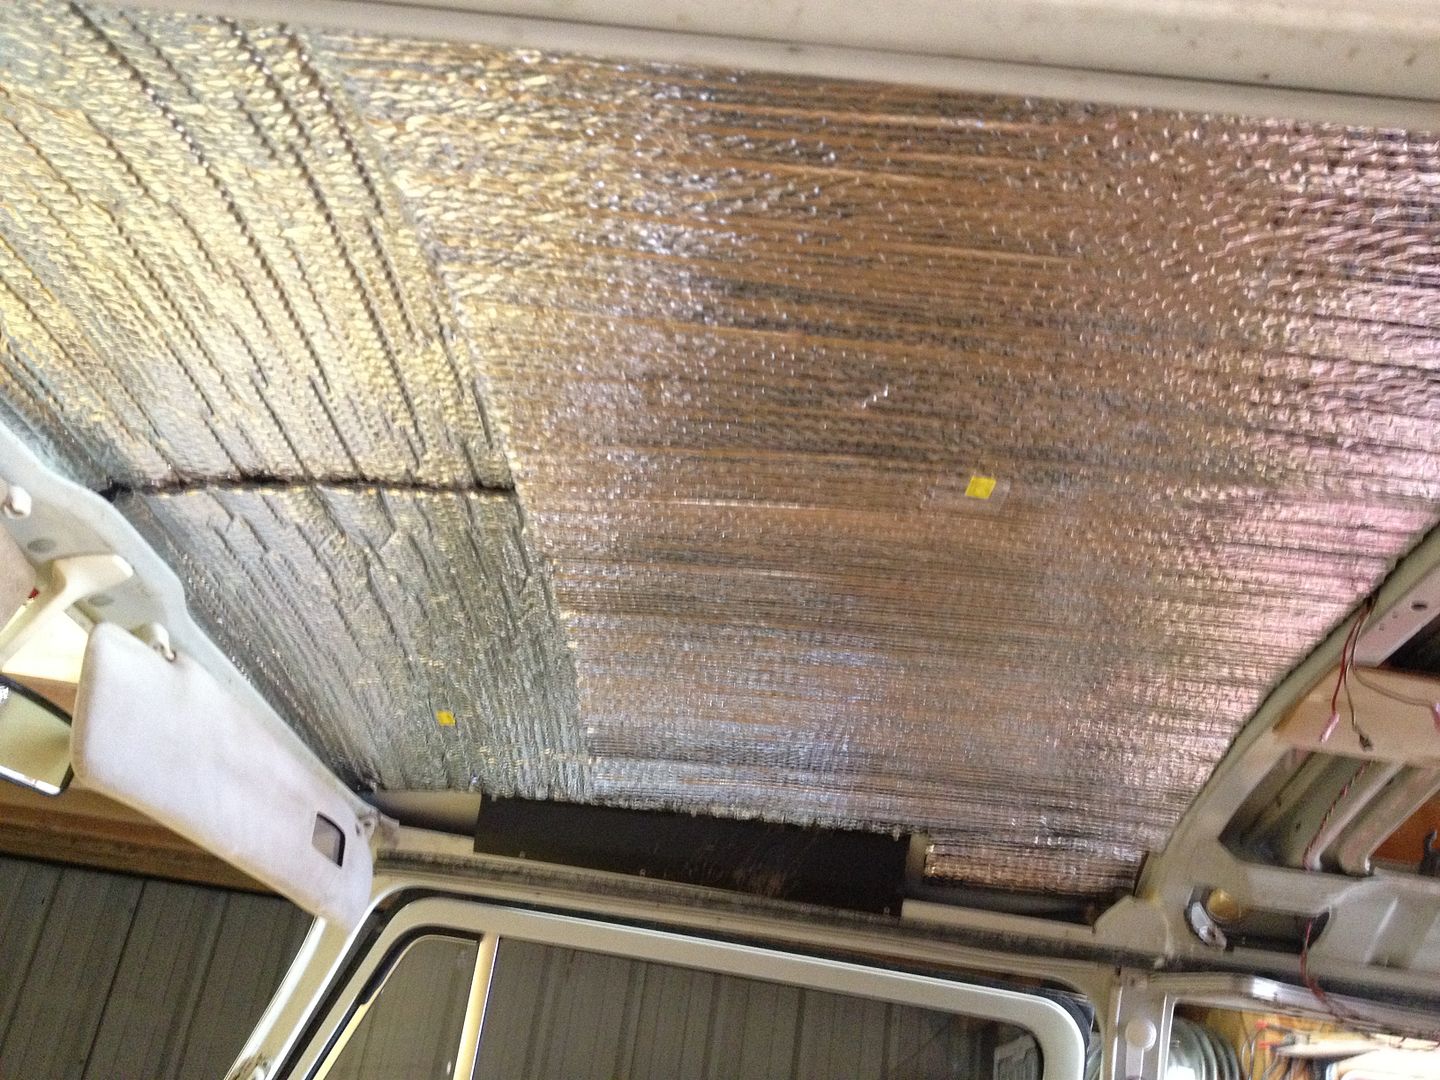
Also got the windshield area all done!


dbfb8b62.jpg


39638335.jpg


ae291f55.jpg


526ae5c3.jpg


7985ce2e.jpg


I can say that my hubby is no body and paint man. LOL But I really am happy with the result!! :D

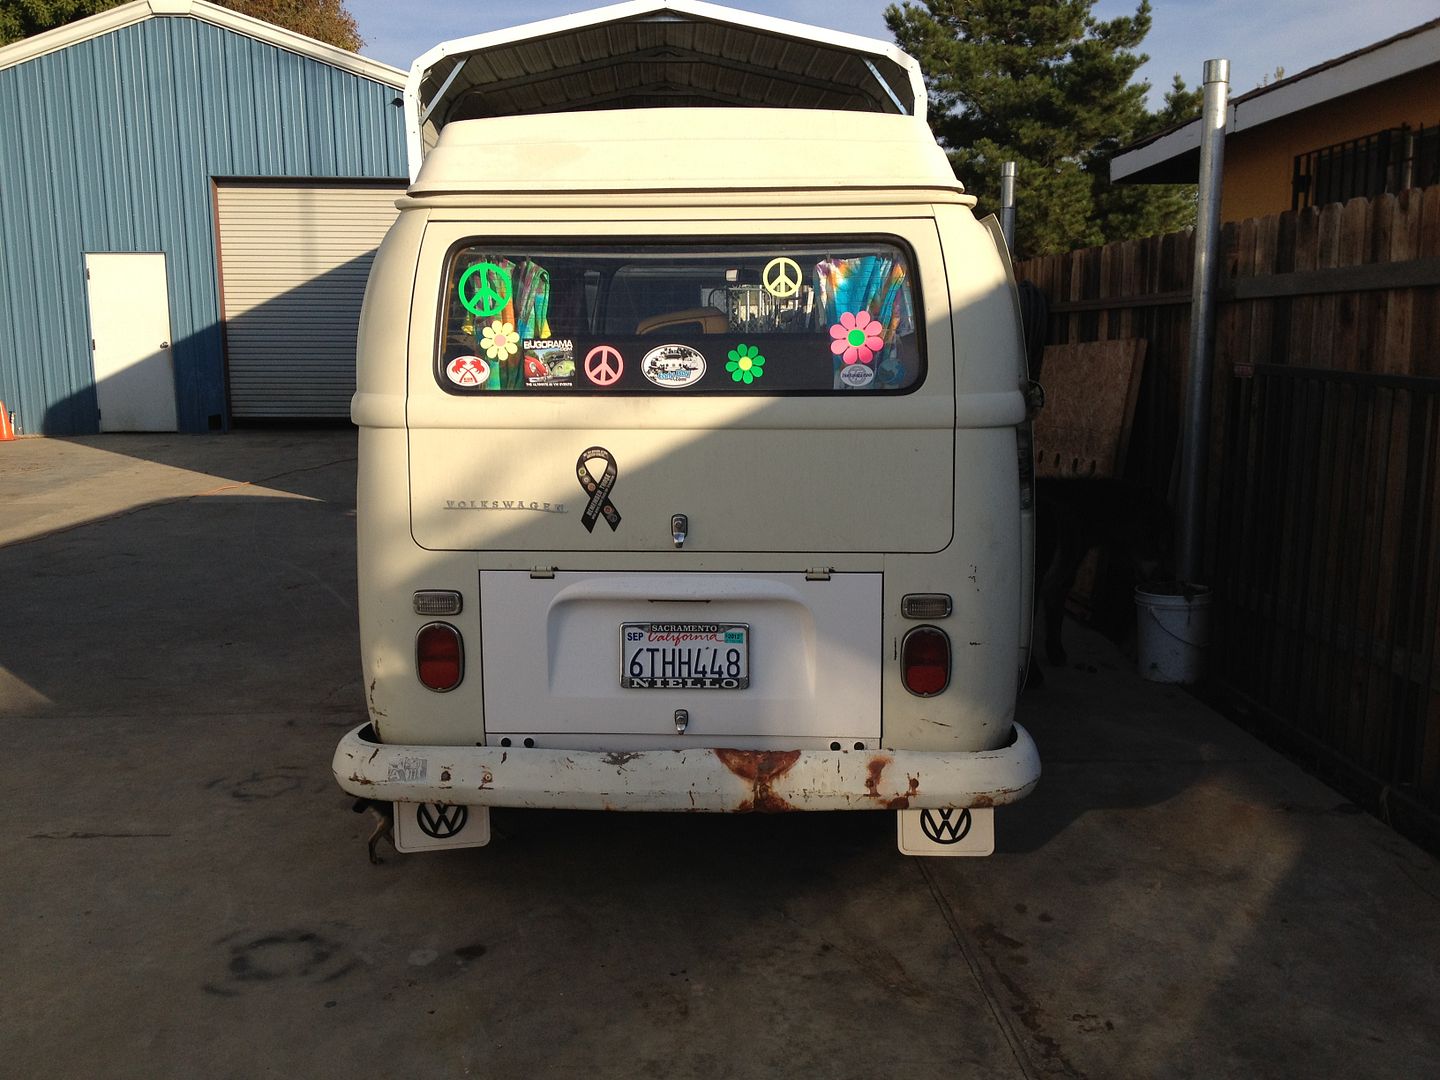
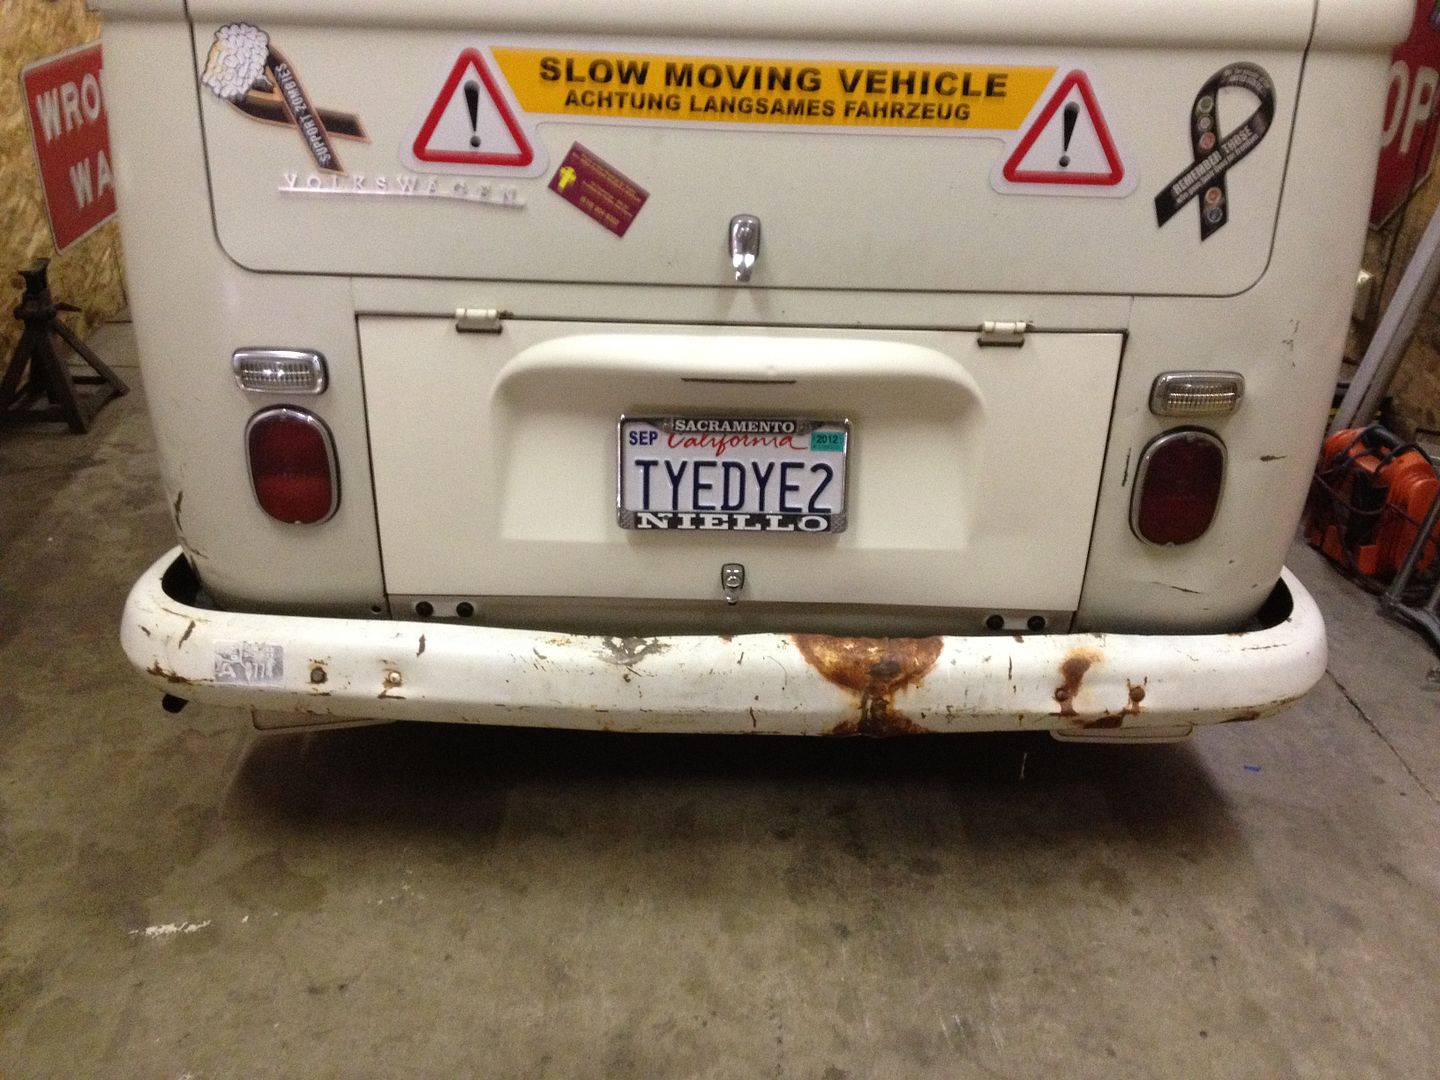
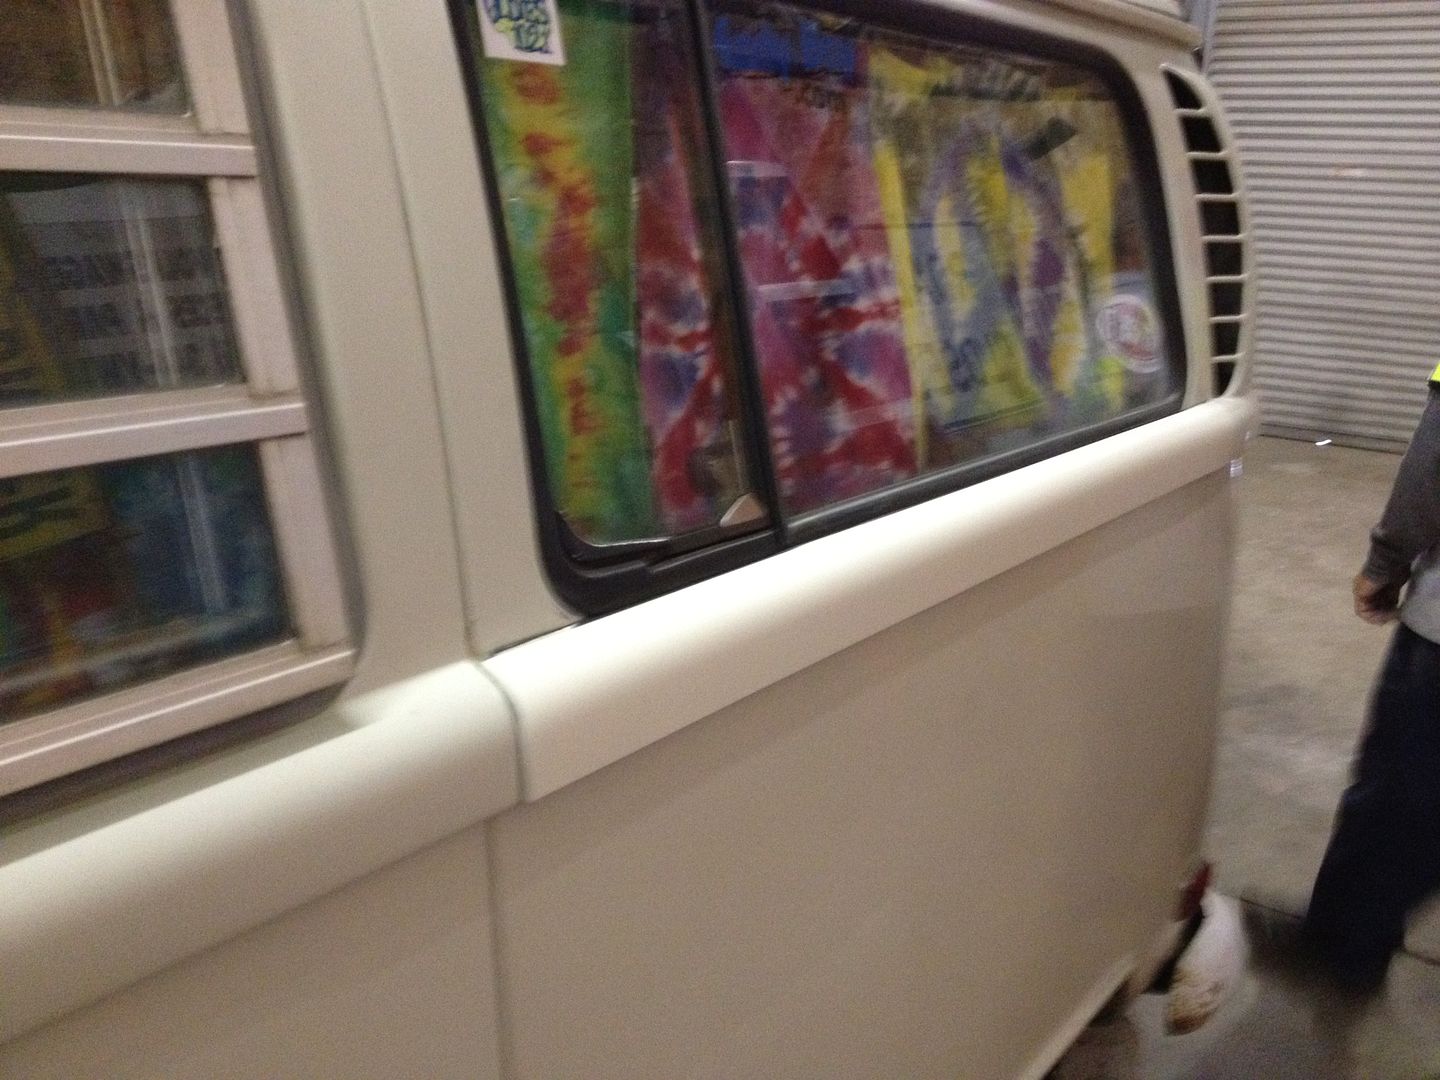
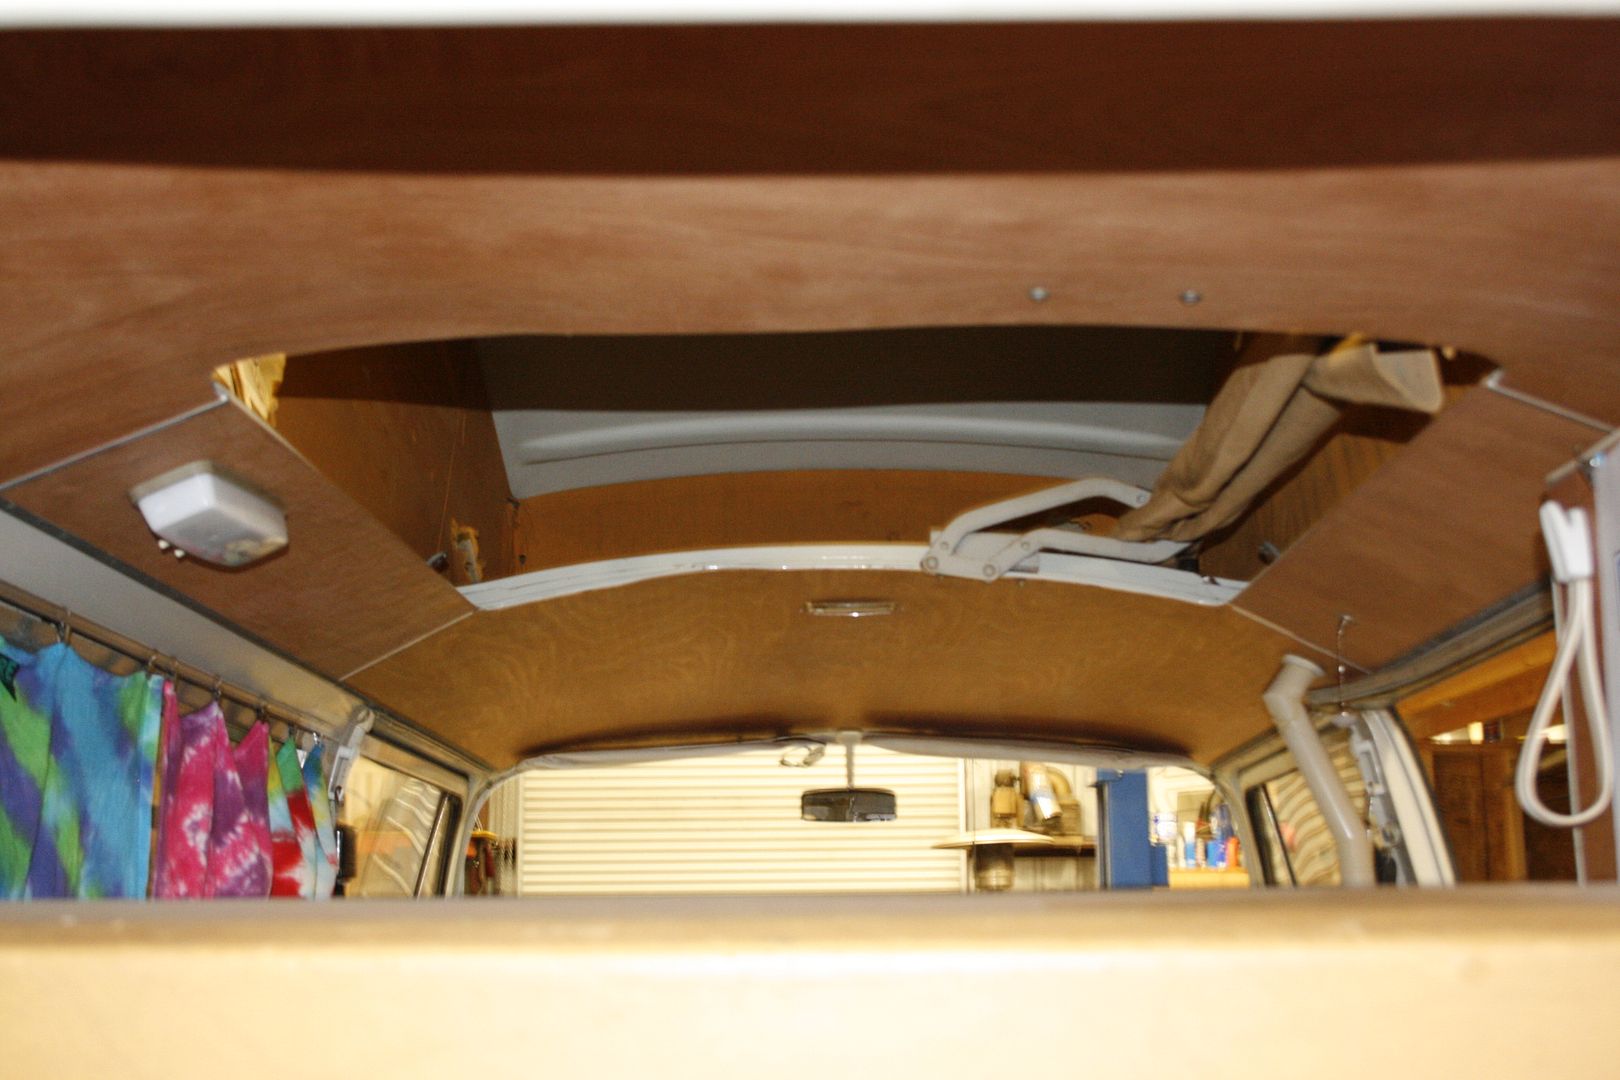
We also put some paint on the back window panel thingy! You can really see the difference in color there. It is better then the black that it was becoming though.

00104adf.jpg


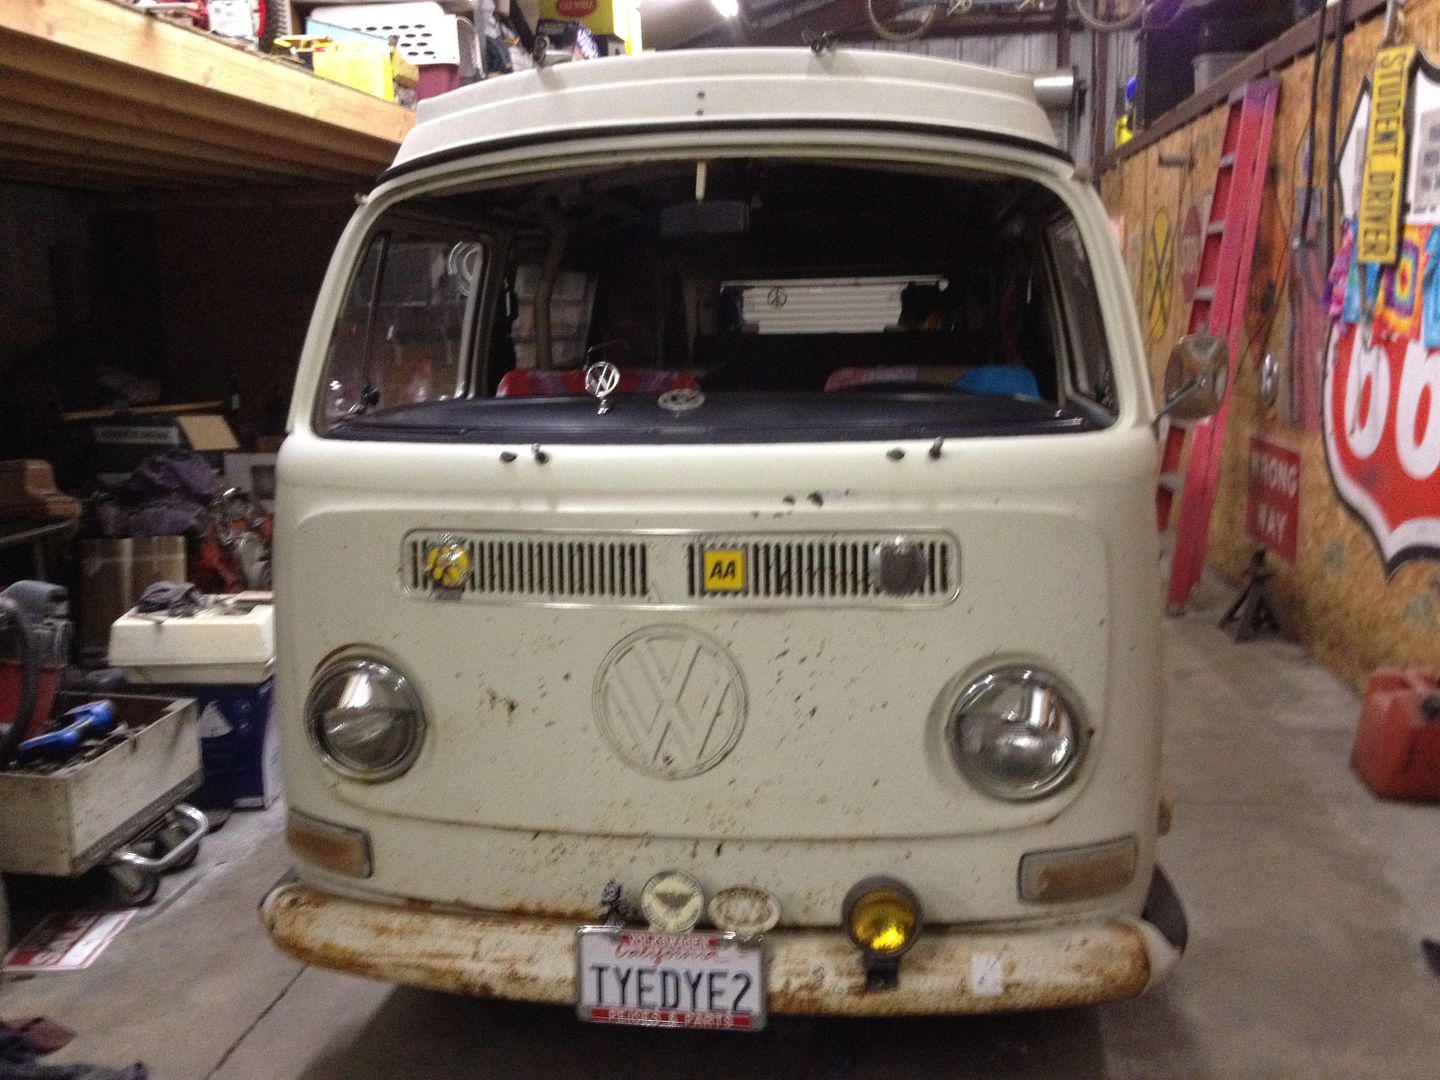
Now all I need is to have the windshield installed. Not sure when that will happen as my installer has come down with the flu. I may end up having to just go park the bus under the carport till he gets better. I hope we gets better before I have to do that though! :D

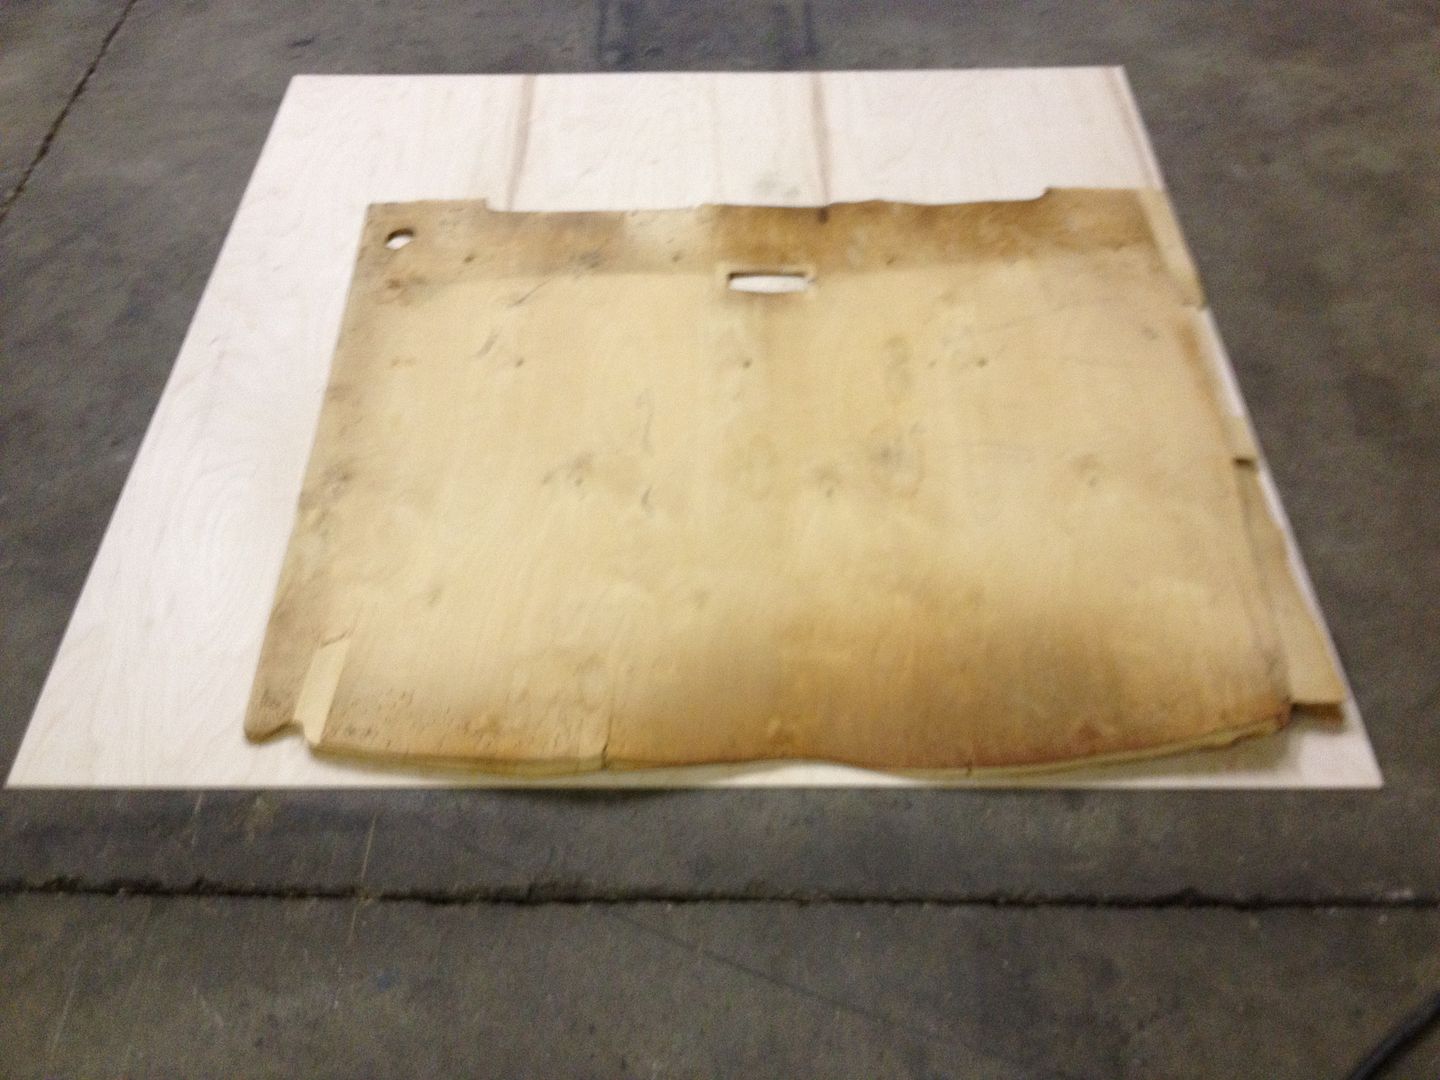
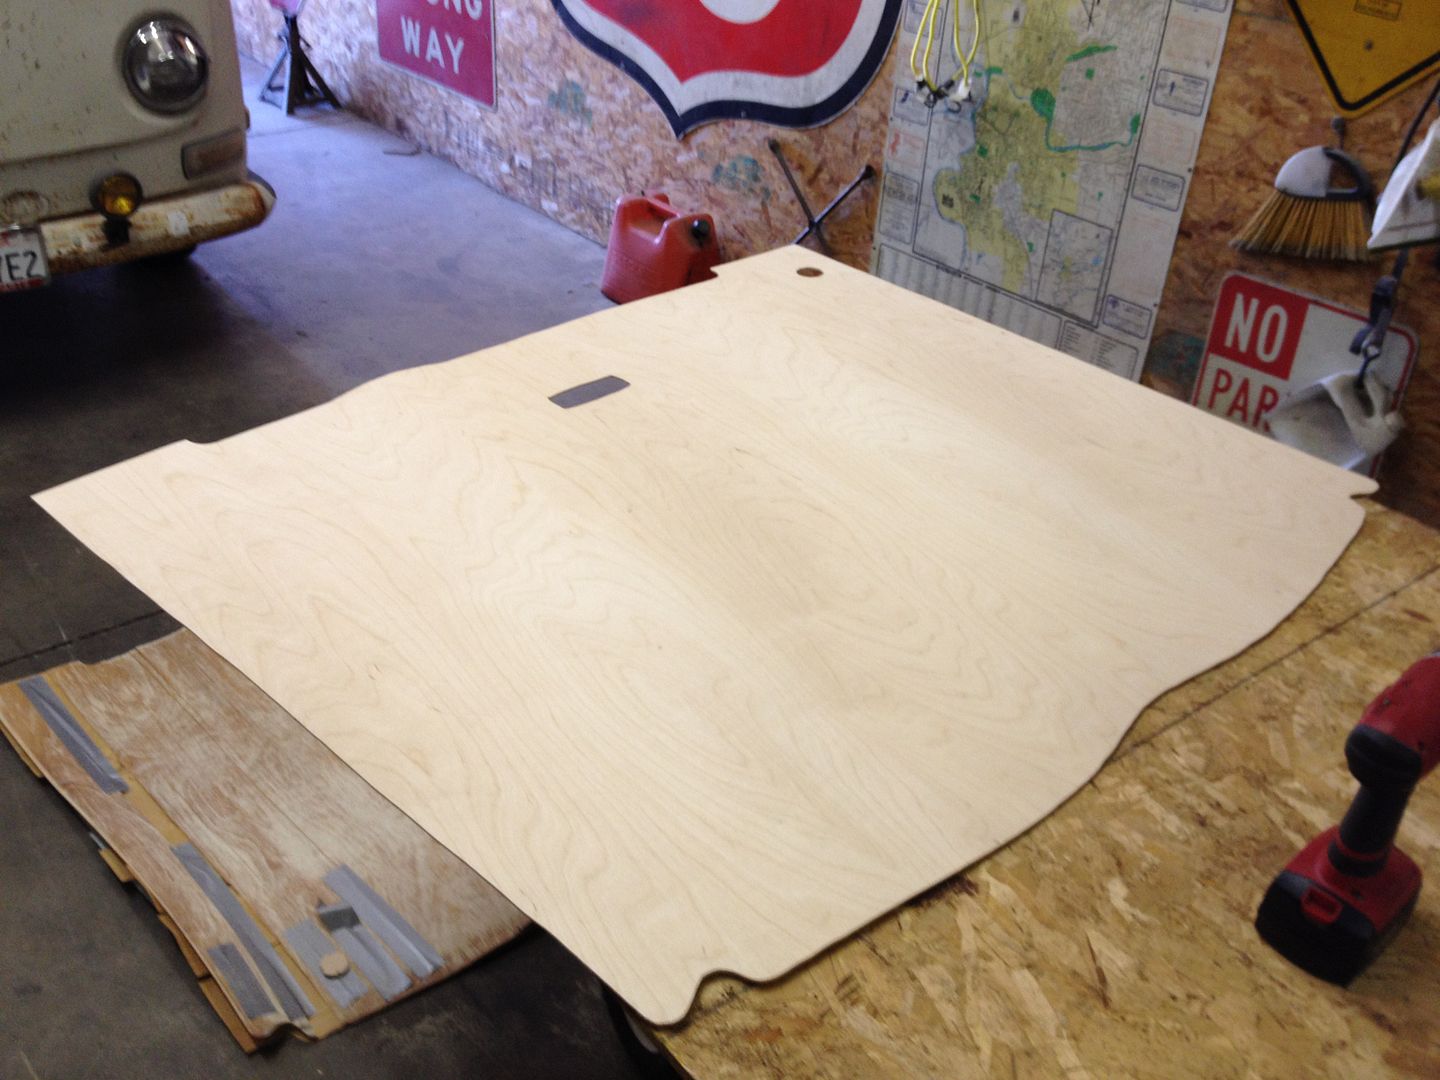
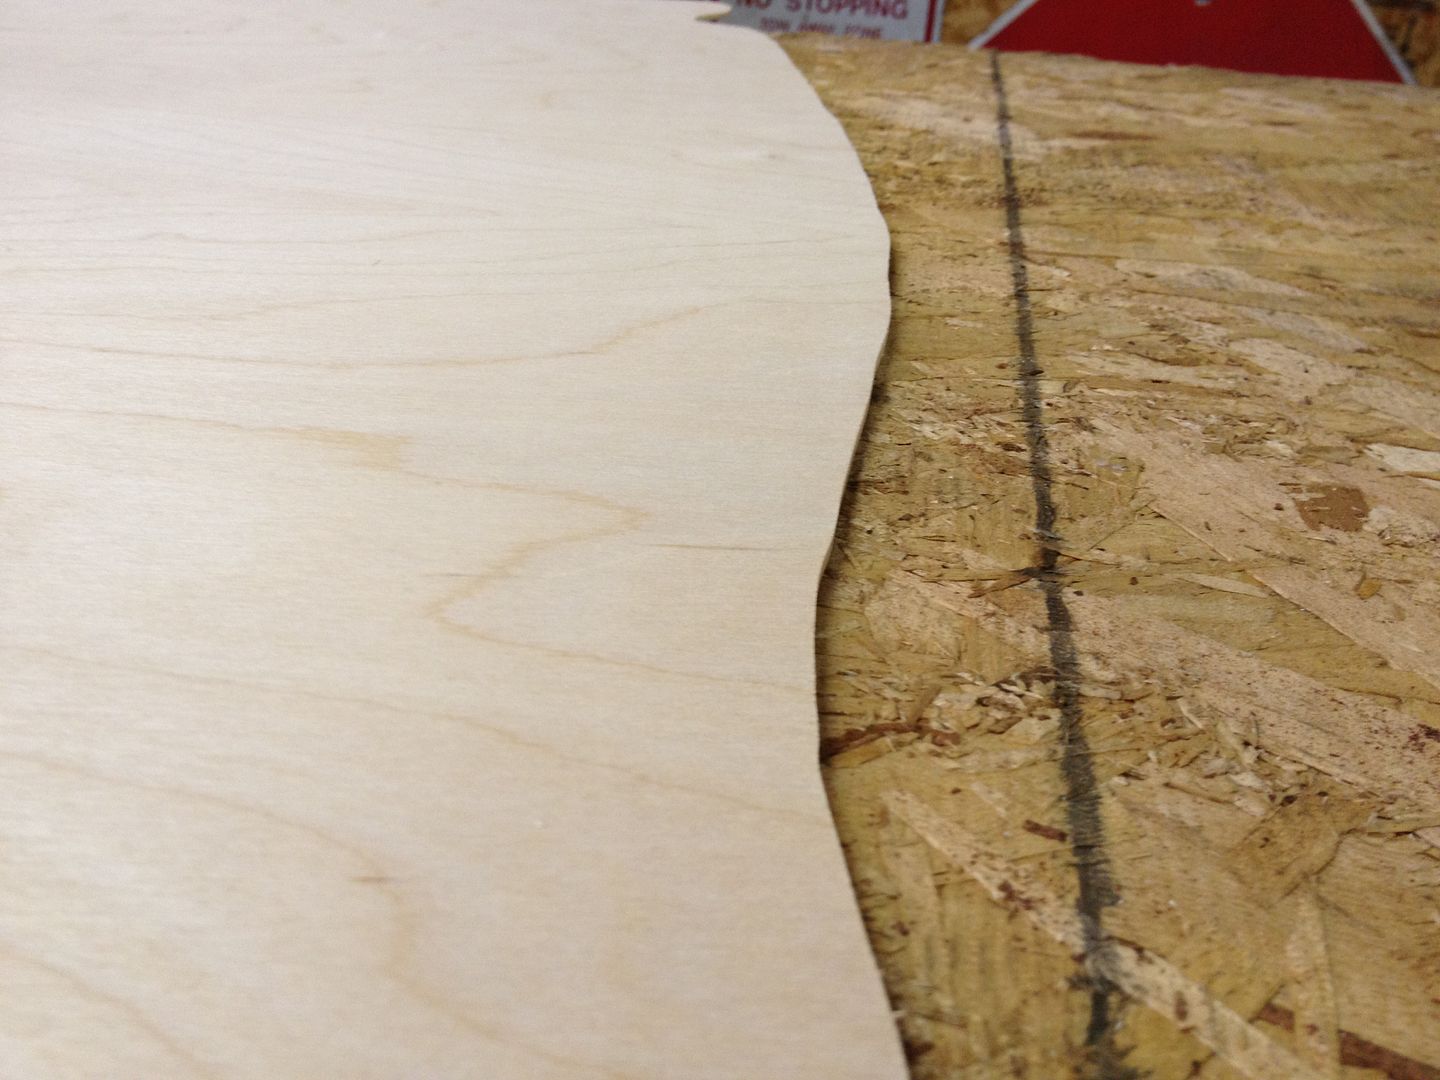
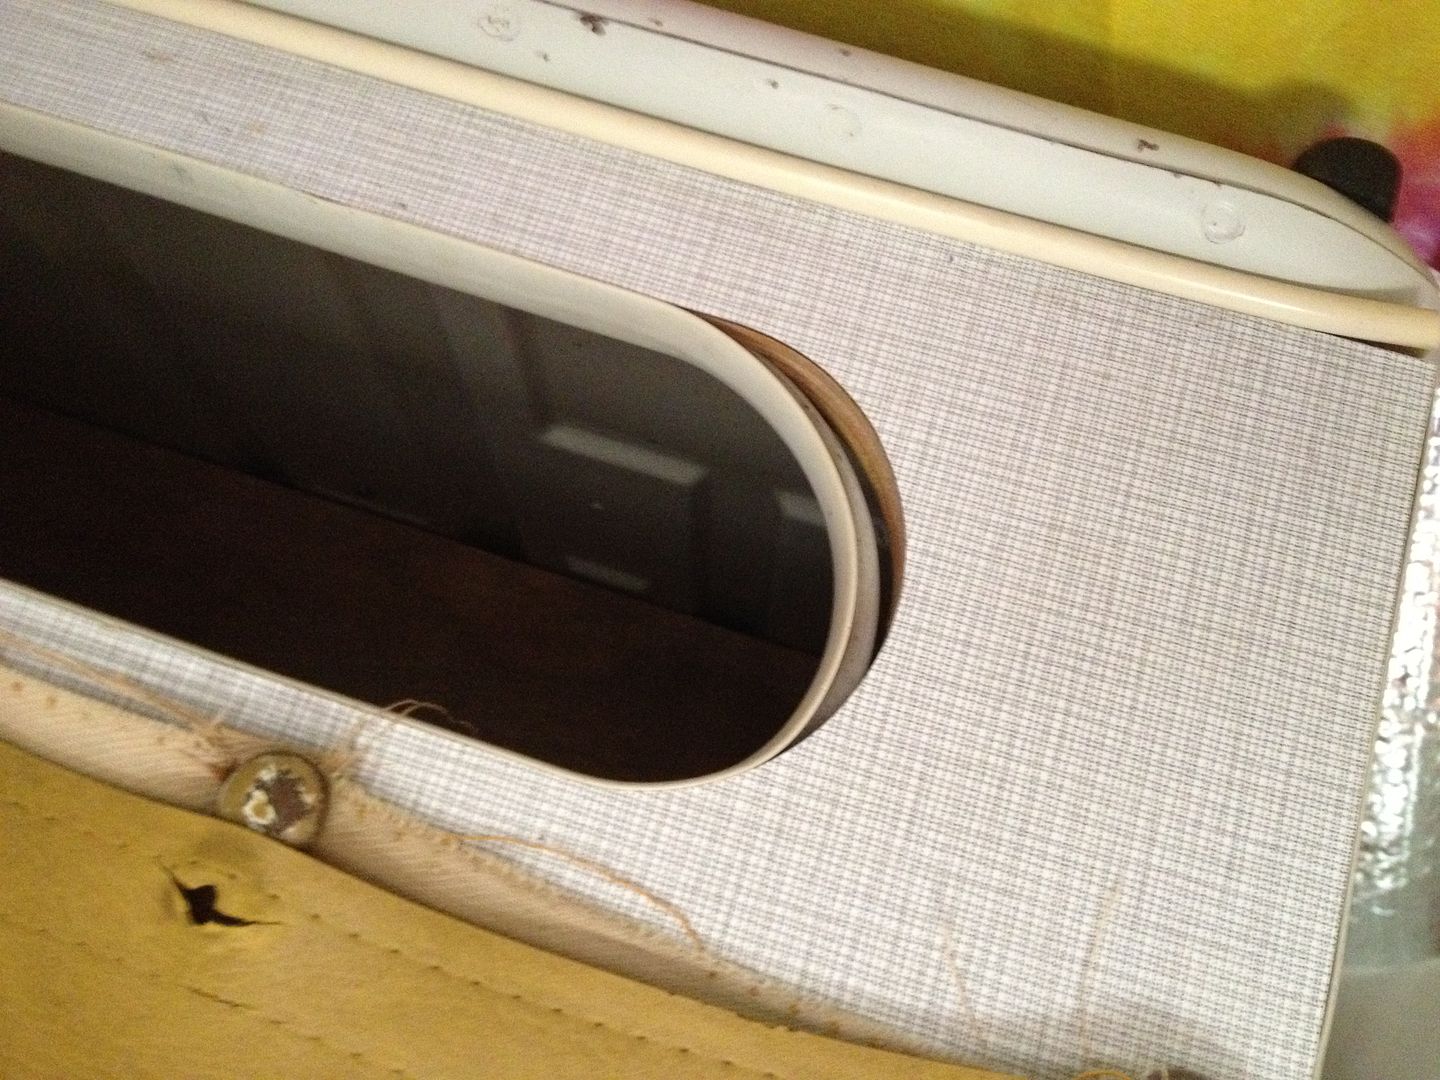
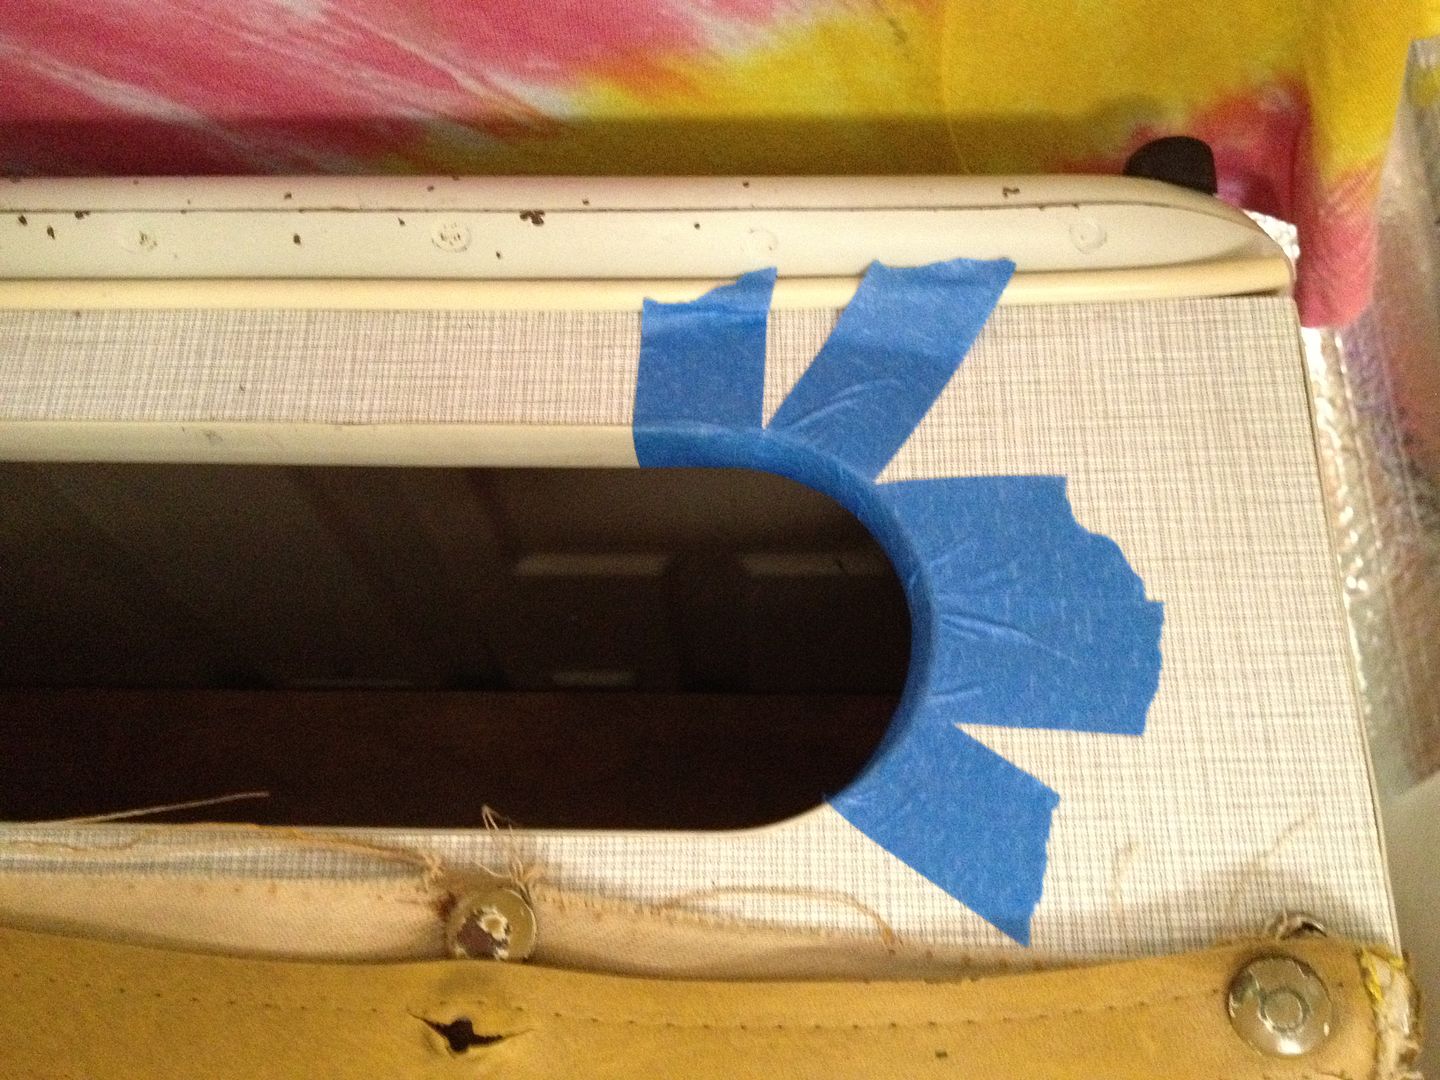
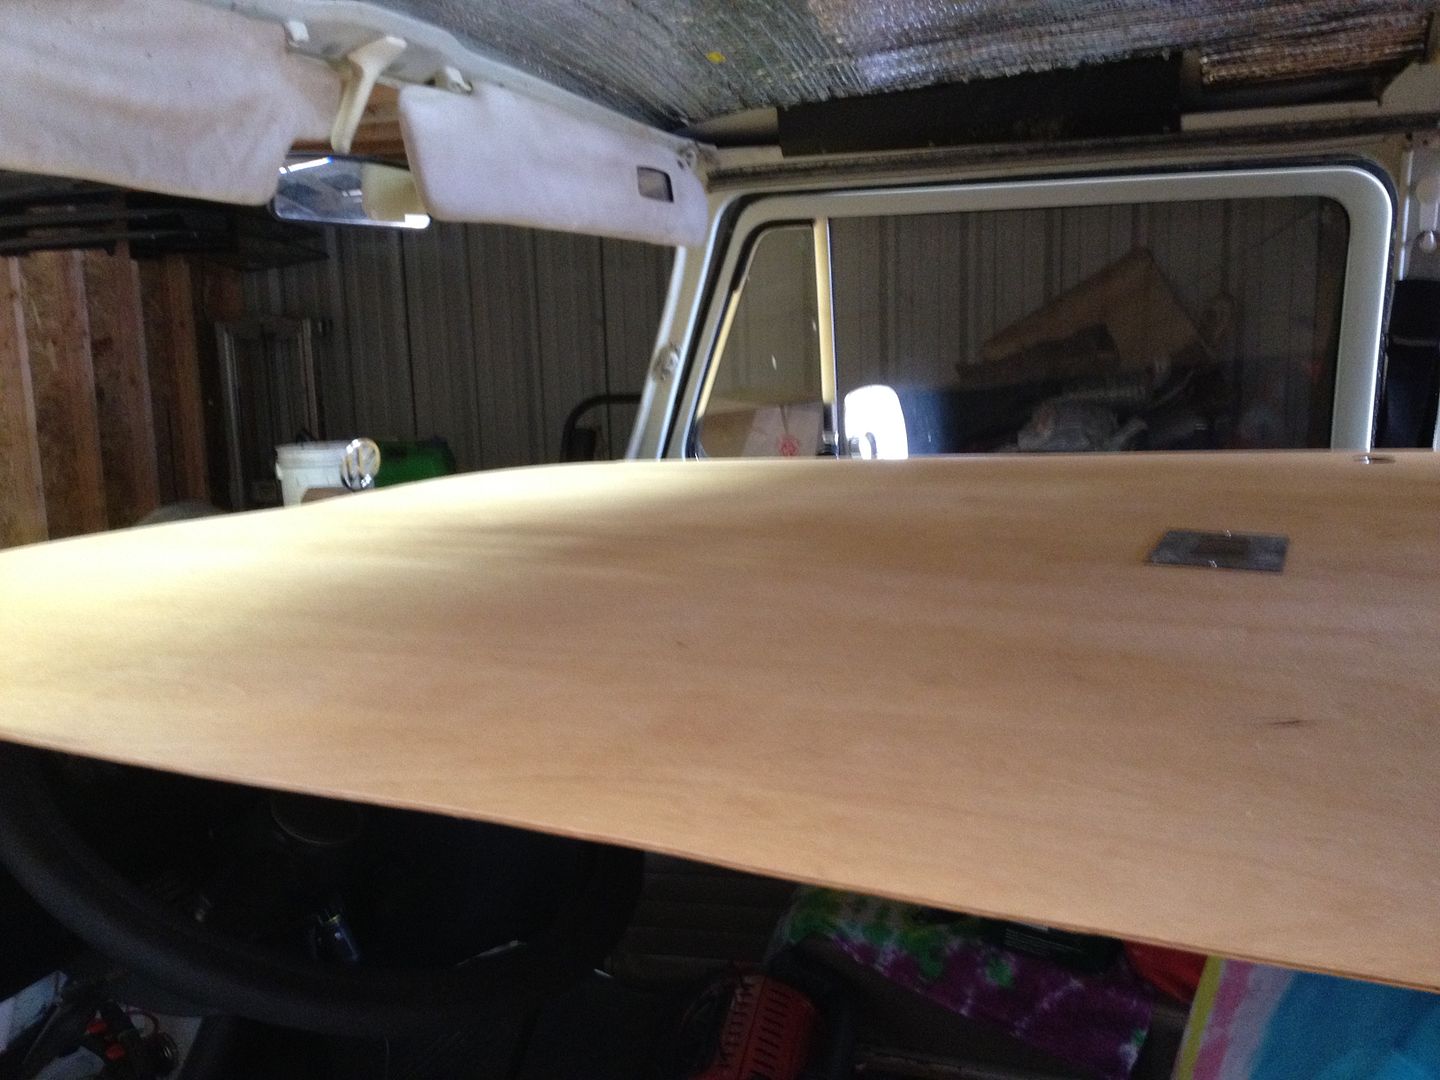
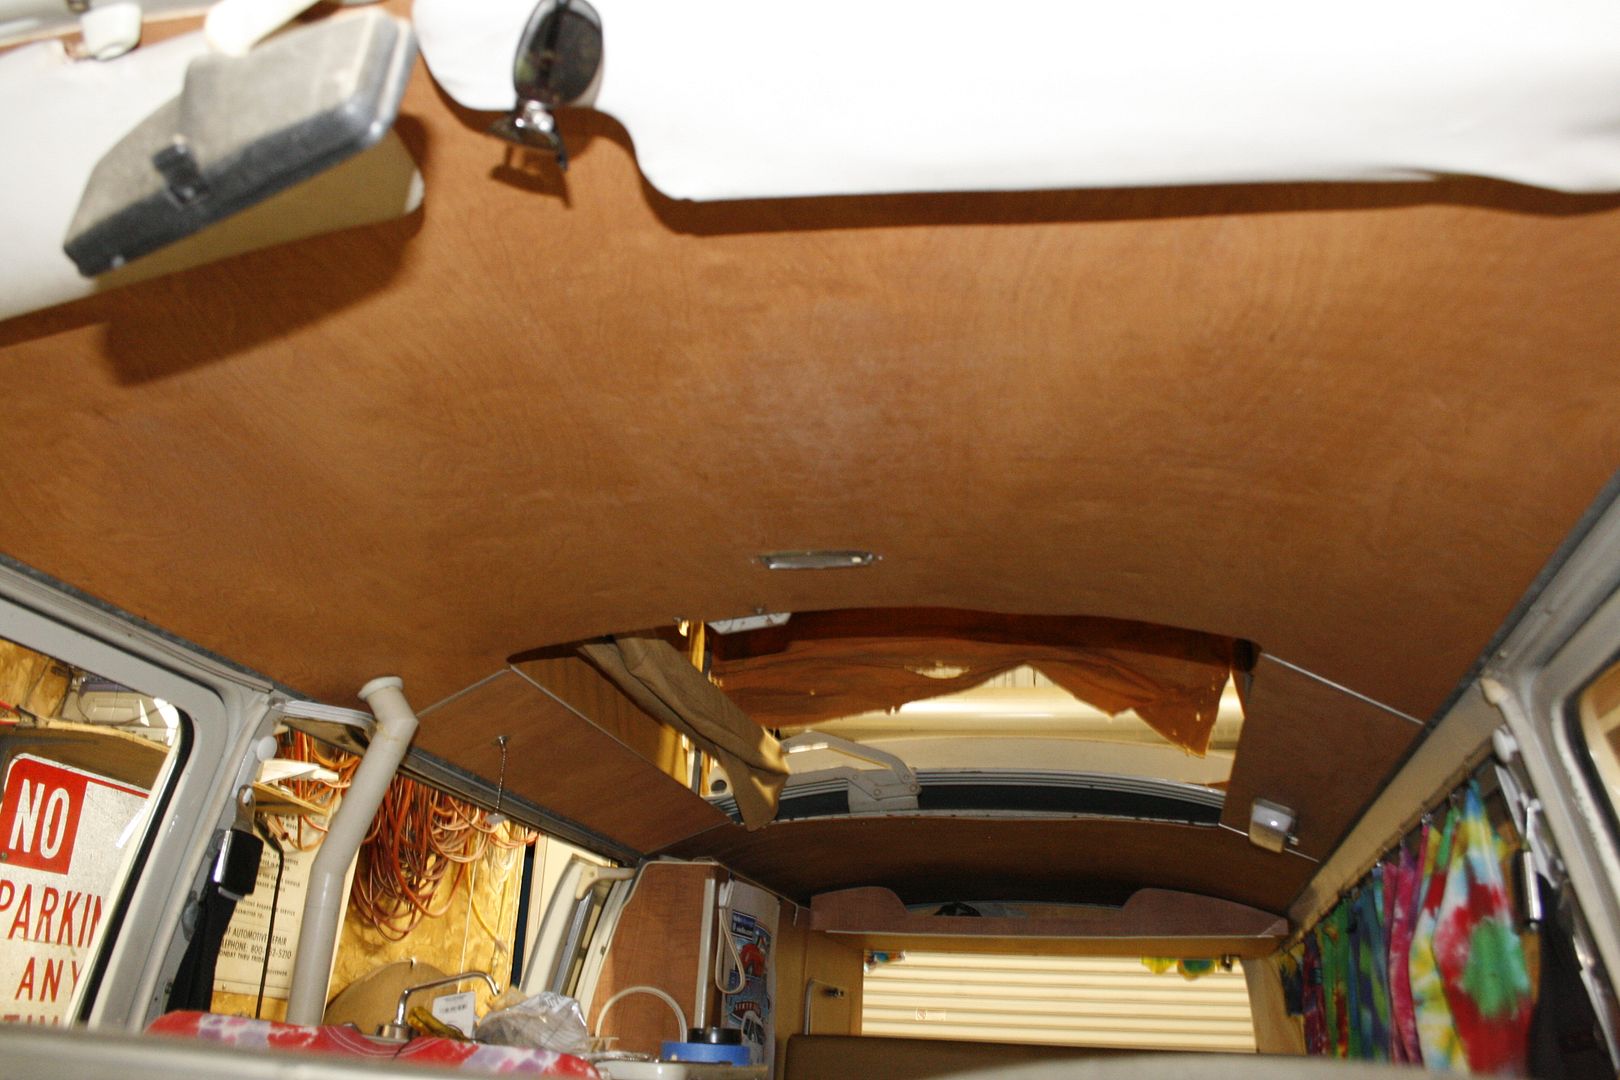
I decided since the windshield is the last thing to go, I would start preparing my headliner. Traced the old one onto a new sheet.

c626c18f.jpg


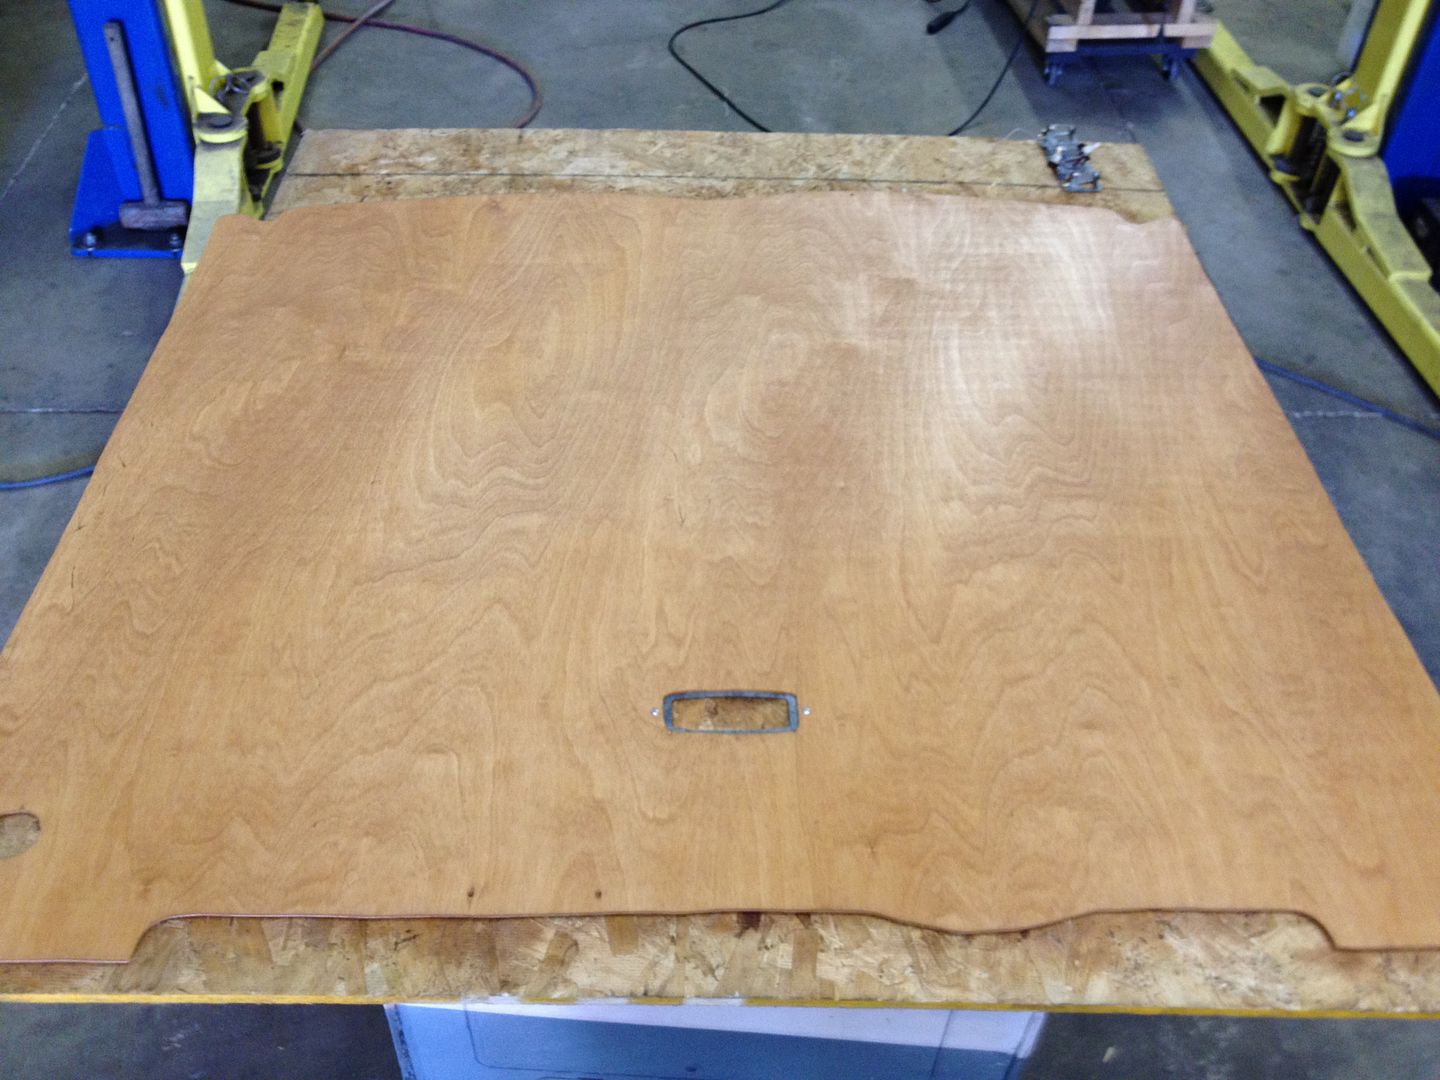
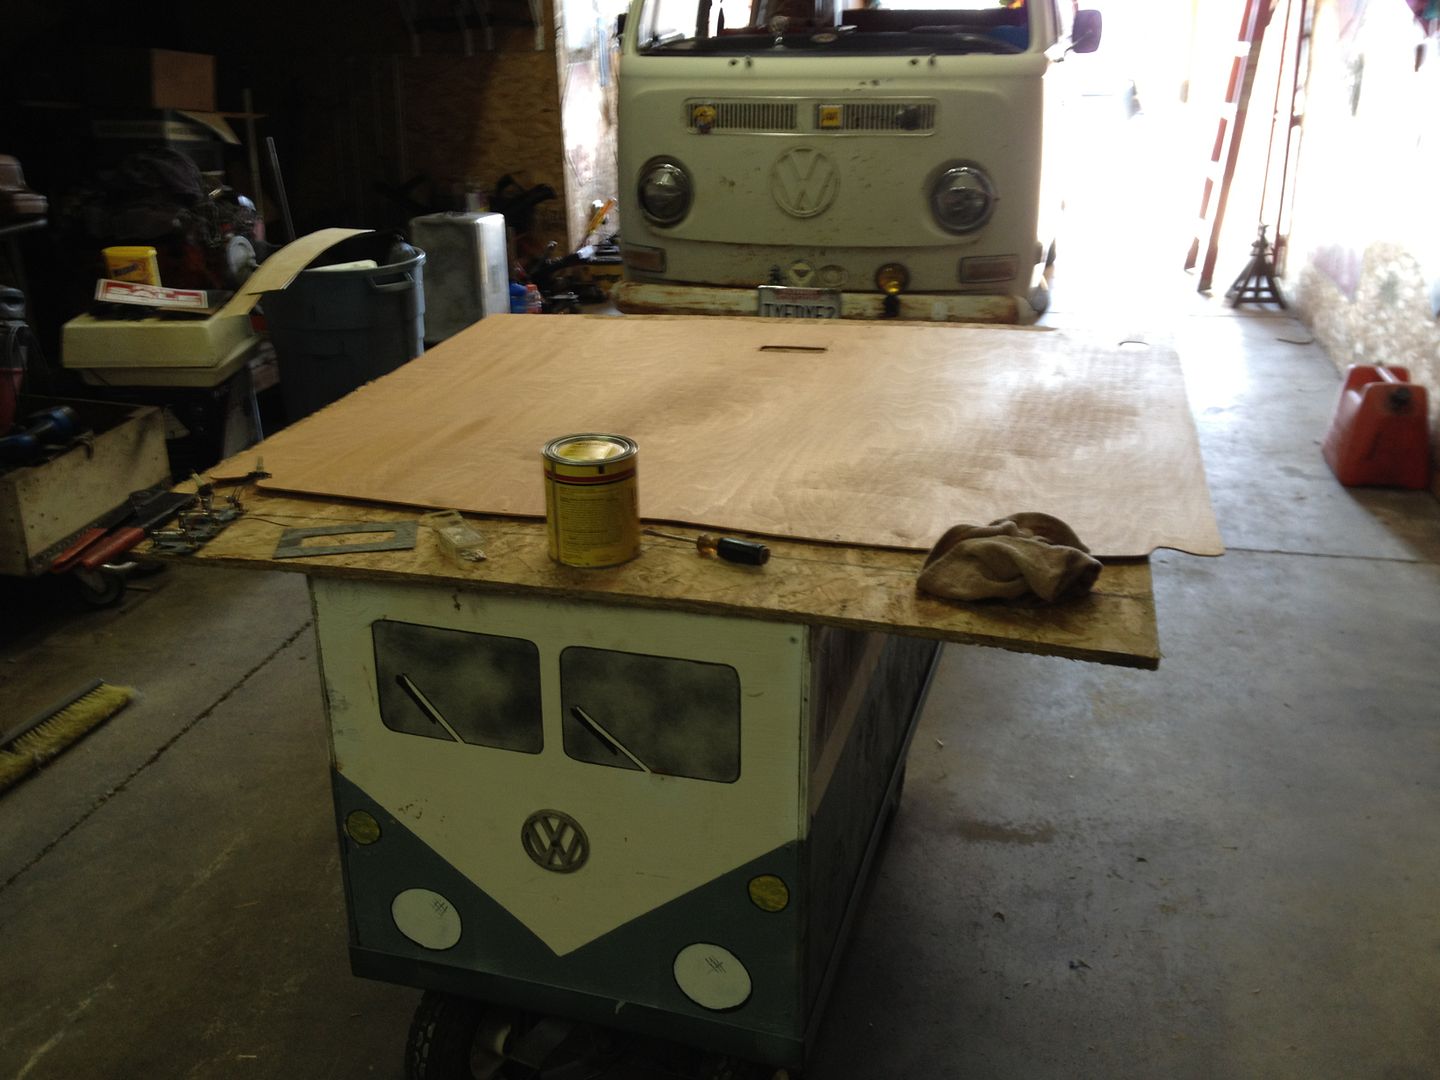
I ran out of time today, so I will cut it out and stain it tomorrow. Then all I need is the windshield installed and I can put the head liner in! :D 
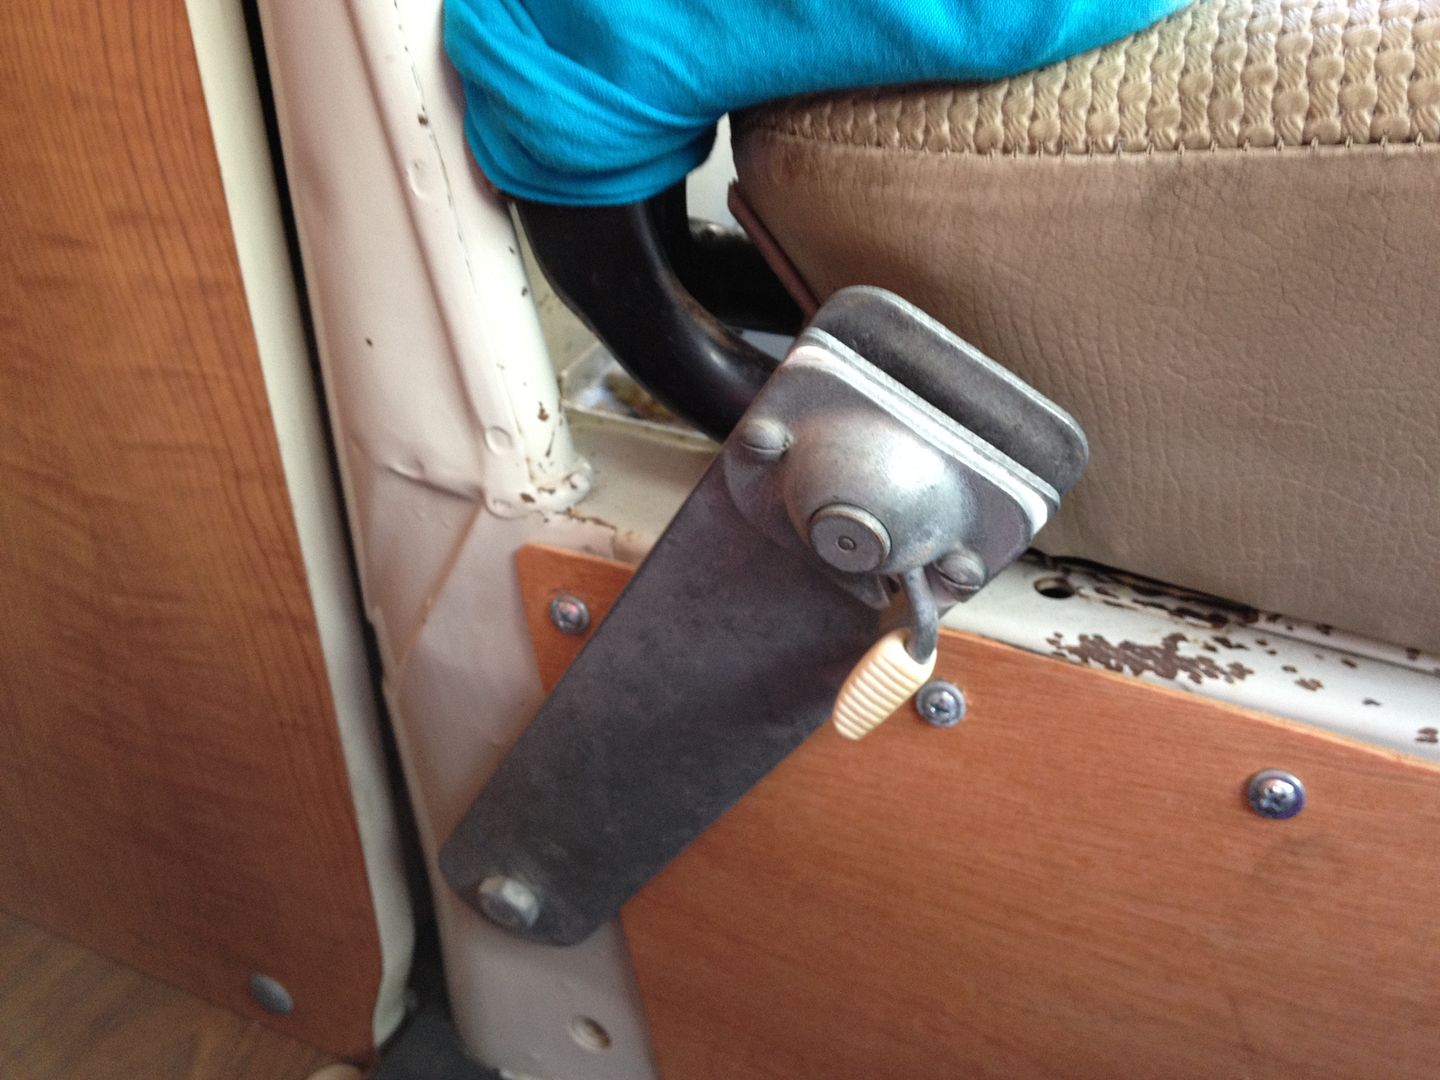
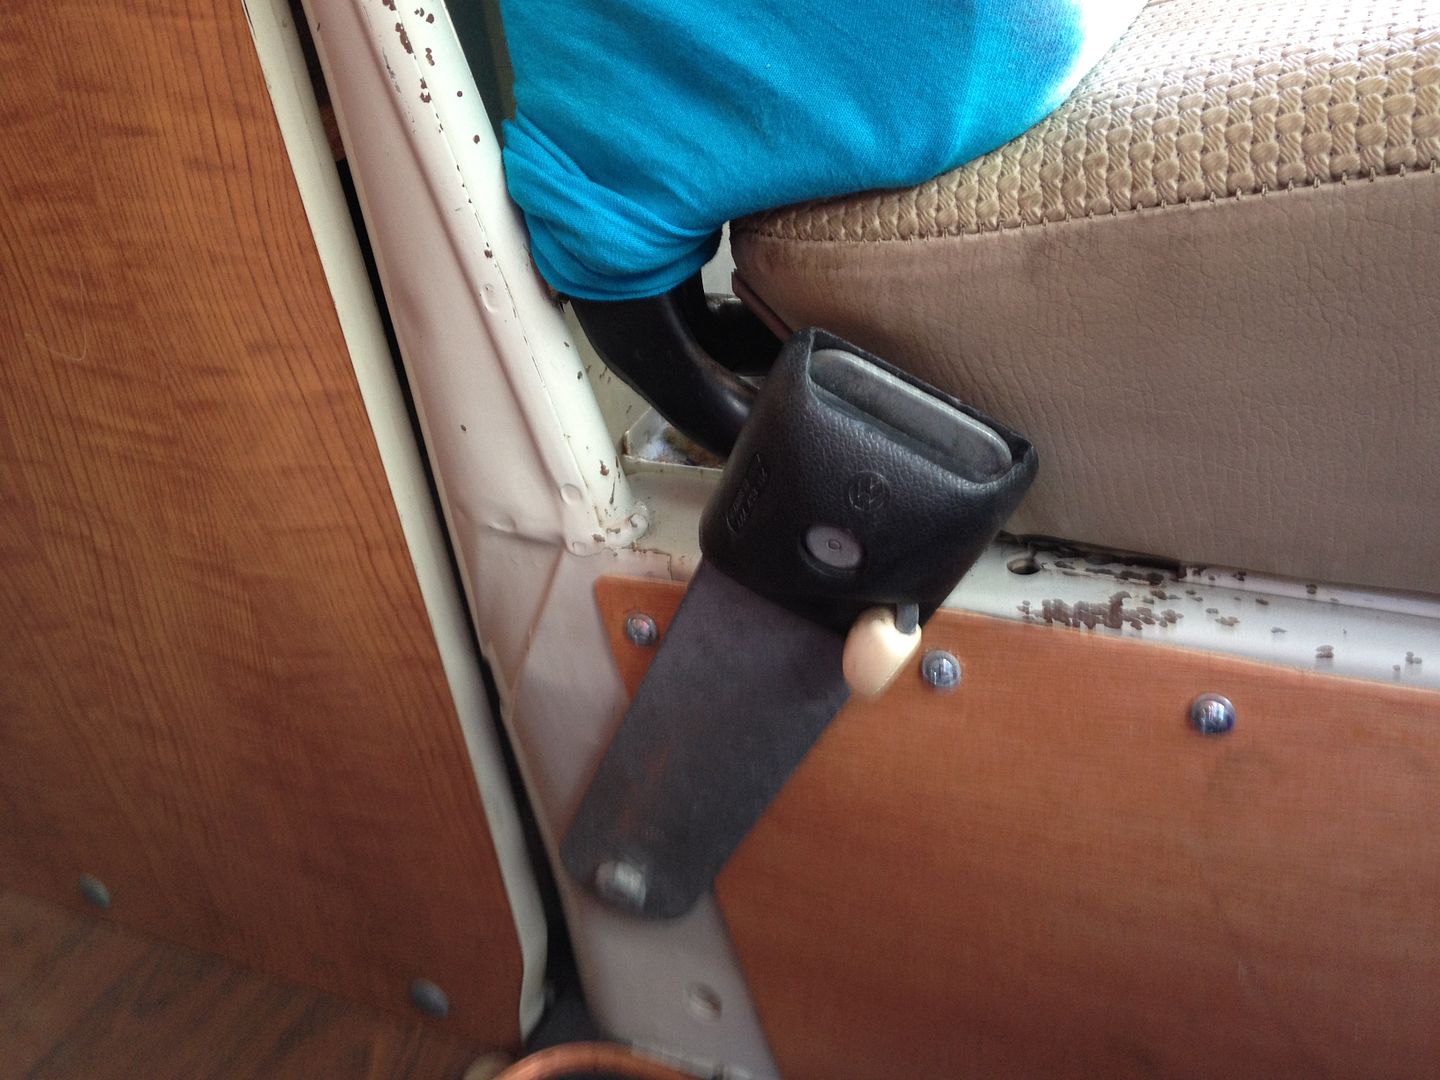
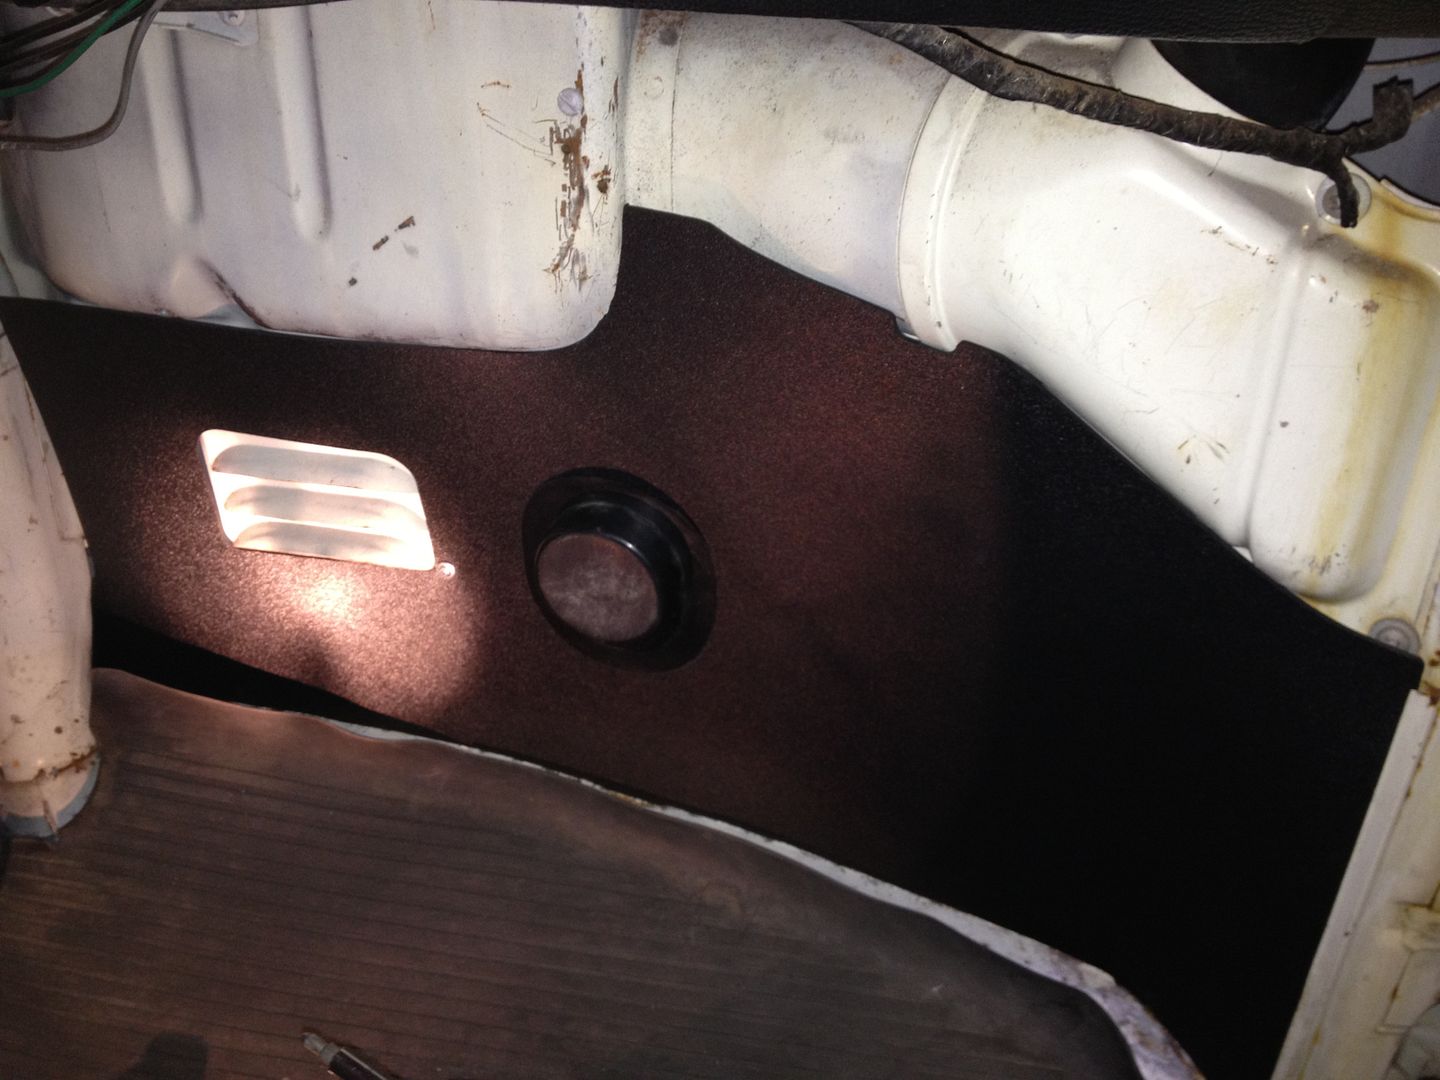
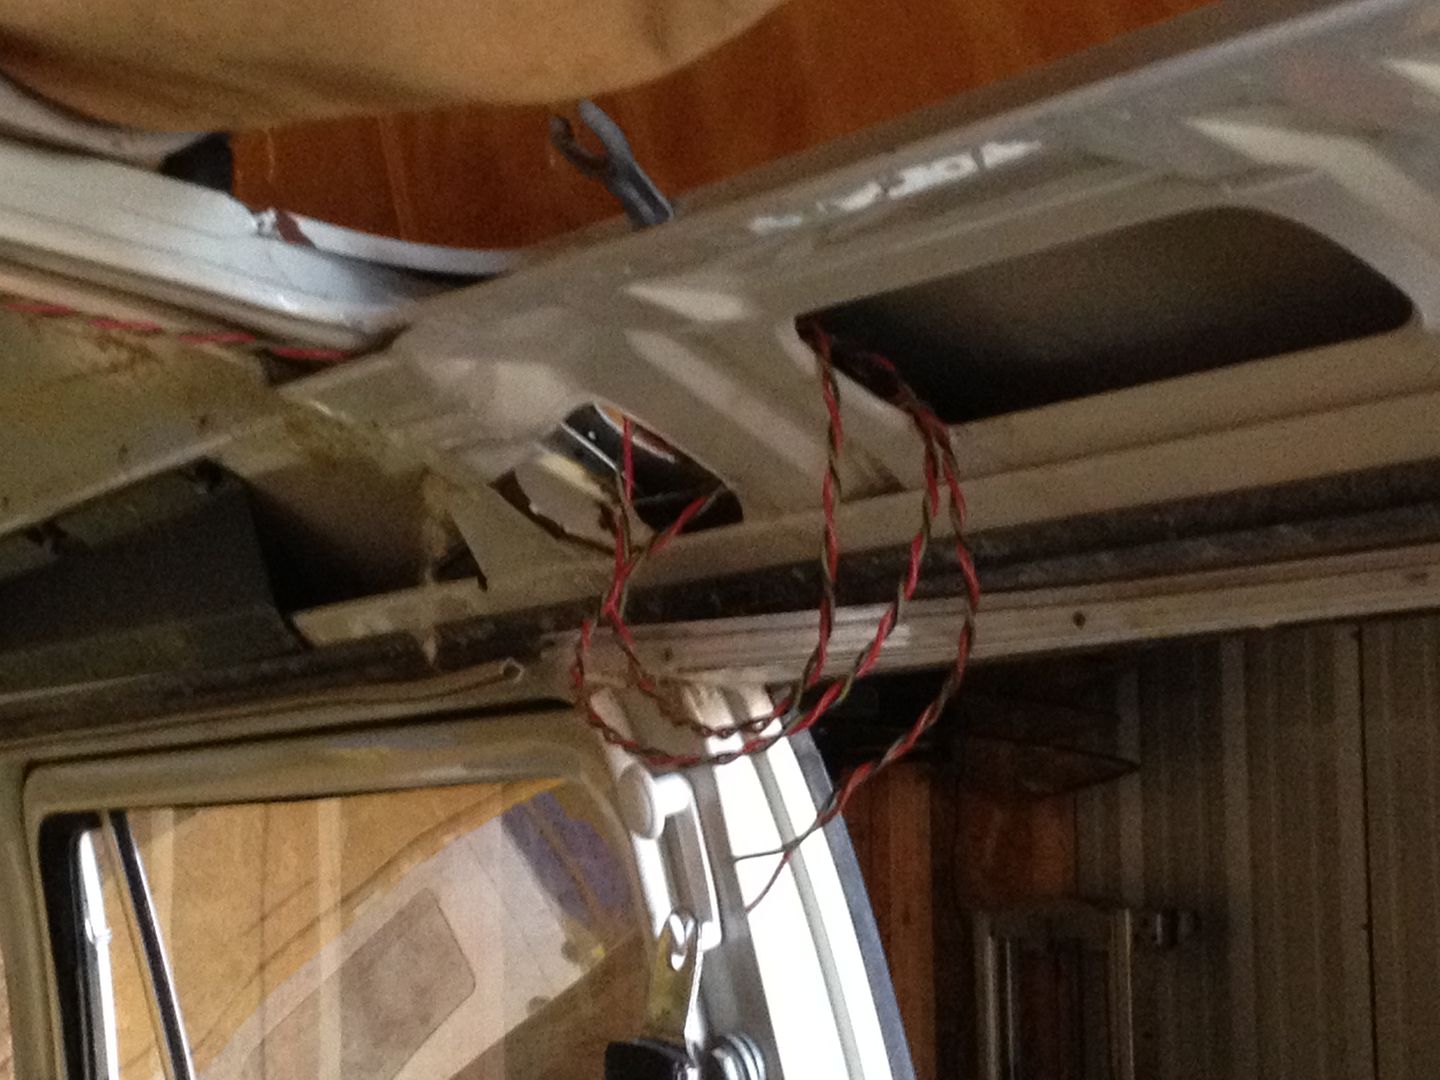
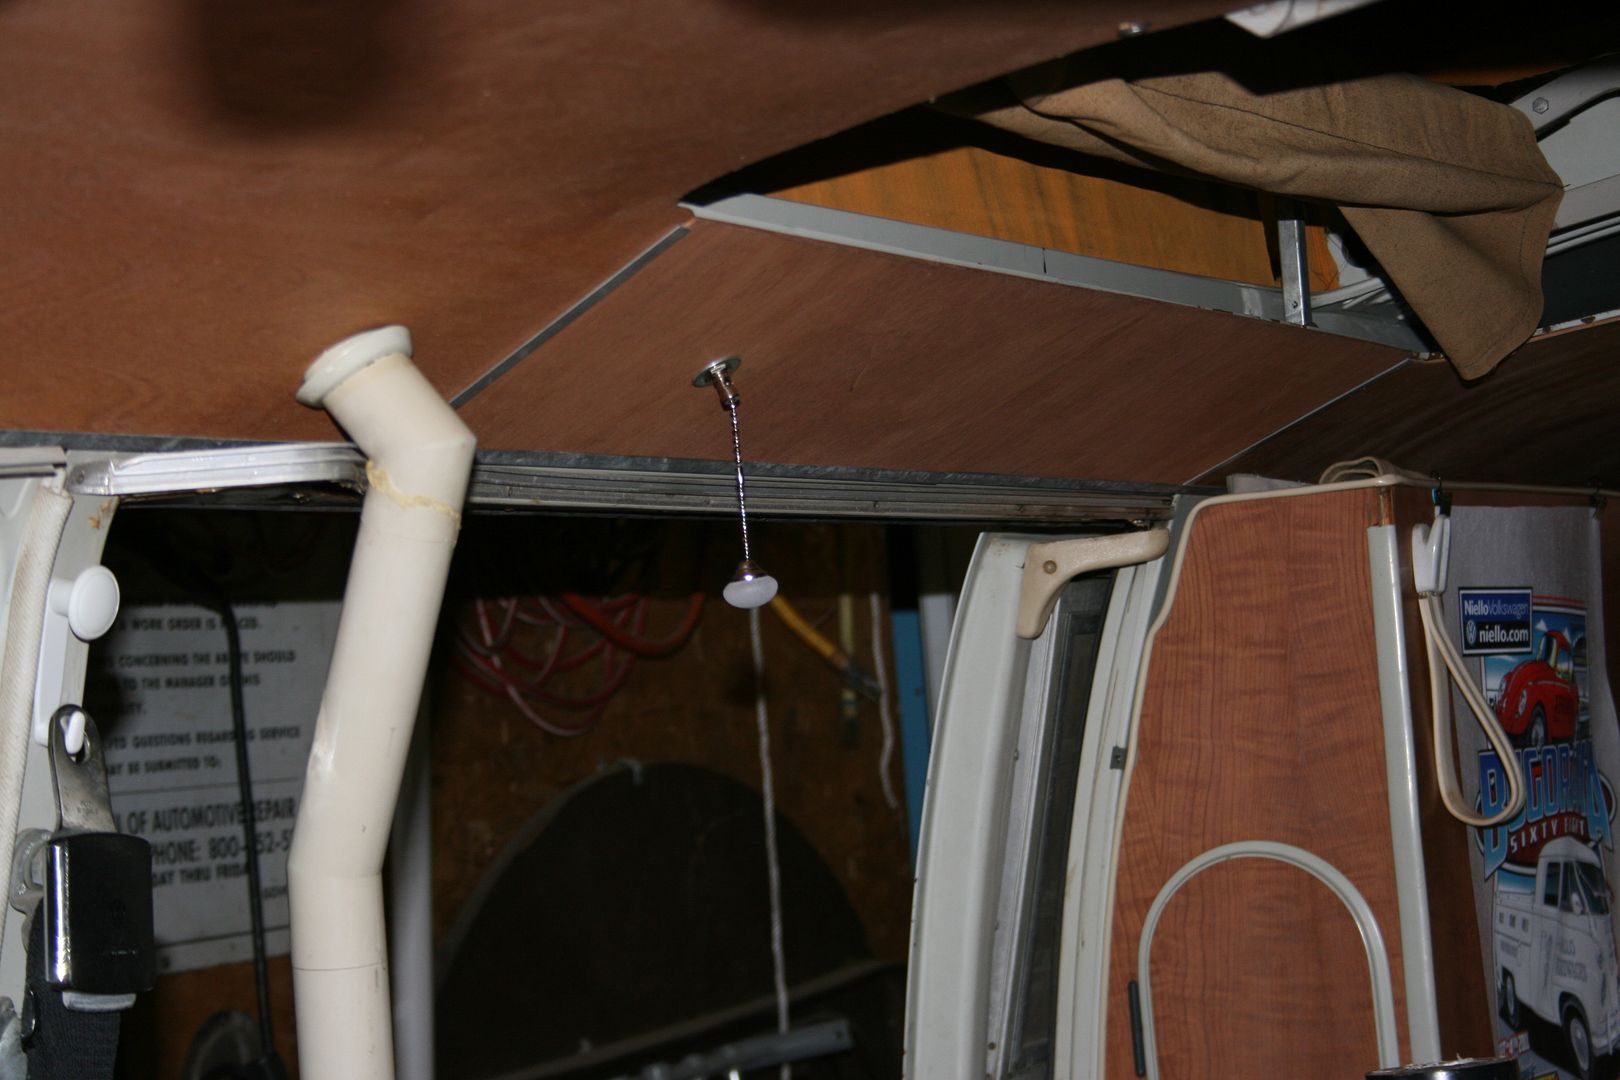
Oh, I also ran a wire from the light in the "living" area over to the sliding door. That way if I want to ad a switch to turn on that light from the slider, I can.

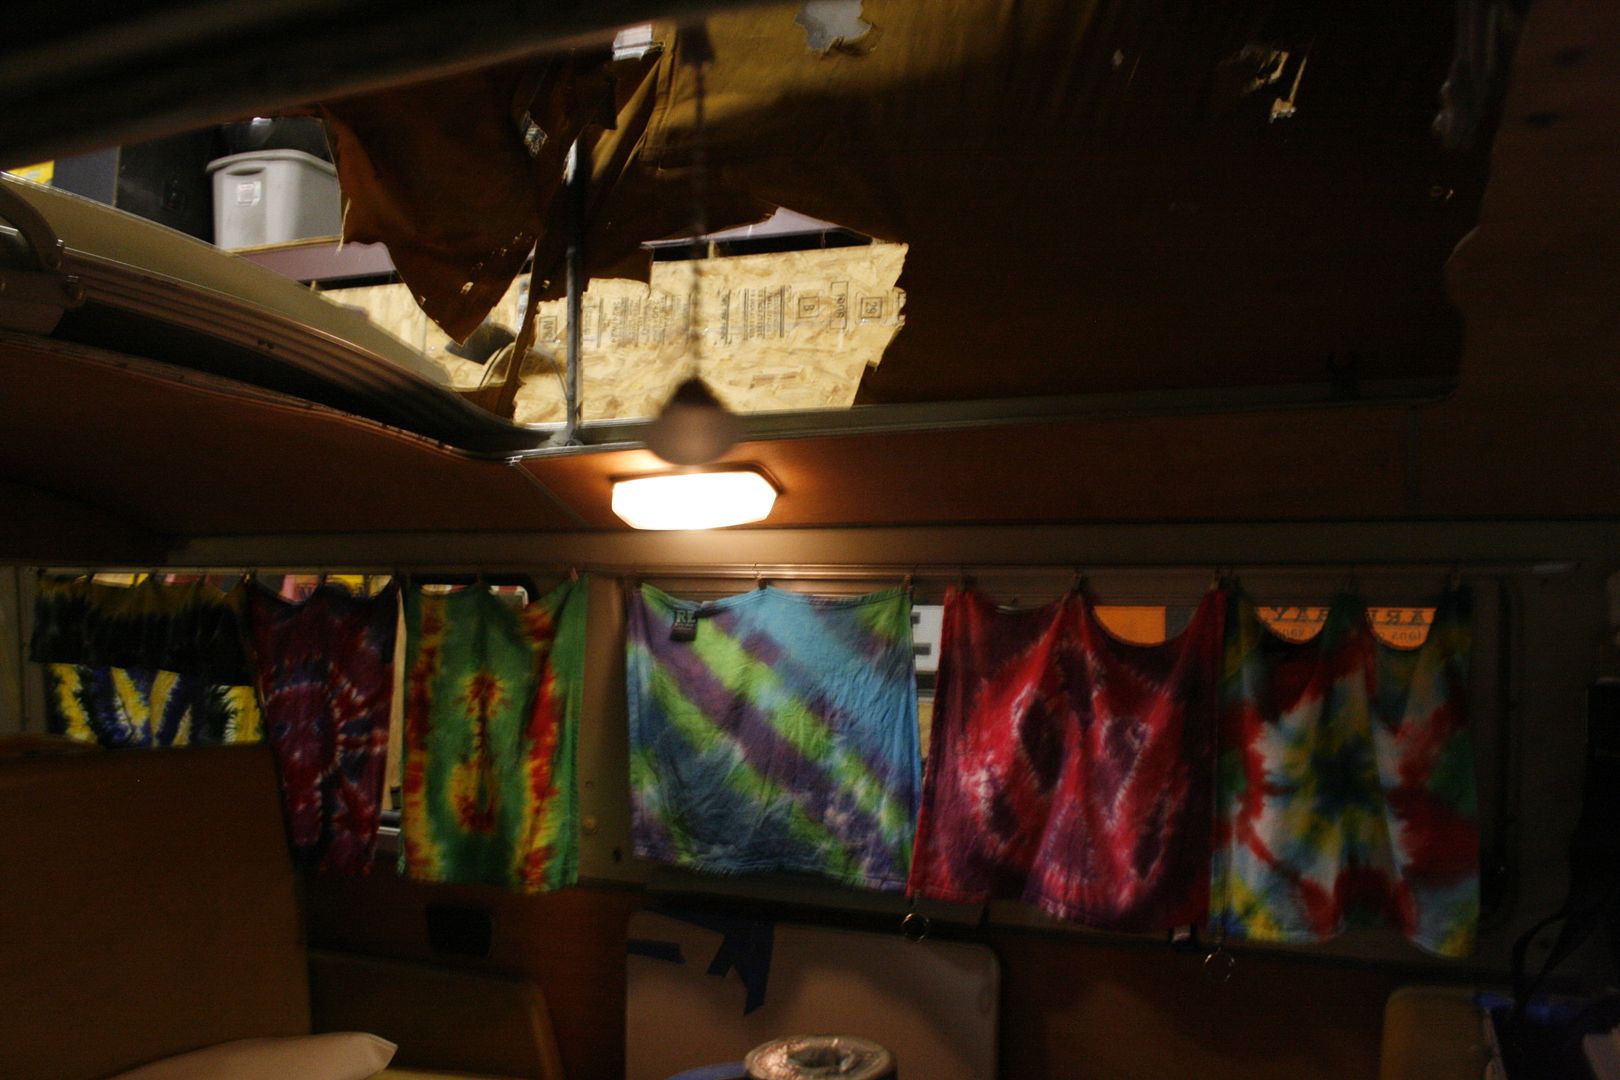
I'm getting kind of excited about getting the headliner done. I have never seen my bus with a good headliner in it and have been driving it for a few months now with no headliner. It's going to be like a new bus when it is complete on the inside!! :D

Oh, and sorry for such blurry pics. For the life of me I can't seem to get this stupid iPhone to take decent pics. My iPhone 4 with a lesser camera seemed better then the 4s.
 
myvanway 69 said:
Loving your thread and van. :D
What are you making your headliner from? Birch ply?

Lookin good. 8)

Paul.

Yes, it's birch!! I finally sourced a 5x5 sheet here in Sacramento!!
 
Got a lot done today!! :D

The headliner is cut out, unstained,

ea3ff40f.jpg


Look how good I am at using a jig saw!! LOL

135dce51.jpg


Stained and ready to go in,

a7a7aca2.jpg


My "trash" truck turned into a work bench!! :D

bc2e0893.jpg


I actually ran these wires the other day. Today I figured out where to hook what on the light. I just need to buy a toggle switch, then I can install it into the side panel once I get to making it!

e93d6bd2.jpg


I also fixed some of the trim pieces.

501b5e55.jpg


143d52ce.jpg


Hopefully the step kid is well enough to come over sometime this week to do the windshield. That is all I am waiting on now. Once it is in, everything else is set to go. Once the headliner piece is in, I can measure and make my middle panels and install the light and switch. Can't wait!! :D
 
Well I decided not to wait for the windshield to be installed before I put the headliner in. I just couldn't wait! LOL So today I put the insulation up,

274e6cbb.jpg


Then attempted to put the headliner up, by myself. It wouldn't fit so I had to take it back down and do some trimming. Did that and then I was able to get it installed, by myself! :D Yah, I'm pretty stoked that I was able to do it with now help. I did read the Benley though! :D

Here it is laying from dash to seats. Made it easy with the windshield out! LOL

a23a6297.jpg


Got it in!
5ba9d8d9.jpg


Then I worked on the middle panels. Got my light attached and working.

Here is a shot from the back,

bb0085fb.jpg


Light on. See that blurry thing toward the front of the photo?

5555e340.jpg


That is my switch I installed by the slider door!! :D Here is a close up of it!

6b2994d4.jpg


A shot from the front. Again, made it easy for a pic with no windshield! LOL

ce58ff1c.jpg


Another shot of my switch by the slider.

cbdee641.jpg


I have a question on the last pic. See the air vent going up? See the little round O ring type thing? Is that where it goes or does it go on the outside on the metal of the bus? I can't remember how it came out when I first took it off the bus. Before I removed it for the headliner install, I had it on the metal. I thought it was to seal the metal to help prevent leaks. But now that the headliner is in, it looks like it may be the finishing piece for covering up the wood hole?

Now I wait for the windshield install. Then I can drive it again!! :D
 
Hi,

Nice work, headliner looks great!

Yes, the rubber ring goes up to the top of the wood, just finishes it off nice, this is how it is on my bus.

Loving the light pull, very kitsch! 8)

Cheers!

Alistair
 
aogrady said:
Hi,

Nice work, headliner looks great!

Yes, the rubber ring goes up to the top of the wood, just finishes it off nice, this is how it is on my bus.

Loving the light pull, very kitsch! 8)

Cheers!

Alistair


Thanks! Yah I figured out that the rubber ring is on the wood side and I'm actually missing the gasket for the metal side. Well, till now. LOL I just found one on the Samba and bought it for 5 bucks. It even comes with the top cover, which I really don't need, but if it is cleaner then my current one I will use it! :D
 

Latest posts

Top